Kloster Stitch Sample

Here’s another stitch sample that I created for my Level 3 Stitch class. It is done with Kloster stitch which is a variation of couching. I decided to use a mushroom that I took a photo of near my house as it related to my theme of trees communicating for my larger wall hanging.

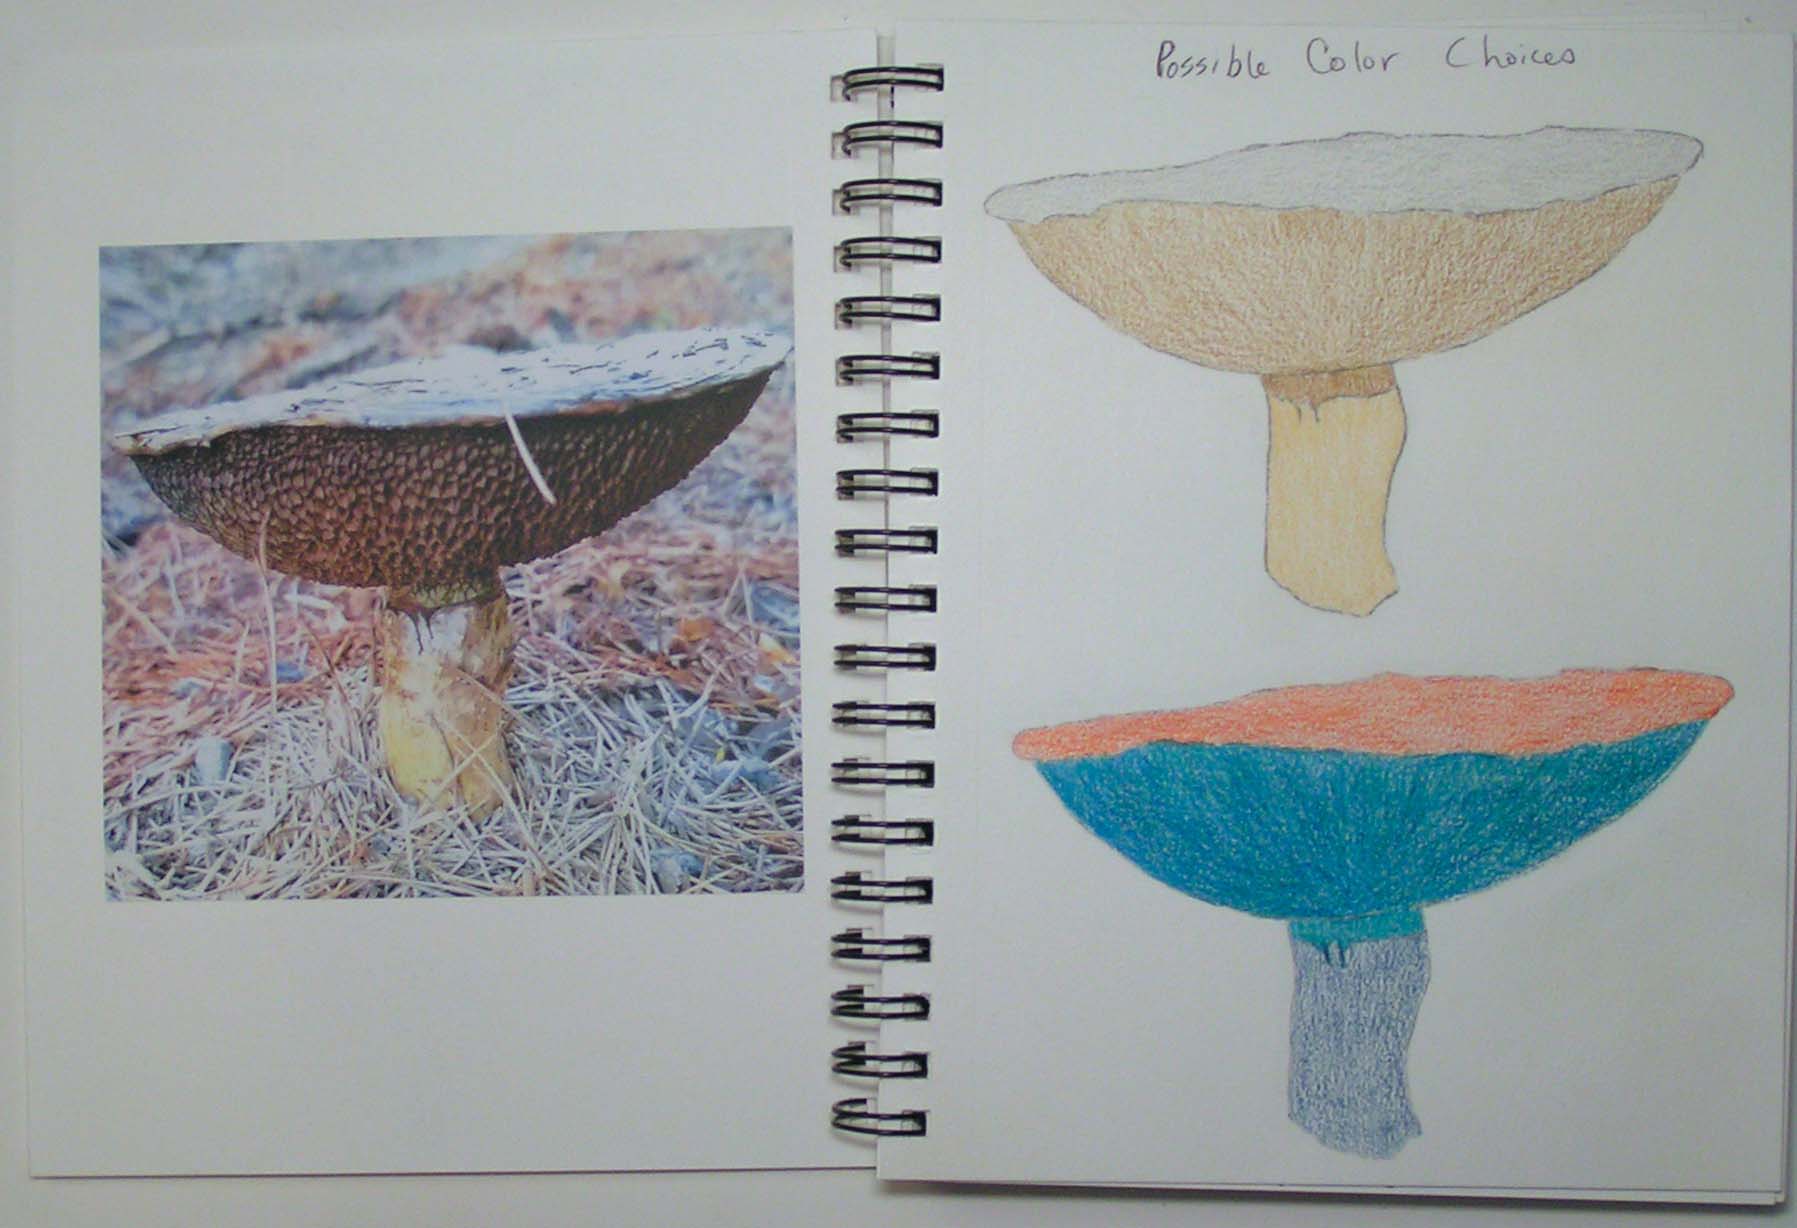
The photo of the mushroom is on the left and then I worked through a couple of choices on color themes. I decided to use the blue green, blue violet and orange color theme that I was using in my larger wall hanging in the hopes that the pieces would feel compatible.

Here’s the mushroom stitched on hand dyed linen. I used hand dyed wool thread (lace weight) and stitched the Kloster stitch in different directions to give it more variety. I’m pretty sure that the stem was stitched with a different stitch but I can’t remember now. (And I’m too lazy to go look it up in my sketchbook.)

I ended up with three different mushrooms, in different types of stitch. Too make them more interesting, roots were added to the different mushrooms. These roots were stitched with stem stitch and French knots. I will show you the other two soon.

Thanks for stopping by!

Simplicity

I love simplicity in design. It’s not easy to achieve but I always admire when a piece is taken back to the bare essence of an idea. So when Textileartist.org announced a challenge by Emily Jo Gibbs, I was intrigued with her style. The instructions were to find a stick or an object such as a paintbrush to be your inspiration. Then, sketch the item and use that sketch to create an applique. Ha! Applique is perfect for another homework assignment. Plus, the simplicity of using a sketch as the design. I have hundreds of sketches that I could use. But I found a stick, and did a sketch of it, including the shadow.

Then I created a pattern for the applique pieces out of tracing paper, chose some hand dyed organza and a linen background.

Here’s the documentation in my sketchbook for Level 3 Stitch class.

Then on to hand stitching while listening to a portion of an online class given by MOMA. I love the simplicity of the piece. A bare bones sketch in applique. As I said, I have loads of sketches that I could recreate this way.

For the MOMA class, the artist featured this week was Barnett Newman. I had never heard of him before and it was interesting to learn about his style. Again, simplicity is evident. His work that he is best known for are his “zips”, the line of yellow oxide down the middle of the painting in a solid colored background. But the “zips” weren’t usually exact and had more complexity to them as you get closer and view the painting at more length. Many of his paintings are really large so that as you get closer, you are engulfed by color. The painting above is done in his style. Acrylic paint on sketchbook paper. I don’t think it quite gives the same impact as it might have on canvas or board. But it was an interesting experiment.

It’s a fun course and now we are studying Willem de Kooning.

Thanks for stopping by and stay safe!


Wild Rose

I am still working 7 days per week at the store so my creative time is severely diminished. But I am still taking a few minutes each day to do something. It’s easy when life gets in the way to not take any creative time for yourself, but I find that you can squeeze a few creative minutes into each day. It keeps me sane 🙂

I have been seeing a lot of wild roses on my morning walks in the woods so here’s a watercolor and colored pencil representation. I considered doing more with the background but decided to leave it as is.

Thanks for stopping by!


Lupine

I haven’t had time to do much artwork this week. I have been working every day at the store due to employee issues. The joys of being a small business owner.

I did create a small watercolor painting in my sketch book of a lupine. These are blooming now up in the woods. Hopefully, I will be back to my regular schedule by the end of next week.

Lino Carving, Fireweed and Robin’s Nest

I am working on some new lino prints. I want to layer several designs on top of each other. I have printed a few plain backgrounds and I’m now working on the second layer lino blocks.

These are three of the designs for the second layer. I have several more designs. Then I have created the designs that will be printed on top of these prints. I still have a lot of carving to do before I can show you any prints.

Here’s a watercolor of a fireweed plant. I thought I would do something for the background but I think I will just do another one with a background. This is done in watercolor.

And we had these baby robins up under our gutter on the back of the house. They have flown away now. When I saw the size of the babies, I couldn’t believe they even fit in the nest.