Abstract Painting and a New Baby

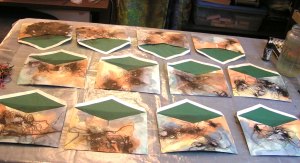
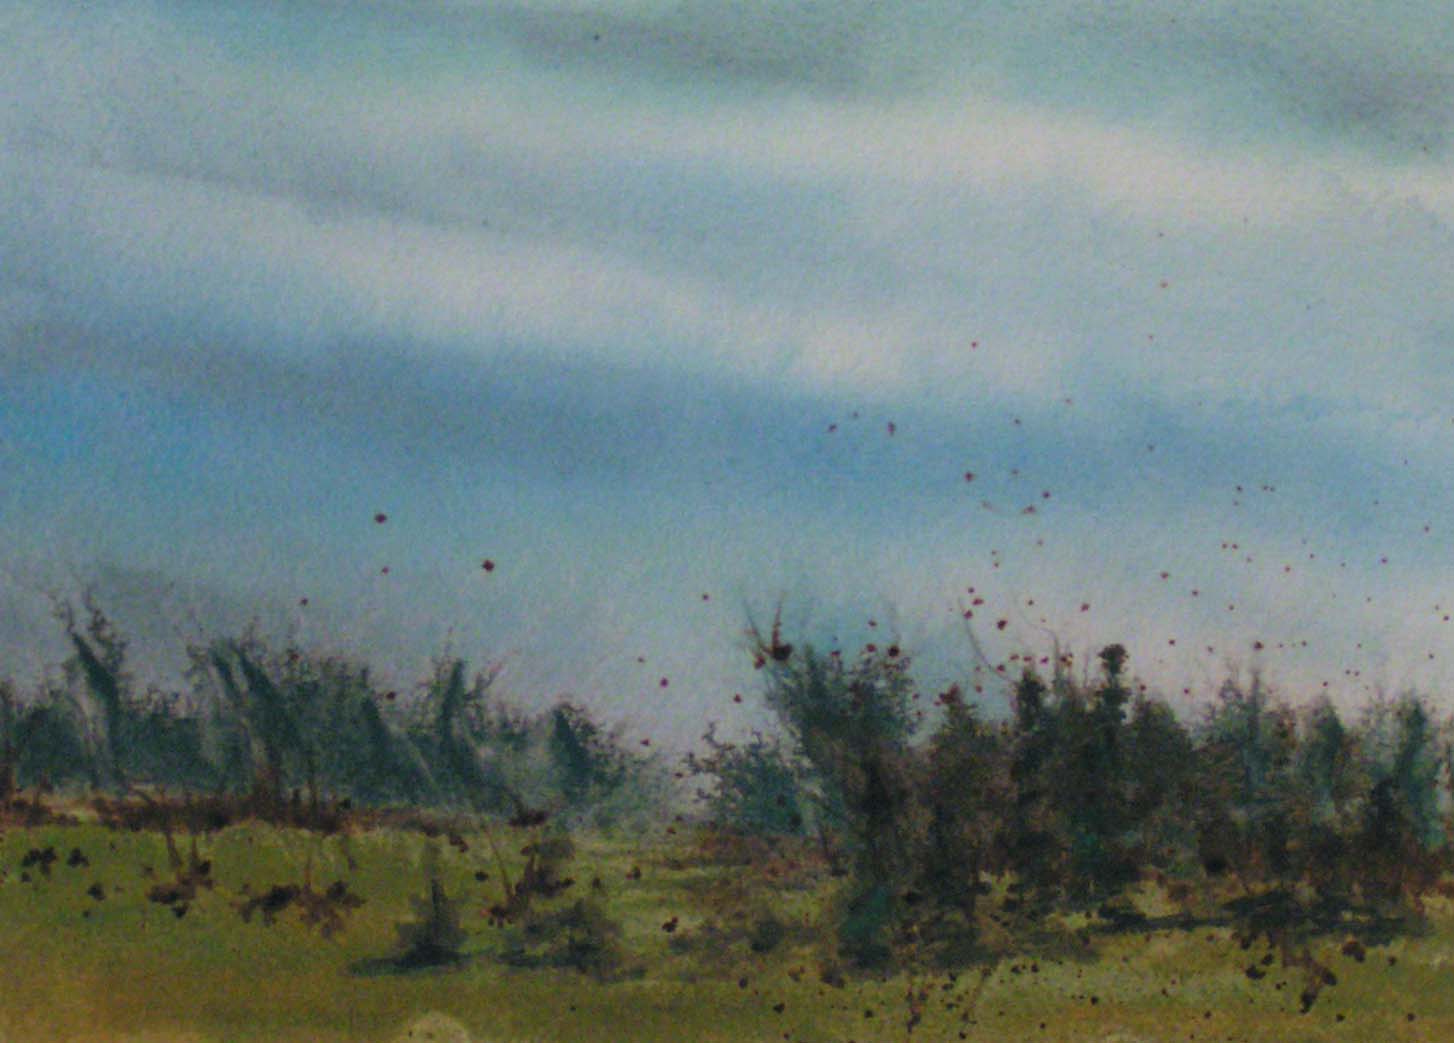
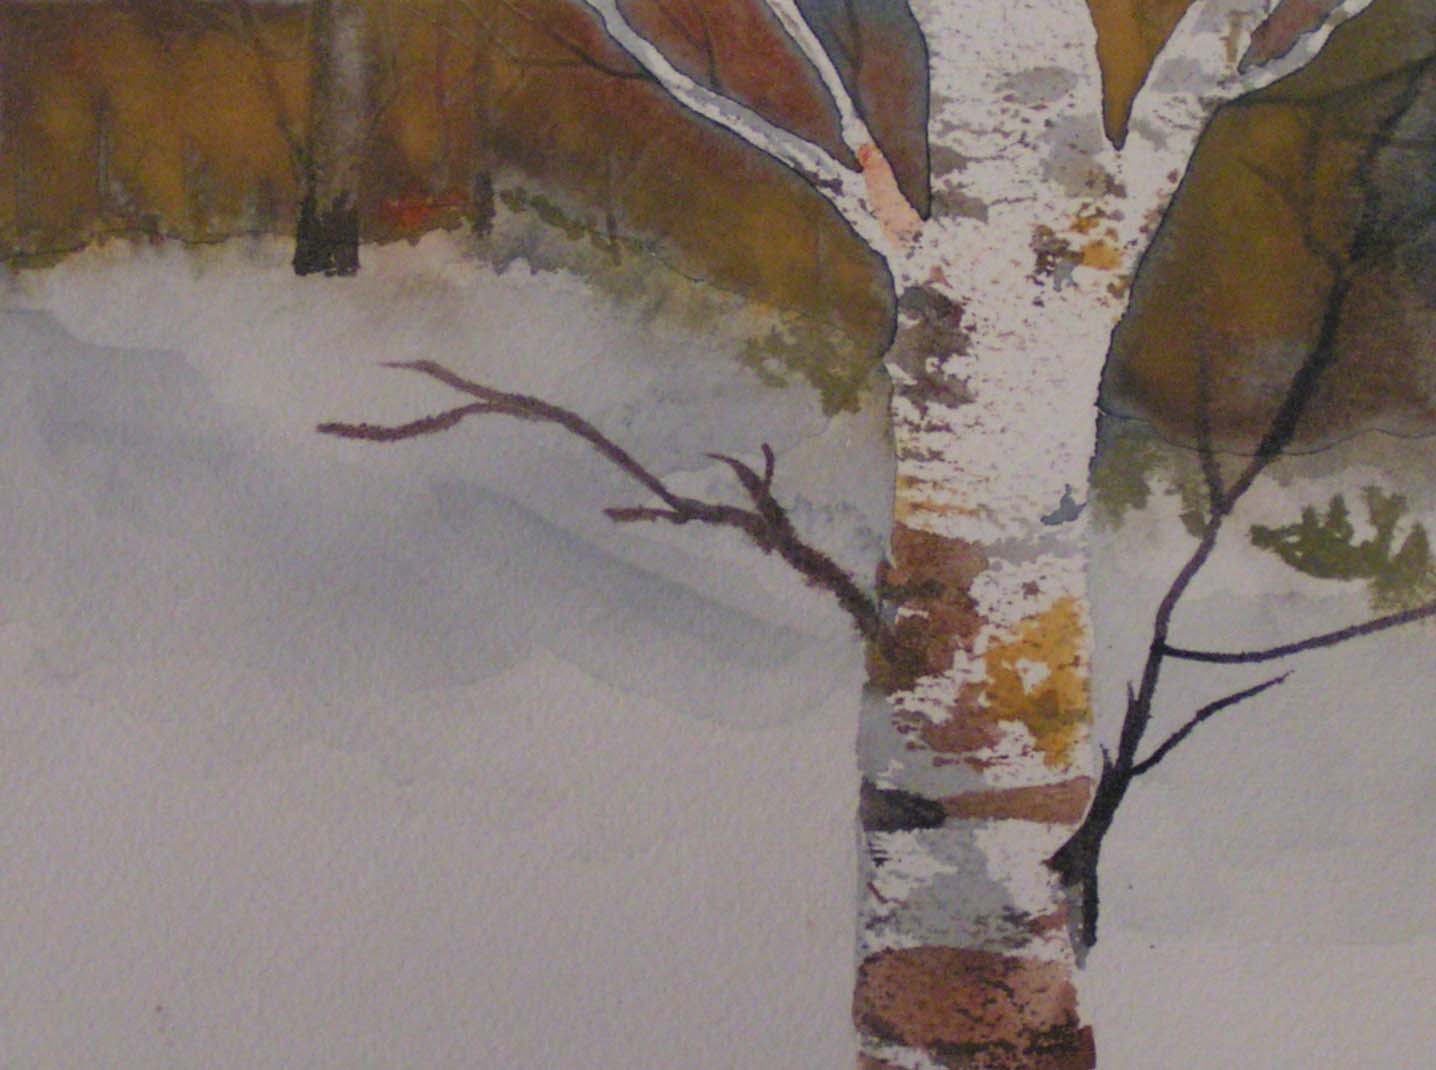
My little art group tried out a new technique for abstract painting. It’s based on using words that are opposites.

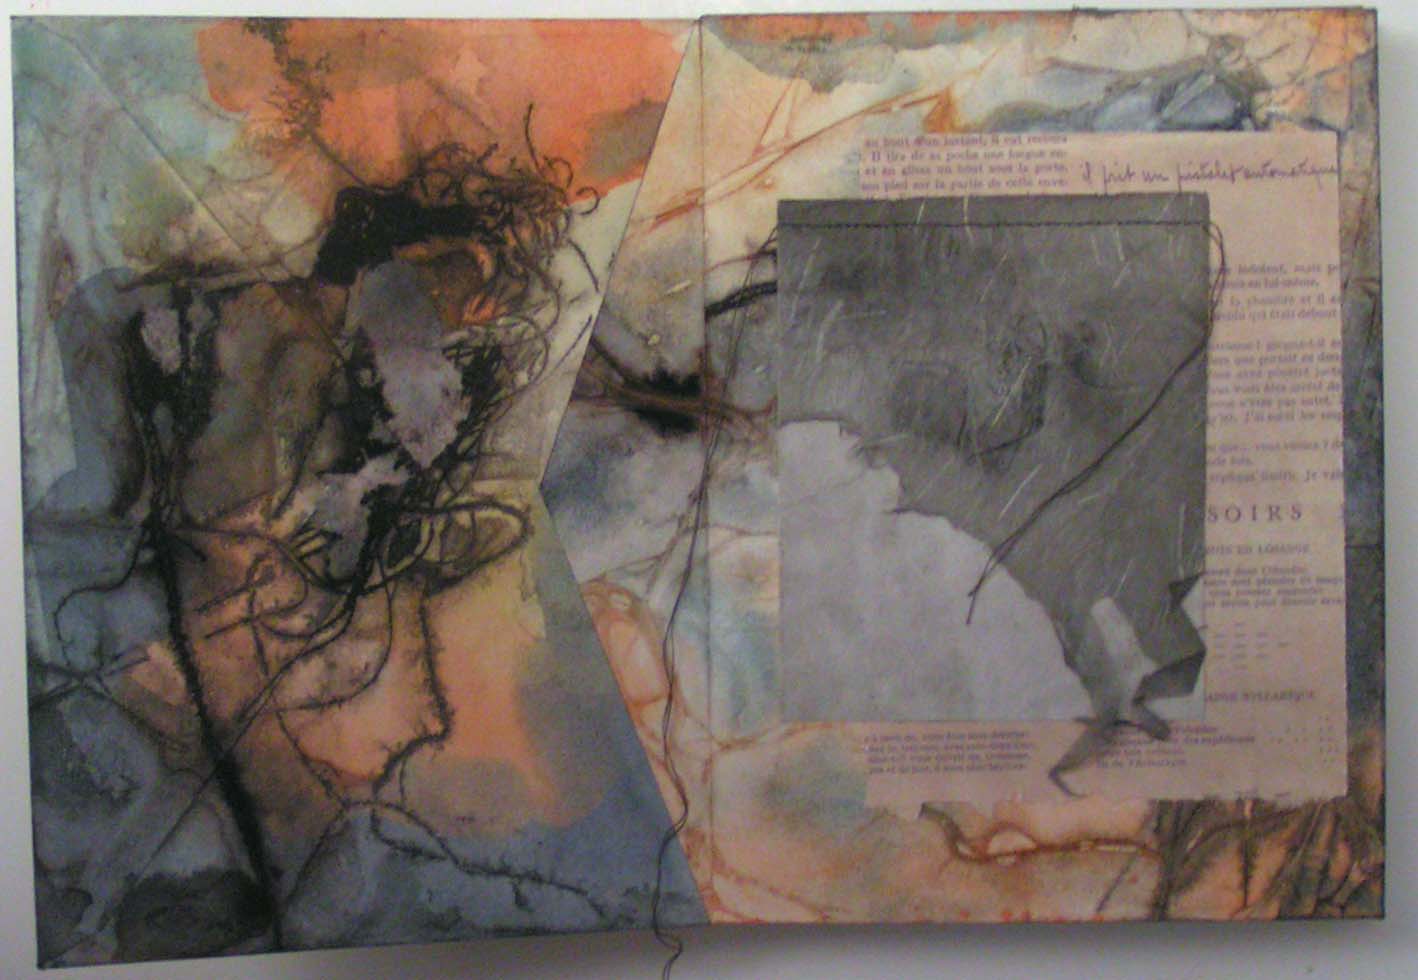
You keep adding different elements according to the words and their opposites, such as hard and soft or straight and jagged. Then you can add further elements such as collage and work with pens or pencils.

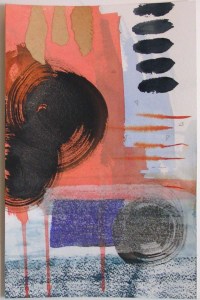
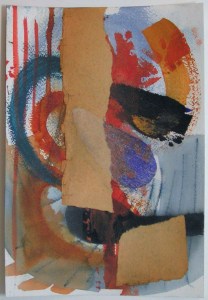
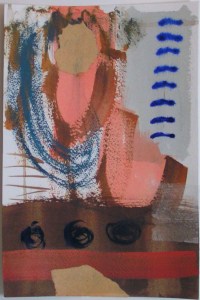
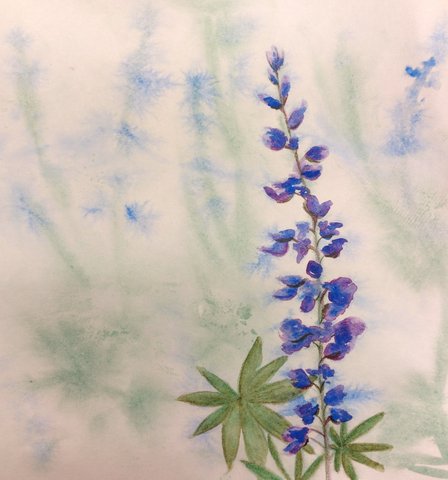
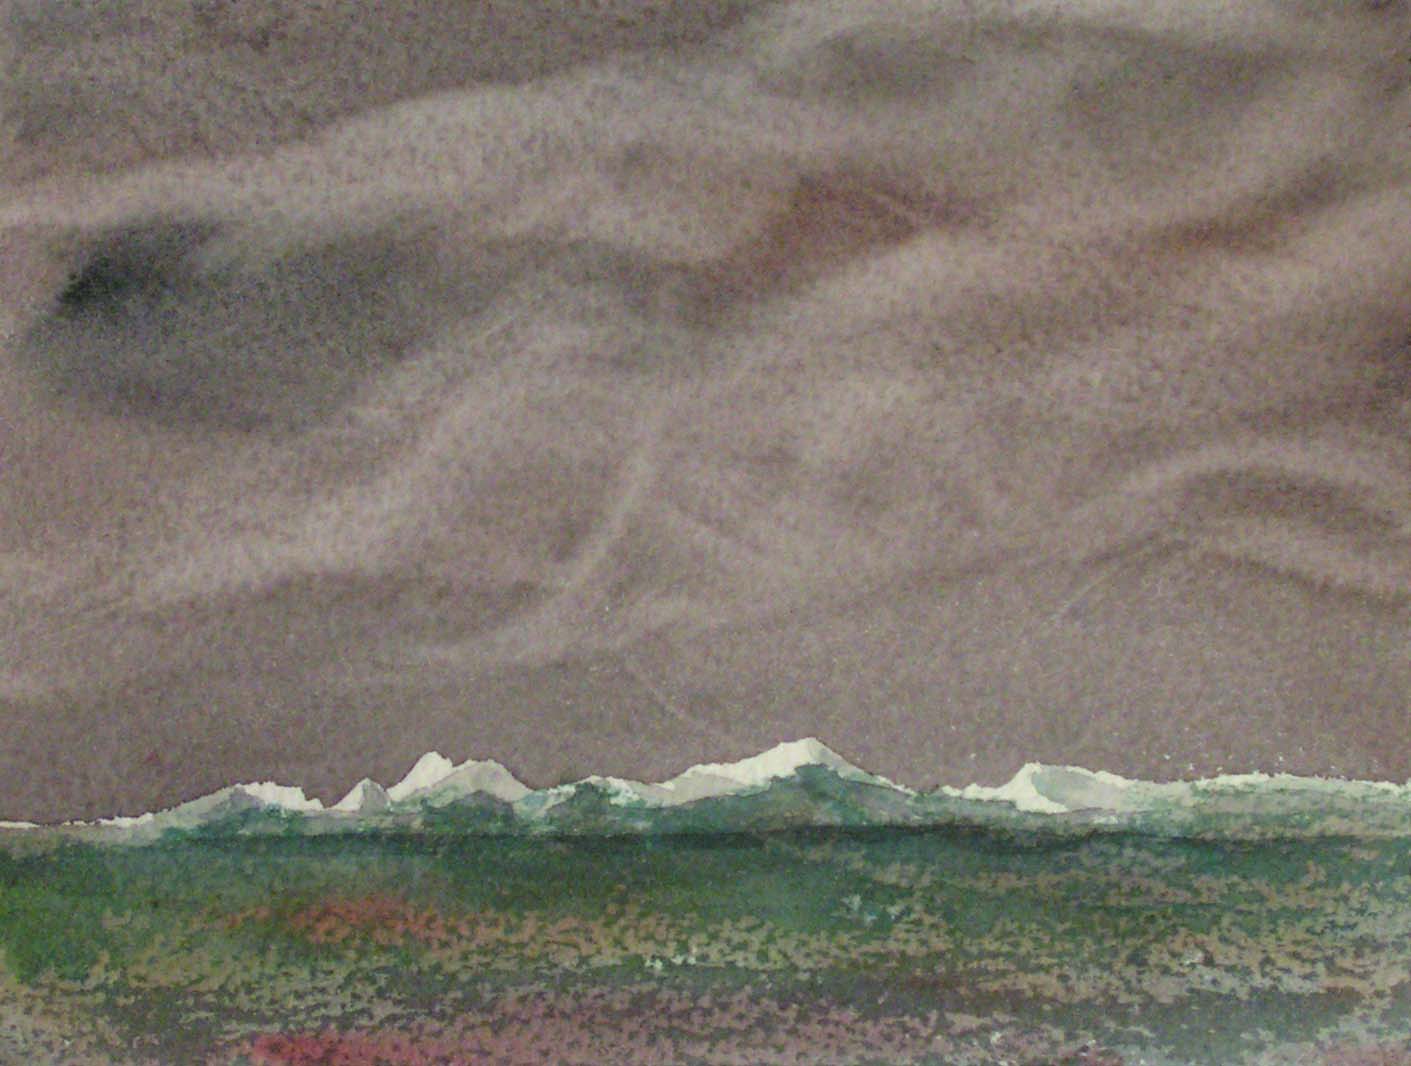
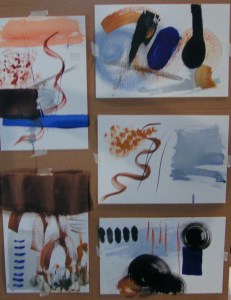
Here they are after adding some collage elements. The one on the bottom right was done separately and I covered the page with a wash of watercolor first. It’s the only one I have worked on with a black marker. I am definitely not very comfortable with the process but these are to loosen you up and not create a “masterpiece”. I can say I definitely created no masterpieces.

And now I’d like you to meet my new fur baby, Edgar. We adopted him from a shelter. He’s supposed to be a year old but I would guess 3-4 months younger. He’s supposed to be a Corgi mix and weighs 25 pounds. Compared to our Yorkies, he’s a bruiser. Here he is with a stuffed tractor which he tore to shreds in about 10 minutes. I then got him an “indestructible” toy that lasted half an hour. Fierce puppy.

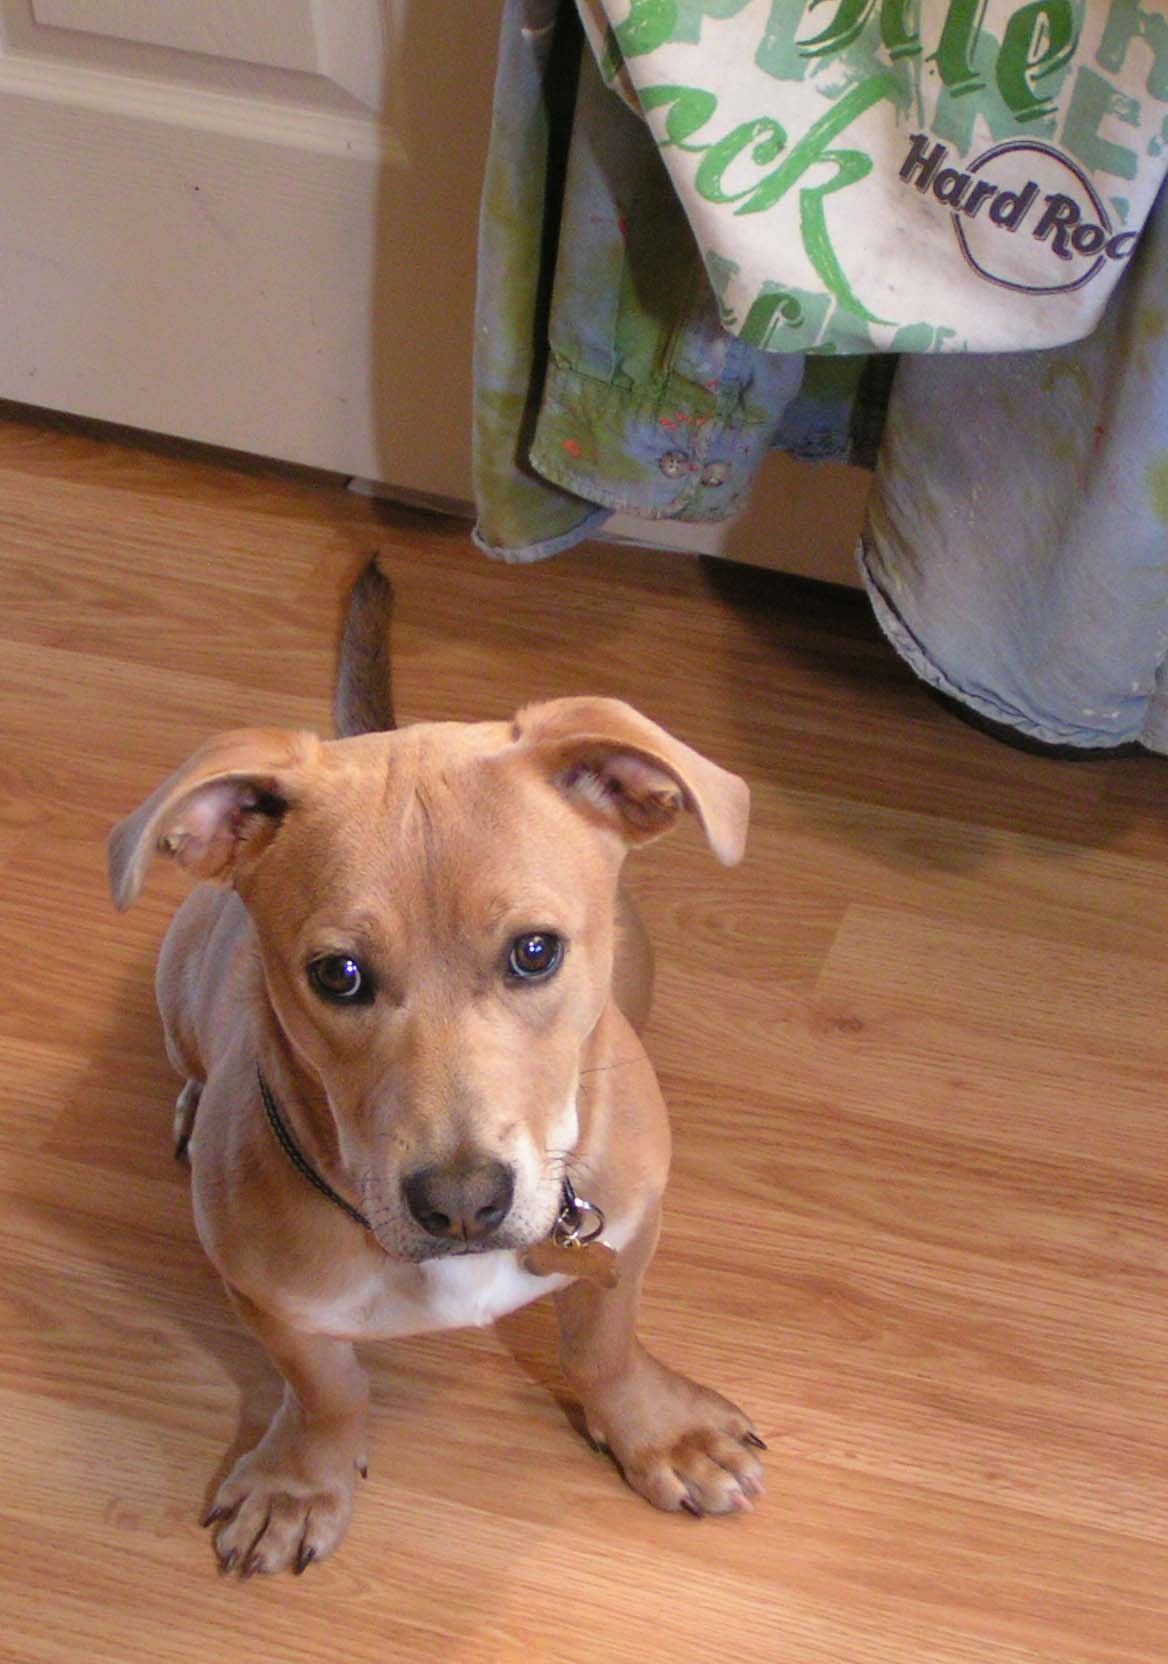
Edgar at the studio door looking at me and saying “When are you going to come and play with me?” We’ve had him for a week and he’s settling in well.

I am going to be doing less blog posts on this blog for a while. I’m taking a partial blogging sabbatical. I will still be blogging once a week over on The Felting and Fiber Studio blog. I’ll pop in here occasionally perhaps to give you Edgar updates.

I hope you are all staying safe and thanks for reading.

Creating an Envelope Book

Our local group’s challenge this week was to create an envelope book. Paula showed us how to put the envelopes together. We were actually supposed to collage the pages but I didn’t end up doing much collage work.

I decided to paint my envelopes first. I did that with watercolors and high fluid acrylic dark brown paint. I used a variety of threads, cheesecloth and plastic wrap to get the various organic designs. Afterwards, I had to iron all the envelopes as they got very warped from the liquid applied. The glue also didn’t hold well and they all started to come apart.


Here is an example of one envelope after the paint dried and the envelope was ironed.

I then put the book together. You slide the flap into the previous envelope, fold the envelope back in the opposite direction and then just keep adding another envelope until you have a book. In the right hand photo, you can probably see that the envelopes haven’t been glued yet. I had to glue them all back together and then glue each flap into the prior envelope. That way the book holds together. Now on to embellishing.

This is the front cover. I added some paint pens, markers and colored pencil. Always fun to see what you can find in these very organic looking designs.

Here’s another set of pages where I added some collage elements on the right hand side. The darker grey torn paper can be lifted to see what’s underneath. The plan is to add some poetry to the blank papers that I am adding in.  I’m still working on finishing the book but I’ll show you more next week.

Stay safe!


Wild Rose

I am still working 7 days per week at the store so my creative time is severely diminished. But I am still taking a few minutes each day to do something. It’s easy when life gets in the way to not take any creative time for yourself, but I find that you can squeeze a few creative minutes into each day. It keeps me sane 🙂

I have been seeing a lot of wild roses on my morning walks in the woods so here’s a watercolor and colored pencil representation. I considered doing more with the background but decided to leave it as is.

Thanks for stopping by!


Lupine

I haven’t had time to do much artwork this week. I have been working every day at the store due to employee issues. The joys of being a small business owner.

I did create a small watercolor painting in my sketch book of a lupine. These are blooming now up in the woods. Hopefully, I will be back to my regular schedule by the end of next week.

Practicing Sky and Birch Tree Techniques

I got another watercolor book from the library this past week, Zoltan Szabo’s 70 Favorite Watercolor Techniques. So I have been doing some of the exercises in the book, he encourages you to copy his “sketches”. So that’s what I did. I found it helped not to have to think to hard about what the painting was going to look like but just to practice each technique as laid out in the book.

These first three are all about the skies and how to create clouds. This one was a subtractive technique using a stiff bristle brush.

This one was painting stratus clouds. I got a little carried away on the bottom portion and added some walnut ink powder that then got all over the place. But the clouds turned out OK.

And this one is cumulus clouds. I think I’m getting slightly better with landscapes but these are all still small samples about 5″ x 7″. I can always use these to make greeting cards.

Then on to the technique of creating birch trees. And playing a bit with shadows on the snow. I am pleased with this one.

And then I decided to try another birch tree with a more autumn background. These were both fun. I am sure I will be doing some more of these.

Thanks for stopping by. Have a great weekend.