Completed Envelope Book

I finished up the envelope book I showed you last week. I decided to use my own handwriting for the poem even though I generally dislike my own writing. But I went with it anyway. I used a poem by Joan Graham called ‘Nature Knows Its Math’. It seemed to fit and I added in a few more sketches on several pages that referenced the poem.

Here’s the front again. I used a painted piece of rice paper for the binding. The binding paper has a couple layers of acrylic medium to make it stronger. It almost feels like fabric.

I really enjoyed creating this book. It is a very easy book construction and can be decorated in an infinite number of ways. Have you tried creating your own books? I’d love to see them if you have.


Take care and stay safe!


Creating an Envelope Book

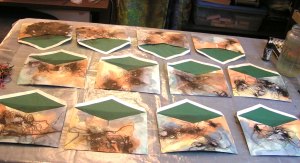
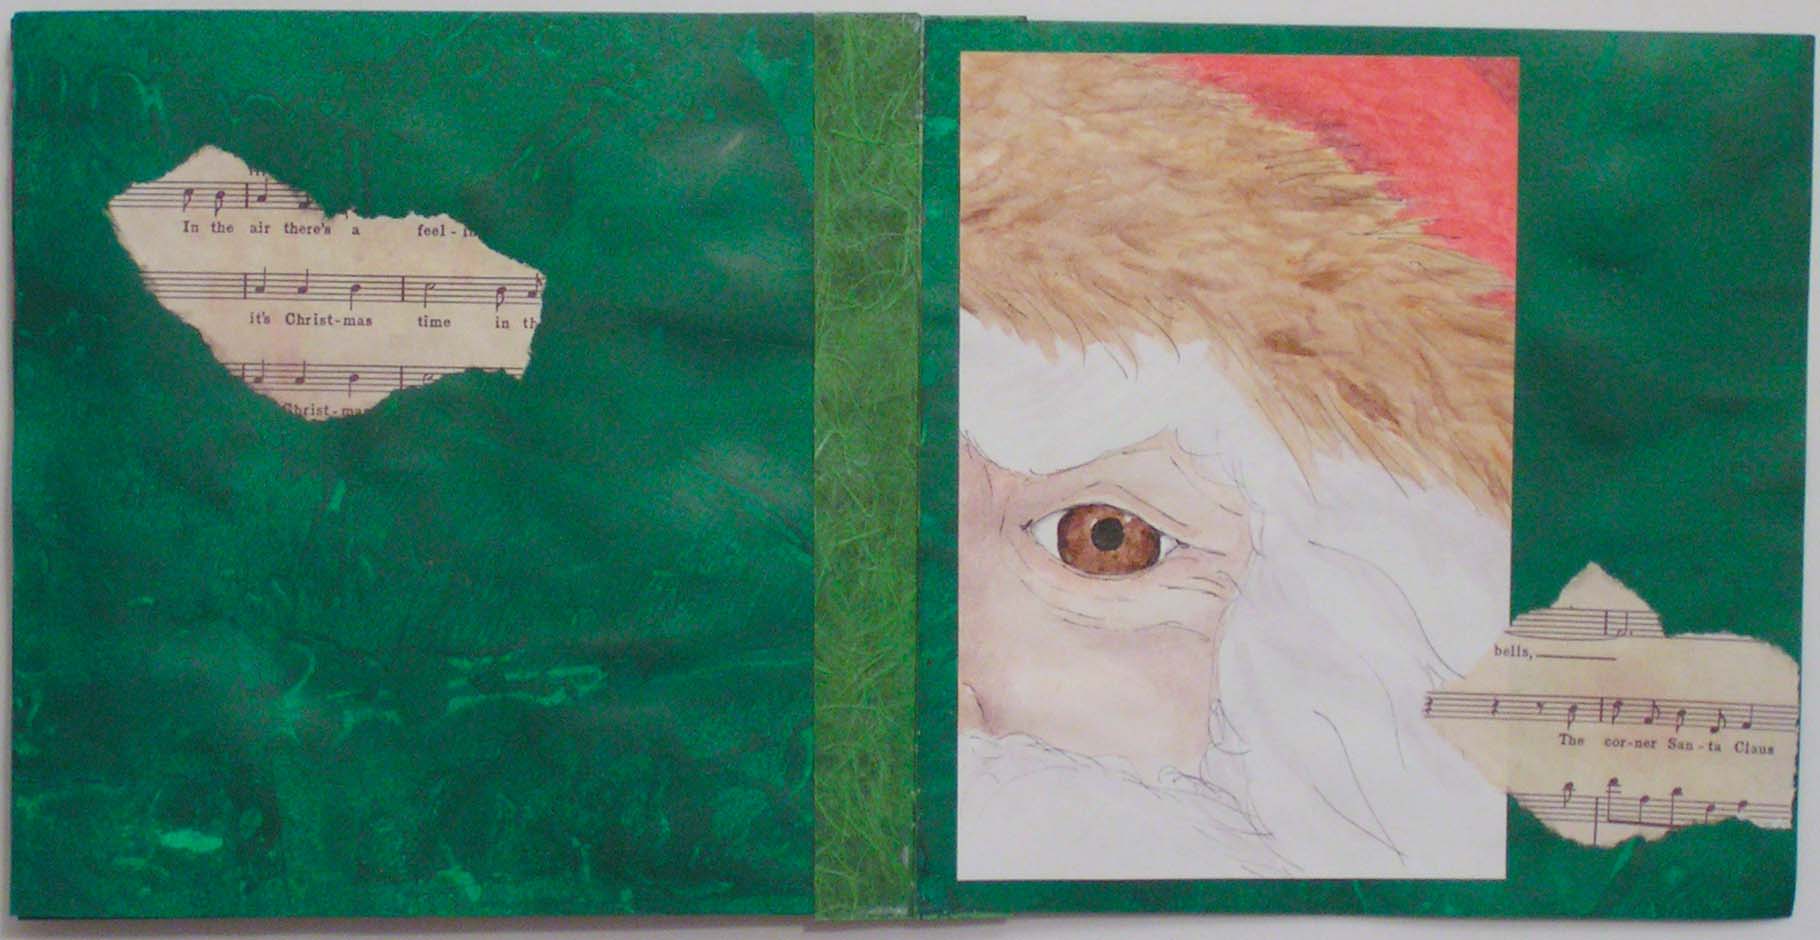
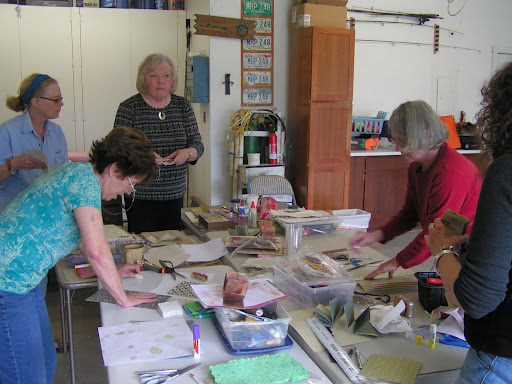
Our local group’s challenge this week was to create an envelope book. Paula showed us how to put the envelopes together. We were actually supposed to collage the pages but I didn’t end up doing much collage work.

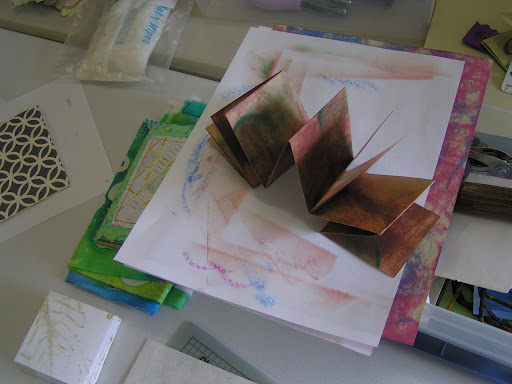
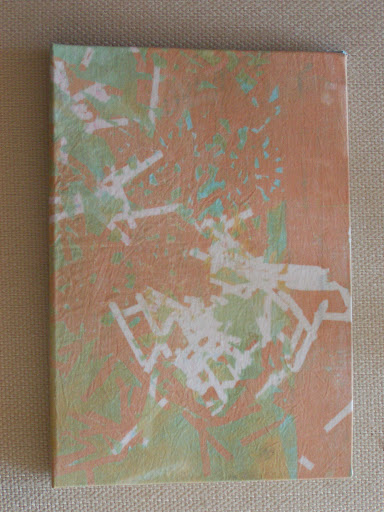
I decided to paint my envelopes first. I did that with watercolors and high fluid acrylic dark brown paint. I used a variety of threads, cheesecloth and plastic wrap to get the various organic designs. Afterwards, I had to iron all the envelopes as they got very warped from the liquid applied. The glue also didn’t hold well and they all started to come apart.


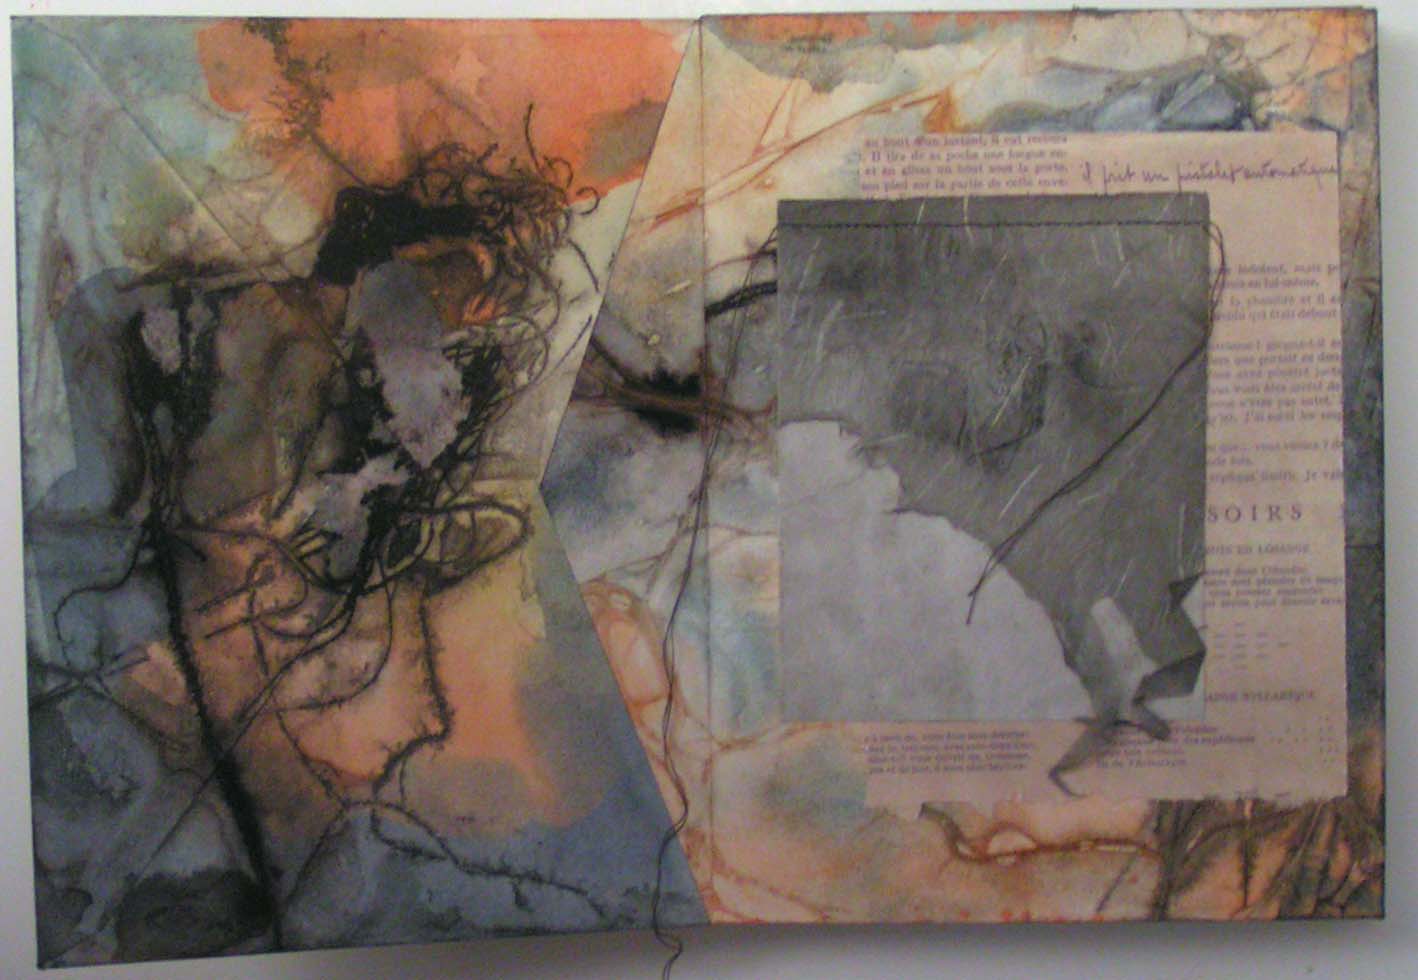
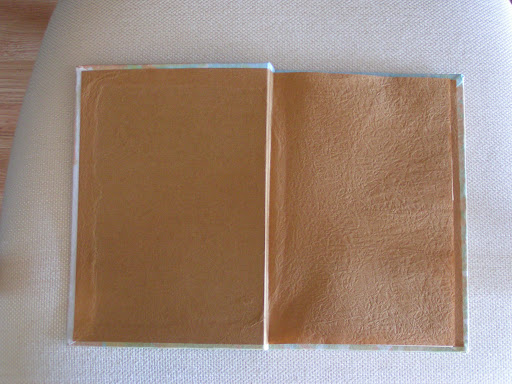
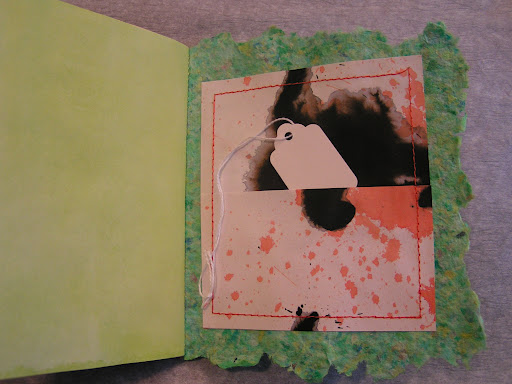
Here is an example of one envelope after the paint dried and the envelope was ironed.

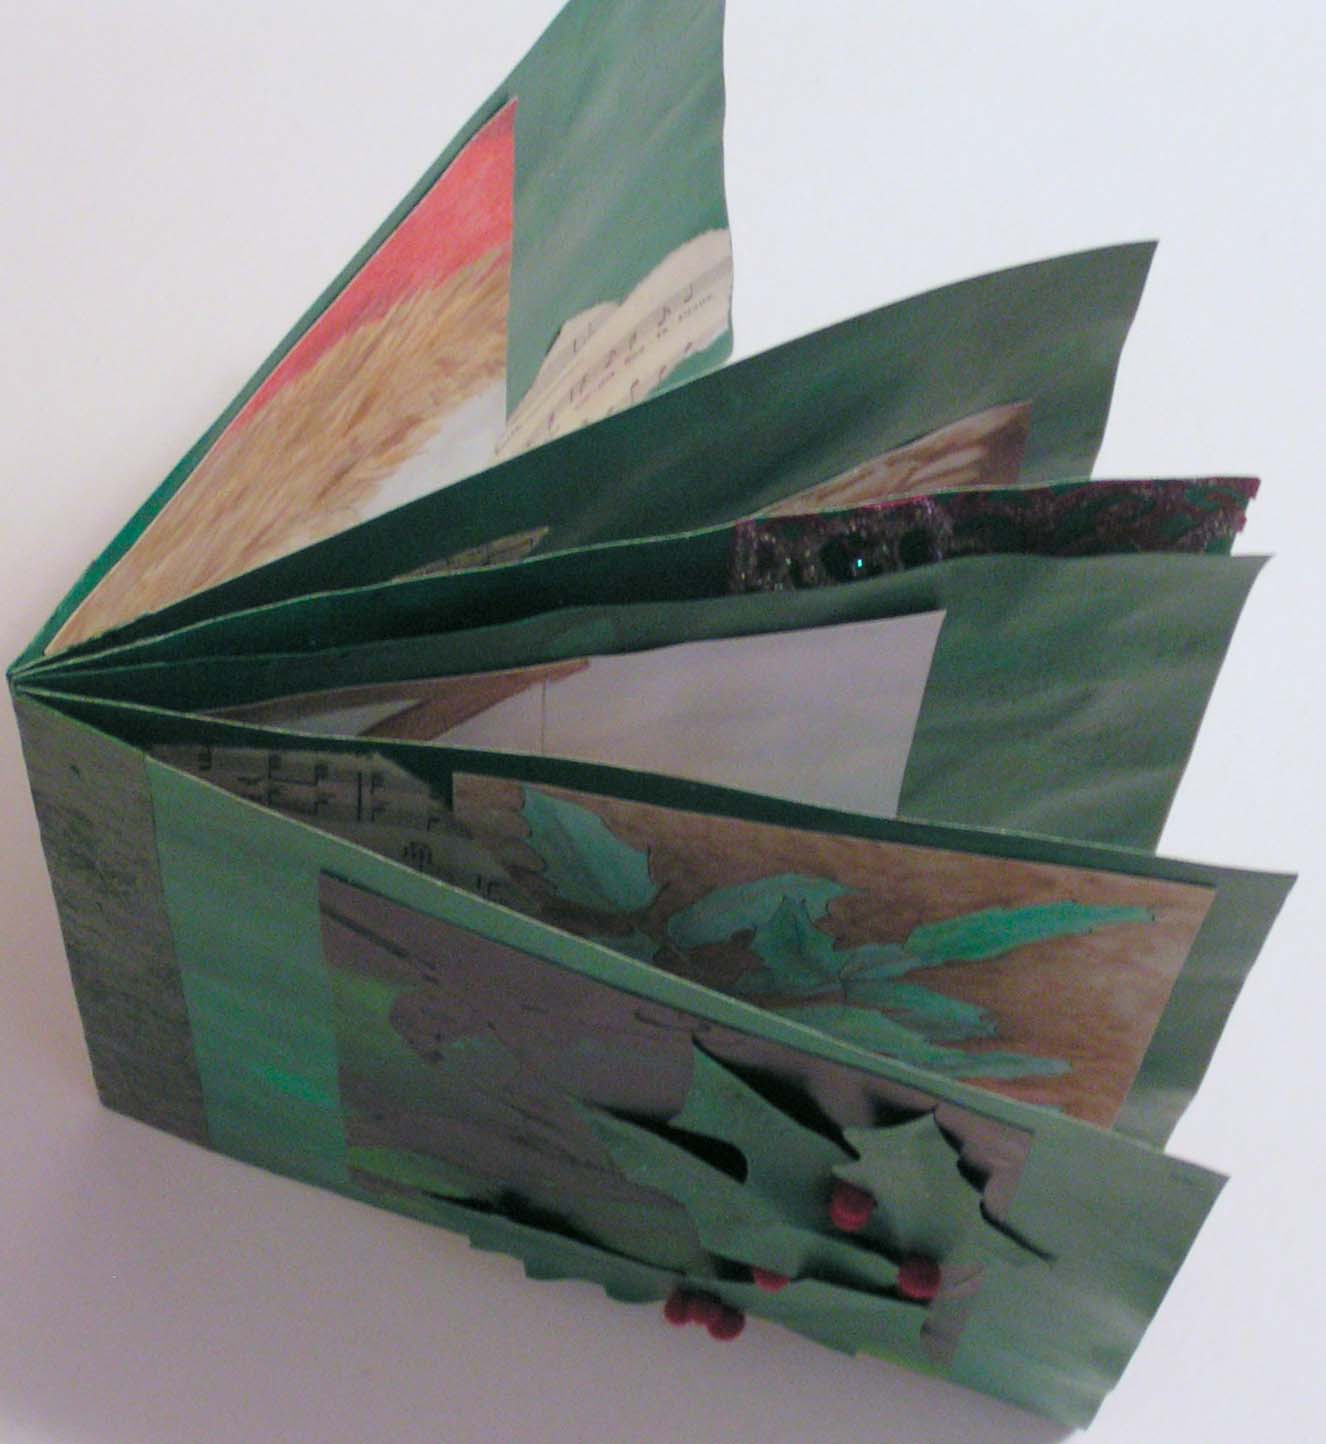
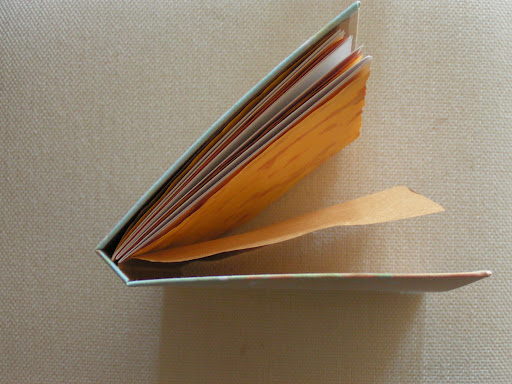
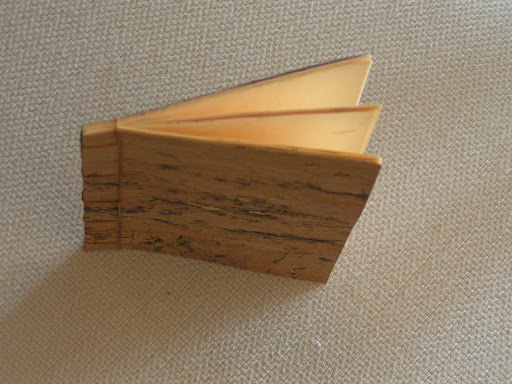
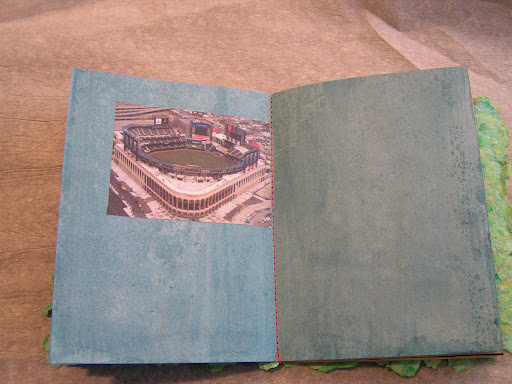
I then put the book together. You slide the flap into the previous envelope, fold the envelope back in the opposite direction and then just keep adding another envelope until you have a book. In the right hand photo, you can probably see that the envelopes haven’t been glued yet. I had to glue them all back together and then glue each flap into the prior envelope. That way the book holds together. Now on to embellishing.

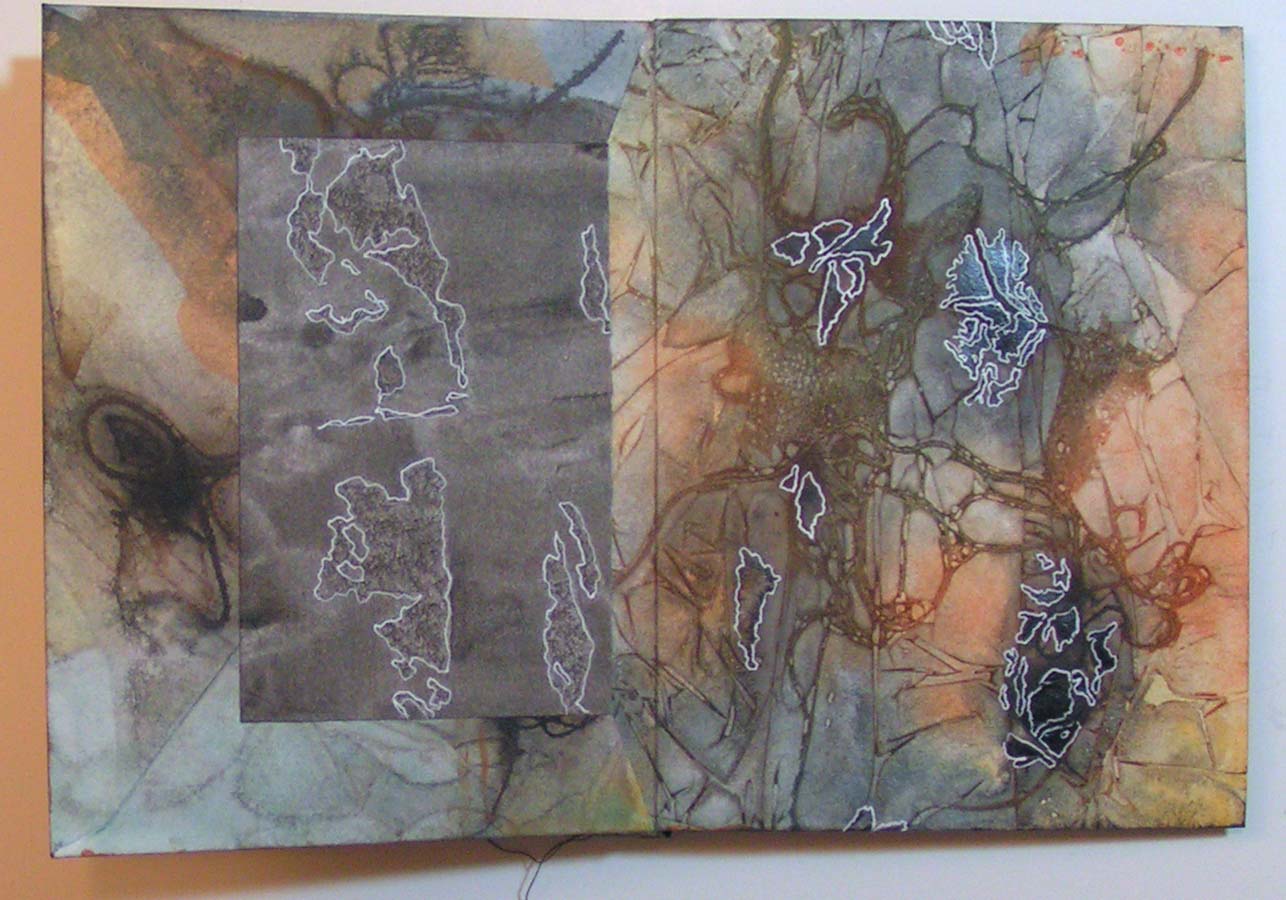
This is the front cover. I added some paint pens, markers and colored pencil. Always fun to see what you can find in these very organic looking designs.

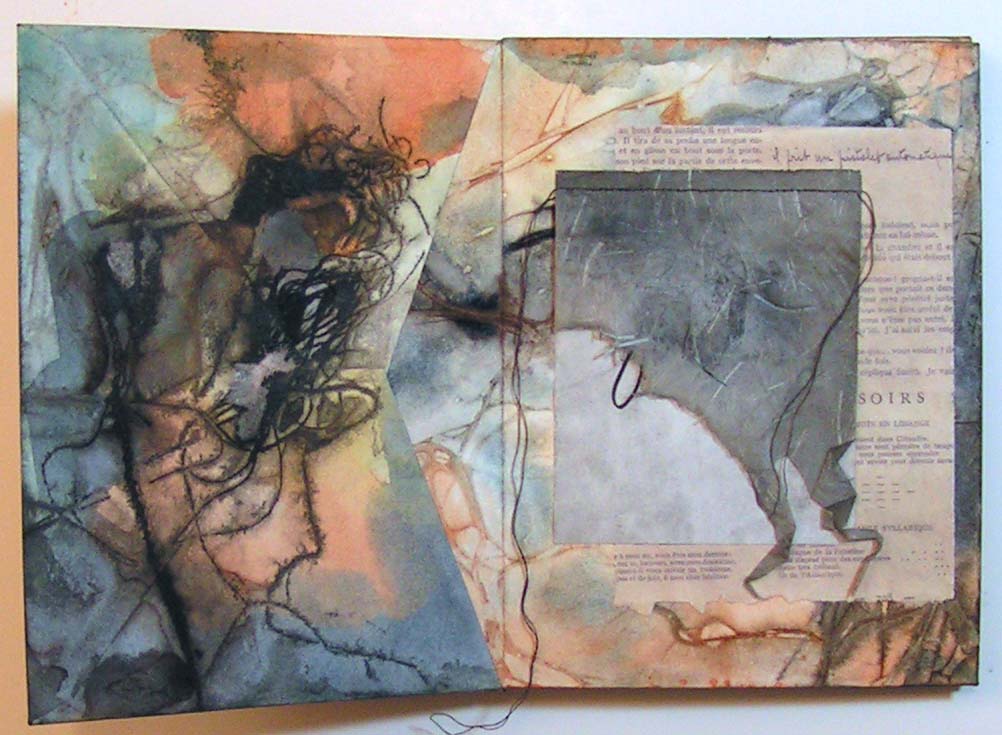
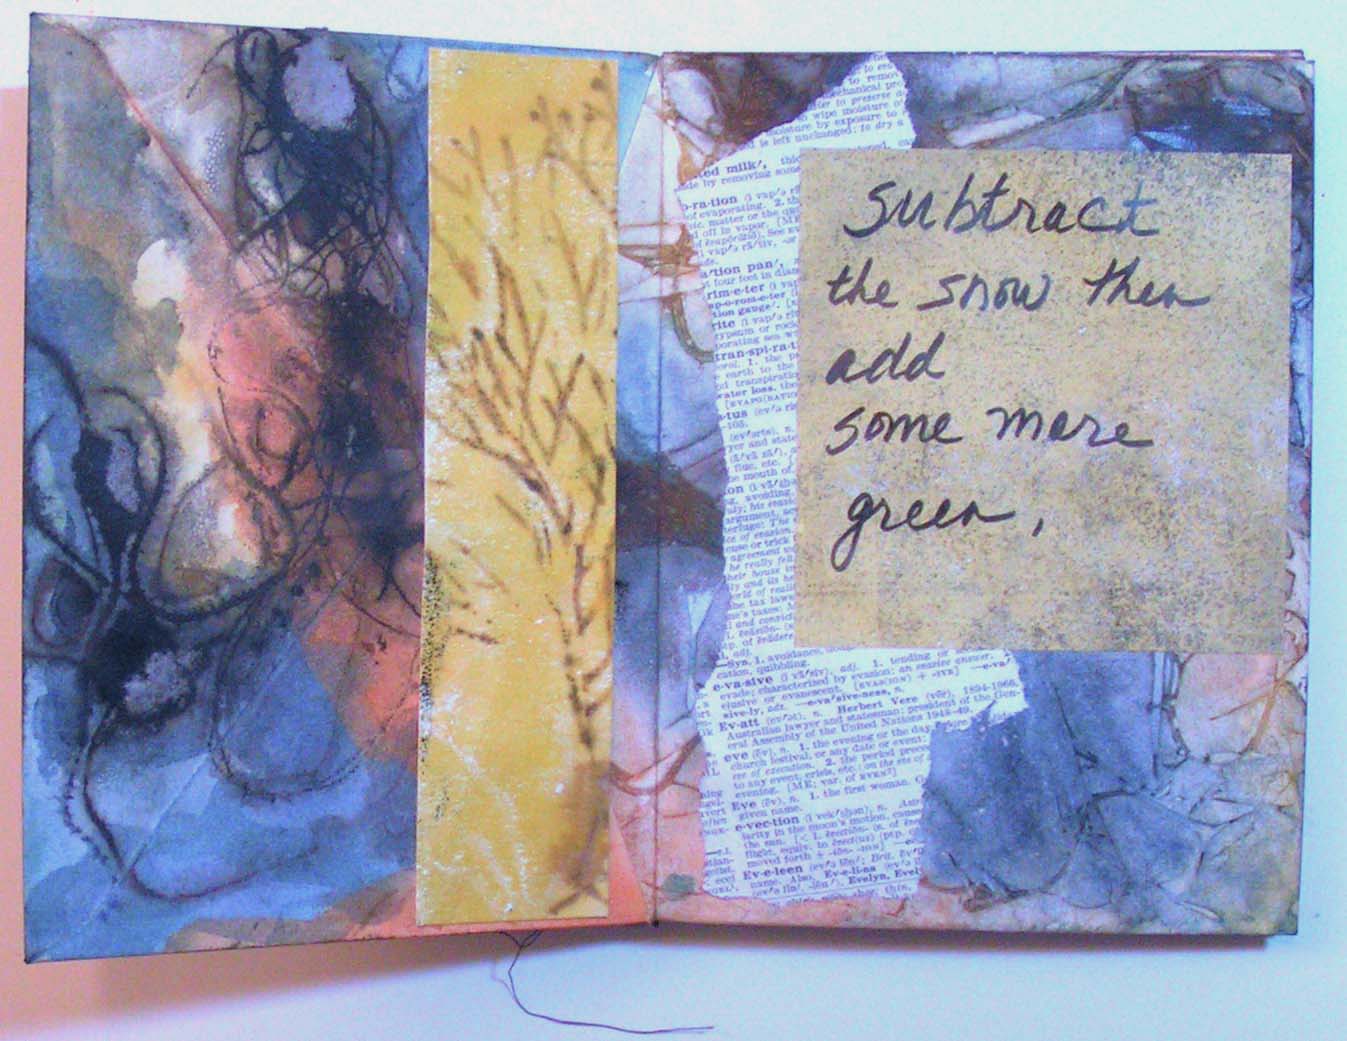
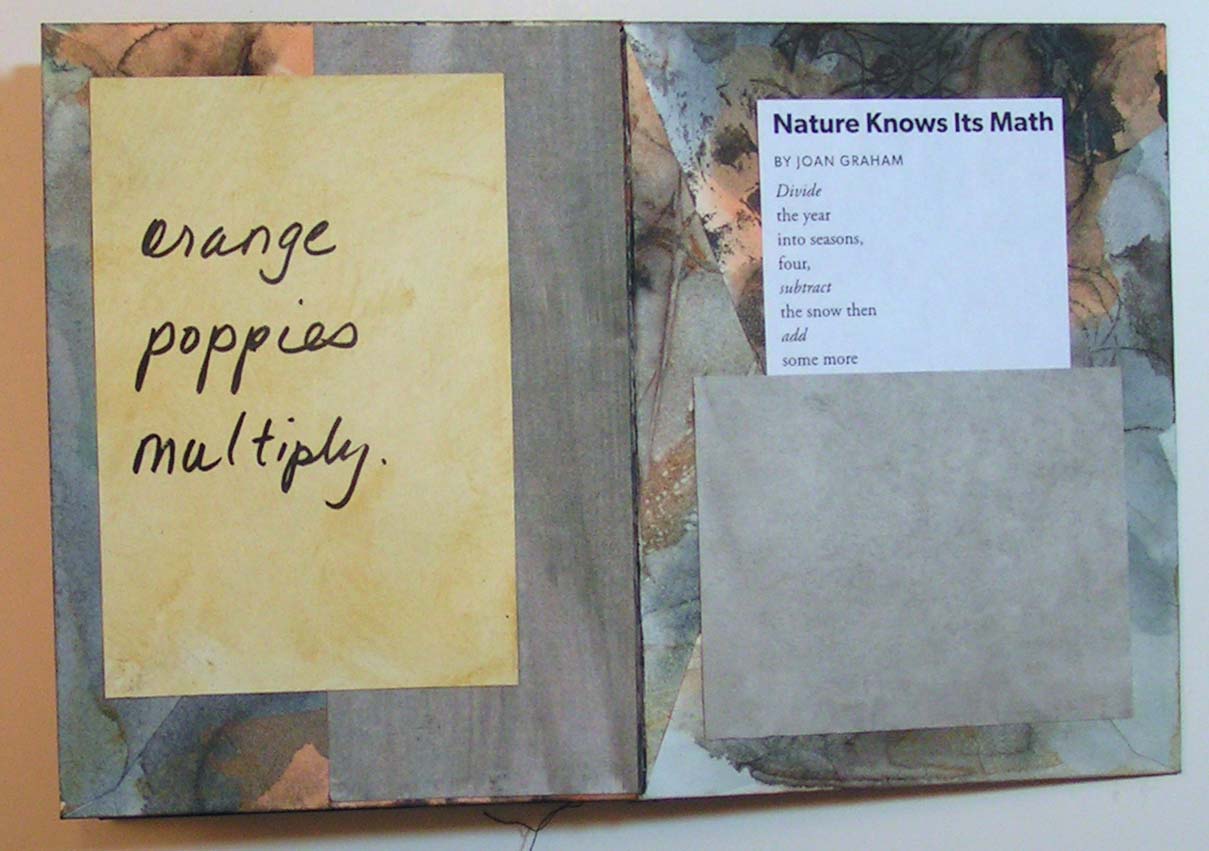
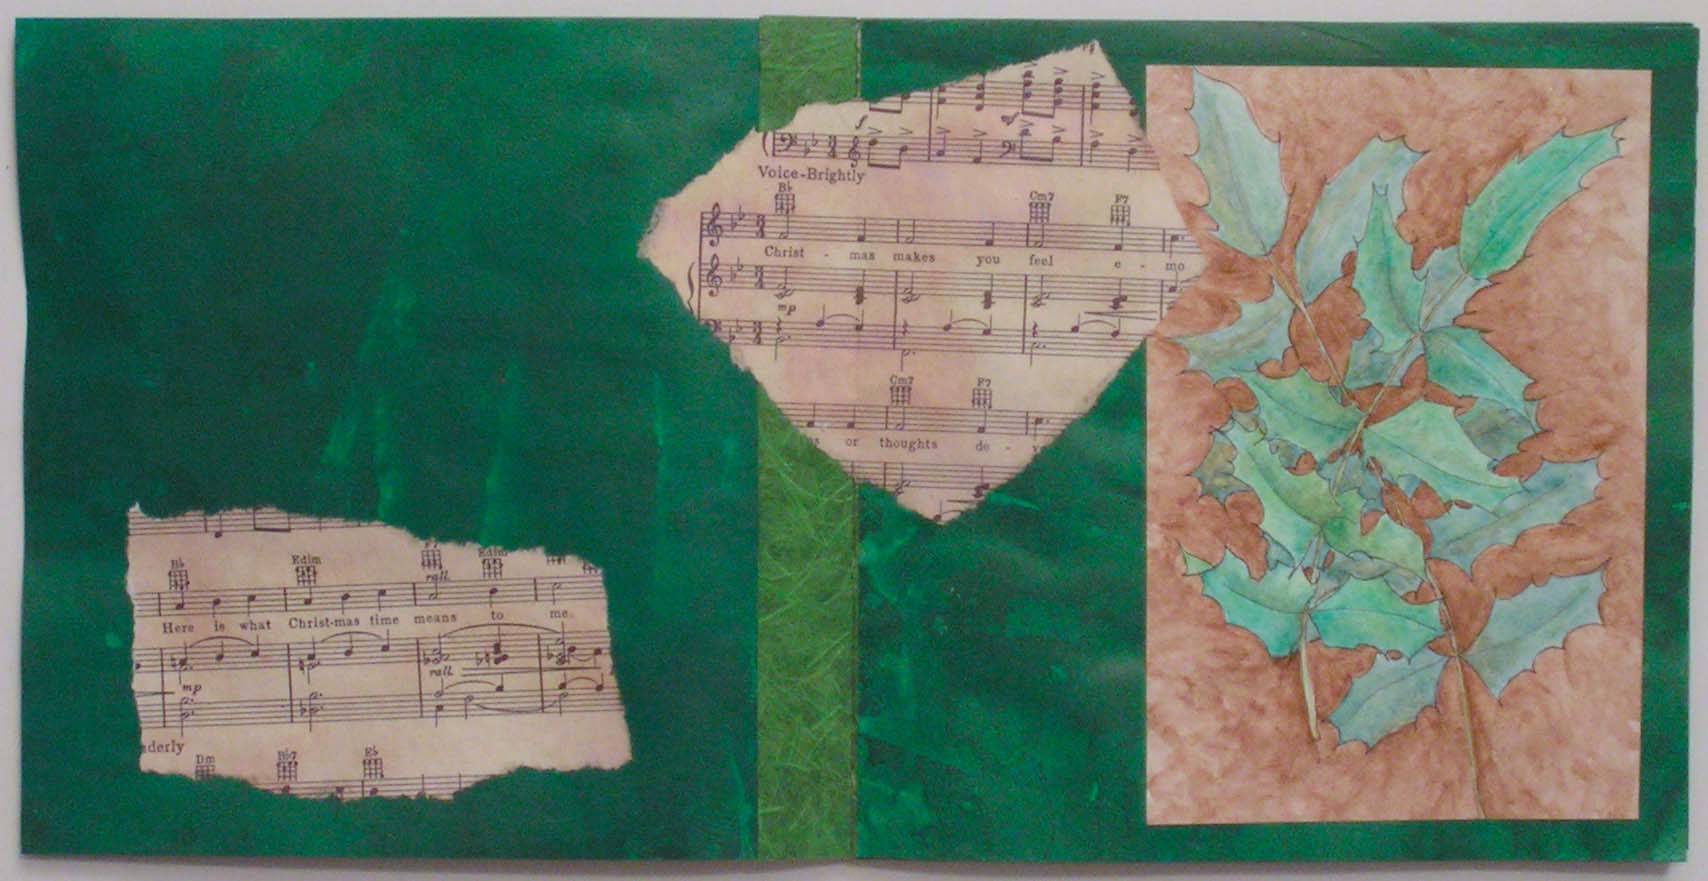
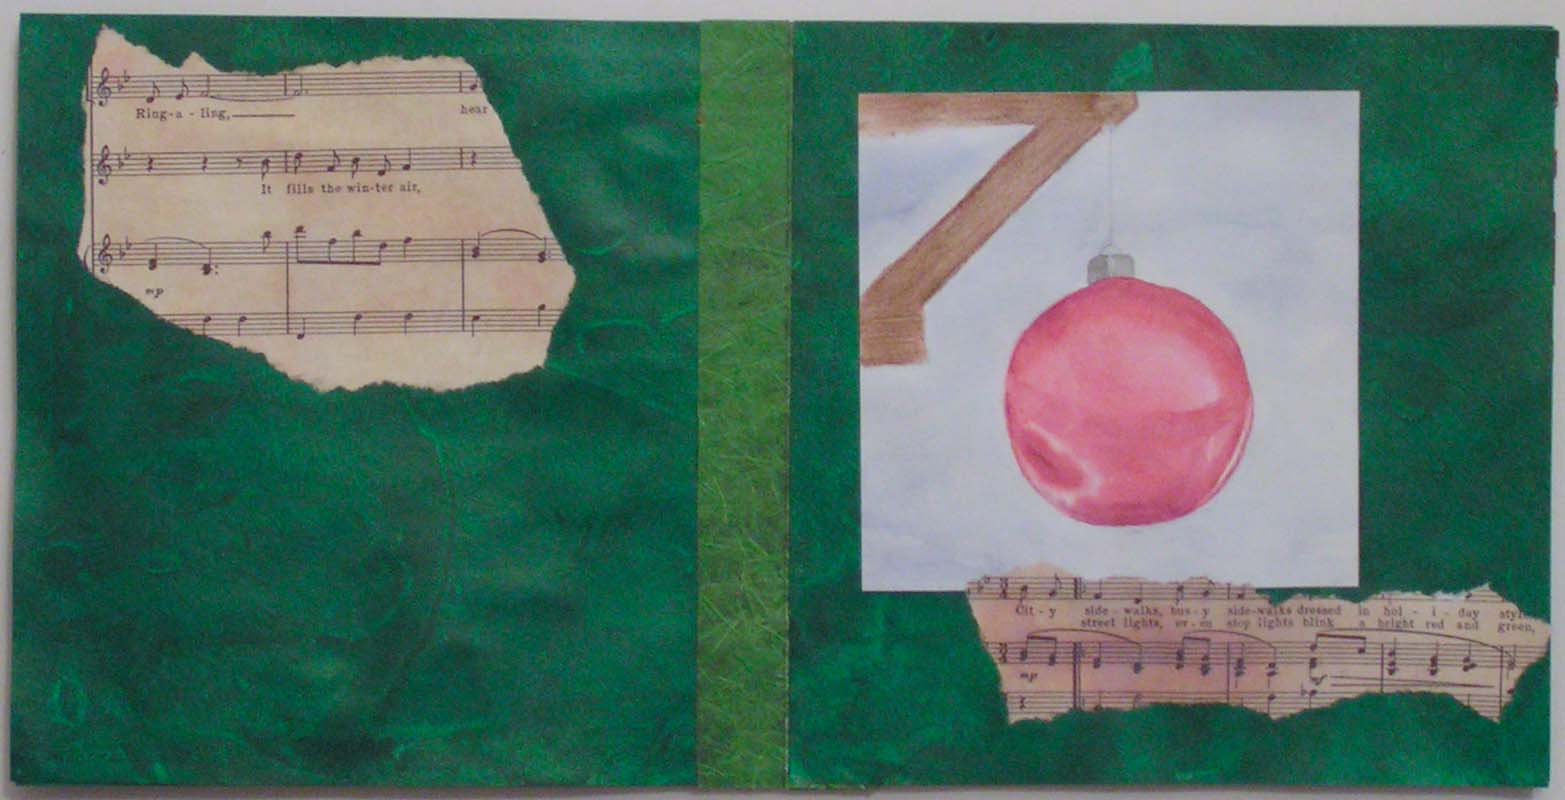
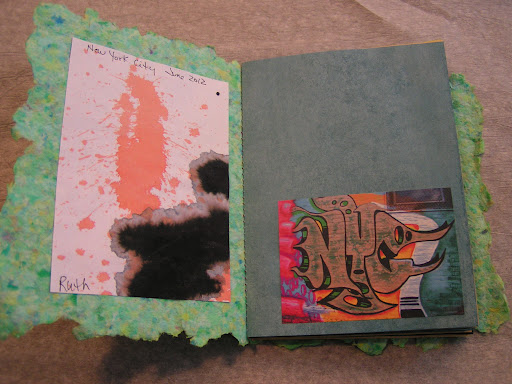
Here’s another set of pages where I added some collage elements on the right hand side. The darker grey torn paper can be lifted to see what’s underneath. The plan is to add some poetry to the blank papers that I am adding in.  I’m still working on finishing the book but I’ll show you more next week.

Stay safe!


Christmas in La Conner Book

At our art and design class in December, part of our assignment was to “find Christmas in La Conner”. Then we were to sketch a few of the holiday ideas that we found. I did a couple of these in class but finished them up when I got home. Another part of our homework was to make a book with an accordion binding. So I combined the two and made a Christmas in La Conner Book.

Here’s the front cover. I used some little red felt balls for holly berries and covered them with glazing medium.

Each page has a sketch of some of the Christmas decorations I saw in downtown La Conner.

You can enlarge the photos to see the sketches a little better.

I used glitter on this one and it is now everywhere. But it looks like the bell I saw on the big Christmas tree that was down by the sound.

I didn’t think it quite had enough on the pages with just the sketches so I photocopied an old piece of sheet music from my Dad. It is Silver Bells and he used to play it on the piano at Christmas time.

And the last page is Santa peeking at you to see if you are naughty or nice.

Here’s the full book from the top. The binding was made with Japanese rice paper that had been coated with paint and matte medium. I tried to use fabric but I couldn’t get it to fold correctly and I thought the paper worked much better. I still have some of the fabric folded accordion style and may try it with another book. This is a pretty simple book binding and works well if you can fold straight 🙂

Book Making Session

Our local fiber group met on Friday and Jan taught us several methods of making books and binding. We had a great time and ended up with some really nice books.

 This is an accordion style book that Jan made. Isn’t it cute?

 Here we all are in Carole’s garage coloring our paper with stamp pads.

 We each made an accordion book. I made several in different sizes. You have to be very careful with your folding and cutting for these books to come out even.

 Here’s a smaller version.

 We then worked on a stab binding. Bunny had some really cool wall paper books and the cork cover is made from wall paper.

 Here’s Louise’s book.

 And this is Bunny’s.

Here is Carole stitching her book. I didn’t manage to get a photo of Sally’s creation.

 Next up was a book with signatures and a hard cover. We used various fabrics for the cover.

 Here Bunny is folding paper for her signatures.

 Here is my hard covered book. I used screen printed fabric we had made with paper scraps and thickened dyes.

 Here’s the inside of the book. It is glued together with the end papers holding everything in place.

 Here’s a view from the top of the book.

 I used several different painted pages for the first page of my signature.

And here’s the cork book standing on end. I have lots of ideas for making other books but I’ve got to get going on my stitch class homework. I’ll show you what I’m working on soon.

NYC Travel Journals

 I had great fun today making these little travel journals. We are going to New York City next week and meeting up with my sister and her husband. We’ll be staying at my parent’s time share in downtown Manhattan. I thought it would be cool if we each had a little travel journal for our trip.

 So I made them out of the hand made paper I made last month and added painted paper inside. The pages are 8 1/2 x 11 paper cut in half and then folded. I then found a few photos online of things in NYC.

 My sister got us tickets to be on the TV show The Chew. We’ll be in the audience and might get on TV. I’ve never even watched the show but…

 My husband got us tickets to go to the Mets game. One of his friends knows a player. So a baseball game is in my future. Hopefully, I’ll survive 🙂

 We’re staying at the Manhattan Club which is right across from Carnegie Hall.

I made a little pocket for the back cover to keep tickets etc. that I will be adding to the book. I’ll show you the finished results when I get back. I’ll also post a mini tutorial on how I made the books on the Felting and Fiber Studio blog next week. See you soon!