Next week, my local group is meeting at my house for some experimental screen printing. I spent most of the day today preparing the screens.
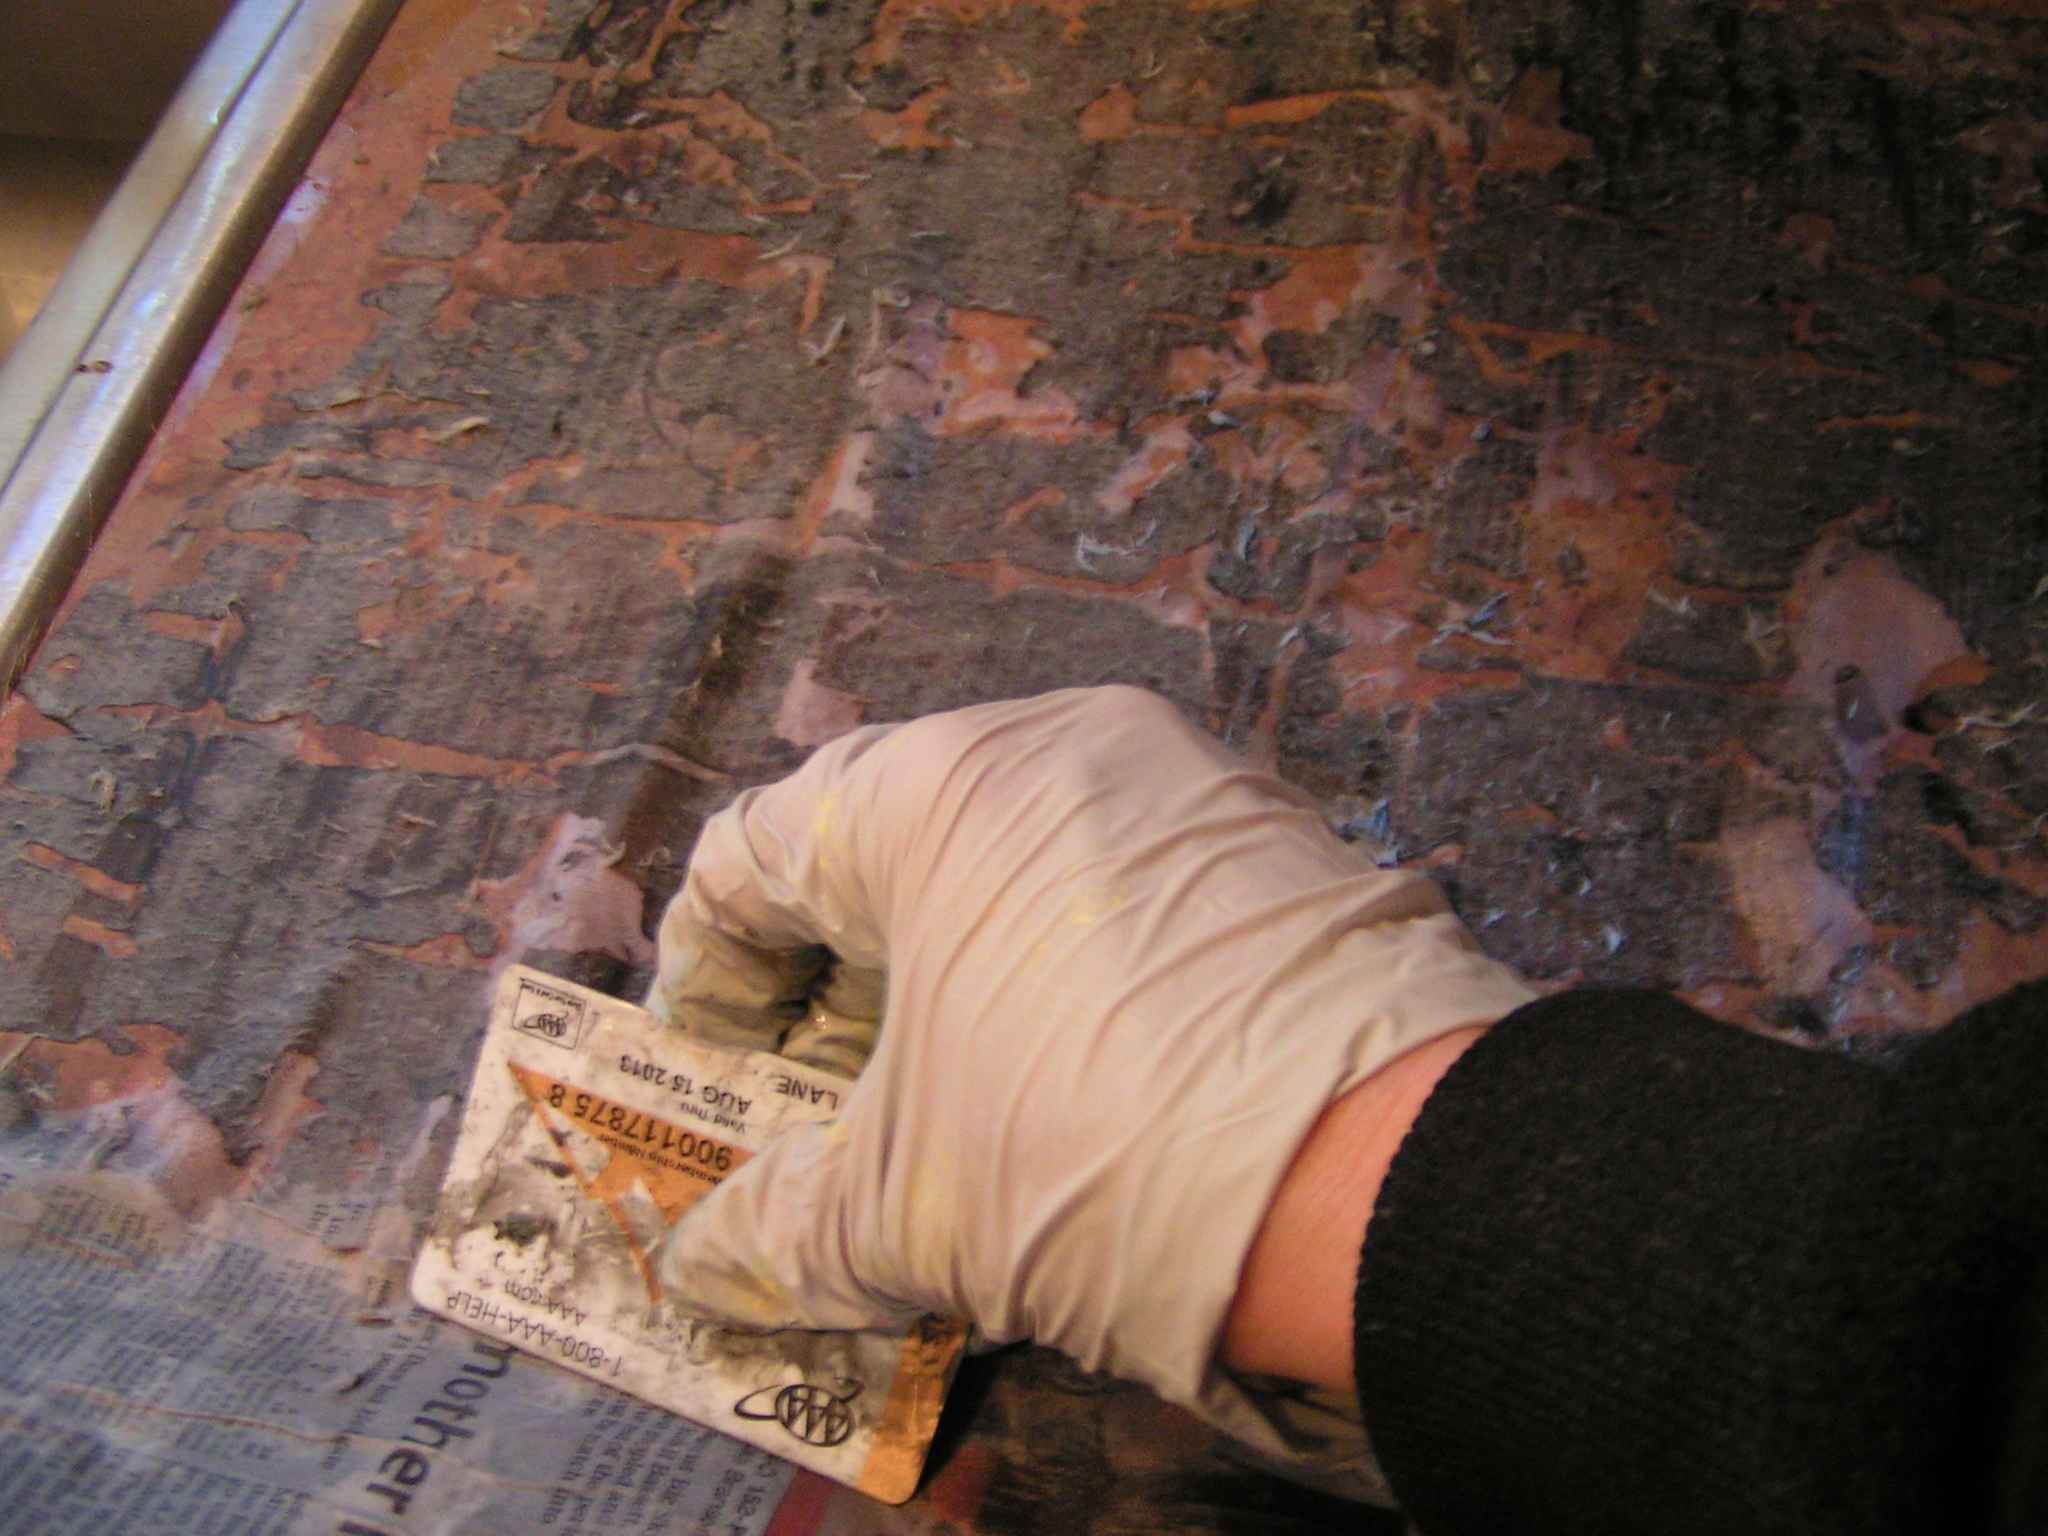
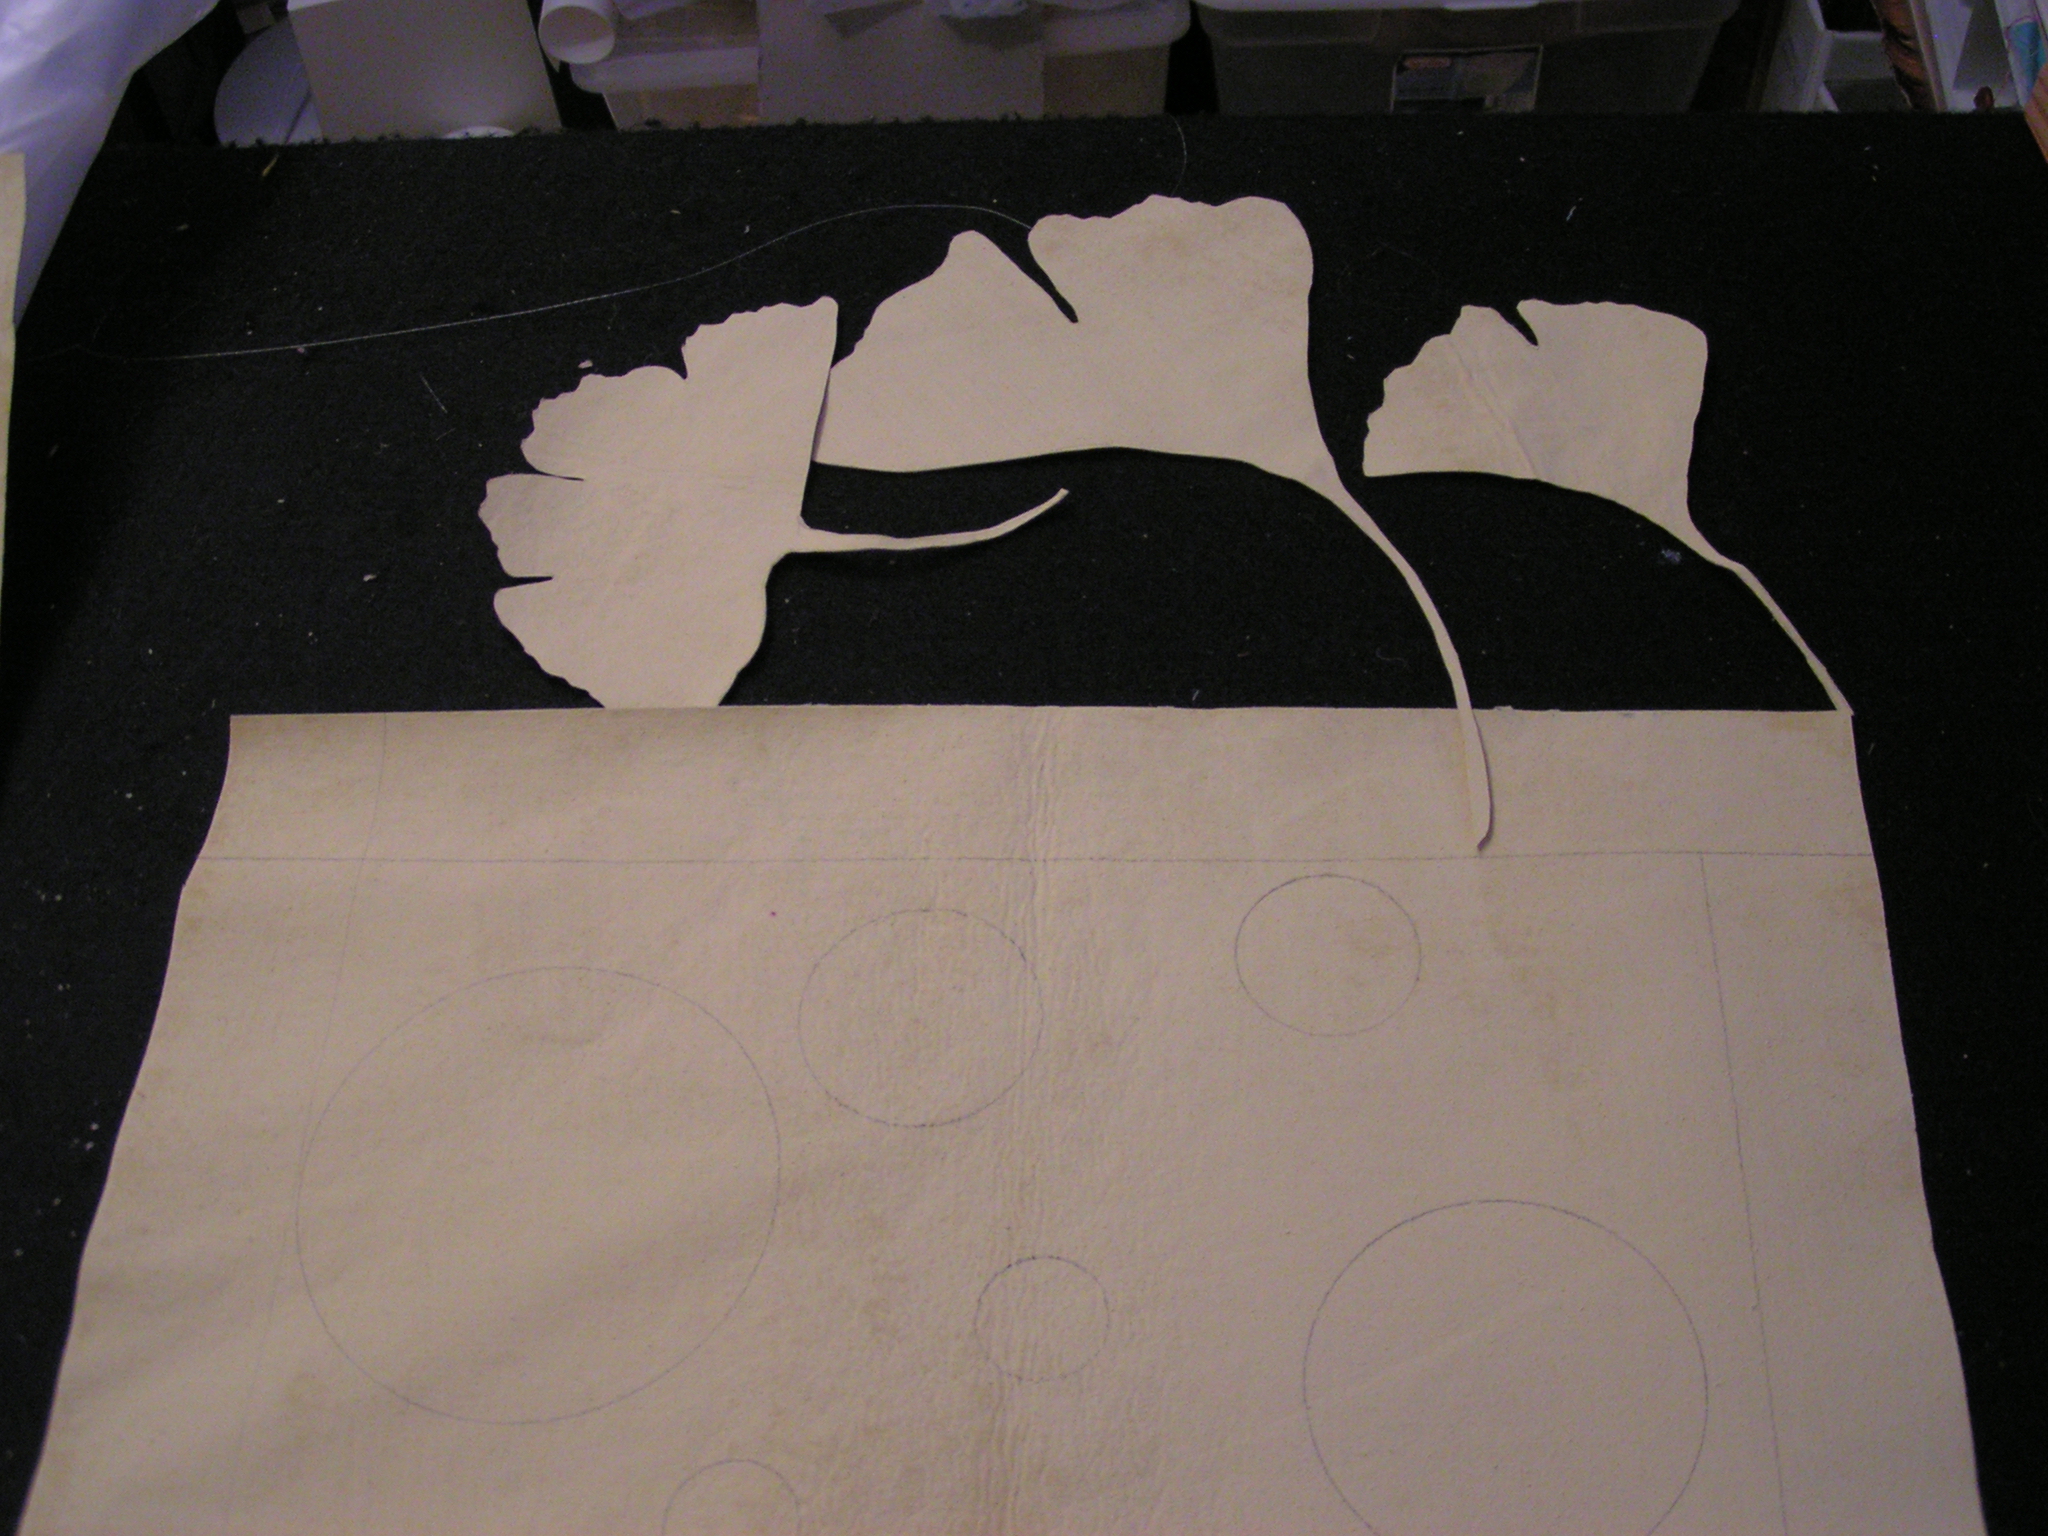
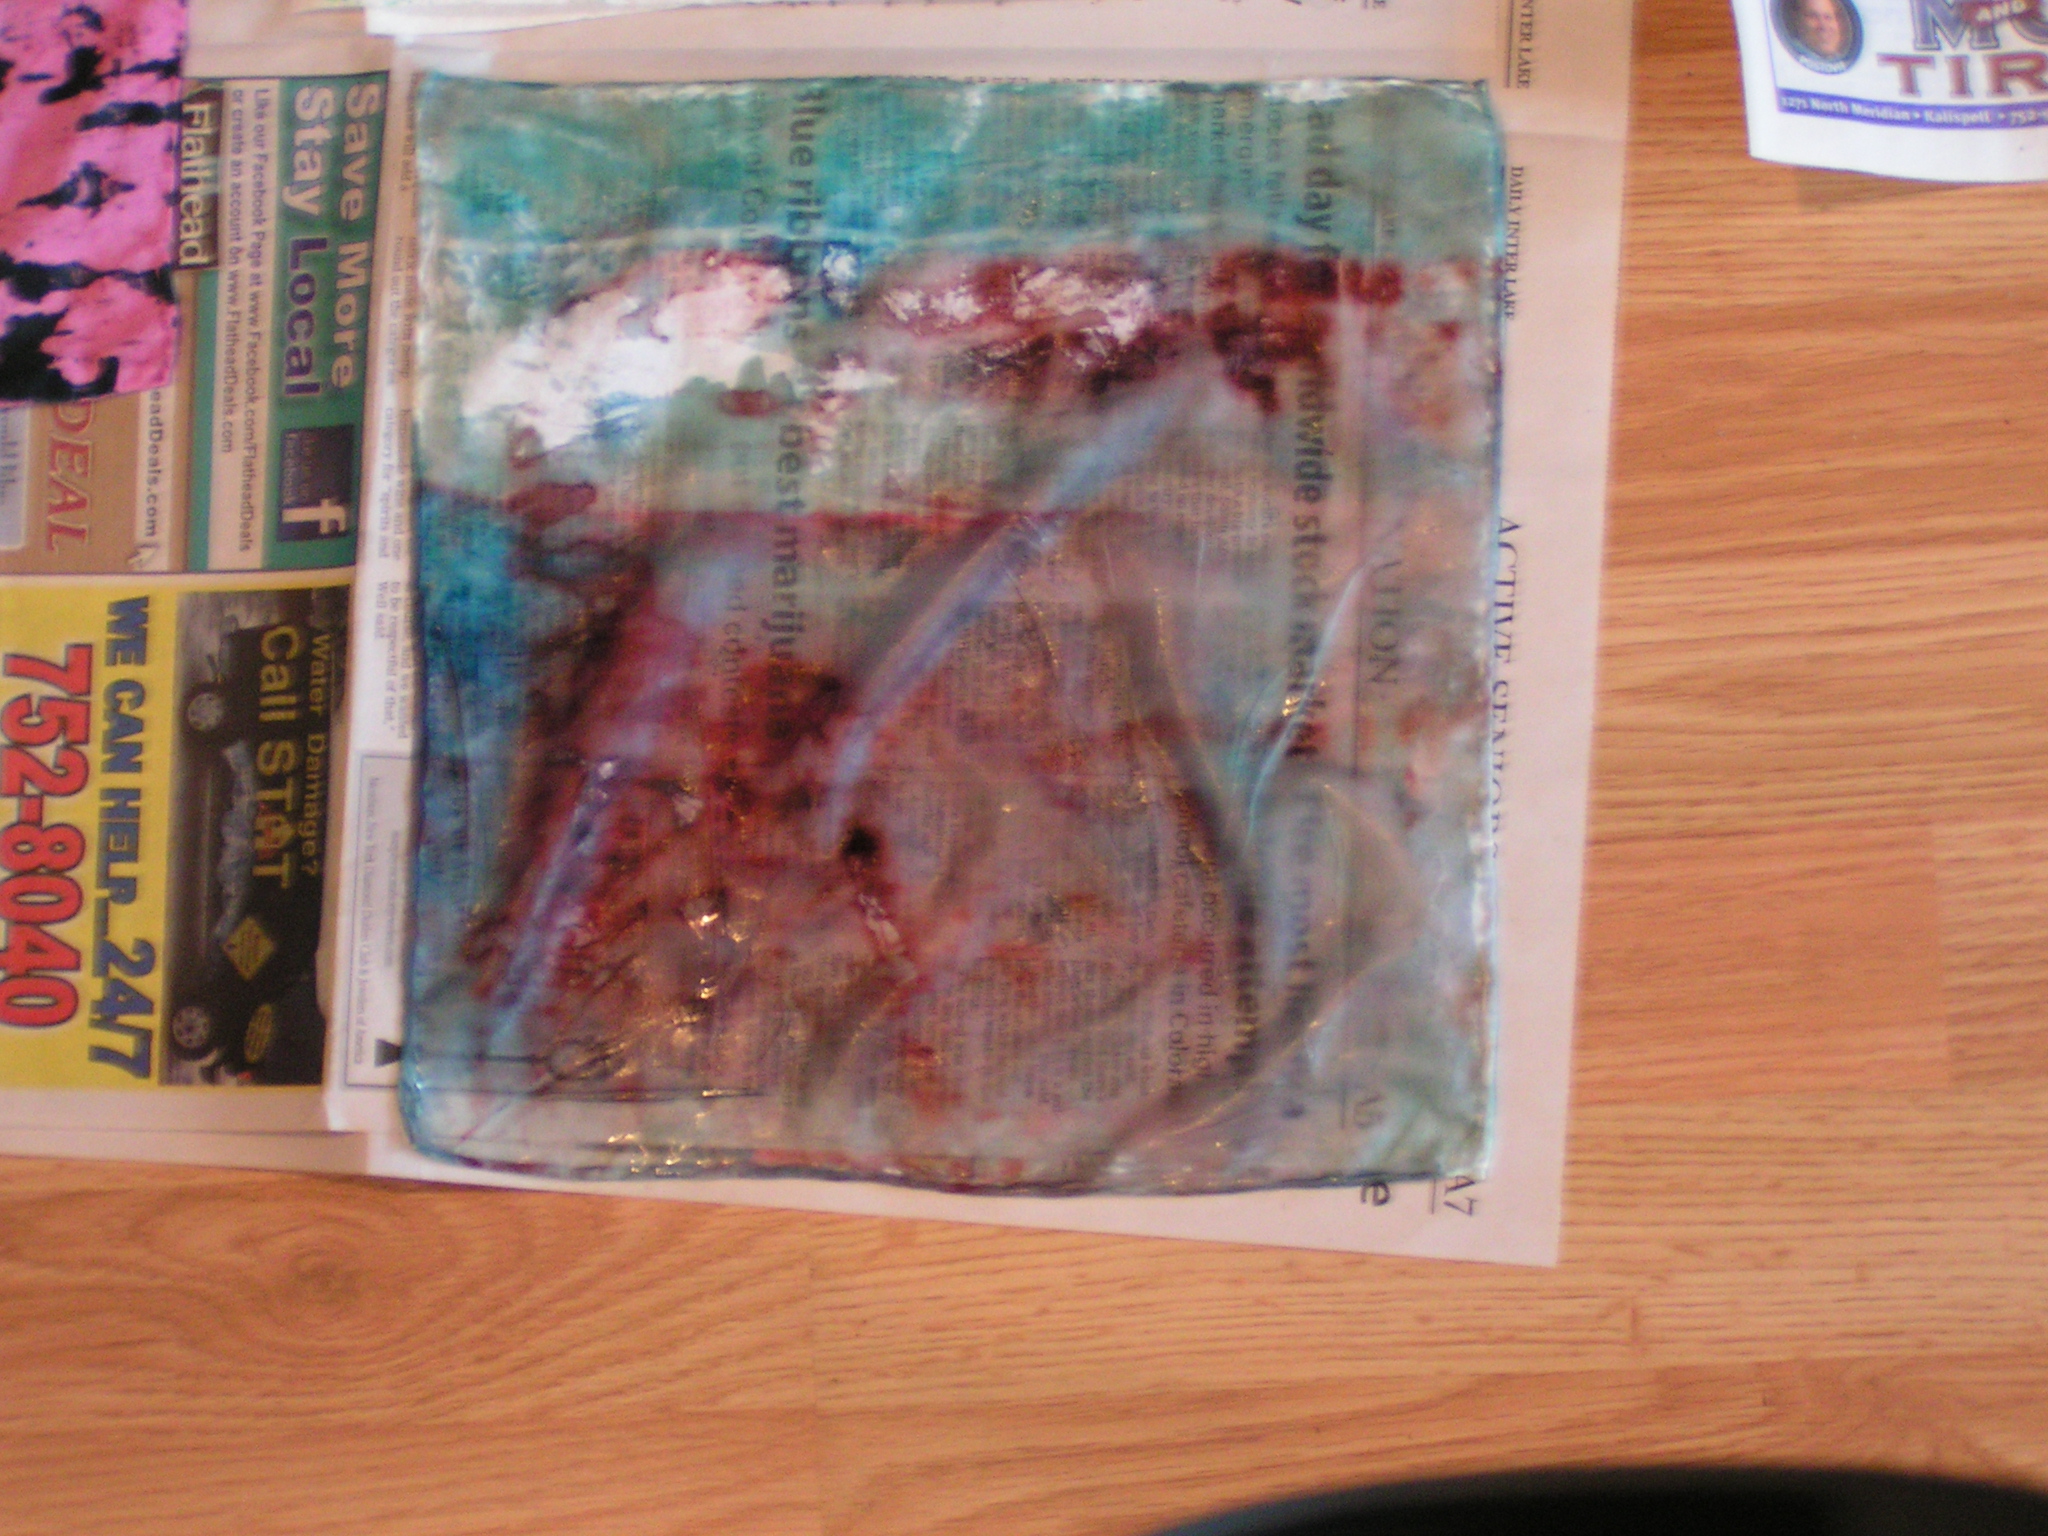
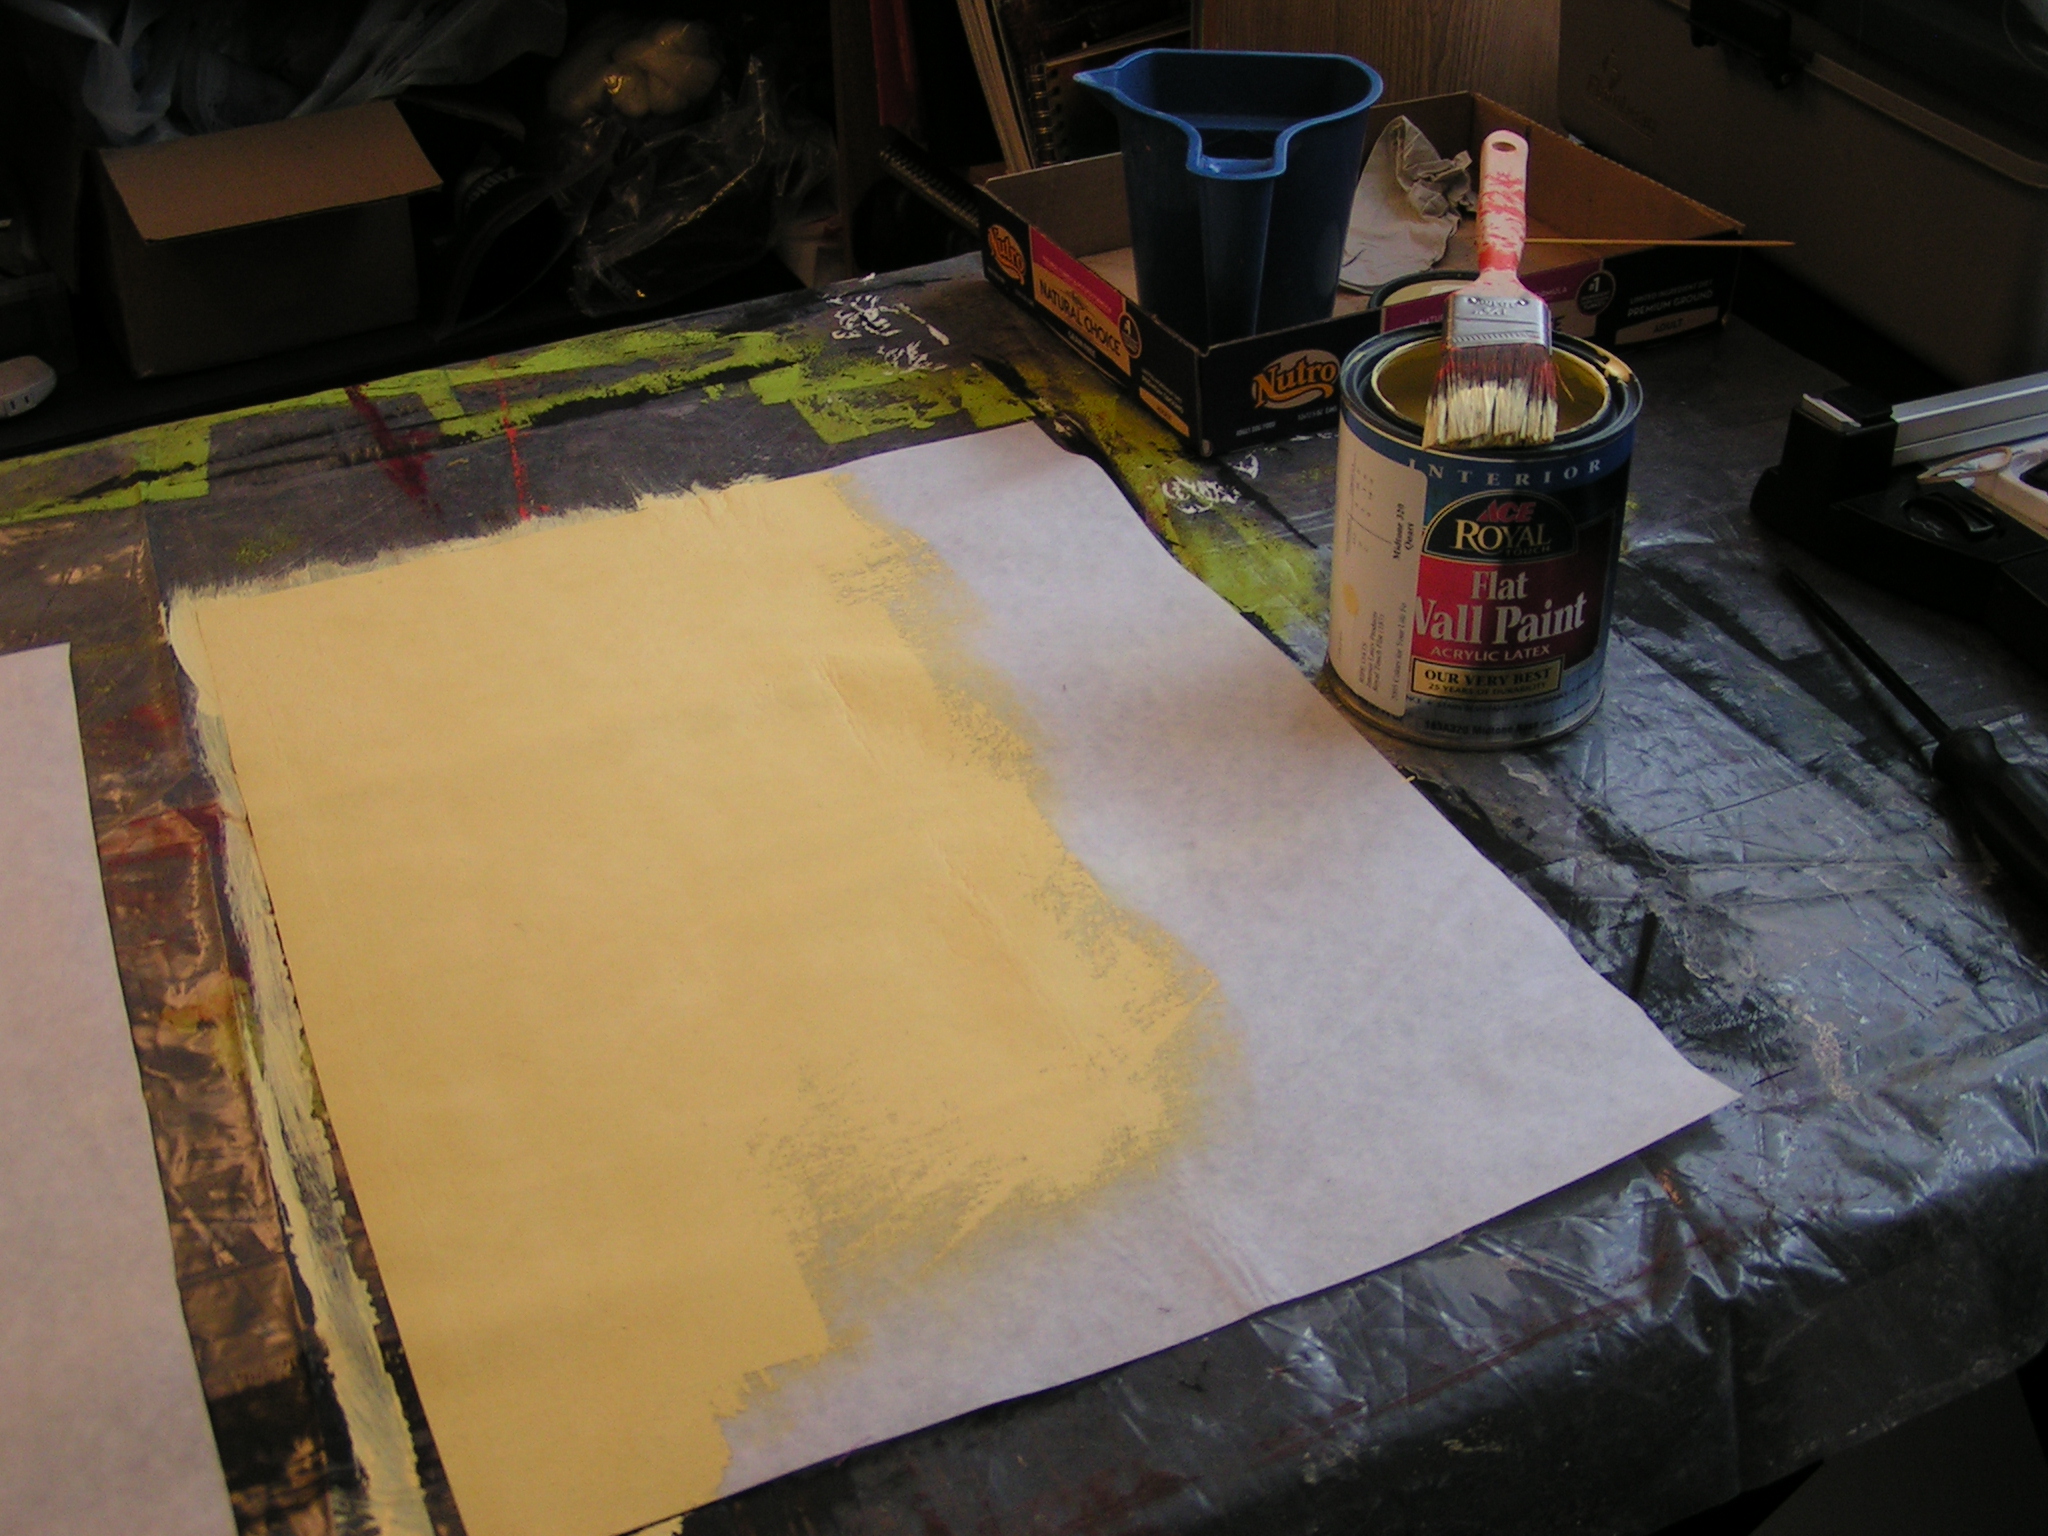
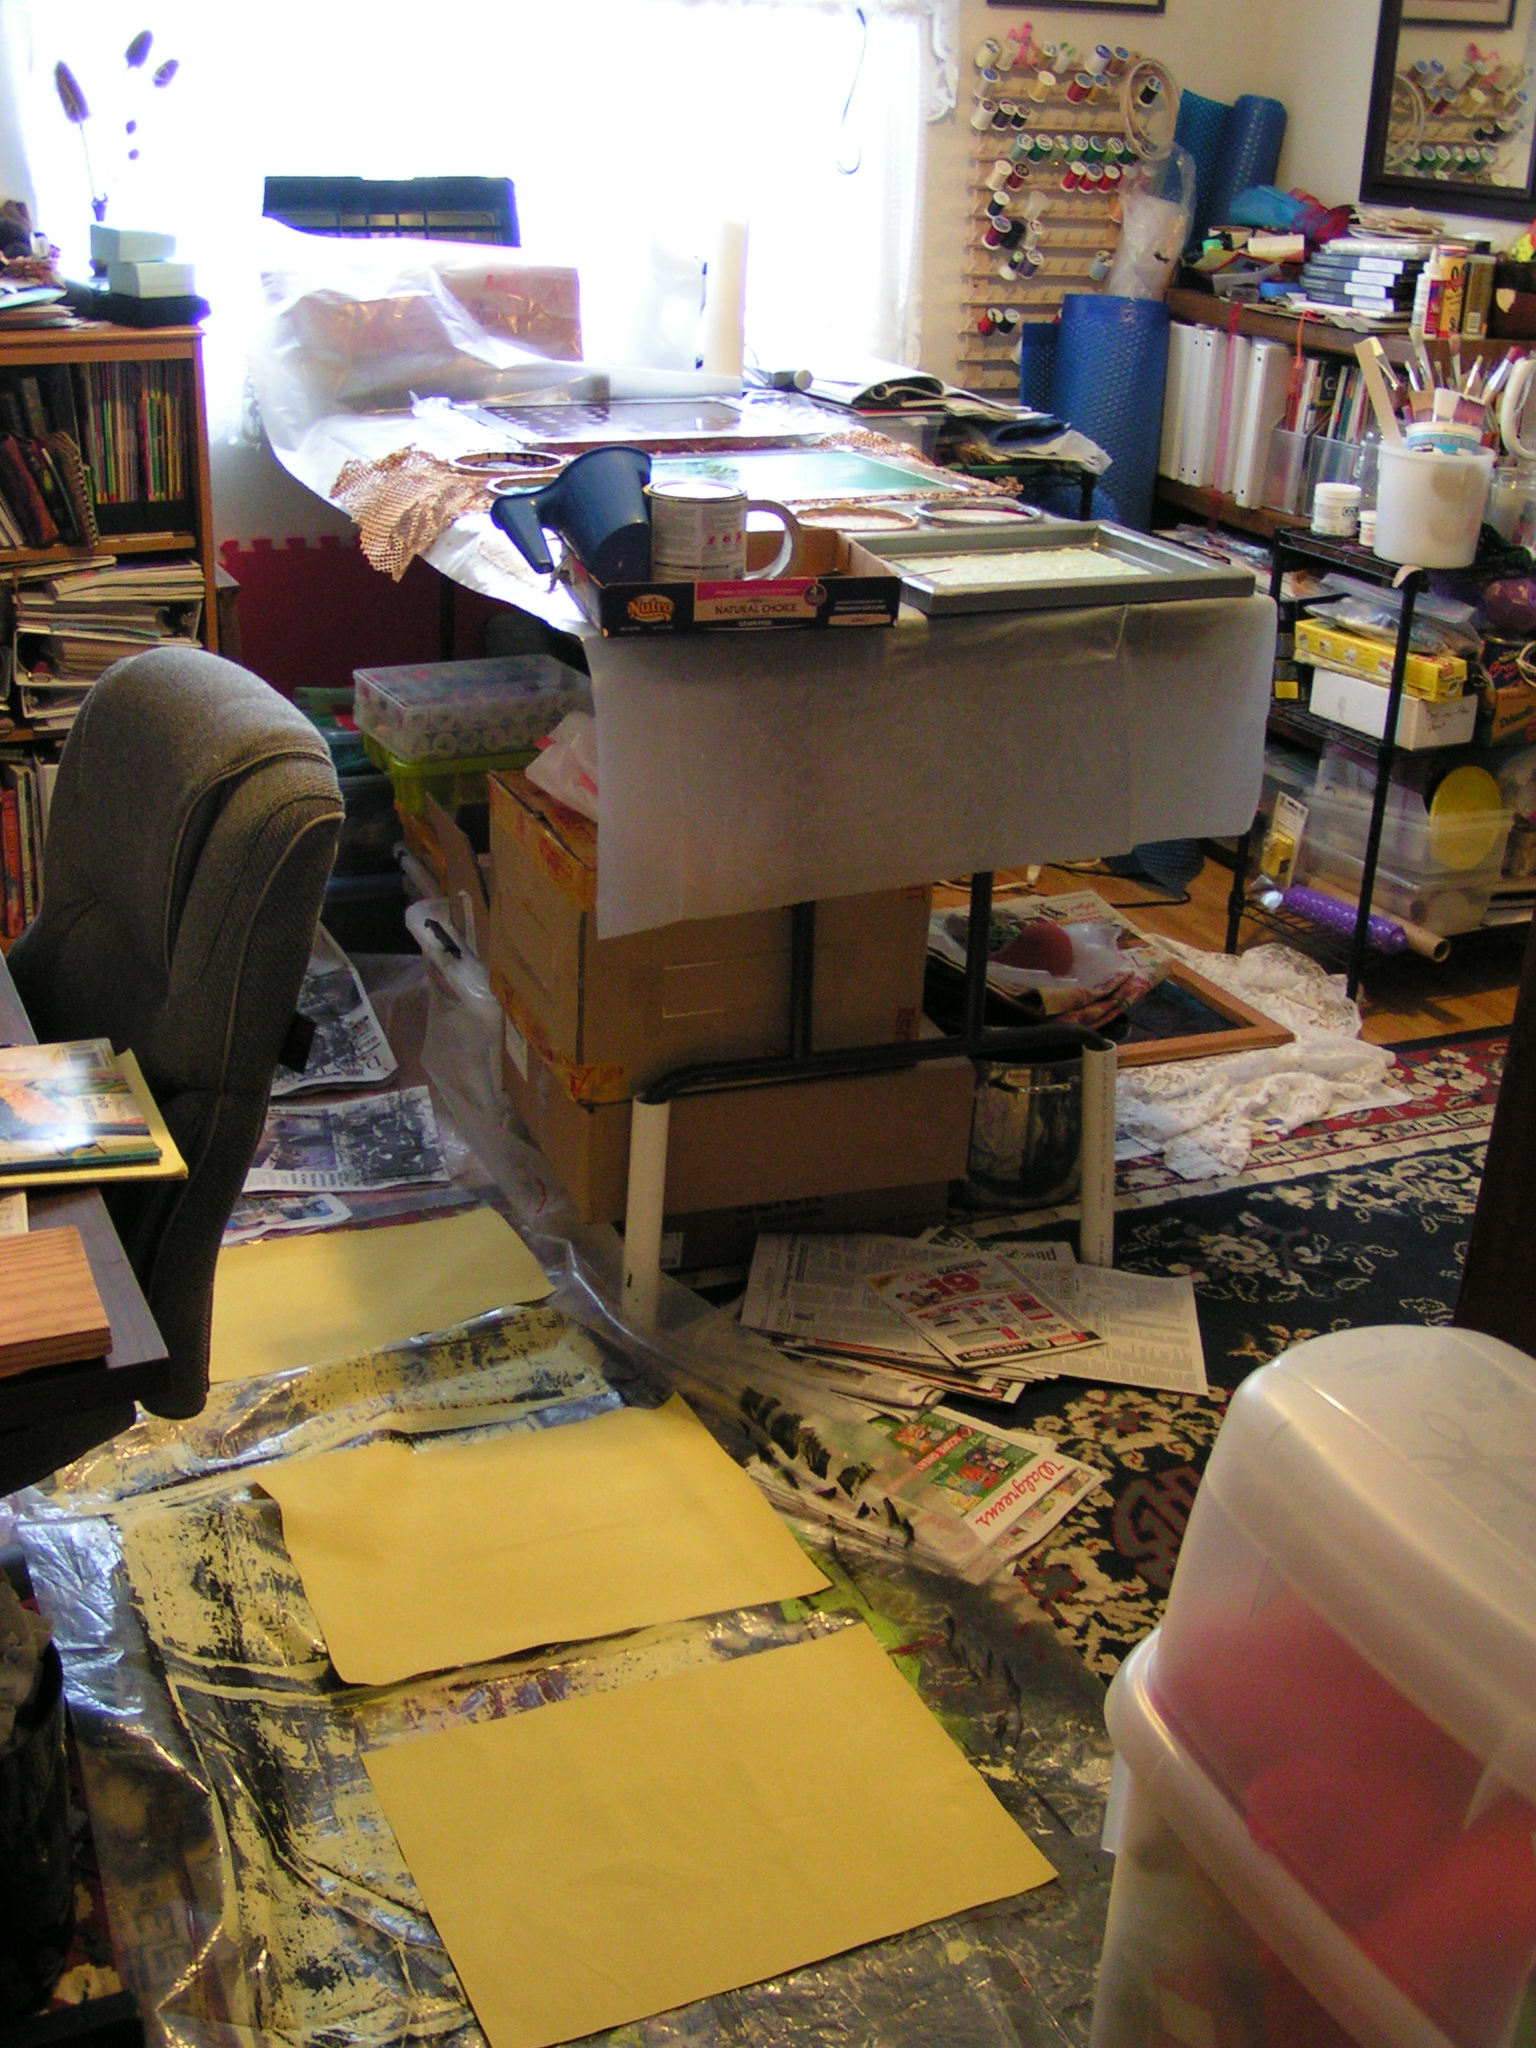
 I took a look through all my old Quilting Arts magazines for some ideas. One article was about using a mask with deconstructed screen printing. The mask is made from light weight interfacing covered with paint. The photo above shows three pieces of interfacing ready to paint.
 I used some left over house latex paint. The point is to cover the interfacing so that when used as a mask, no dye or ink will leak through the mask except the portion that is cut out.
 I painted all three pieces and it took quite a lot of paint as it soaks in.
 Here’s the back side, you can see the paint came through easily. Now to let it dry. I’ll paint the other side and then cut an opening like a stencil. I am thinking I will cut some leaf shapes.
 Next I did some paper lamination screens. This is the process where you glue organza to paper with gel medium. I did three organic patterned screens. I have to let these dry as well and then iron to set and wash off the excess paper.
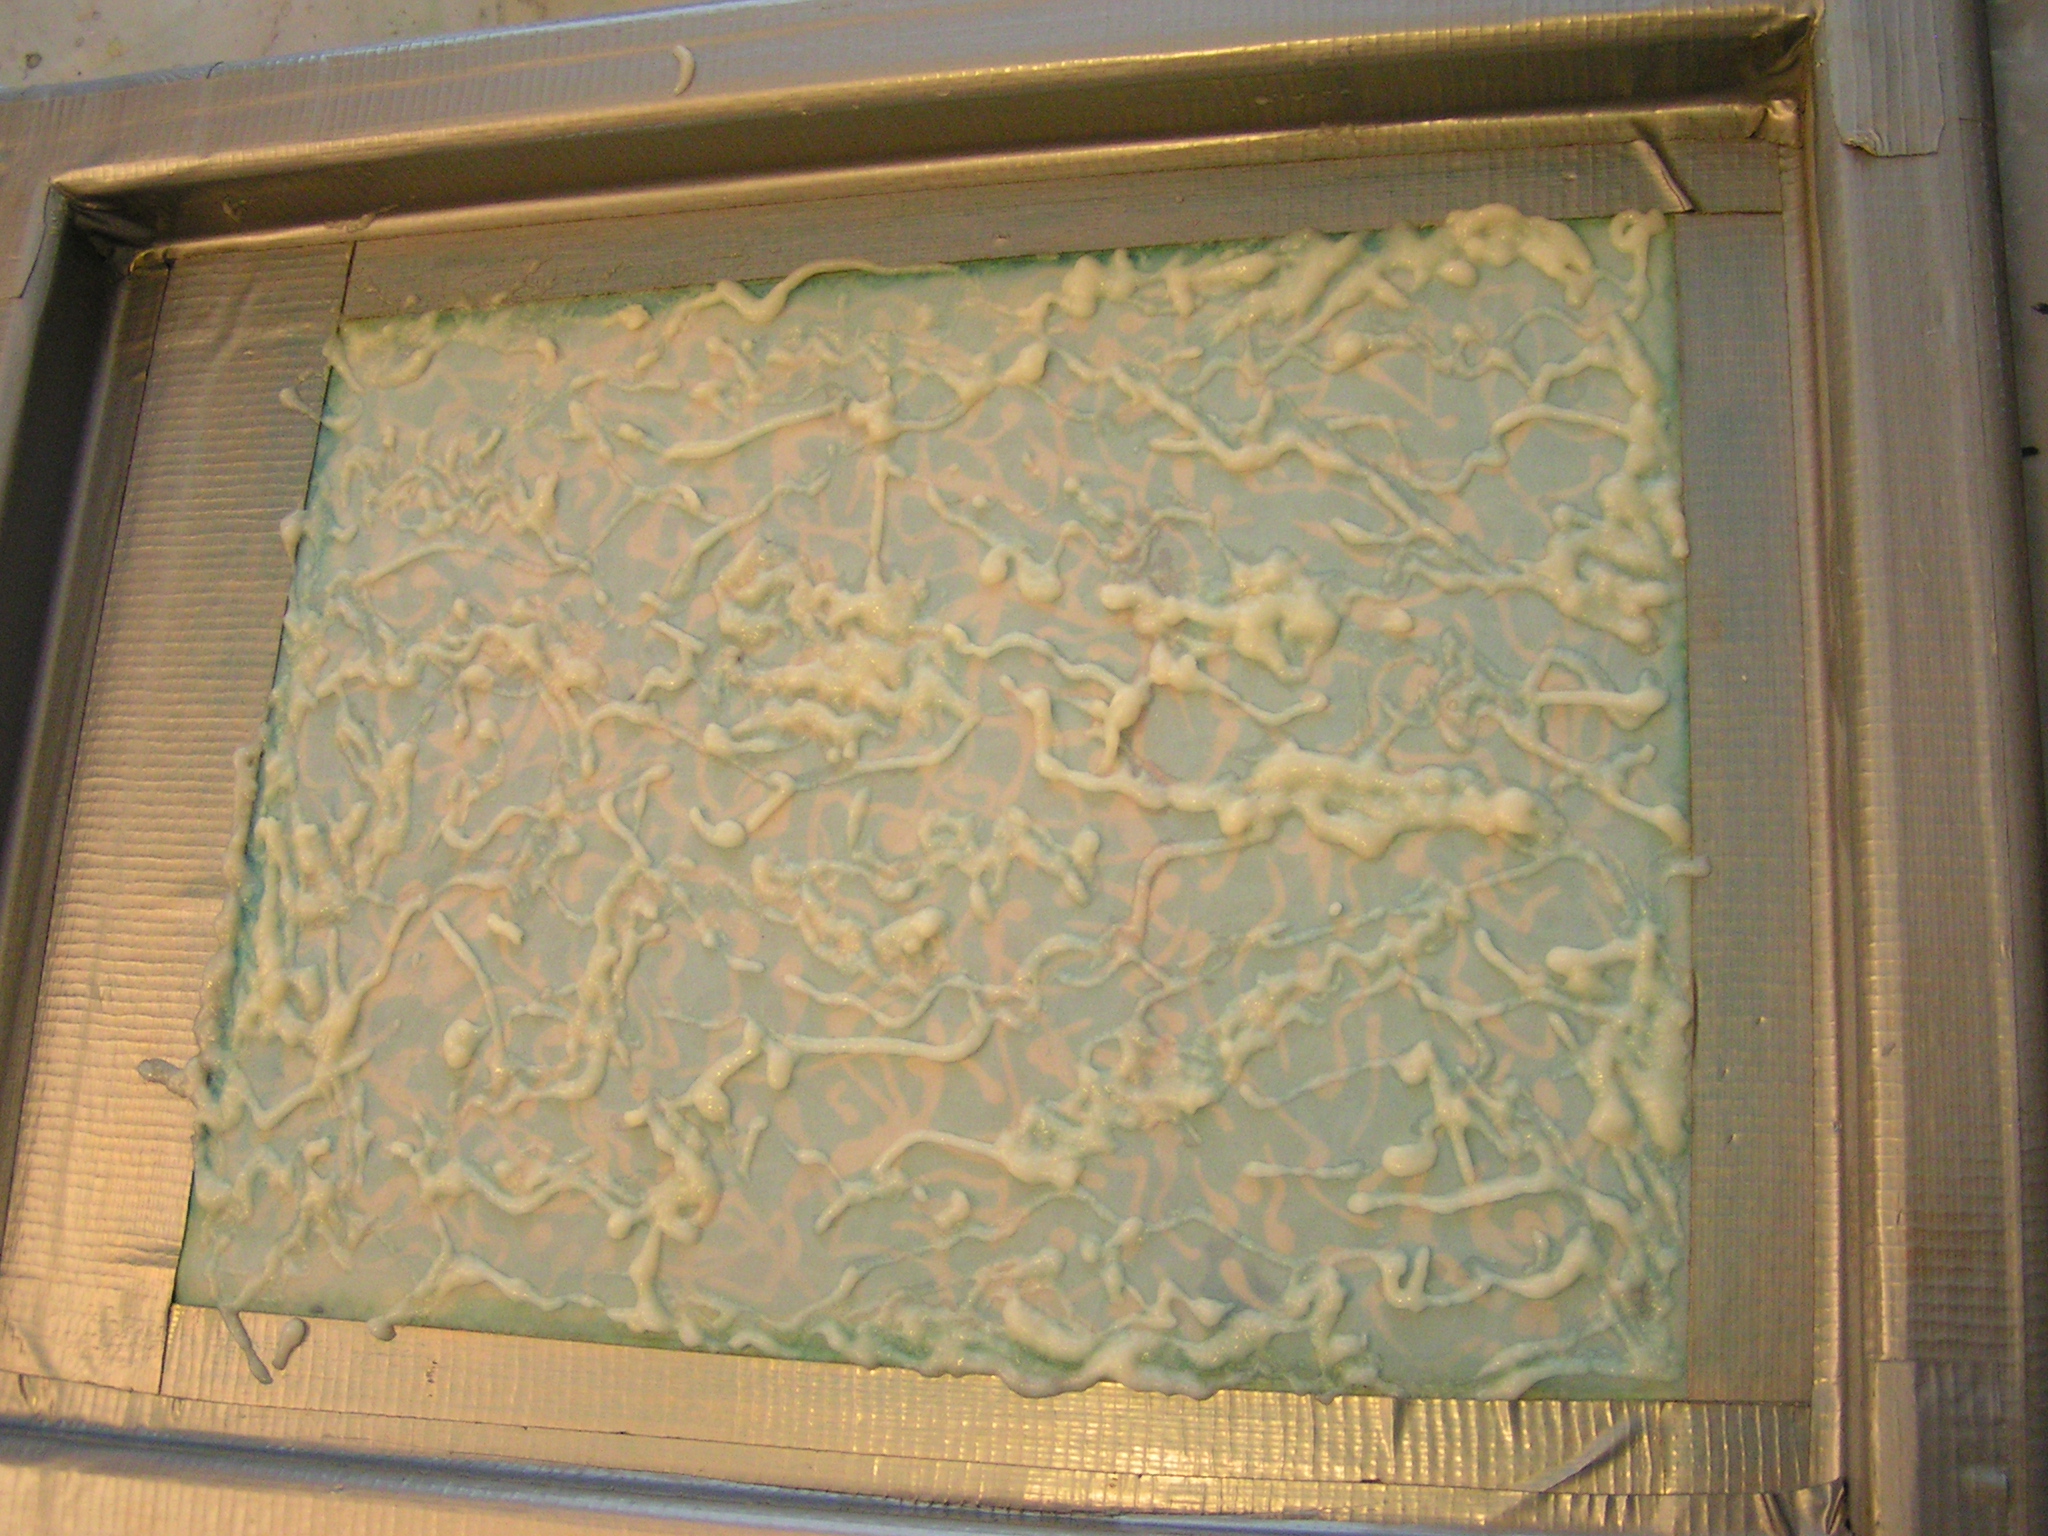
 Next up, I decided to try some rice baby cereal as a resist on the screen. I applied the cereal through a syringe. And then let it dry. Lots of things drying now…
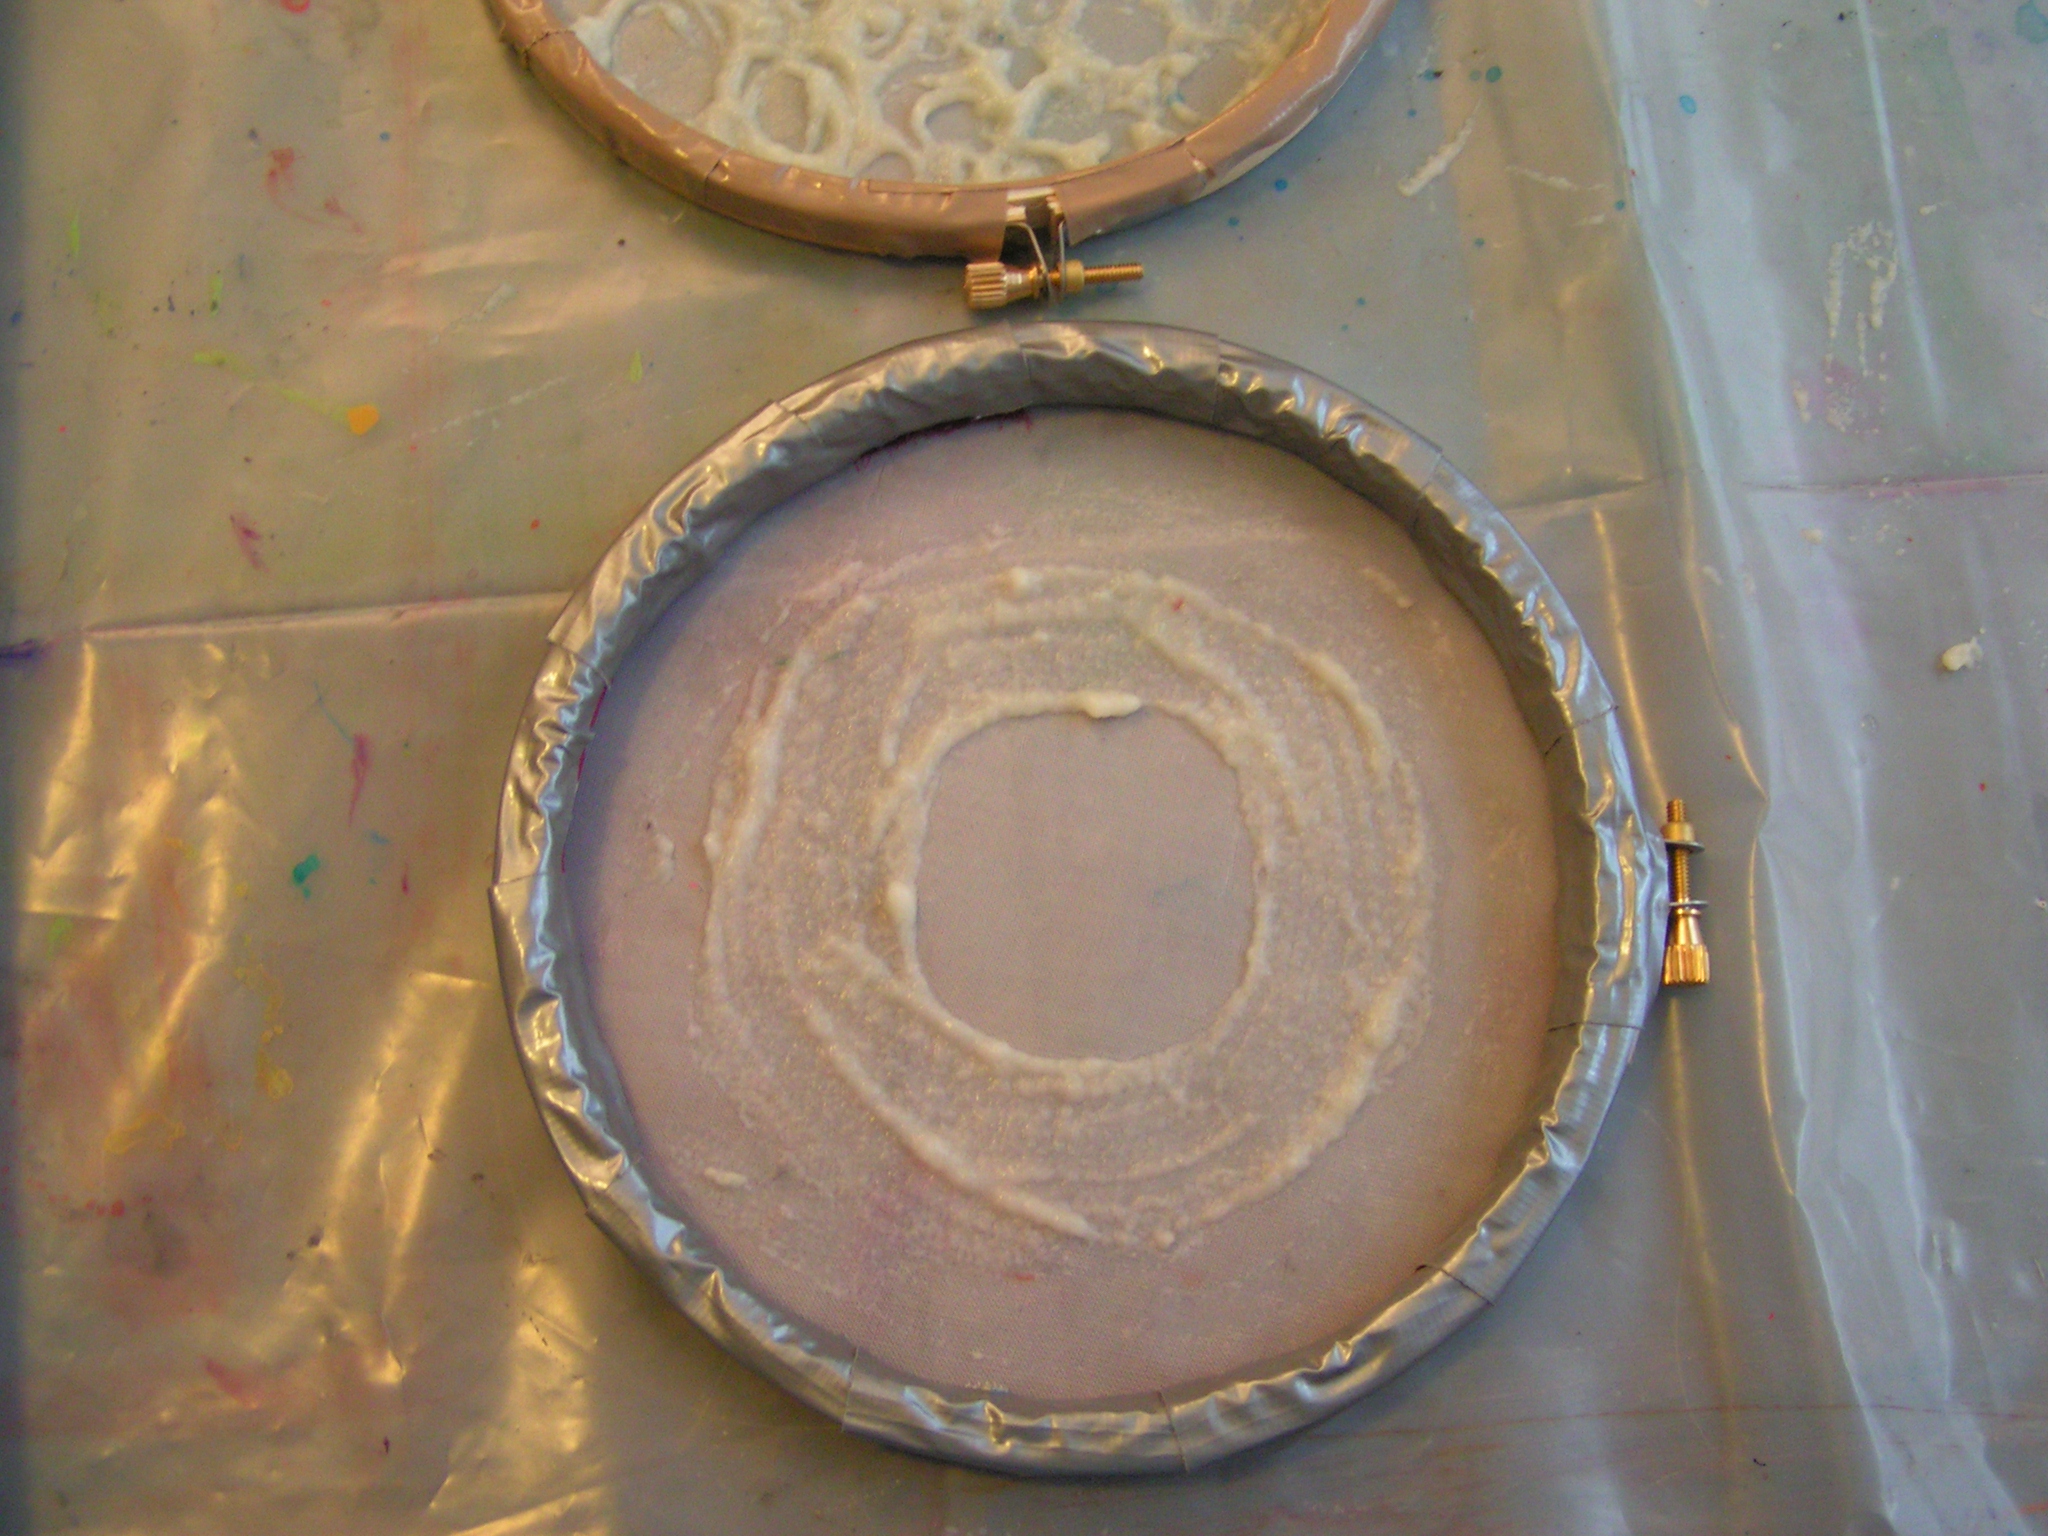
 I had a bunch of 6″ embroidery hoops when I ordered them thinking I was getting one and instead got sets of three. I just put organza in the hoop and taped it with duct tape. I added more rice cereal to this. I am hoping that as these screen, the thickened dye will gradually break down the cereal so it will be like the deconstructed screens which change the more prints you make.
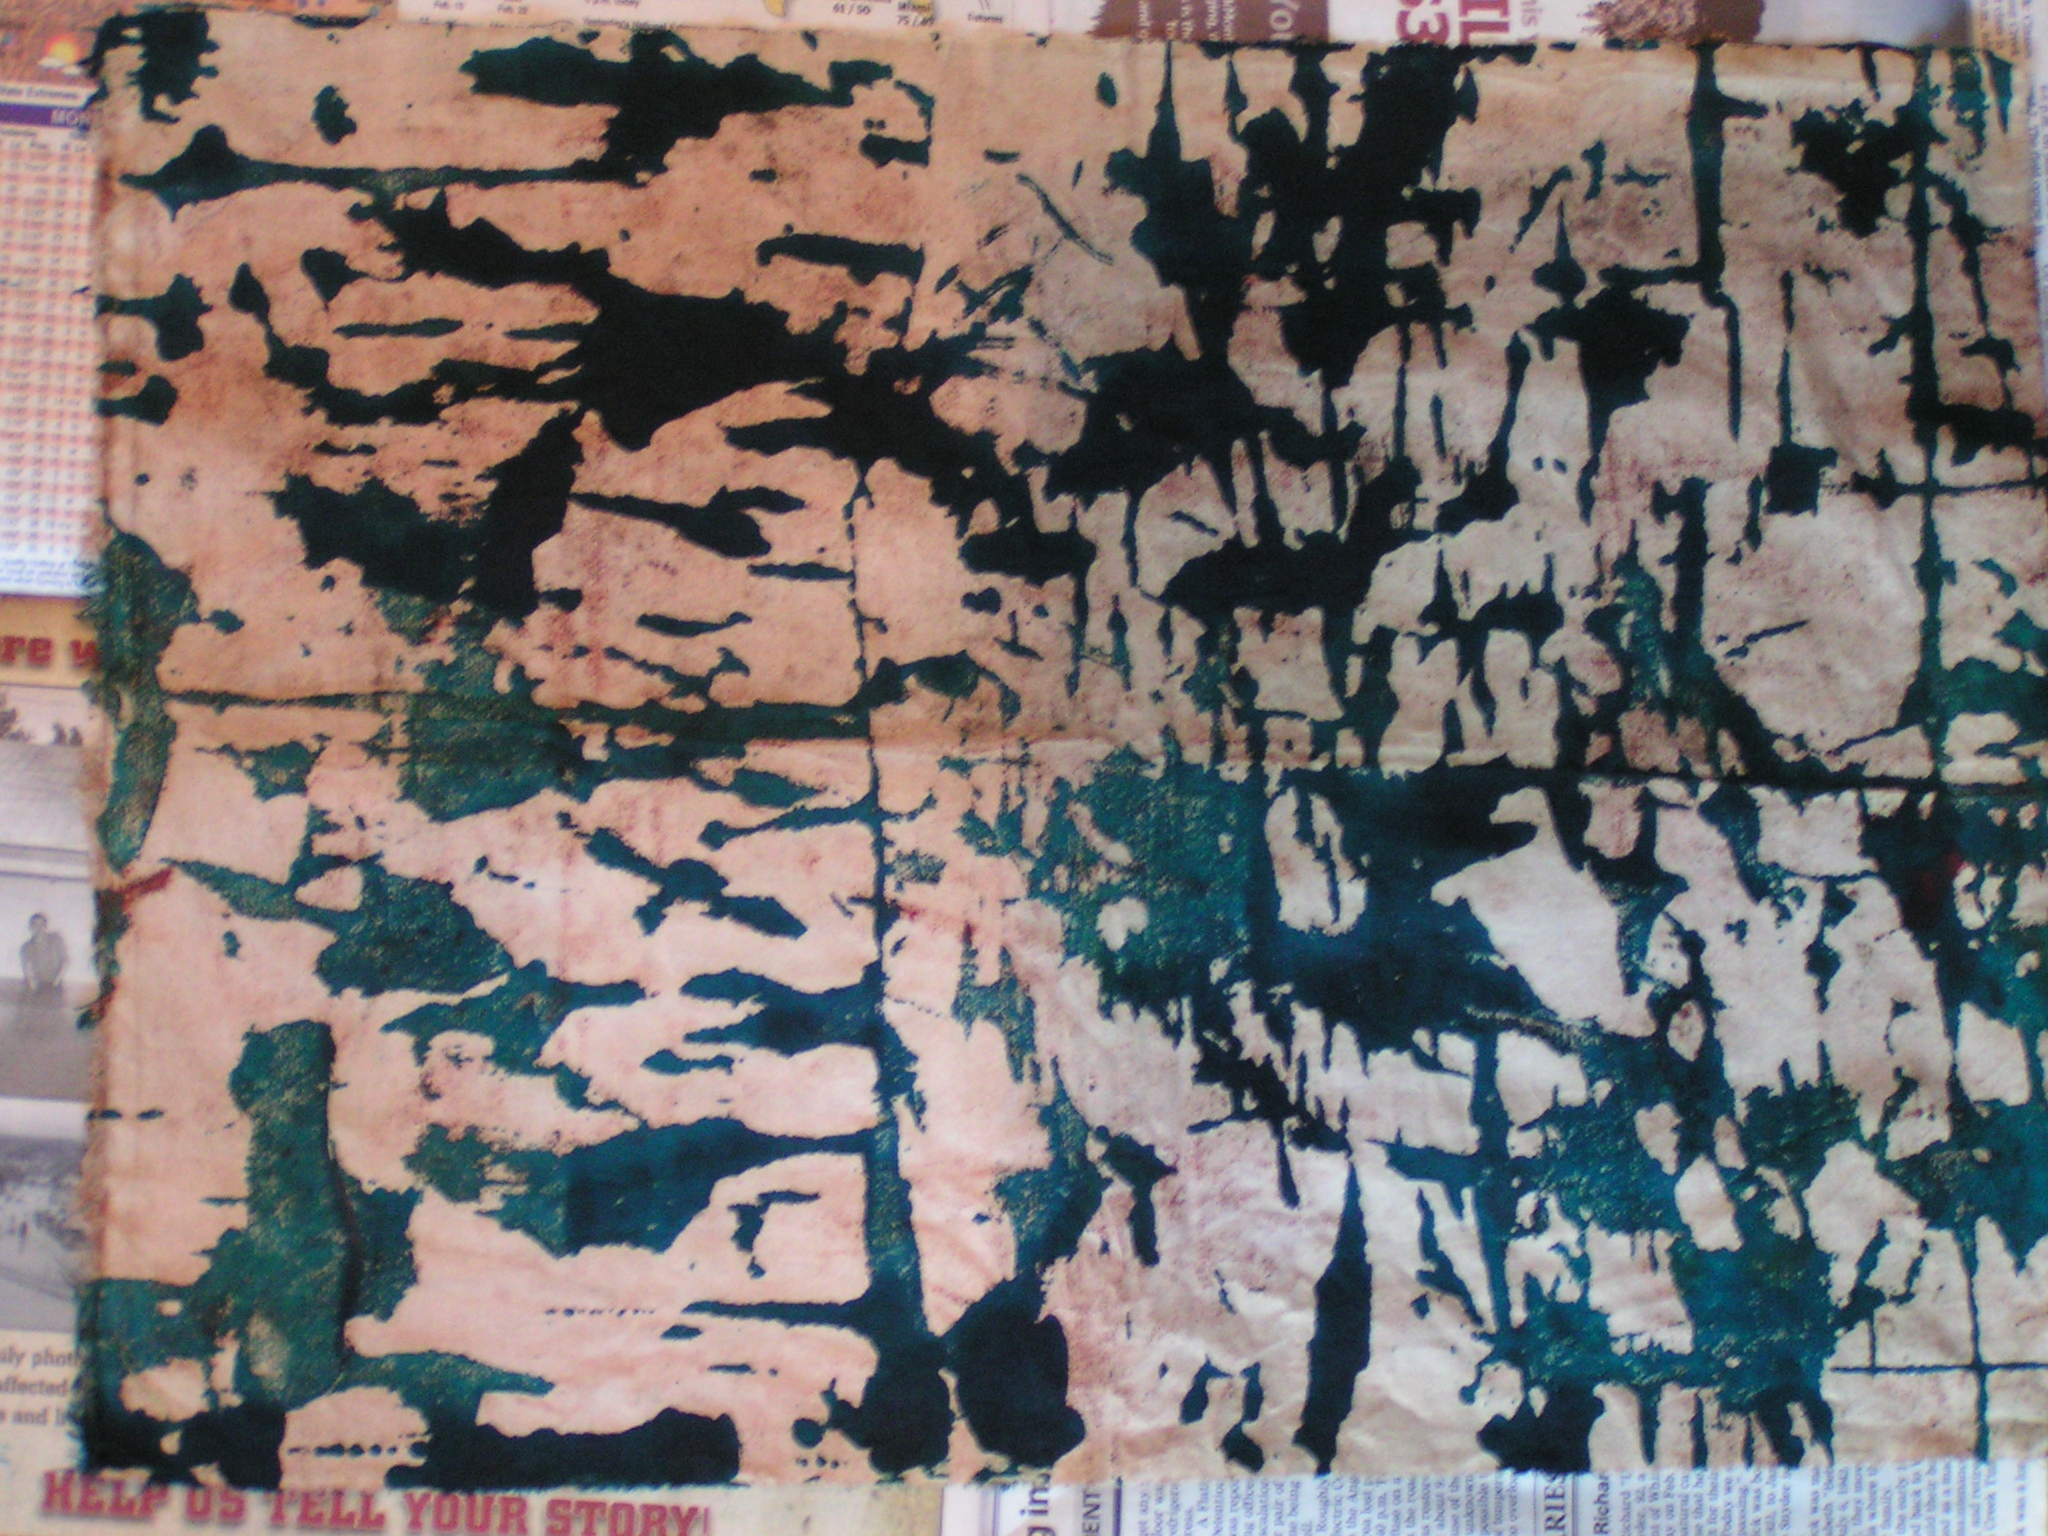
 I had some left over cereal so I covered this piece of fabric. The plan is to let it dry and then crack the cereal and then add a layer of dark paint over the top. The same idea as using flour paste resist.
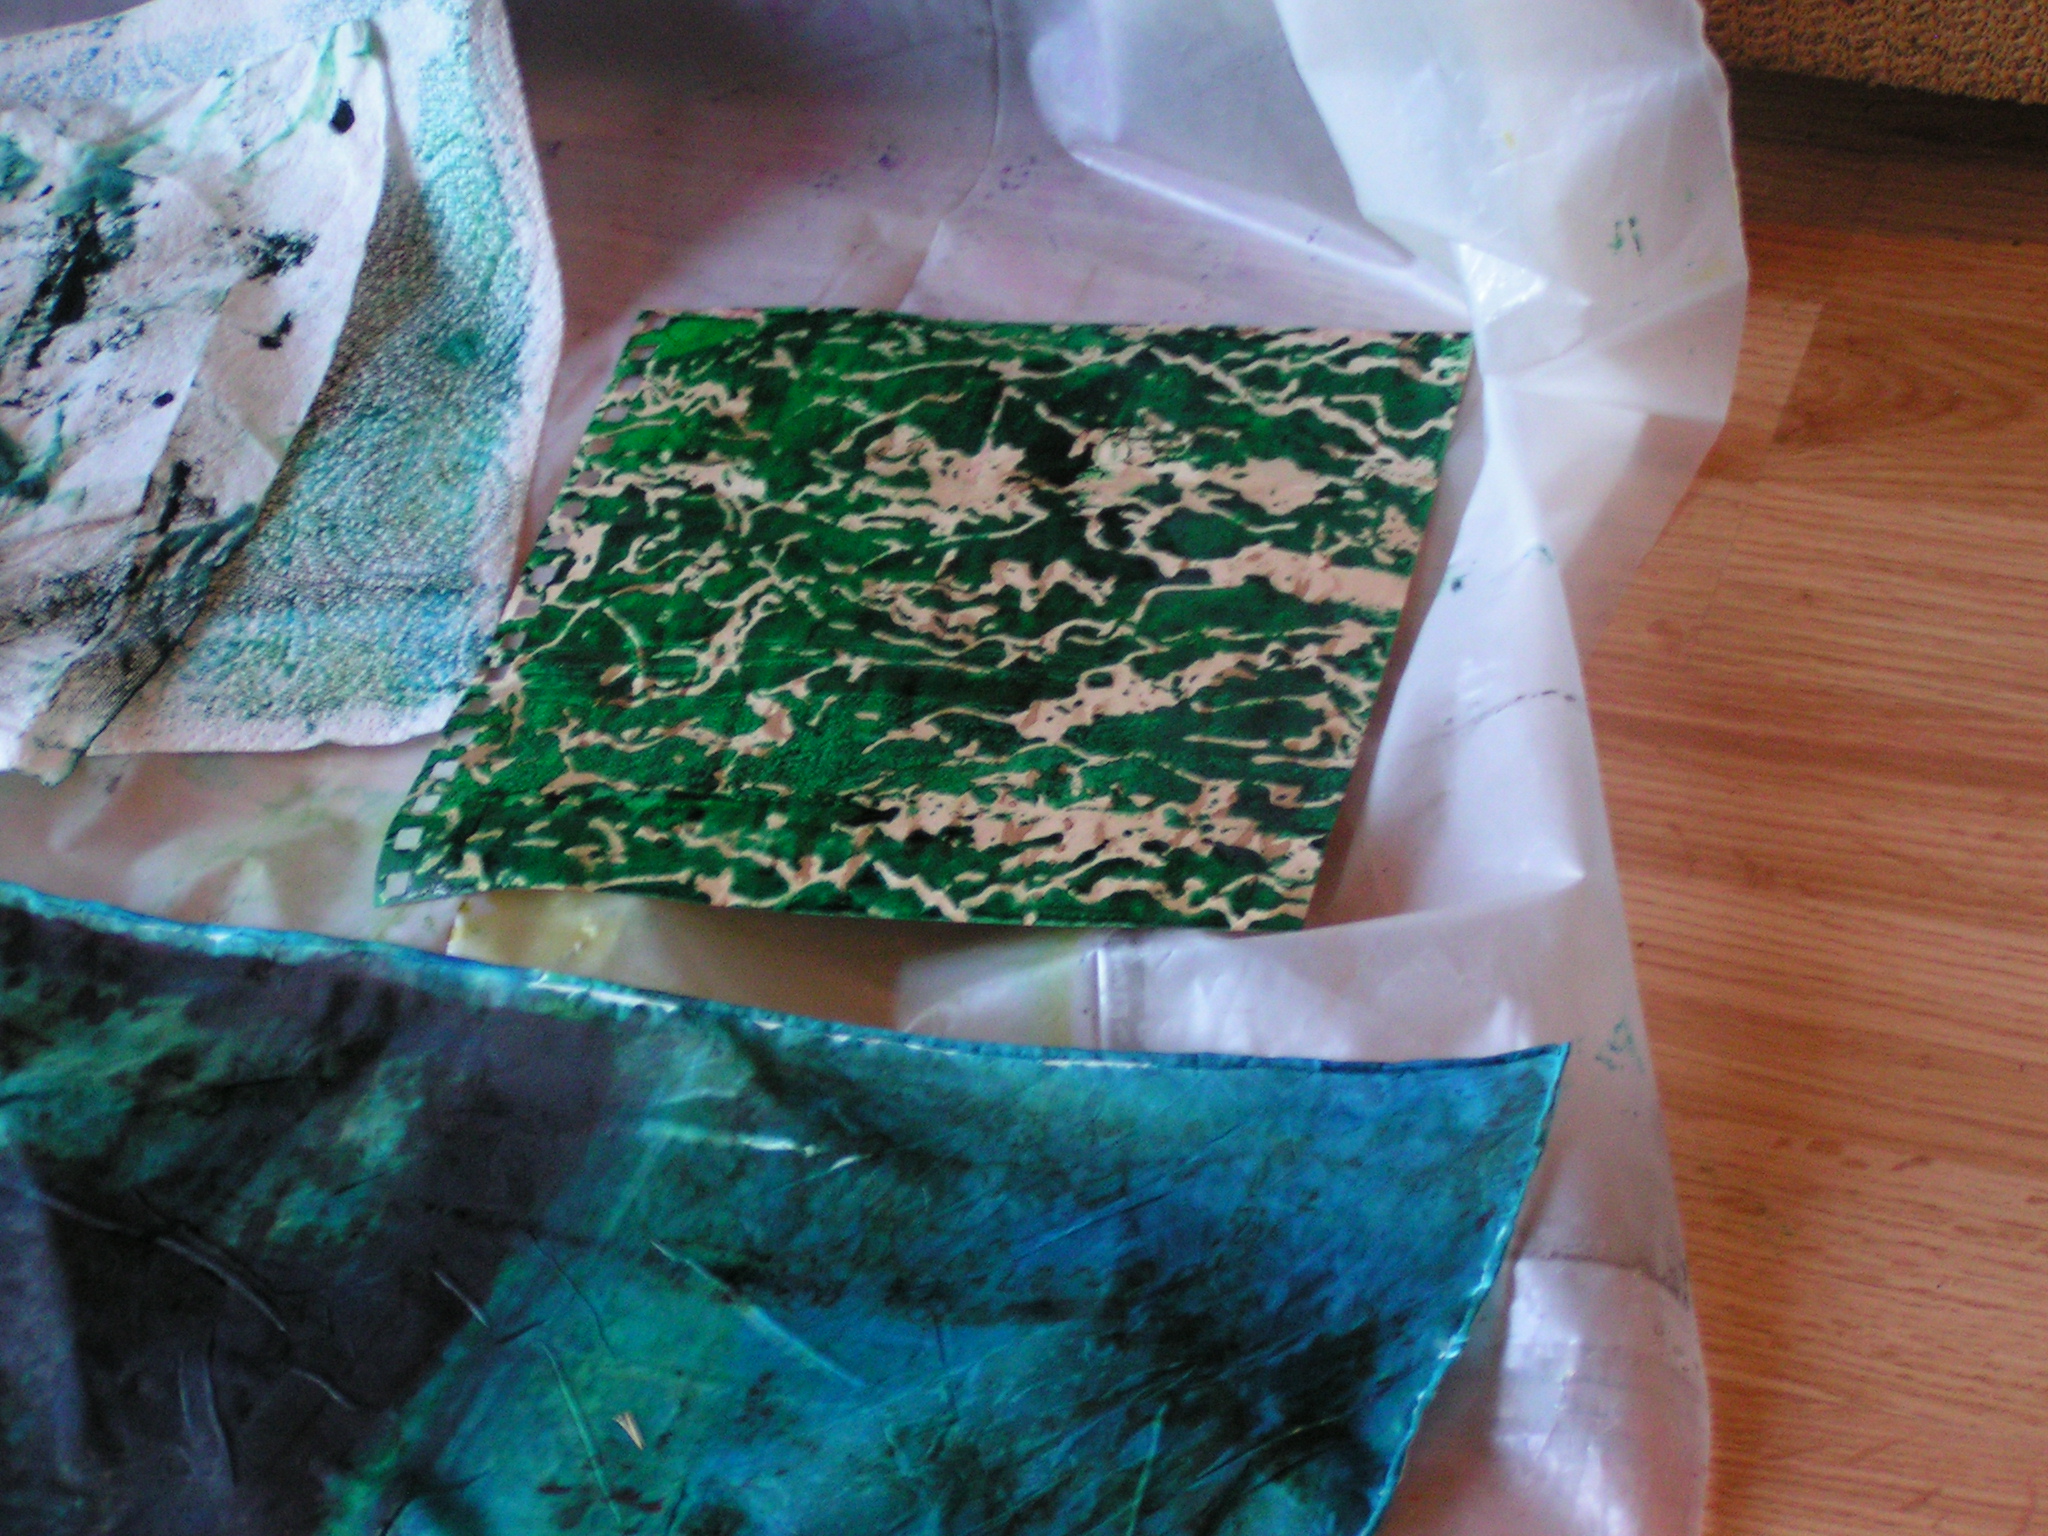
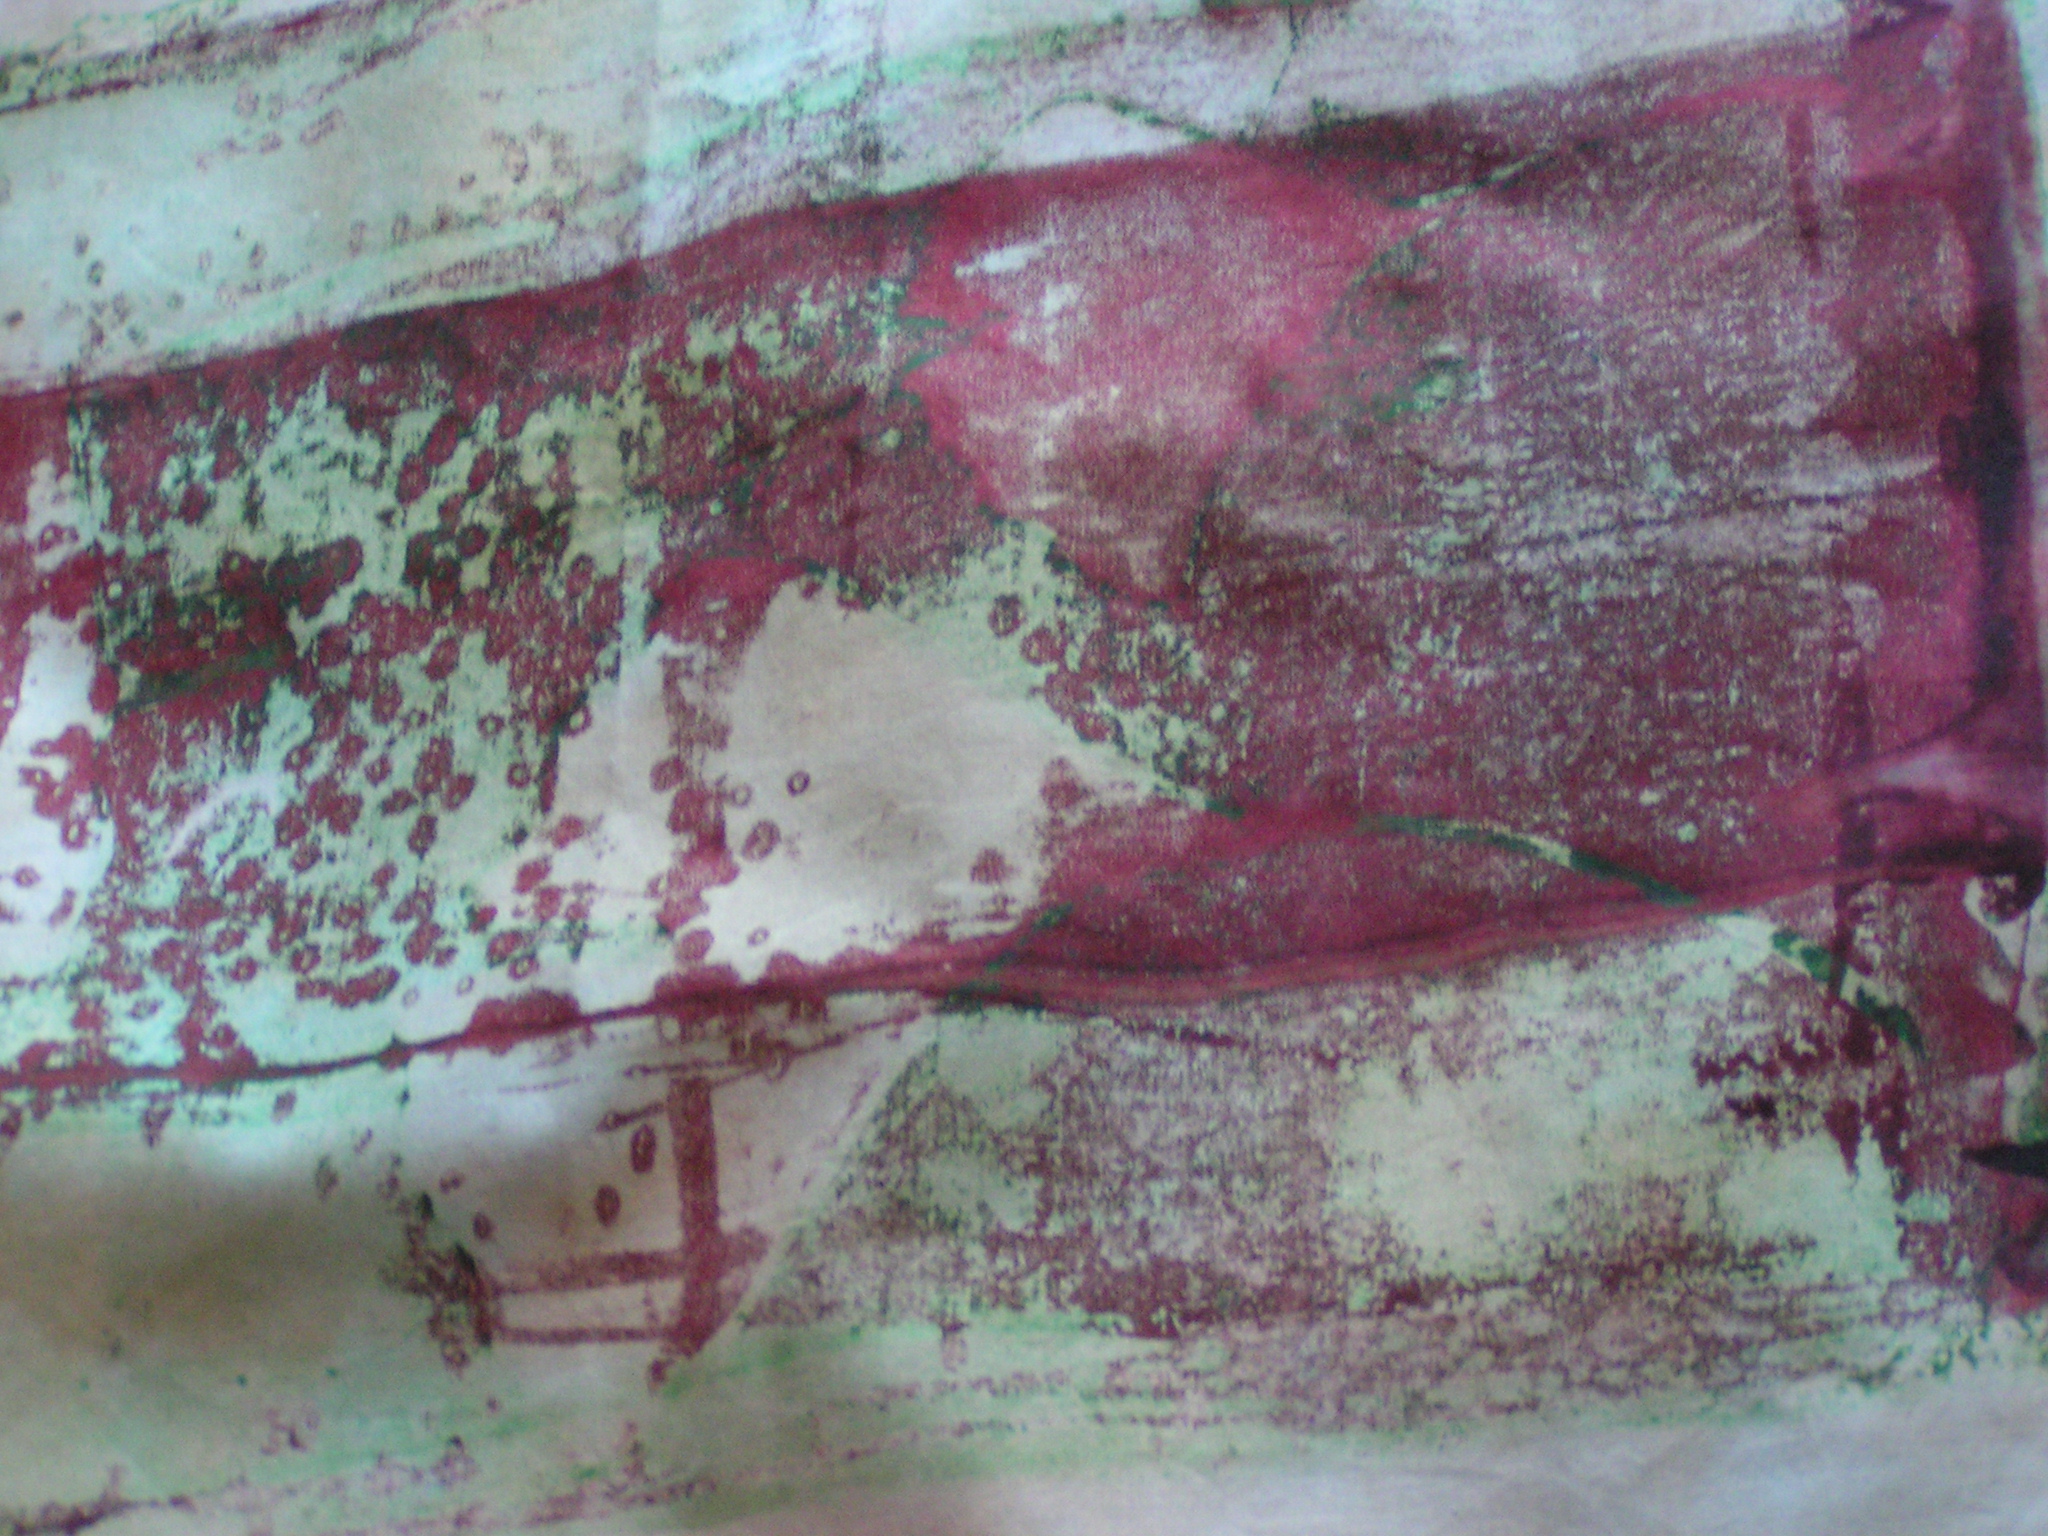
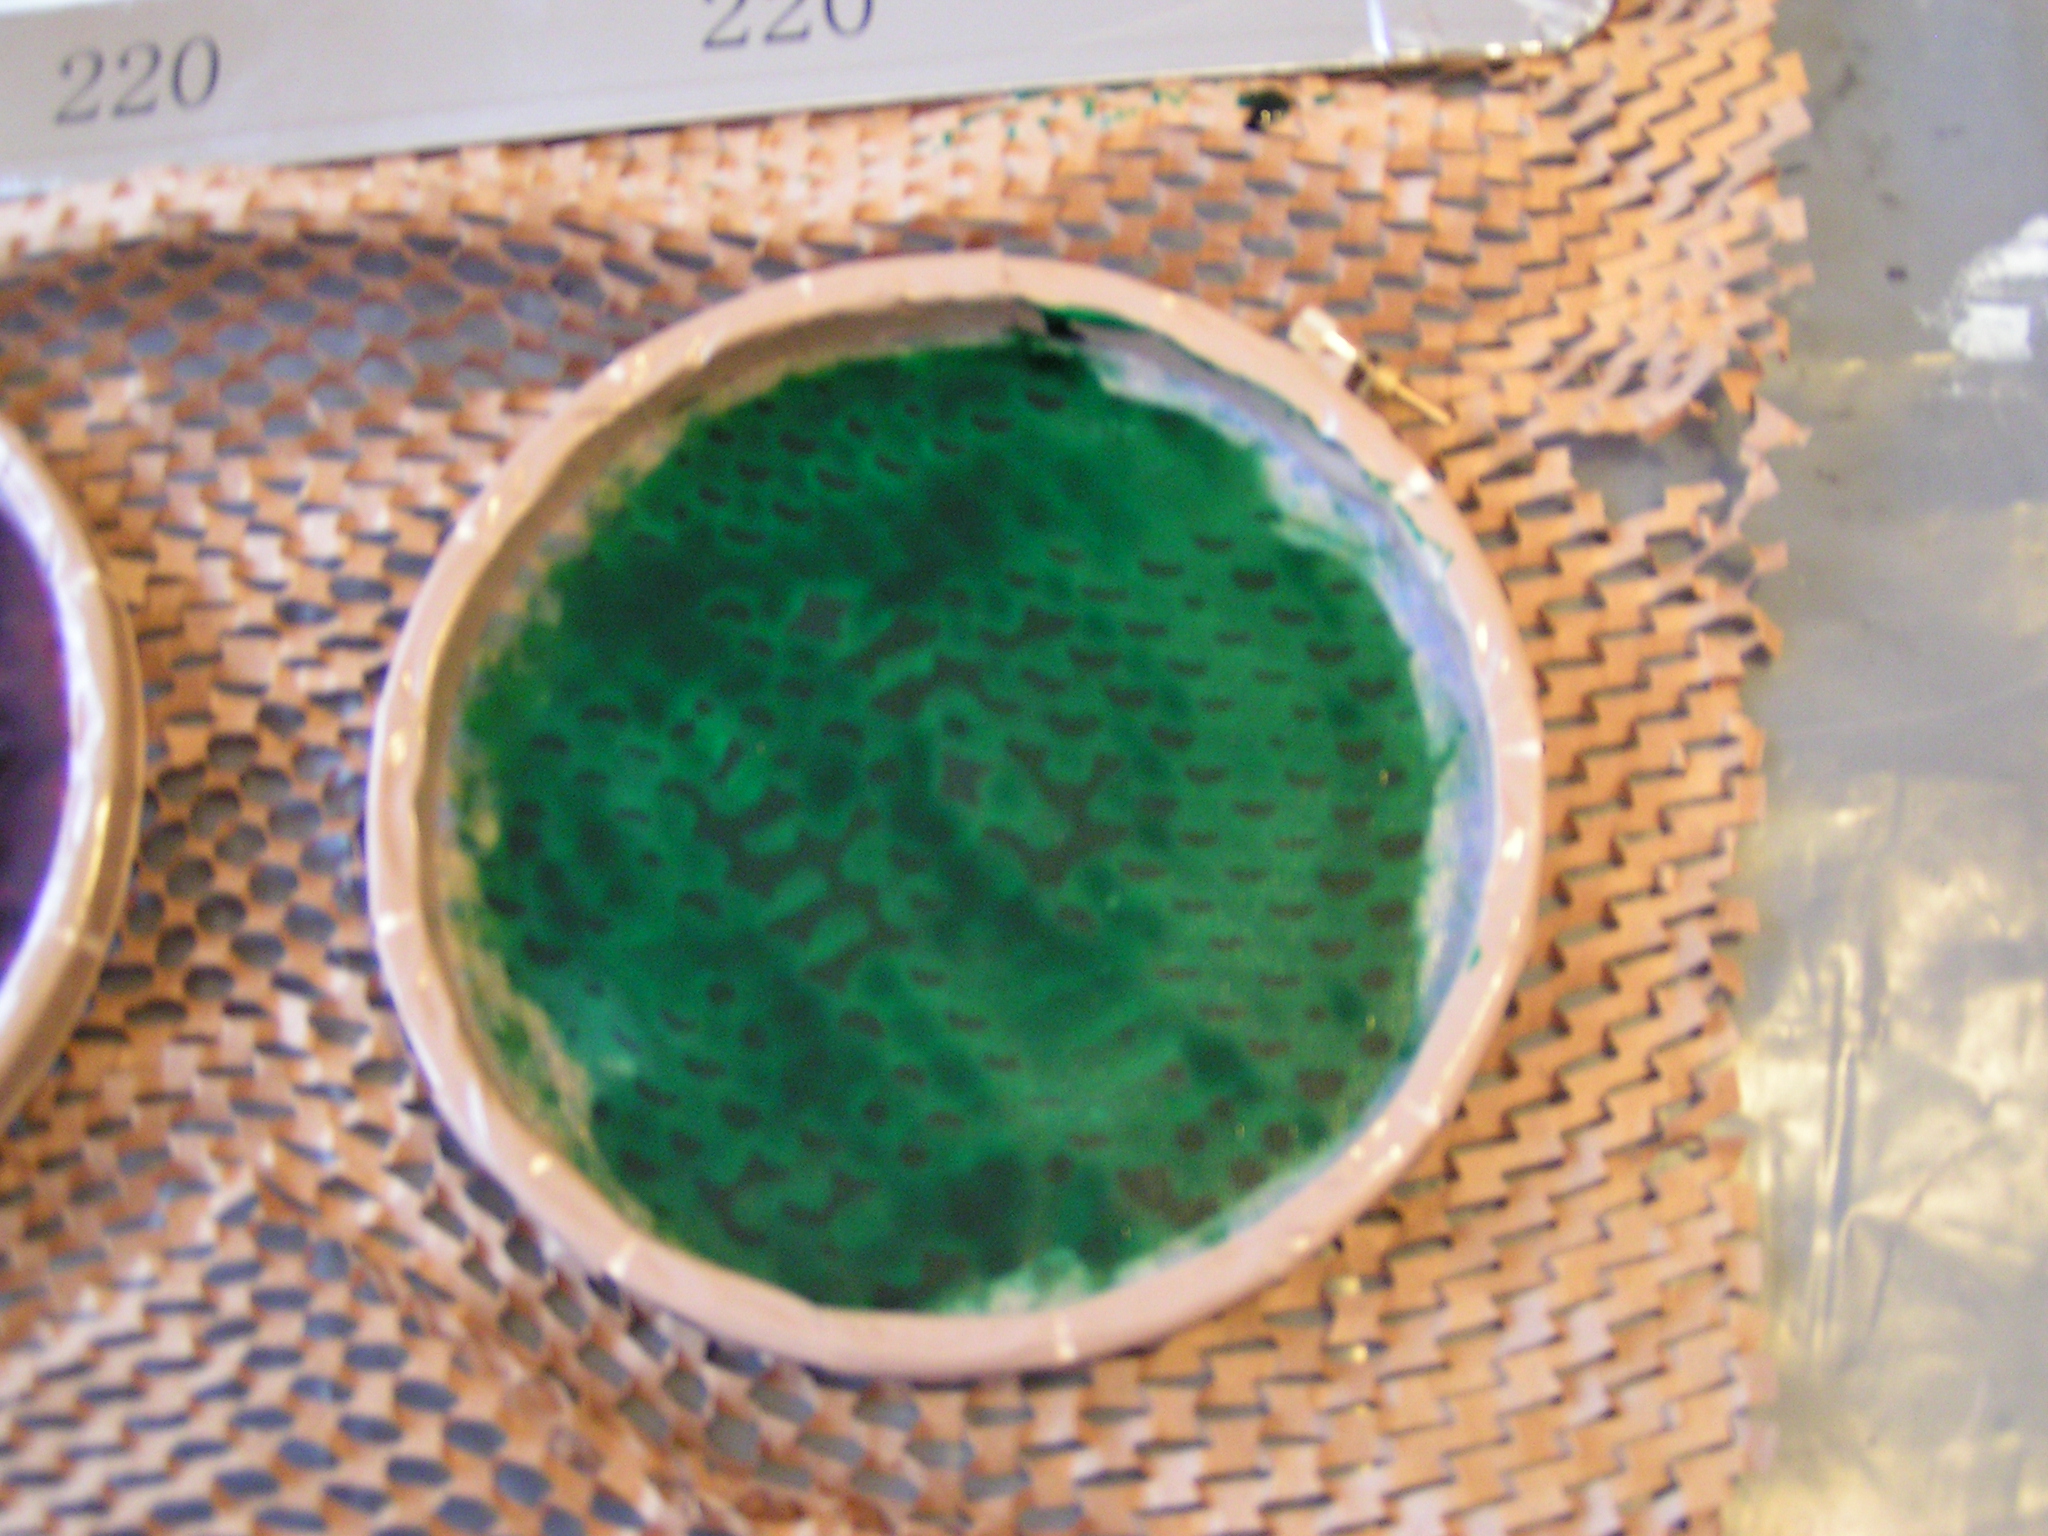
 Next up, I made some print paste and added dye. Then I put the screens on some type of texture, here it is a packing paper. Then I screened the print paste with dye added. And then I have to again, let dry.
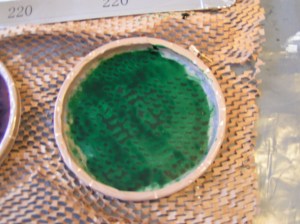 The dry dyes with the texture and then you screen through it with either plain print paste or a different color of thickened dye. The dried dye will break down as you continue to screen through it.
 This one has bubble wrap underneath it.
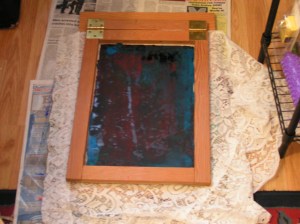 This one I used two colors and the texture is polyester curtains.
 So now, I can’t even hardly walk into my studio. Everything is drying all over the floor, table and wherever else there was space. I’m looking forward to seeing how these screens turn out. I’ll show you next week.
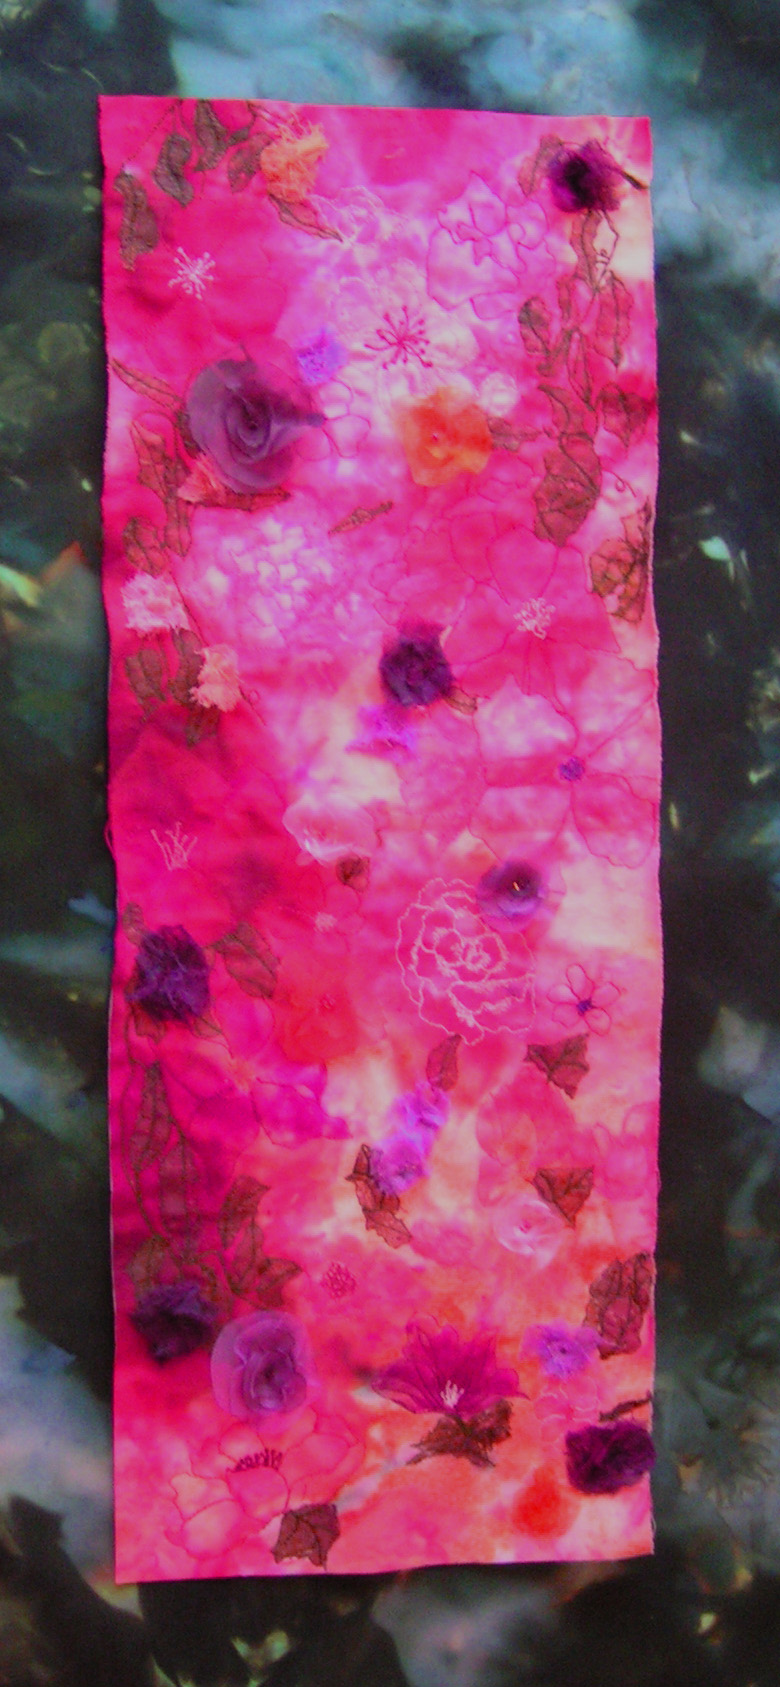
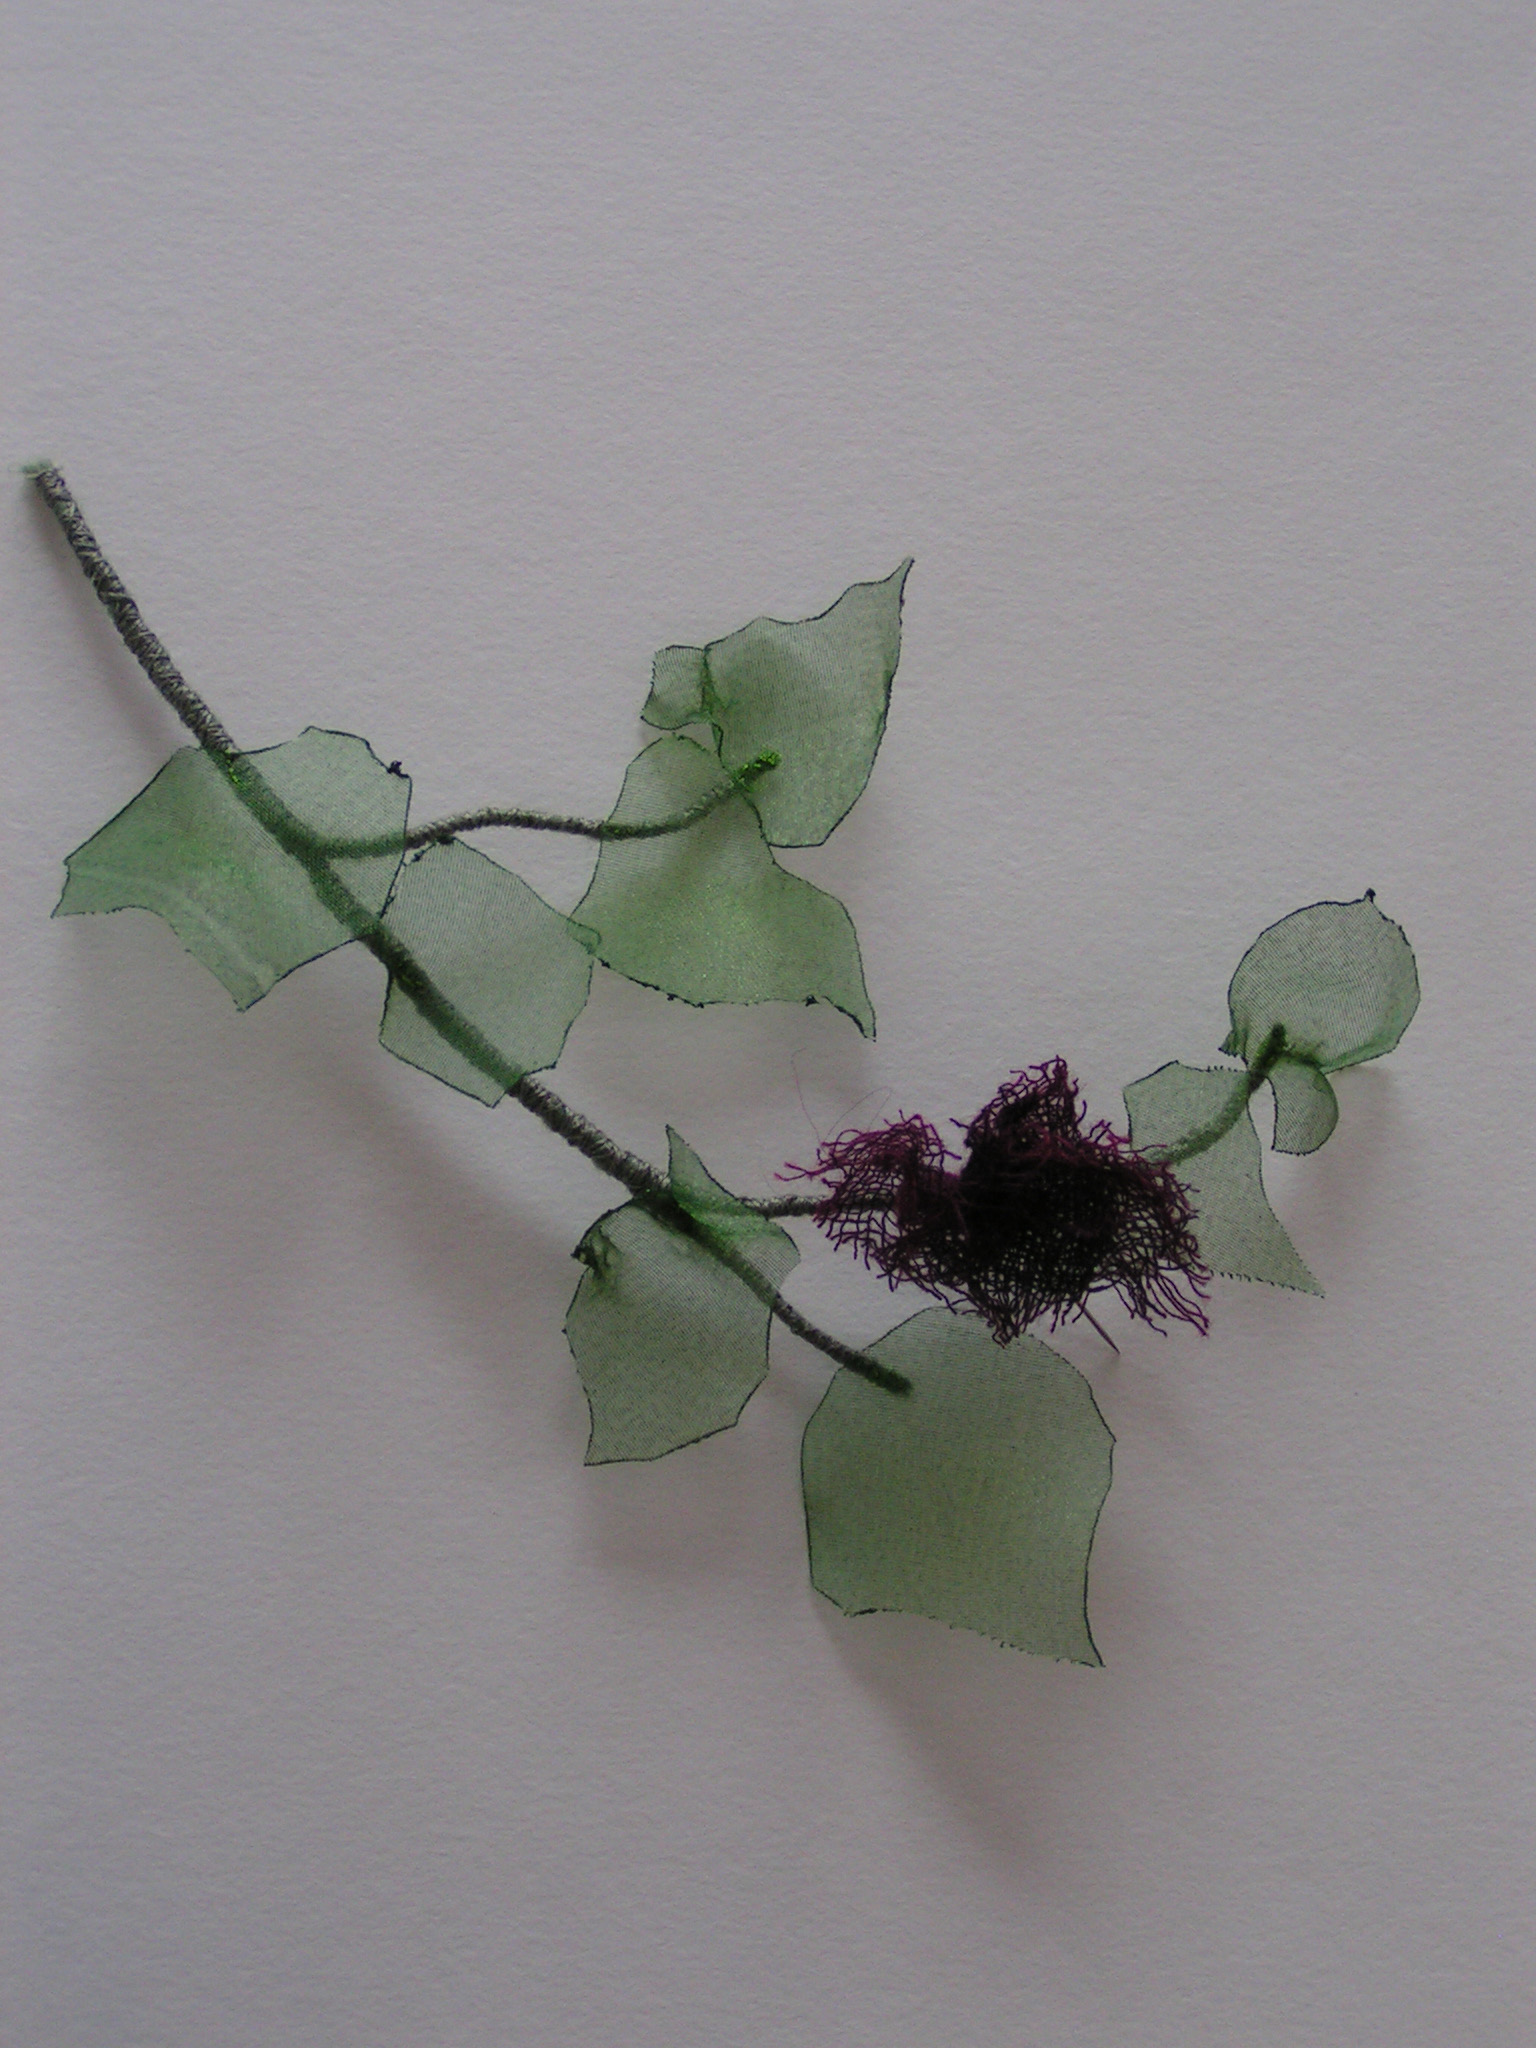
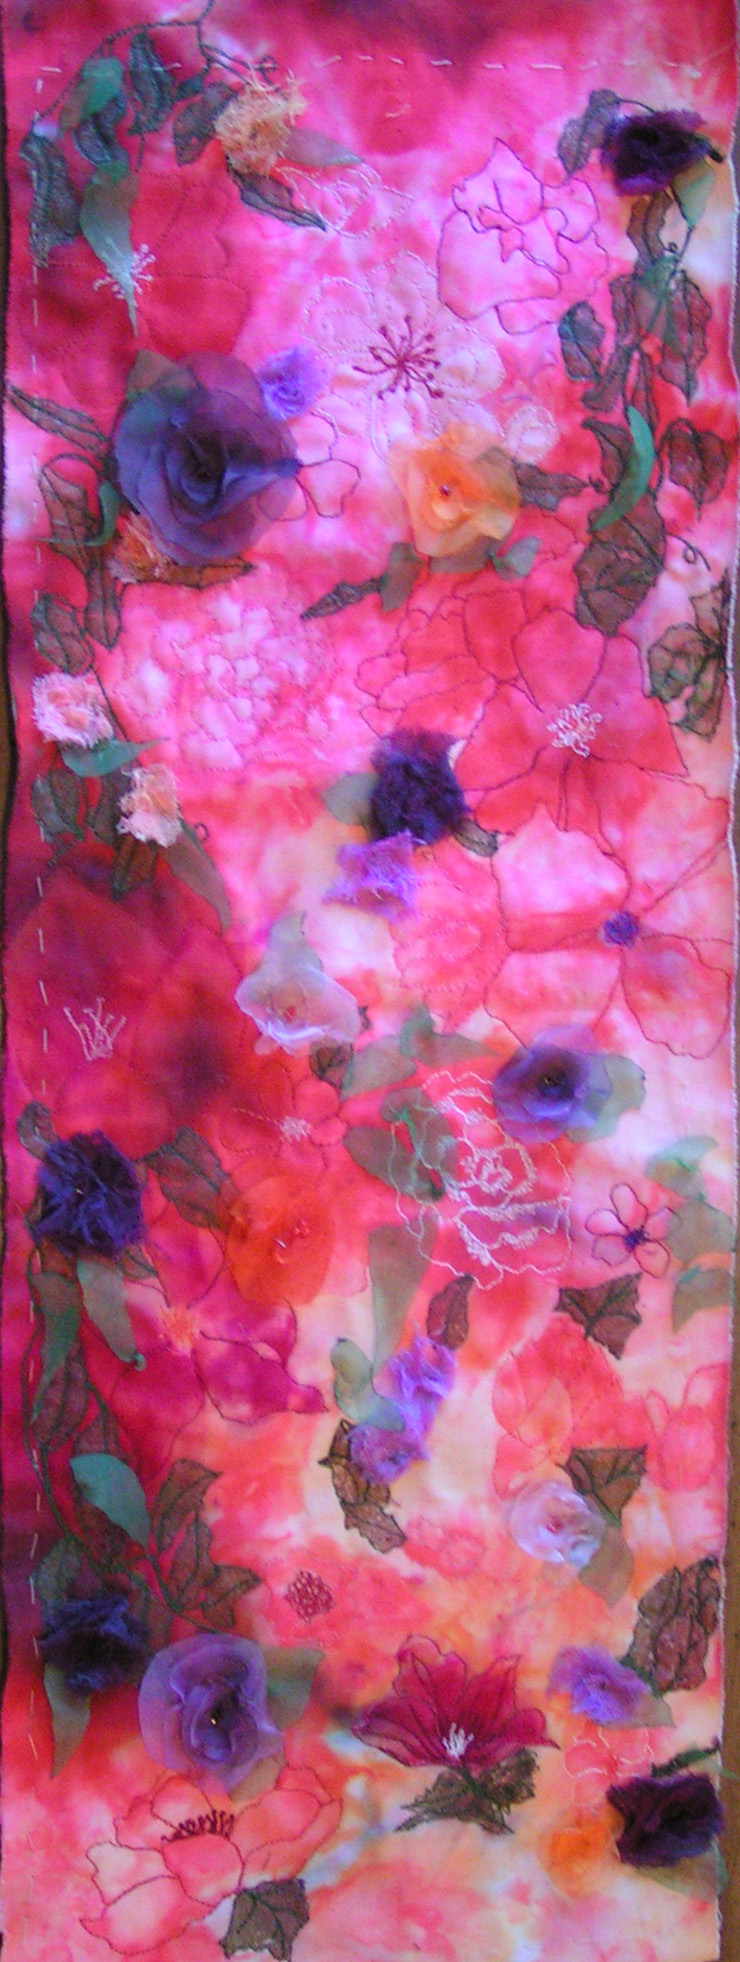
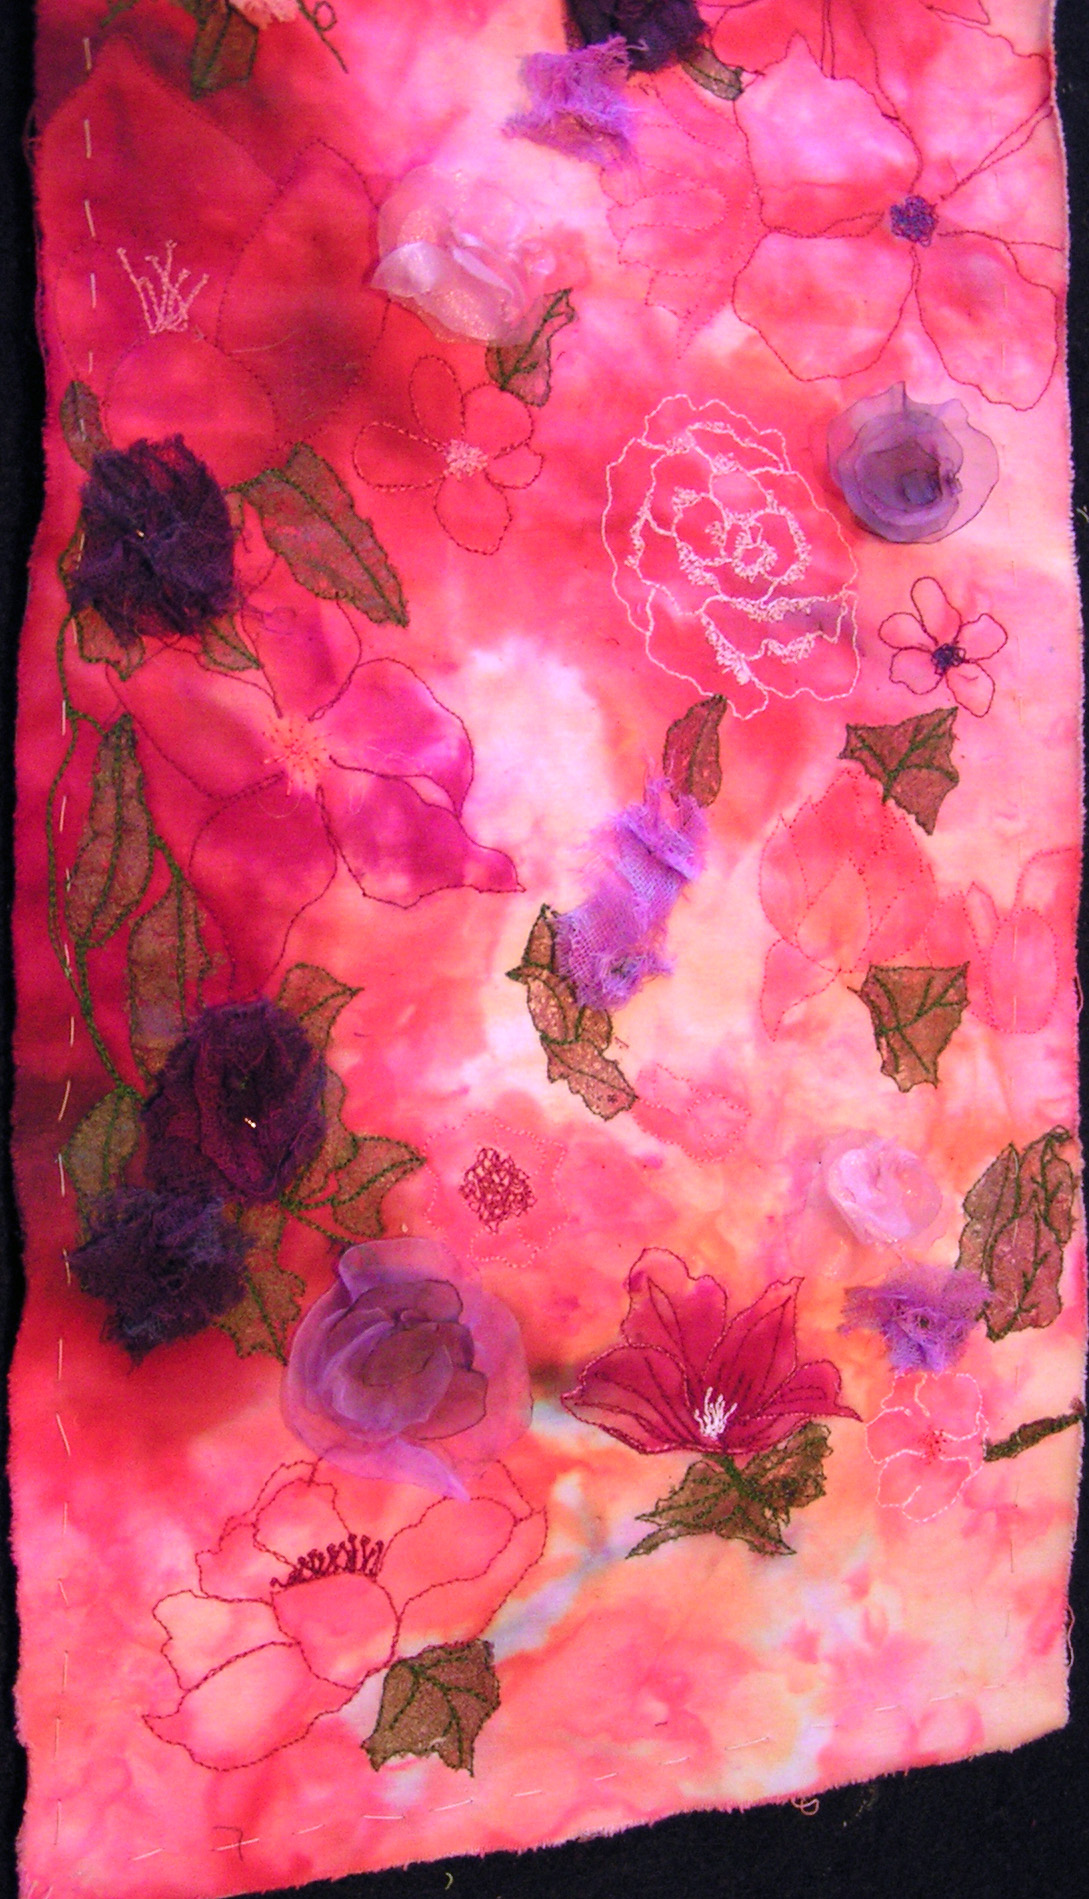
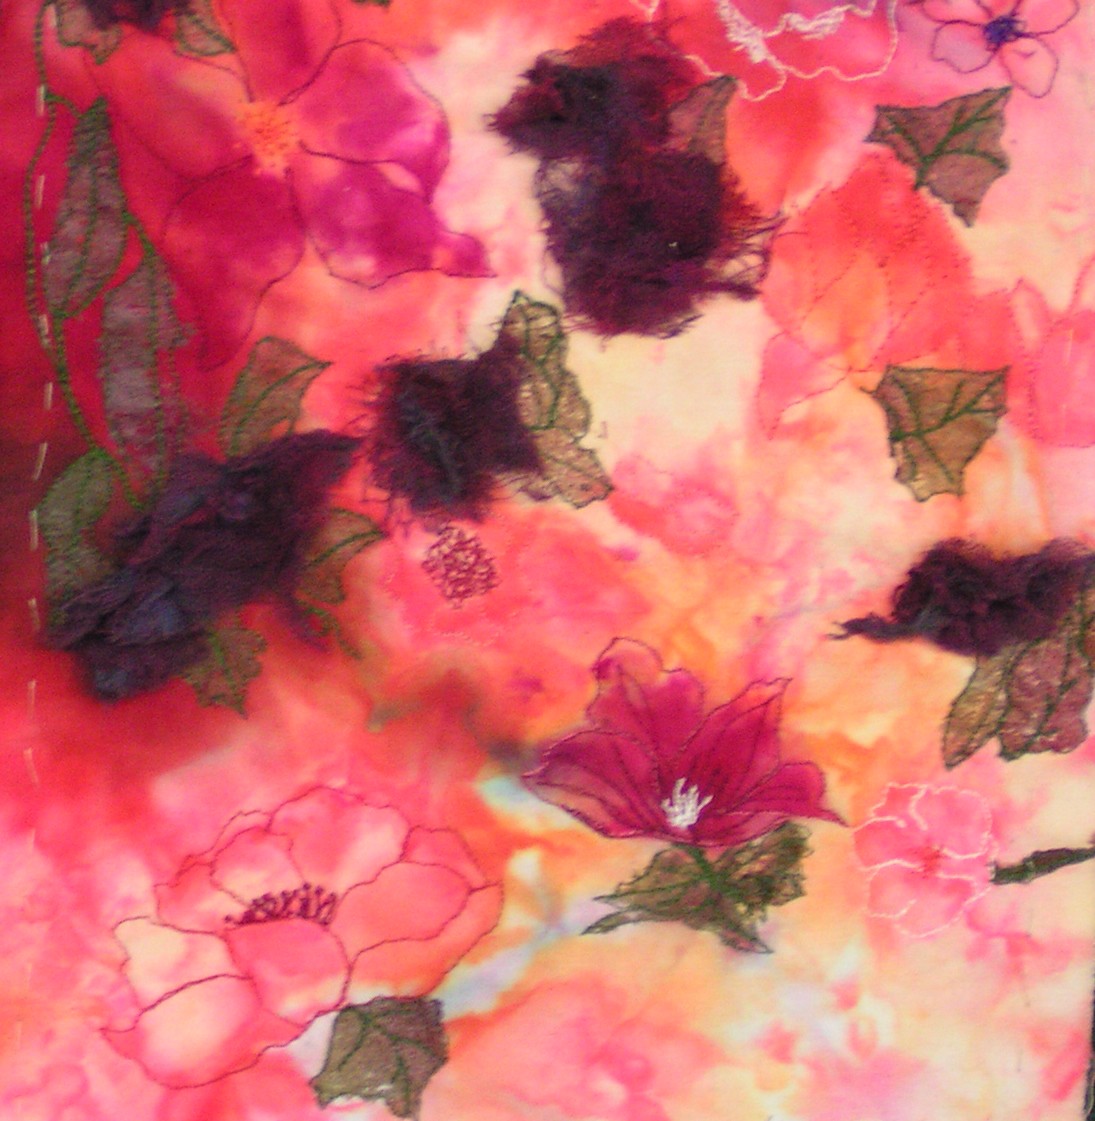
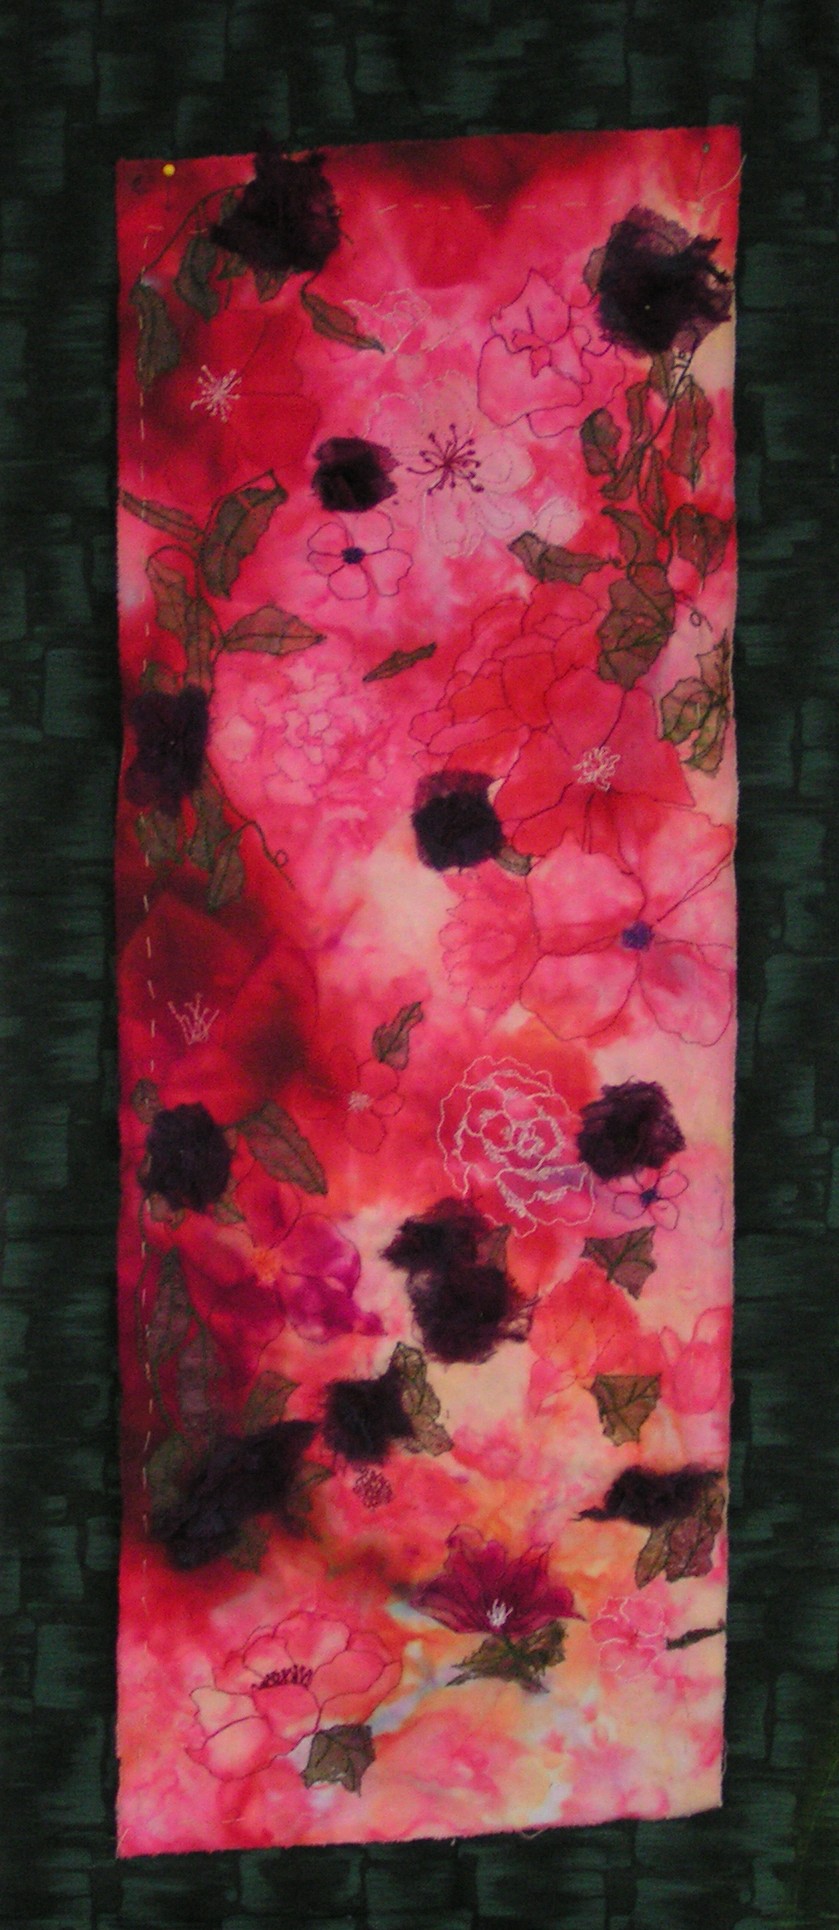
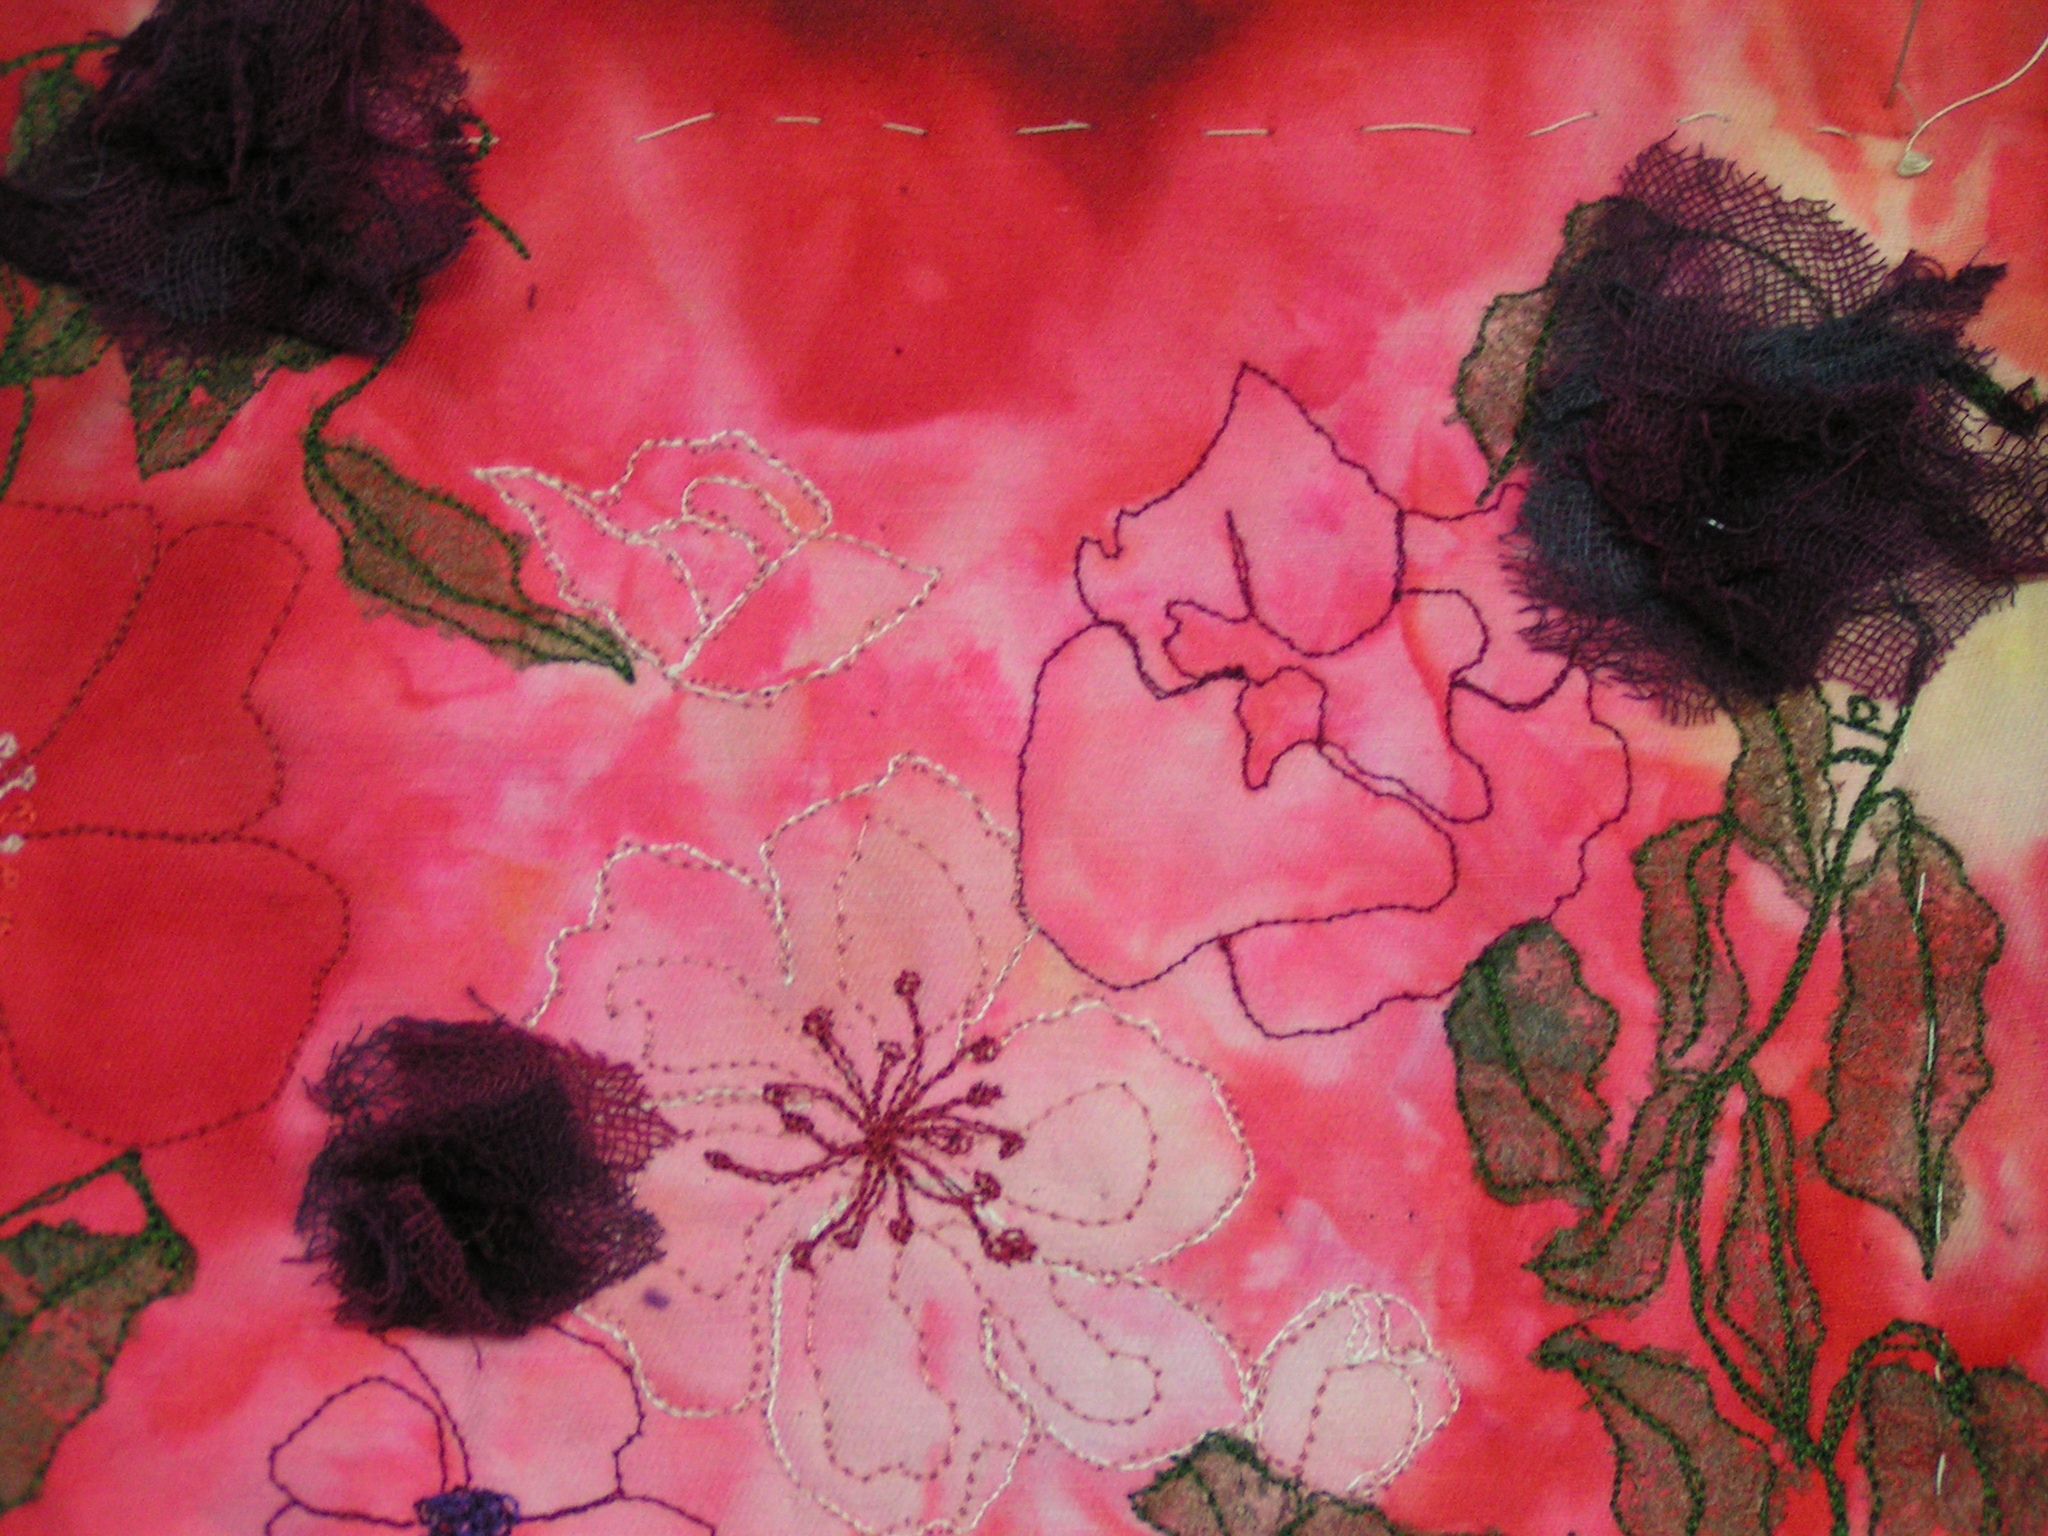
 I did have some time in the evening this week to make some more organza flowers and organza leaves for my ice flower piece. I haven’t stitched anything down yet because I need to have a backing fabric first. I didn’t have a fabric that worked in the right shade of green. So I did some more snow dyeing today to get a dark green. Then I will order some stretcher bars to frame it on. So eventually, I might get this piece done. What have you been up to this week?
0.000000
0.000000
 The felting class will be for high school students at an “art retreat” and I’m going to teach them to make a cell phone case. The theme is “Intergalactic Disco Carnival”. So I thought a “cosmic cell phone case” would be the perfect class. This photo is a little dark but you get the idea.
 I also made this one with cheesecloth on one side. This is some of the cheesecloth that I recently dyed. I sent pieces to Zed, Ann and Lyn and they are going to play with it to. I just used a tiny piece – I have lots more to try.
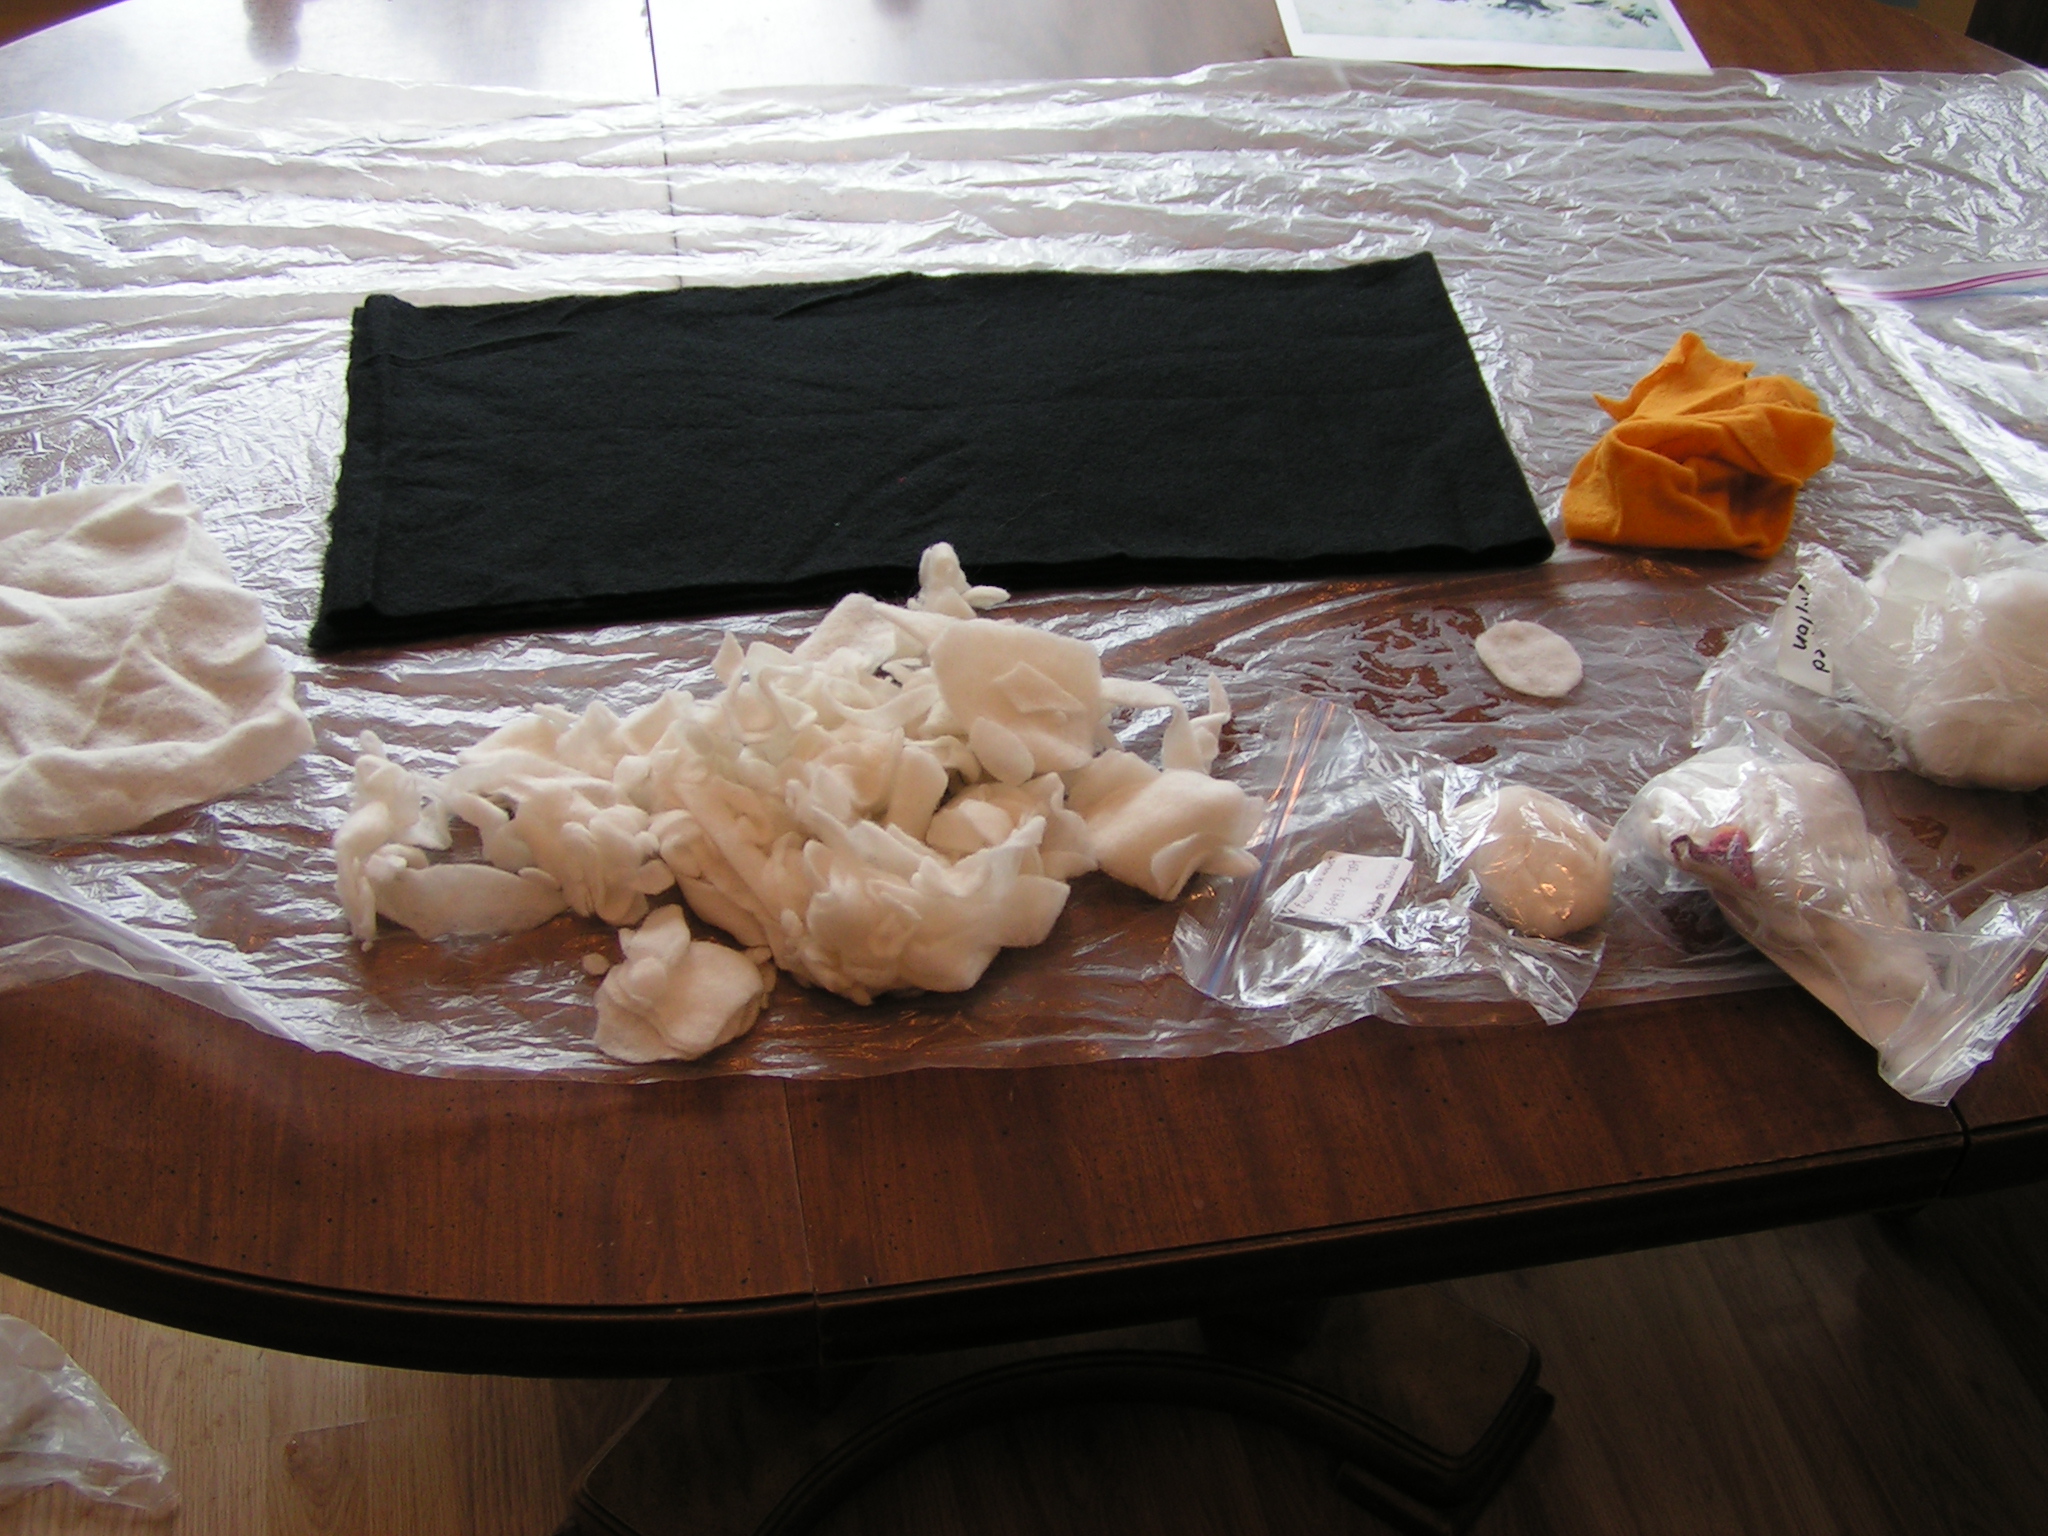 And I did finish my 1st quarter challenge piece but you’ll have to wait to see the final photo. I’ll post about it on the Felting and Fiber Studio site next week. This is the pile of pre-felt that I used to make it. I also worked on my ice flower piece but didn’t have any photos because it got to dark. I’ve gotten all the flowers and leaves sewn down. Now I need to sew it on to the background fabric and attach the “twiggy bits”. I haven’t ordered the stretcher bars yet. Got to get that done.