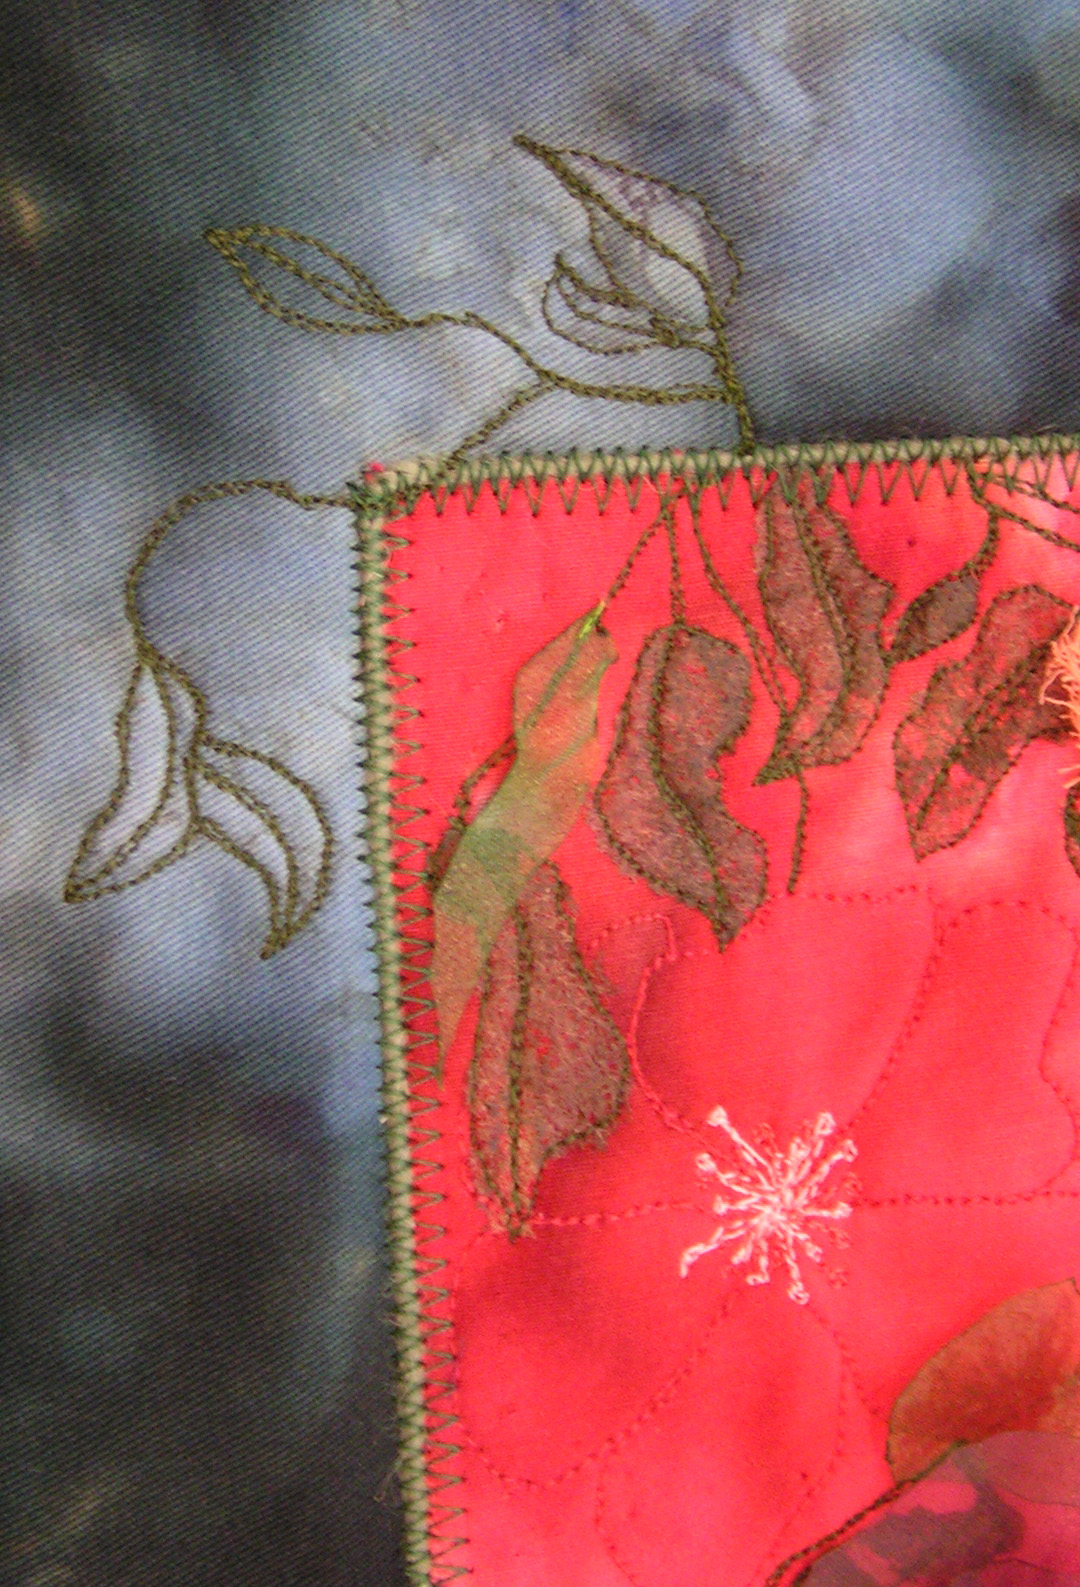
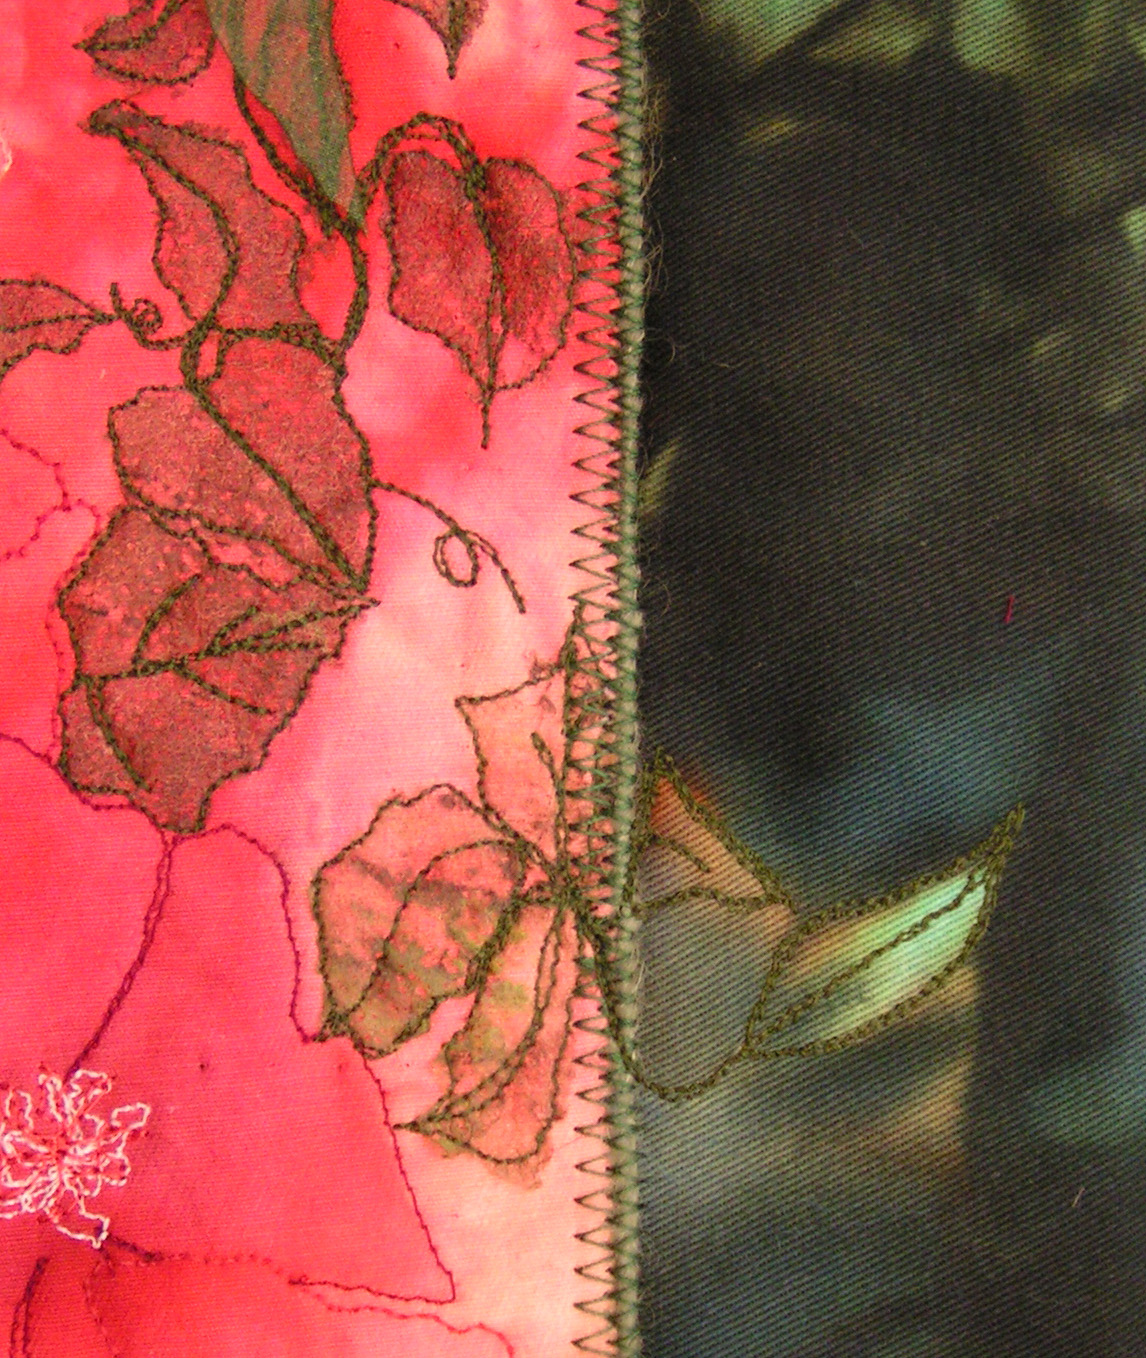
I met with my local group yesterday and Louise showed us some techniques that she uses for mixed media paintings. We were in Louise’s basement so you’ll have to excuse the low quality photos as the light wasn’t good. Louise makes gorgeous jewelry, scarves and now she is moving into mixed media paintings. You can see a bit of her work here but none of her paintings are on the website yet.

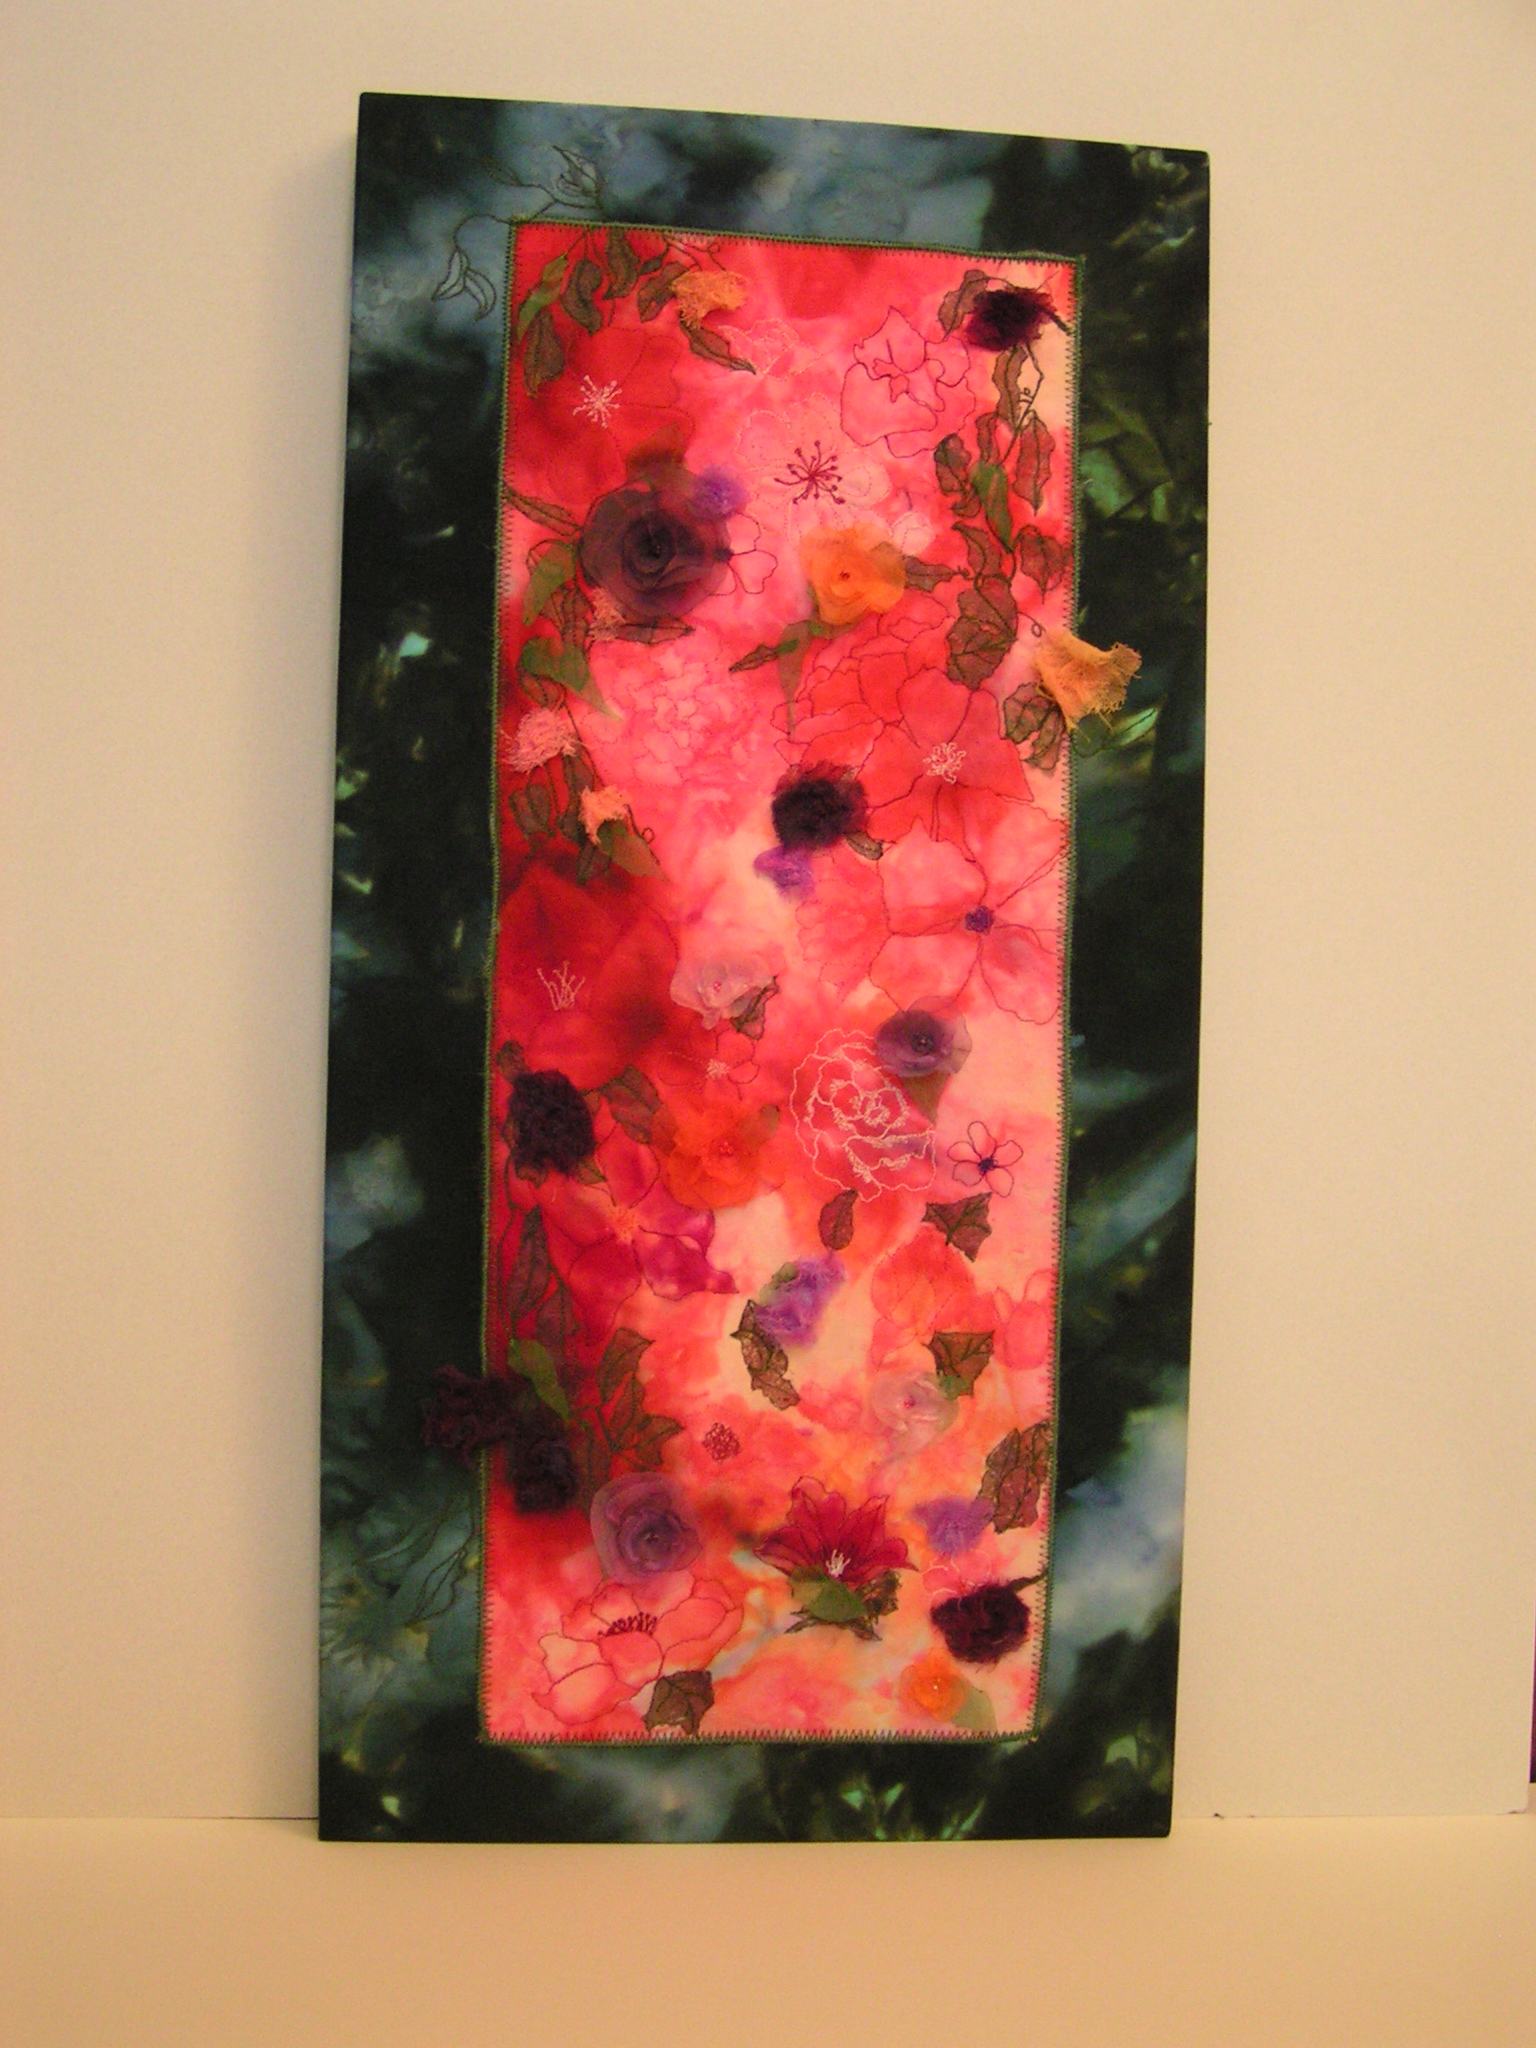
This is a very bad photo of one of Louise’s pieces that she made with the screen printed fabric we made out my house in February. She stretched the fabric over a board frame and then covered it with a cold wax medium. Anyways, she had made up 4 different surfaces for each of use to try. The great thing is you can use old boards or ceiling tiles, cover them with plaster (the kind you use with dry wall and get cheaply at the hardware store), let it dry and build your layers from there. She also applied plaster to burlap, let it dry and then roll it up to crack the plaster to give really cool textures.
 Here is one of my plaster ones that I have cracked and painted with sepia acrylic ink.
 This is one of Carole’s pieces that she painted first and then screen printed with thickened walnut ink.
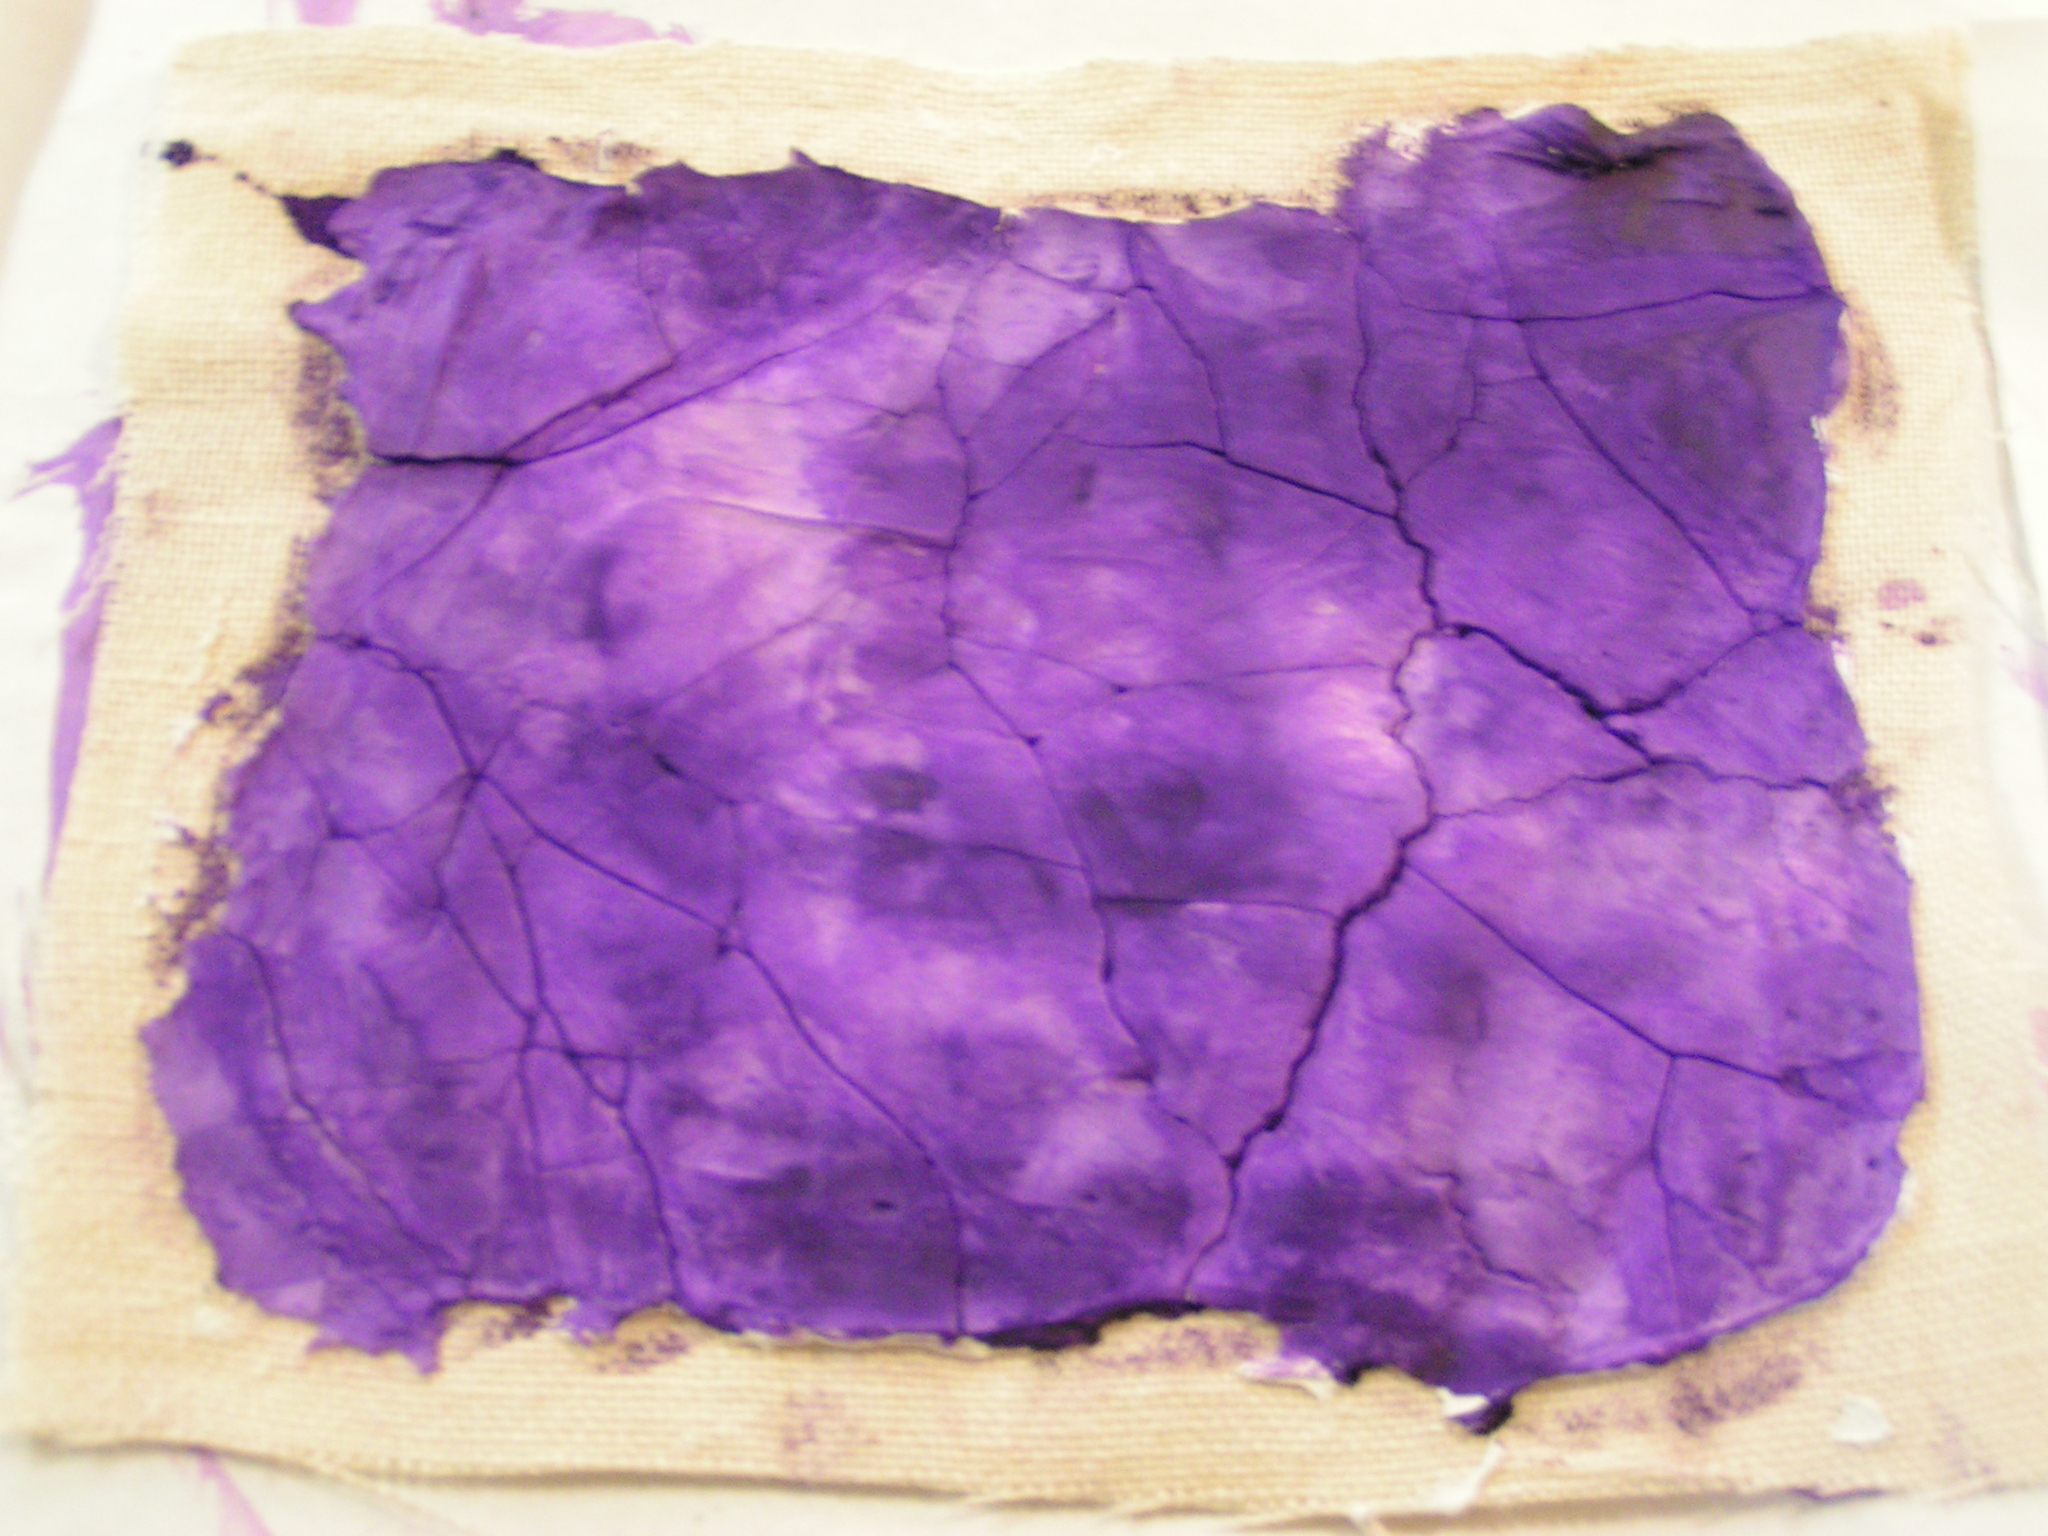 I’m not sure what I’m going to do with this purple one but I was thinking of peeling paint so there will be multiple layers and it won’t end up to be bright purple.
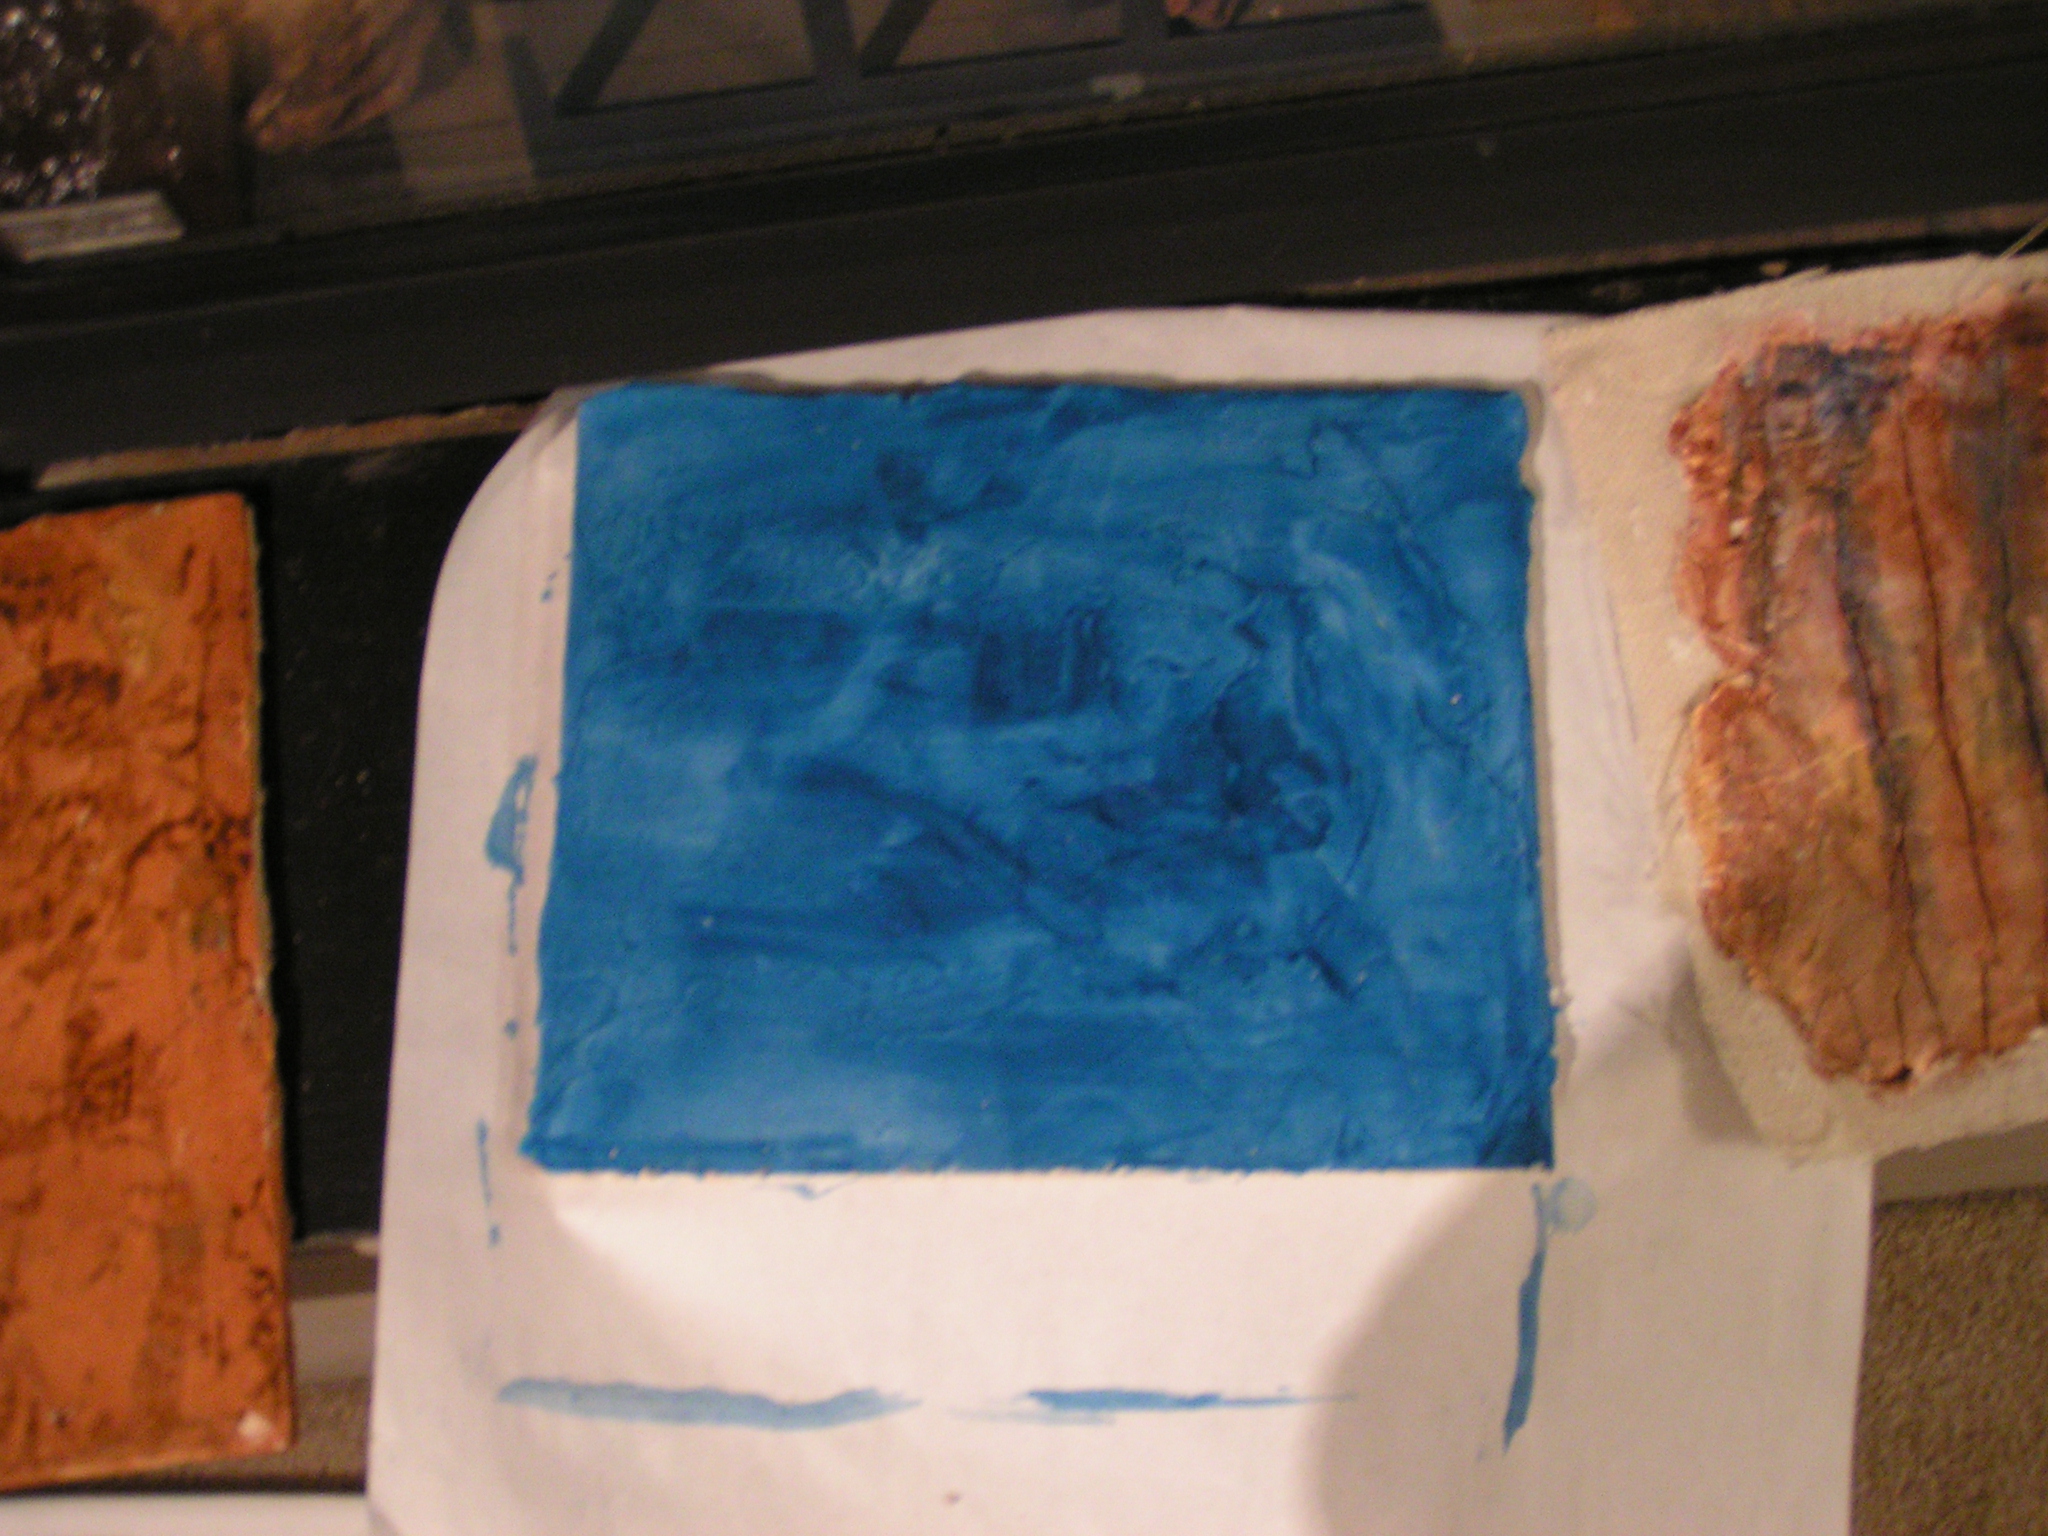 The blue one in the middle is plaster on a ceiling tile – it is drying. I thought I would try a gel medium transfer on this one.
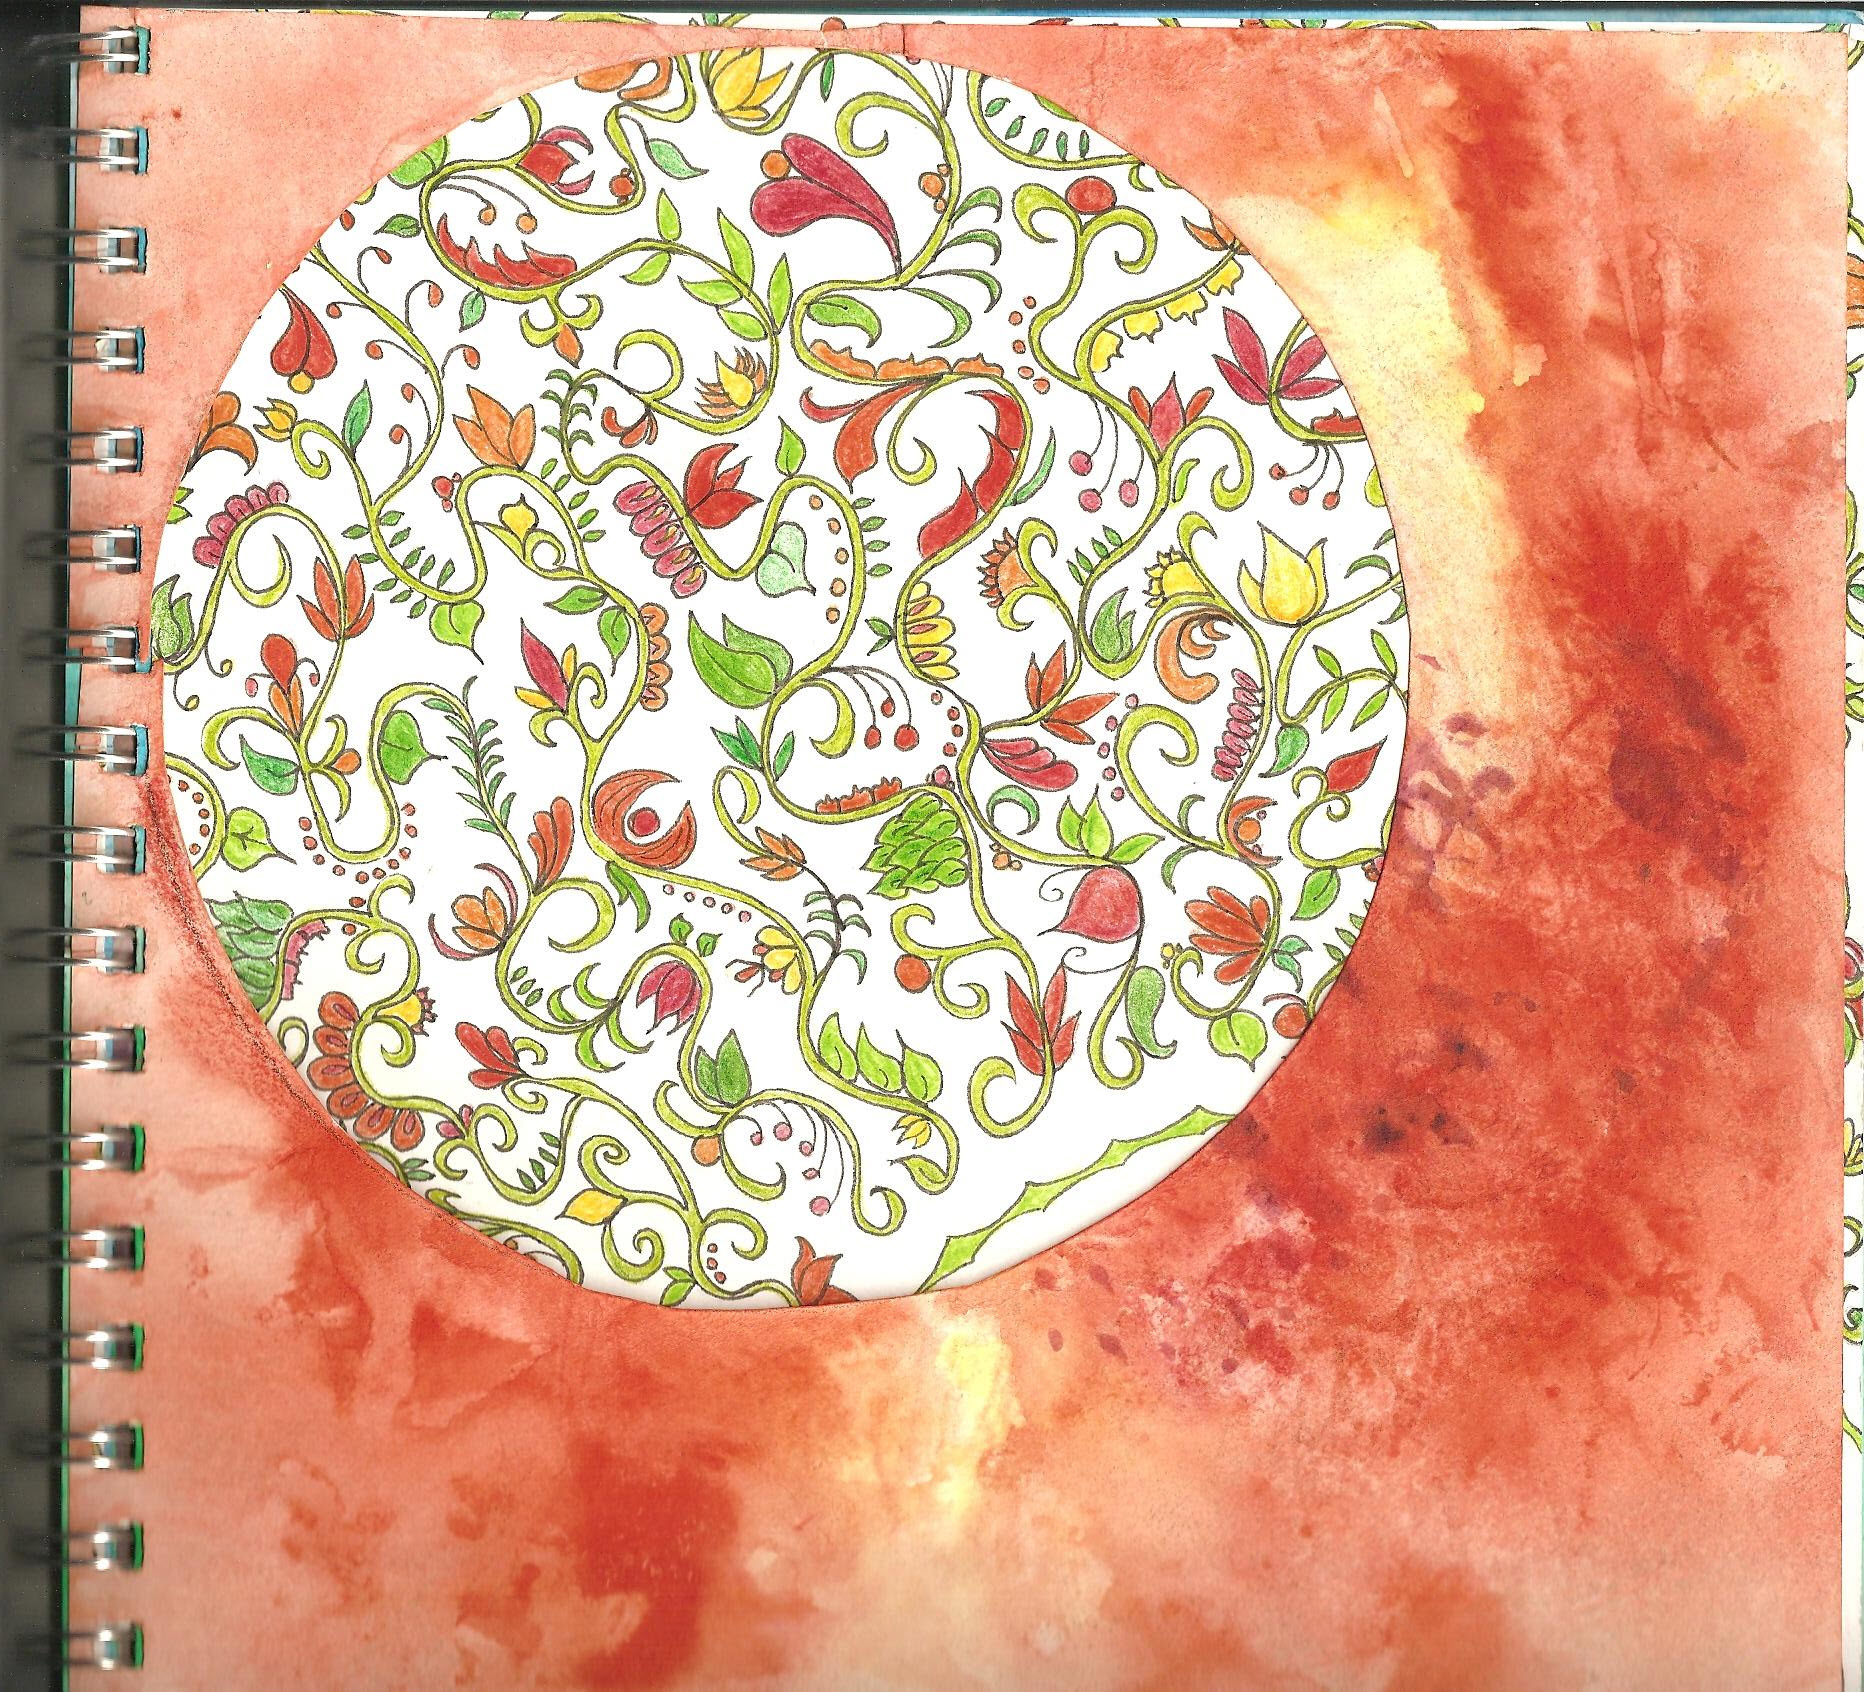
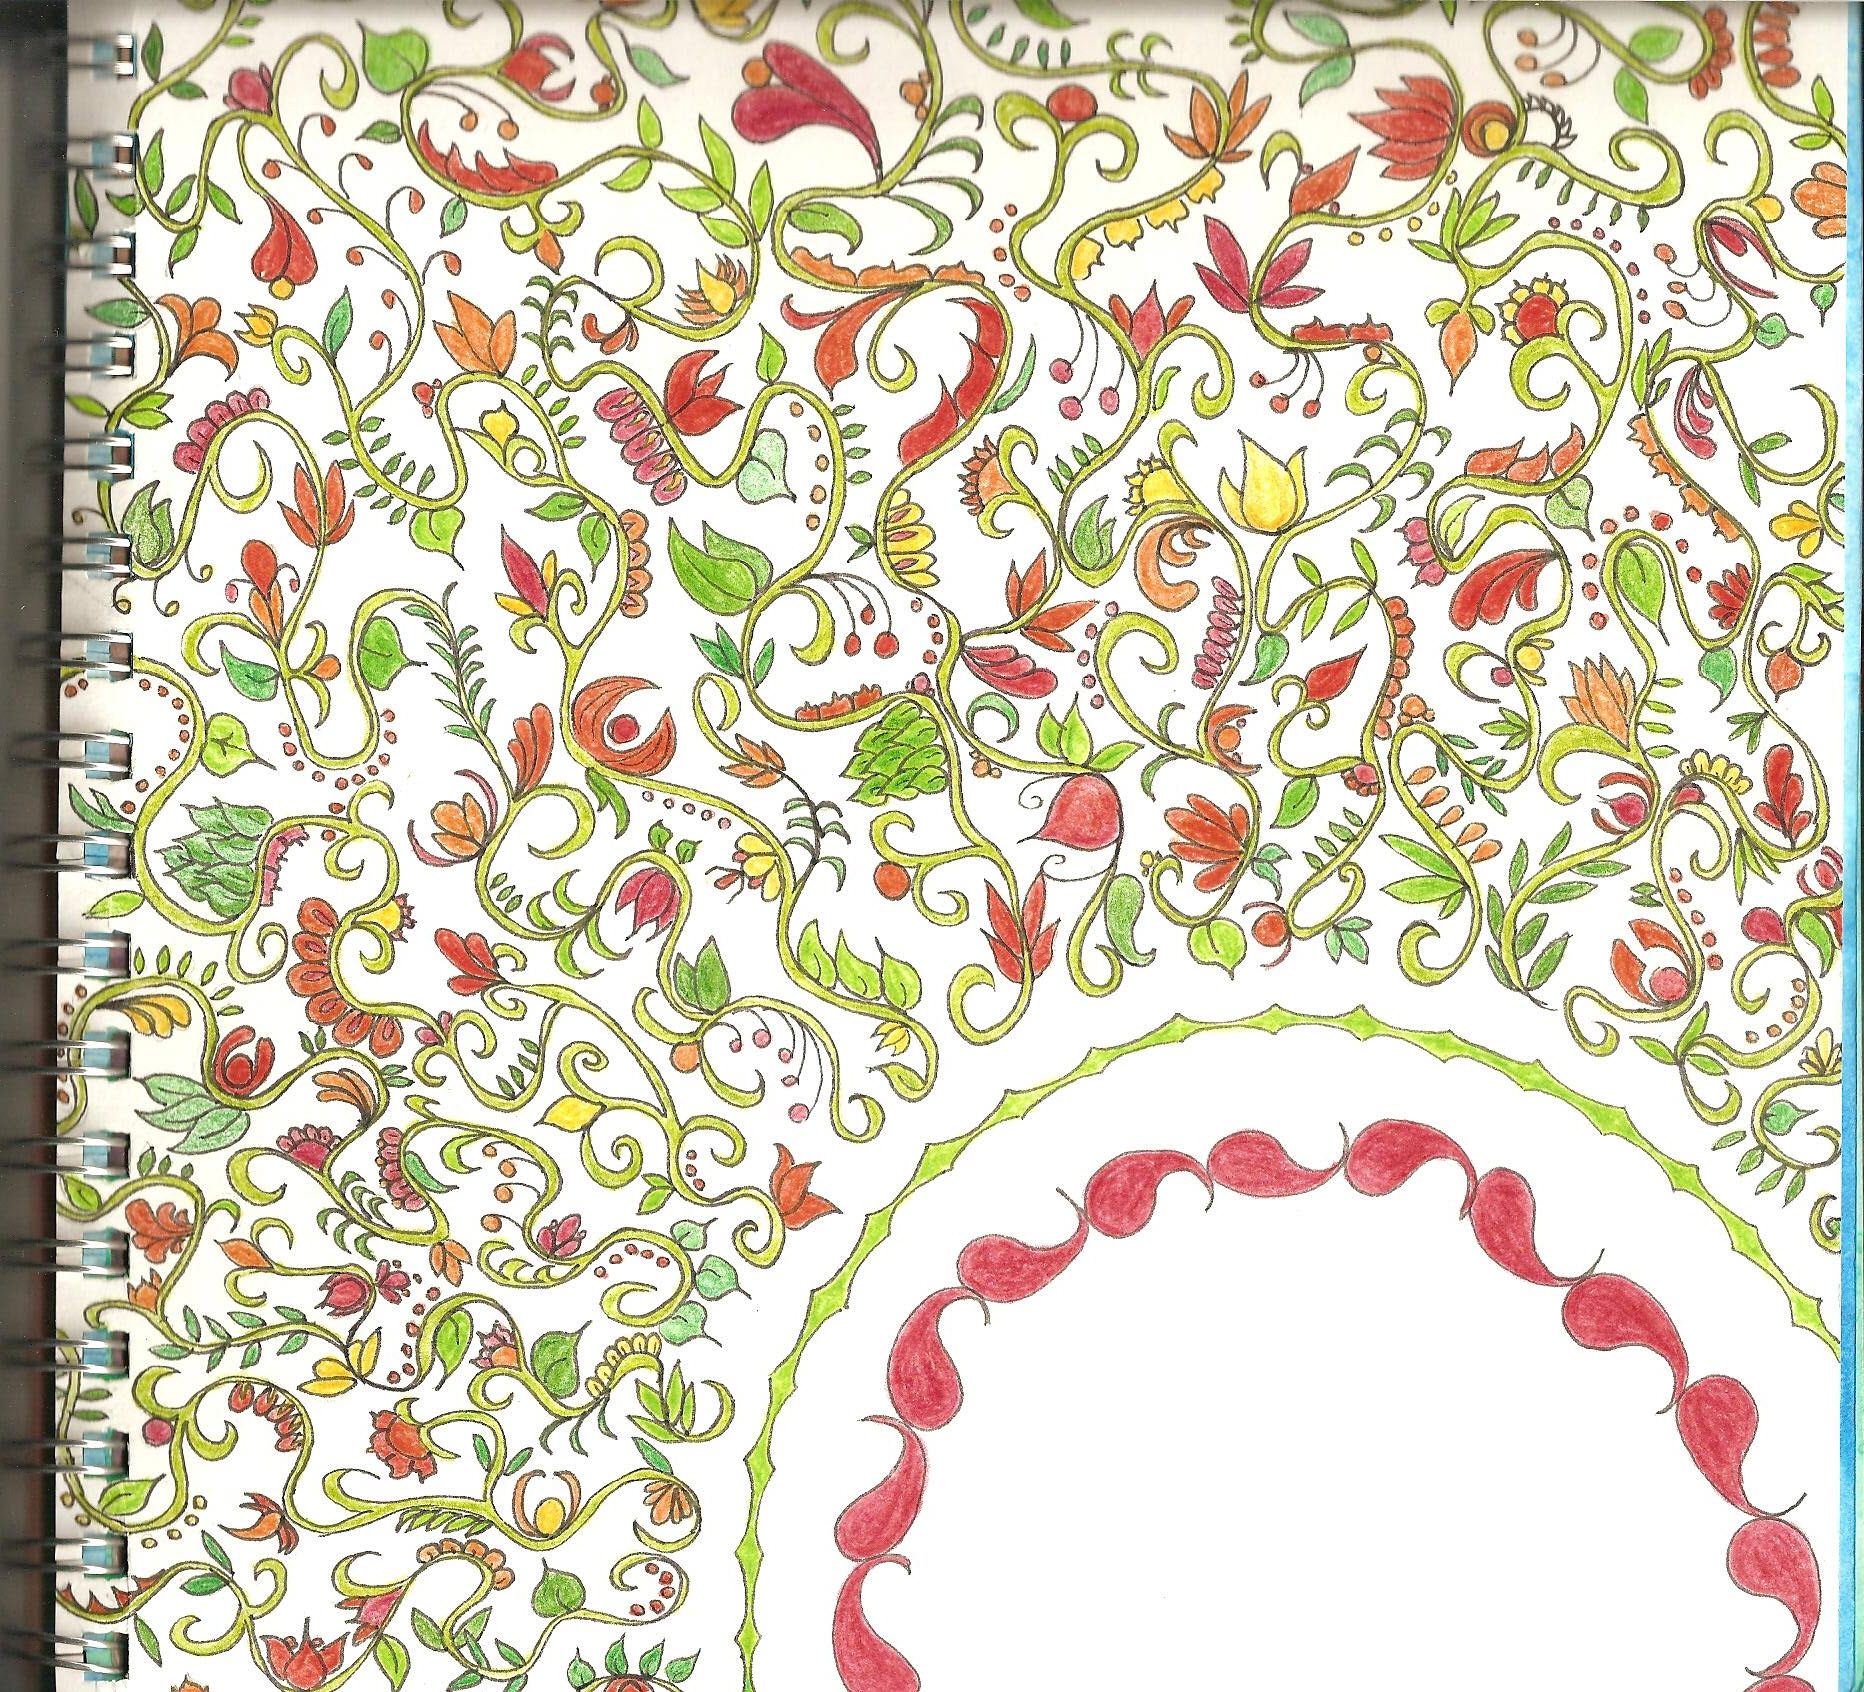
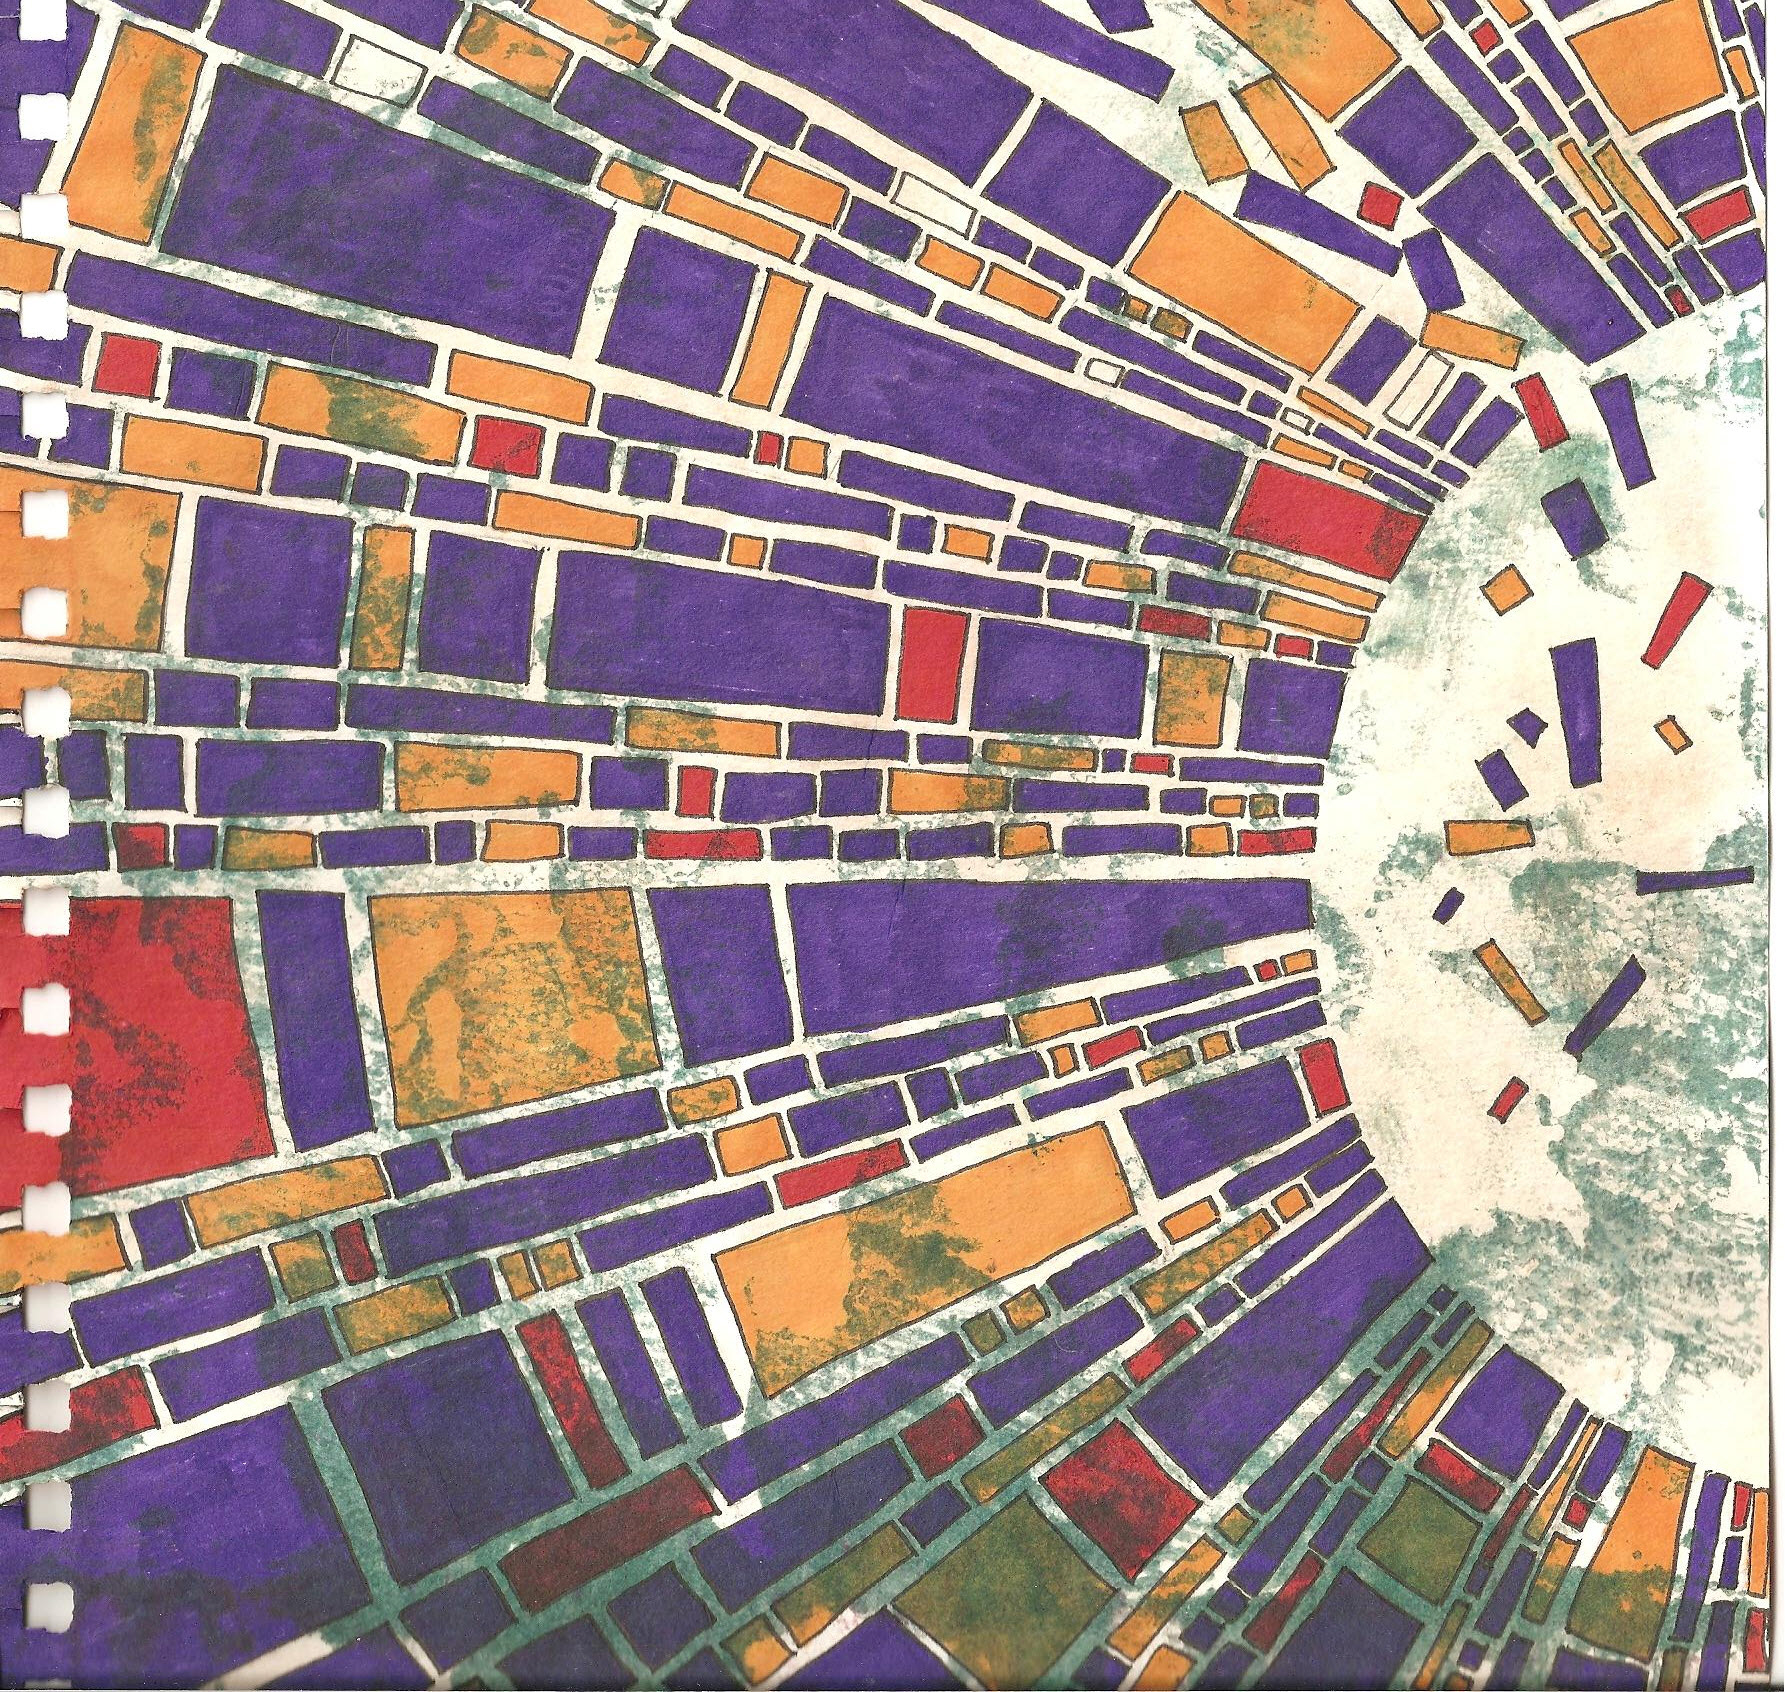
 I printed out one of my circle sketchbook drawings and painted it with gel medium. But I was too impatient to let it dry completely. Plus it is done on an inkjet printer and should have been printed with a laser printer.
 So after it was dry to the touch (not long enough), I put it in water and rubbed the paper off the back surface. So it really faded and I tore it in several places. I didn’t end up using it on my blue plaster piece. Instead, I am using a nail to incise the pattern in the plaster and then I’m going to paint the design. I’ll show you that one later.
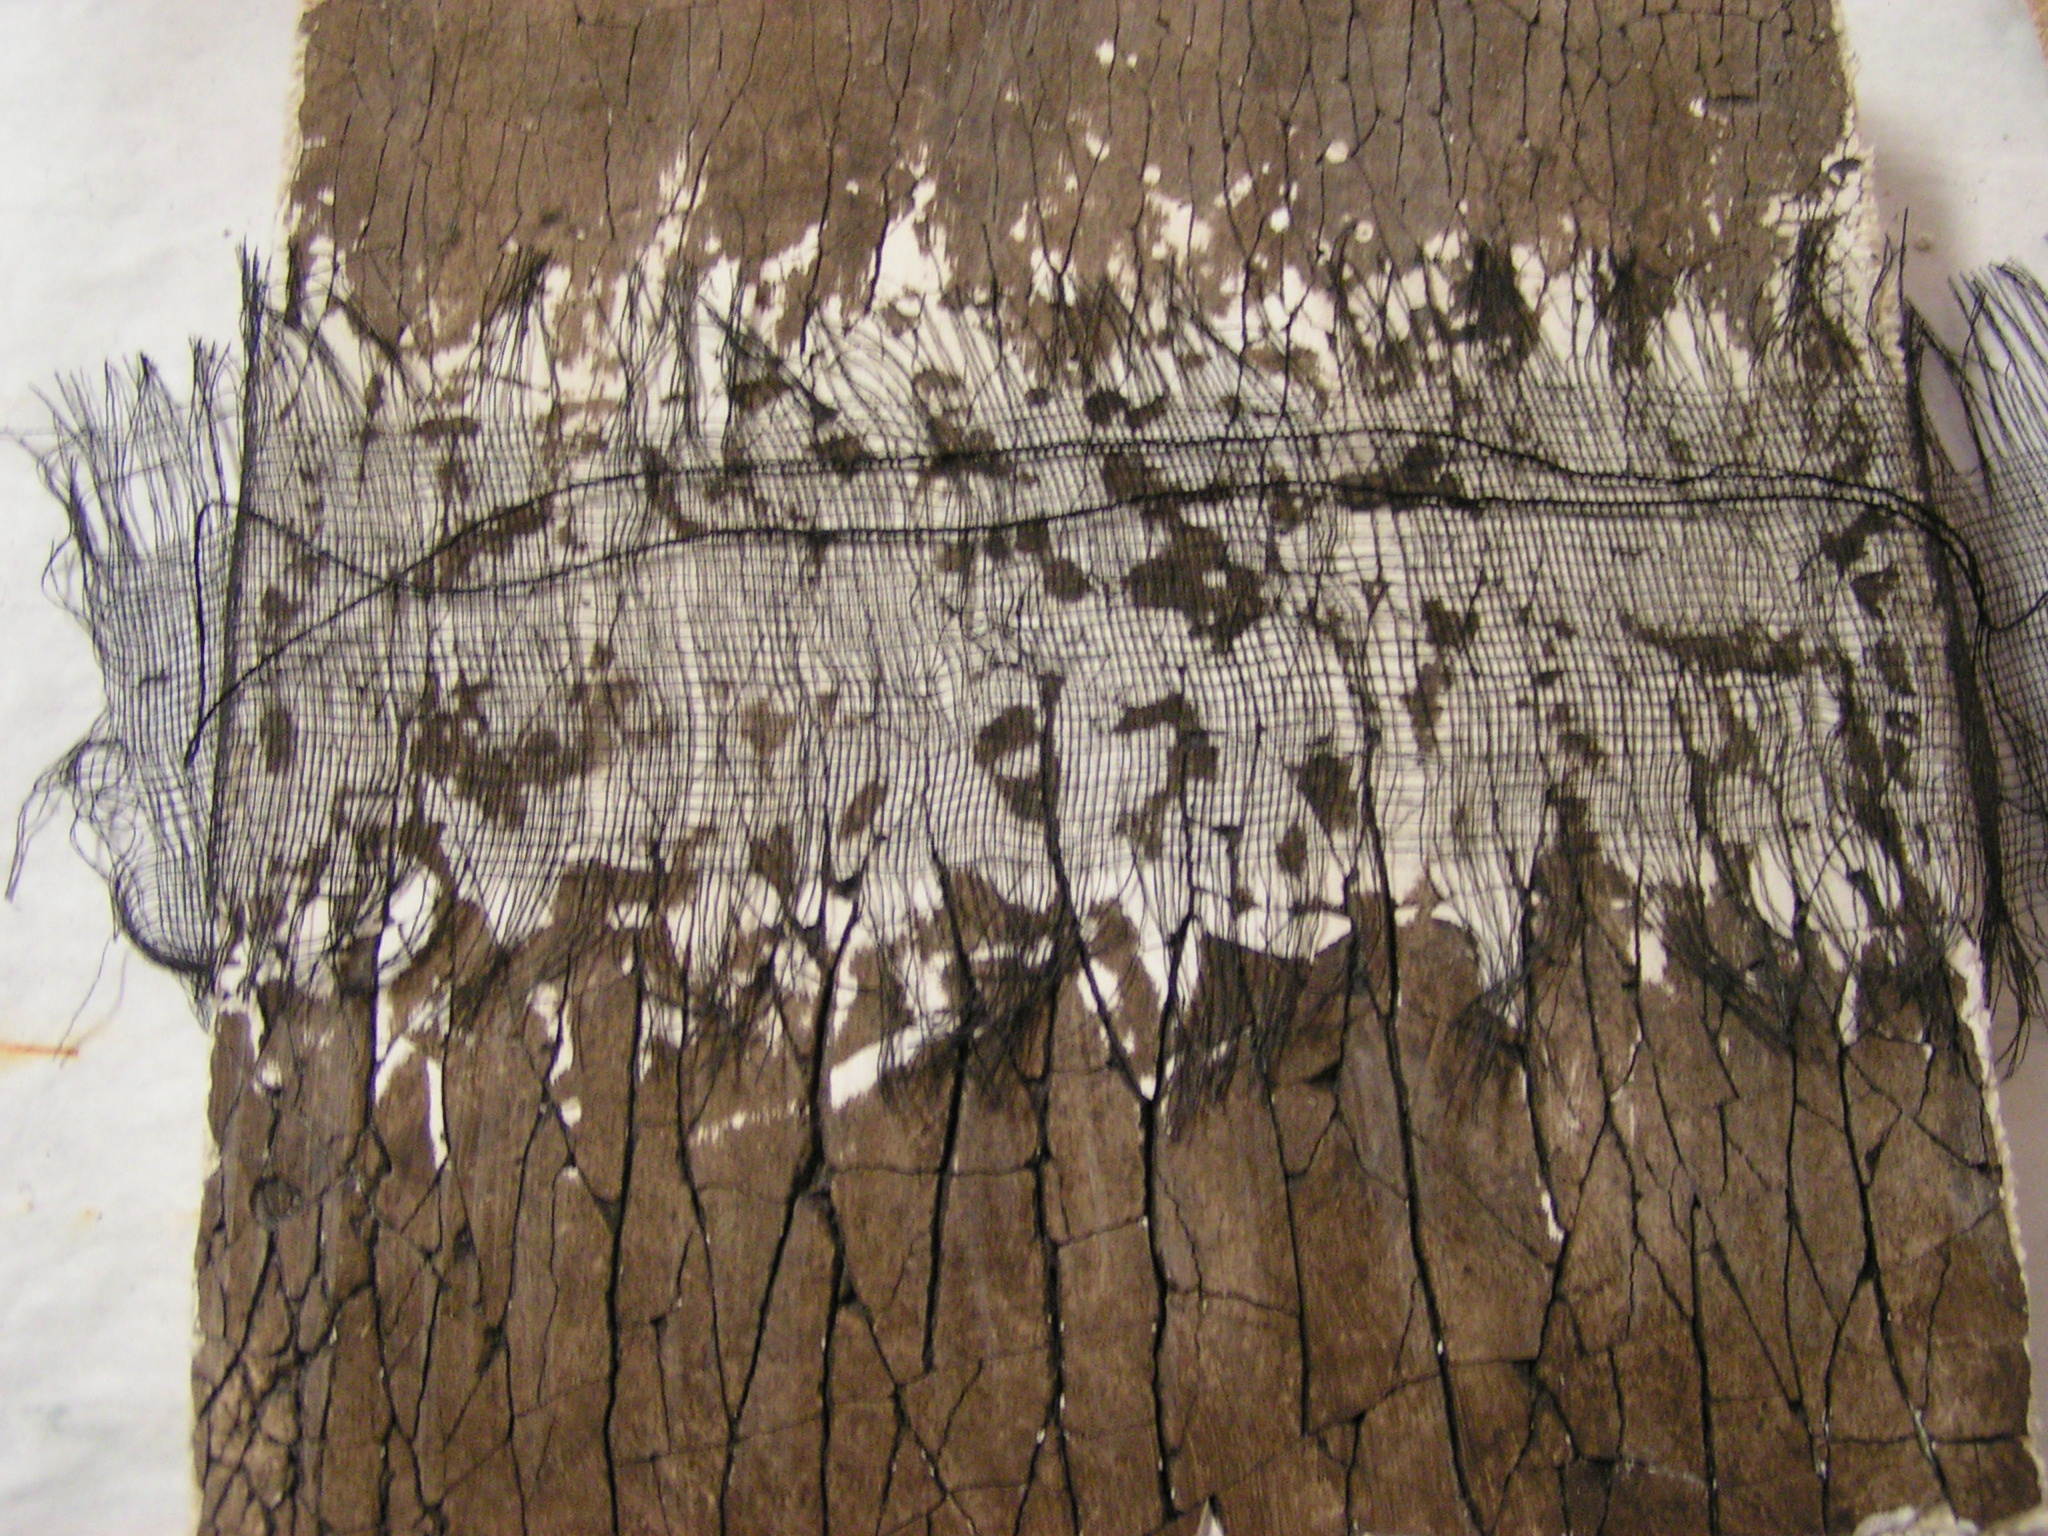 Here is Louise’s “bark piece”. She sanded it down in the middle to get the white and then is contemplating adding the fabric and string to it. It will be finished with a layer of wax.
 I sanded my brown crackled piece and then added more color back in with oil paint sticks.
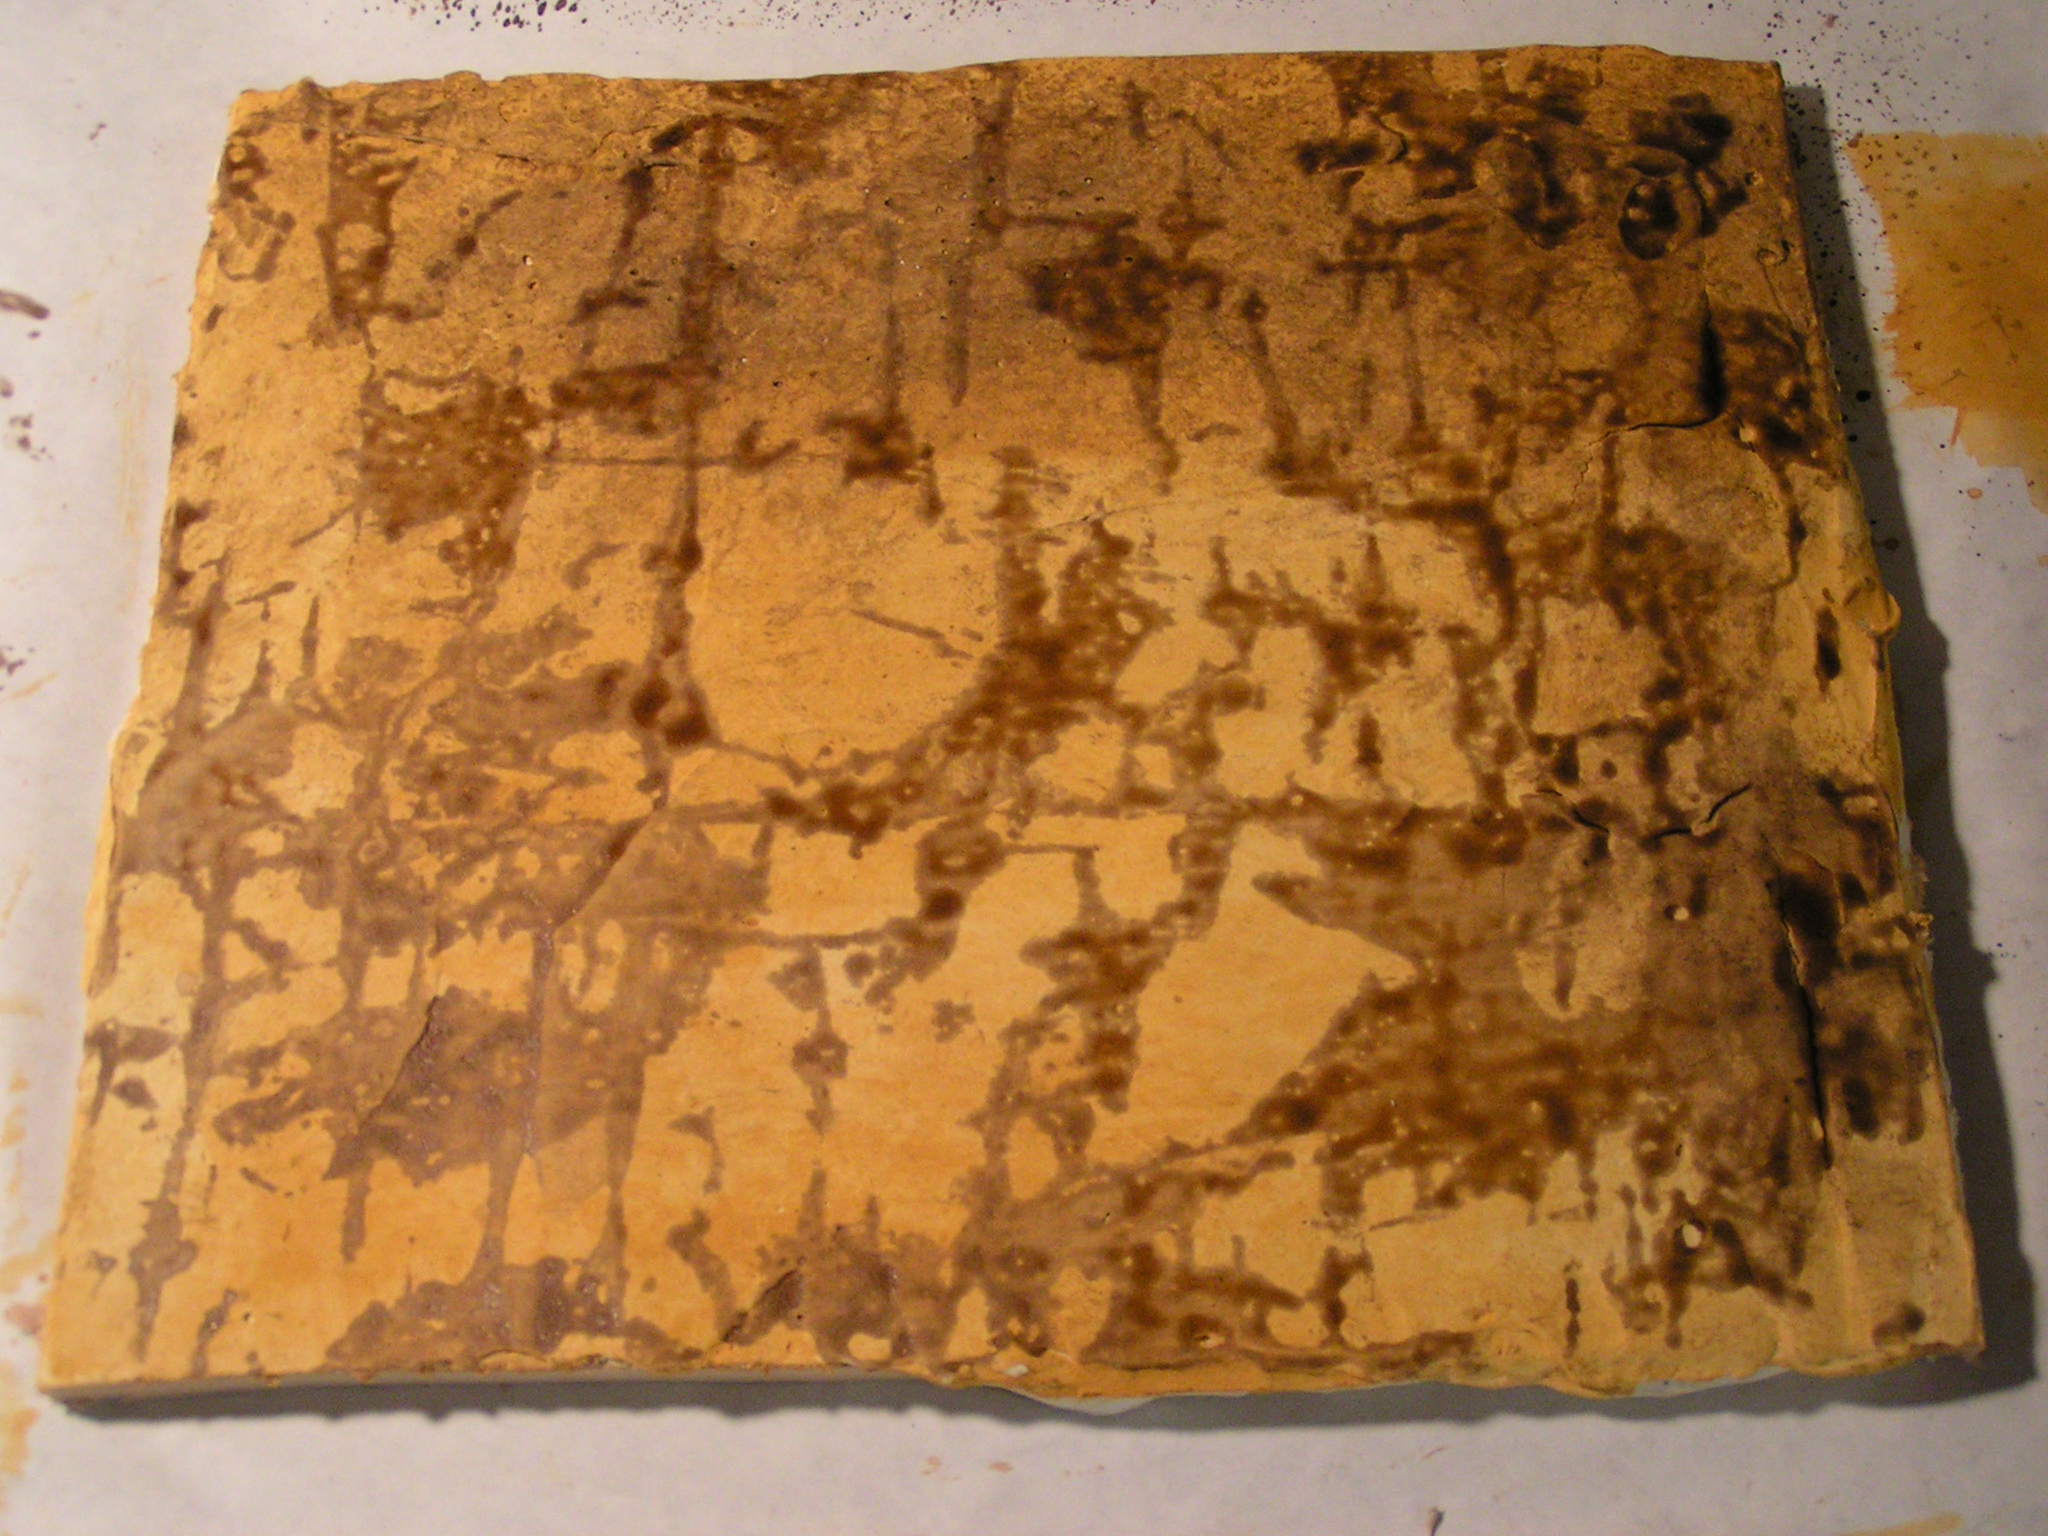
This one, I painted and then silk screened. I should have stopped there and though through what I wanted to do but instead –
 I plunged ahead and added more color on top with a stencil. It looked very leopard like so I added more color. And now I don’t think much of it. But I brought it home and added some walnut ink layers. It looks a little better but I’m not sure where it’s going. You can add layers of sheer fabric, organic matter or whatever you like.
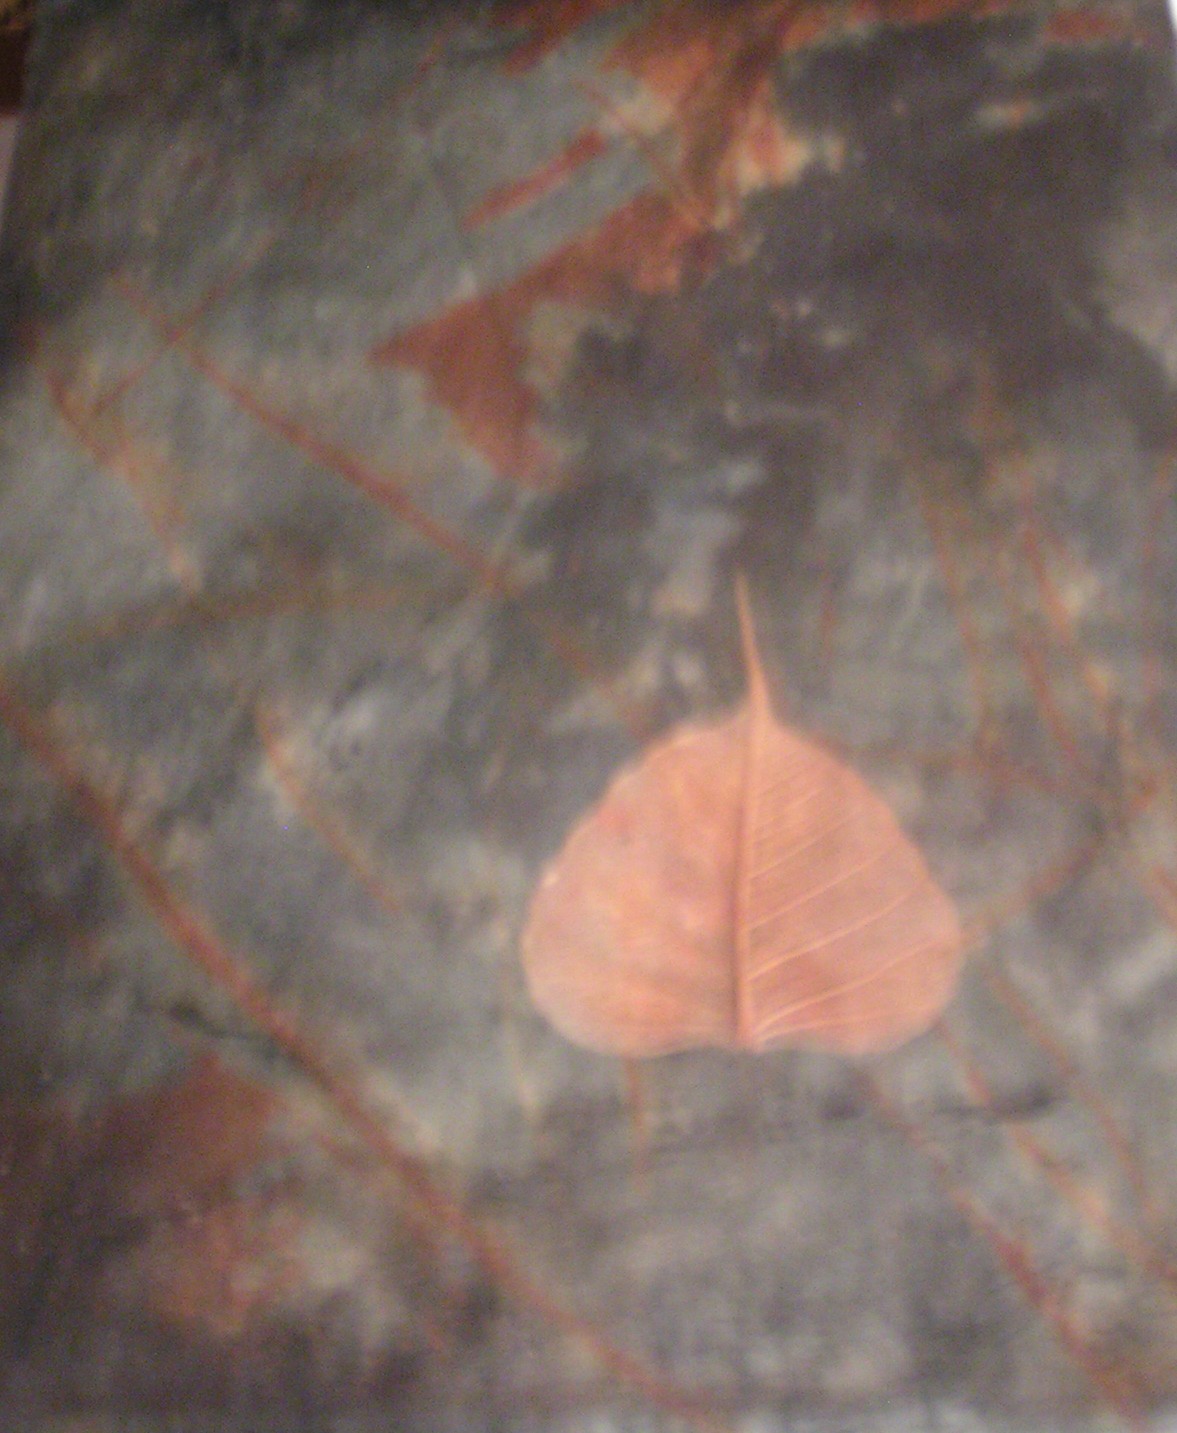 This is one of Louise’s with a leaf added. The only problem is that now I have 4 pieces started with only the base layers. I now have 4 projects to finish and little idea of where I’m going with the designs. I am really going to have to just allow myself to “play” with these and not stress over what the end result is. We’ll see how that goes – I’ll show you my progression as I go along.