


Here are the results from the screen printing session yesterday. The top photos are on fabric and the bottom ones on sketchbook paper. I added the “trilobite” print to the sketchbook page to see if I like how it looked.
Here are the results from the screen printing session yesterday. The top photos are on fabric and the bottom ones on sketchbook paper. I added the “trilobite” print to the sketchbook page to see if I like how it looked.
I finished up a couple of more notebook covers this week. I used another piece of my soy wax batik fabric which was big enough to make two covers. I quilted the fabric and then stitched the cover together with more of the “hand written” fabric for the inside.

Here’s one of the covers.
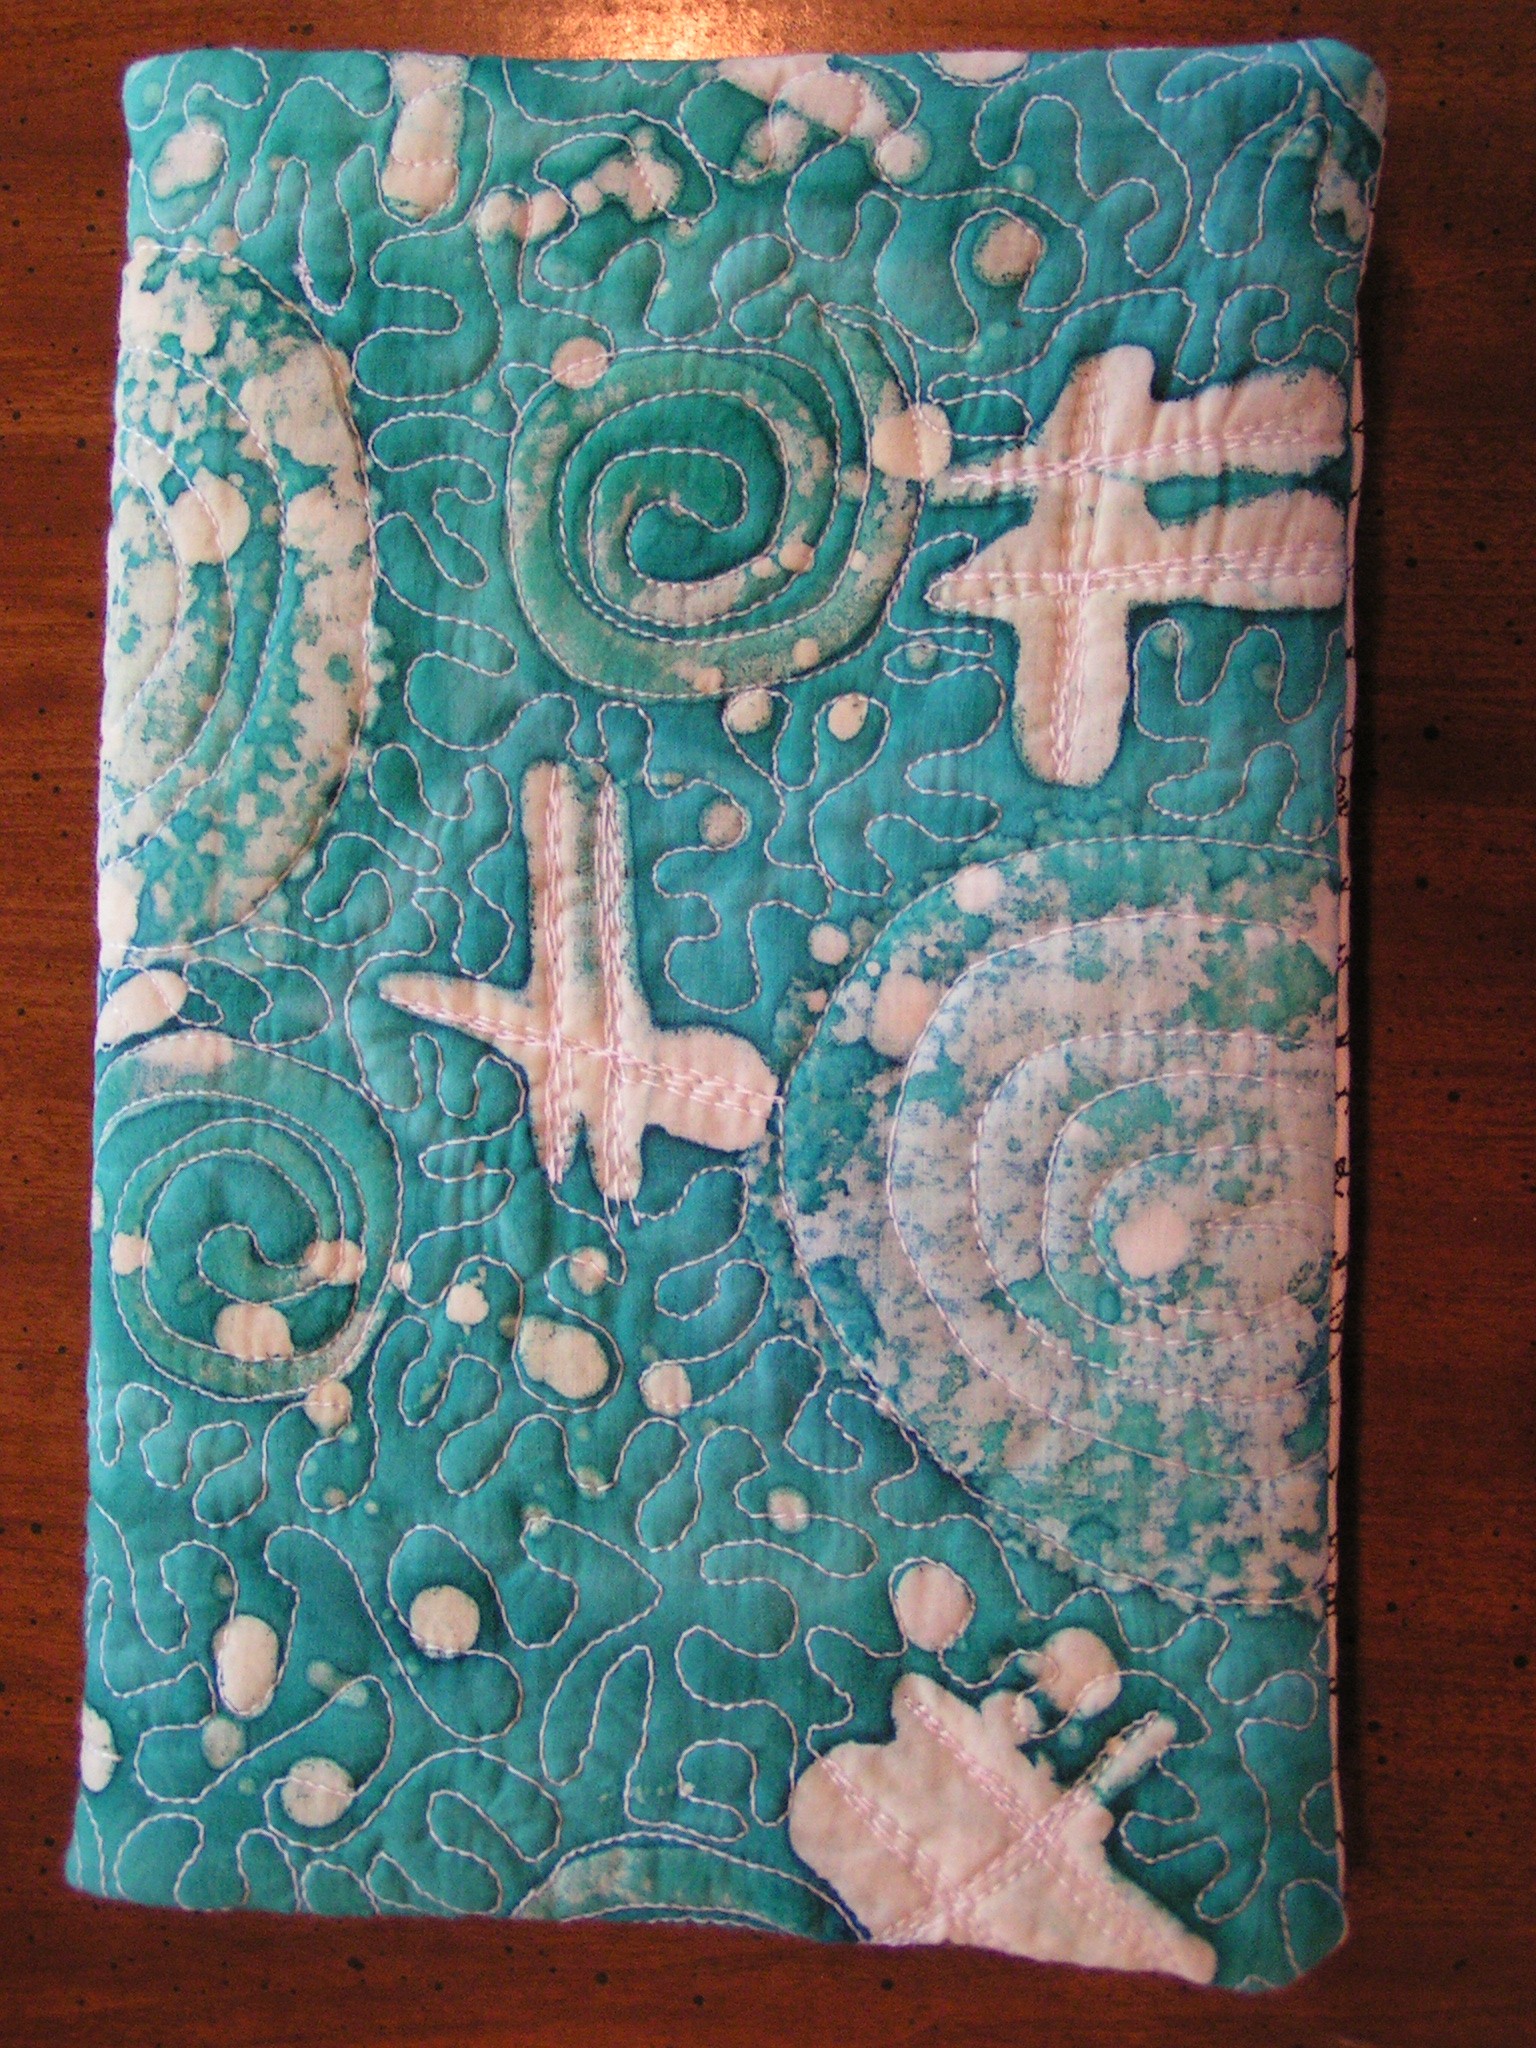
And this is the second one. I decided to use just white thread and not add another color.
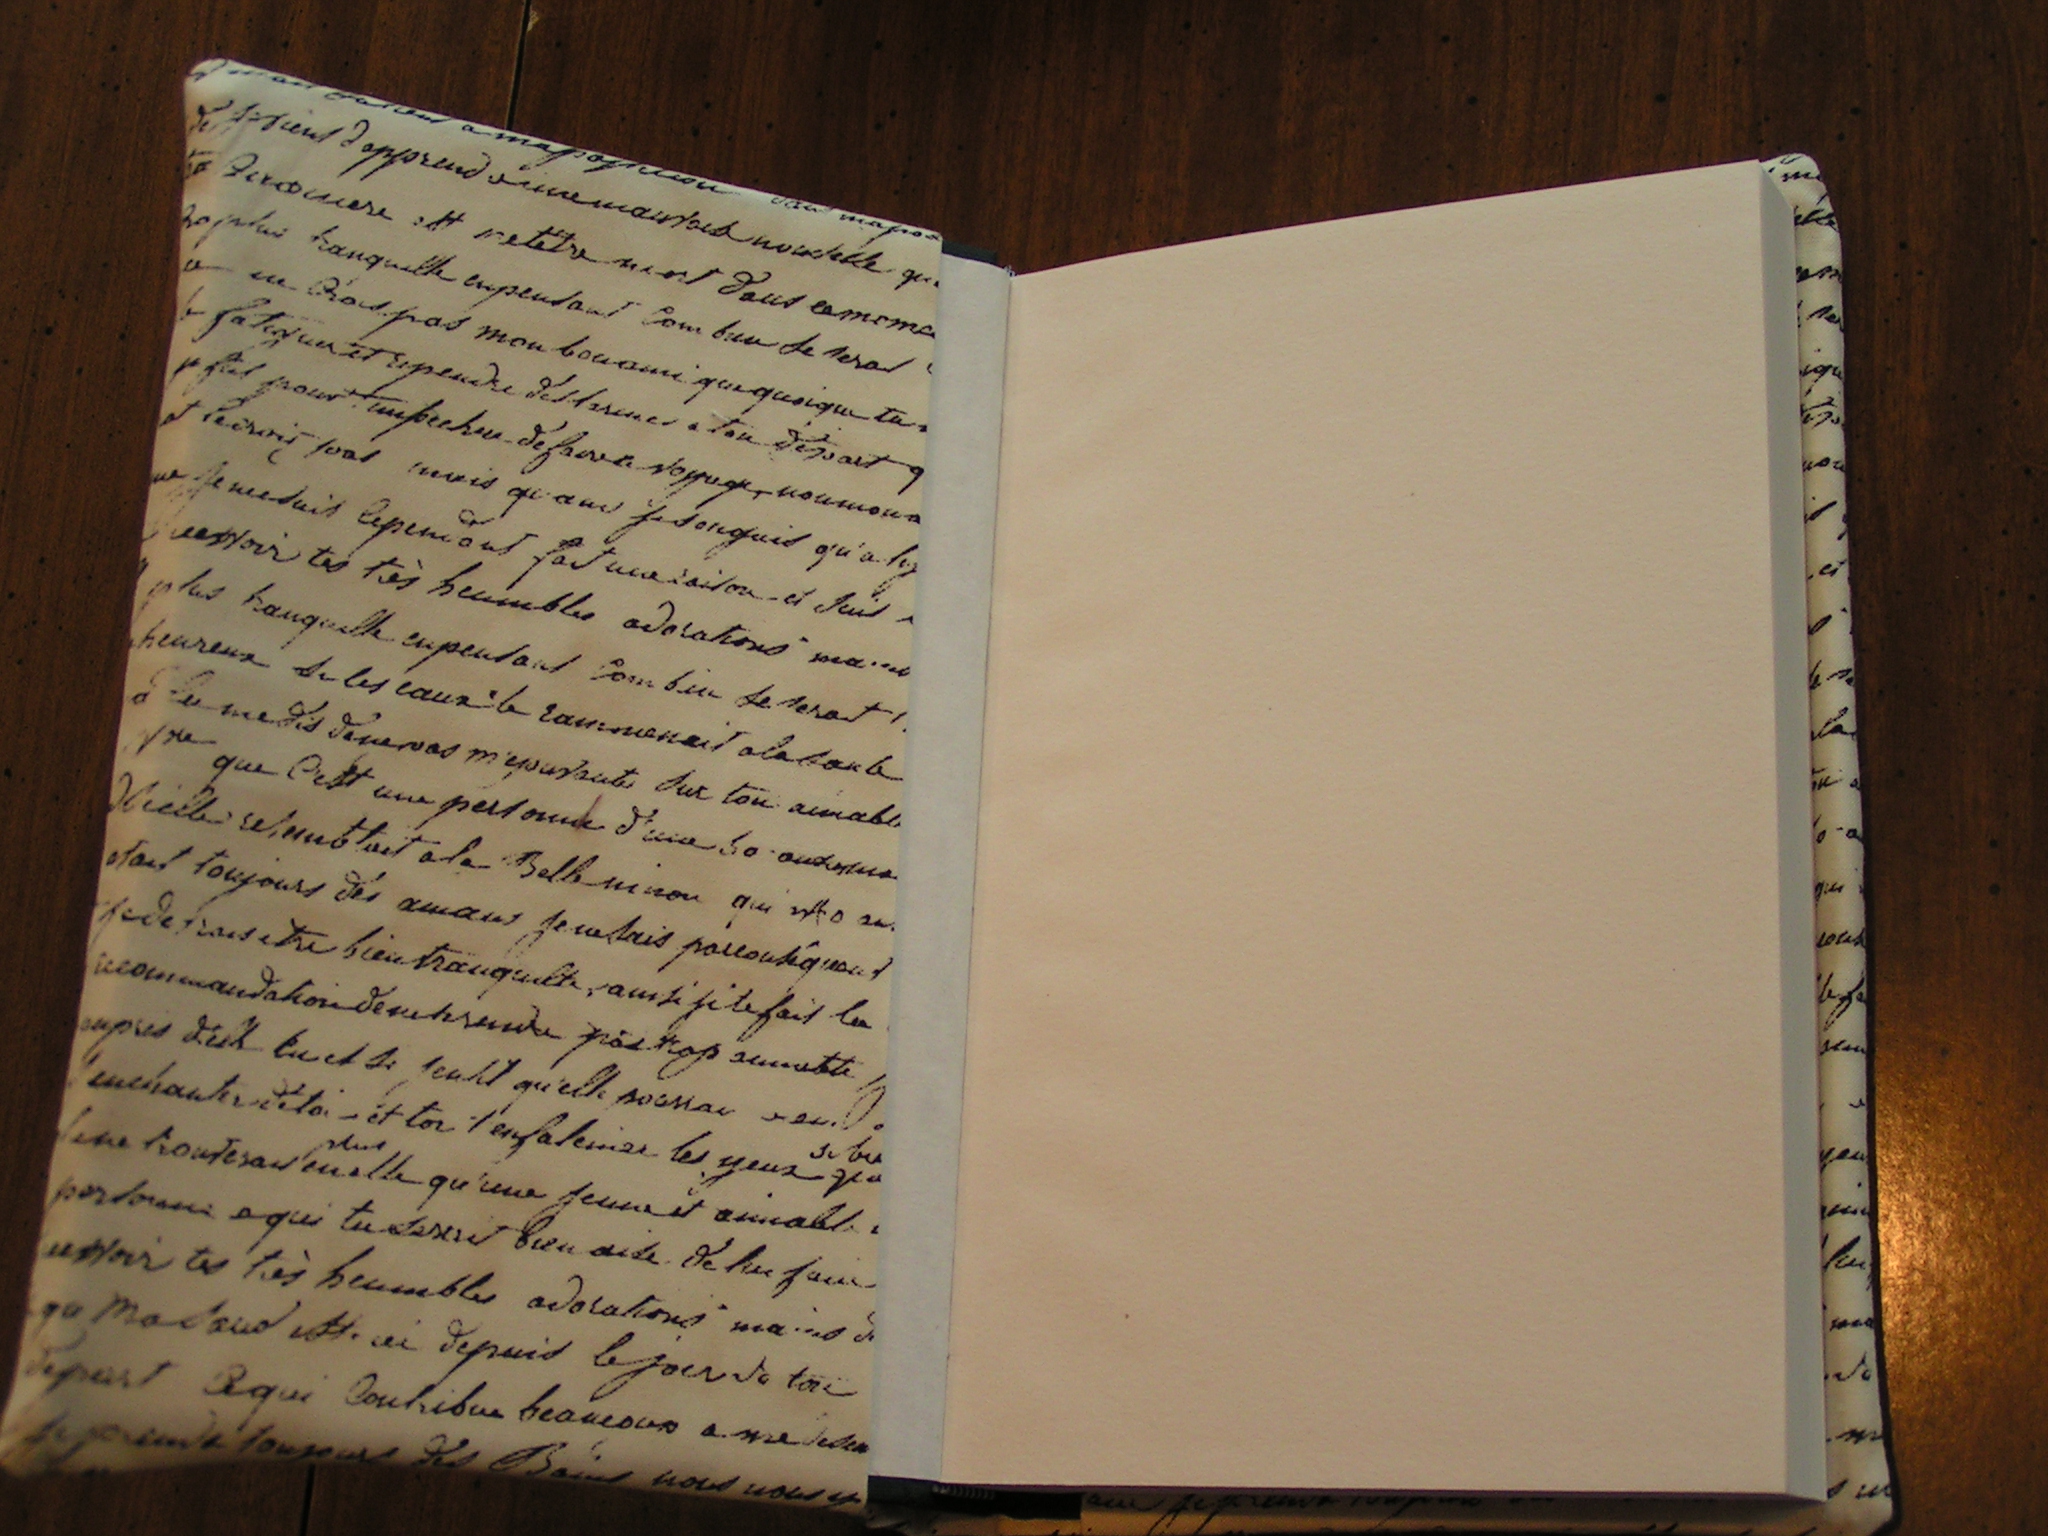
I finally got these to fit almost exactly. The trick for me was adding 3/8″ seam allowance and stitching a 1/4″ seam.

So three down and two to go. The one that was too big and the one that was to small, don’t count 🙂
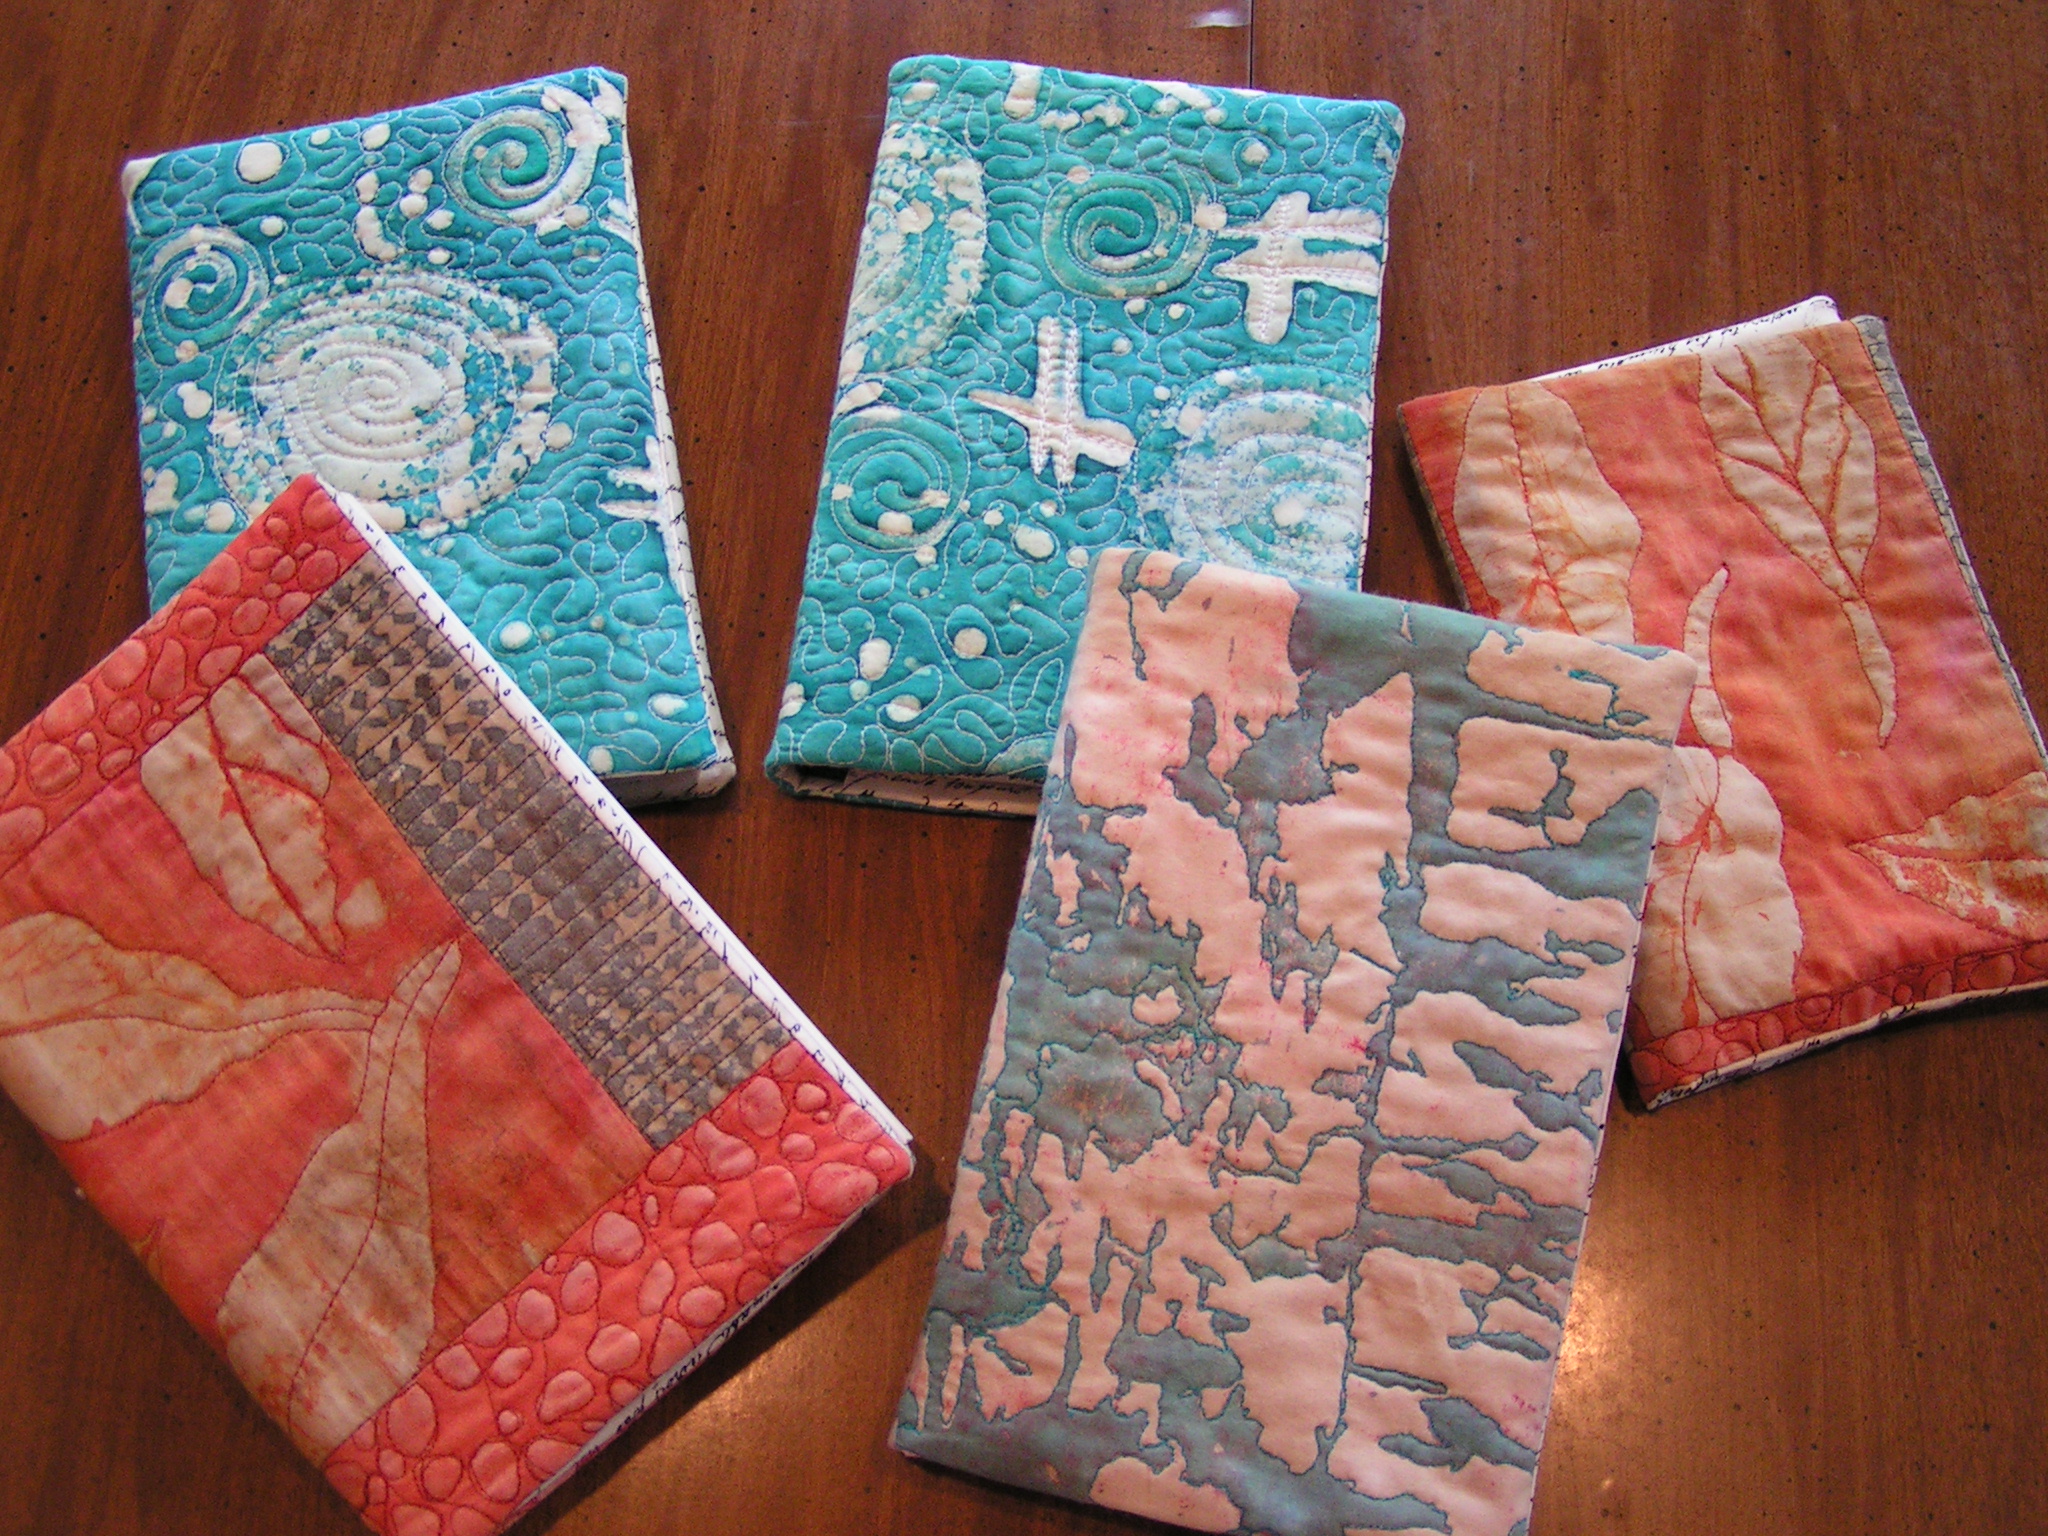
And here they are all together. I hope that they sell well because they are pretty simple to put together and I have a lot more fabric to use up. If you want to hear about our break down screen printing session, check out my post over at The Felting and Fiber Studio tomorrow.
My local group is planning another session of screen printing. We had such a good time and successful day last time that we decided to repeat the process.
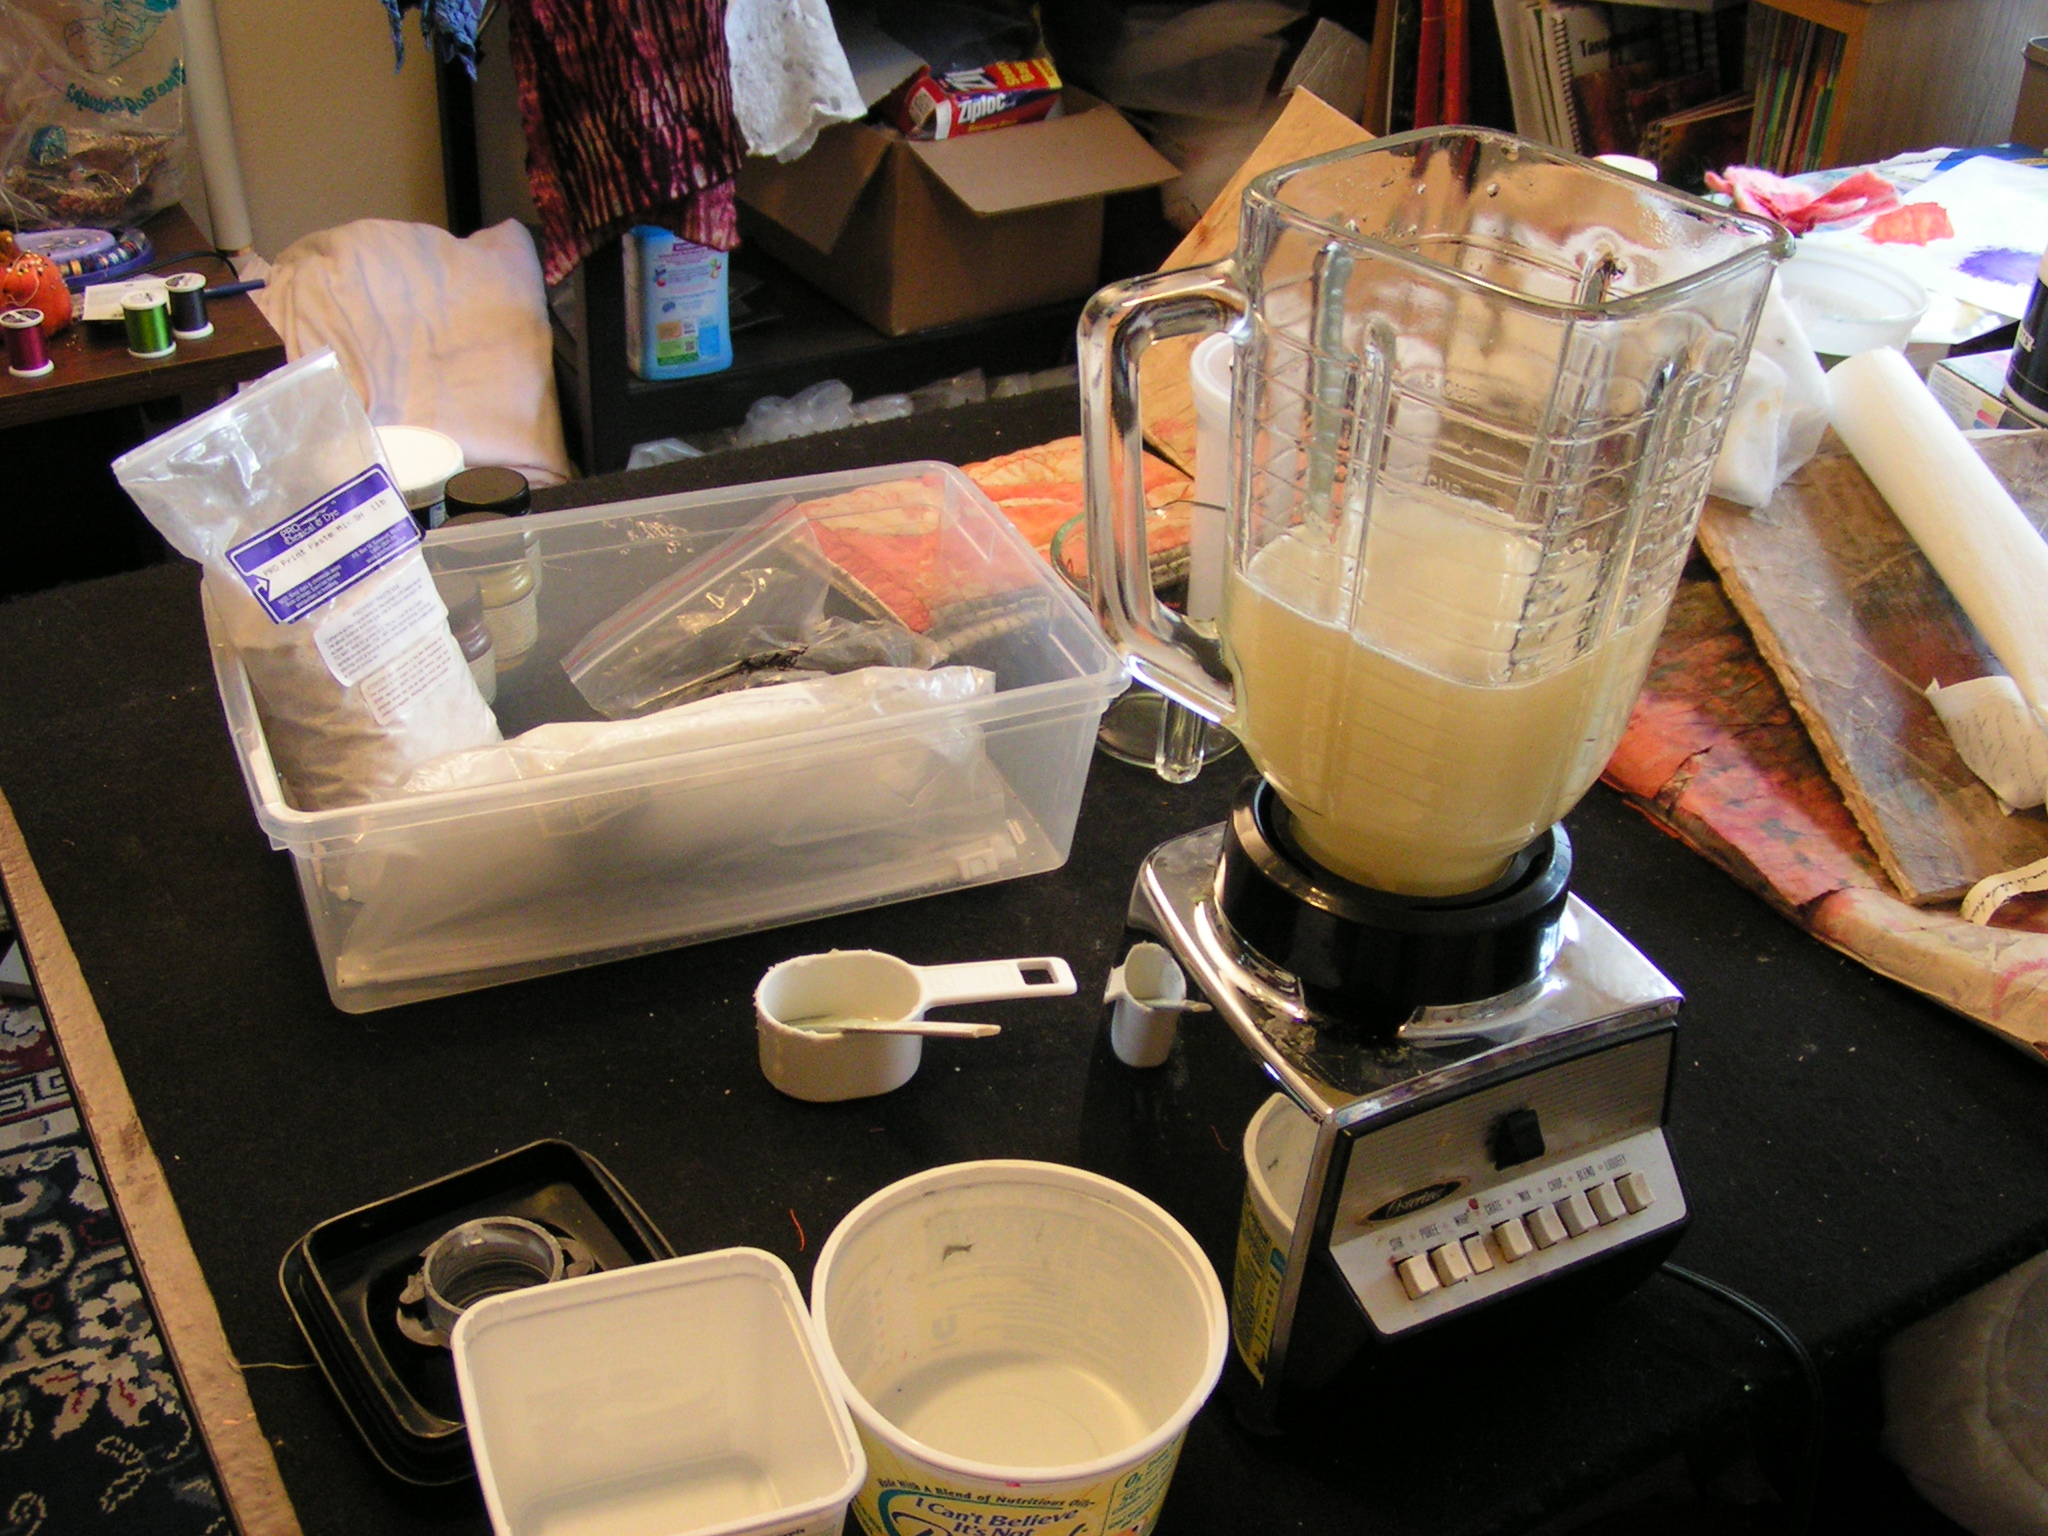
So I mixed up some print paste. You can buy it ready to go without having to mix any extra chemicals. You just add water and whir it up in the blender. I use this blender just in the studio.

This is the print paste I used. I only needed a little over a 1/4 cup for 2 cups of paste. We made tons of prints last time with 2 cups of paste. We can always make more if we need it.
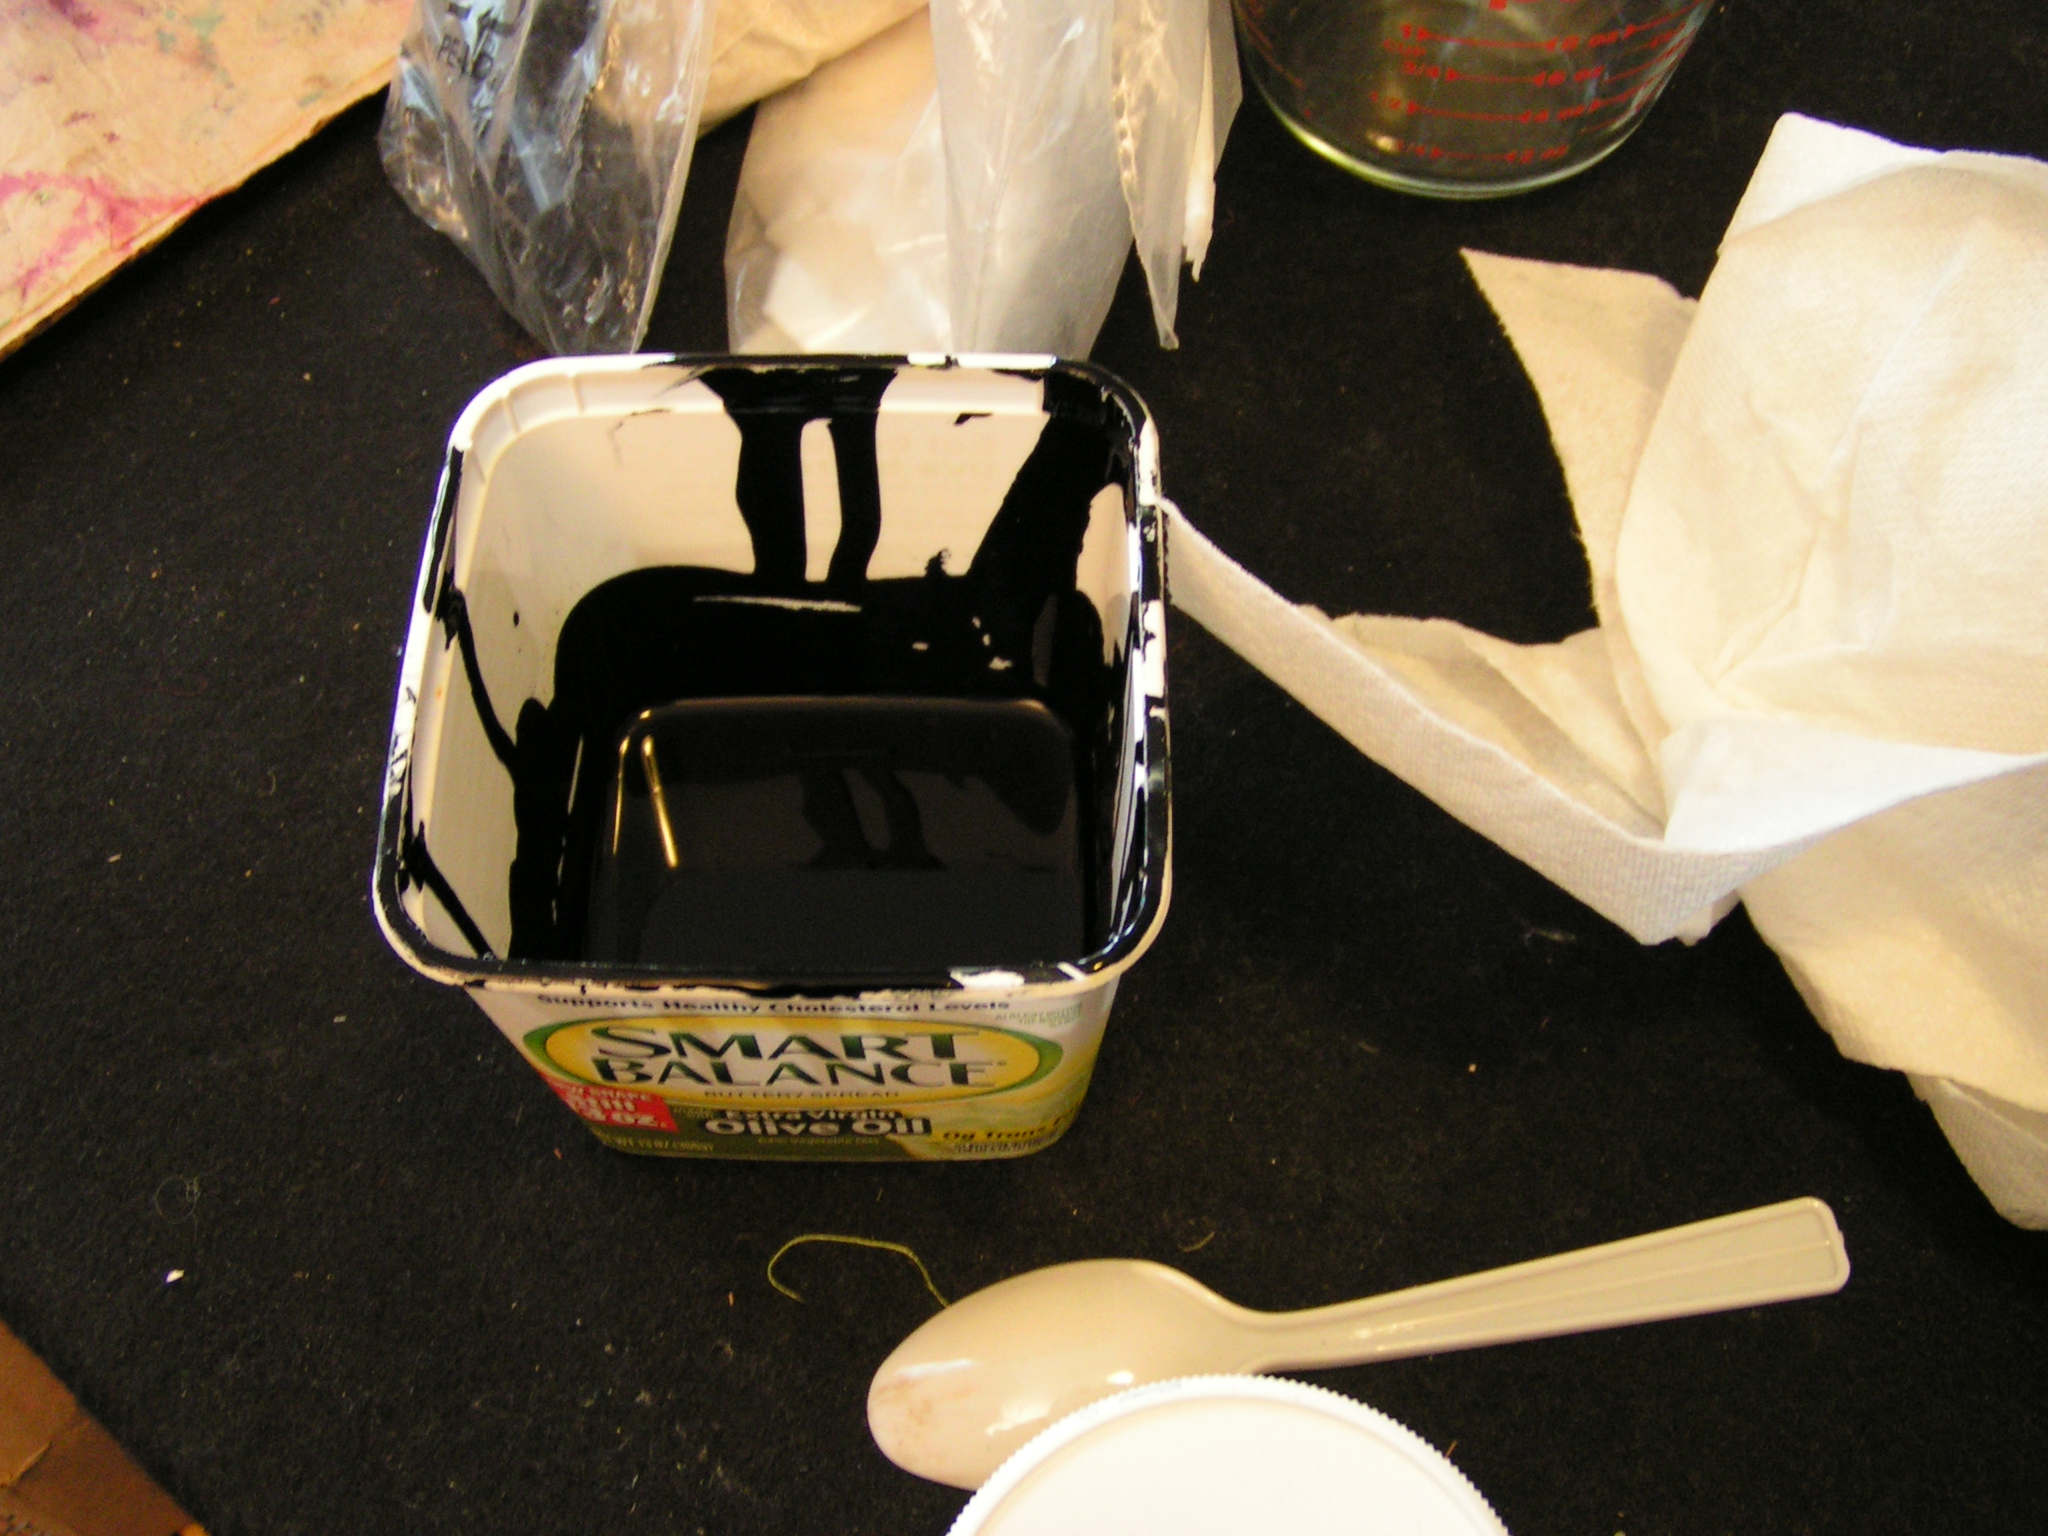
Then I added dye powder to a very small amount of print paste. This is the black one and I also mixed a green. We’ll add more colors later when we screen through the readied screens.
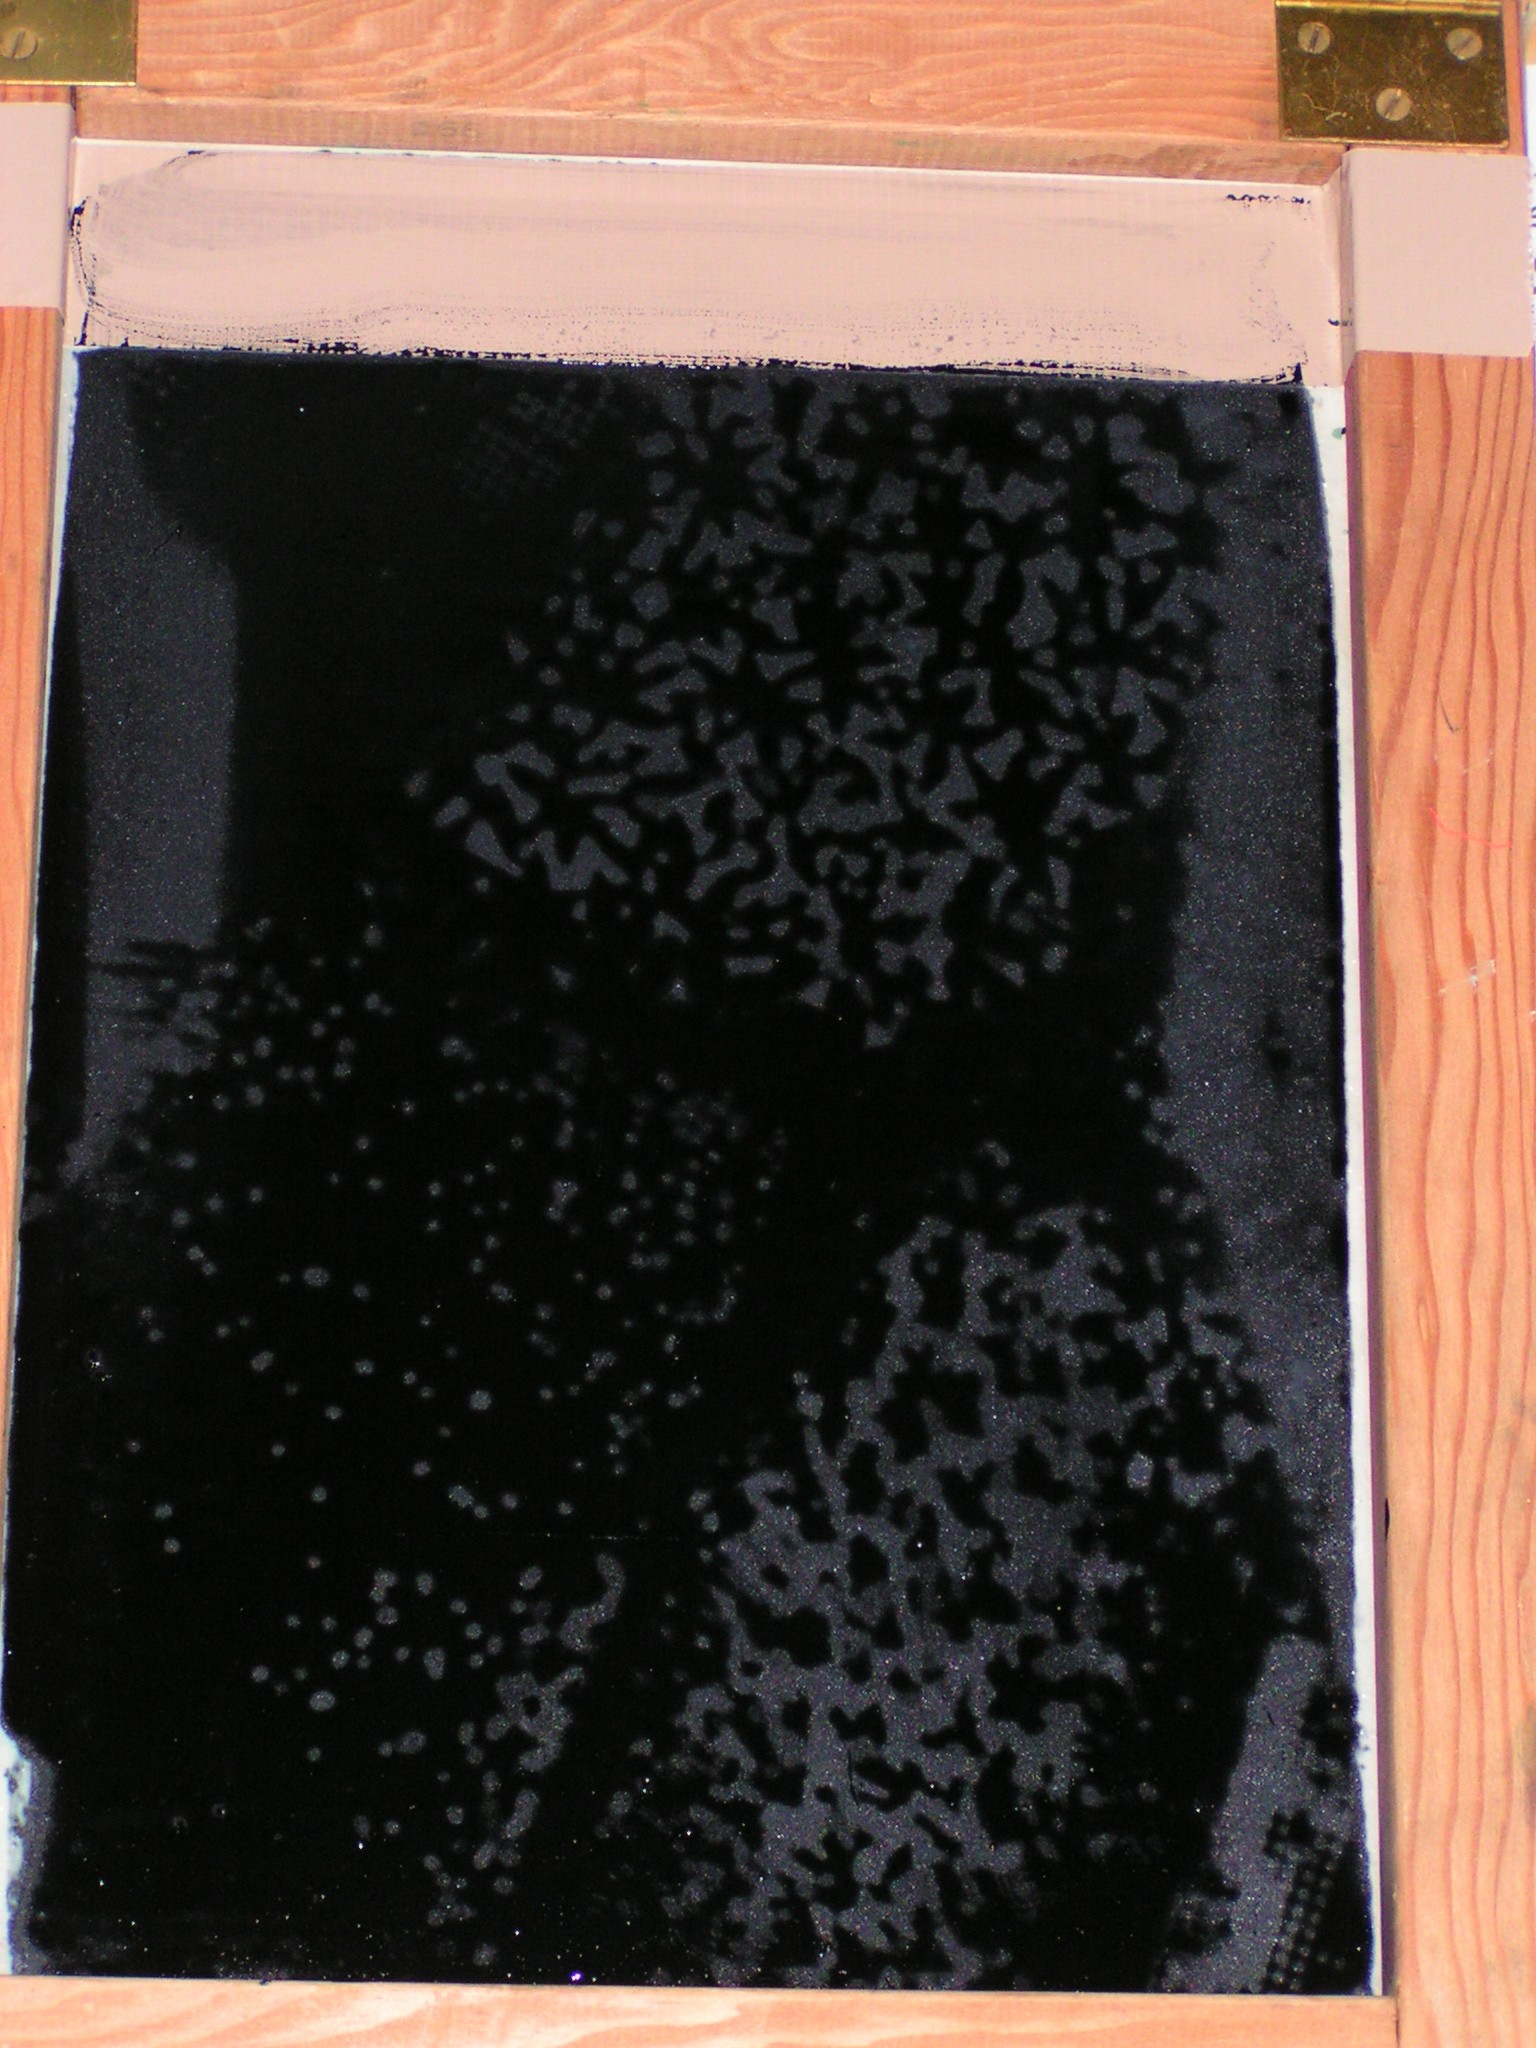
If you enlarge the photo above, you’ll be able to see that there is texture on the screen. I put commercial texture plates under there. Then I screened the black thickened dye over the screen and let it dry.

You can see the texture on this one better. It has a variety of stuff under there.
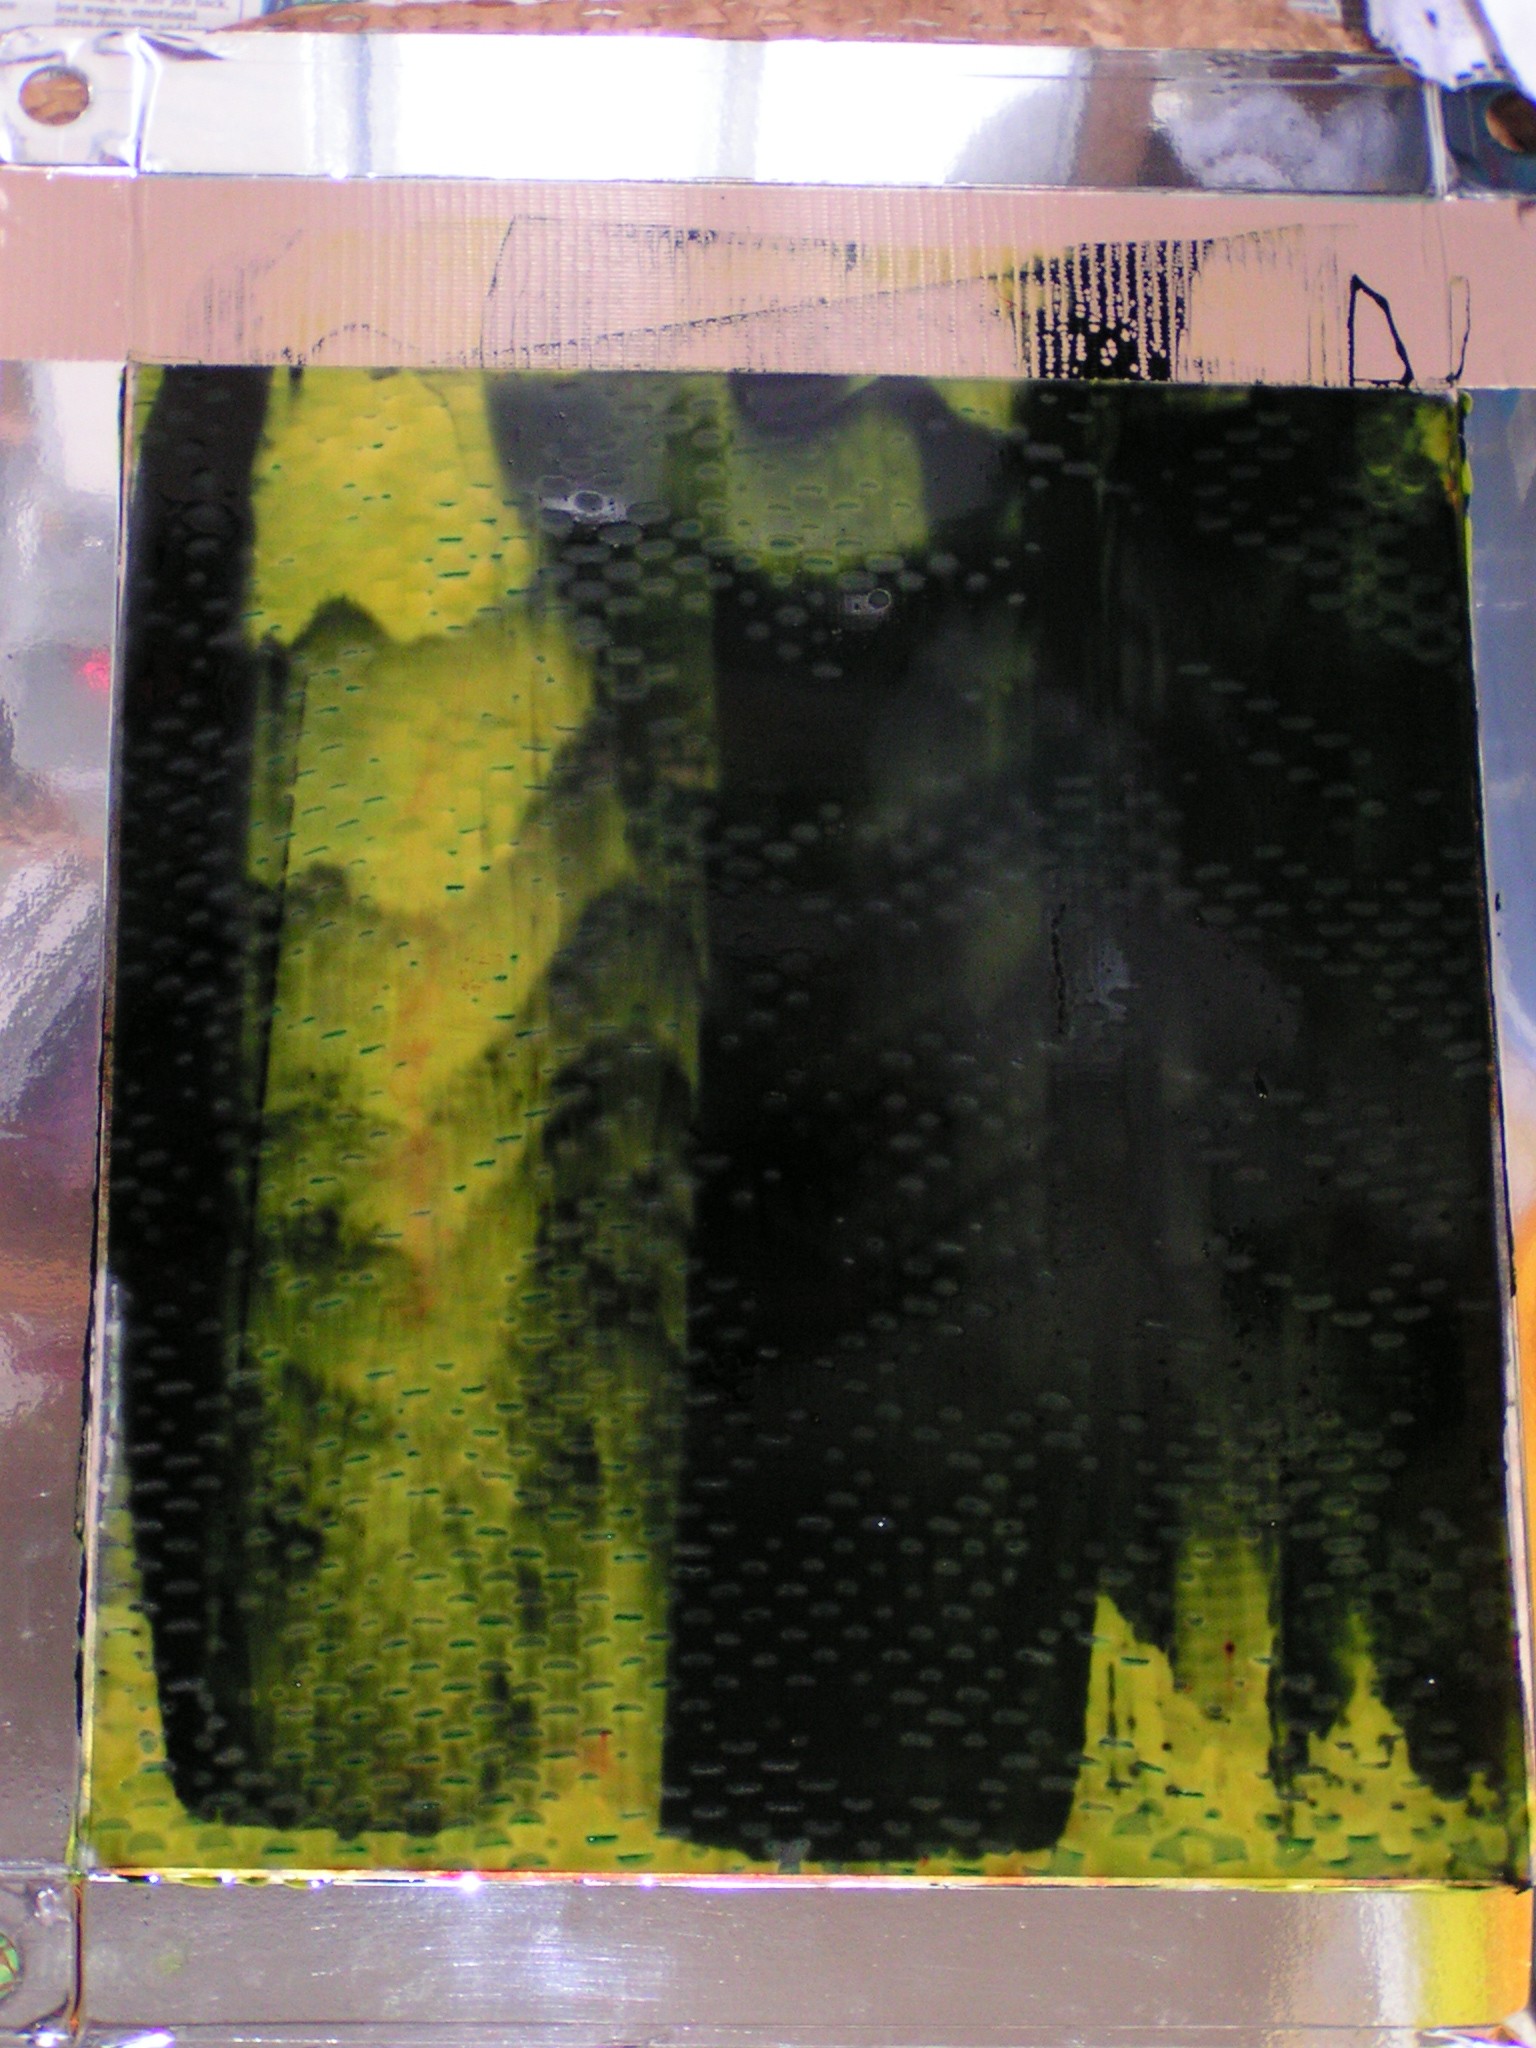
I did a mix of green and black on this one and it has a textured paper underneath.

This one has bubble wrap underneath. Next week, we’ll use these dried screens and use either clear print paste or dyed paste and screen on to fabric. The dried dye breaks down and makes really interesting patterns as the screen “breaks down”. The look you get is very organic and I don’t know another way to get the patterns that you do with breakdown screen printing.
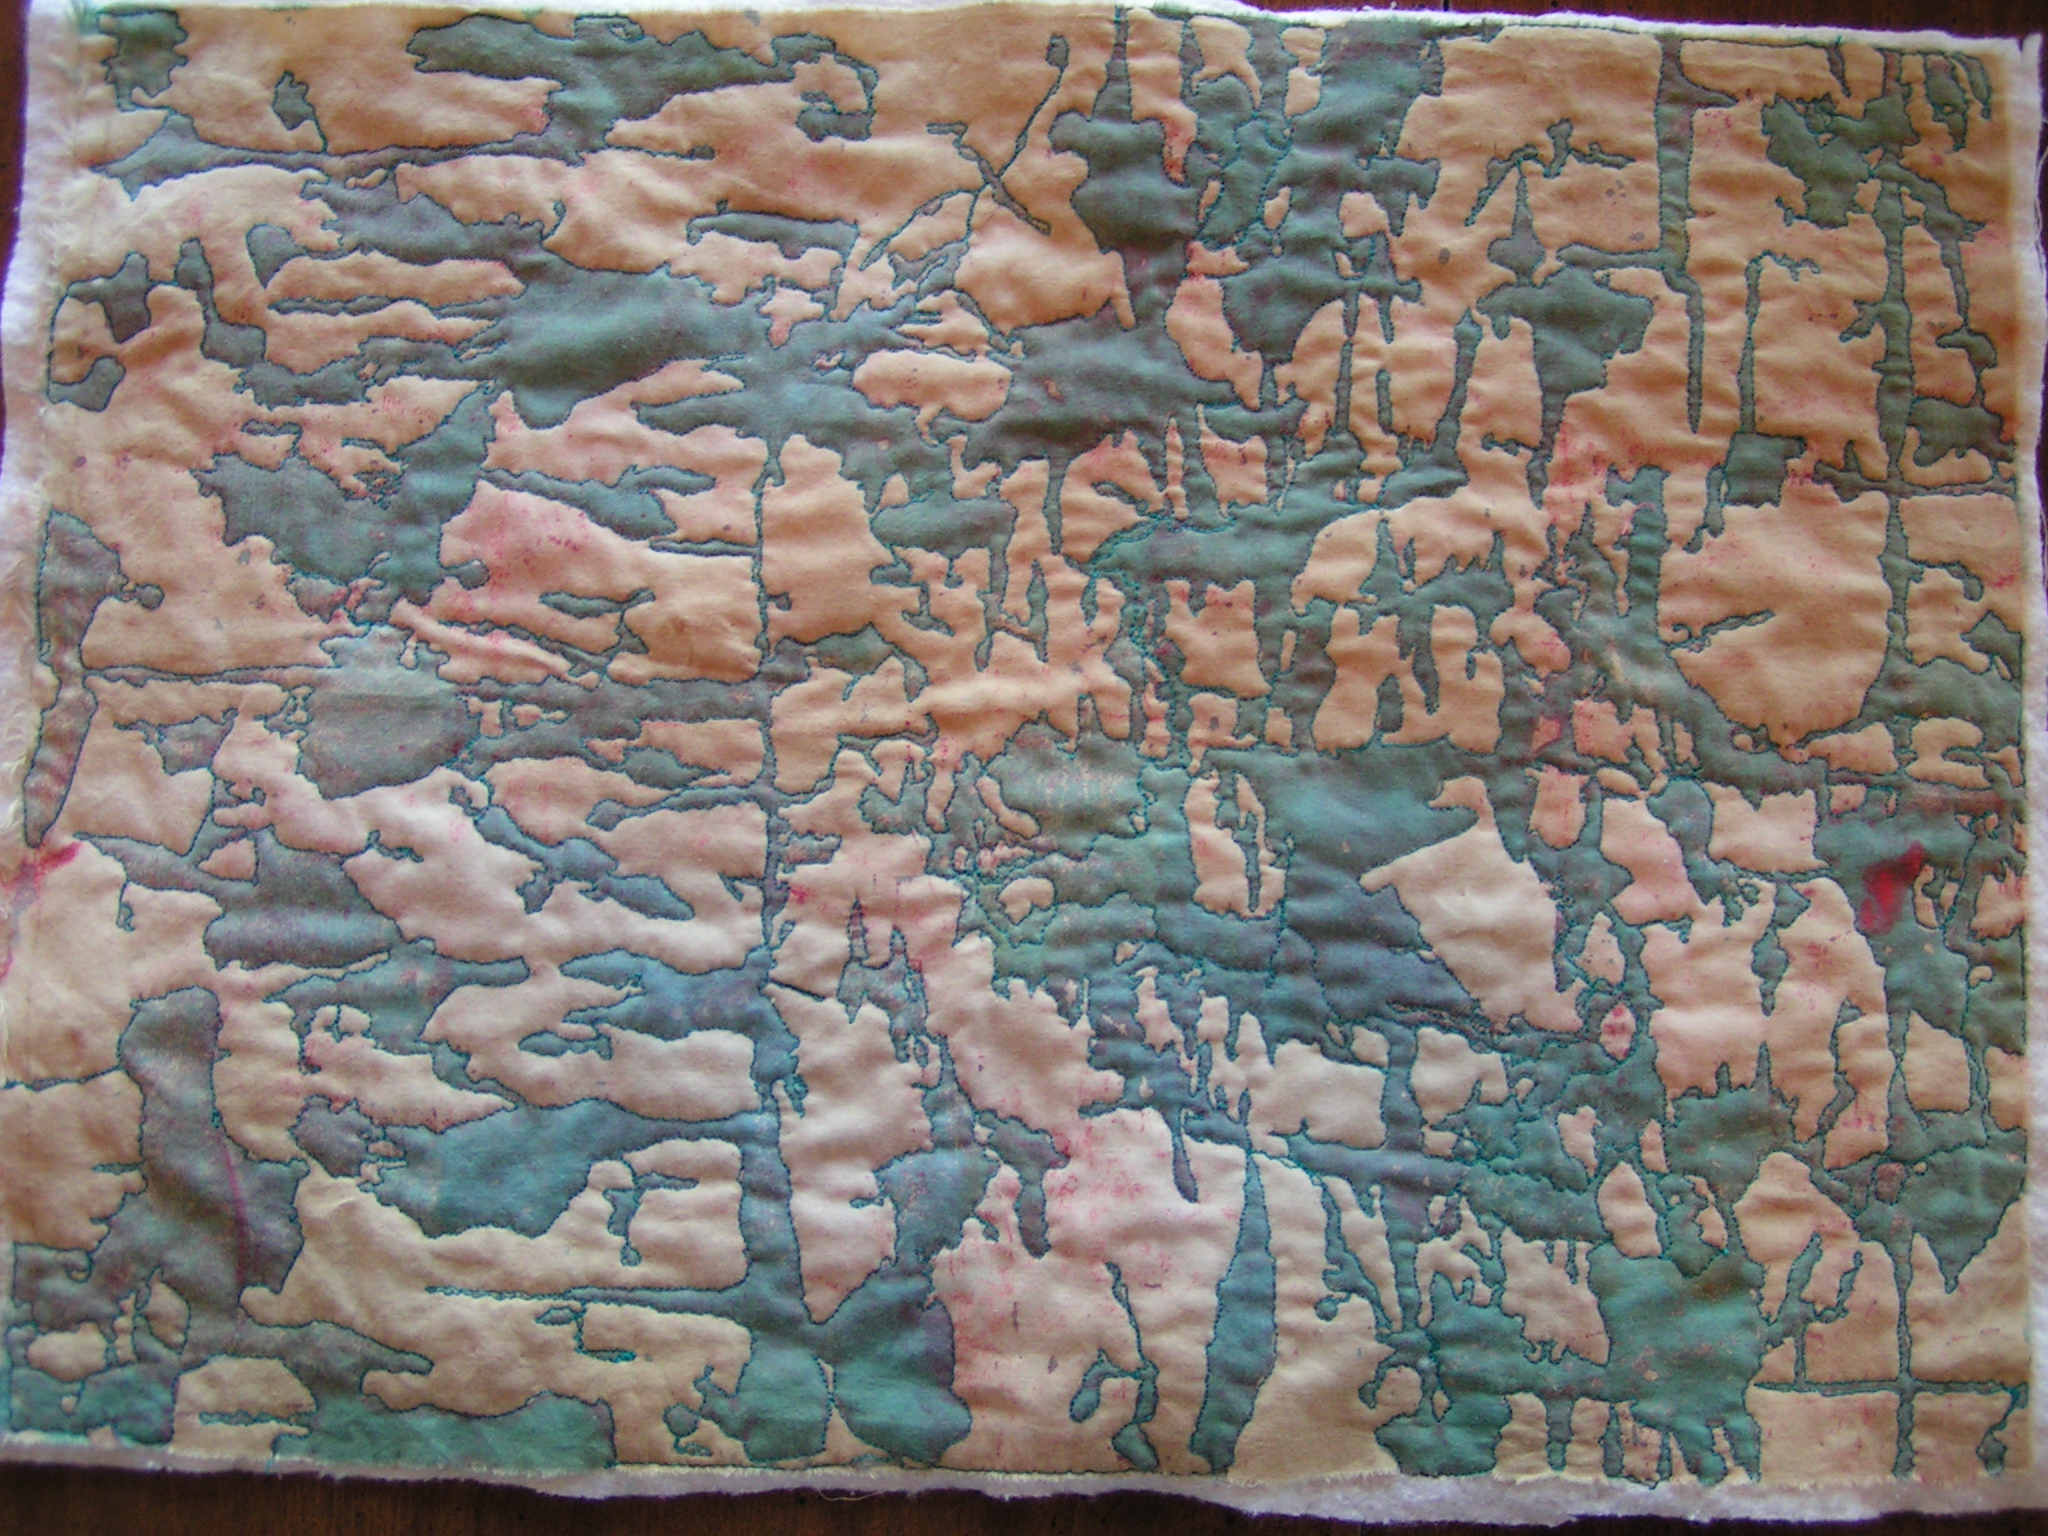
If you read my post this morning over on the Felting and Fiber Studio, you’ll recognize this book cover. This is one of my screen printed fabrics. I finished the free motion quilting.

You can see the stitching a little better from the back side. I marked the book size and added 1/2″ around the edge. I have problems with my last set of book covers as they didn’t fit correctly.
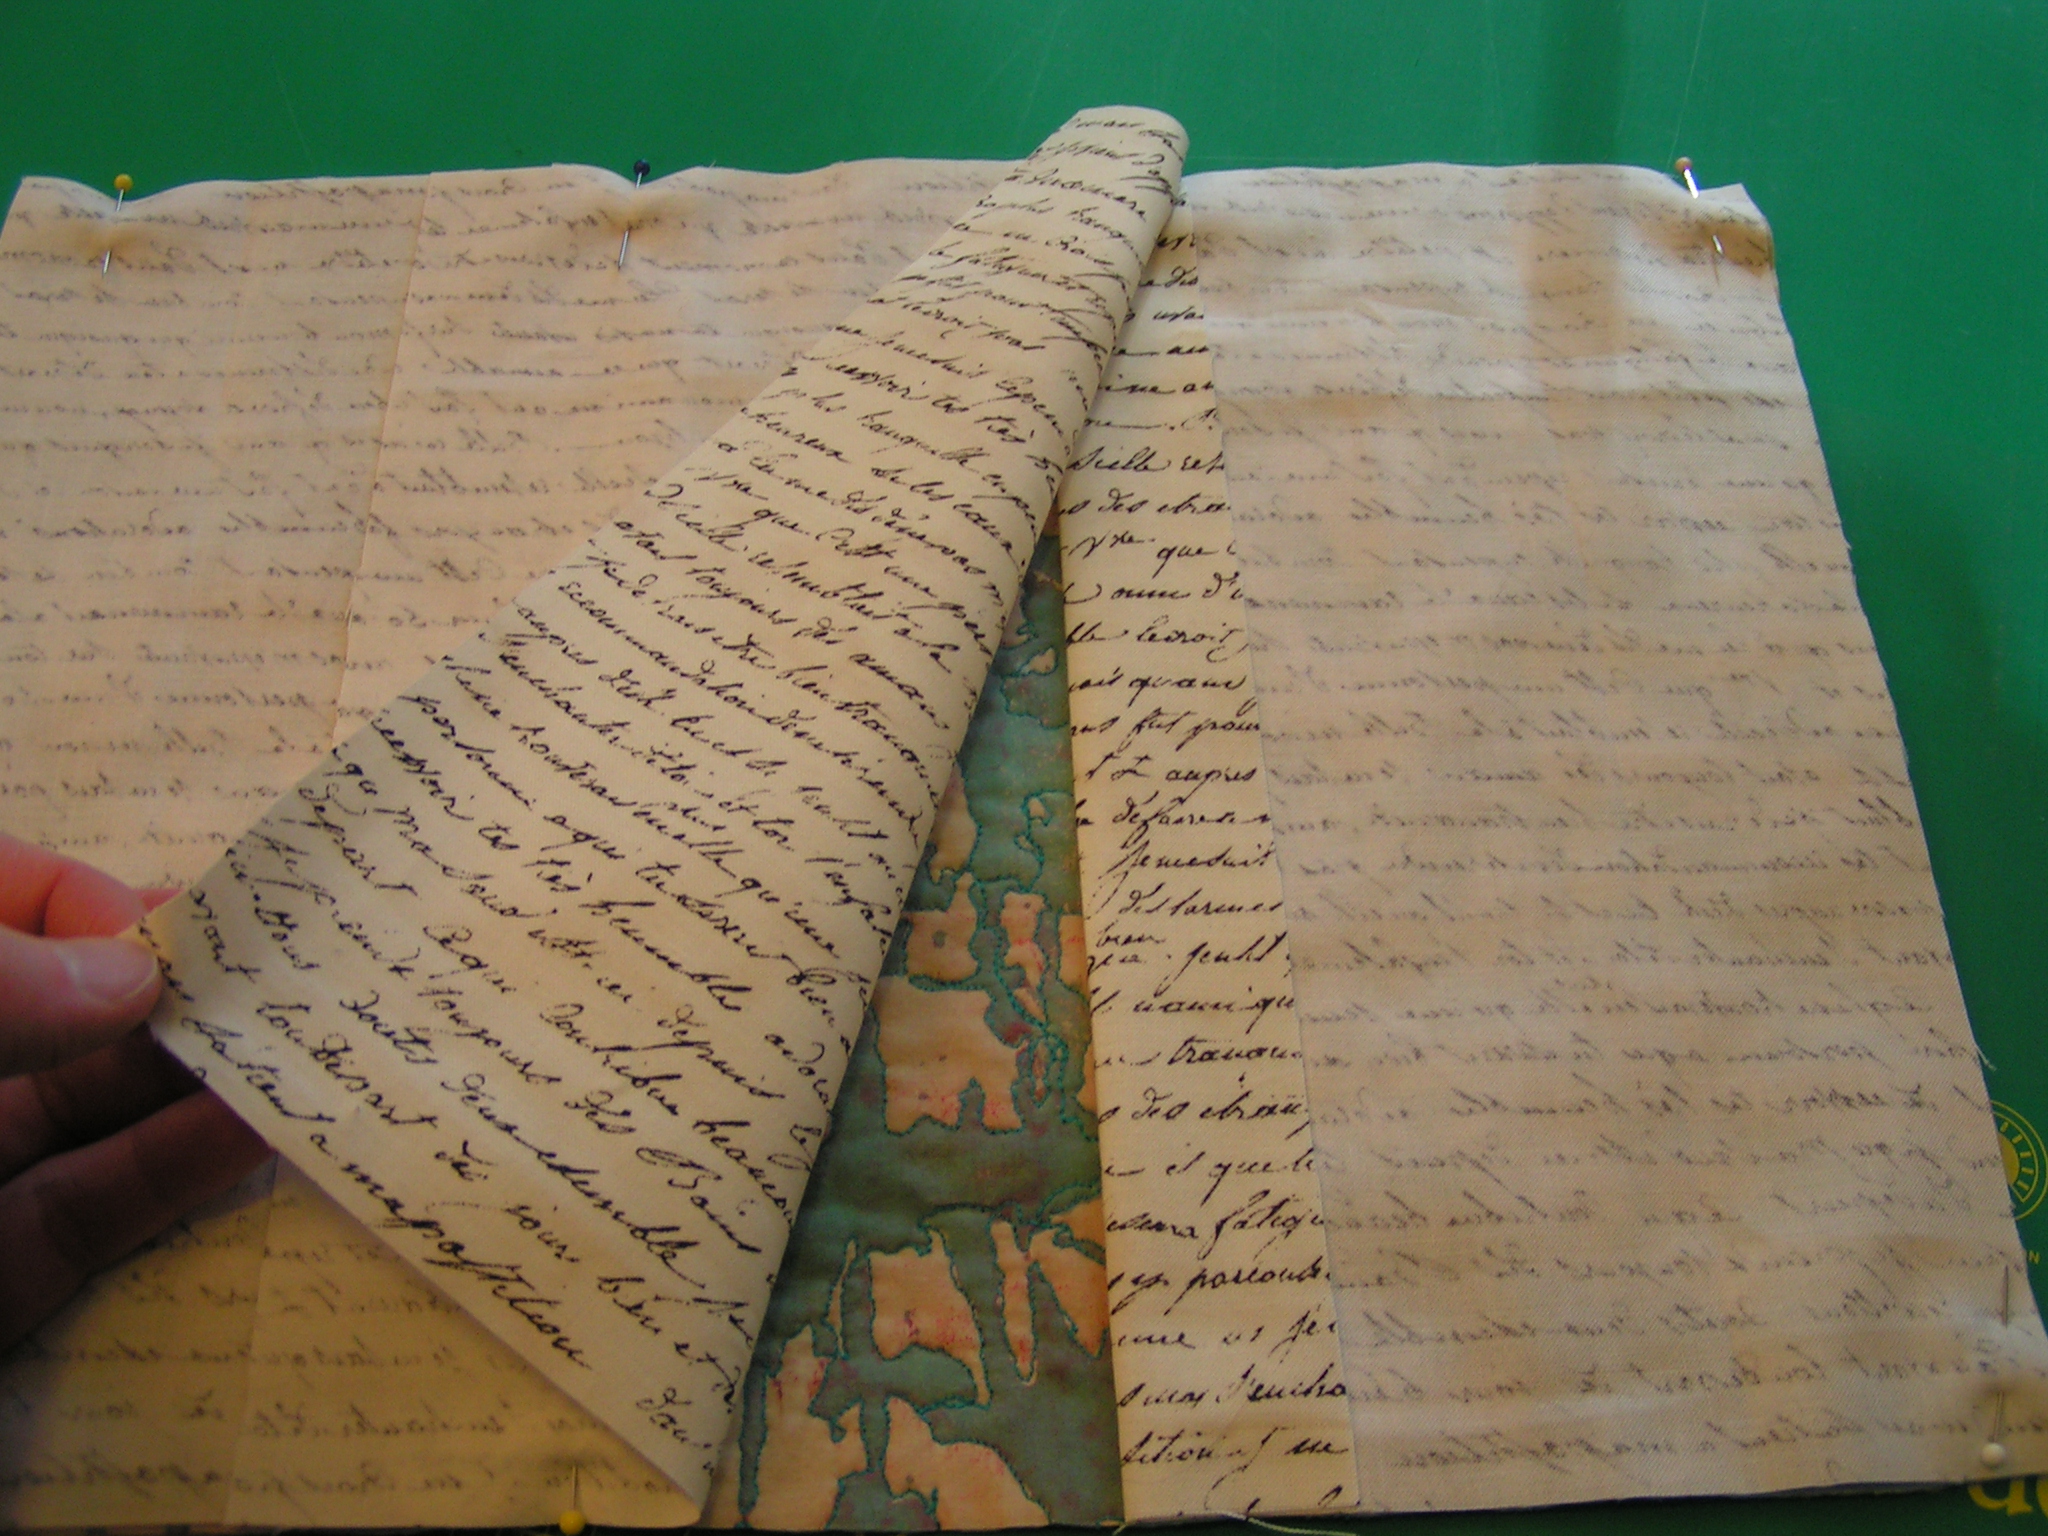
Then I put on the inside cover parts and stitched it all together, turned it right side out and voila!

It worked – it is slightly big but fits the notebooks I bought.
 Here’s the back side. It could go either way but the inside cover has writing so I put it right side up this time 🙂
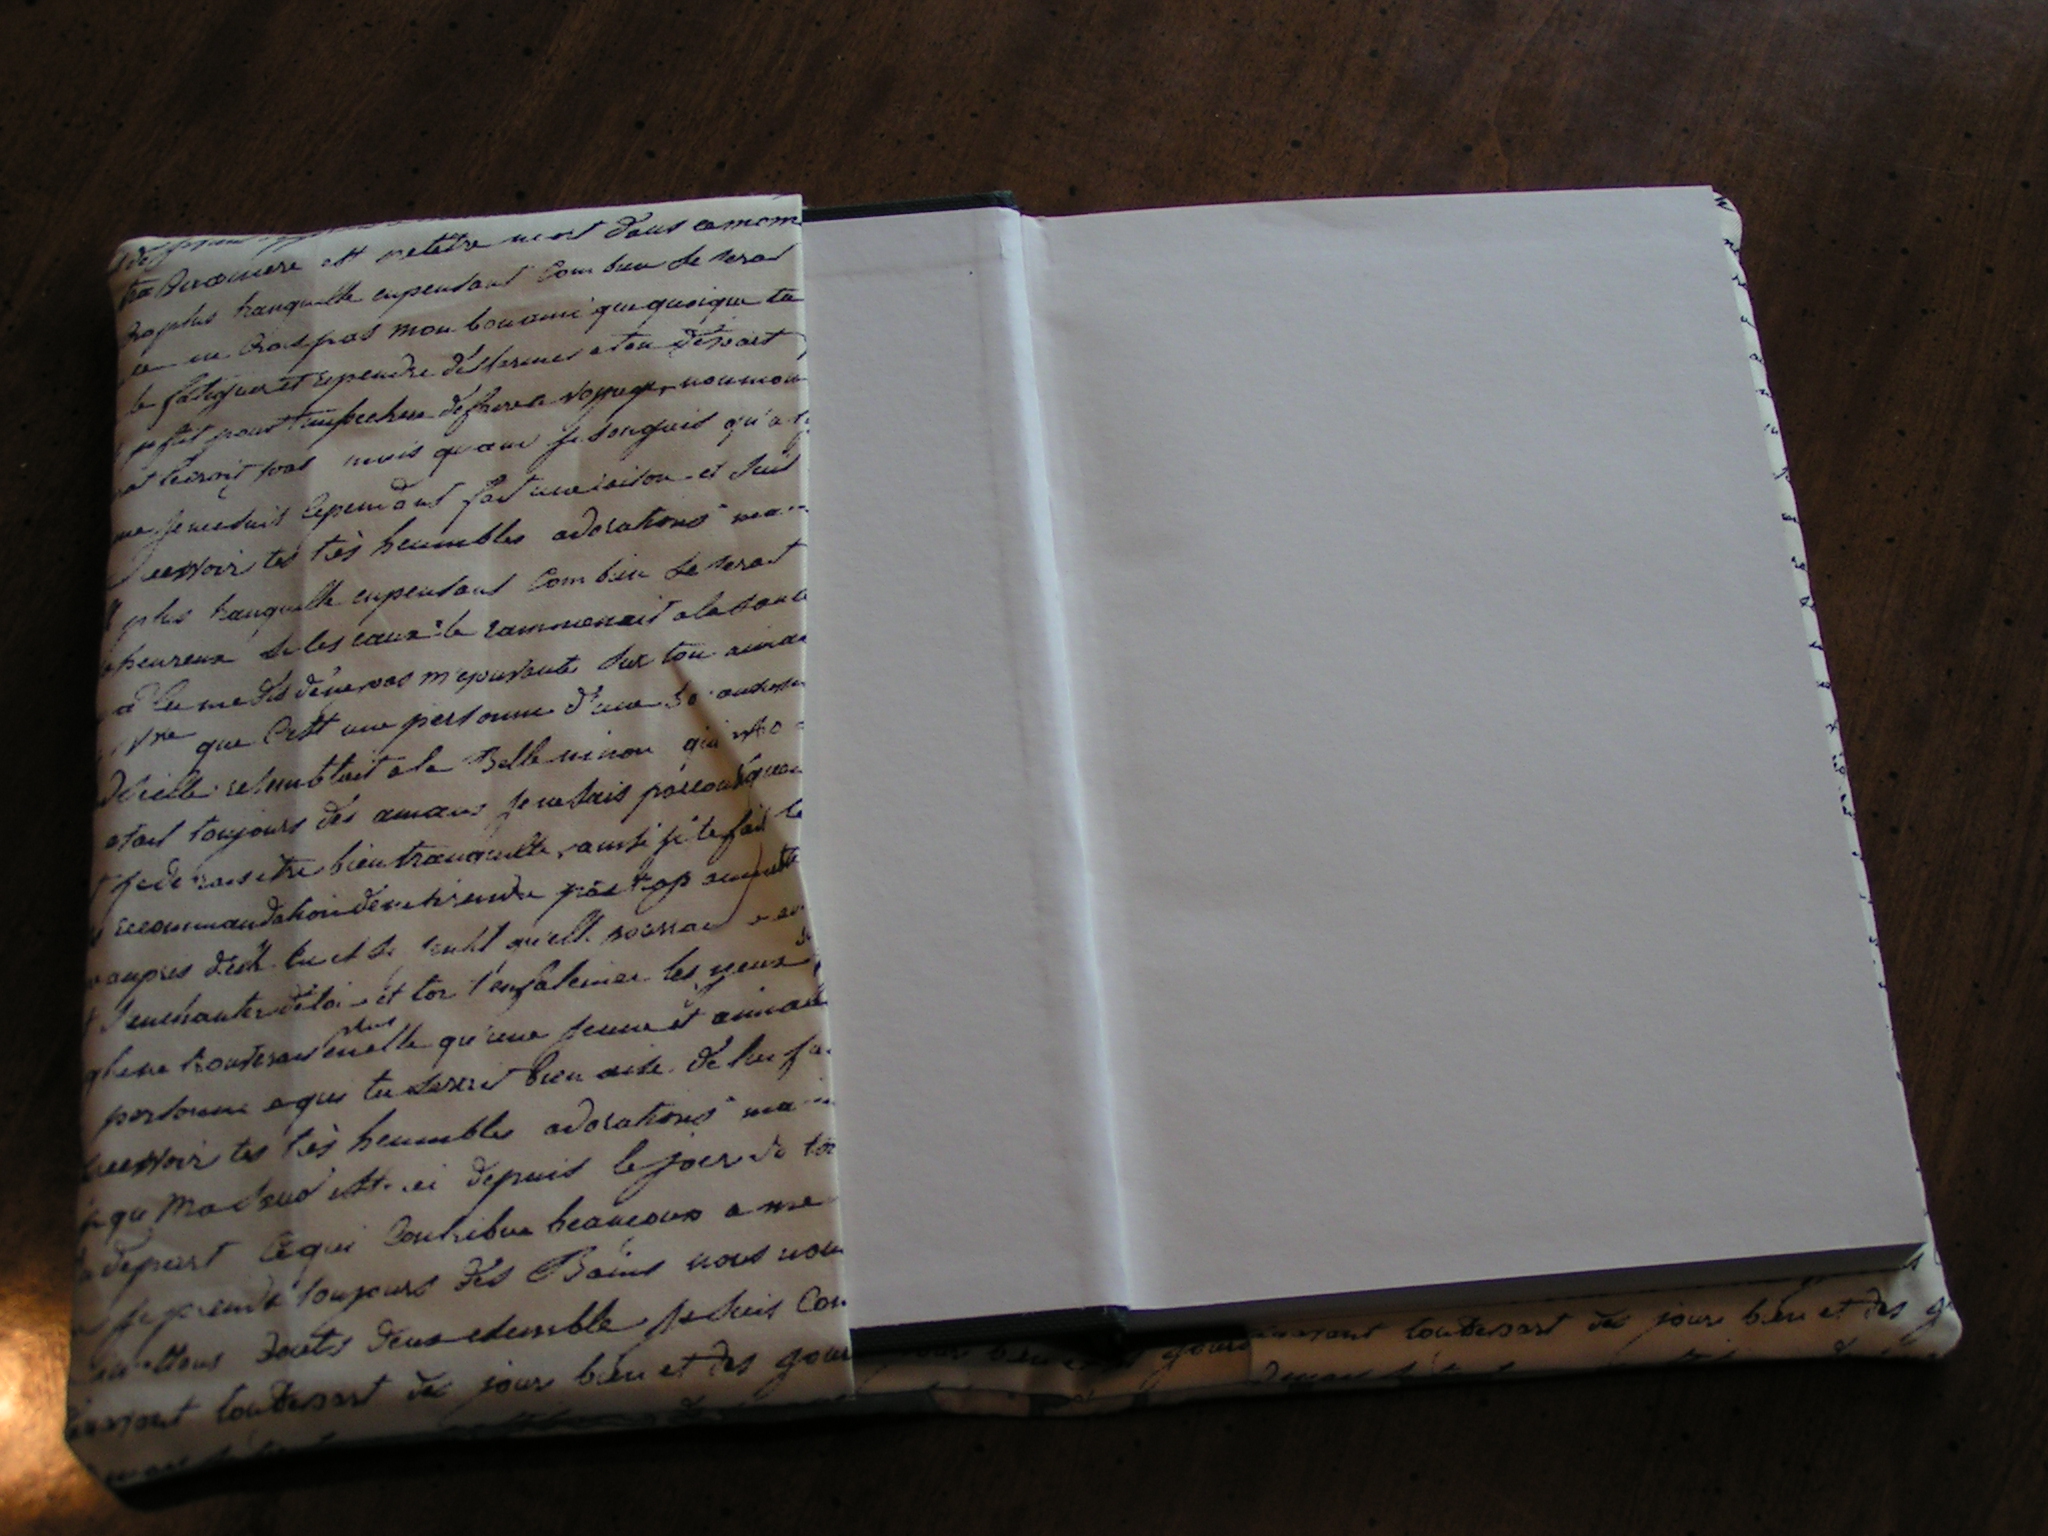
Here’s the inside view.
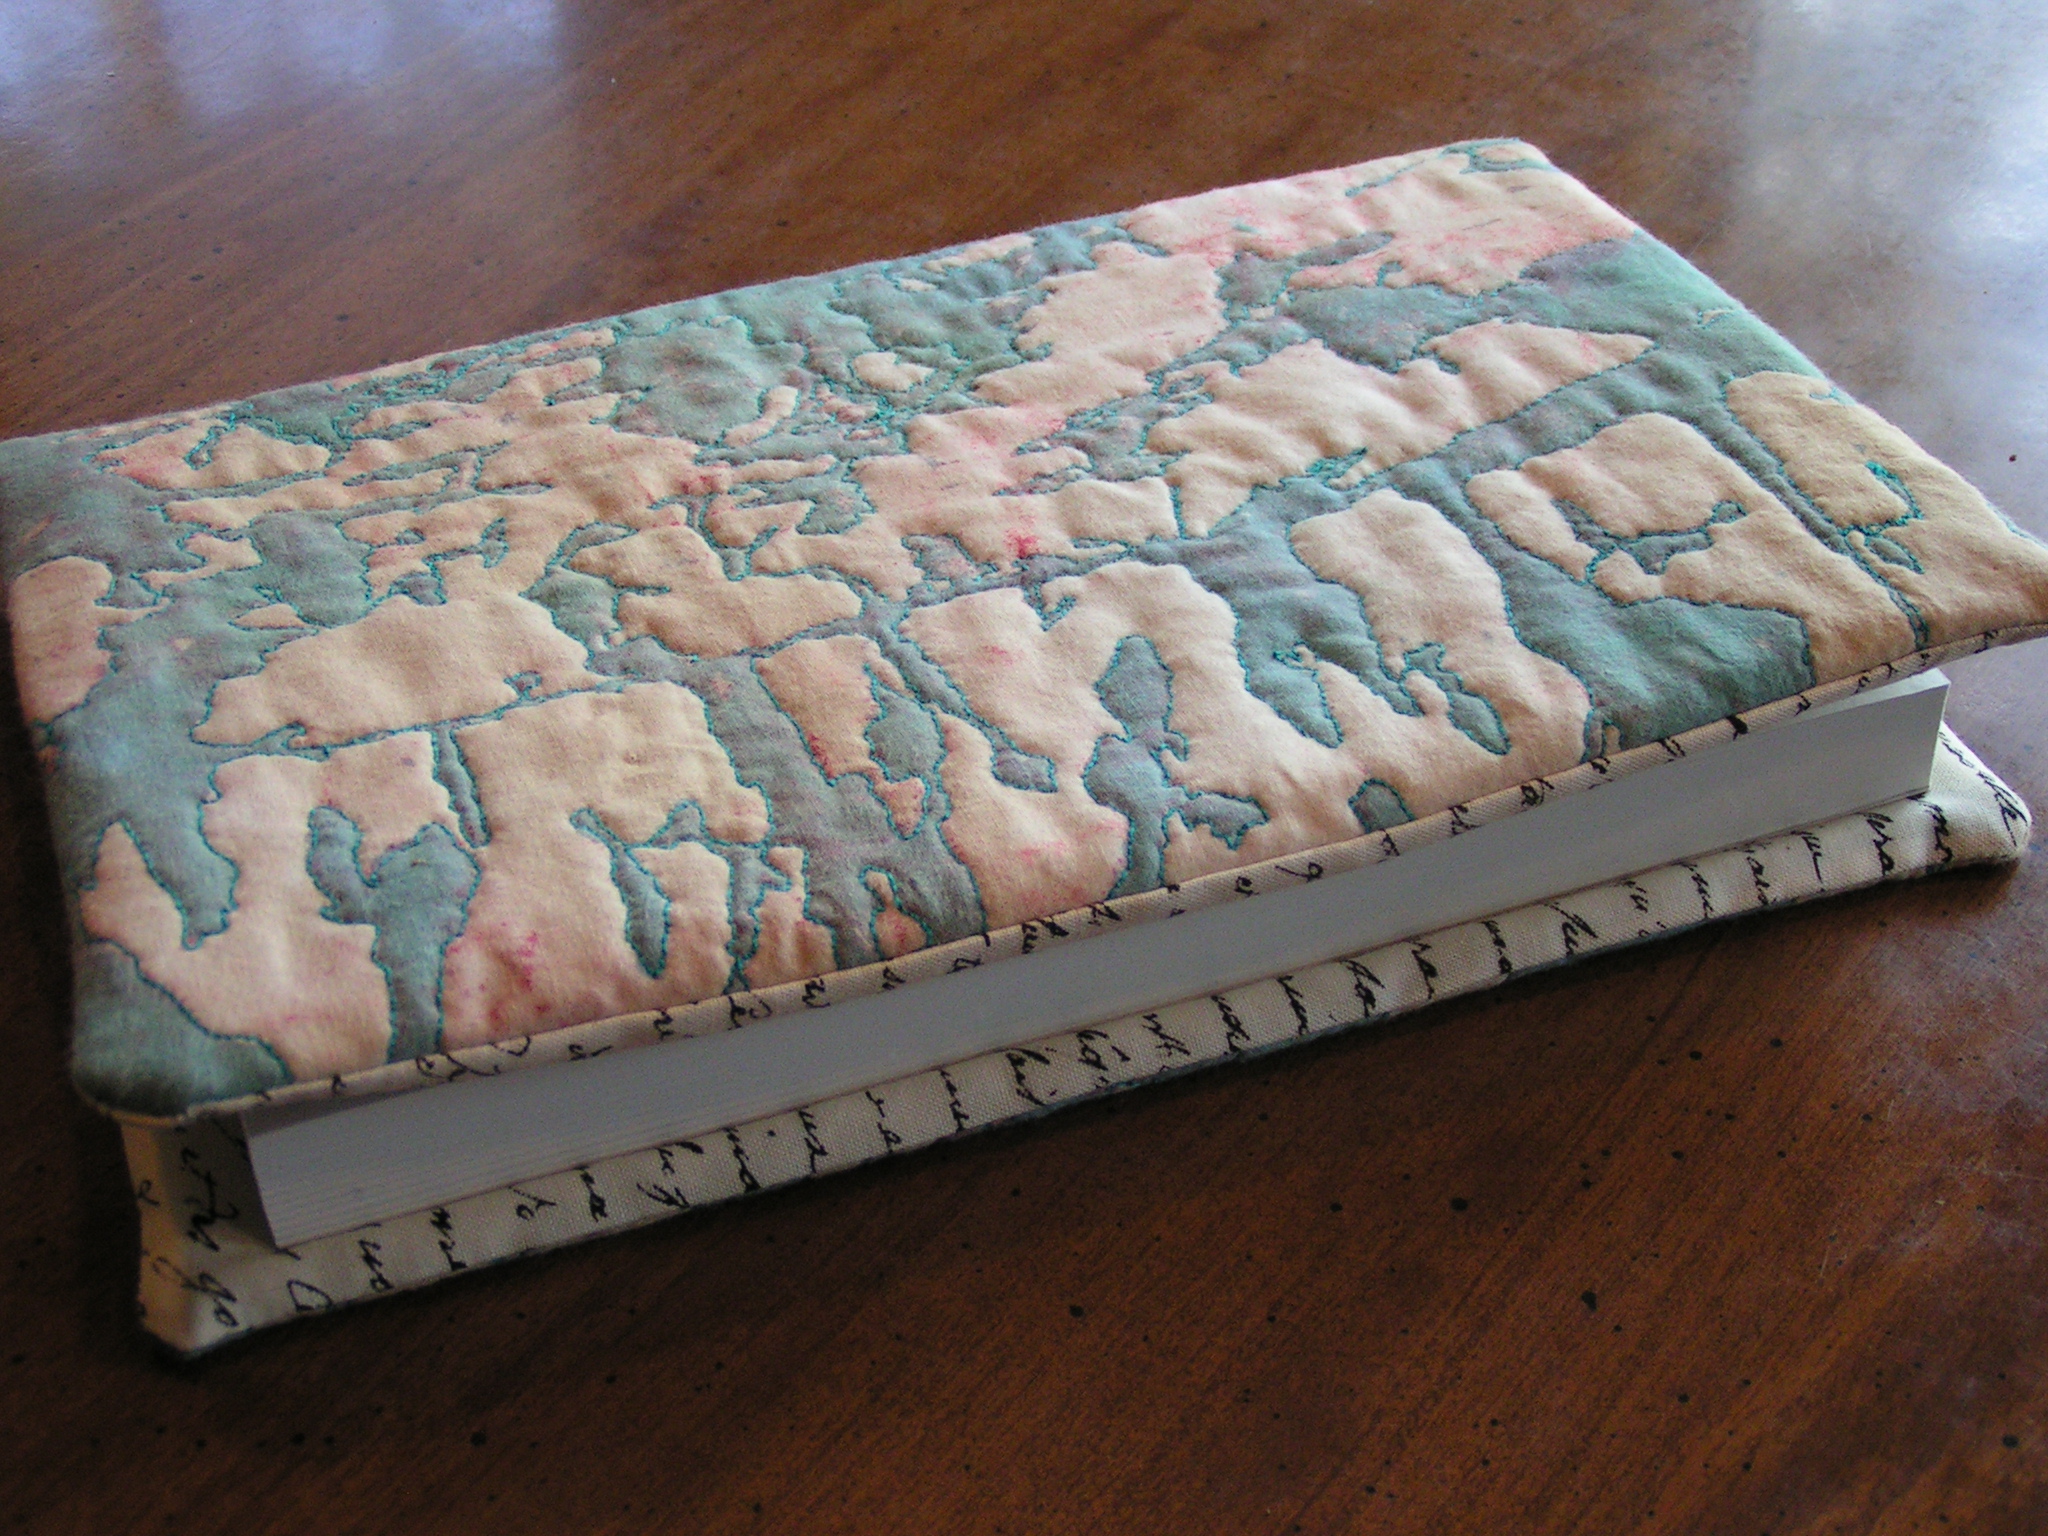
I’m happy it worked this time! Four more to go and then I’ll take them to the store and see if anyone wants to buy one. Hope you have a nice weekend!
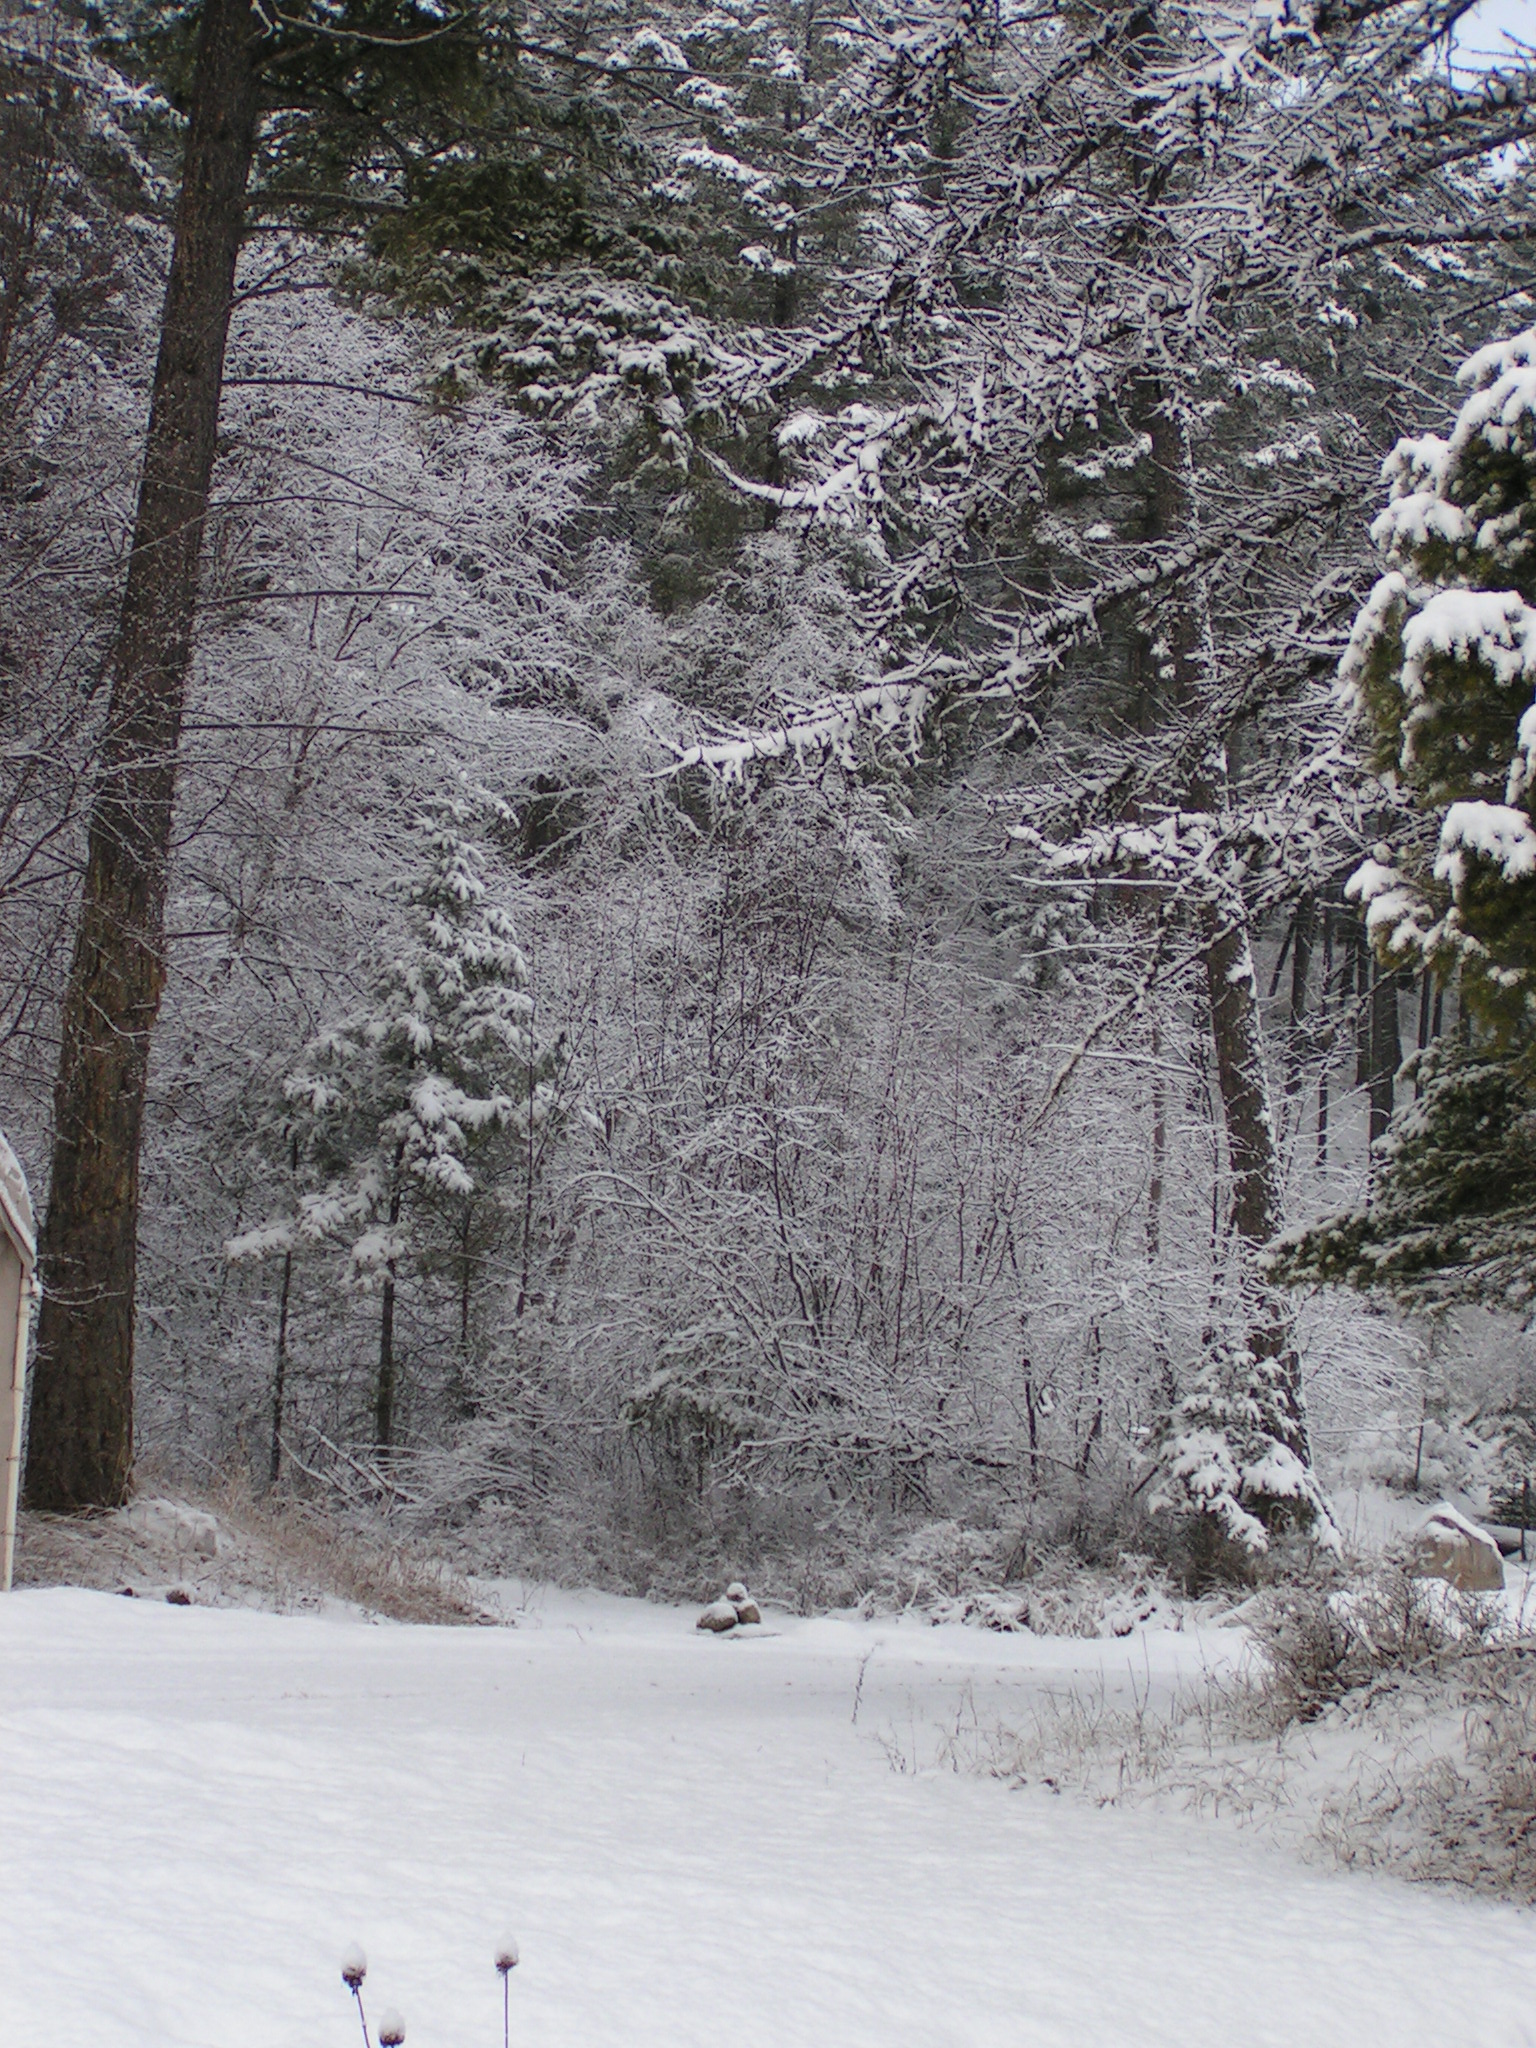
We woke up this morning to a couple of inches of snow. Spring in Montana.
So I stayed inside and worked on my mixed media paintings.
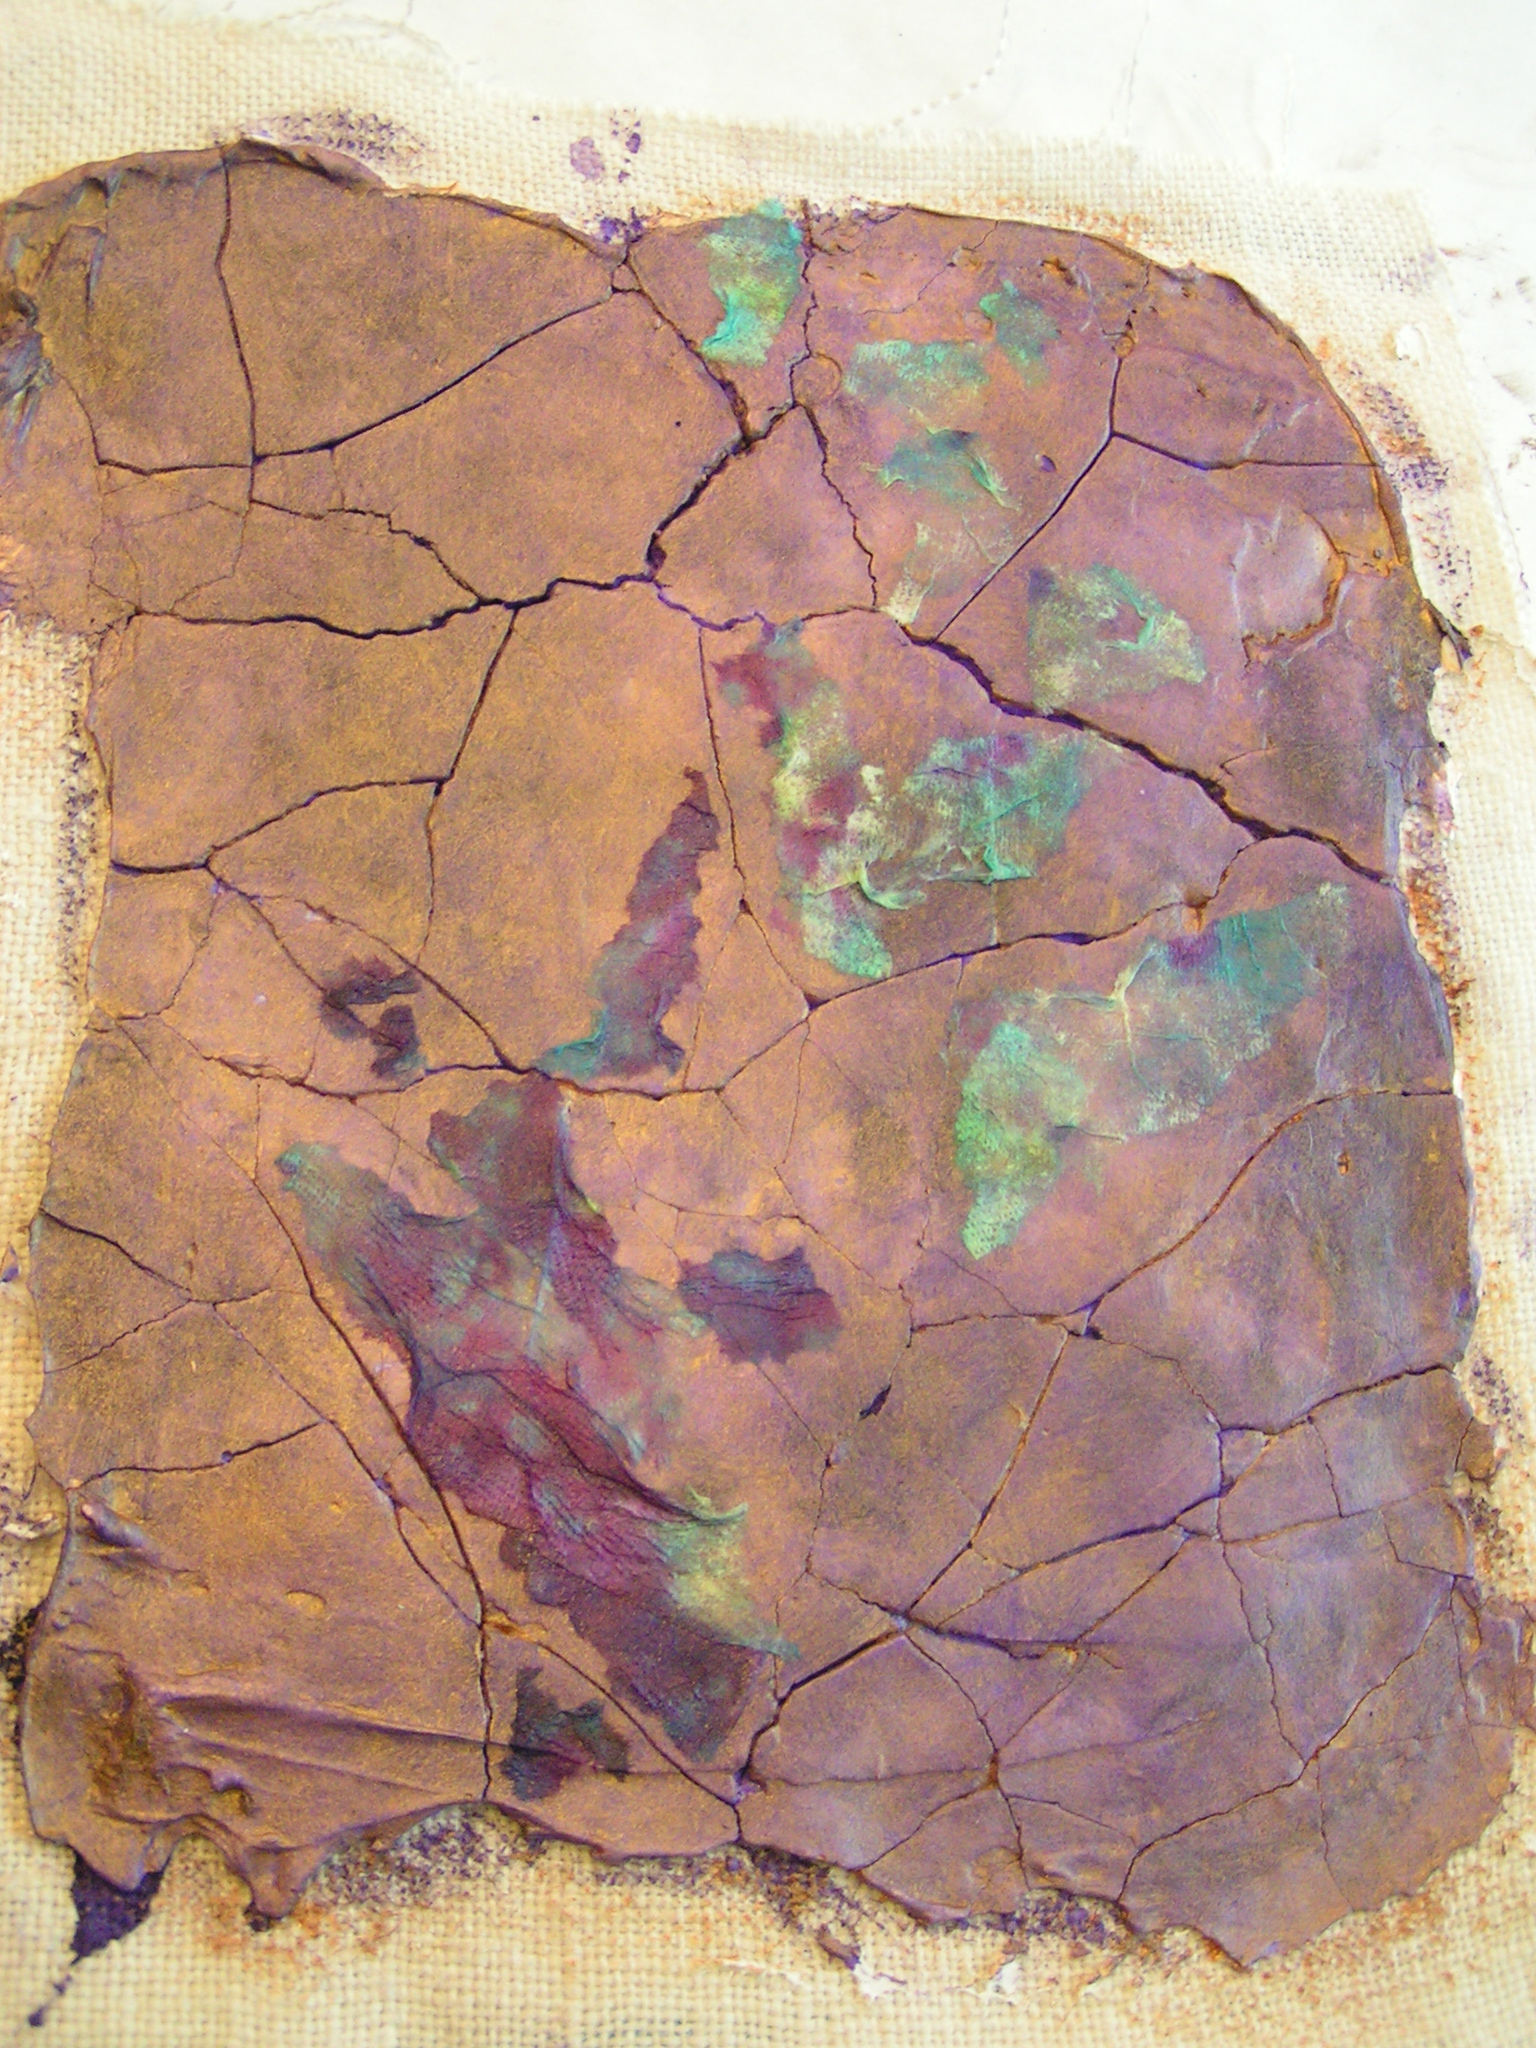
This is the purple one. I added some gold Pearl Ex Pigments mixed in gel medium. Then I tore up a dyed paper towel and pasted those pieces down with more gel medium.
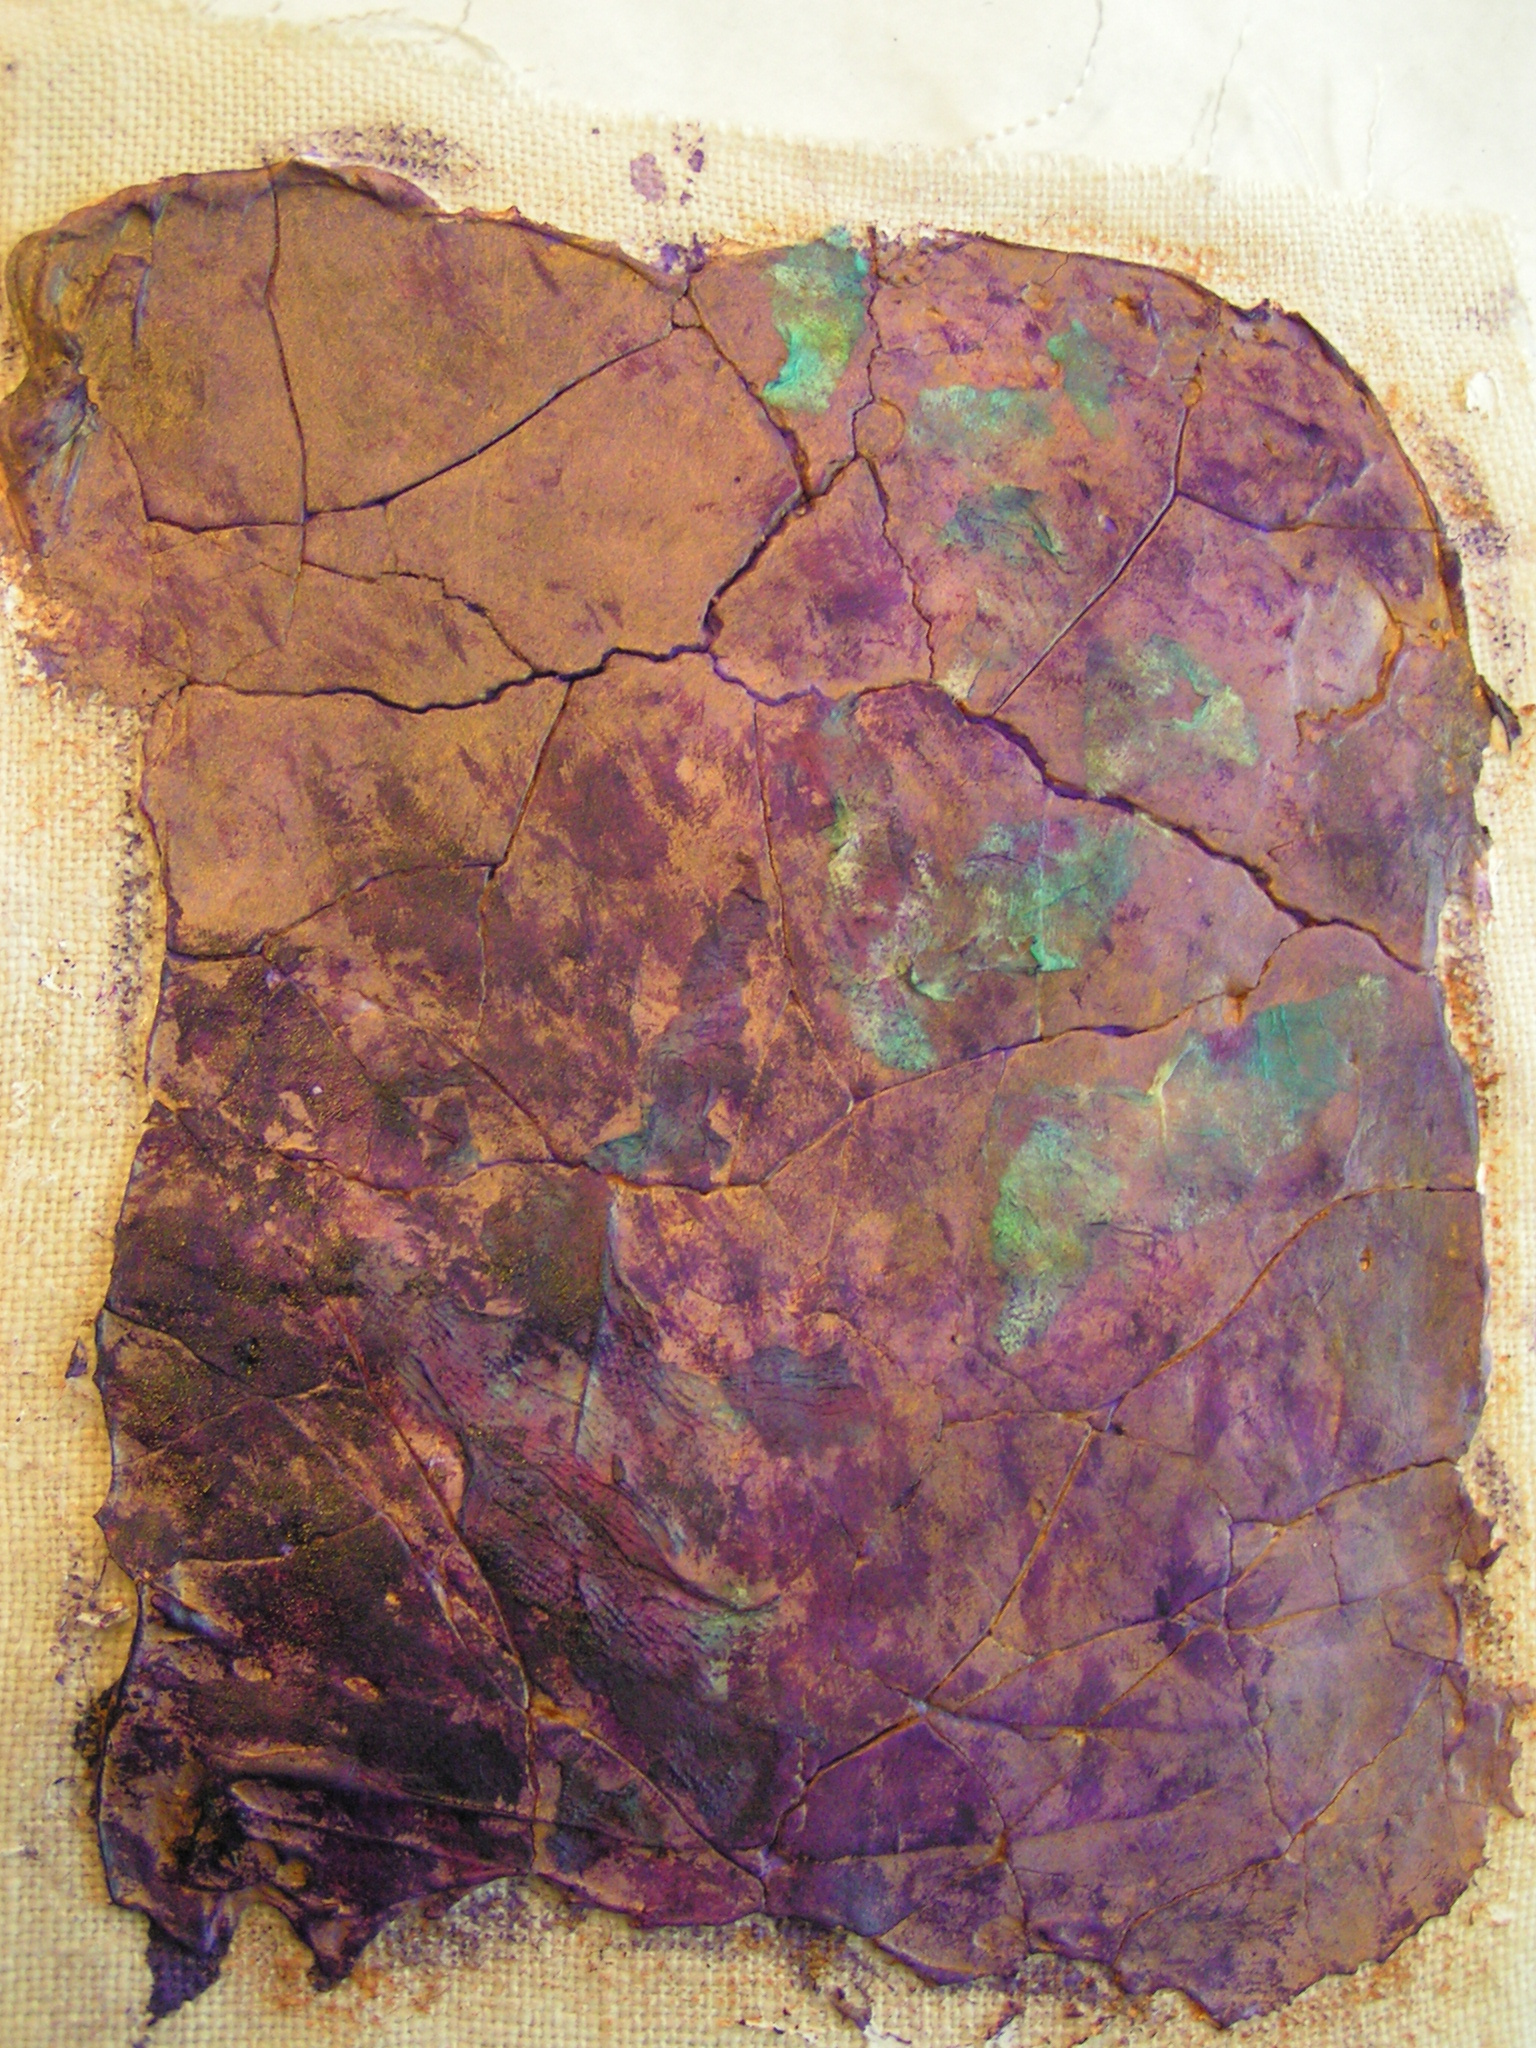
I thought it needed darker values so I added some purple paint.
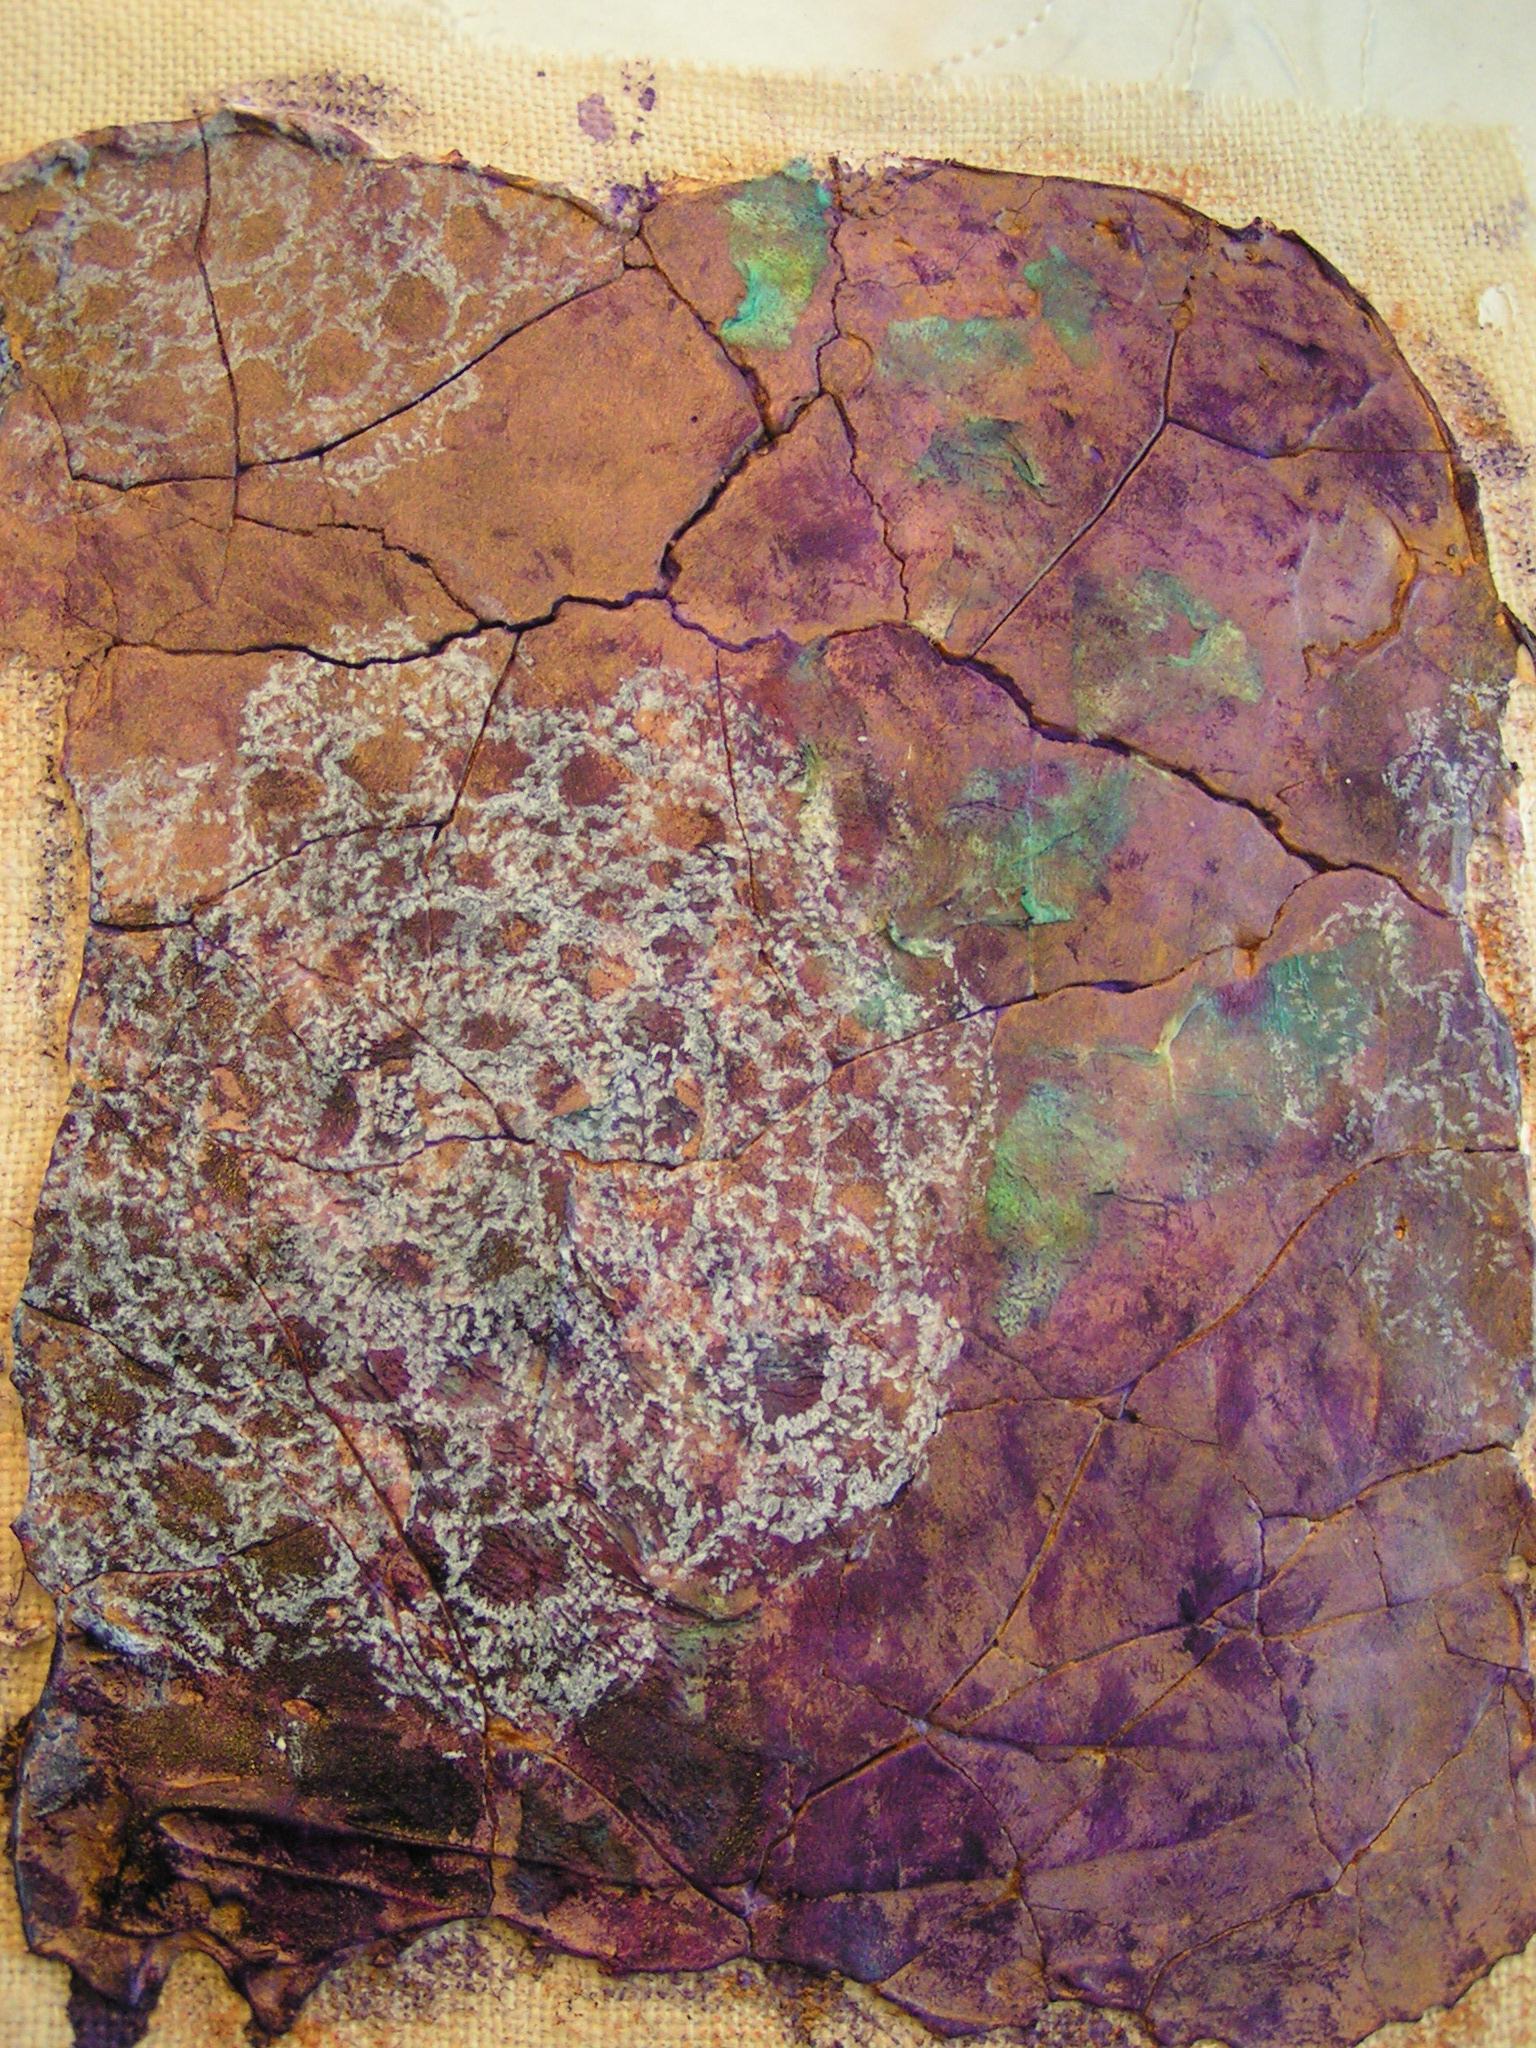
And then I printed with a crocheted doily using gesso. Now I have to decide where to go from here. I’m not quite sure.

I had finished painting my amorphous circle last week. But I thought the background needed a little more.

So I added a little white gesso in places and then covered other areas with dark blue metallic oil paint stick. This might be finished. I will leave it for a while and decide later.

I wasn’t really happy with this one so I printed a photo of birch trees and red twig dogwood bushes on to silk and pasted it on with gel medium. But then what to do?
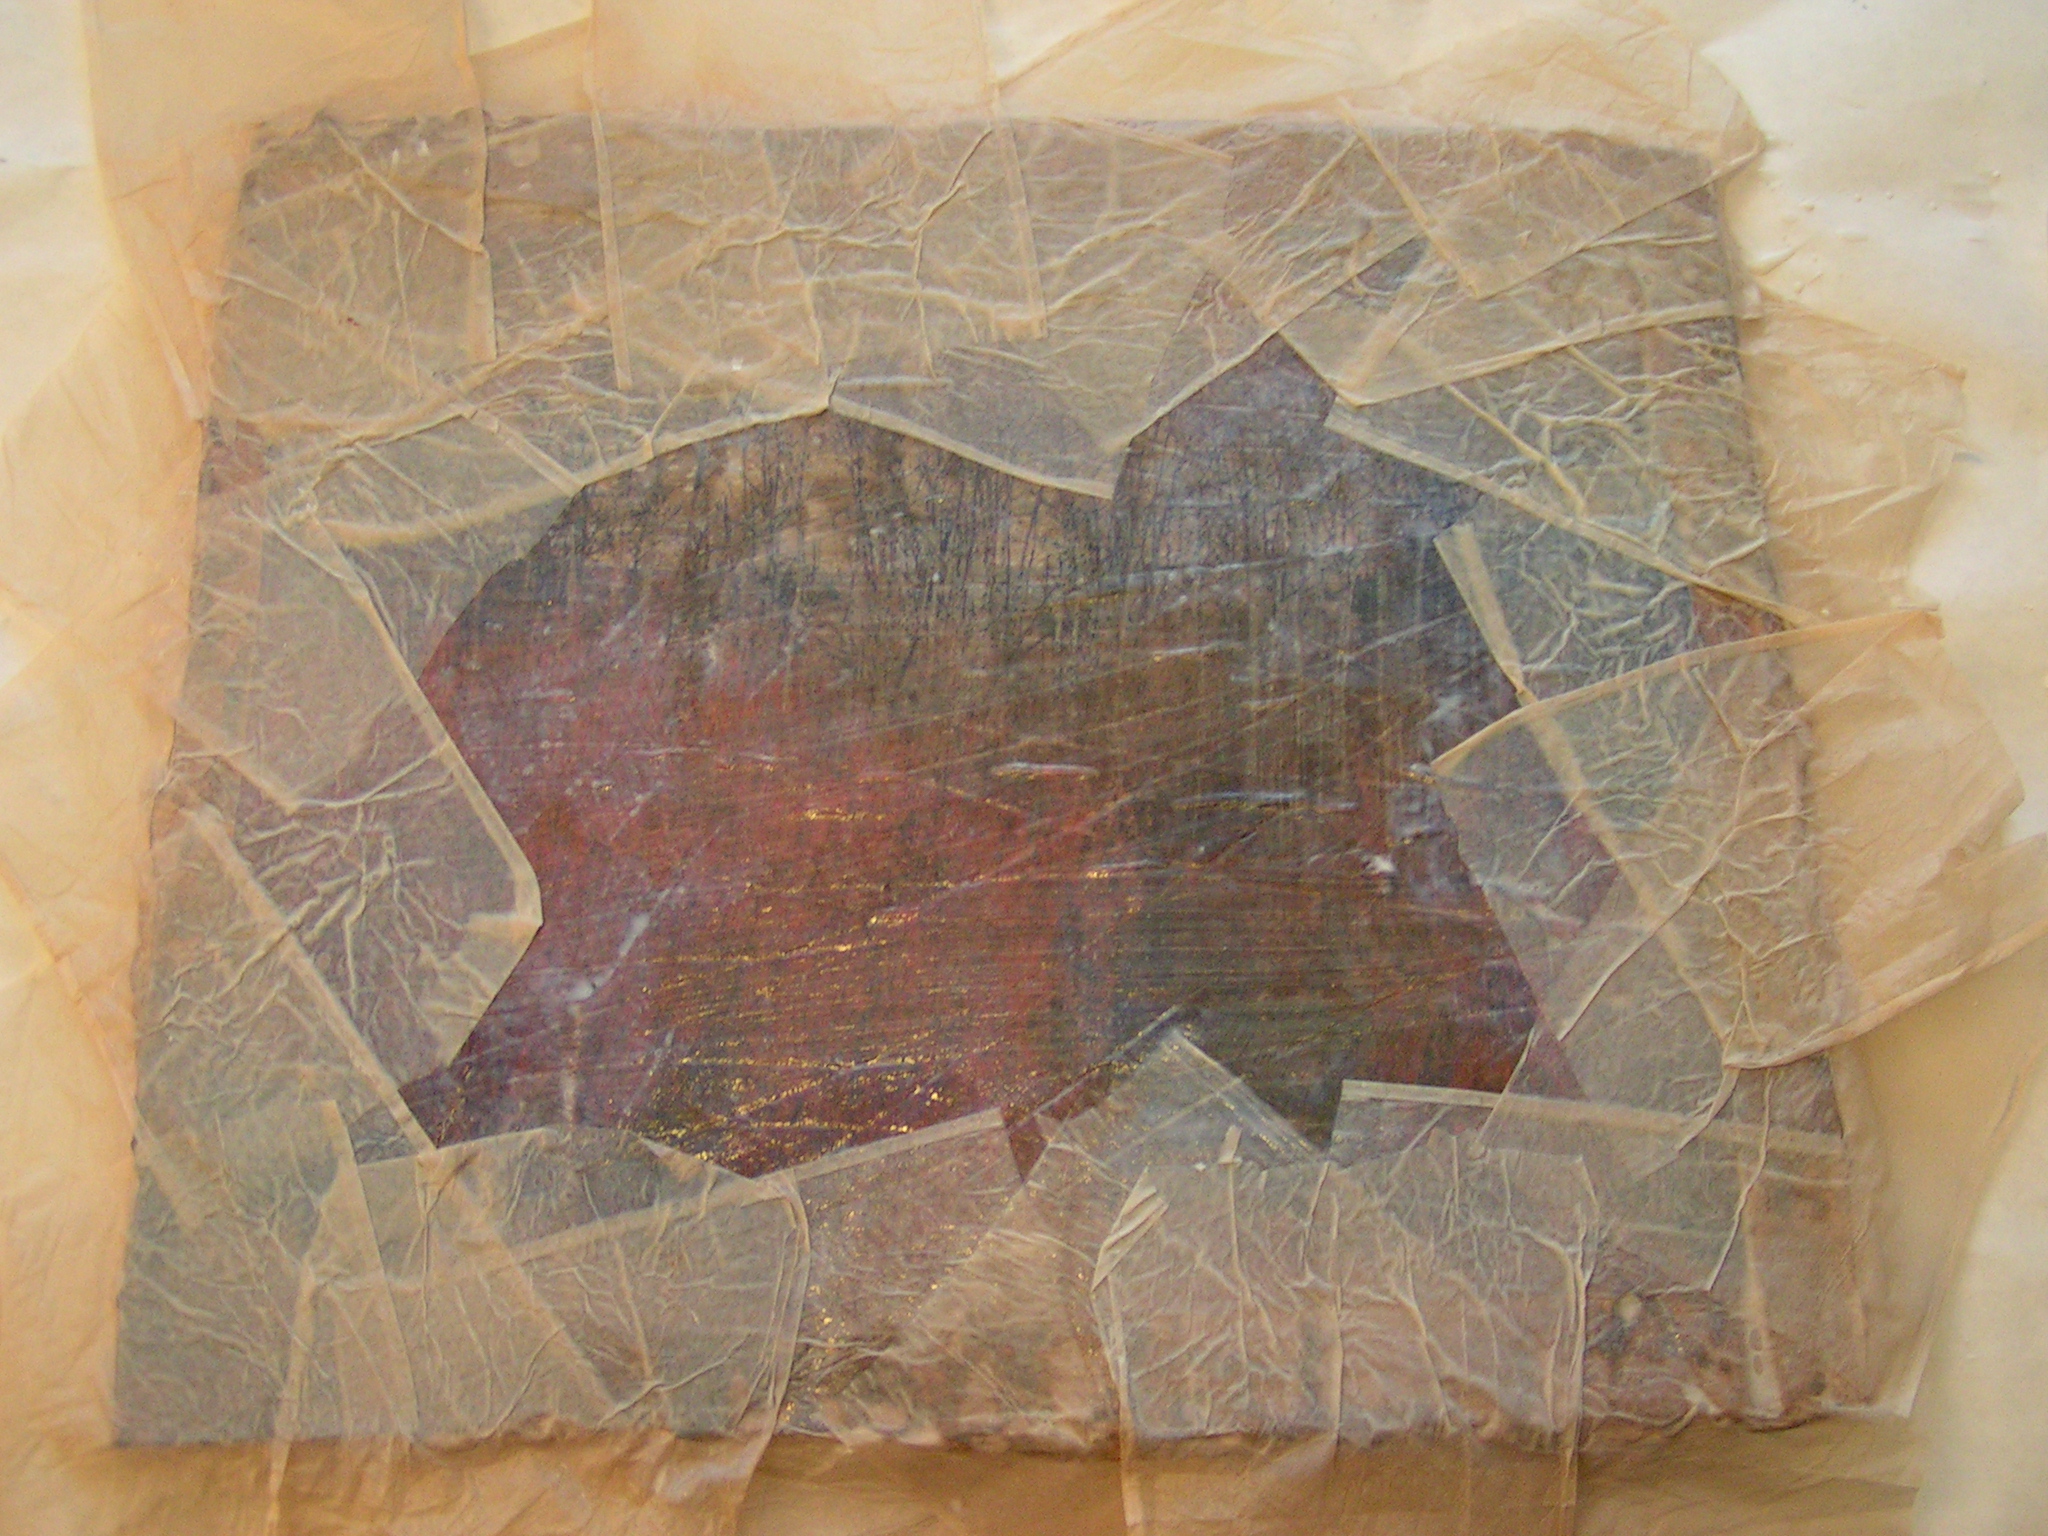
I noticed the tea bags that I had taken apart quite a while ago. I wanted to cover the straight edges of the photo. This took several layers and it’s still drying. Not sure I like it any better but I haven’t given up yet.

This one is supposed to resemble bark. I added a bit more dark sepia acrylic ink to give it a bit more depth.

Then I stitched a sample of orange lichen on water-soluble fabric.

Here it is on the bark. I haven’t glued it down because I wasn’t sure I really like it much. Maybe I should just use a painting method to add the orange?
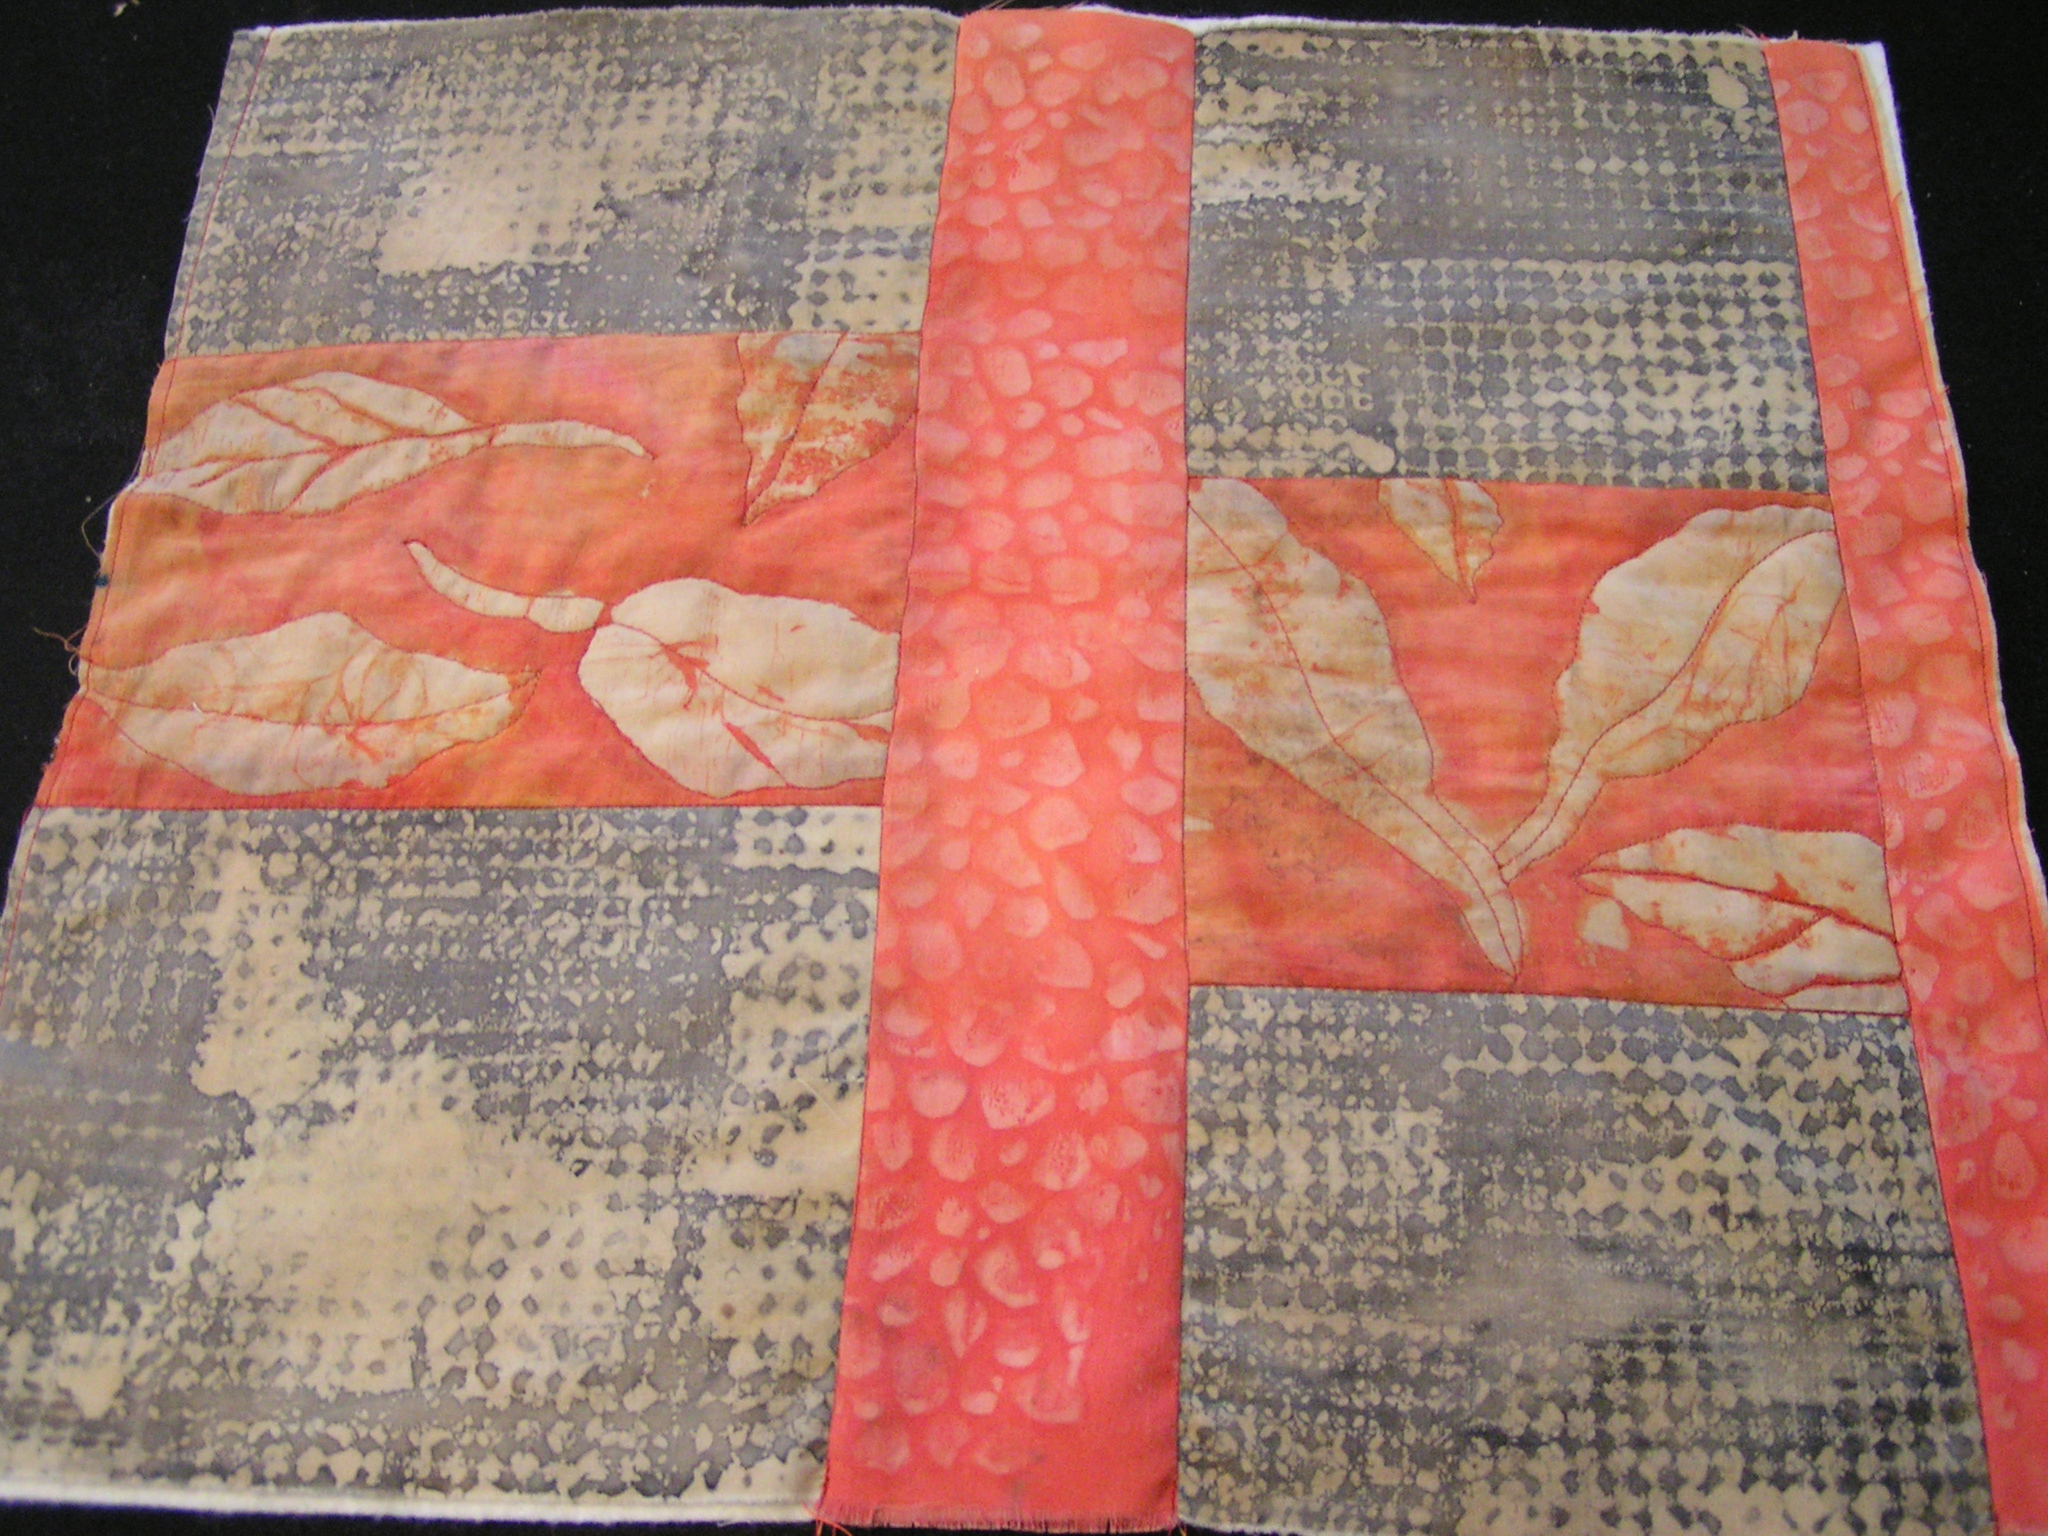
I have been wanting to use my soy wax batik fabrics so I decided to make some book covers. This is to make two book covers and it’s put together like a quilt with batting and now I’m doing free motion quilting on it. I’ll show you the book covers when they are finished. Lyric Art has an excellent video tutorial on making book covers. That is how I will stitch the book covers together. Thanks for stopping by and I hope you have a great weekend.
I haven’t been able to play in the studio for several weeks now so it was good to get back to a more routine Friday. The only problem was that we are in the process of starting to update the store website and sell off the site. Dennis is supposed to be doing it but he hasn’t ever used WordPress before. So I am teaching him and today we uploaded the e-commerce plug in and started uploading products. This is going to take a while! But back to what I did on the creative side today.
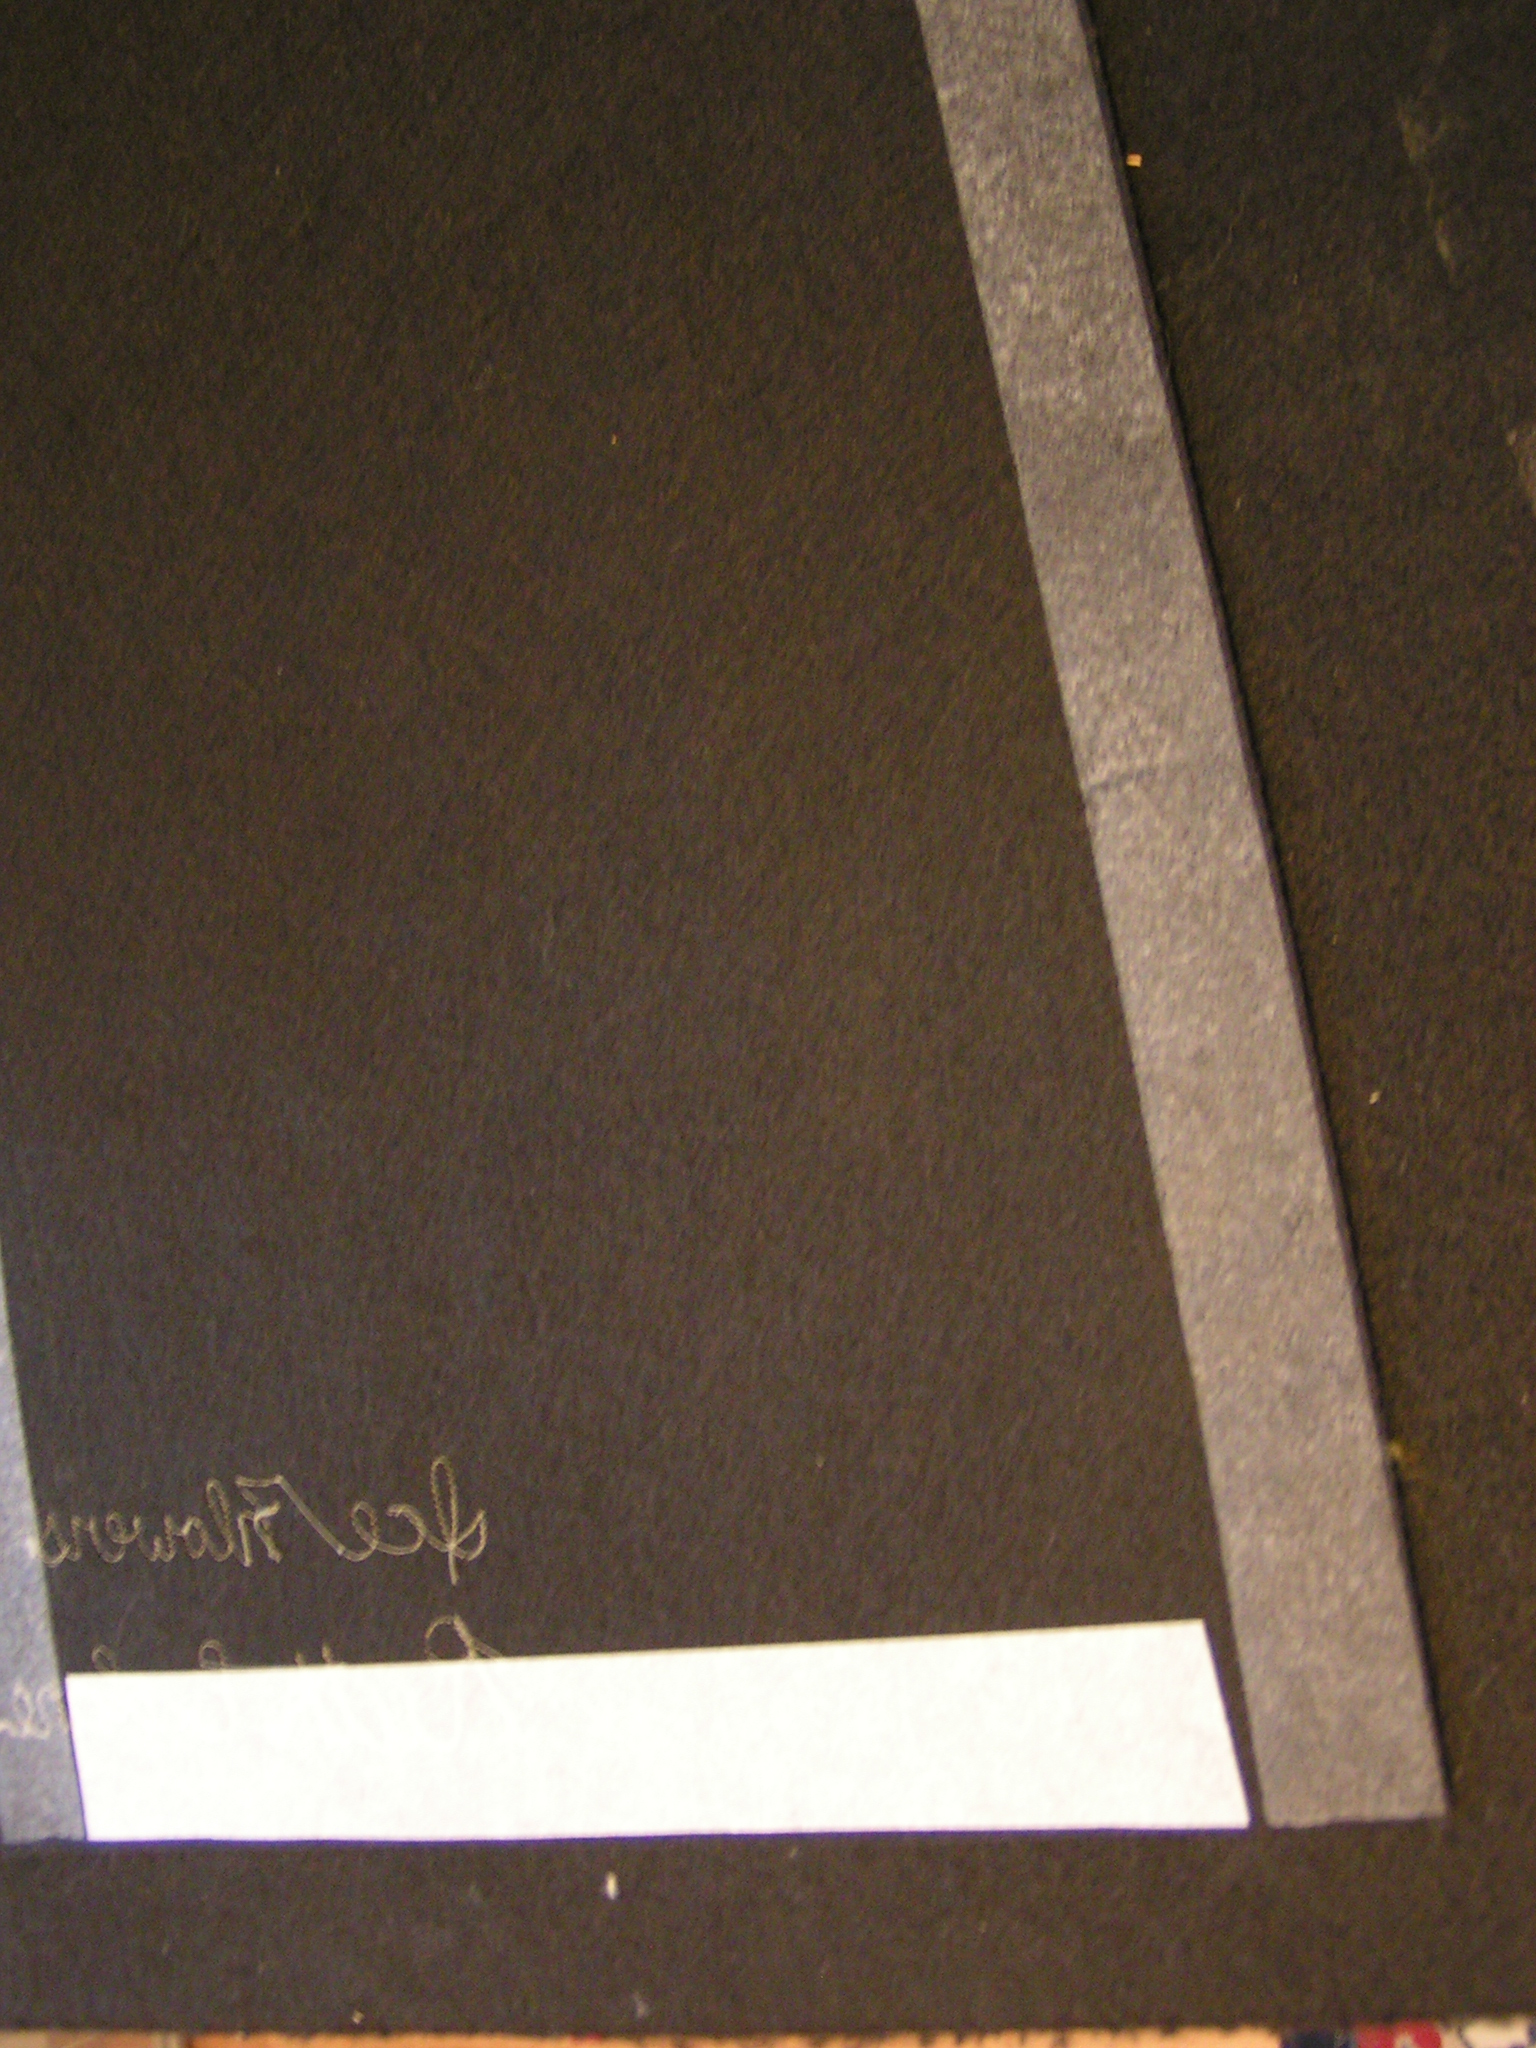 I recently posted on the Felting and Fiber Studio site about finishing and framing. But I hadn’t actually finished the back of Ice Flowers. I had originally thought that I would glue black felt to the back and then add a hanging device. But I hate gluing and wasn’t sure how I would hold it in place while it dried. So I decided to fuse it on. So I added the fusible to my black felt backing.
 Pulled off the paper backing.
 And ironed it down. I didn’t show the ironing since I needed both hands. This photo shows the finished back.
 You can see from the side view that I left about a quarter inch around the entire edge. I thought I had hardware for the hanging device but it was too big. So I need to get some from the hardware store this weekend. I want to put this in the store to sell so I need to get it done.
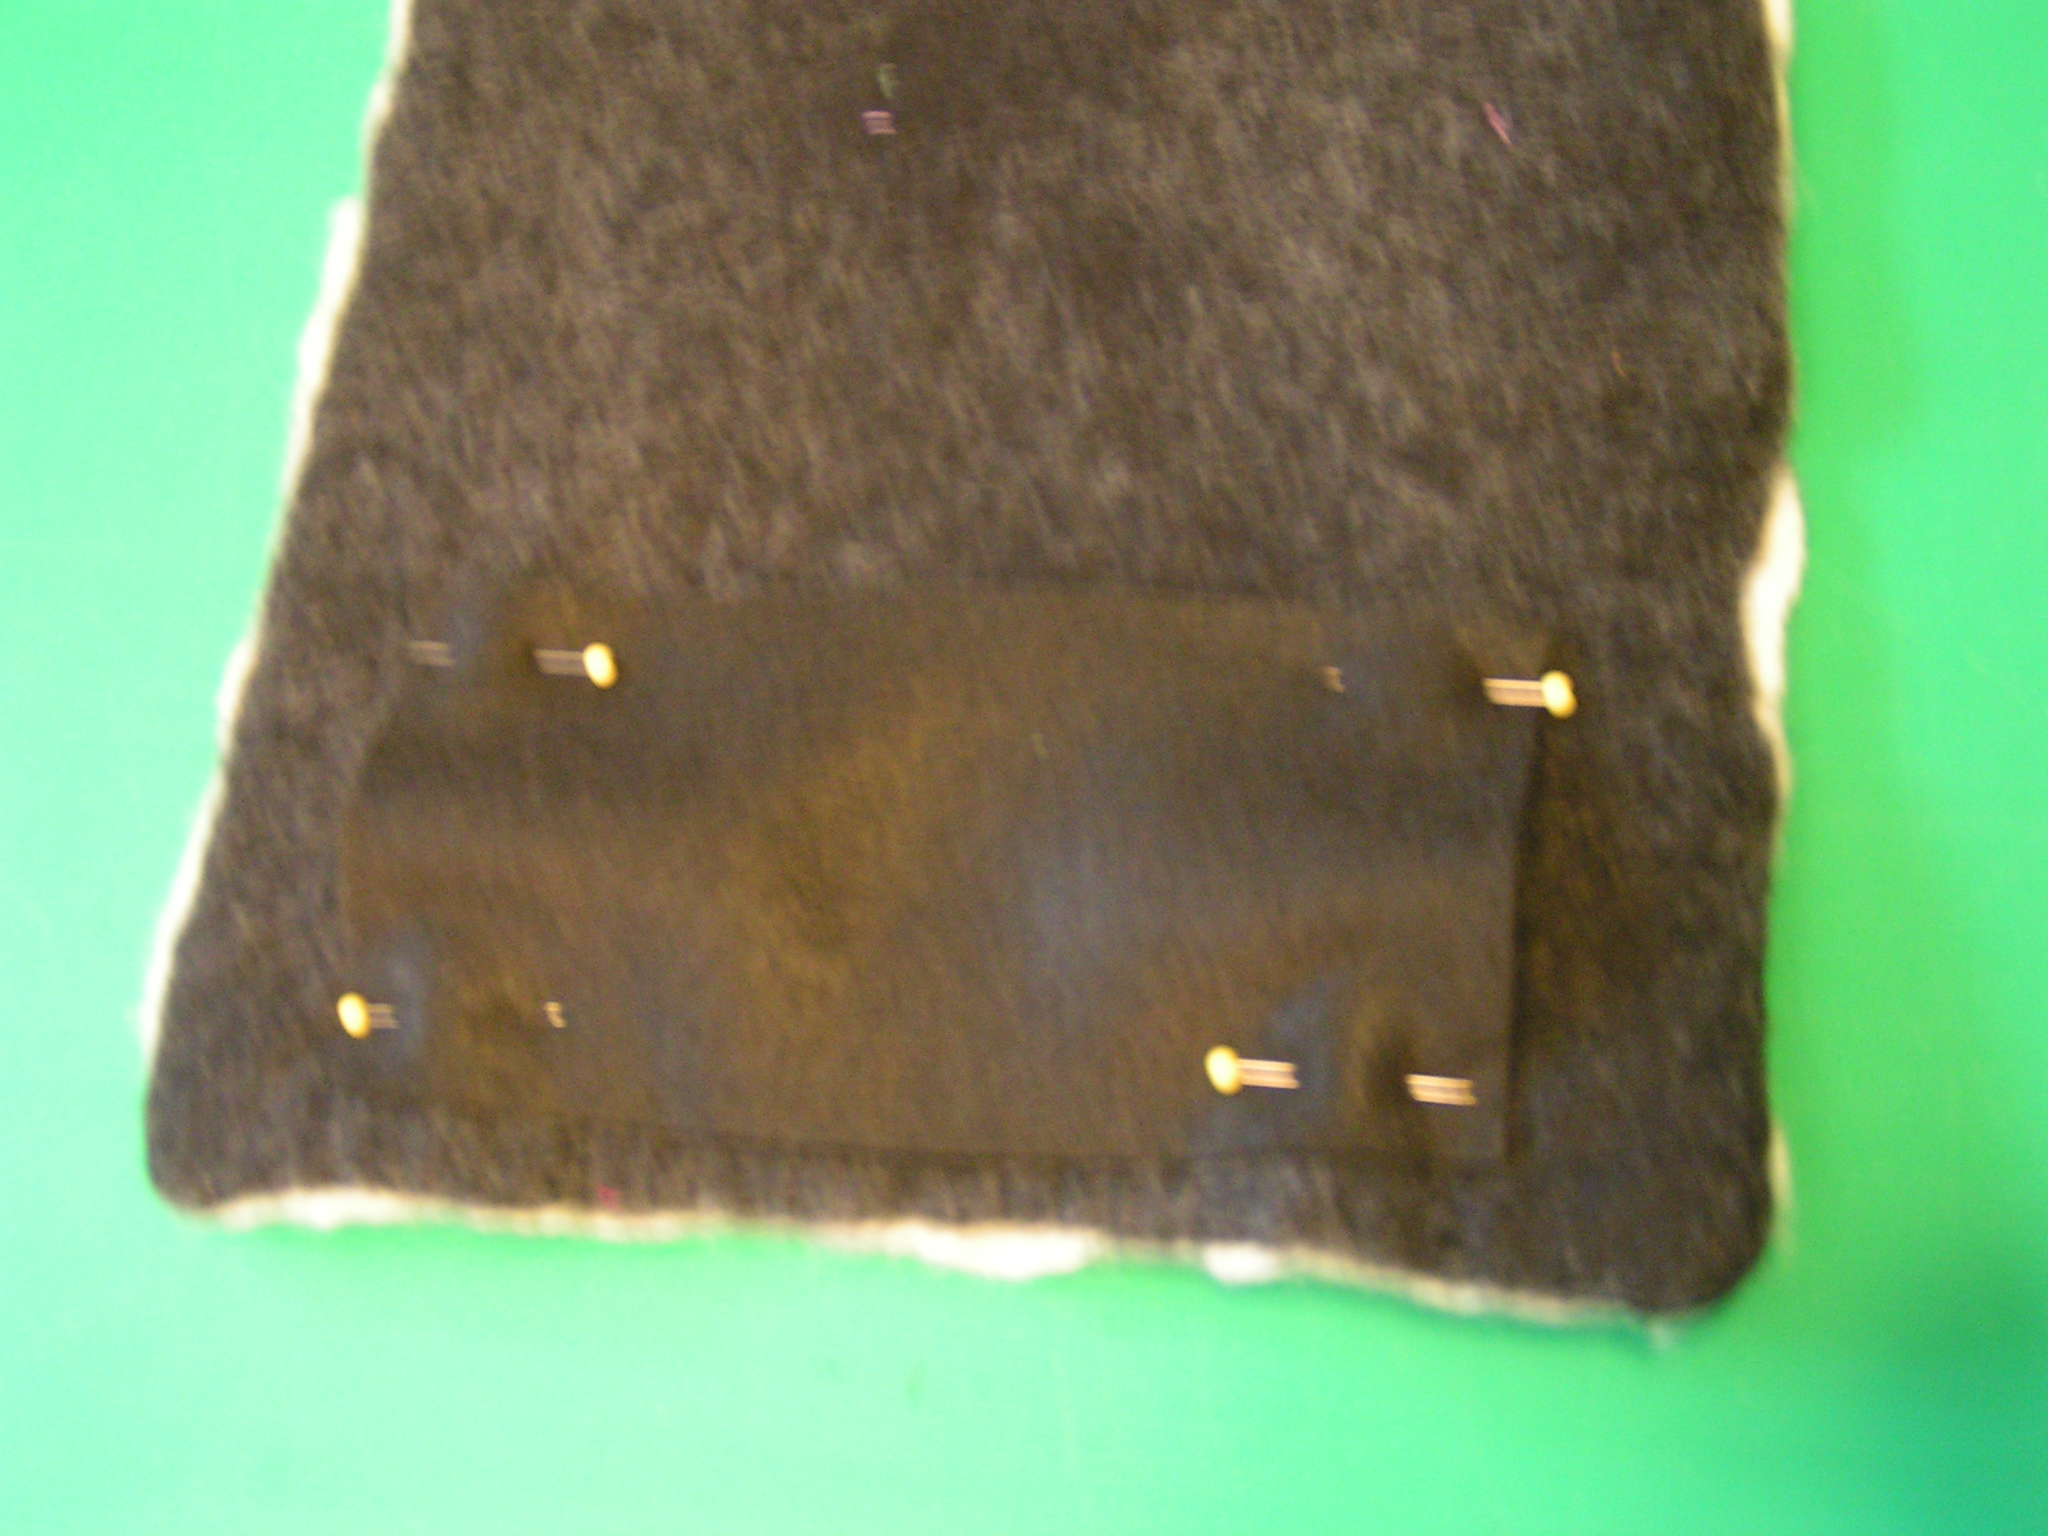 I also made a sleeve for my Jackson Pollock challenge piece and I’ll stitch that on by hand watching TV tonight.
 All week I have been spending a few minutes here and there working on this plaster piece that I started last week. I used a nail to draw the pattern on.
 Then I used a rotary tool to carve out inside the lines.
 Here’s part of the design finished.
 Once I got it carved out, I did some painting today. Didn’t get it finished yet though. You can see the original design in my sketchbook in the upper left corner.
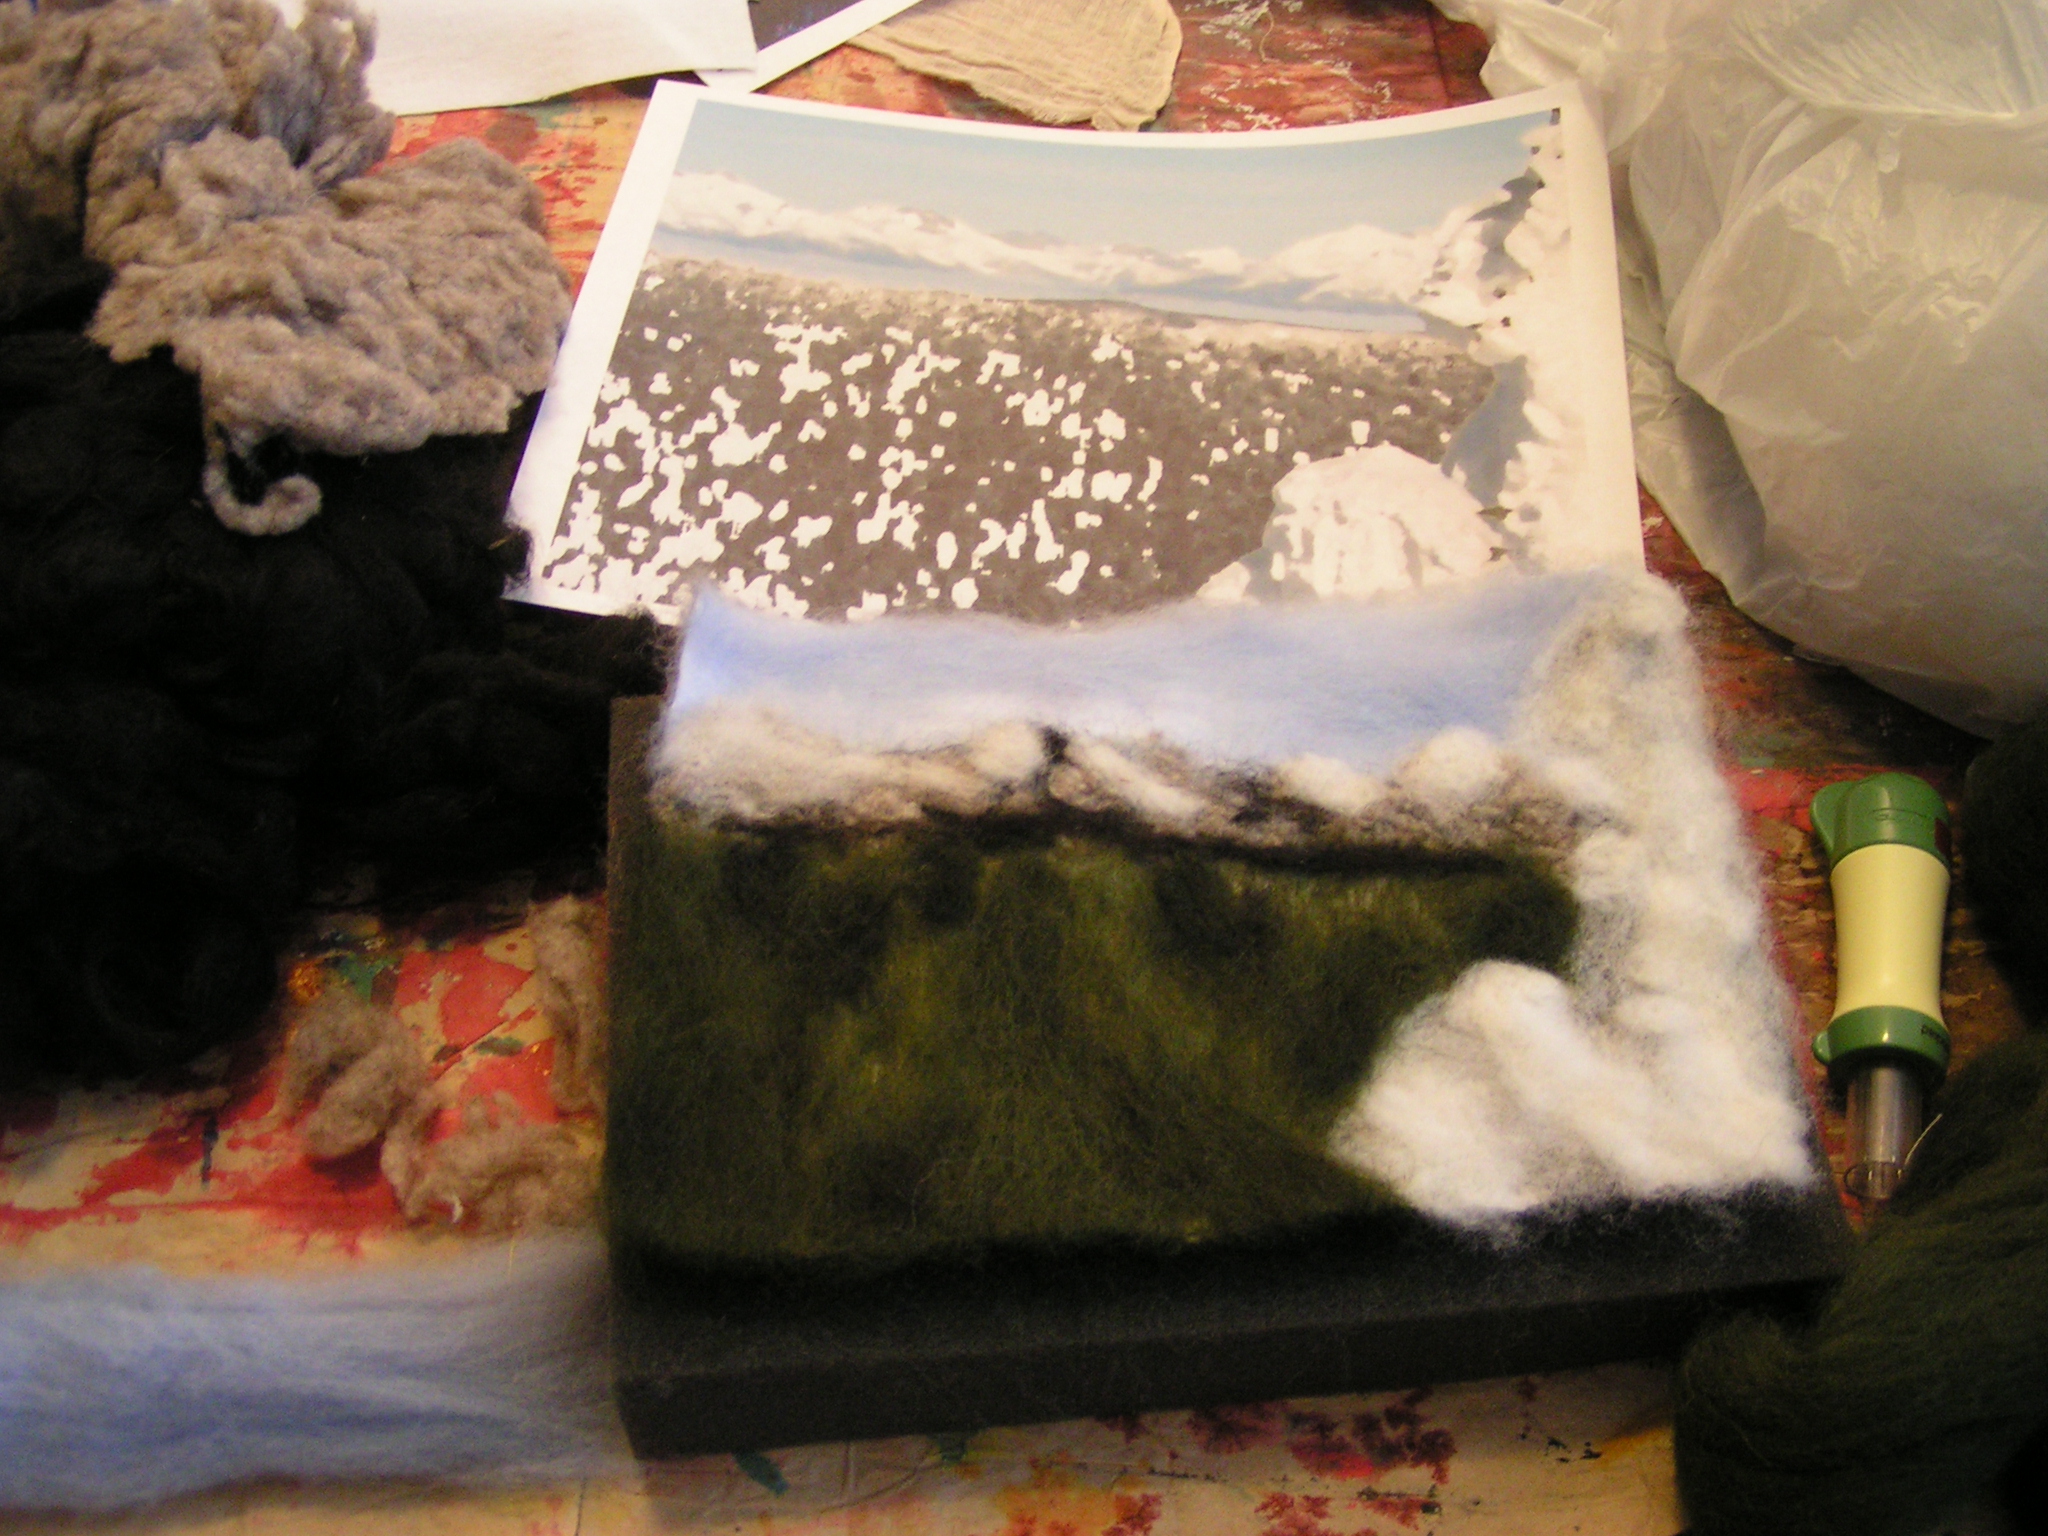 I also started a small (5″ x 7″) landscape piece based on a winter photo from Big Mountain. I put the photo into Photoshop first and abstracted it slightly so I wouldn’t feel the need to make the felt piece just like the photo. I hand needle felted first.

And then I used my Janome needle felting machine to get the wool well adhered. The plan is to finish this piece with hand stitching. But I may start with machine stitching and add hand stitching afterwards. Haven’t quite decided yet.
 Last but not least, here are the slippers I made last Sunday. This pair is mine made with white wool inside and green wool on the outer layers. I used the tutorial/template from Nada.
 I wanted the slippers to be fairly plain so I just added hand dyed cheesecloth to the outer layer.
 I made two pair and these are the ones I made for Dennis. They were made with navy blue wool and white inside. They look almost slate grey due to the mixing of the white and blue wool with felting.
 I added the rest of the cheesecloth to these and Dennis really likes them. Now I just need to have a bit warmer weather so I can spray the Plasti-Dip stuff on the soles. It was cold and lightly snowing today and the stuff is so strong, you can’t spray it inside. You can see what it looks like here.
 Ruth Lane Art