I haven’t been able to play in the studio for several weeks now so it was good to get back to a more routine Friday. The only problem was that we are in the process of starting to update the store website and sell off the site. Dennis is supposed to be doing it but he hasn’t ever used WordPress before. So I am teaching him and today we uploaded the e-commerce plug in and started uploading products. This is going to take a while! But back to what I did on the creative side today.
 I recently posted on the Felting and Fiber Studio site about finishing and framing. But I hadn’t actually finished the back of Ice Flowers. I had originally thought that I would glue black felt to the back and then add a hanging device. But I hate gluing and wasn’t sure how I would hold it in place while it dried. So I decided to fuse it on. So I added the fusible to my black felt backing.
 Pulled off the paper backing.
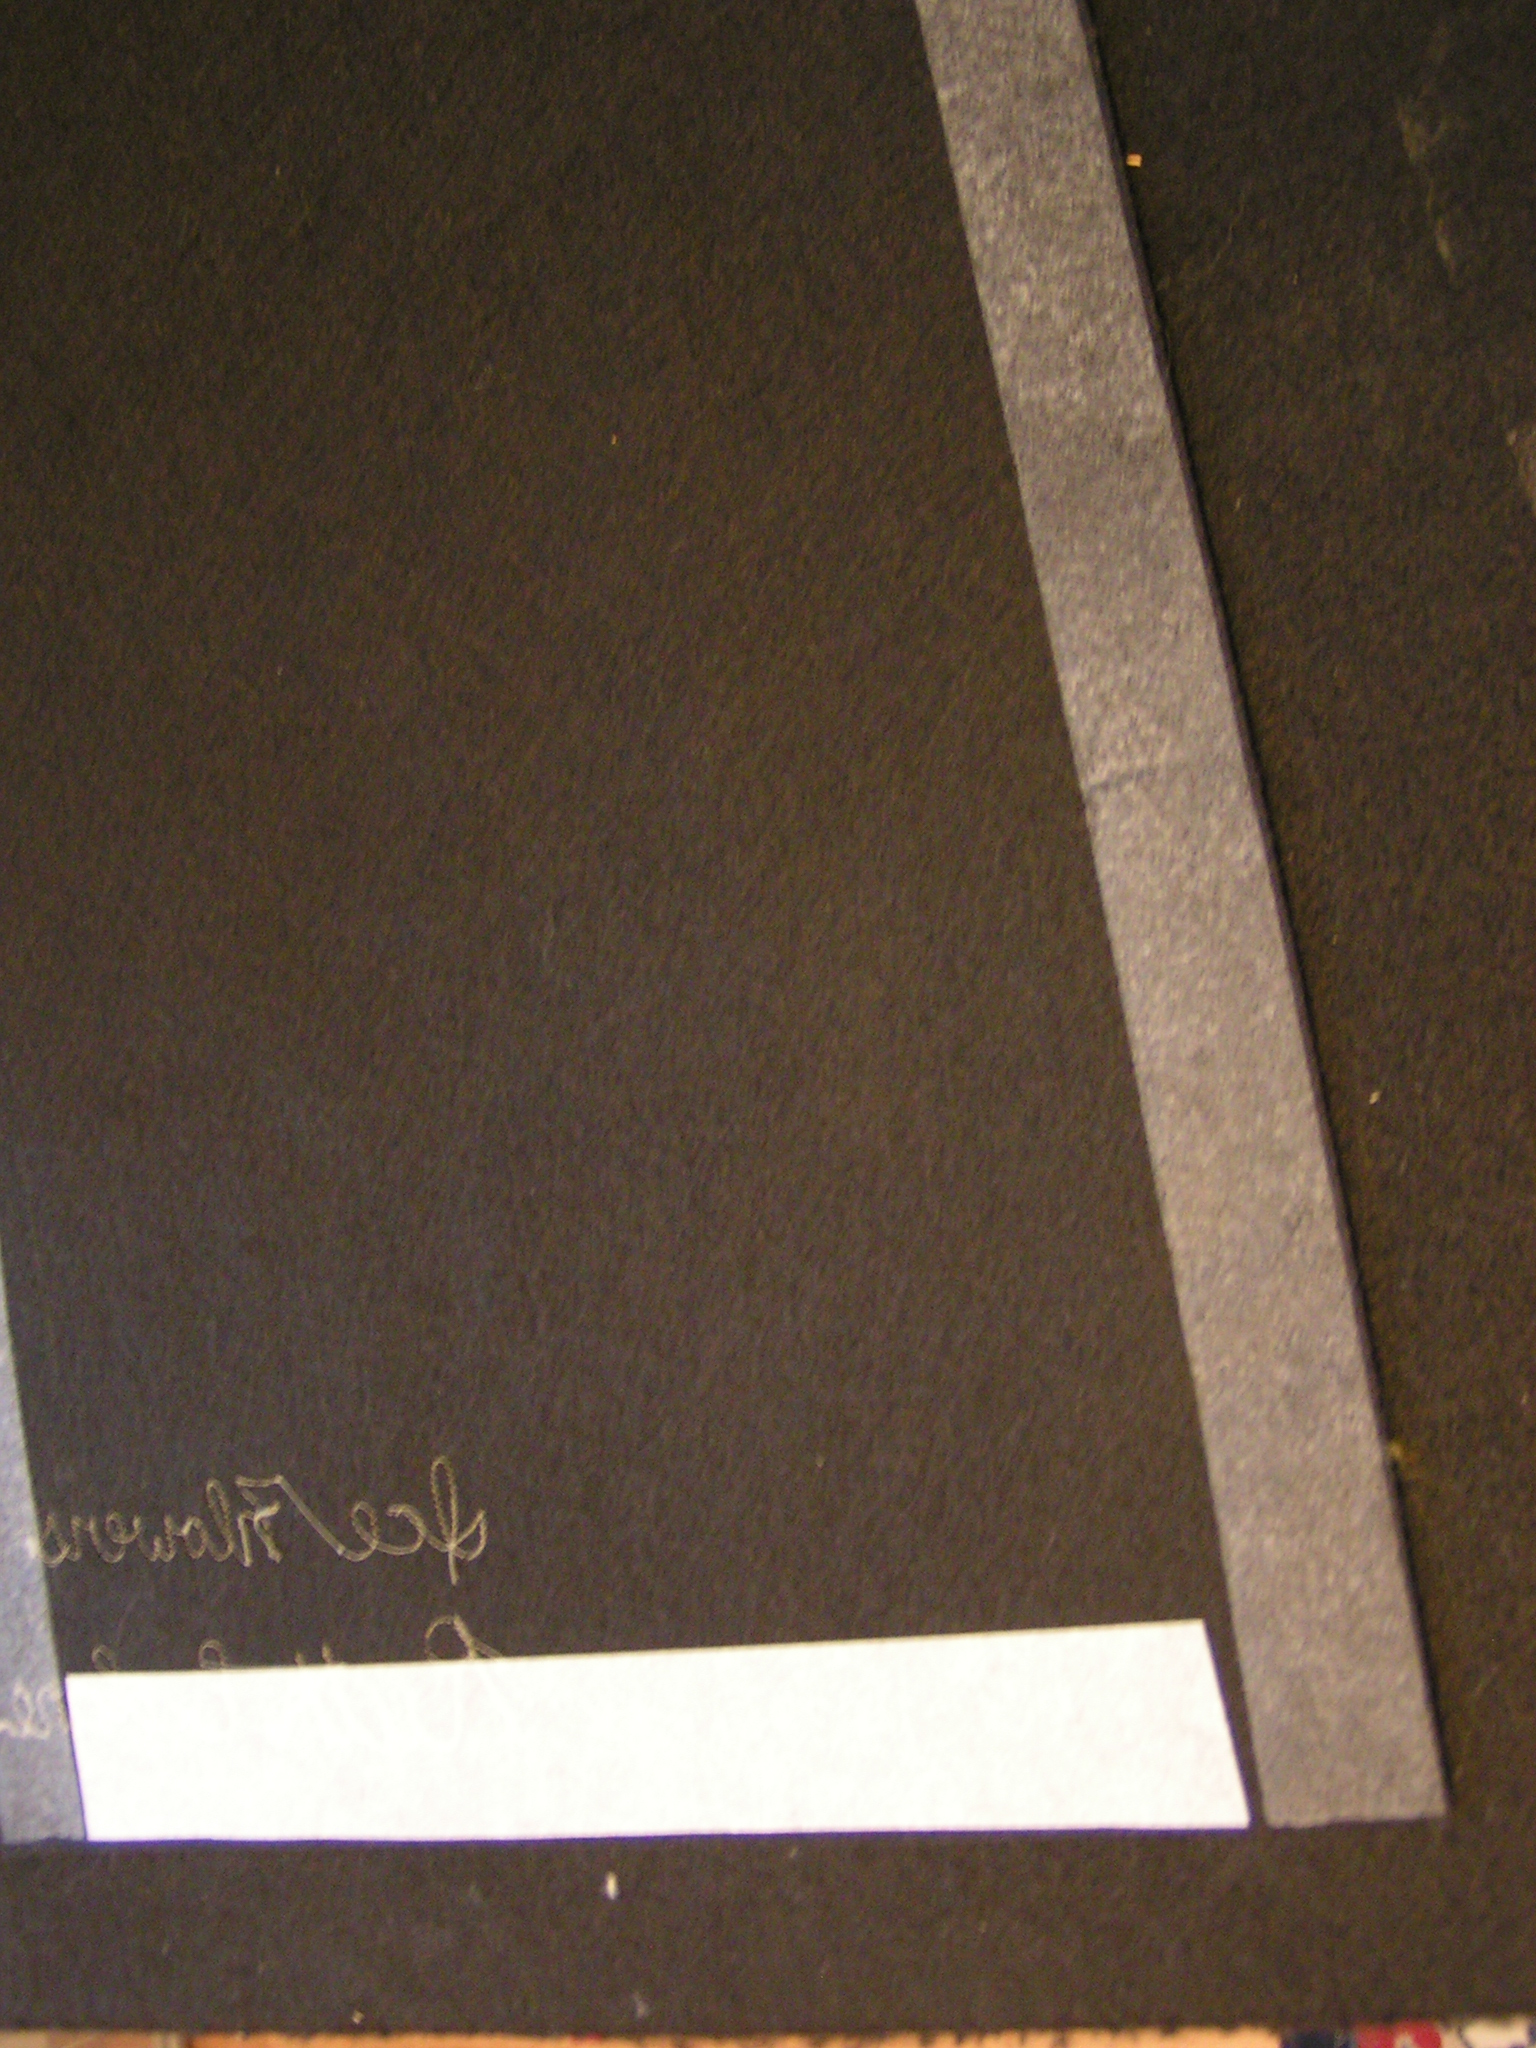
 And ironed it down. I didn’t show the ironing since I needed both hands. This photo shows the finished back.
 You can see from the side view that I left about a quarter inch around the entire edge. I thought I had hardware for the hanging device but it was too big. So I need to get some from the hardware store this weekend. I want to put this in the store to sell so I need to get it done.
 I also made a sleeve for my Jackson Pollock challenge piece and I’ll stitch that on by hand watching TV tonight.
 All week I have been spending a few minutes here and there working on this plaster piece that I started last week. I used a nail to draw the pattern on.
 Then I used a rotary tool to carve out inside the lines.
 Here’s part of the design finished.
 Once I got it carved out, I did some painting today. Didn’t get it finished yet though. You can see the original design in my sketchbook in the upper left corner.
 I also started a small (5″ x 7″) landscape piece based on a winter photo from Big Mountain. I put the photo into Photoshop first and abstracted it slightly so I wouldn’t feel the need to make the felt piece just like the photo. I hand needle felted first.

And then I used my Janome needle felting machine to get the wool well adhered. The plan is to finish this piece with hand stitching. But I may start with machine stitching and add hand stitching afterwards. Haven’t quite decided yet.
 Last but not least, here are the slippers I made last Sunday. This pair is mine made with white wool inside and green wool on the outer layers. I used the tutorial/template from Nada.
 I wanted the slippers to be fairly plain so I just added hand dyed cheesecloth to the outer layer.
 I made two pair and these are the ones I made for Dennis. They were made with navy blue wool and white inside. They look almost slate grey due to the mixing of the white and blue wool with felting.
 I added the rest of the cheesecloth to these and Dennis really likes them. Now I just need to have a bit warmer weather so I can spray the Plasti-Dip stuff on the soles. It was cold and lightly snowing today and the stuff is so strong, you can’t spray it inside. You can see what it looks like here.

Great instructions Ruth. I hope you show us all the stages in the “painting” . I really need to make some of those slippers too. The list is getting long indeed.
Thanks Ann. I will try to remember to keep taking photos of the painting. Not sure where it’s going after I get the “insides” painted. My list is long too 🙂
I really like how your slippers turned out! They look so natural and comfy. The spray adhesive sounds interesting–much easier than sewing on a leather sole. When you spray, do you use masking tape to protect the rest of the slipper? Also, how do you plan on hanging the Pollock piece? I used twill tape on mine and hung it on a dowel rod, but I am not happy with the overall finishing look.
Thanks – the slippers are comfy. The spray adhesive is easy – just stinky to spray on so needs to be done outdoors. I do tape off the slipper and cover the top with a plastic bag. The tape makes a nice clean edge for spraying. The Pollock piece will use the “quilt sleeve” that I made today. I will probably use a dowel rod to hang it with. I think the quilt sleeves give better support than the twill tape and don’t let the piece sag at all.
Thanks for the tips, Ruth. You are right about the twill tape hangers I used–they are uneven and the piece sags slightly, even though it is not very heavy or thick. Switching to a quilt sleeve “one of these days.”
You’re welcome. If you make the quilt sleeve out of commercial felt it is really simple. You just cut a rectangle and stitch it down. Leave a little room from bottom to top for the dowel rod so it won’t pull on the back of the piece.
The slippers turned out great. The cheesecloth gives them a nice texture and subtle coloring. The non slip bottom are definitely a must.
Thanks Marilyn – we have a tendency to go outside in our slippers so we definitely need the non slip bottom just so they’ll last longer than a month or two.
Love the landscape picture Ruth, can’t wait to see how you develop it with stitch. Interesting choice of material for the plaster piece, I would have never thought to use a slab of plaster to carve and paint…. genius!
Thanks Teri – I haven’t started stitching yet but I think I might use machine stitch in the background and distorted cross stitch in the foreground. I didn’t come up with the plaster idea although carving it with the rotary tool was my idea. Not sure where to go next so now I’m working on another one.
Love the slippers – it’s a brilliant template – and the cheesecloth topping gives them a really great finish.
Thanks Lyn – I agree that Nada’s template is amazing.