White on White Samples

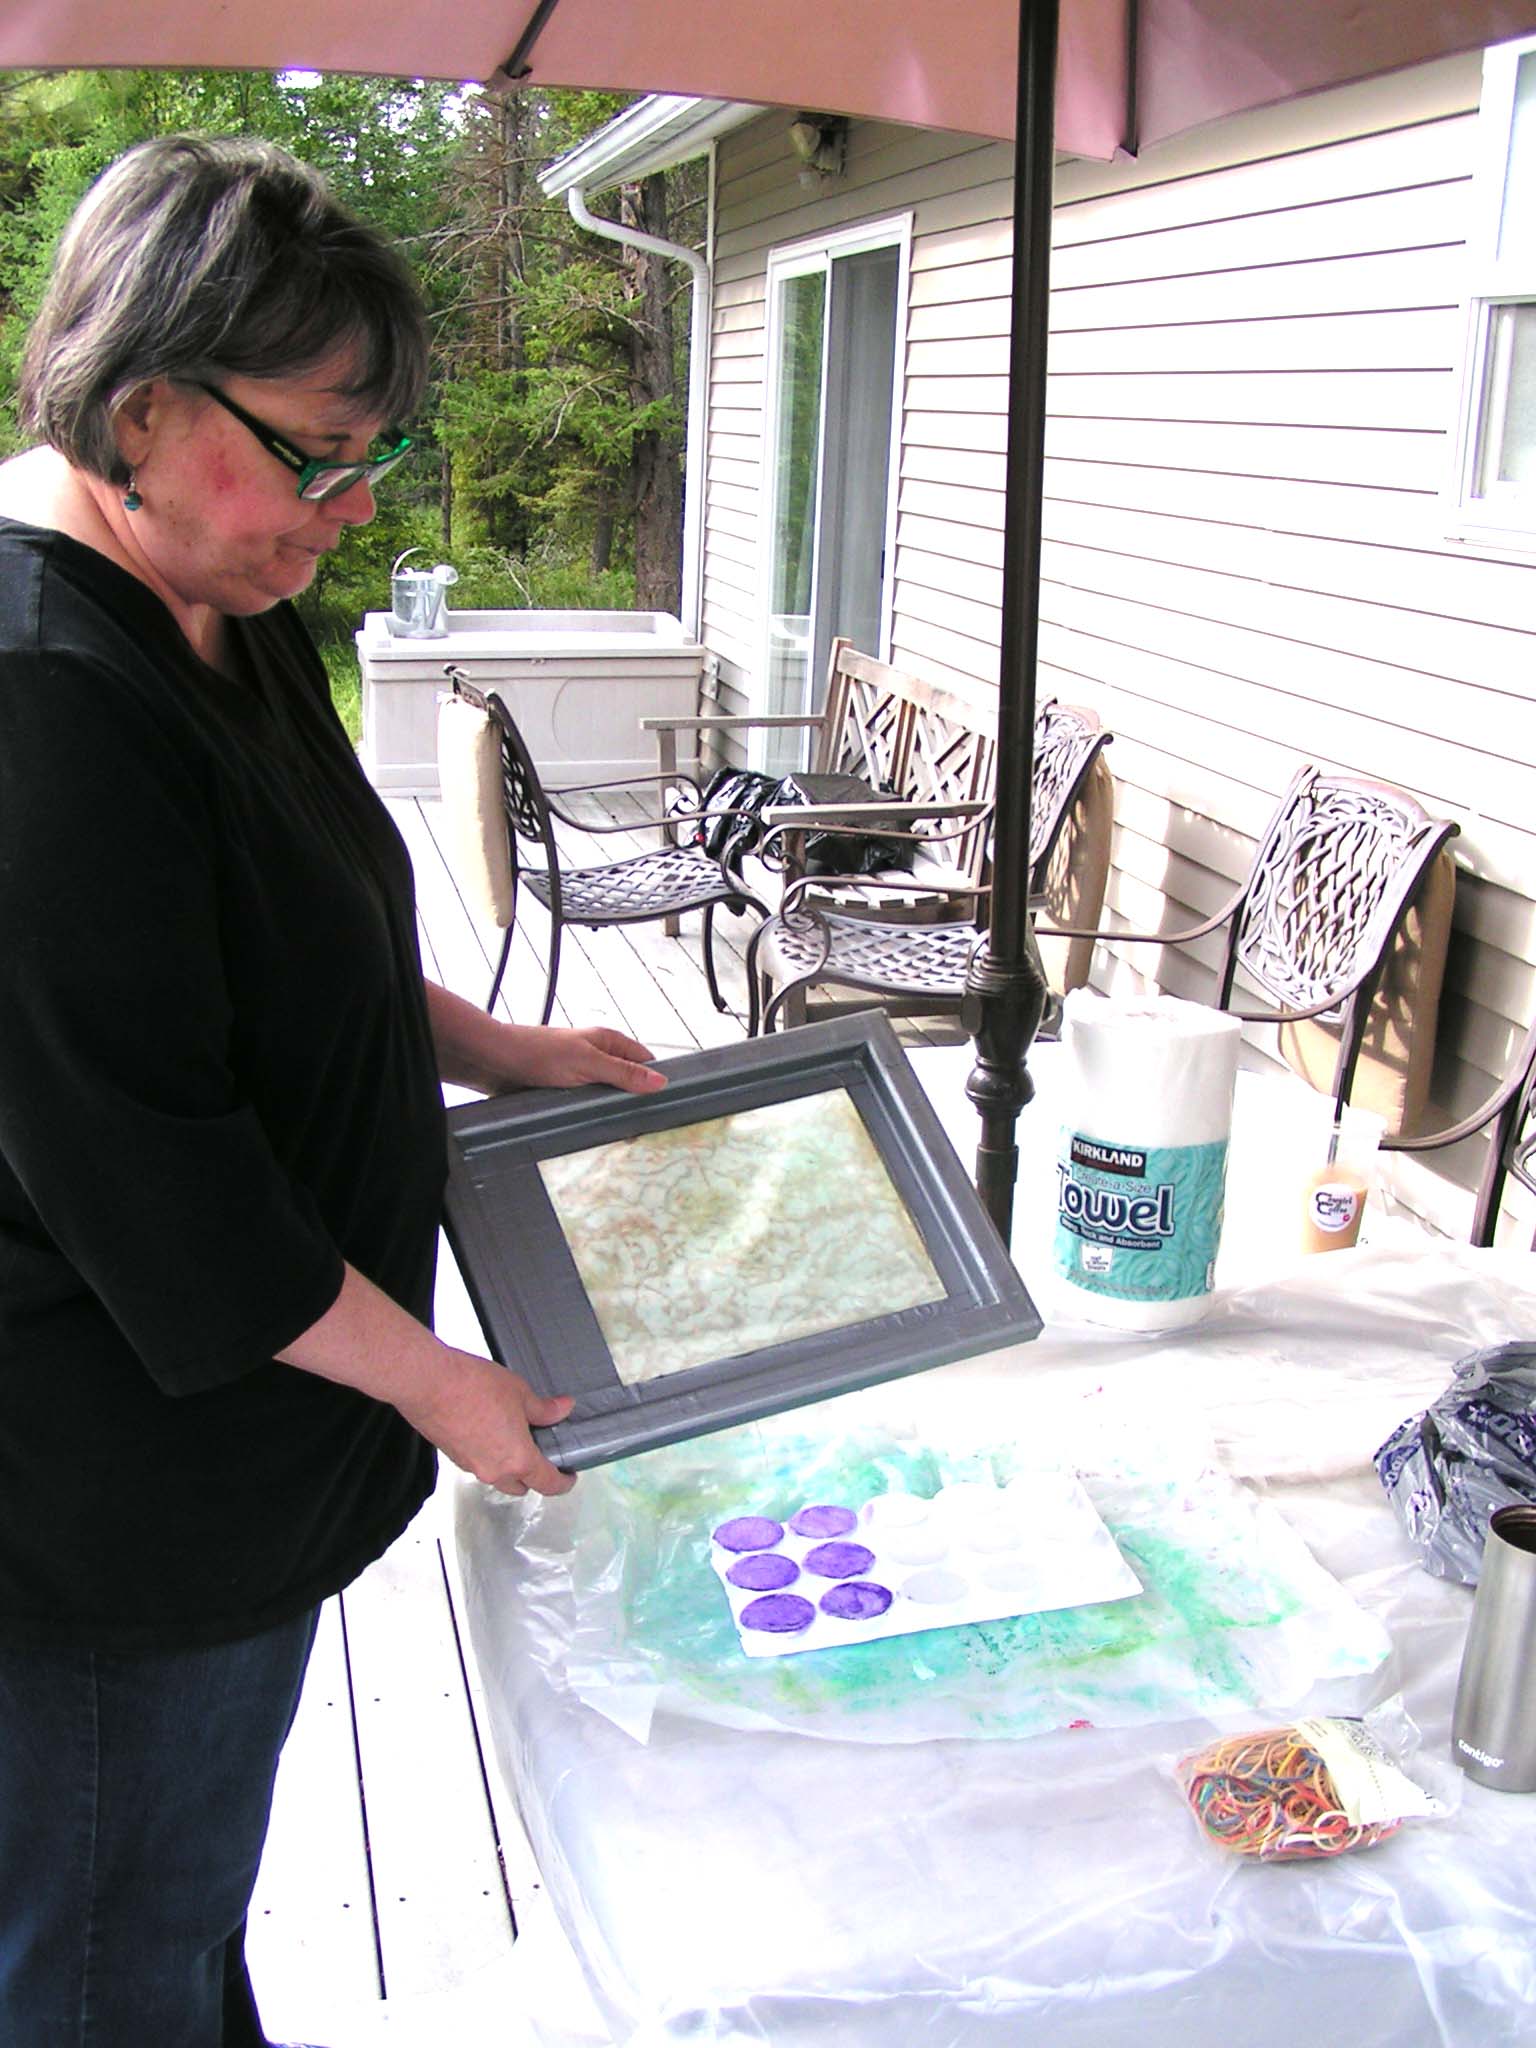
Last week I “went” to class for Level 3 Stitch. We had class online. It was an interesting experience. Not quite the same as real class but we are able to move forward and continue class so it was good. It was really great to get feedback on the applique pieces and we’re starting to think about what our “big” project will be. We also looked at white on white and how that affects design. So now, you guessed it, white on white samples.

It’s interesting to see all the different “whites” in fabric. Something may look white but then you put it up to something that is a much brighter and whiter white and it is a totally different color.

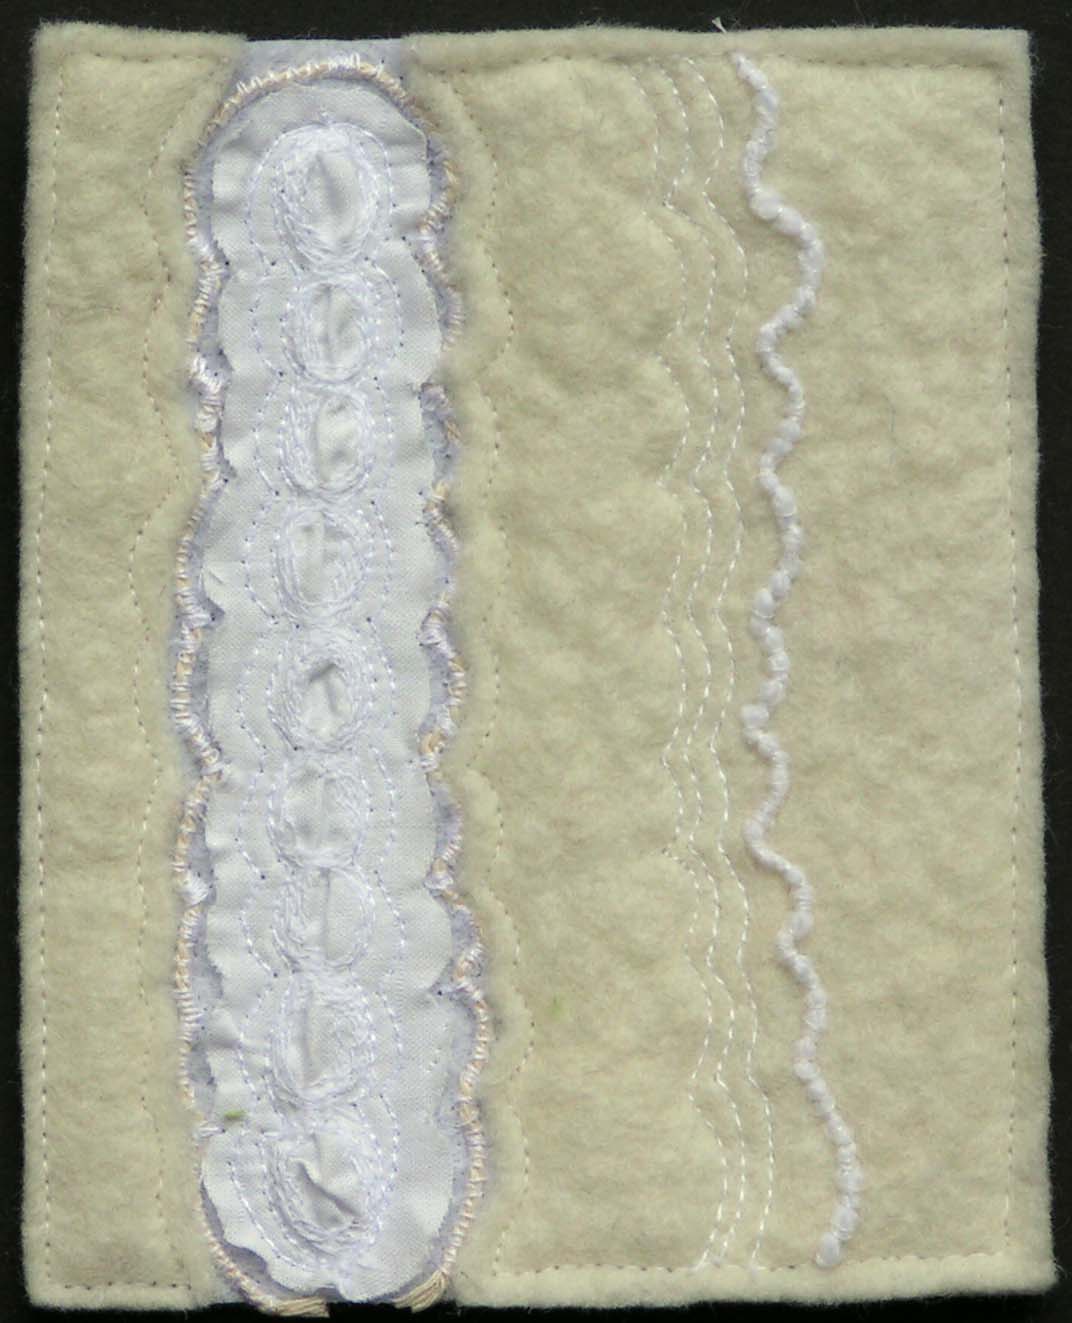
White felt is definitely not the same as white cotton fabric. It’s interesting to see the different textures that sewing on different types of fabric creates.

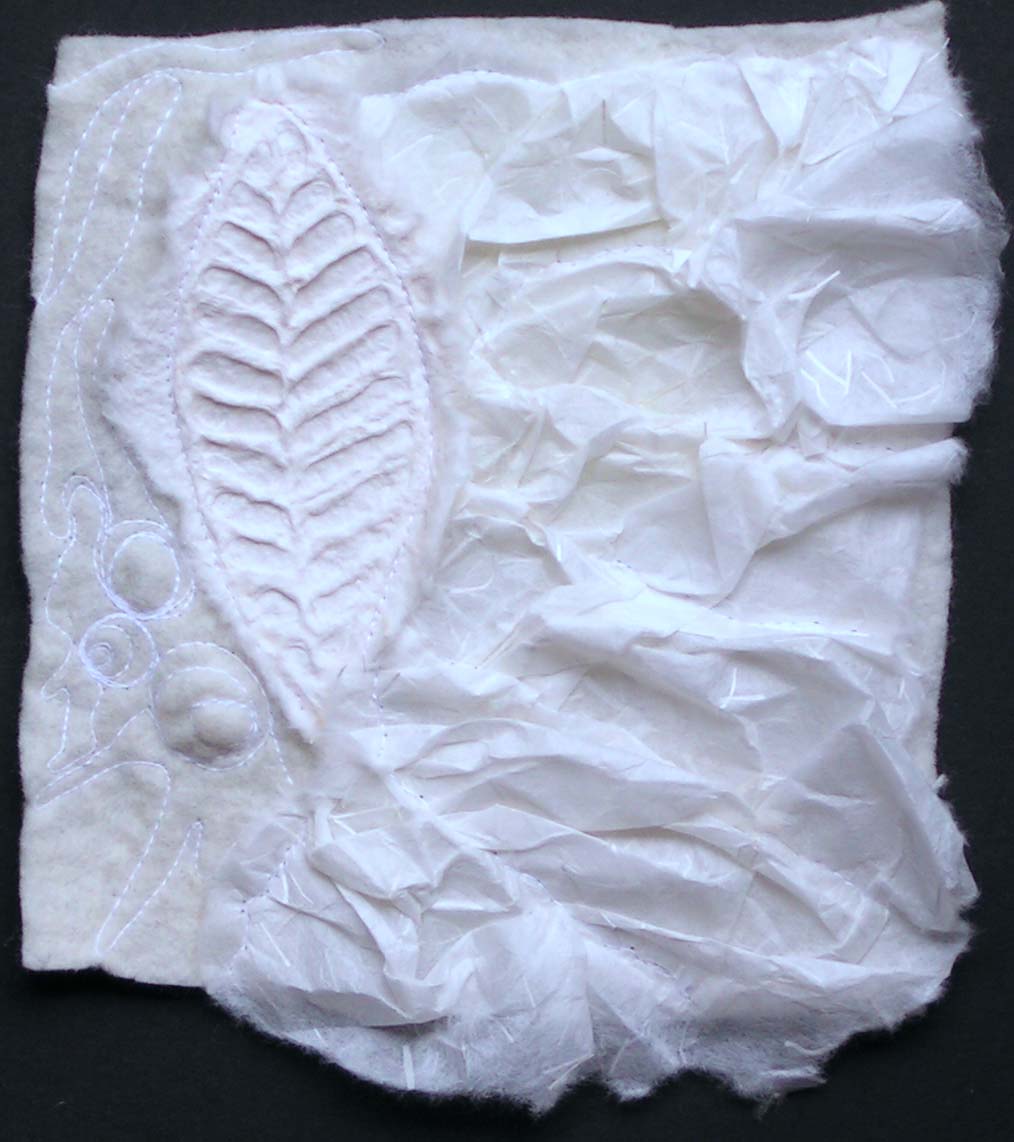
And even paper is game.

Lighter fabrics are easy to manipulate with stitching.

I have been searching through my stash to find what I have in white.

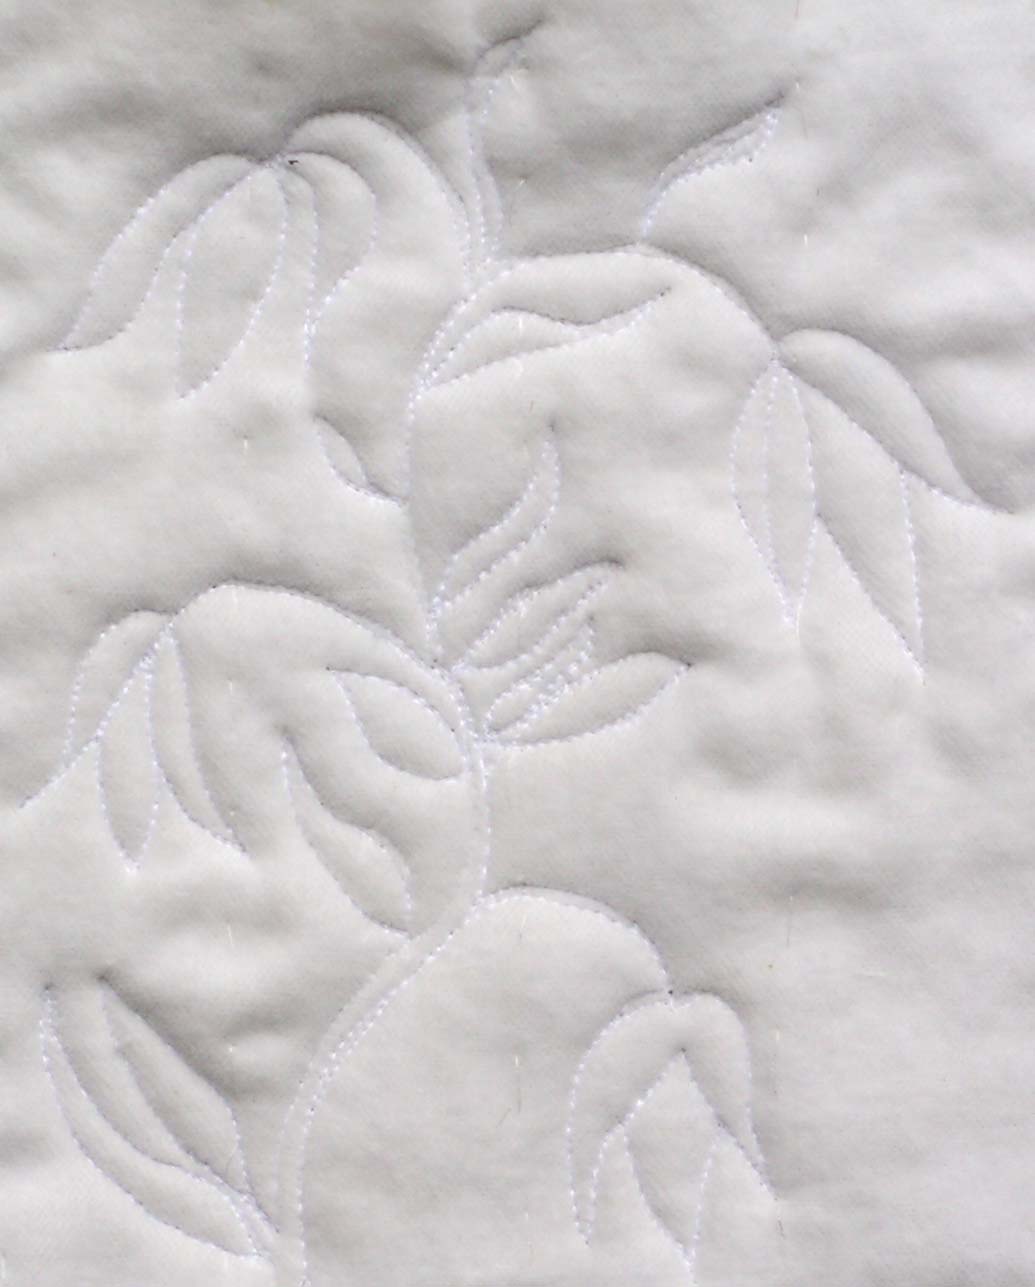
Quilting in white definitely shows the shadows of the stitching.

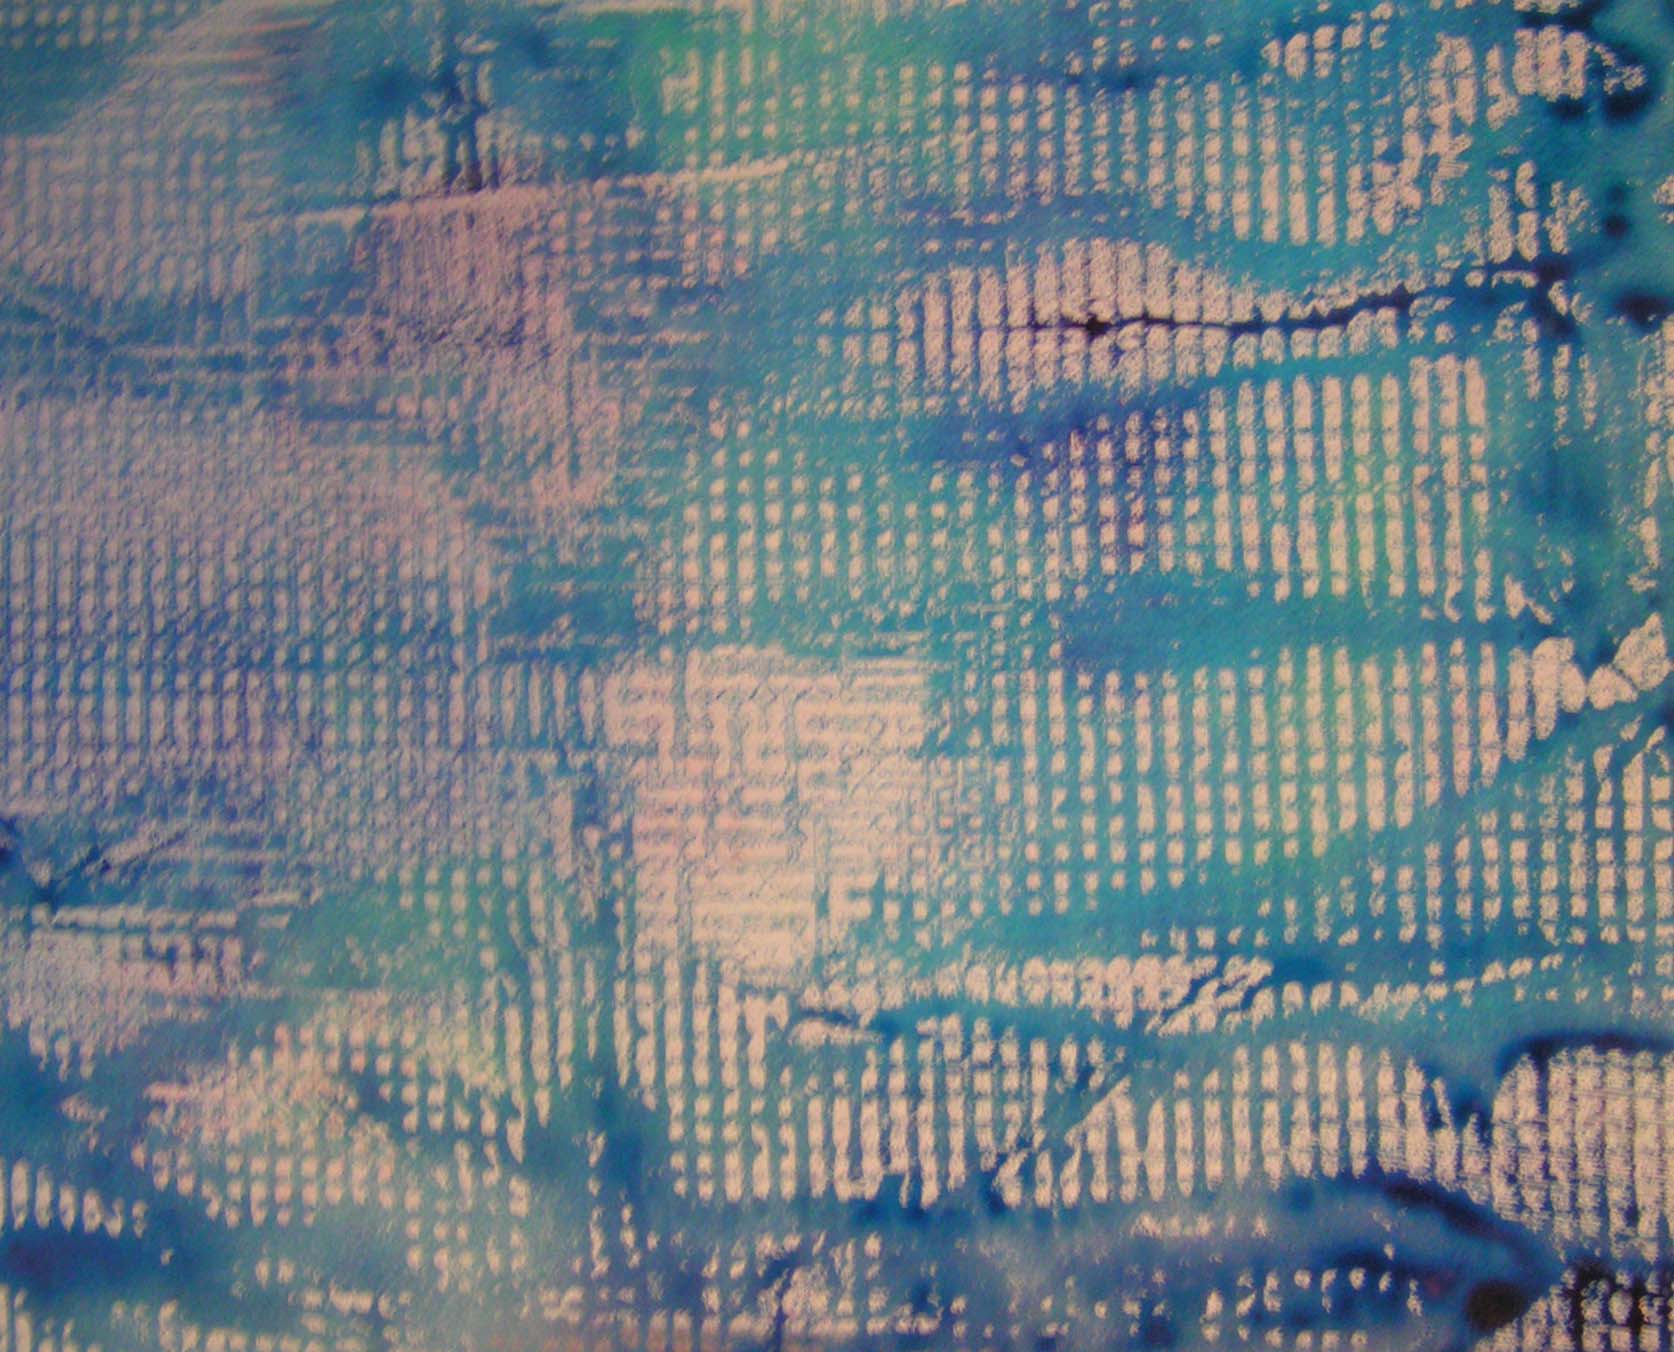
I borrowed this idea from one of my classmates color samples. This stitch and slash technique is really good with different colors of fabric as it really achieves some interesting color mixing. I thought I would see what it did with different white fabrics. It gives a really nice texture. It kind of reminds me of stone carvings.

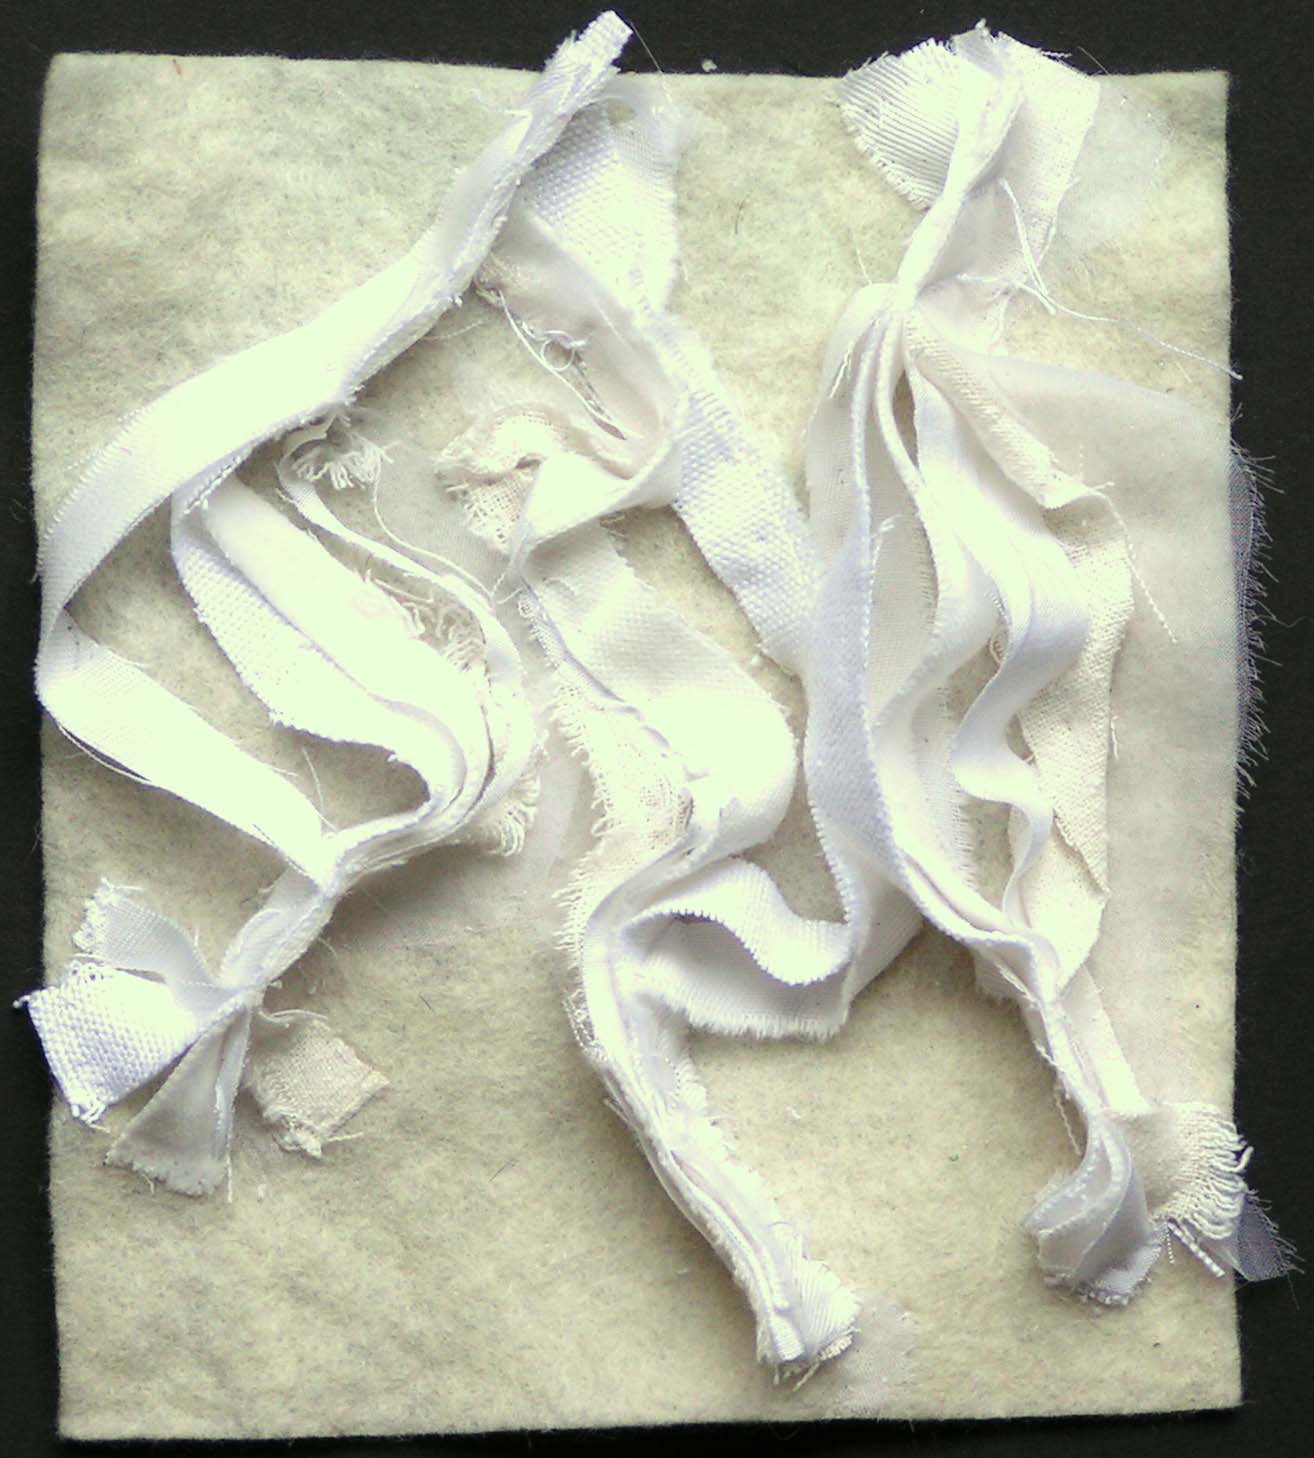
And this last one is using the cut off partially sewn edges from the piece above. This could definitely give some interesting textures.

Have you ever stitched white on white samples? I’d love to see them if you have! Hope you are all staying safe out there in this big, weird world.

Dyeing More Fabric

I’m a bit late getting this posted but I did some dyeing on Friday. I finished all my color wheel dyeing and now wanted to do some black and grey fabric as well as mixing it into other colors.

Here’s the page in my sketchbook that shows the dyes painted on paper. I then added a small swatch of one of the fabric types that I dyed with that color. The blue-green, blue and green all turned out very similar colors in the fabric.

And here’s the selection of fabric that I dyed with these colors. These are a fun selection of colors that resulted. I am sure I will be using them soon in more color studies.

Discharging Fabric with Paste and Bleach

My local art group met last week and we did some discharging on fabric in my garage. Luckily, we have a new heater in the garage because it has gotten pretty cold here.

We set up with a variety of resists and mixed bleach with water for dipping and for spraying. I don’t have any photos of the dipped cloth but Paula made a really nice shibori piece wrapped around a piece of PVC pipe. Everyone had different kinds of black and colored fabric and some worked great while others not as well. We had to increase our bleach amount in the spray bottles to get good results.

Here are a couple of pieces of cloth that have items placed on the cloth and then were spayed with bleach water.

We used stencils and screens with thickened bleach and discharge paste as well. The silk scarf on the right is mine. It took forever to do and the results were so so. Not really worth the effort.

Here’s Deb spraying her green piece with the keys. After the pieces are bleached as much as you want, then you put them into a solution of Bleach Stop and water to soak. After that you rinse in clean water. Afterwards, it is best to wash the fabric in the washing machine. Hopefully, I will be able to show more of the results after our next meeting.

And here’s a few of the results. Sorry Paula, I didn’t realize your eyes were closed but the fabric looks great!

Getting Ready

It will soon be time again for my art group’s annual retreat. So in preparation, Deb and I started the process for deconstructed screen printing. Deb will be writing a longer post about this over on the Felting and Fiber Studio in September so I won’t show you very many photos but this will give you a taste of what we did this morning.

We had seven screens to cover with dye and a bunch of different things to create texture in the screens. We worked outside since the process is kind of messy.

And here’s some of the screens drying. I am looking forward to how these screens will print. It is always a surprise with deconstructed screen printing as it has a mind of its own.

And while we were outside, I spotted these Columbine leaves turning colors. I love the color combination here. I can always find something inspirational in nature.

Hope you have a good weekend and thanks for stopping by.


Screen Preparations

I mixed up some print paste today to prepare some screens for screen printing next week. Our group is having our annual art retreat and we’re planning to do some deconstructed screen printing. So I completed the first step so it could dry and be ready.

This screen was placed over a gridded packing material. I used a variety of blue and blue green dye.

Then I used red and yellow dye over a textured shelf liner.

The last screen was created over plastic wrap with blue and red to create a variety of colors.

I had leftover dye on the shelf liner, packing material and plastic wrap. So I printed some papers. These will make good papers for collage or for layering further paint or dye on top. I am looking forward to seeing the screen printing results next weekend.