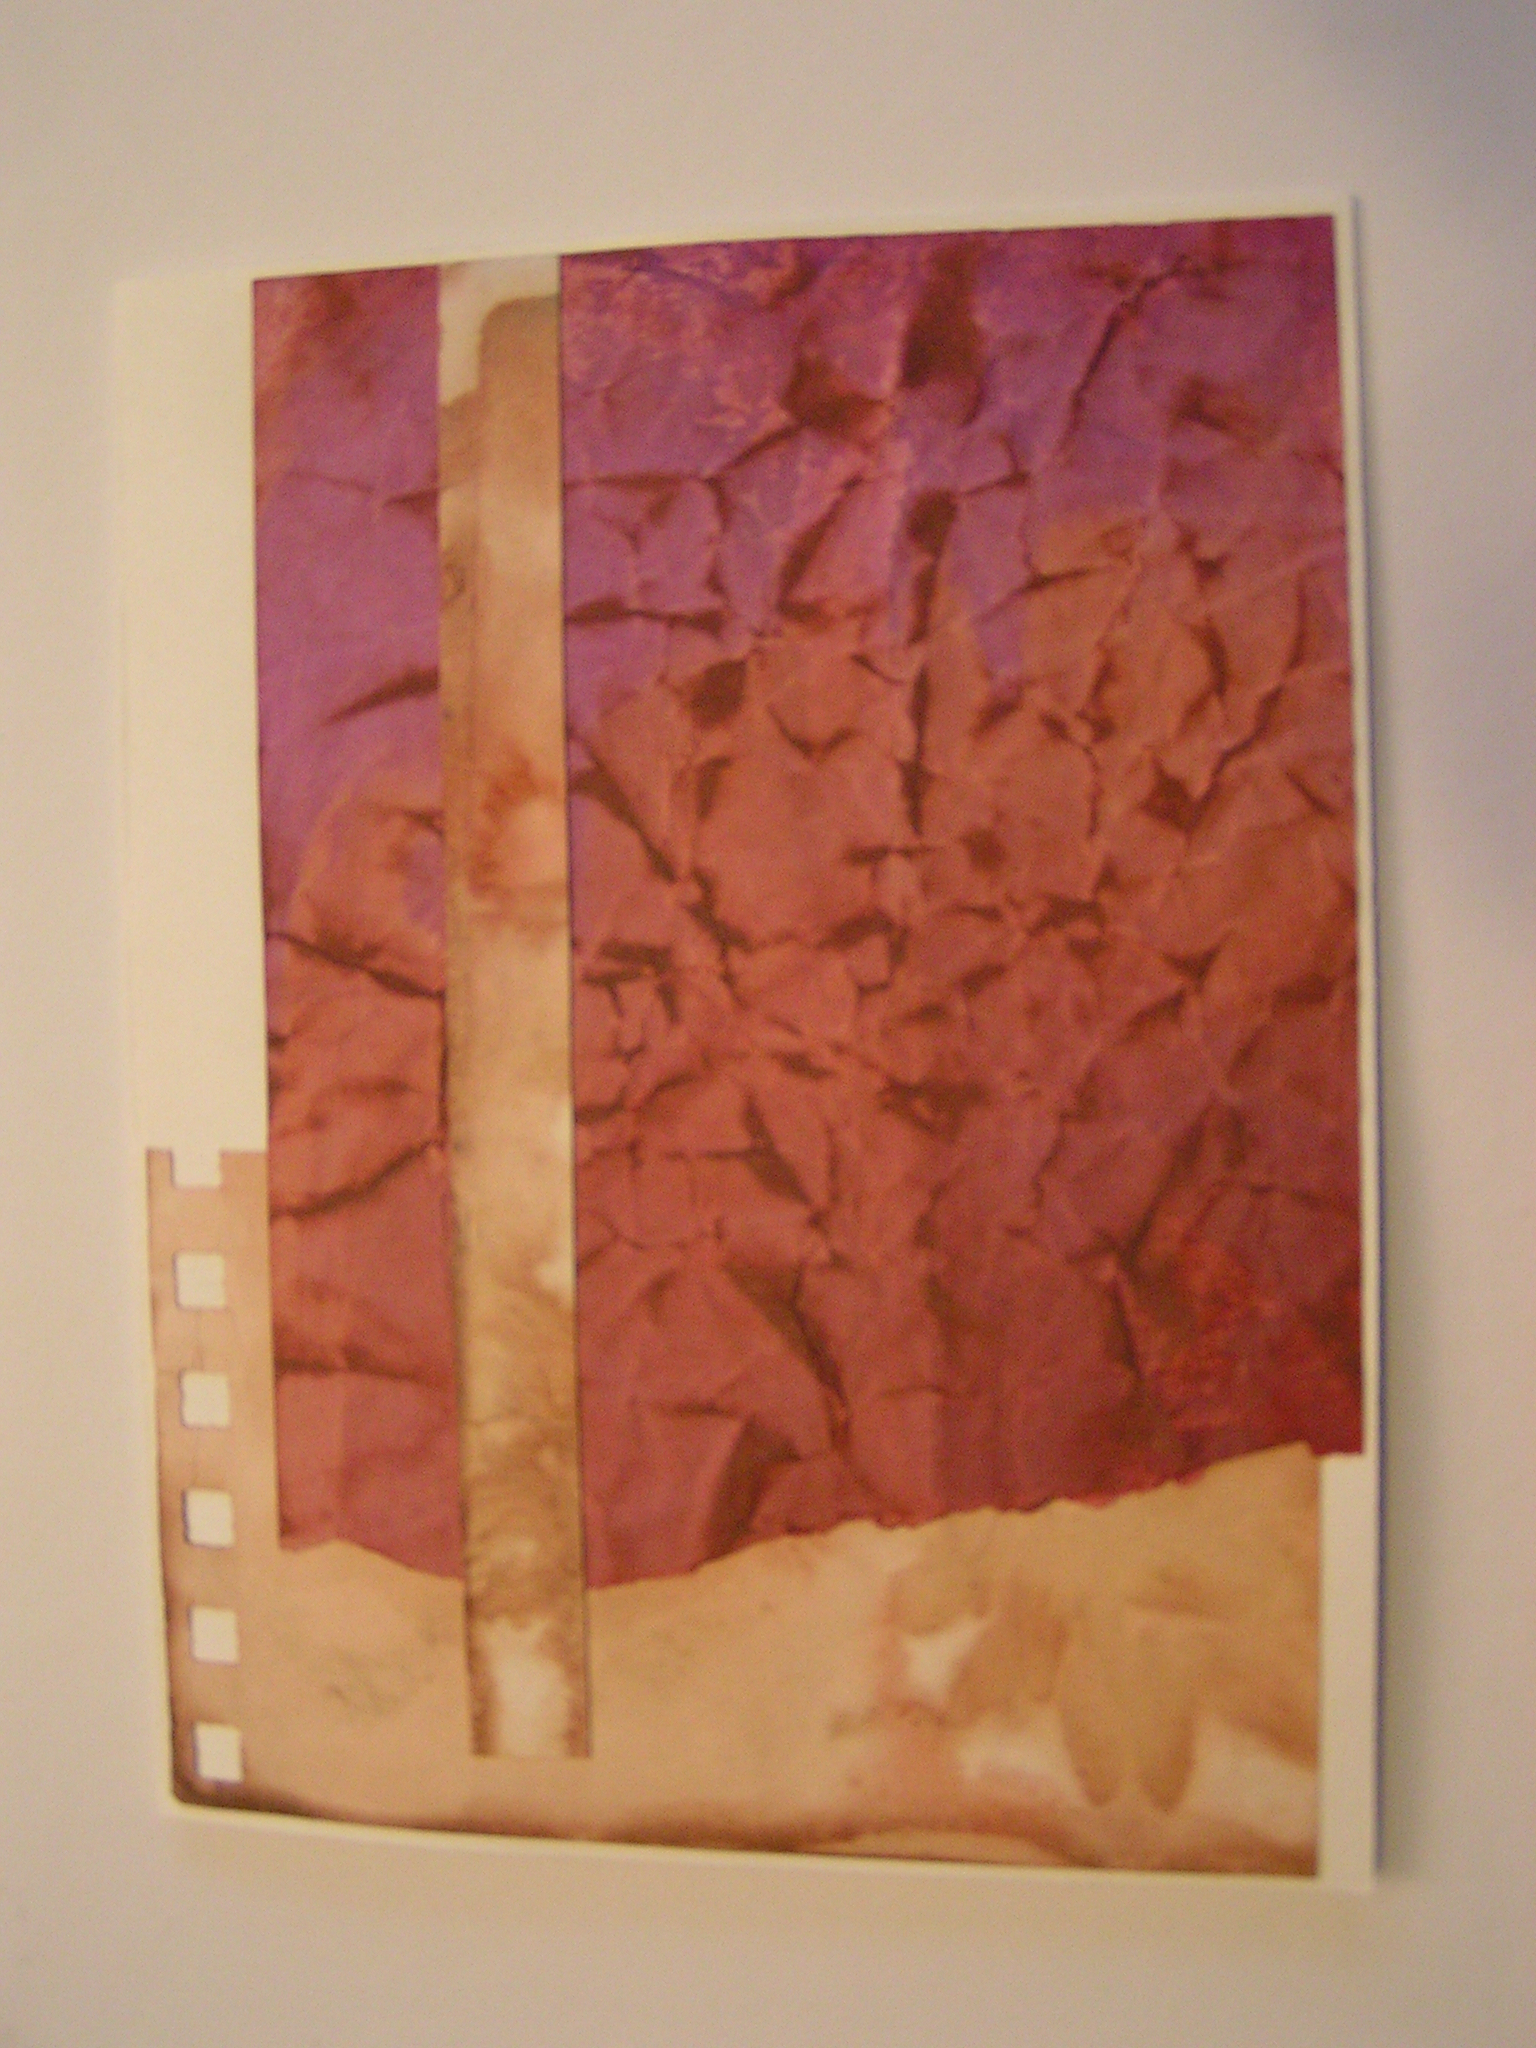
Soy Wax Batik

My local surface design group met yesterday and we played with soy wax. I took fabrics that were previously dyed either naturally or with Procion dyes. I did have some white fabric but didn’t use much of it.

Soy WaxHere’s our wax set up and we used stamps, brushes and stencils to apply the wax. You can use almost anything to apply the wax so cardboard tubes, plastic bits from packaging, foam tubes and kitchen utensils were also used to apply the wax to the fabric.

Bunny Stamping with Soy WaxHere’s Bunny using a stamp to apply wax to her fabric.

This slideshow requires JavaScript.

These are a few of my fabrics after they were stamped with wax. You can see that the fabrics are not very exciting. Most were ones that I had dyed naturally and weren’t very exciting. After the wax hardens, then you paint fabric paint over the surface. I used Dye-na-Flow paint. I did try walnut ink but it didn’t hold after washing so that piece didn’t work out.

Pieces DryingThis is a shot of some of our work drying. Carole”s pieces are on the left. I also tried a few sketchbook pages which are on the far right.

Bunny's Silk Piece

This is a piece that Bunny did on silk. It reacted quite strangely to the wax so it will be interesting to see what the end result may be.

This slideshow requires JavaScript.

This slide show is of my finished pieces. After the paint is dry, I ironed the pieces between pieces of newspaper to melt most of the soy was away. Then I put them all in the washing machine with a hot water wash and laundry detergent. I then ironed the pieces again. This process is easier than traditional batik because the soy wax melts at a lower temperature and comes out of the fabric more easily. It was a fun afternoon and now I just need to decide what to do with my new batik fabric.

Overcoming Fear

Have you ever had a piece of fabric that you really liked but you couldn’t use it because you were afraid to “ruin” it? This is what happened with this particular piece of snow dyed fabric. It immediately reminded me of flowers and I thought it would be great to machine stitch the flowers. I dyed this piece of fabric nearly a year ago but I still hadn’t done anything with it.

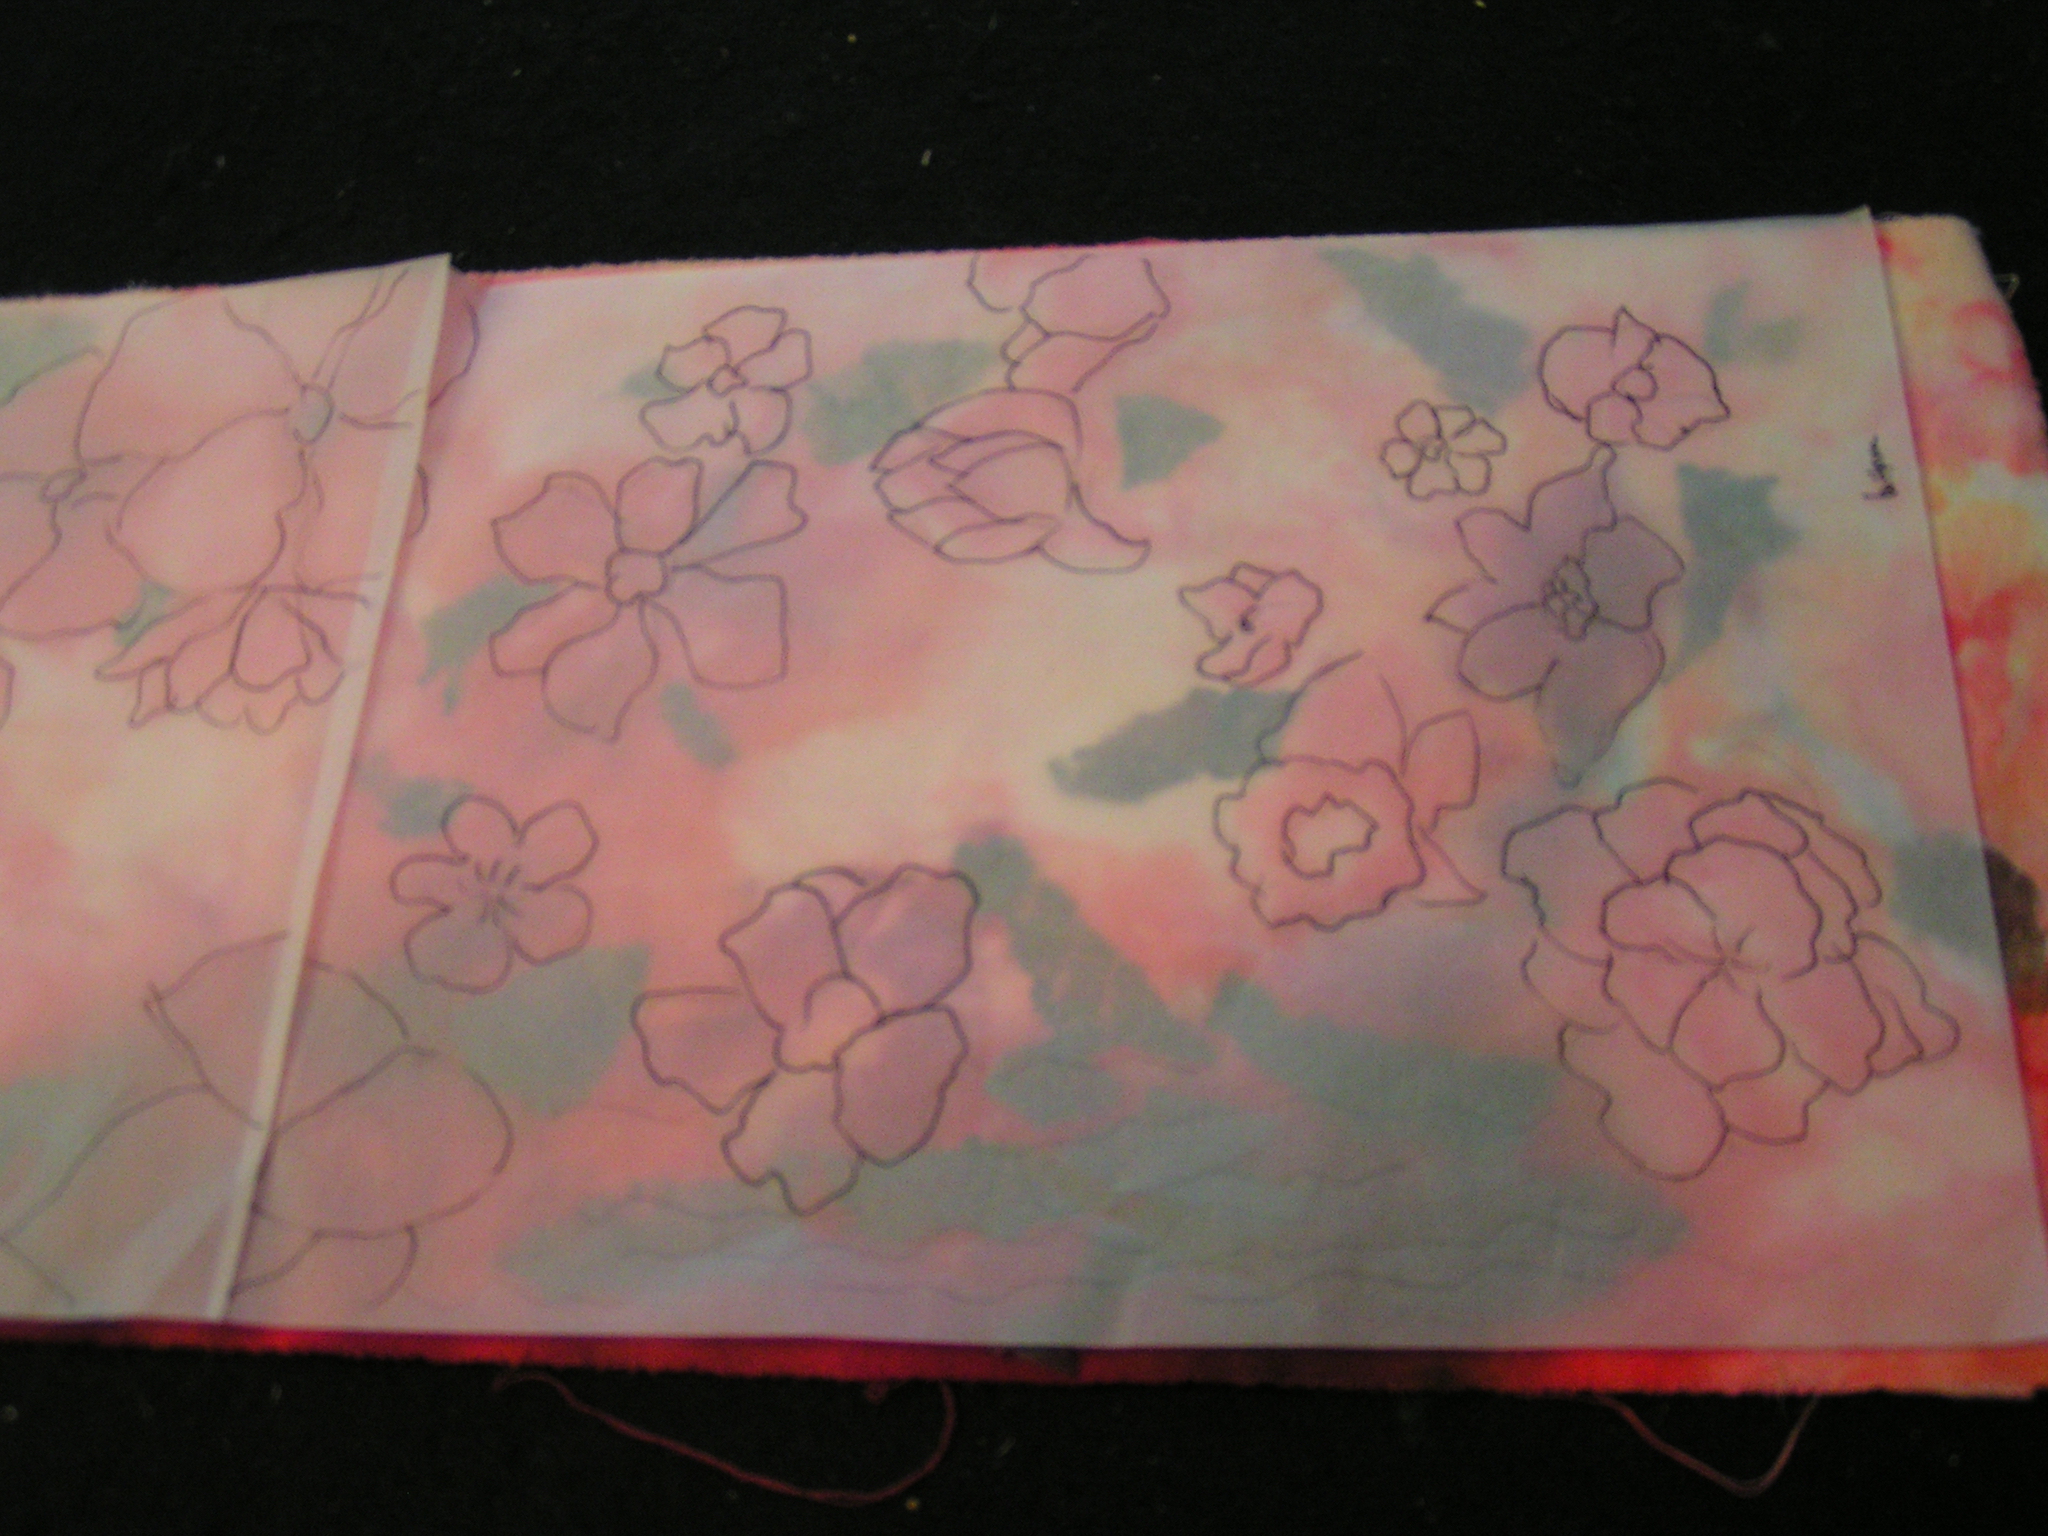
So about 3-4 months ago, I finally got out some tracing paper to figure out where I thought it would be best to stitch.

Tracing Paper Flowers


I put the tracing paper over top and then drew in some flower shapes.

Tracing Paper Flowers BottomIt took two pieces of tracing paper to cover the fabric which will be oriented vertically. Then, I couldn’t seem to go any further with it. I kept hemming and hawing about how I would hang it and how the edges would be done. And didn’t start any stitching. Finally, I decided I would just start stitching. All that back and forth was really because I was afraid to start. I’m not sure why, but I finally just couldn’t stand not doing anything with it and decided I would “just do it”.

Painted Fusible Web


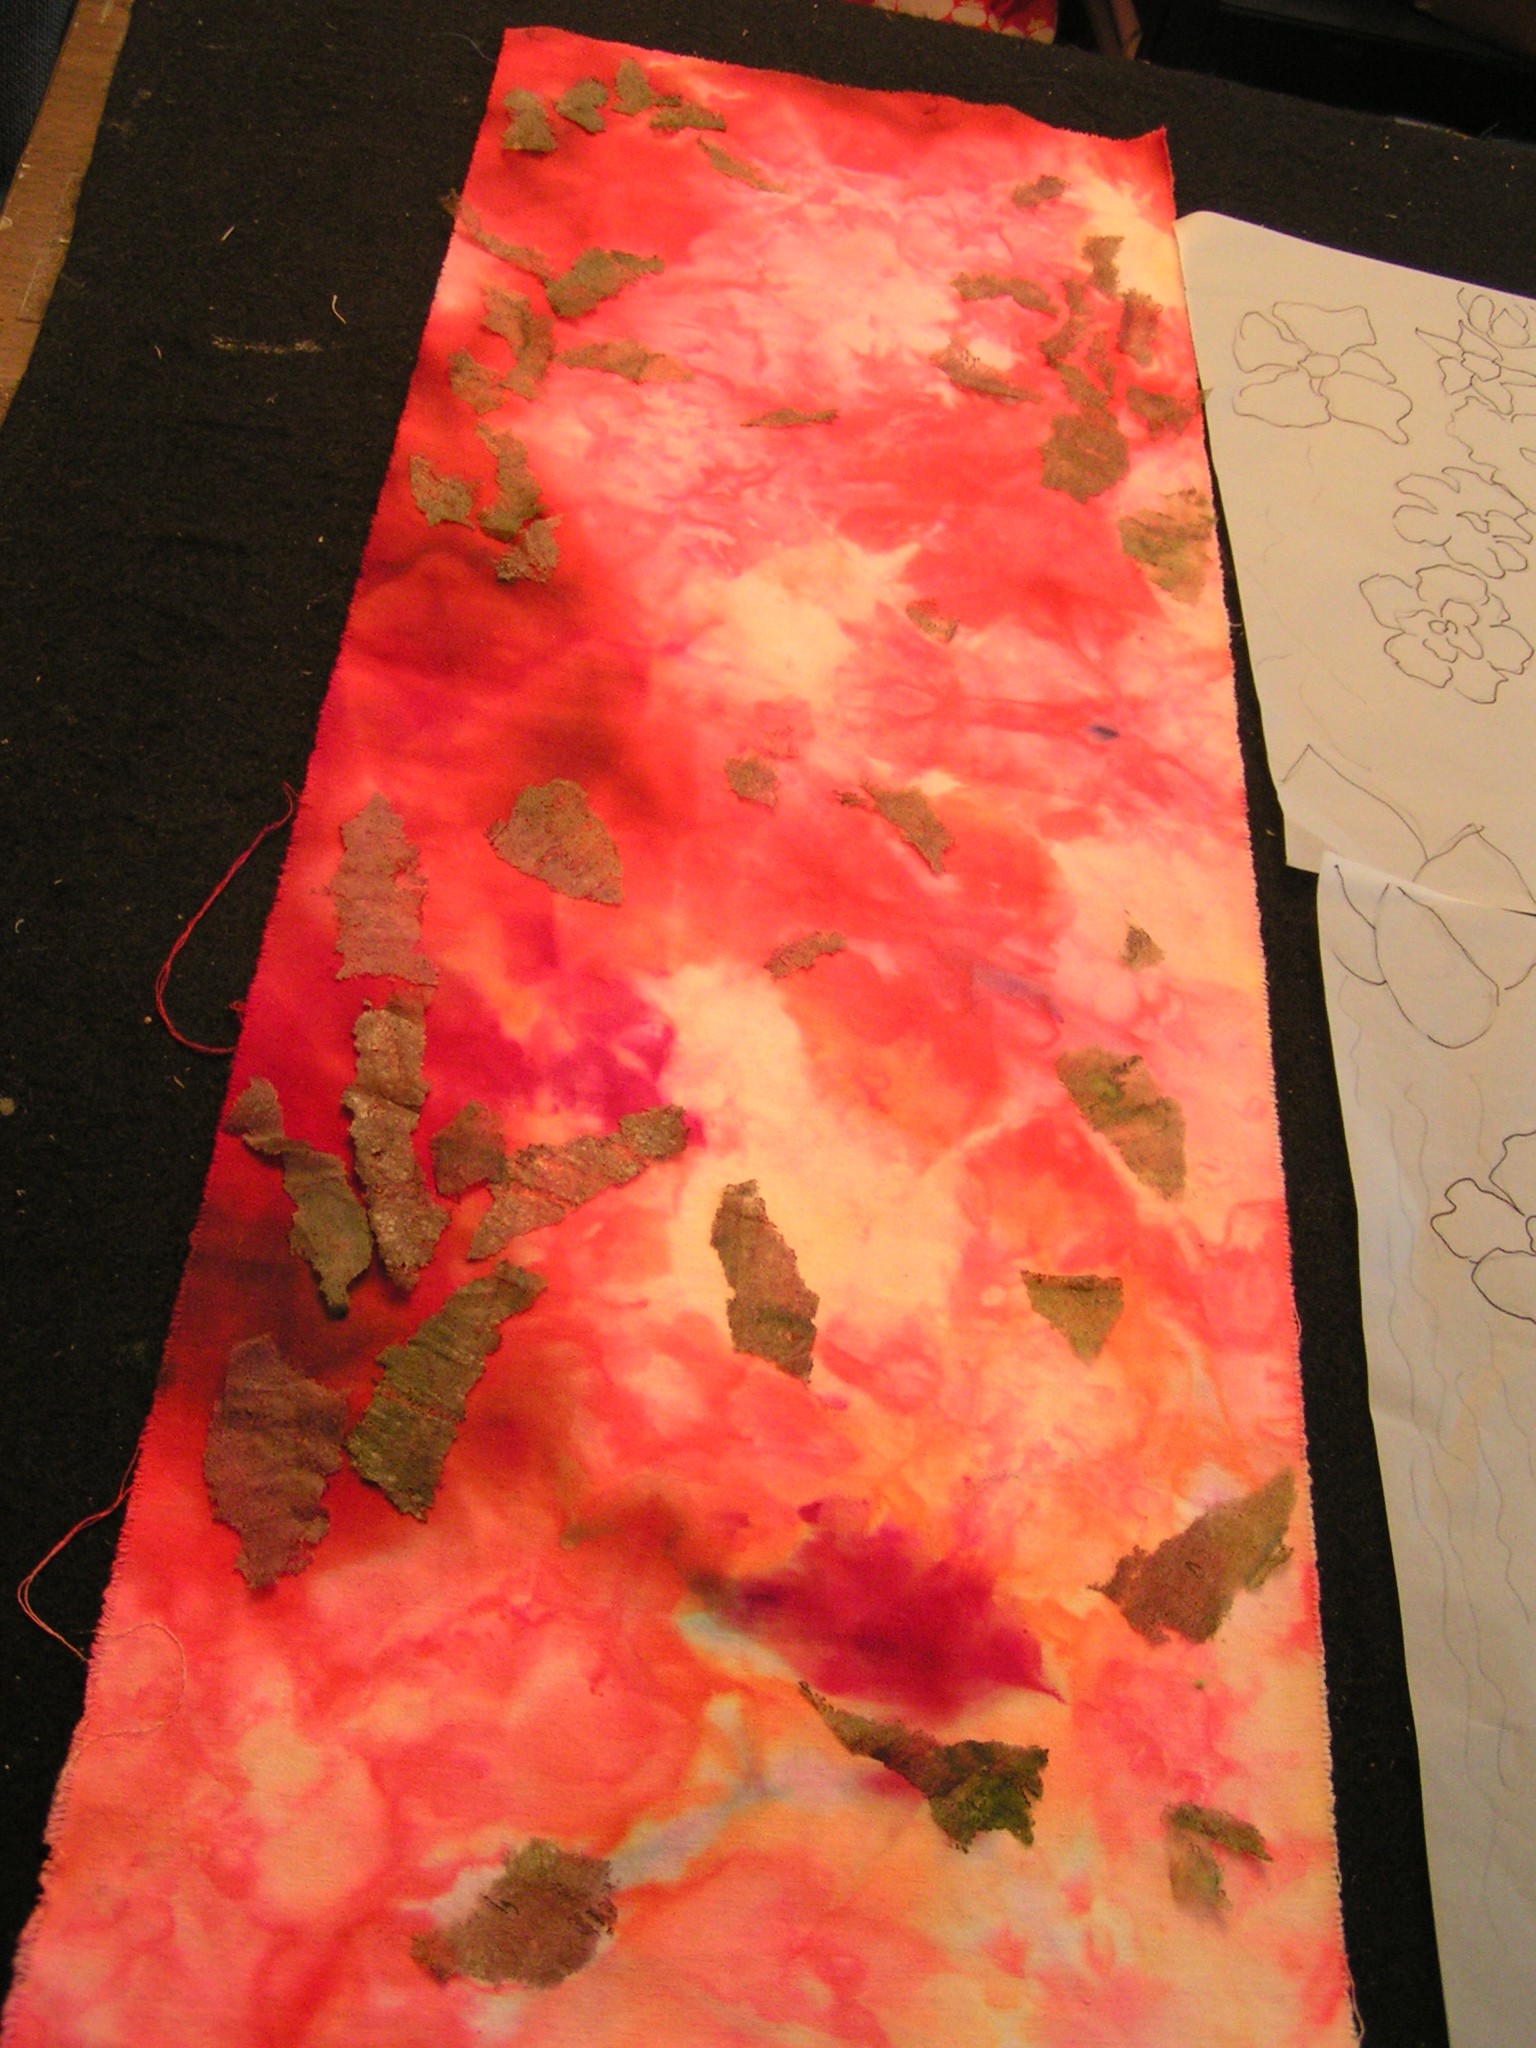
I had some already painted fusible that I thought would work for leaves.

Placing Fusible Web LeavesI tore up the fusible and placed the leaves. I had my flower pattern nearby so I could put the leaves in the appropriate spots without covering where I wanted to stitch flowers.

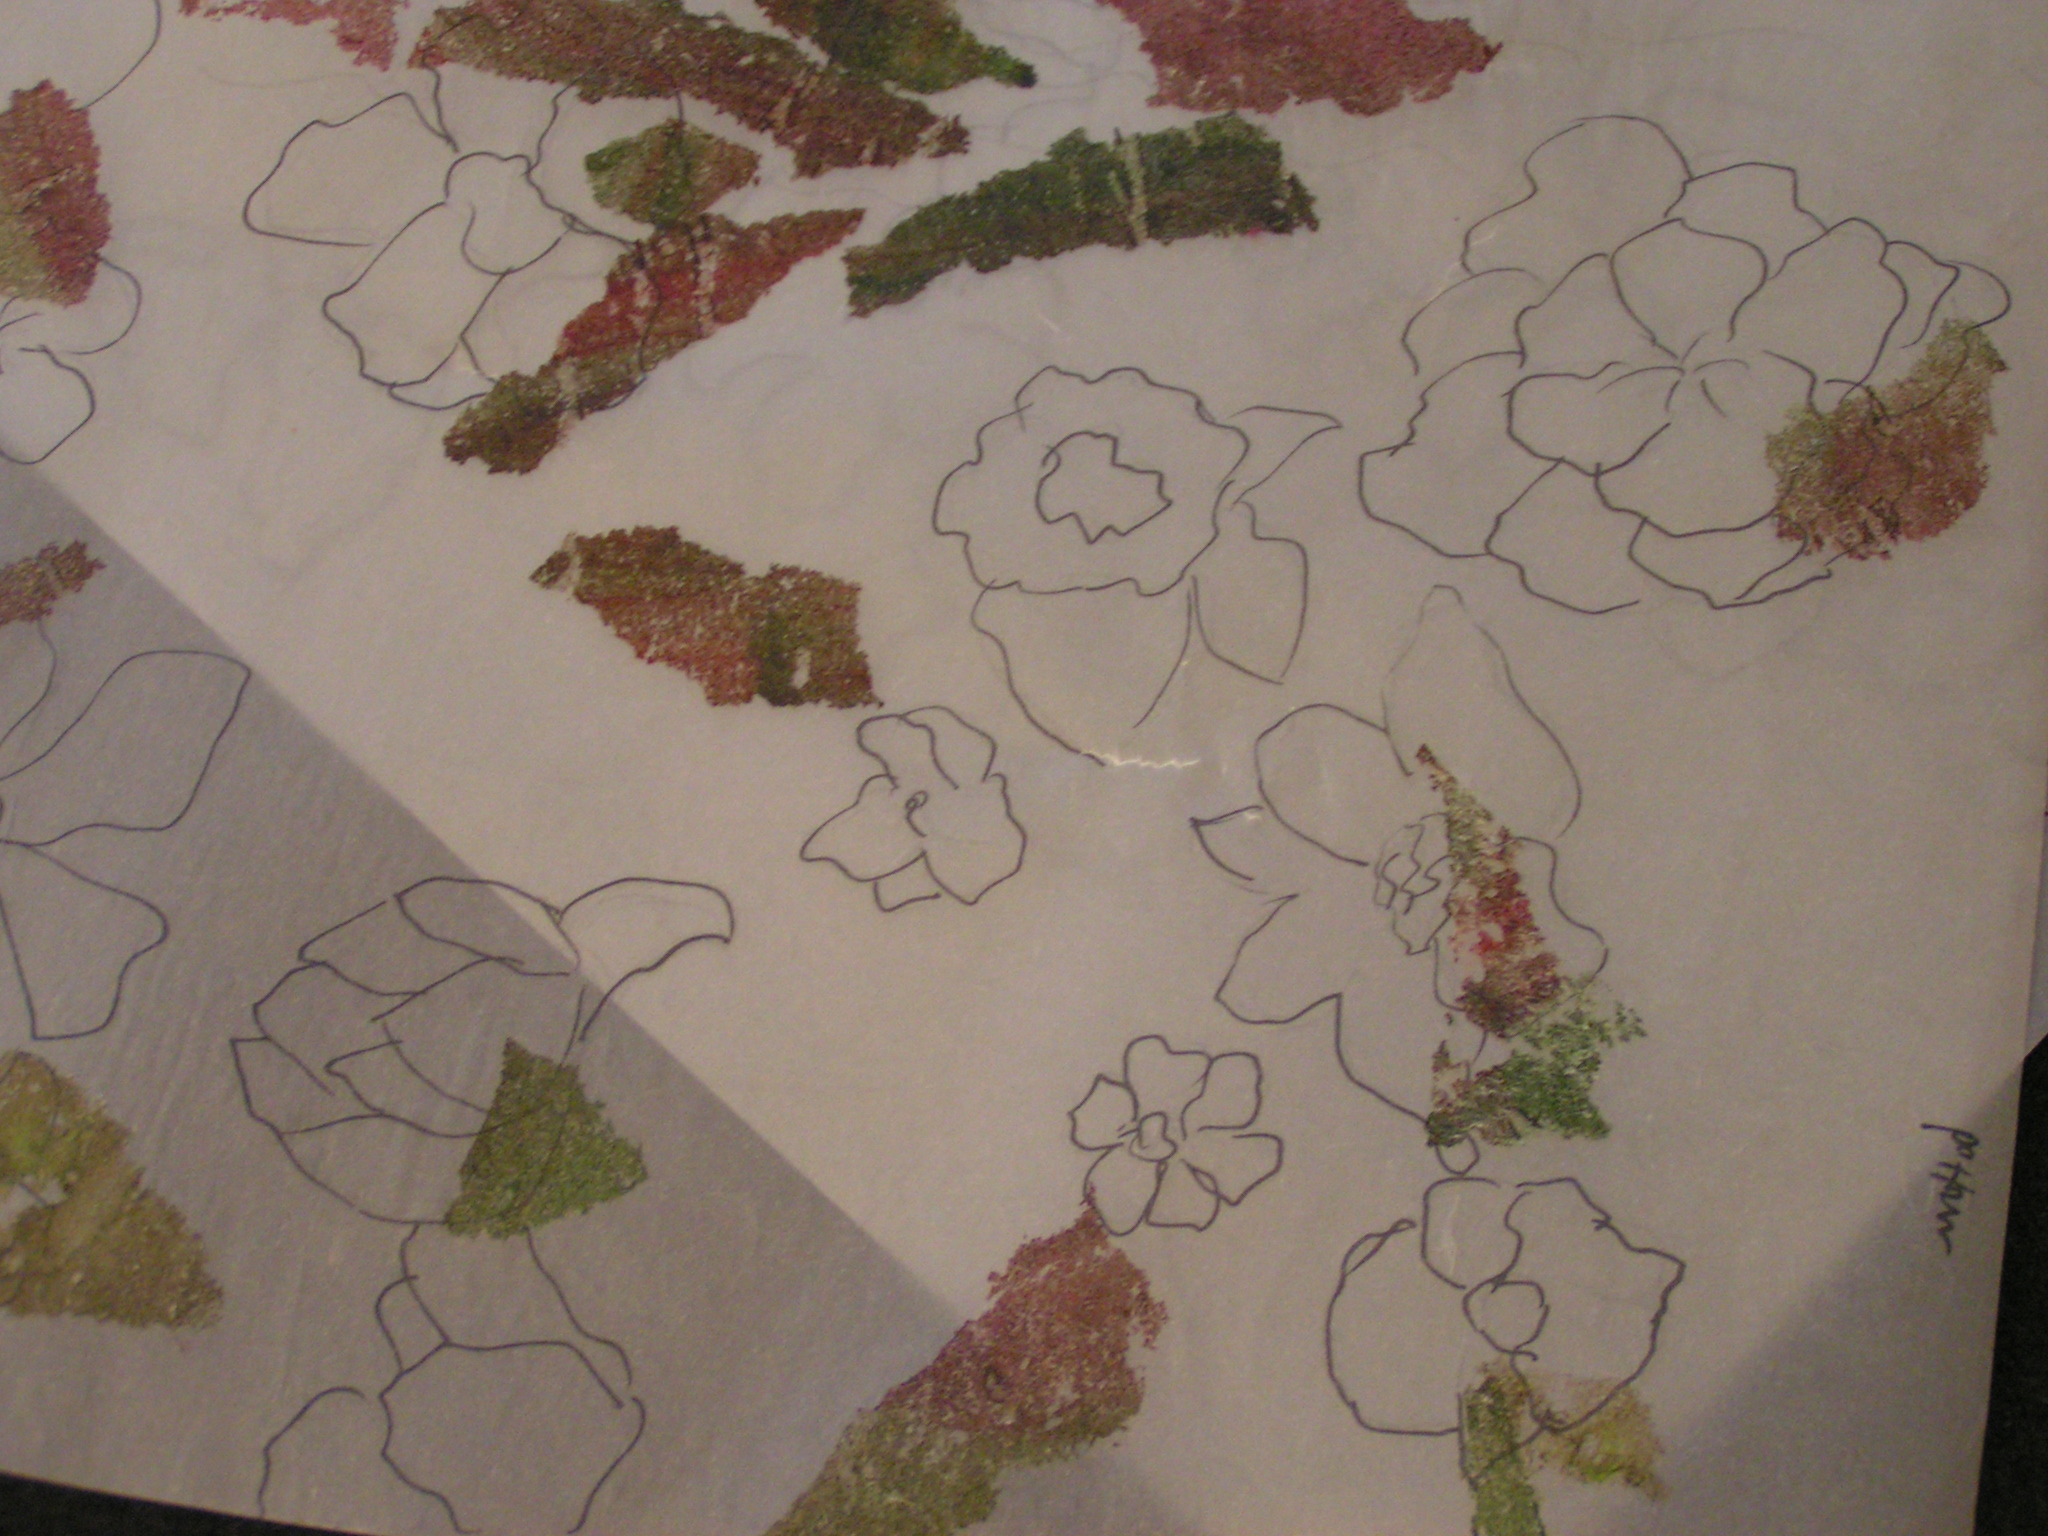
Don't Use Tracing Paper to Iron FusibleAnd then, since I already had the tracing paper right there, I used it to cover the fusible so that I could iron it on. I figured tracing paper was close enough to parchment paper that it would work. NOT! The fusible just glued itself right on to the tracing paper. Luckily, I hadn’t used all the painted fusible so I didn’t have to start all over again. You would think that this would be enough to stop me in my tracks but I just plowed ahead.

MINOLTA DIGITAL CAMERA


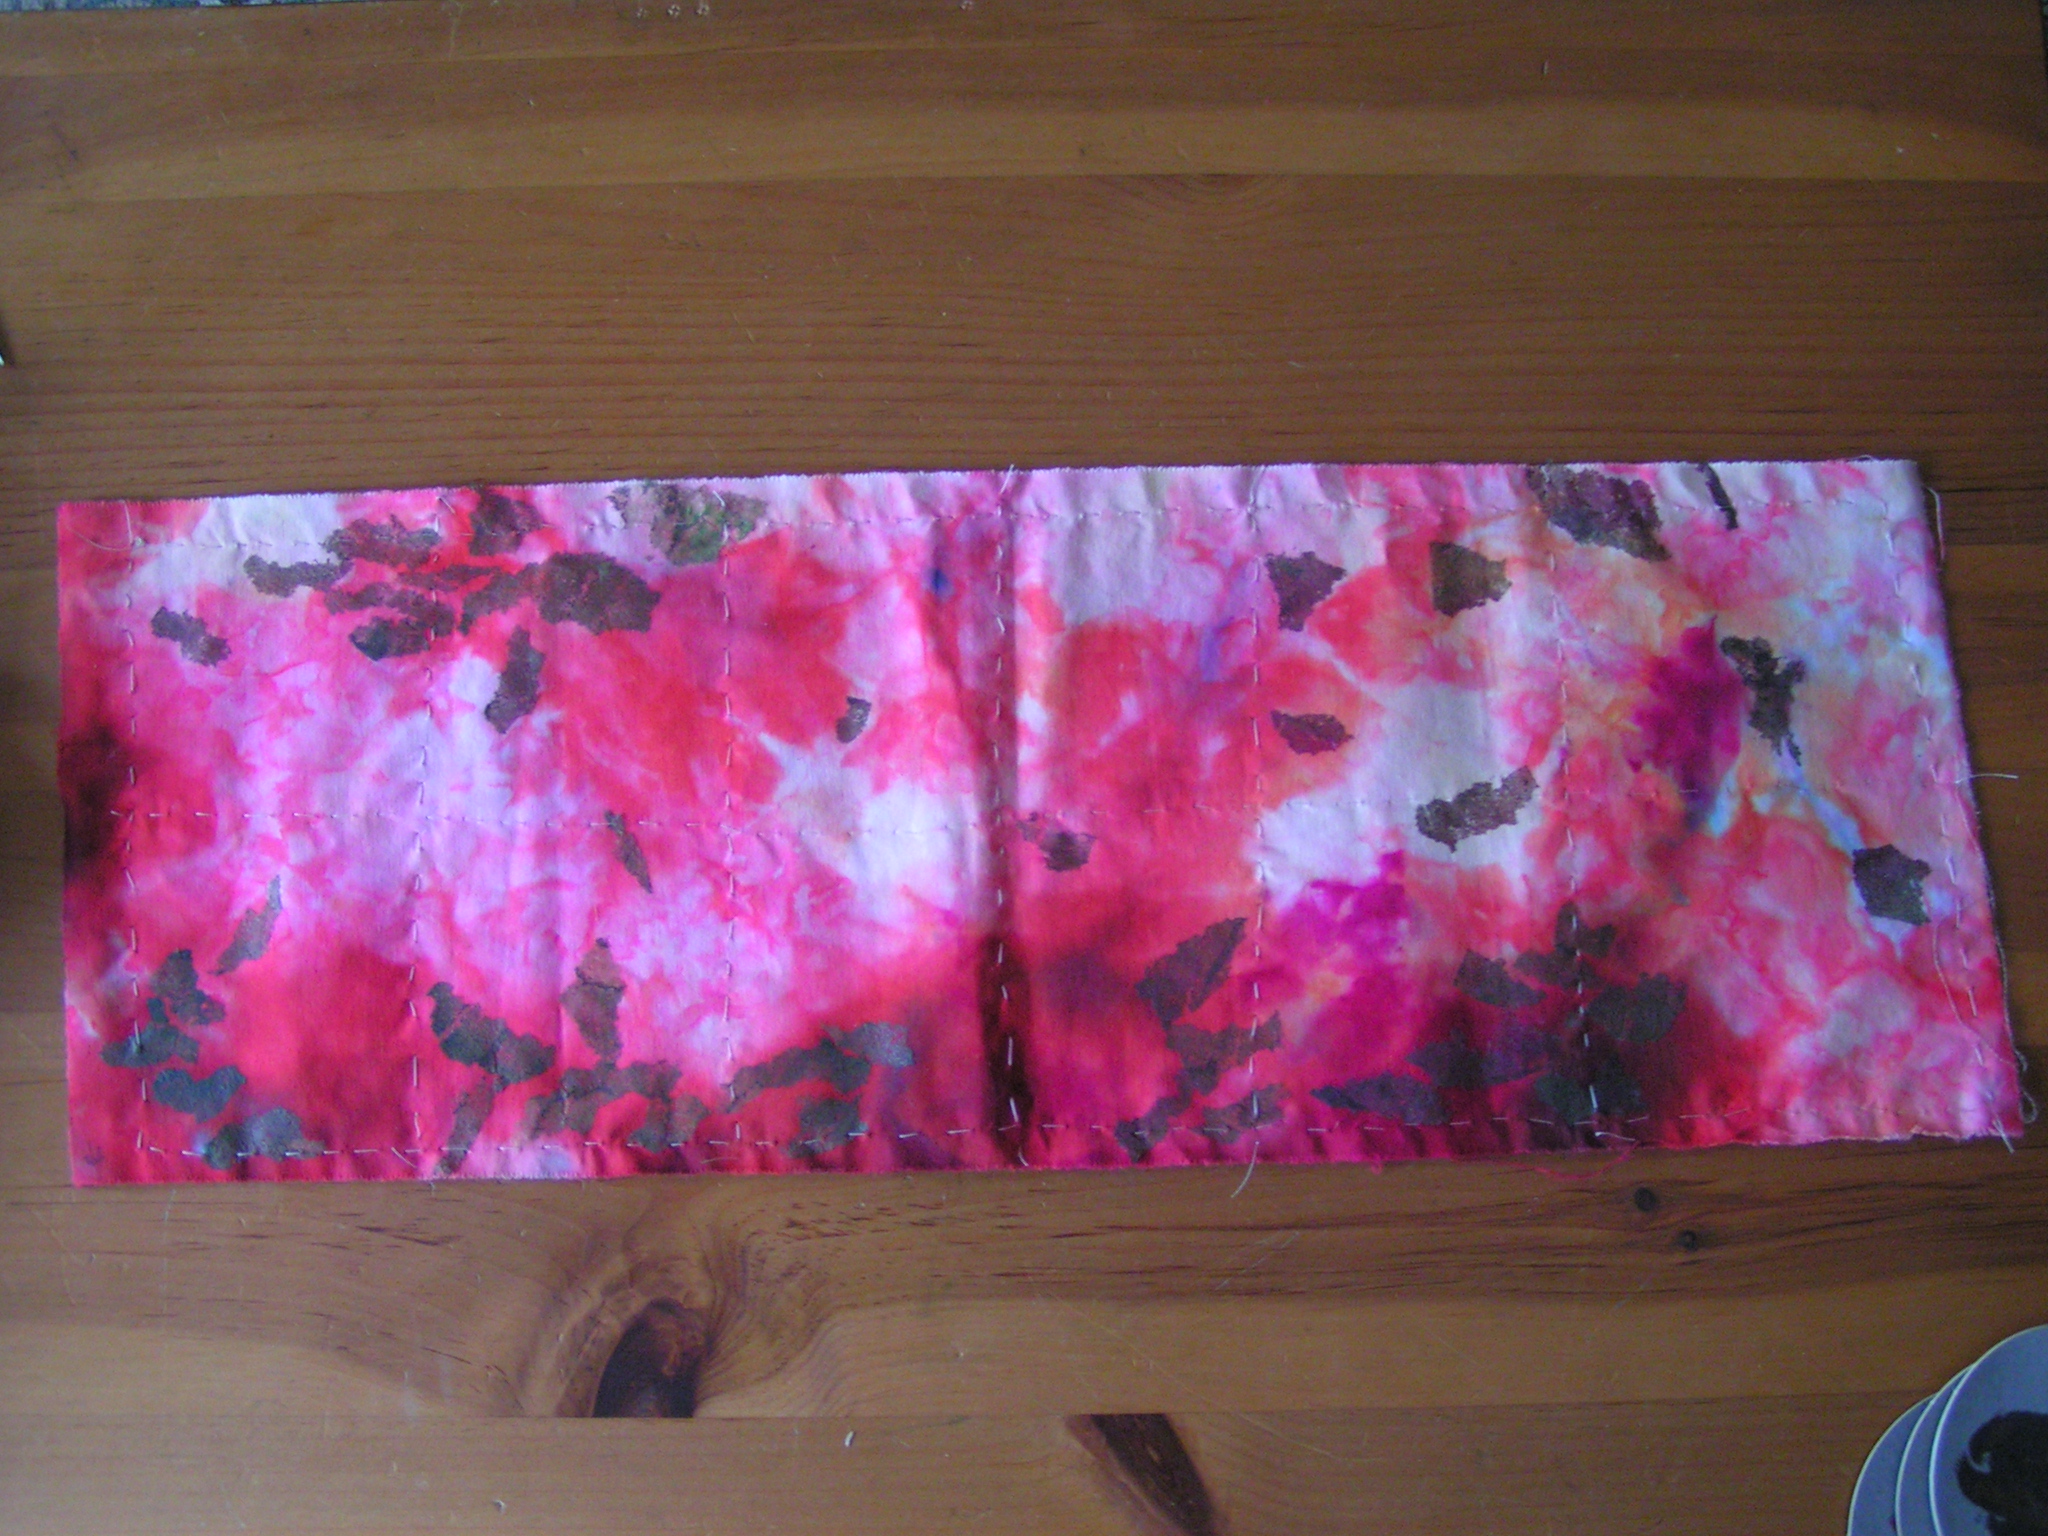
Here’s the entire piece after basting it to stitch and tear. This photo is a little bit more true to color than the ones above.

BastingYou can see the basting a little bit better in this photo.

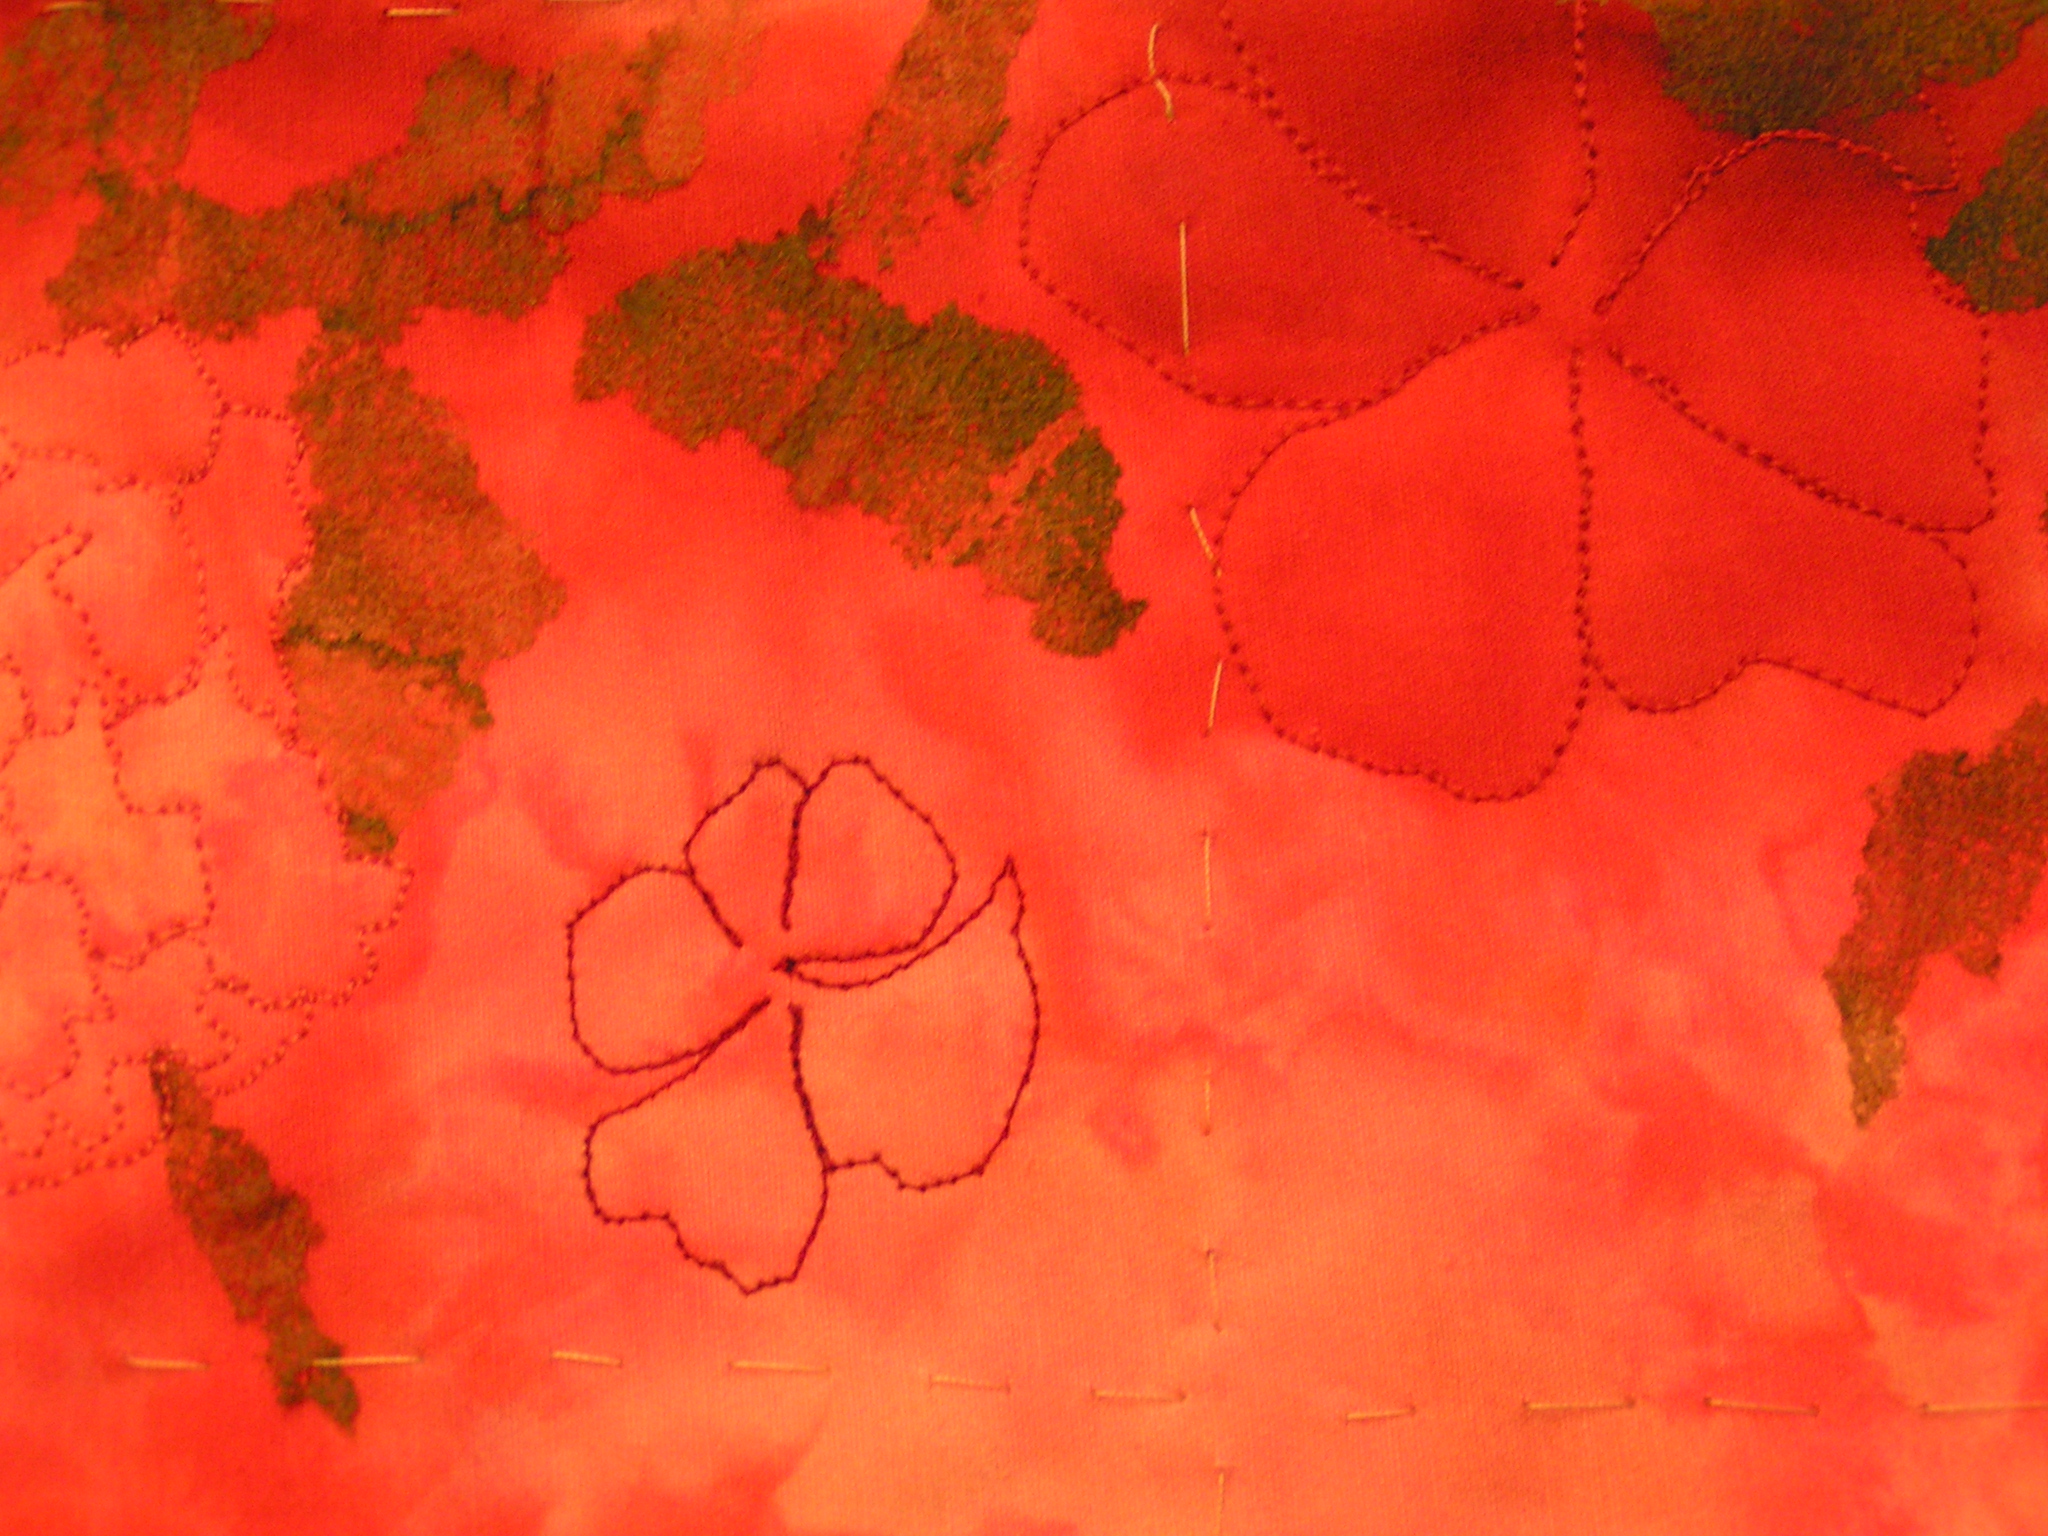
Starting to StitchThen I started stitching the flower shapes with free motion embroidery.

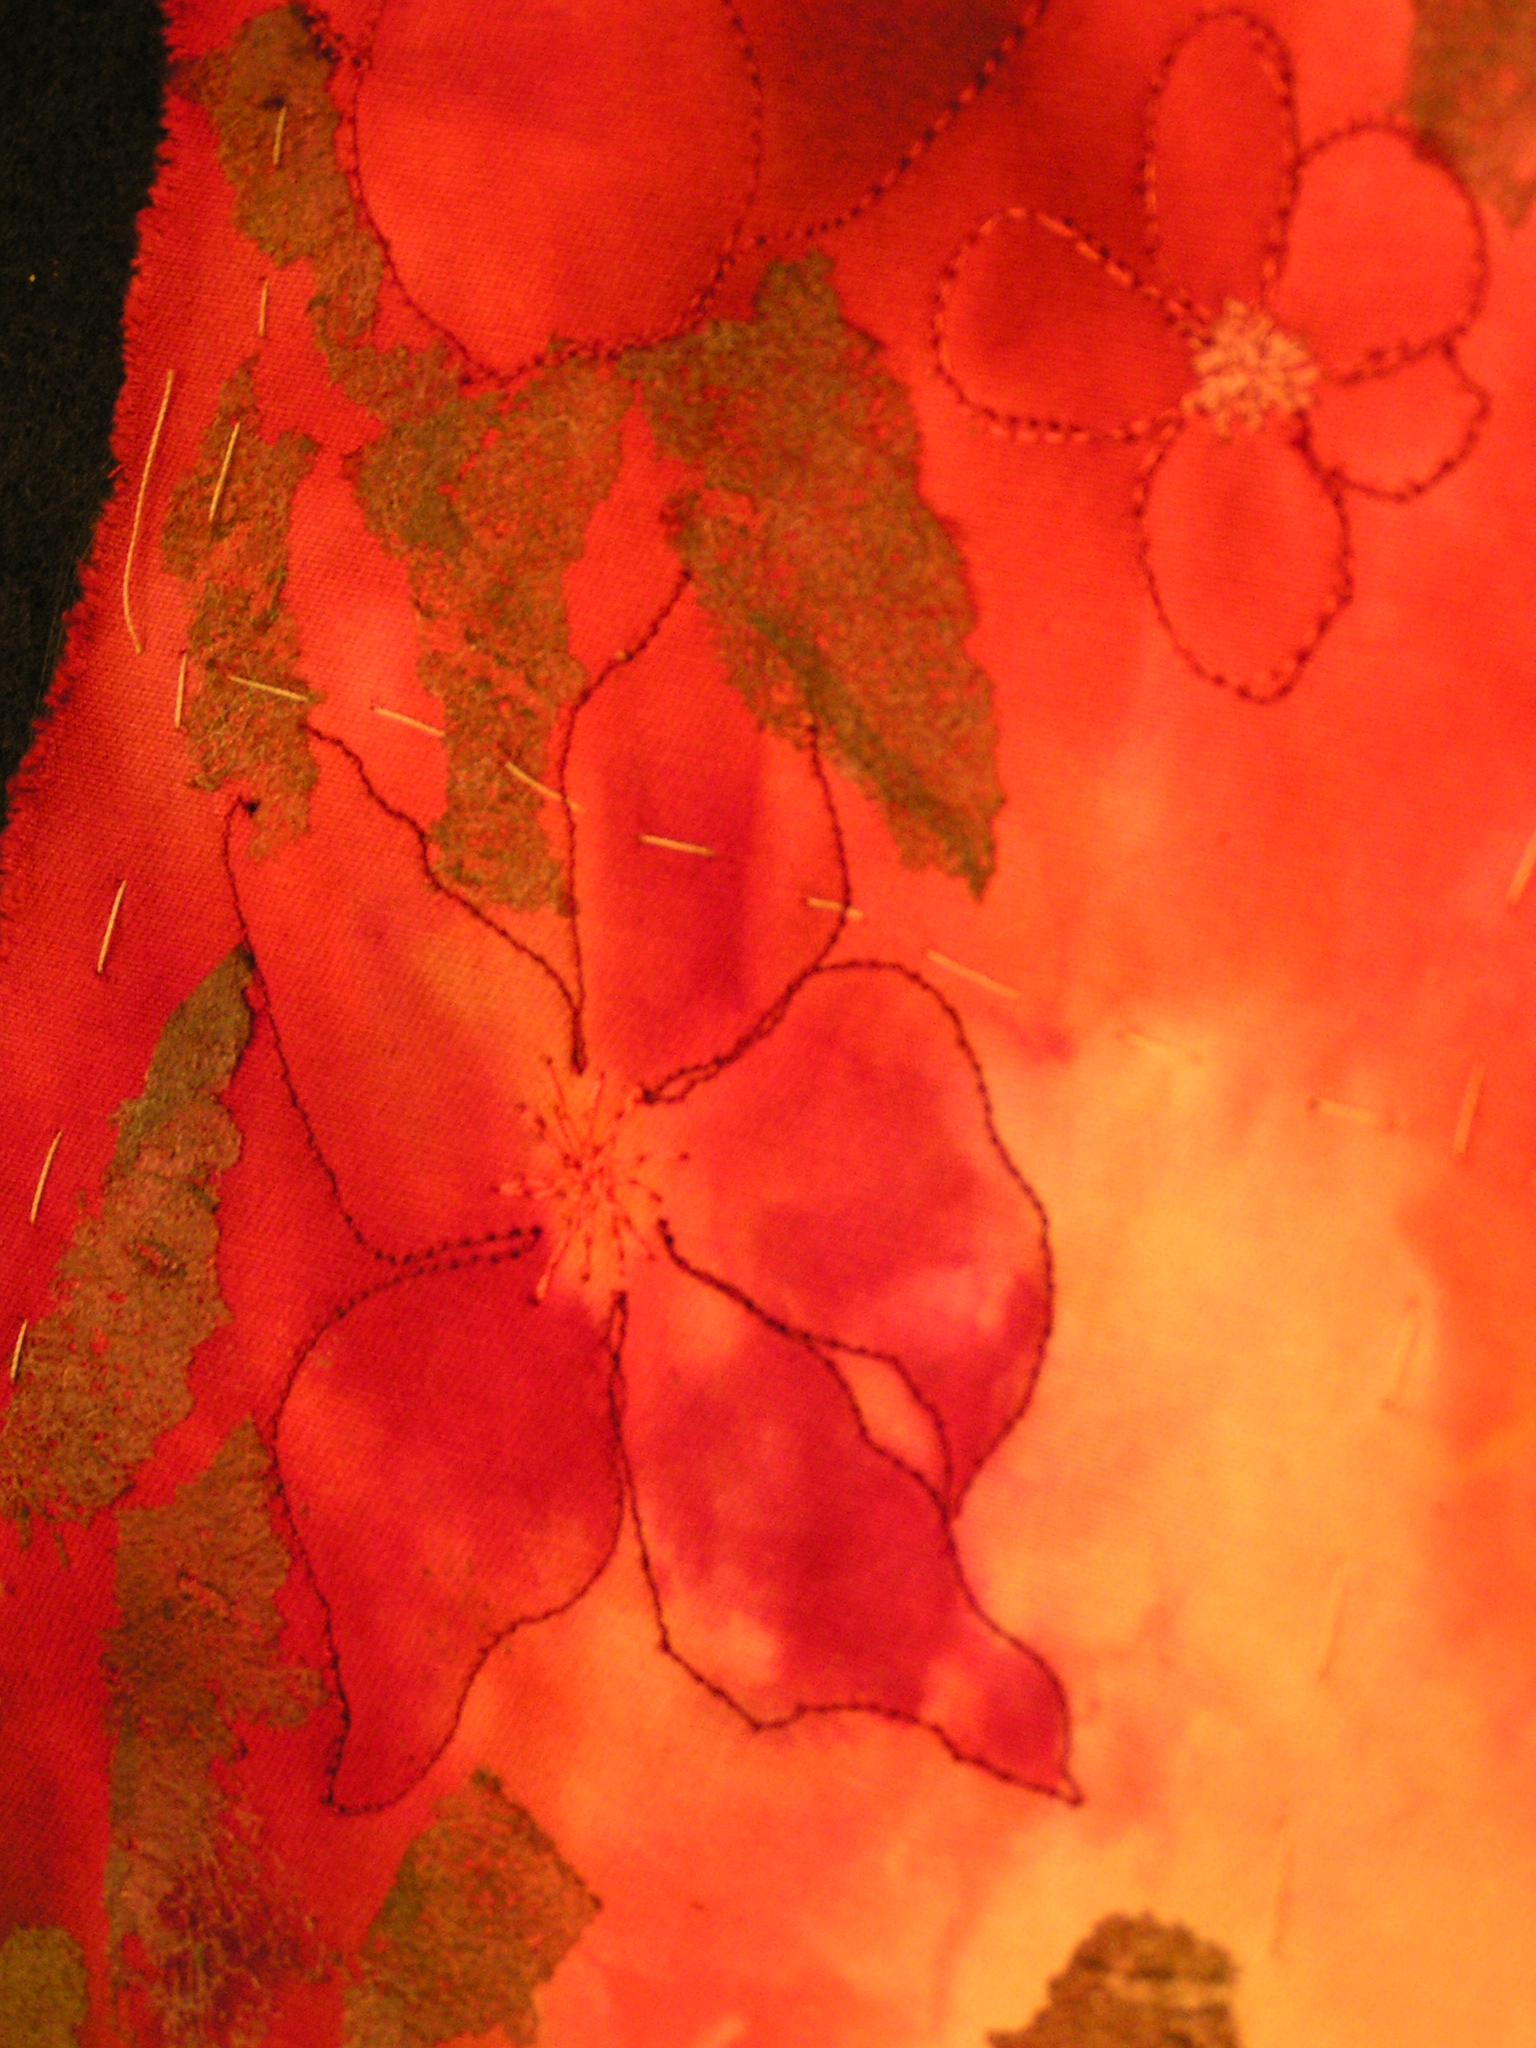
Flower w/LeavesThe flower shapes were not exactly like the traced ones but I just used the dye patterns to decide on the flower shape as I stitched.

RoseThis one I added a bit more stitching to give it a little more shape.

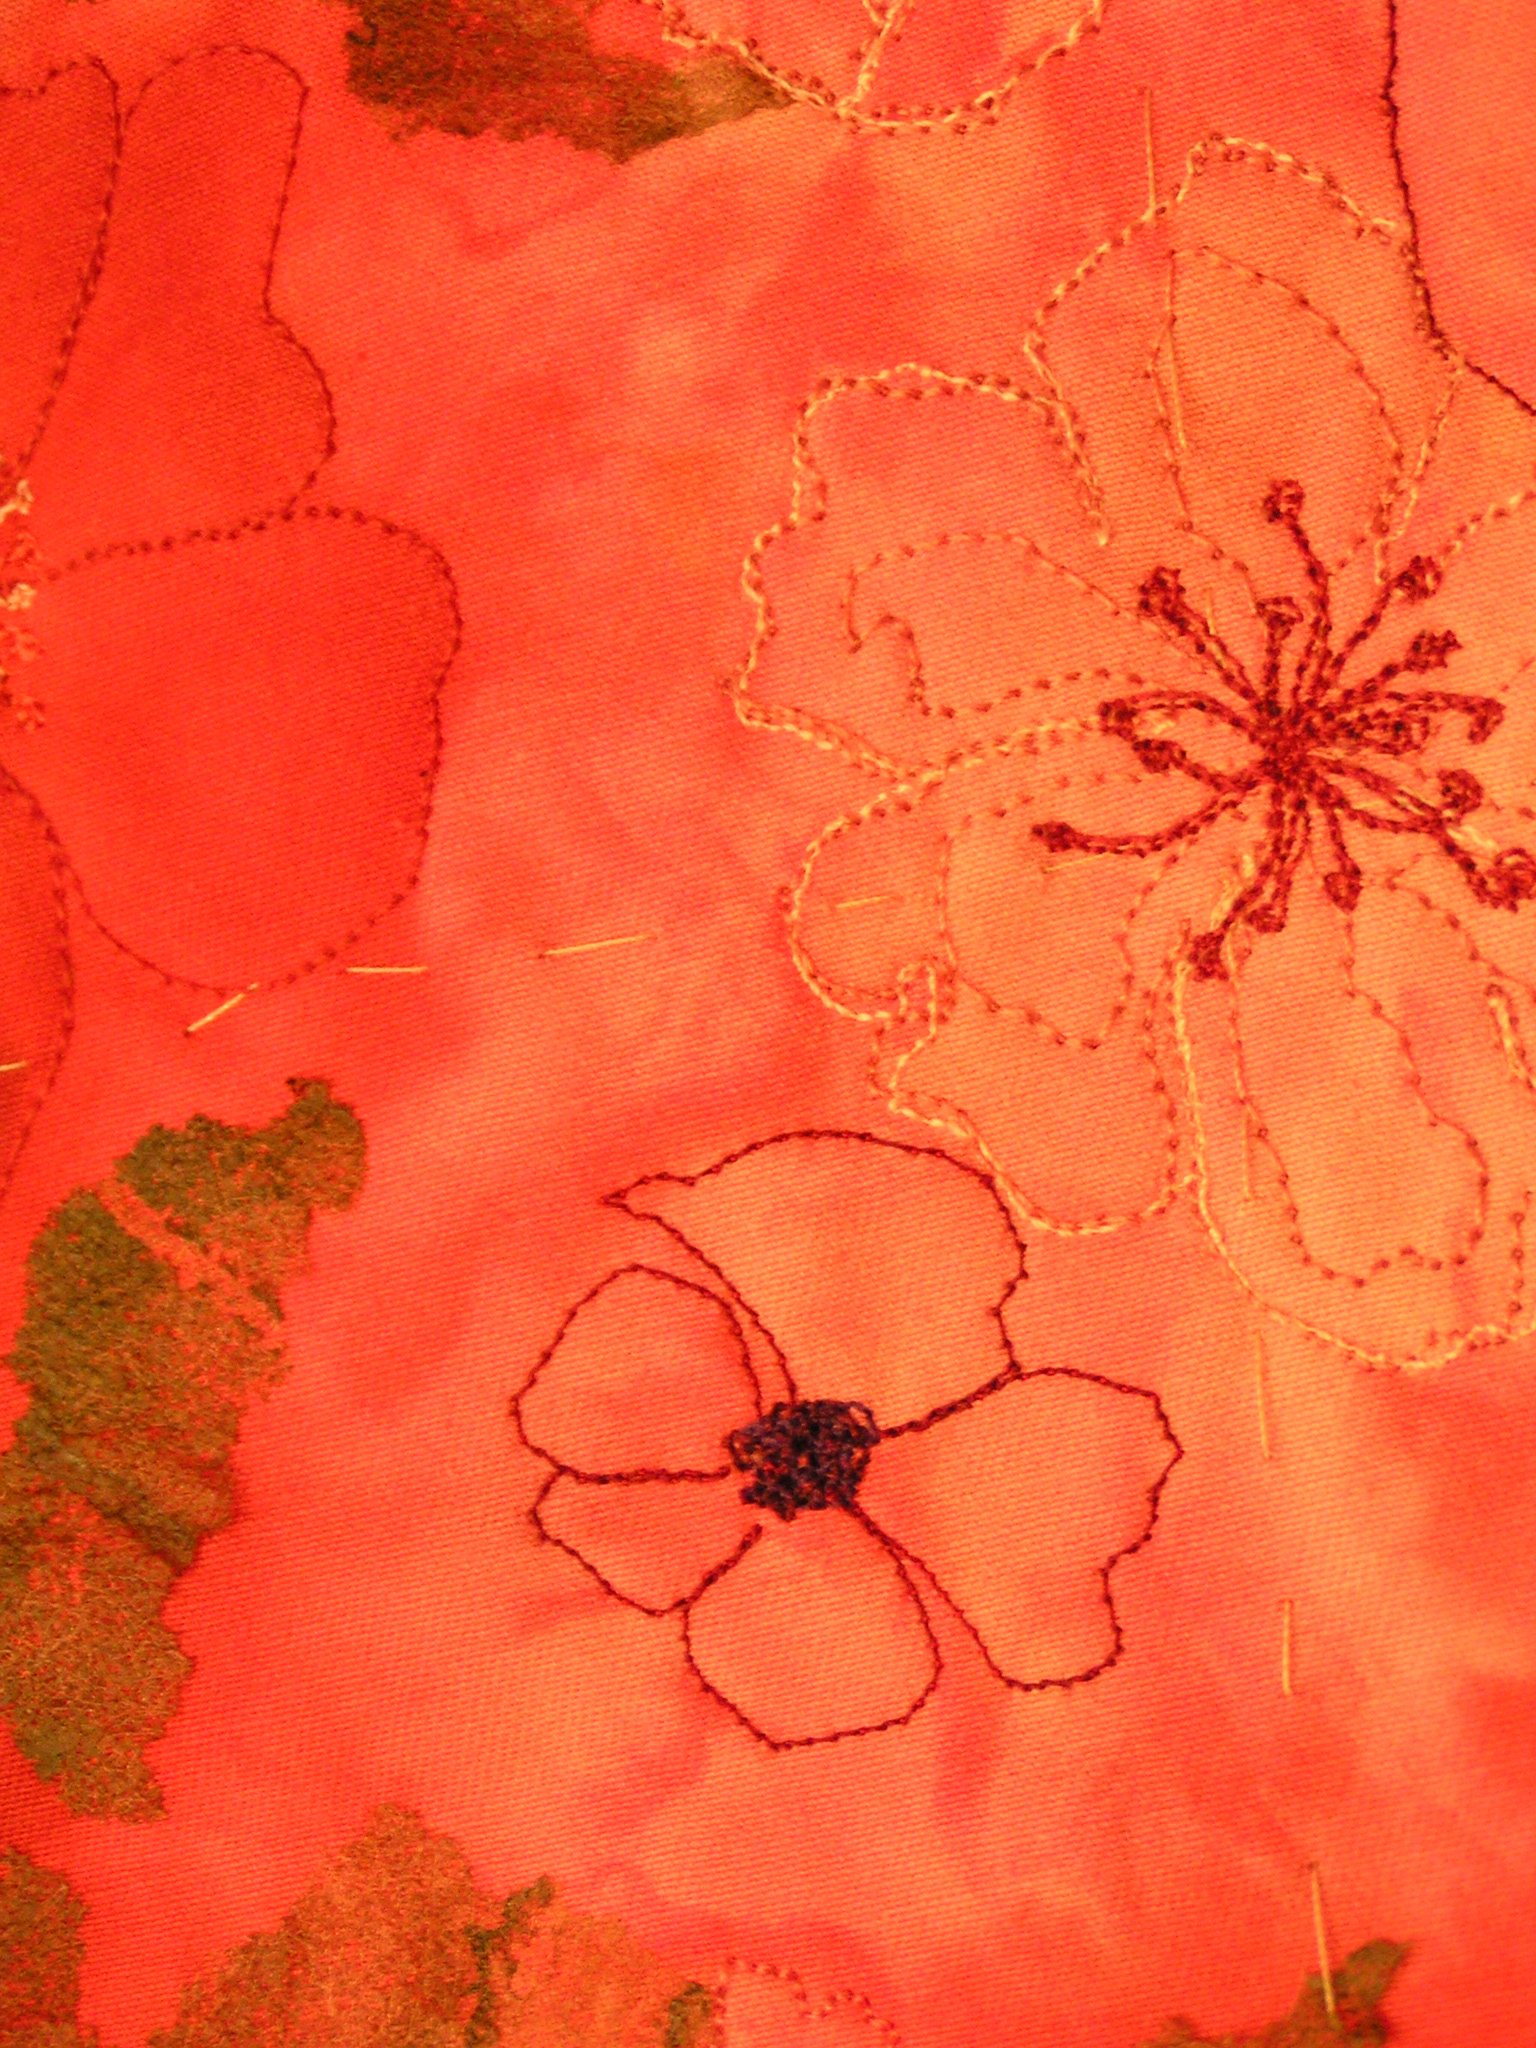
Stitched Flowers w/CentersThen I started adding centers to the flowers.

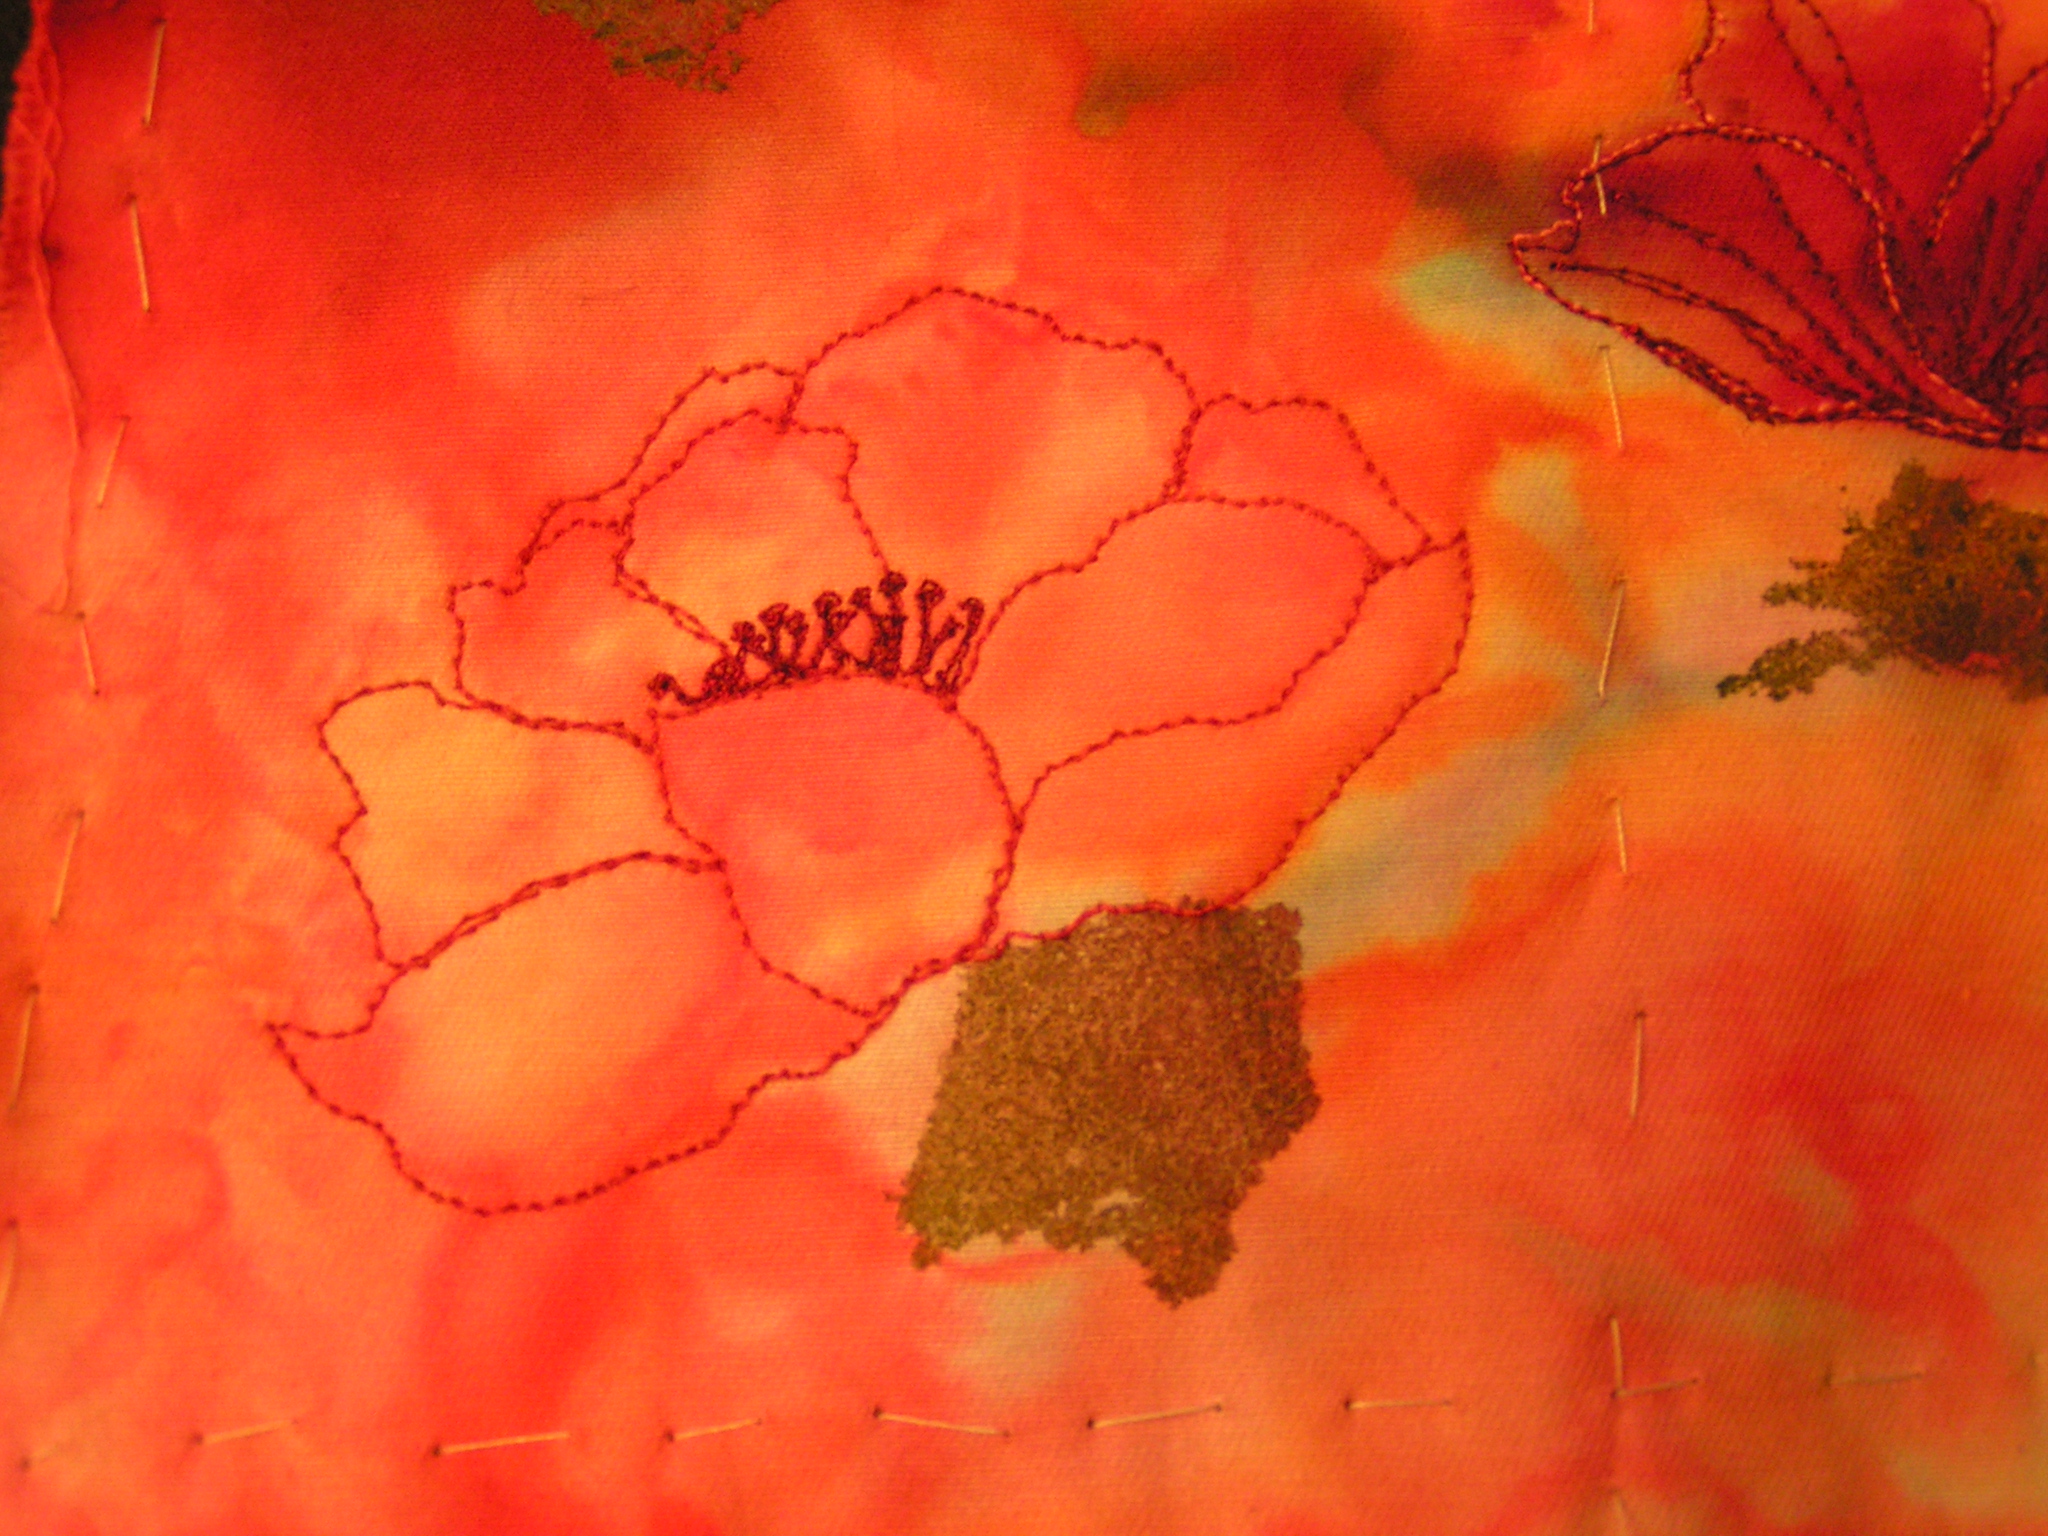
My Favorite Flower This is my favorite flower so far. Next up is stitching the leaves. Then I have to decide what else I will add. I am thinking about adding some three-dimensional flowers and leaves, making all of these flowers background. And after that I will have to figure out how I will finish the piece. But at least I overcame my fear and got started.


Happy New Year

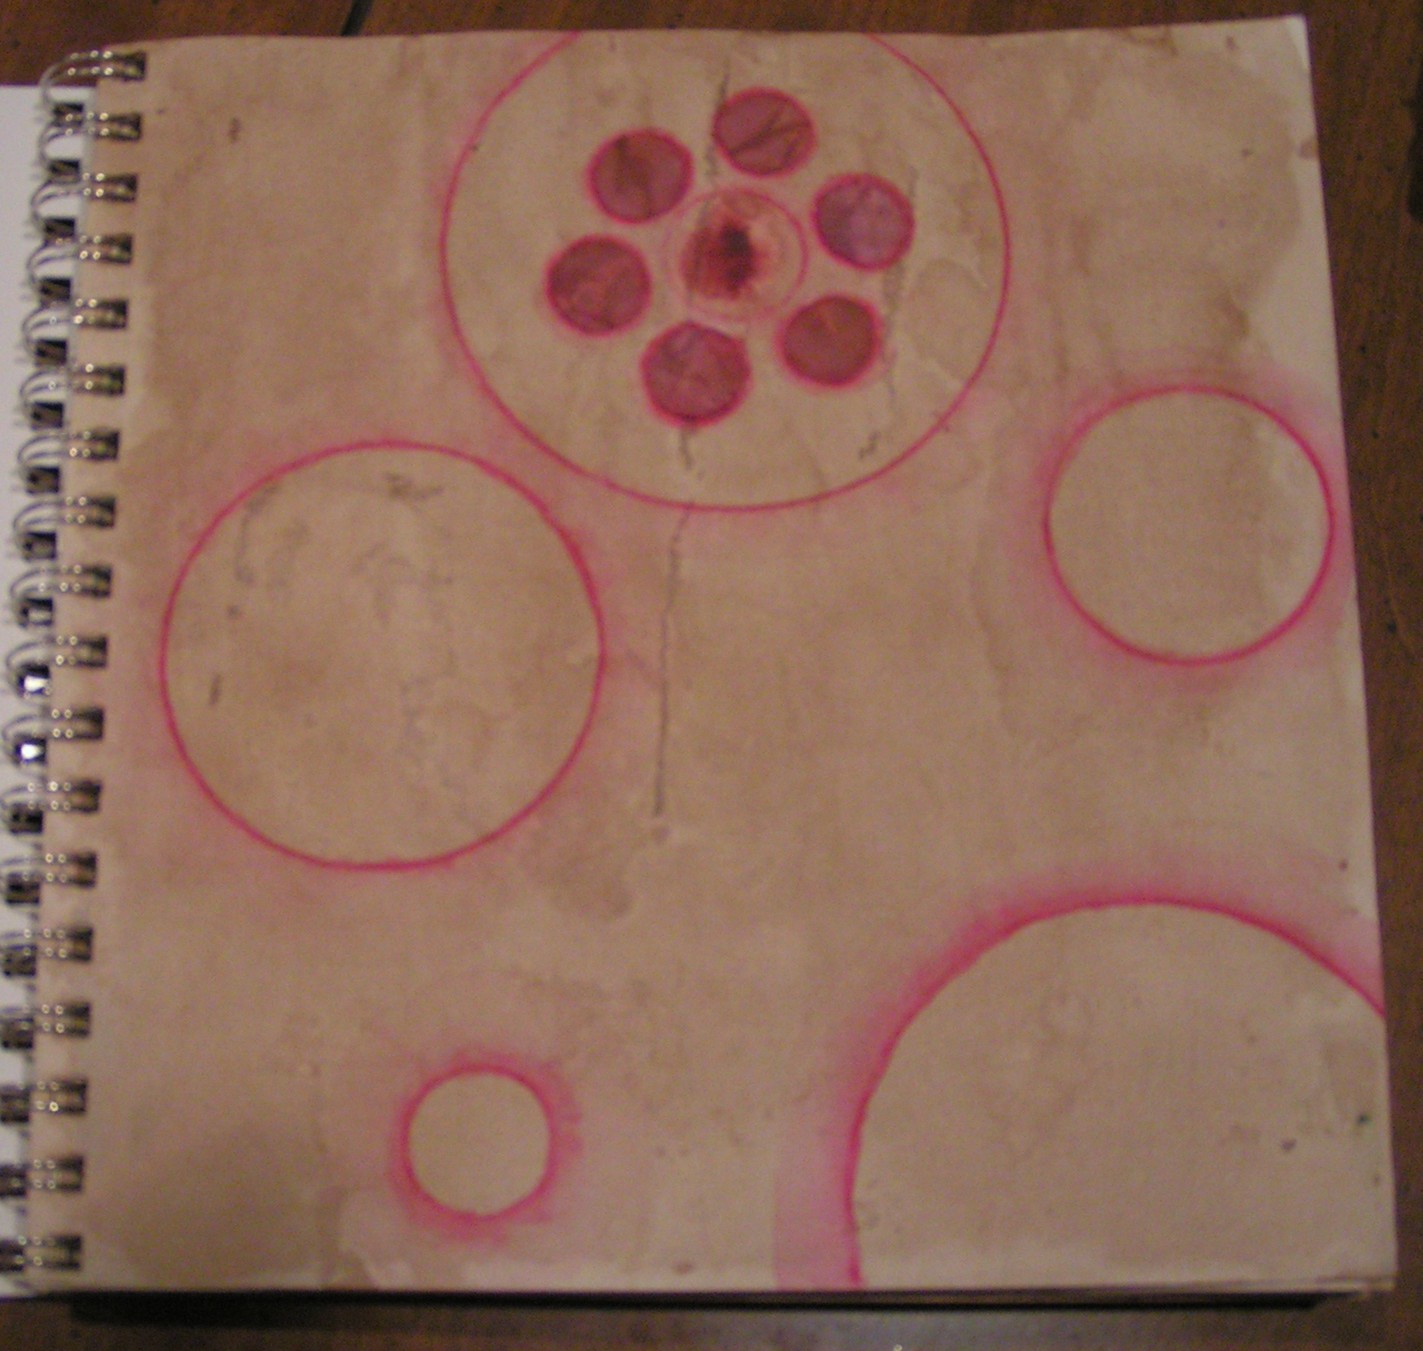
Designing with Circles SketchbookI am taking an online sketchbook course, Designing with Circles and this is my first page in my book. Just playing around a bit with the pages that I painted earlier with walnut ink. I added some circles of red paper and then some drew some circles with a template and an Inktense pencil. I then added a bit of water to the ink tense pencil for a halo effect around the circles. More circles to come!

I hope that all of you have a wonderful New Year’s Eve and a healthy and happy 2014!


A Few Flowers

Here’s the next page in my little stitch book that has been a very slow work in progress.

Washer FlowersI covered brass washers with #5 perle cotton, stitched them down to the page and then added detached button hole stitch and a few straight stitches.

Close Up Washer Flowers

Here’s a little closer view.

ruthasjesterbabyI would like to wish all of you a Merry Christmas and a Happy New Year. Thanks for stopping by!

Neutral?

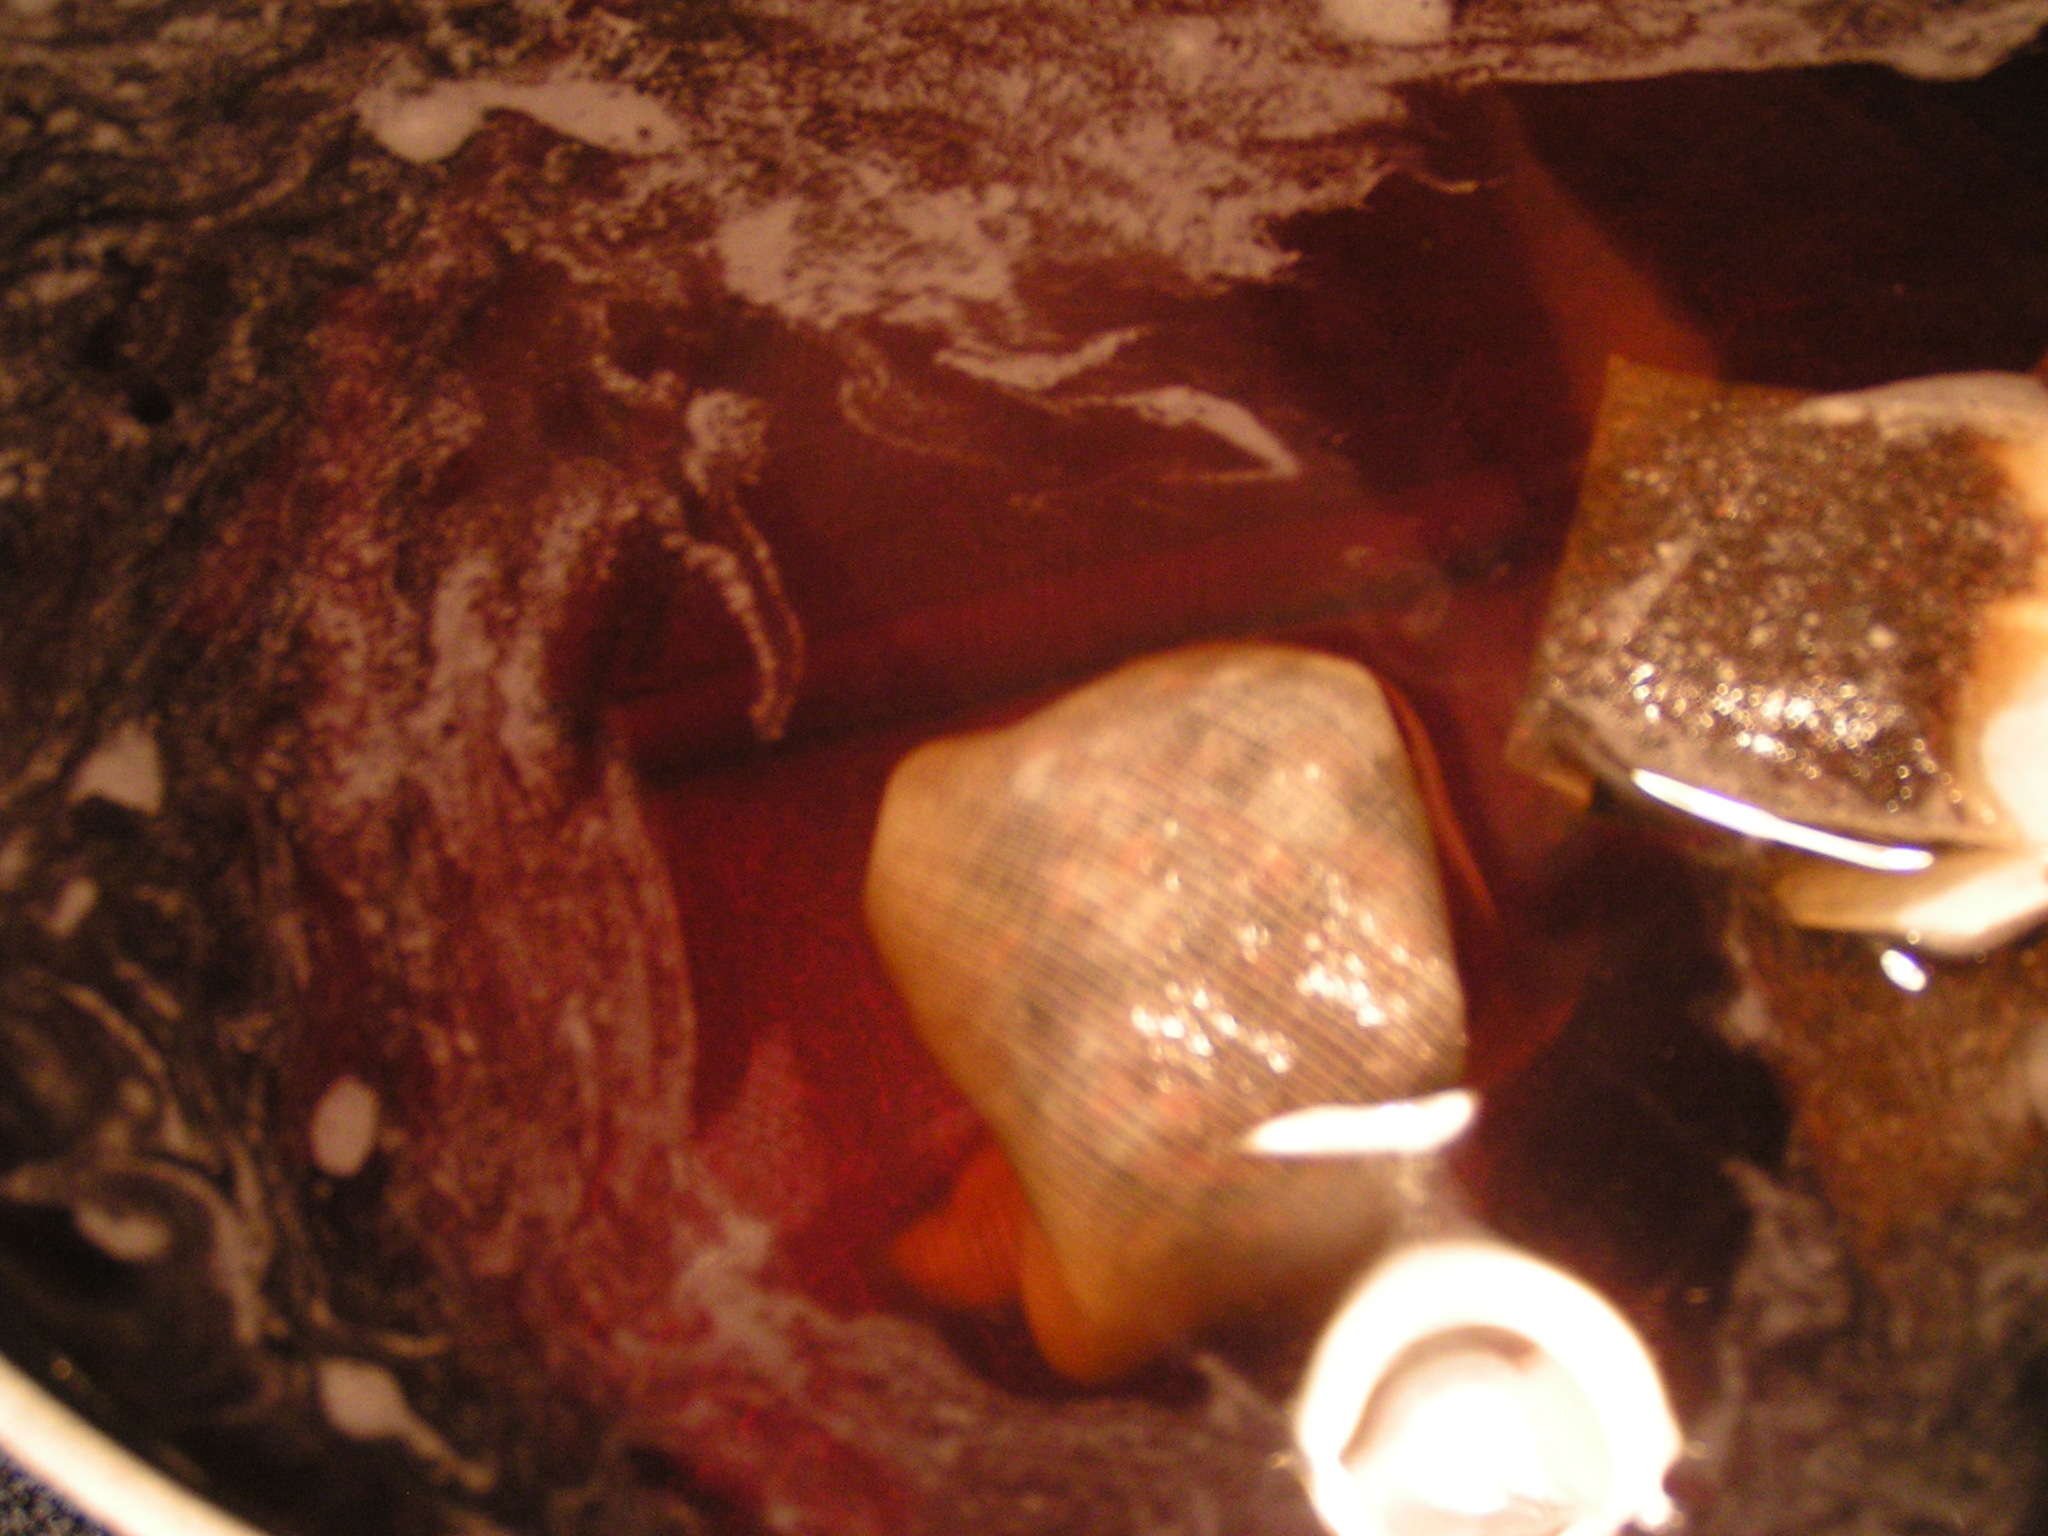
Tonight is the Christmas Stroll in Whitefish, MT and I made four gallons of spiced cider to serve at the store. The recipe calls for tea and I used 20 tea bags.

hot spiced ciderThat photo looks similar to my dye pots but I promise I didn’t use the pots I use to dye fiber. Anyways, I have seen quite a few people who have used tea bags in their fiber art work. I never have used any because it always seems like too much work to take them apart, clean them out and then dry them. But I decided I would try it today. It was kind of painful to get them all cleaned out but I’ll see if it was worth it 🙂

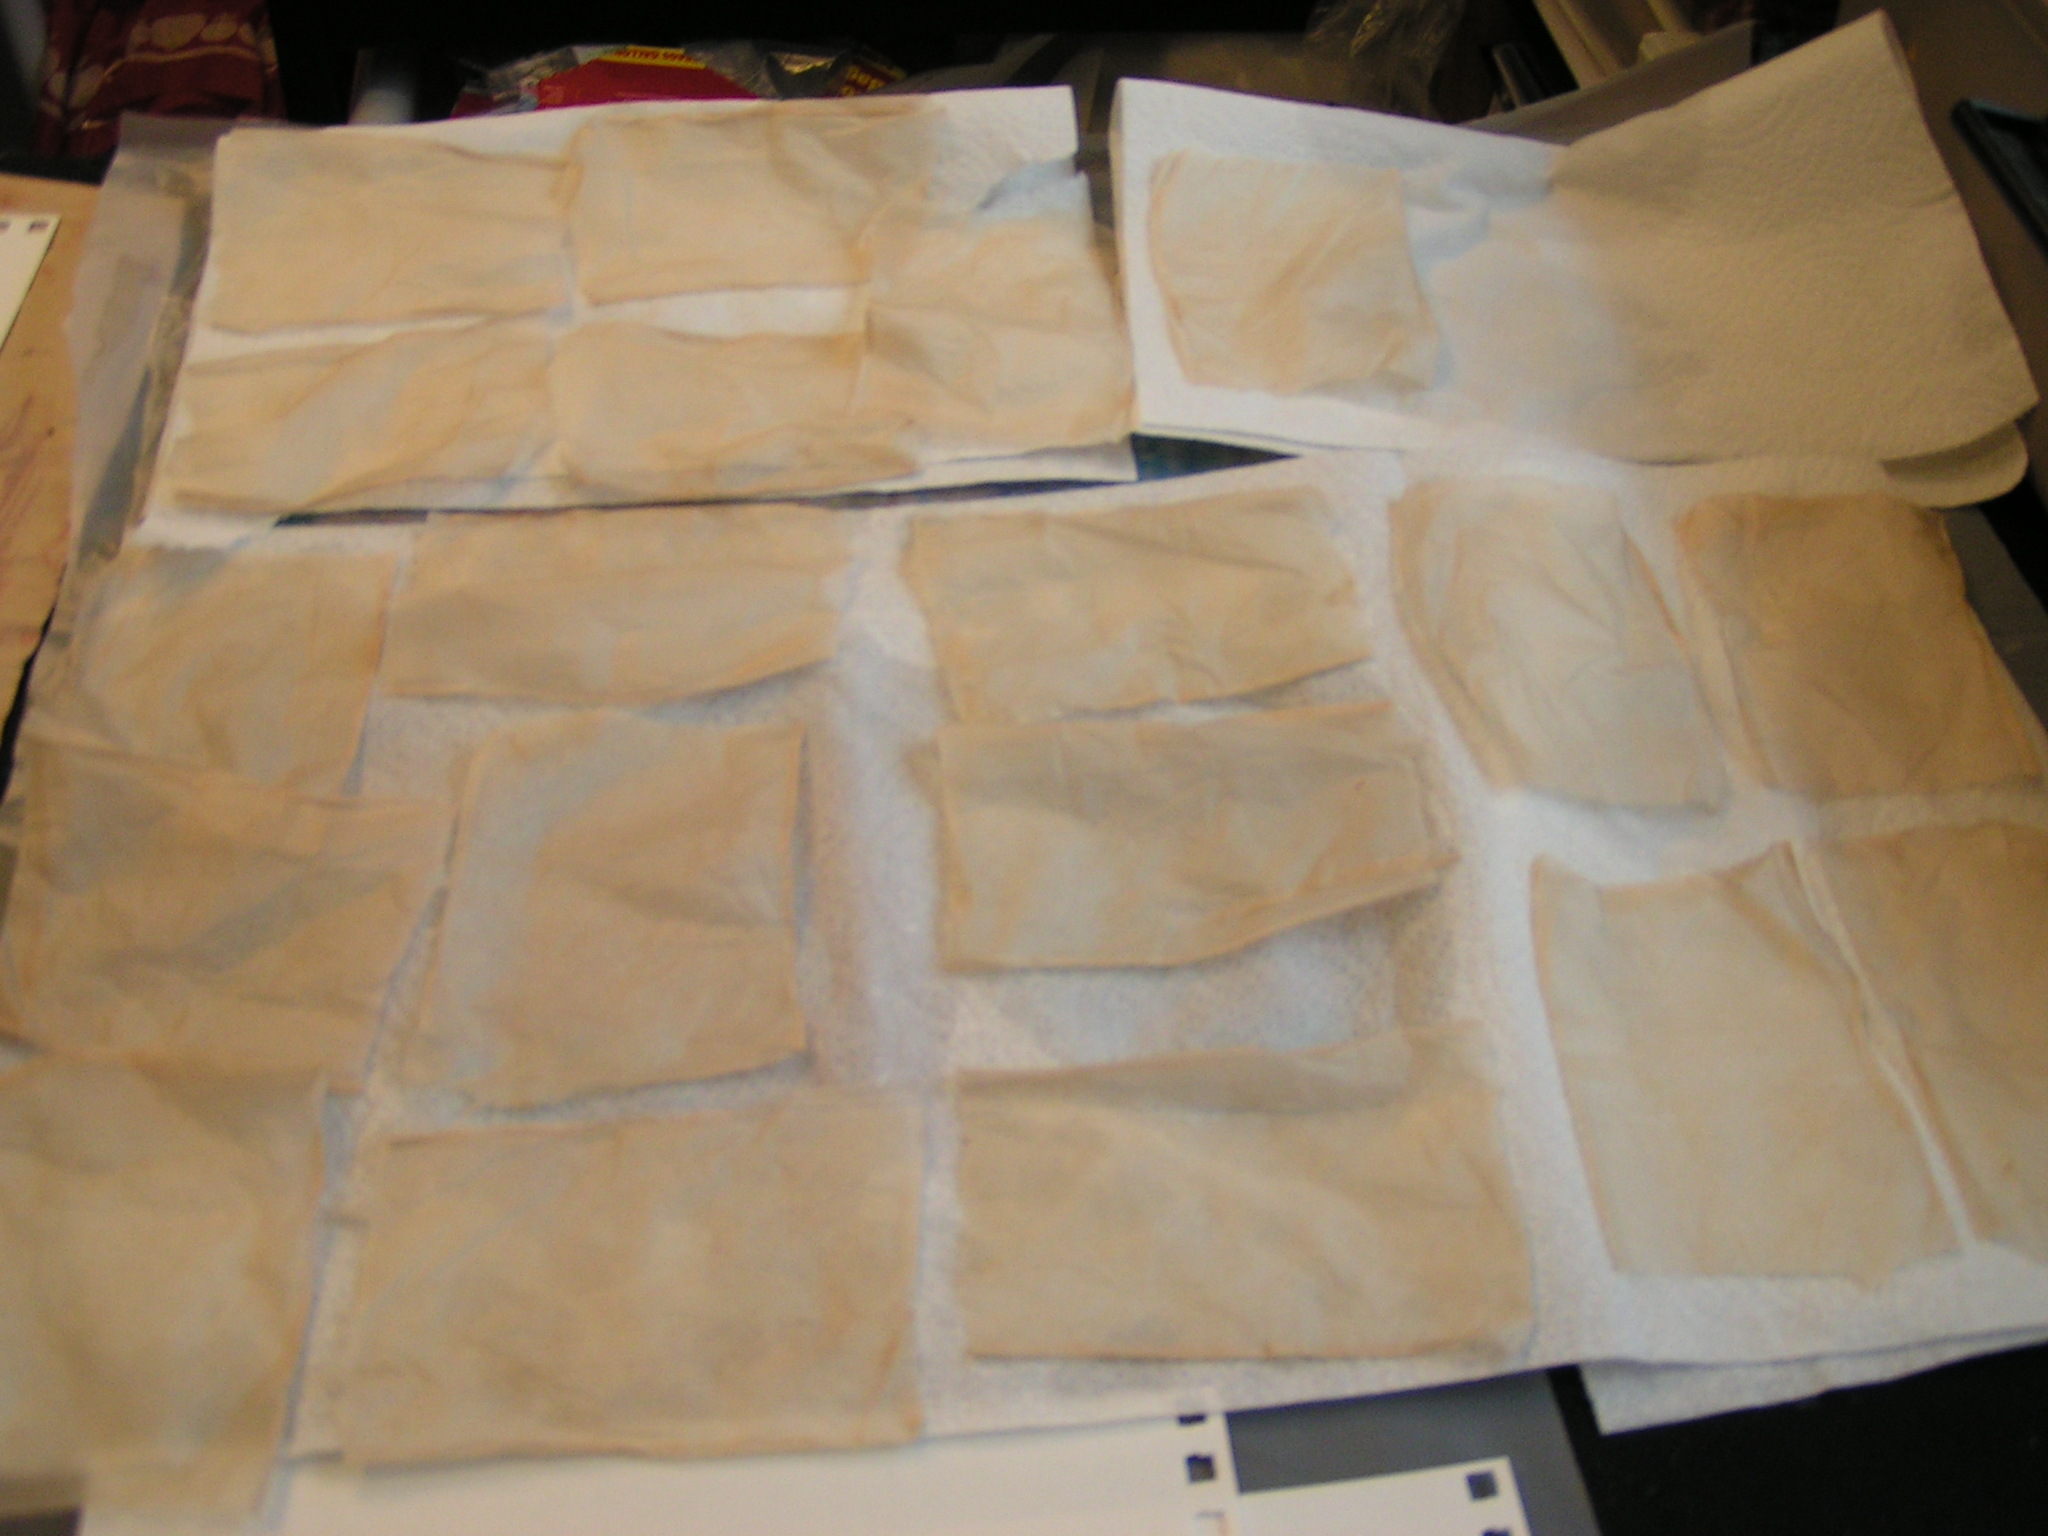
tea bag papersHere they all are laid out to dry. I do like the color and it will go well with an idea I am working on currently. I plan on doing some work in my sketchbook with neutral colors based loosely on autumn, decay and the coming of winter.

walnut ink on sketchbook paperI already have those lovely eco printed papers but decided I needed more backgrounds painted for the sketchbook. I used walnut ink to paint the pages.

background sketchbook pageYou probably noticed that the pages have some other colors besides brown from the walnut ink.

painting surfaceThat is because this is the paper that the pages were lying on when I painted them. I have used this “drop cloth” for many projects including dyeing so there is pigment that runs very easily on this paper. I like how it was completely out of my control how the pages came out. Once they are dry, I’ll start working on some ideas in my “neutral” sketchbook.

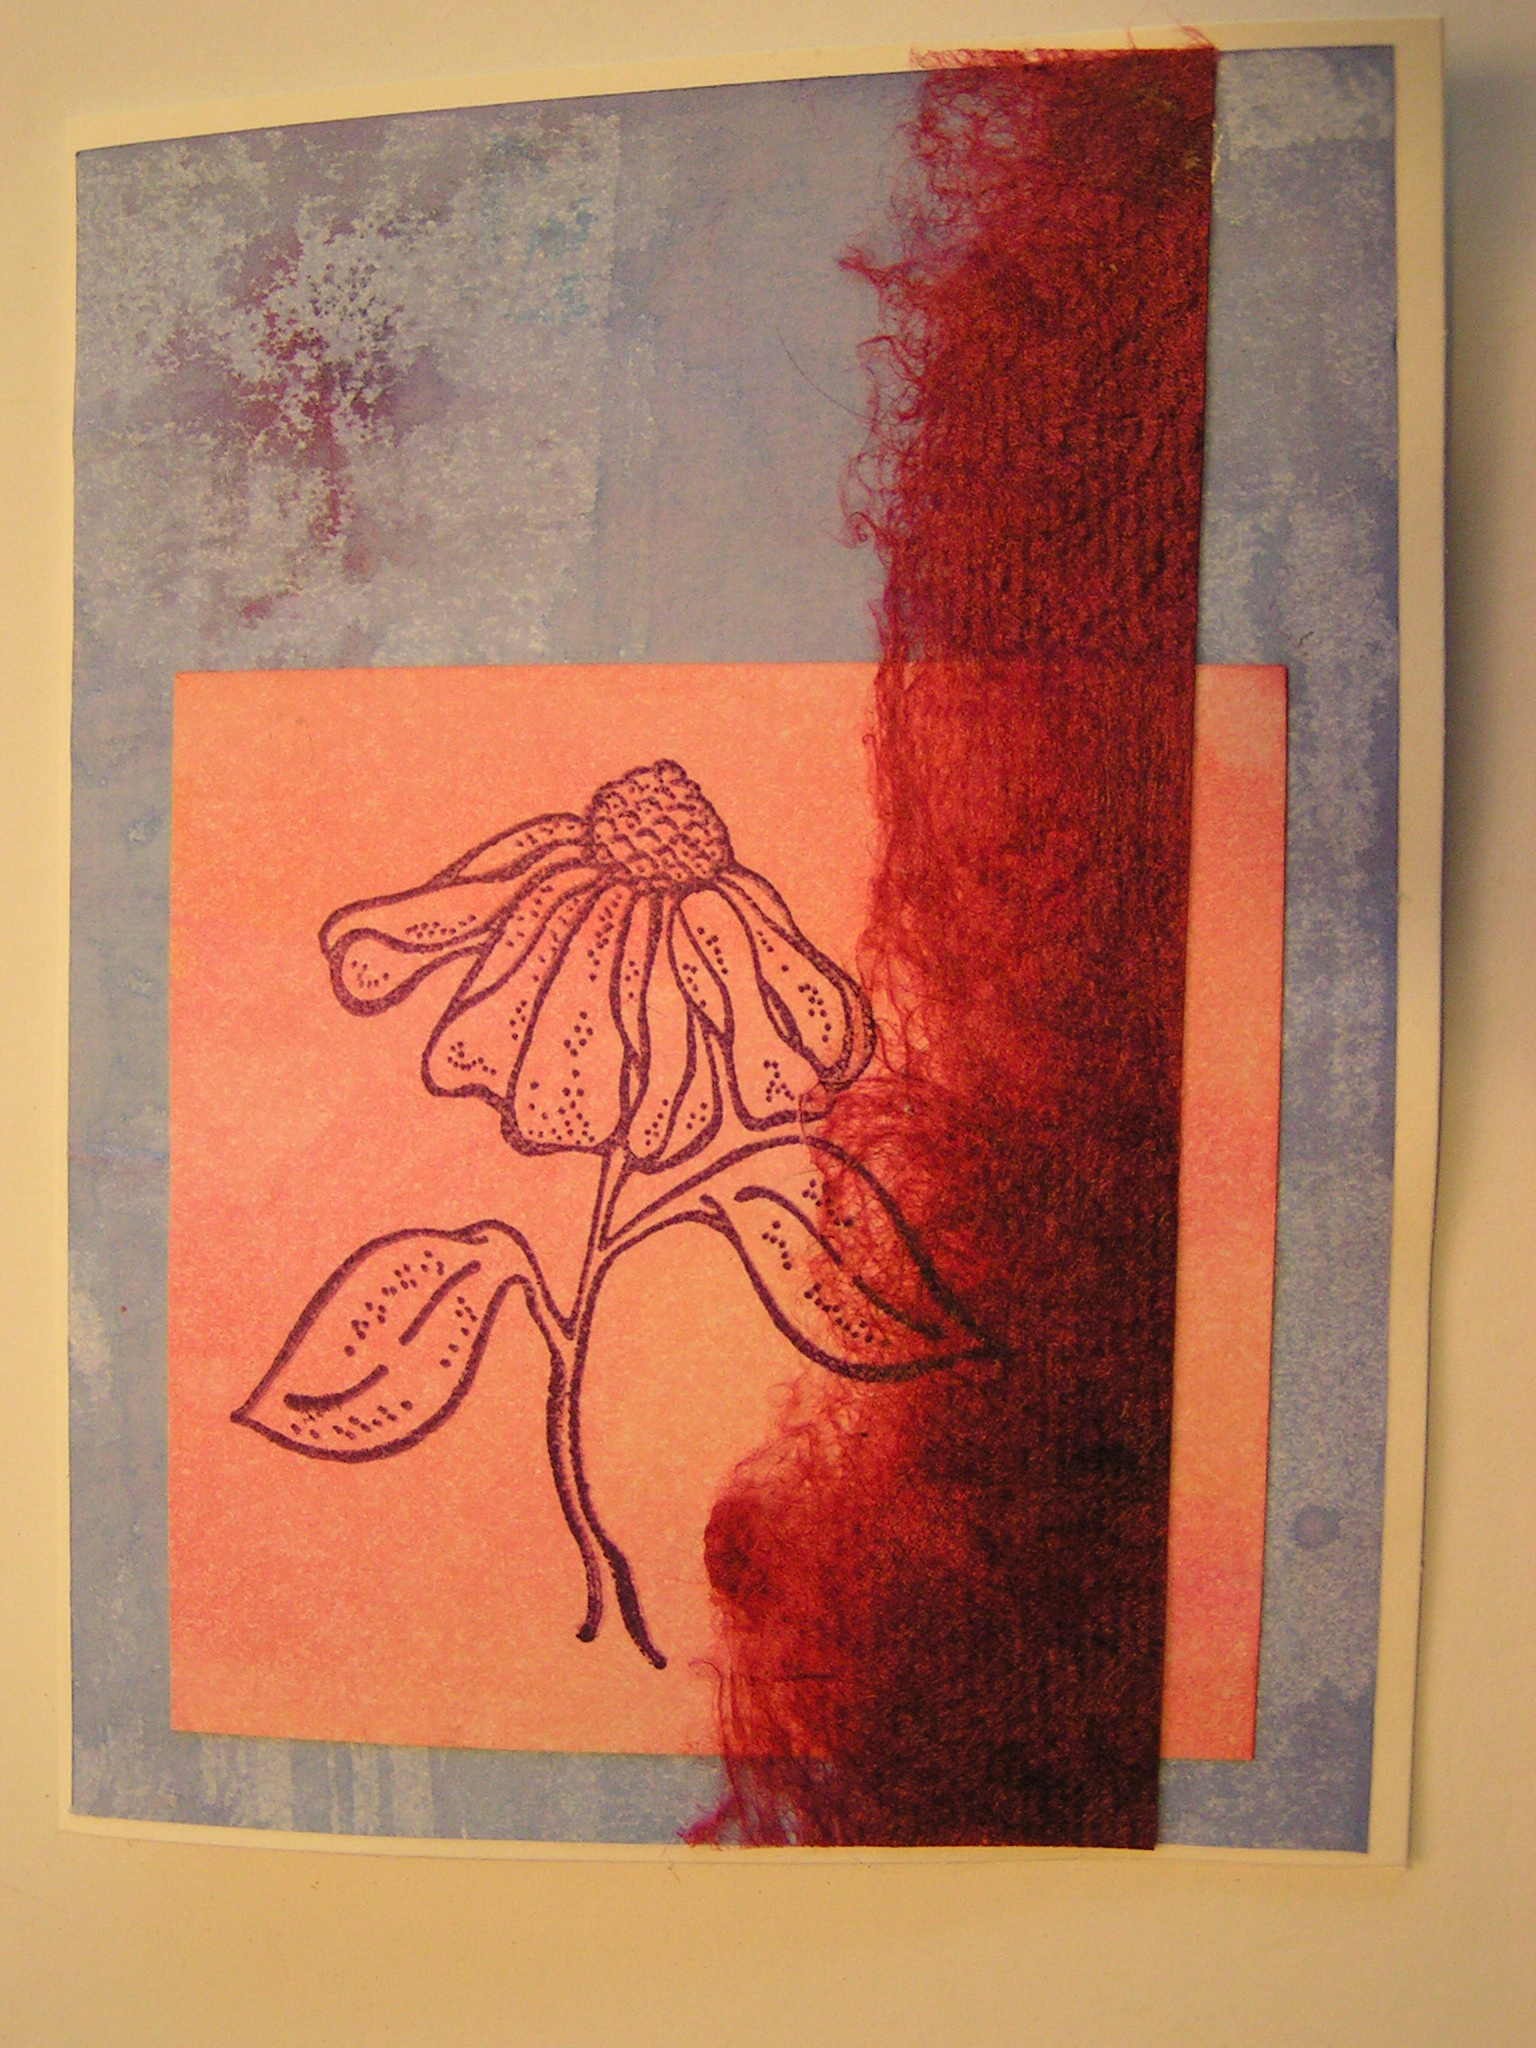
greeting cardI forgot to show you these cards when I made them. I used some painted papers that I had left over from my color class. I don’t usually use commercial stamps but this card felt like it needed something. The red strip of fabric is silk paper.

greeting cardHere is eco print paper used to make a card.

greeting cardAnd again, various painted papers. I try to make up several cards to have on hand. Then when we need a card, I have one ready to go.