My local group met today (minus two people) and had a mammoth screen printing session with the screens I had prepared last week.
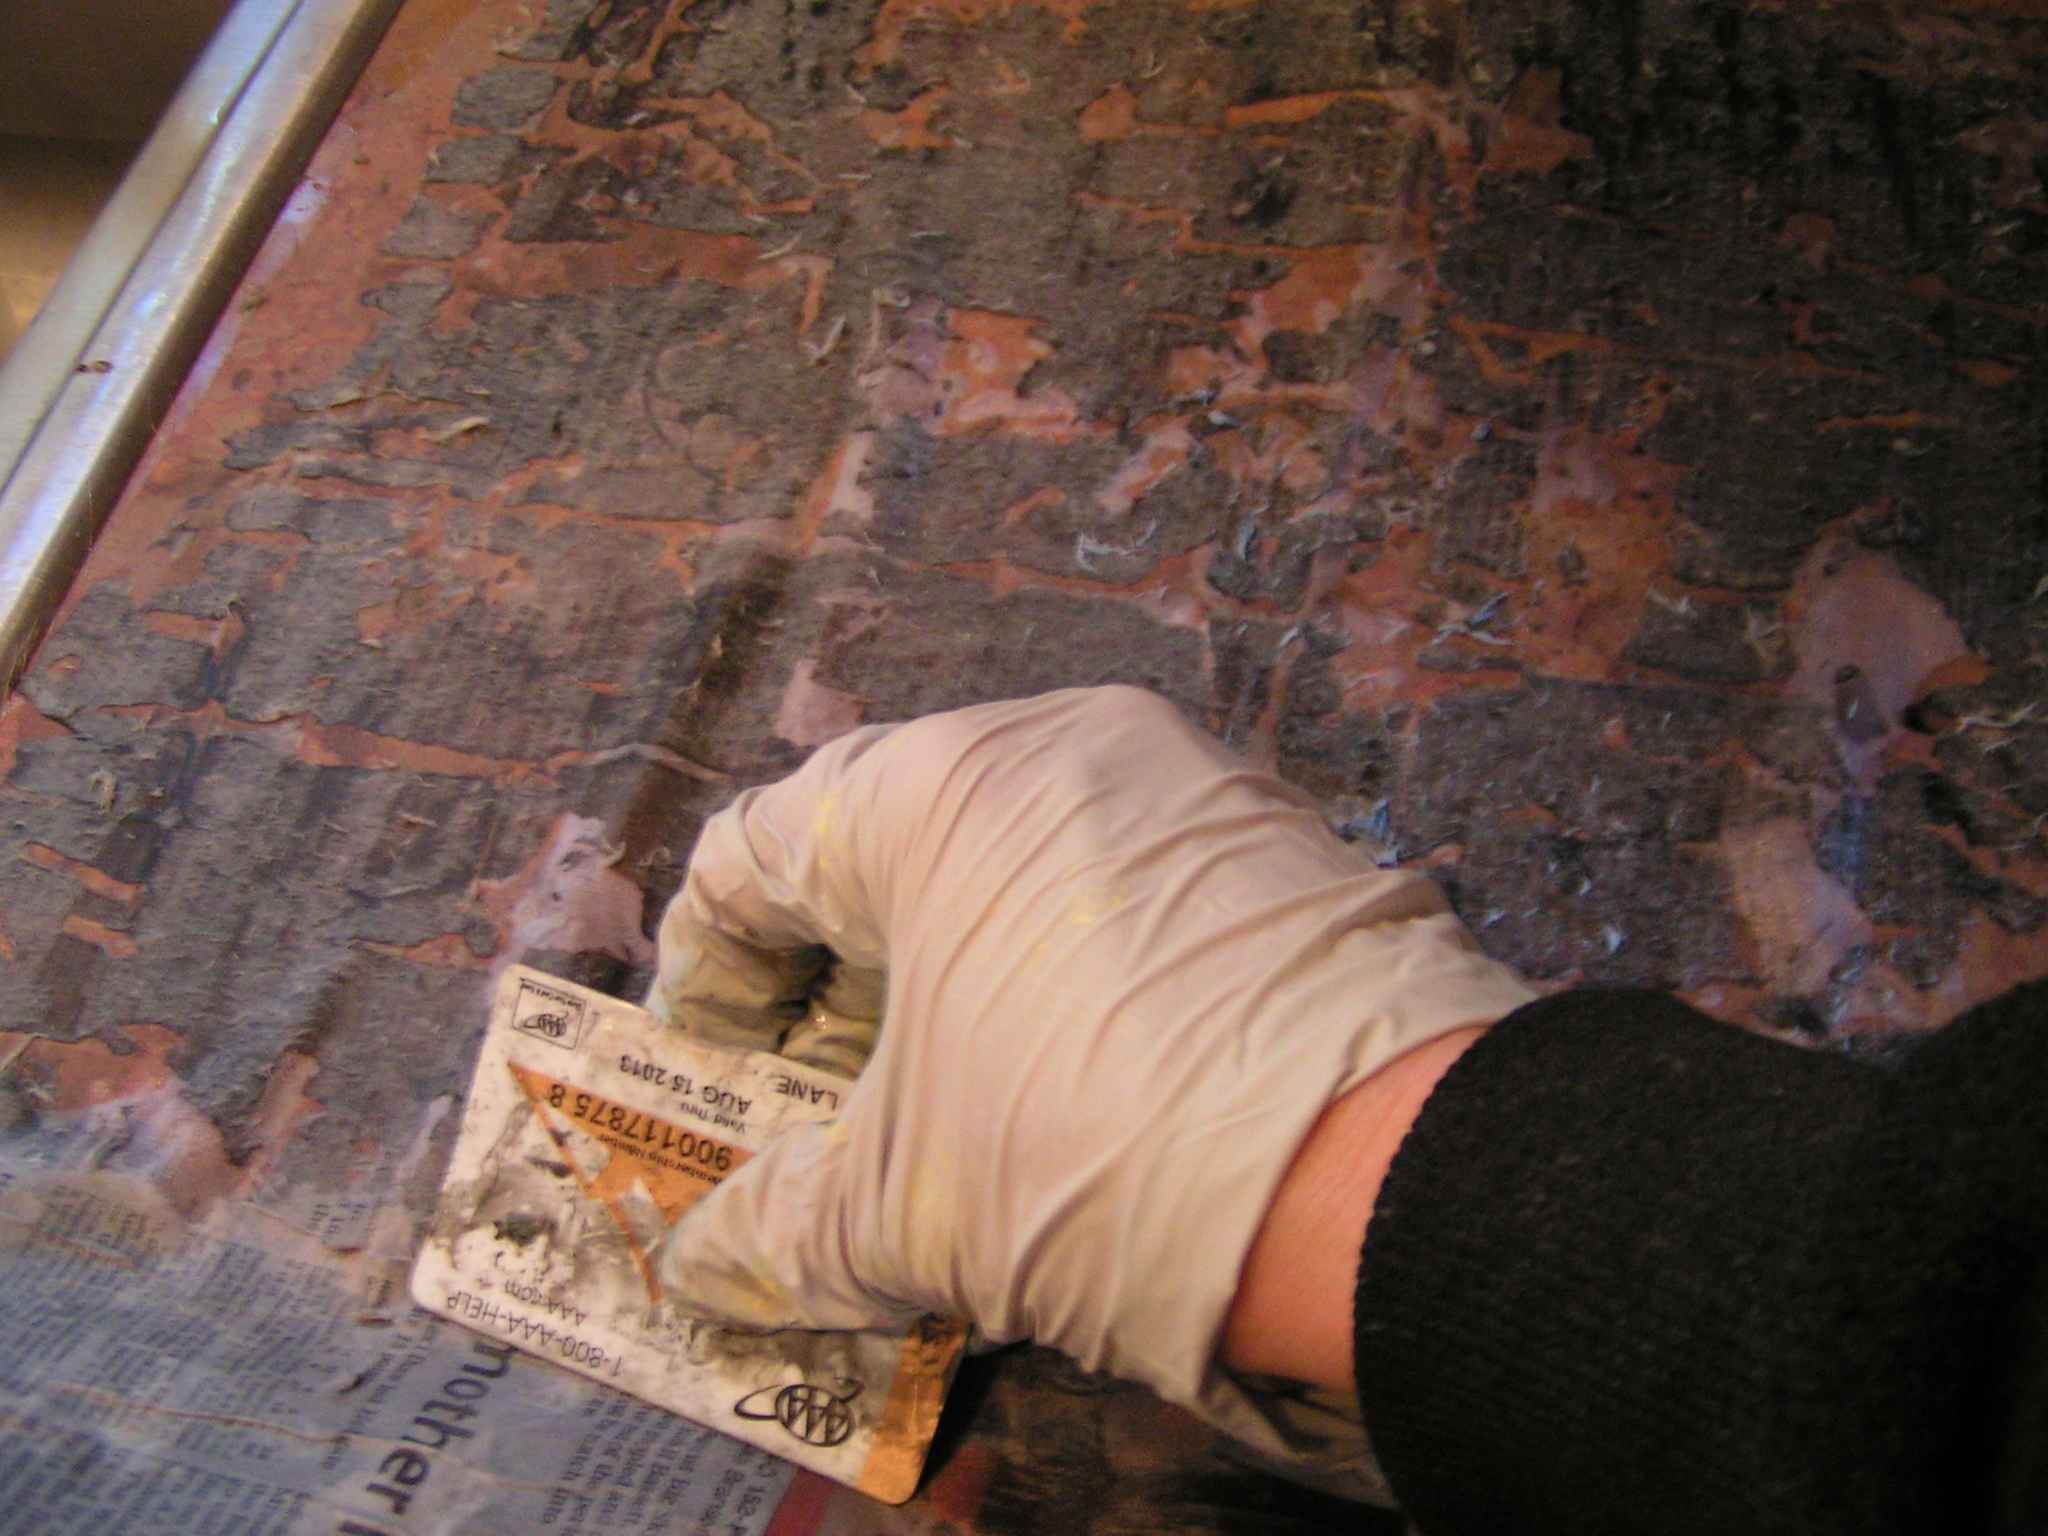 I did take a few photos of scraping the paper off the paper lamination screens. After the screen has dried, you soak it in water and then scrape all the paper off. That leaves the matte medium in the organza and you use this to screen on thickened dye.
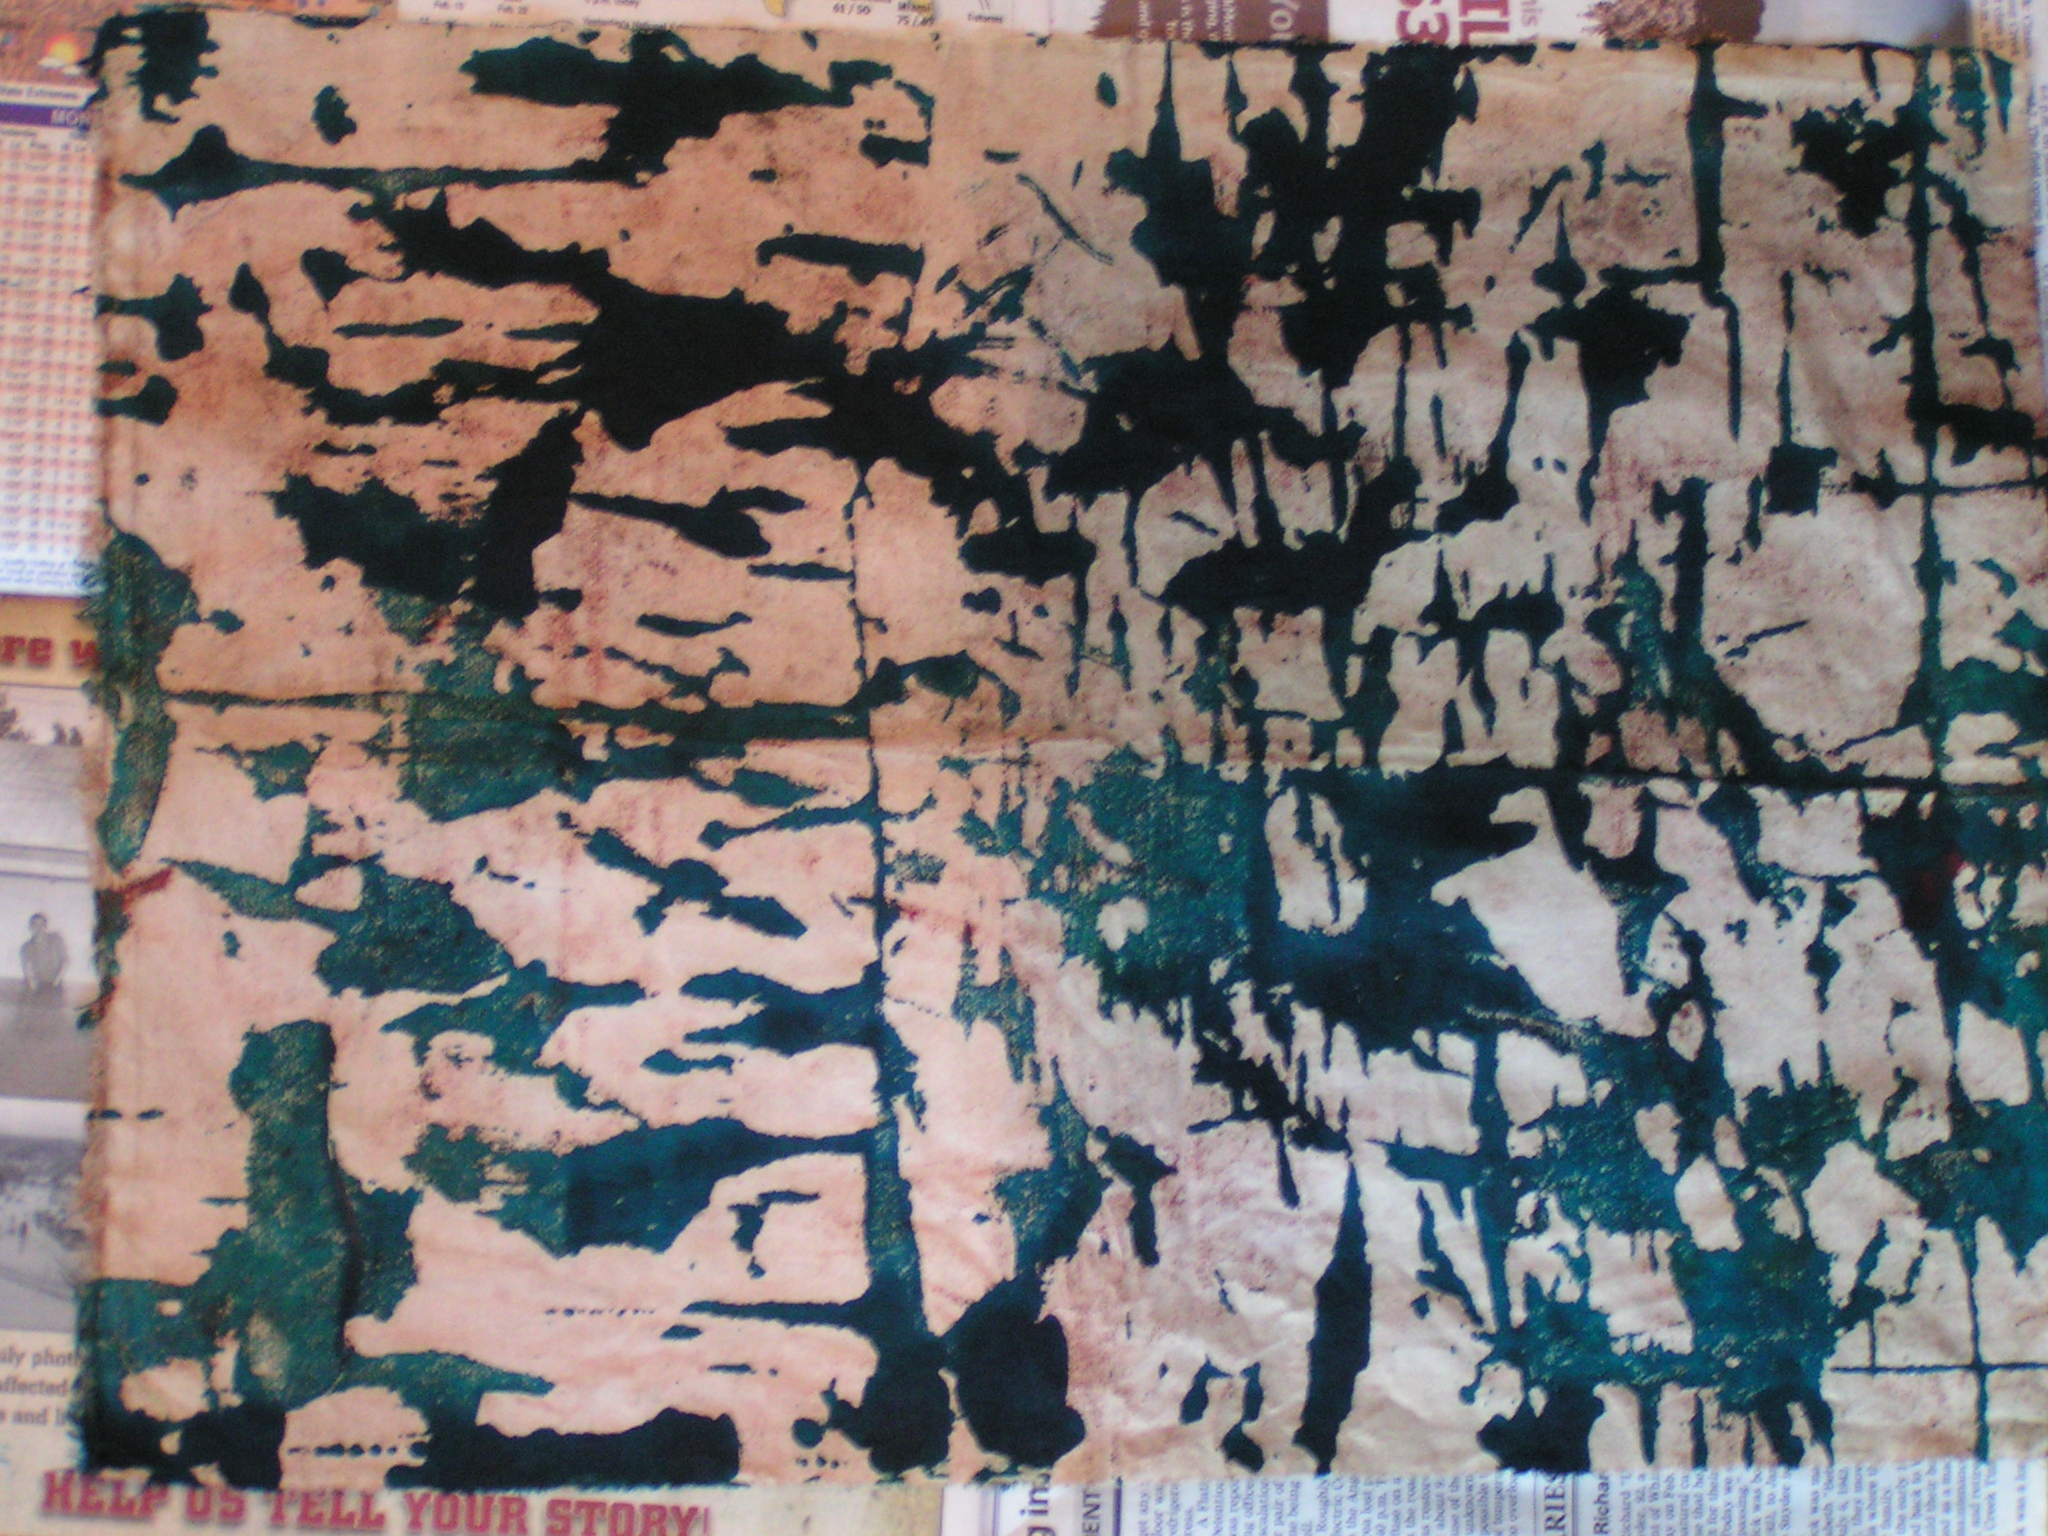
 Here is the largest paper lamination screen I made. It kind of reminds me of cracking paint on an old wall.
 I also made some masks for the deconstructed screens. I cut out the designs with a craft knife.
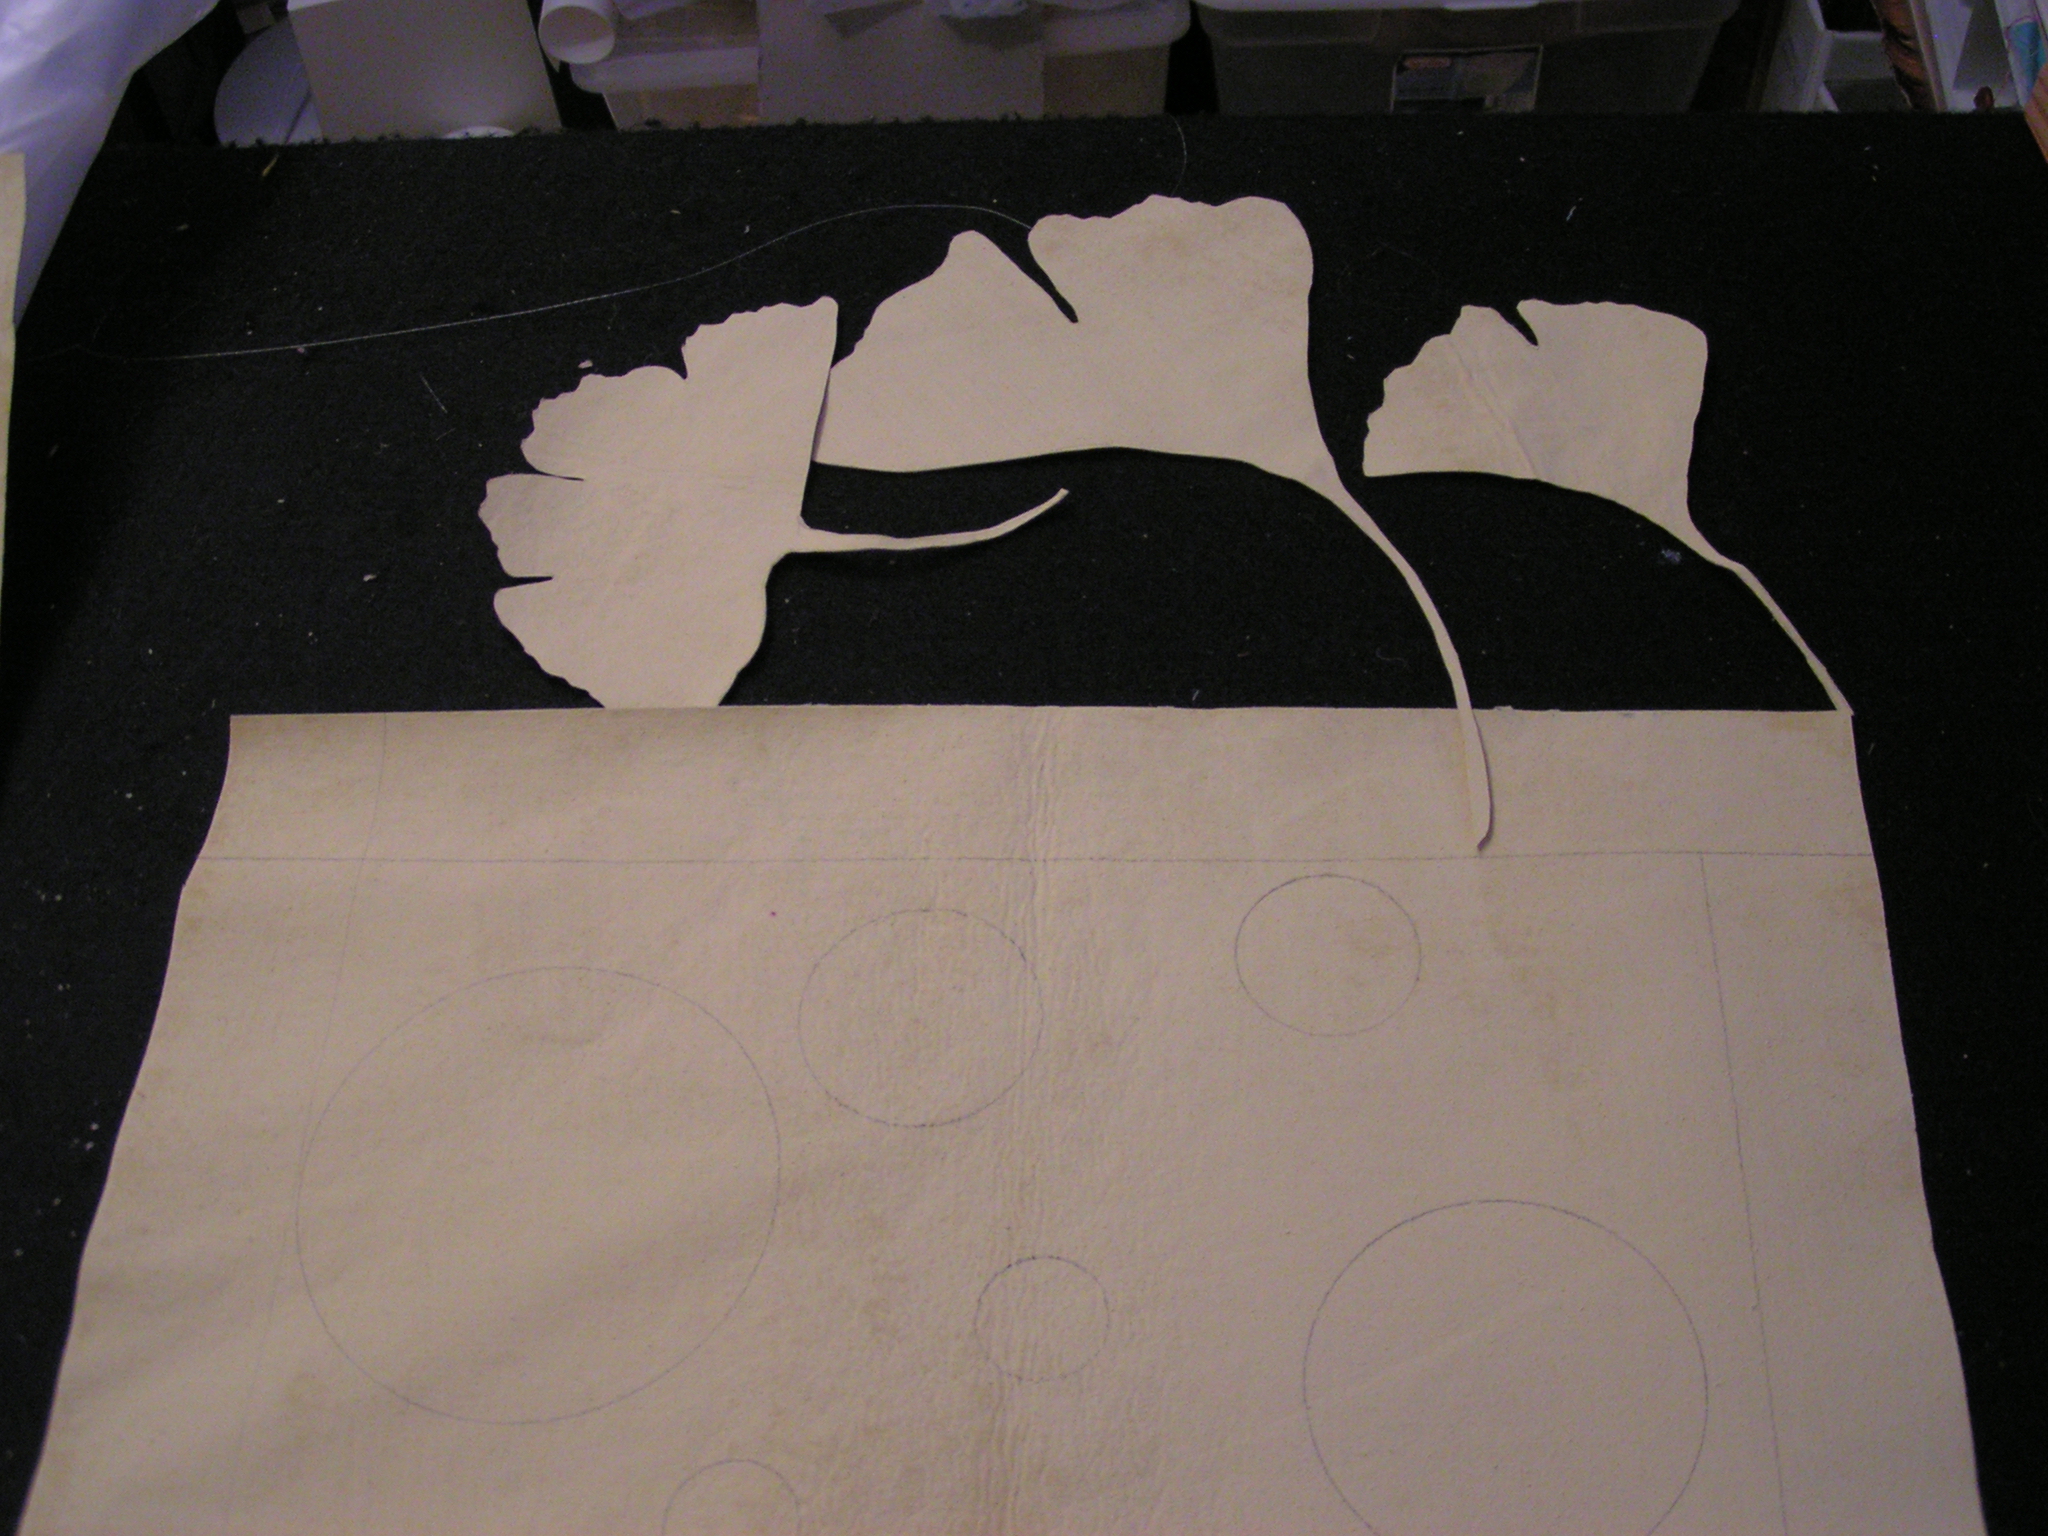 You can see the ginkgo leaf cut outs that remained after I cut out the leaf screen.
I was so busy helping to screen that I didn’t get any in process photos. This is one of the deconstructed screens printed on a silk scarf. I will try to get better photos of these when they’ve been washed. I took a bunch of photos but very few turned out well. We used thickened Procion dye. Sometimes we just used clear print paste (thickened) to break down the dye already dried in the screens and other times we used thickened dyes through the screen.
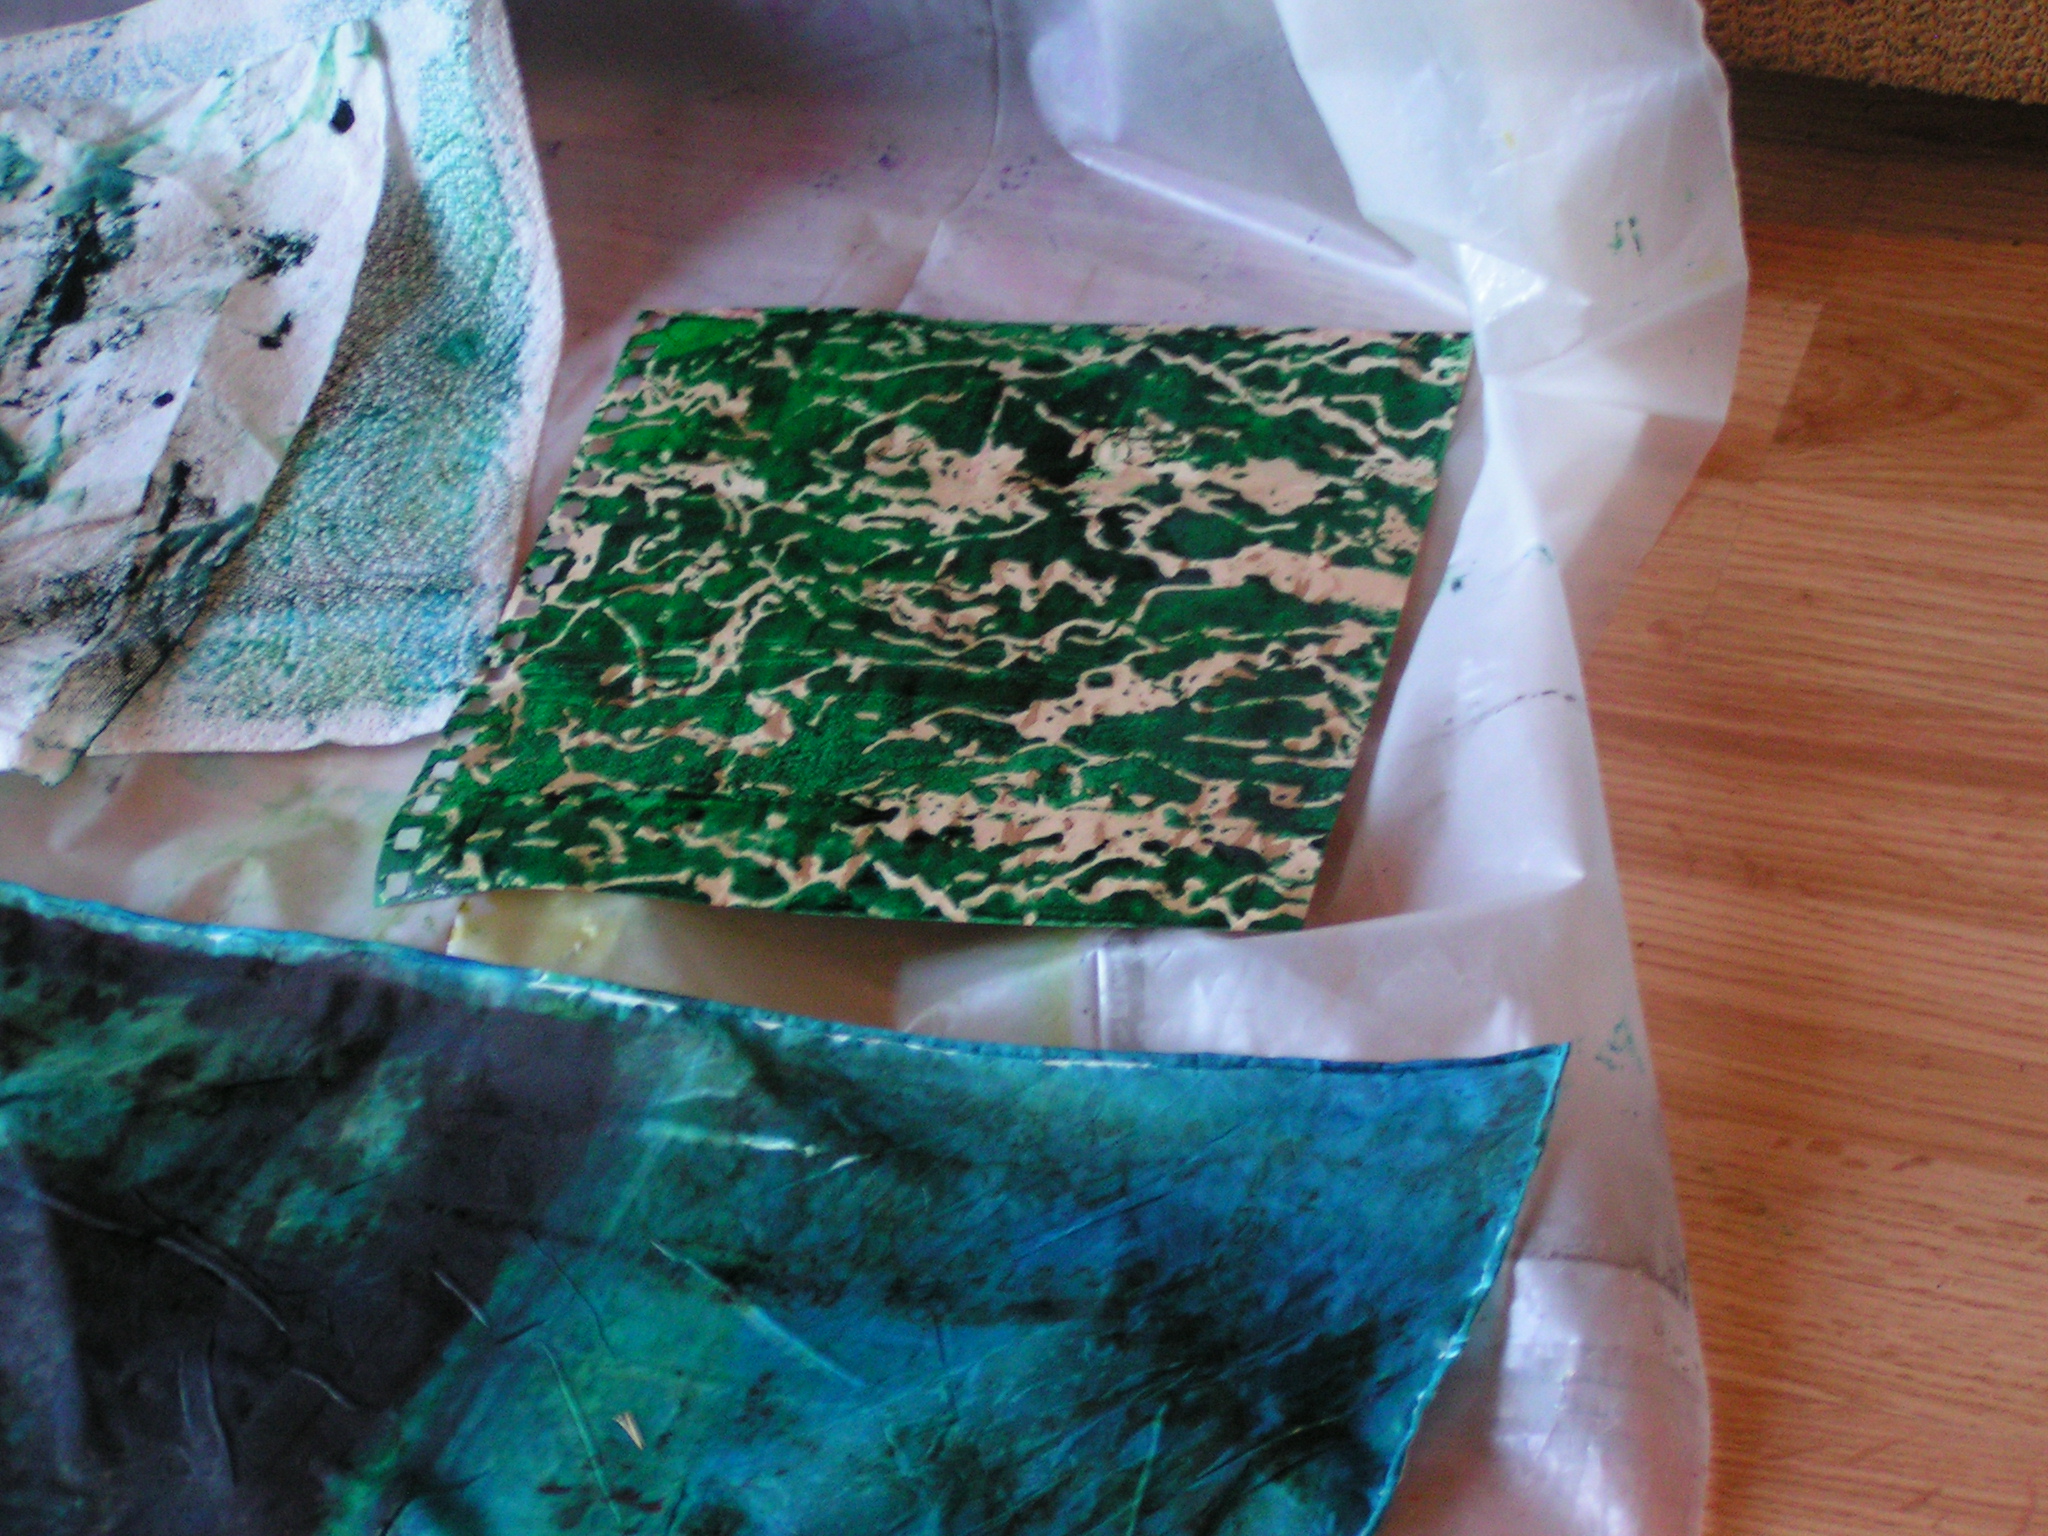 The green piece with squiggly lines was printed with the rice baby cereal screen. It gave very interesting prints.
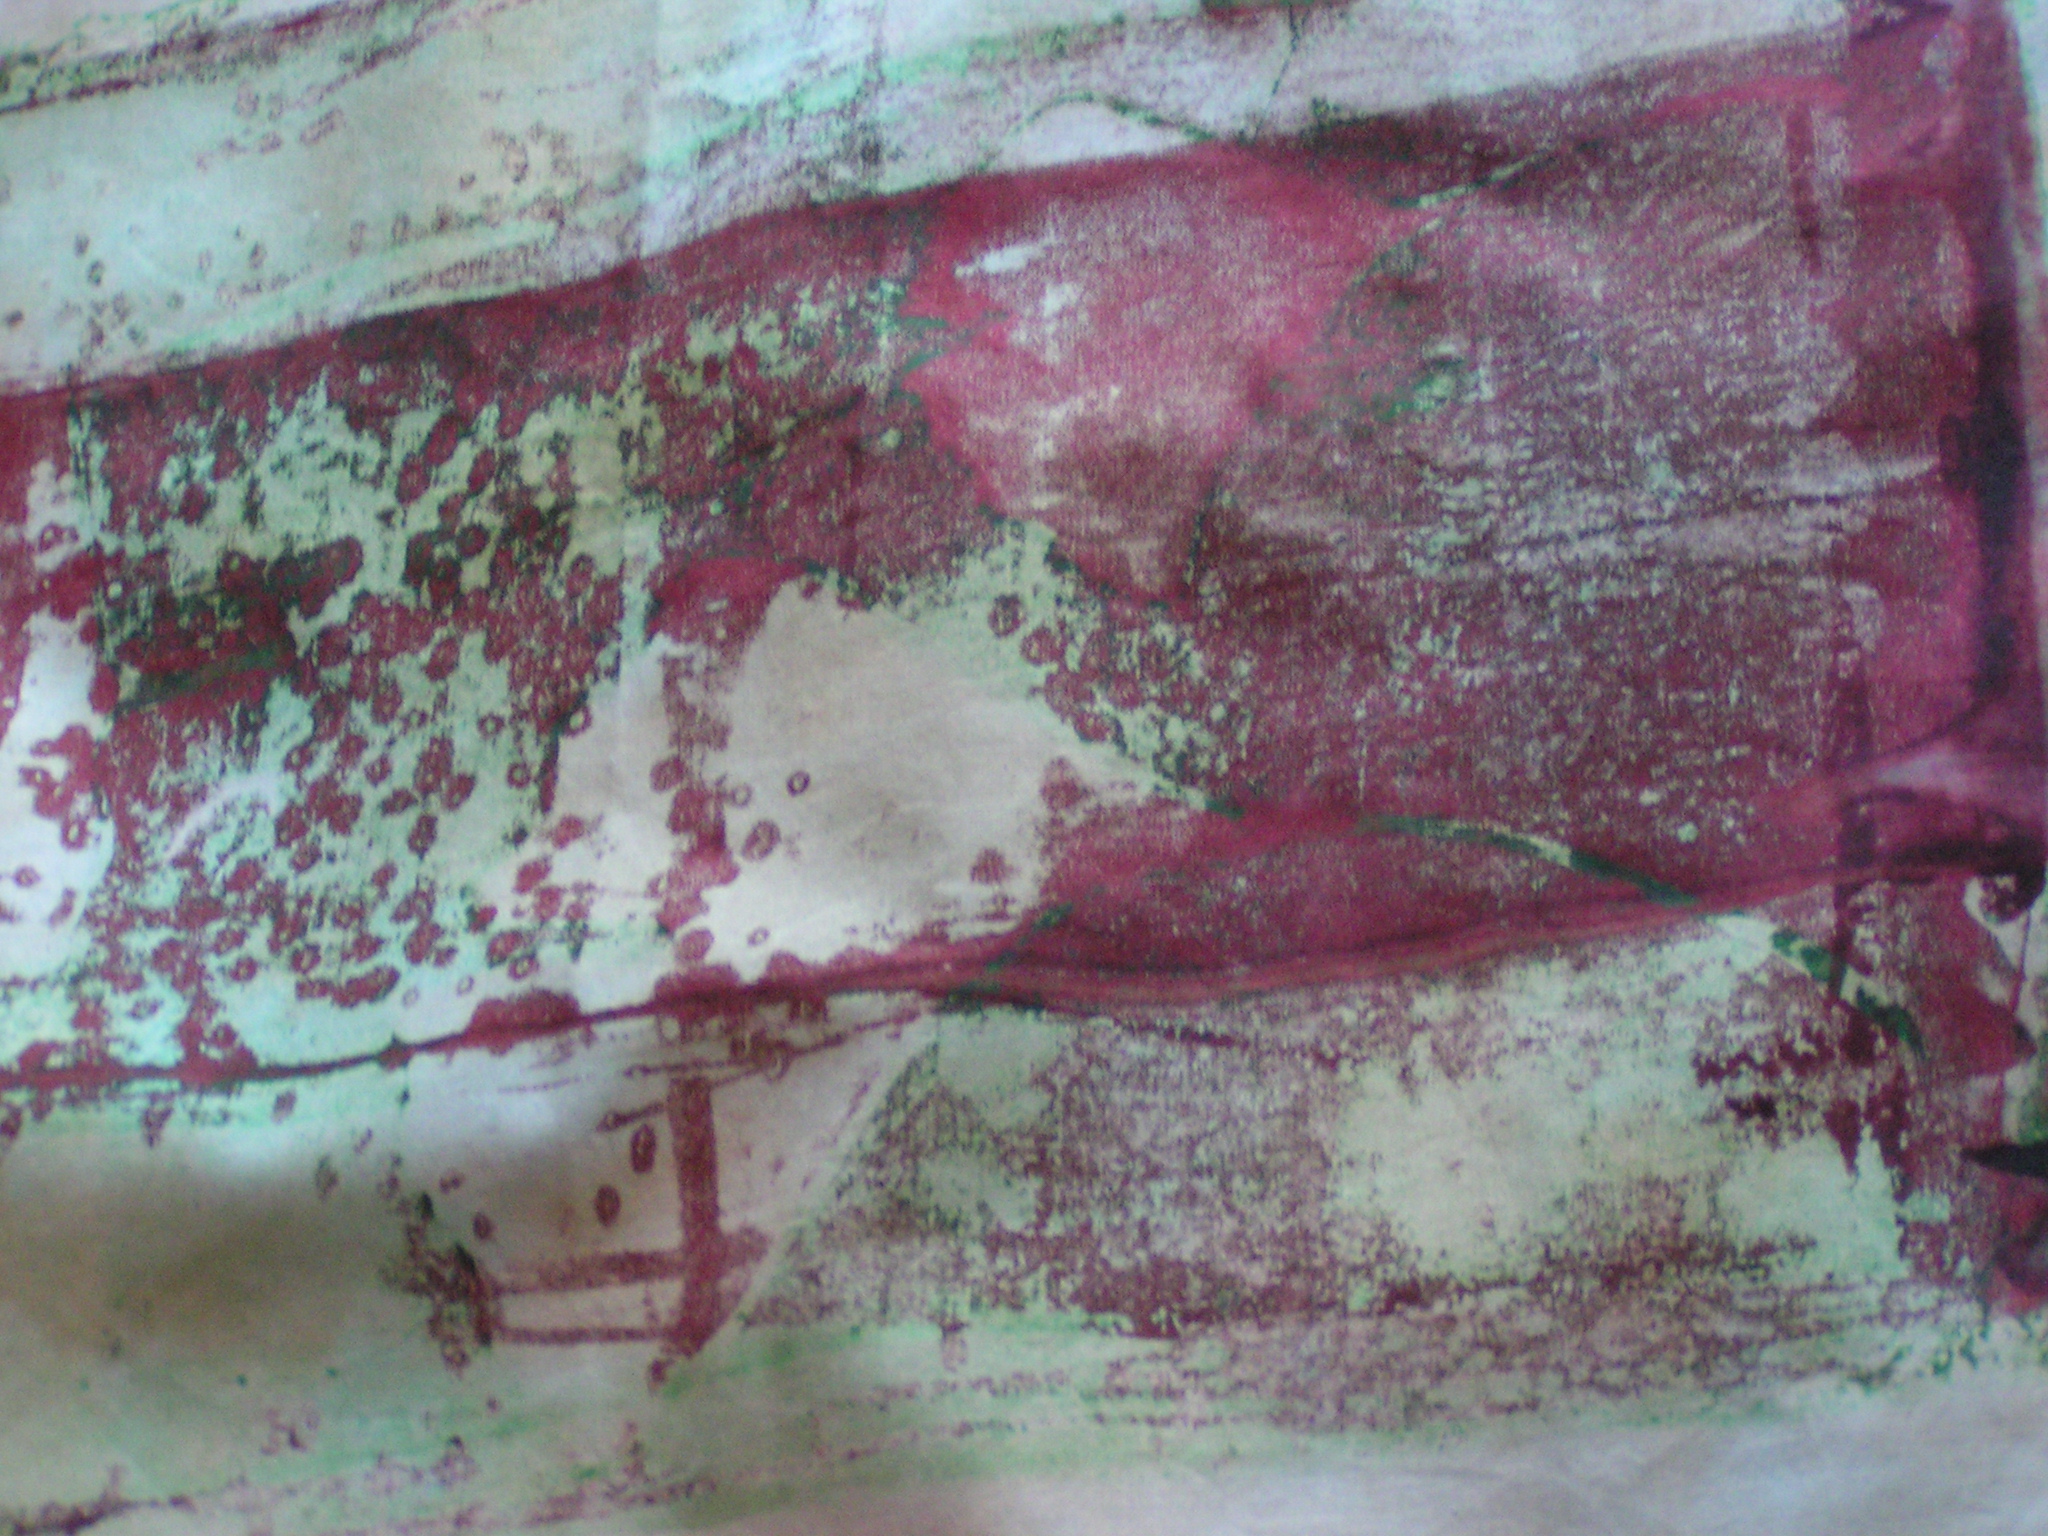 This was another of the deconstructed screen prints.
 Here is one printed with the paper lamination screen. I really like the organic look you can get with this screen.
 This is a silk scarf printed with the paper lamination screen.
 Here’s a square printed with a deconstructed screen.
 Here is cotton fabric printed with one of the rice baby cereal screens. It should fit well into my current circles theme. I will take more photos of the fabric after it’s been washed and ironed. Hopefully, I can get some better photos. The screen printing was fun and all the screens worked great. Everyone was pleased with the outcome.
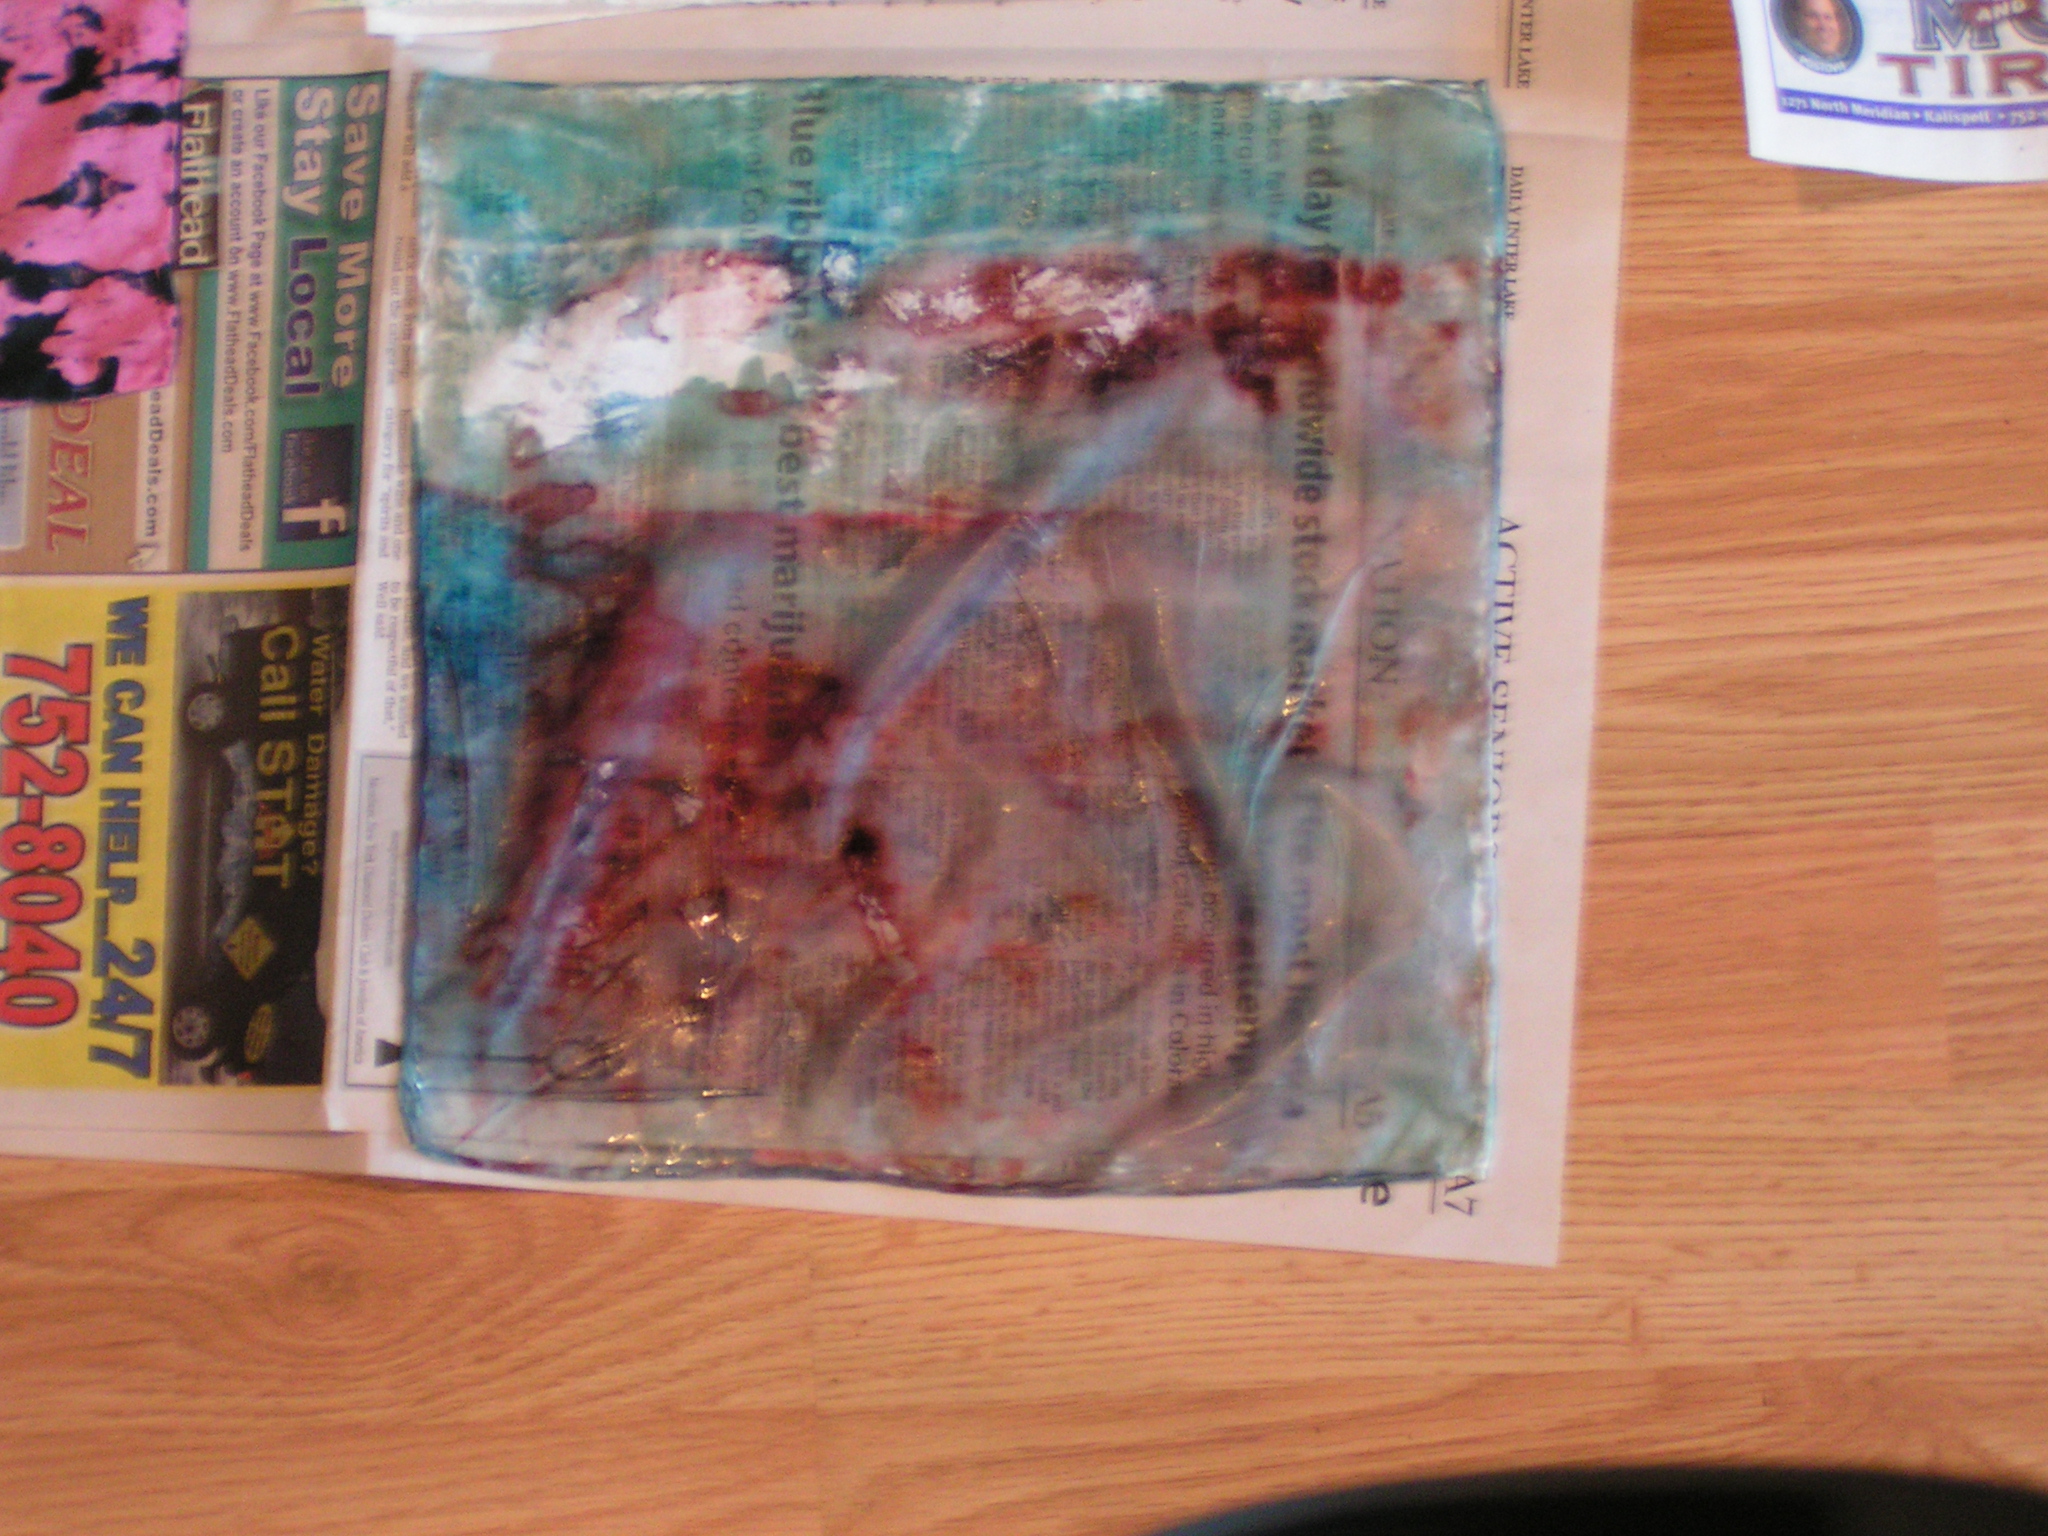
 I did get my background fabric dyed for my ice flower piece. It is dark green. The colors are a bit off in the photo.
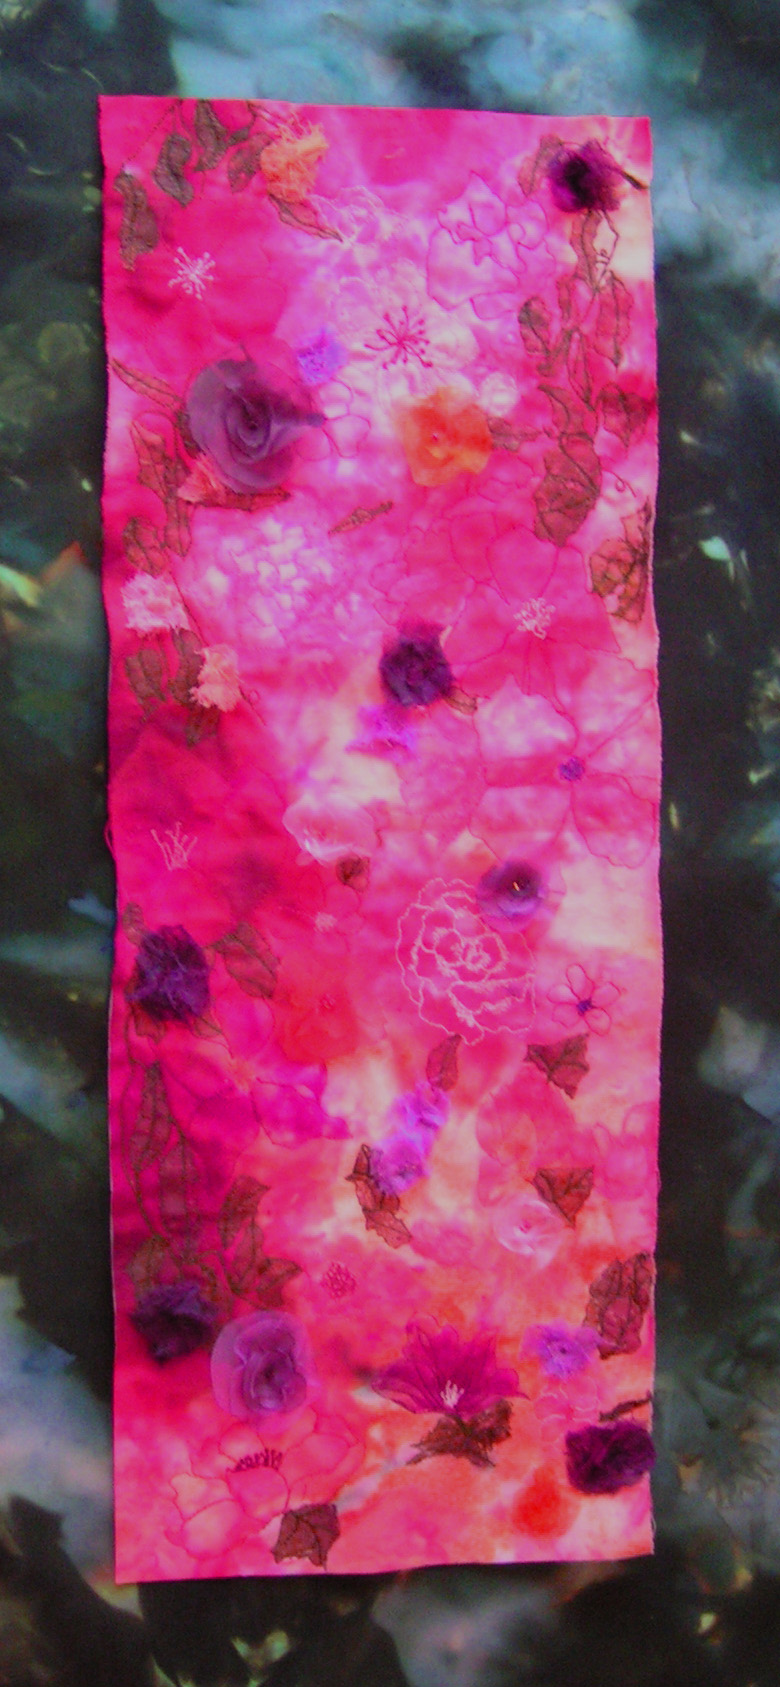
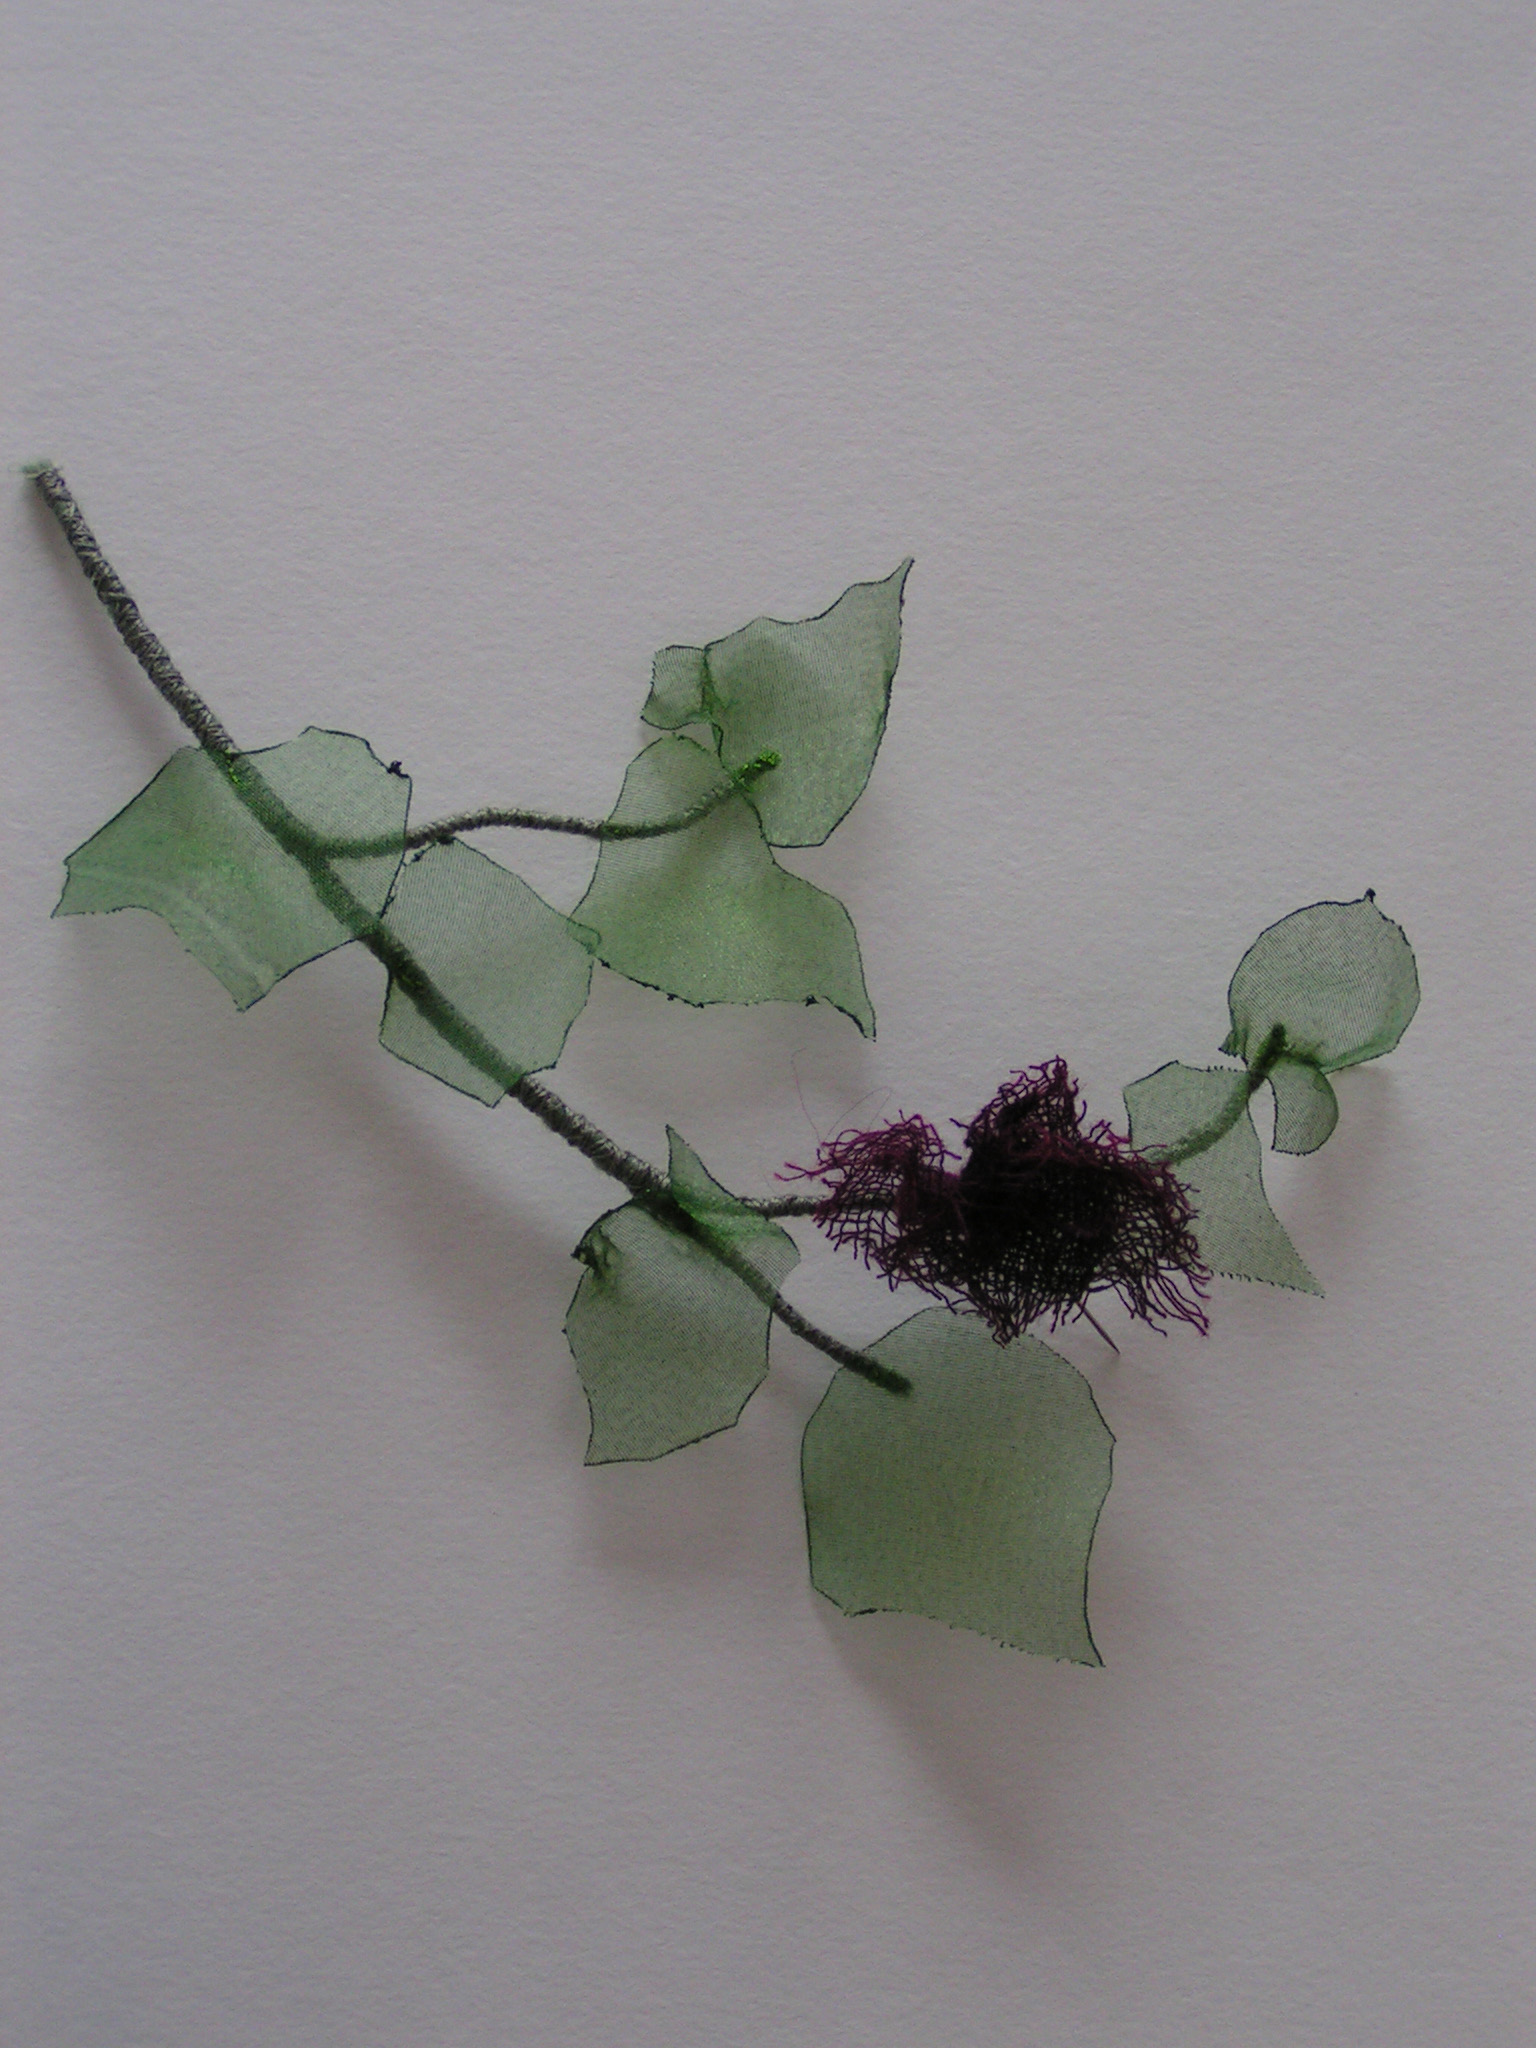 I also made a vine with organza leaves which I plan to put along one edge. The flower isn’t sewn on but I was trying it out to see if I liked it. I really like the sheer leaves and I’ll be adding those over the entire piece. Now I have to decide how to attach the red/pink piece of fabric to the background fabric. I will probably zigzag stitch it down and perhaps couch a piece of green yarn around the entire edge.

That’s quite the process. I admit I can’t follow it all, but the results are impressive. I’d like to see the ginkgo leaf piece or did I miss it. Looks like a lot of fun.
Thanks Marilyn – it is a bit of a process and also messy. The ginkgo leaf photo didn’t turn out. It was one of Bunny’s pieces but I’ll try to get a photo next month.
What fun you’ve had! 🙂 Love your organza leaf sprig.
We did have fun Judith. I liked how the organza leaf sprig came out. I plan on making at least one more.
Totally amazing process! Always wondered what was involved in screen printing, and now you’ve given me a better idea. Aside from the fact that it’s a lot of work (this I knew!), what will you do with the screen printed pieces you’ve made? Do you plan to further embellish, create wall hangings? Does fiber play a part in any of this? Thanks for sharing your many talents!
Thanks Cathy! This is a bit different than basic screen printing but we were experimenting. I don’t have any specific plans right now for my printed pieces. I put them in my fabric stash and use them for a variety of either machine or hand embroidery pieces. I am sure they will be further embellished. I have no idea if other fibers will be added or not but that’s also a possibility. I love to combine all different kinds of fiber/fabric/paint/dye/whatever to make my end pieces.
The screen printing looks like a lot of fun and I now see why you made so many screens at once (I thought you had gone a little crazy). What did you use to draw the paint/dyes across the screens, was it a commercial squeegee or did you improvise? They are all great but I particularly love the green print from the cereal screen.
Dark green for your flower piece looks like it will be a great choice, it doesn’t look very green in the photo but I can see how it is going to visually throw the pink panel forward. Did you heat cut the organza to get the solid looking edges? They are very pretty and delicate looking.
Thanks Teri – I know it looked a little nuts with all the screen preparations. But when you have 4-5 people printing, you need choices. We used commercial squeegees and also for the smaller round ones, old credit cards. I am washing out the fabric now and I’ll show the end results soon. I’ll have to get photos of others fabric too since we had such a wide range of results.
The flower piece photo did not show the colors very accurately. I will have to get a better photo so you can see the green. I painted the organza with acrylic ink first and then cut them out. Then I singed the edges of the organza with a candle flame. To get a little texture, I then held the piece way above the flame to heat it a little to get the leaves to change shape from being flat. It’s really easy to do. I do like the delicate look as I didn’t want the leaves to over power the piece.