Louise Saves the Day!

Since I last posted about my experience with reduction linocut printing, we had one of our art meetings. And Louise brought me a “printing press”. It was made to emboss metal but it didn’t work the way Louise wanted it to so she said I could try it with my linocuts. It worked perfectly and saved me so much time! Thank you Louise!

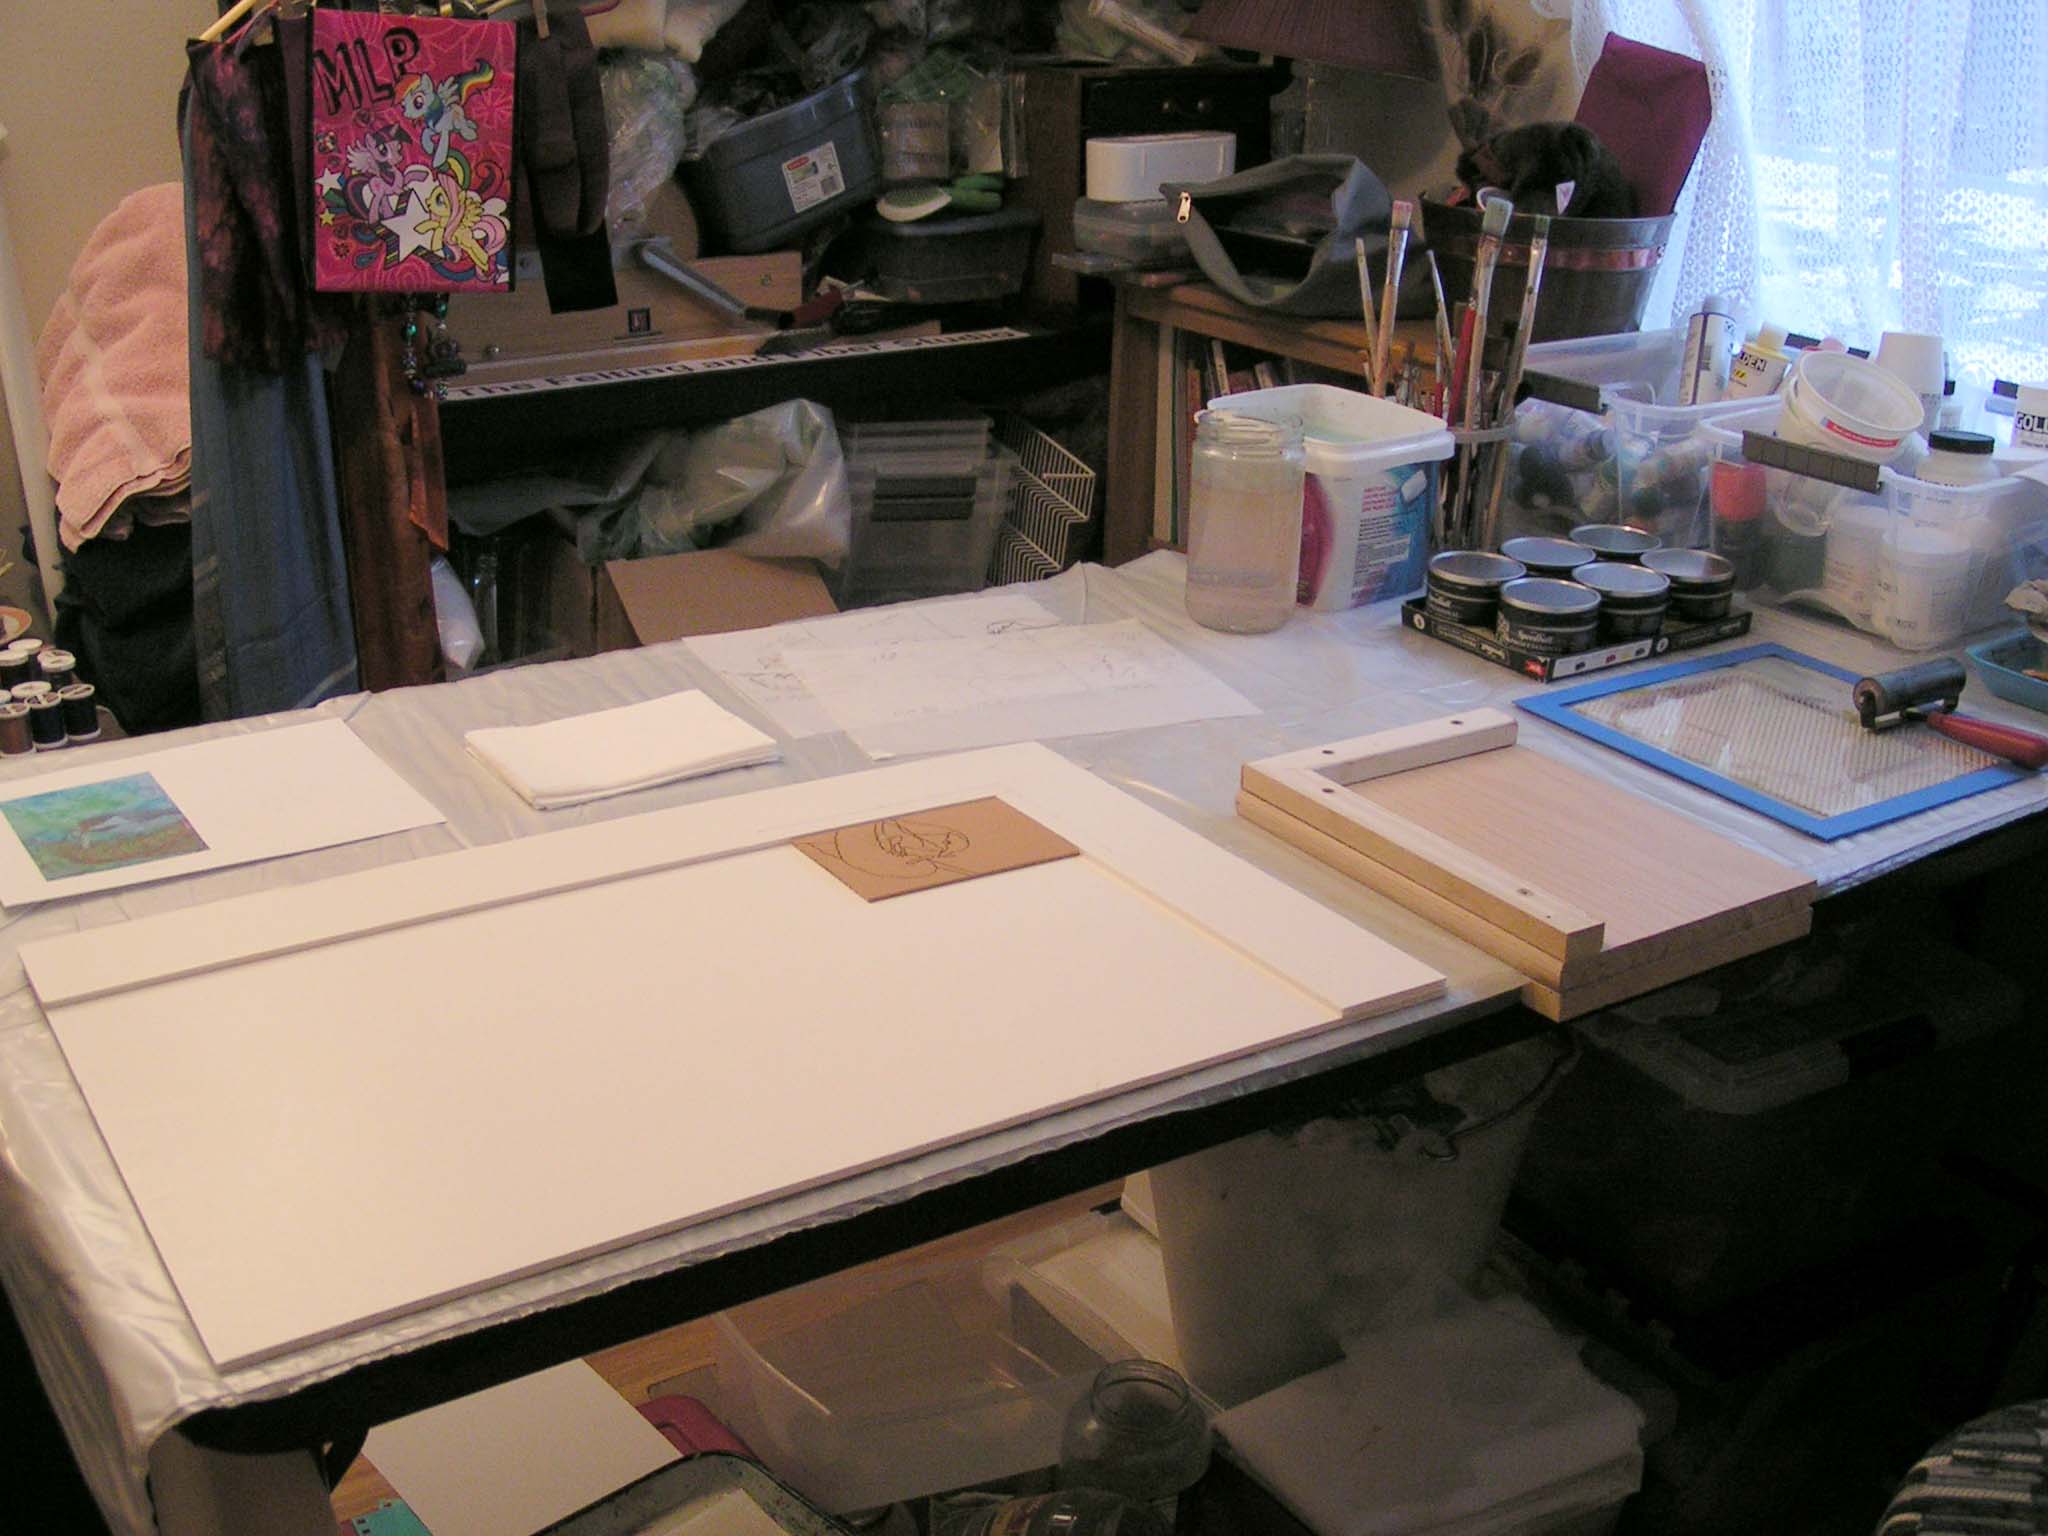
So you can see the press on near the middle of the photo of my studio getting ready to print. It has the green foam sitting on it. The first thing I had to do was figure out how many layers were needed in the press to get the right pressure. Once I got that figured out it was great.
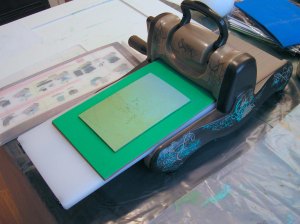
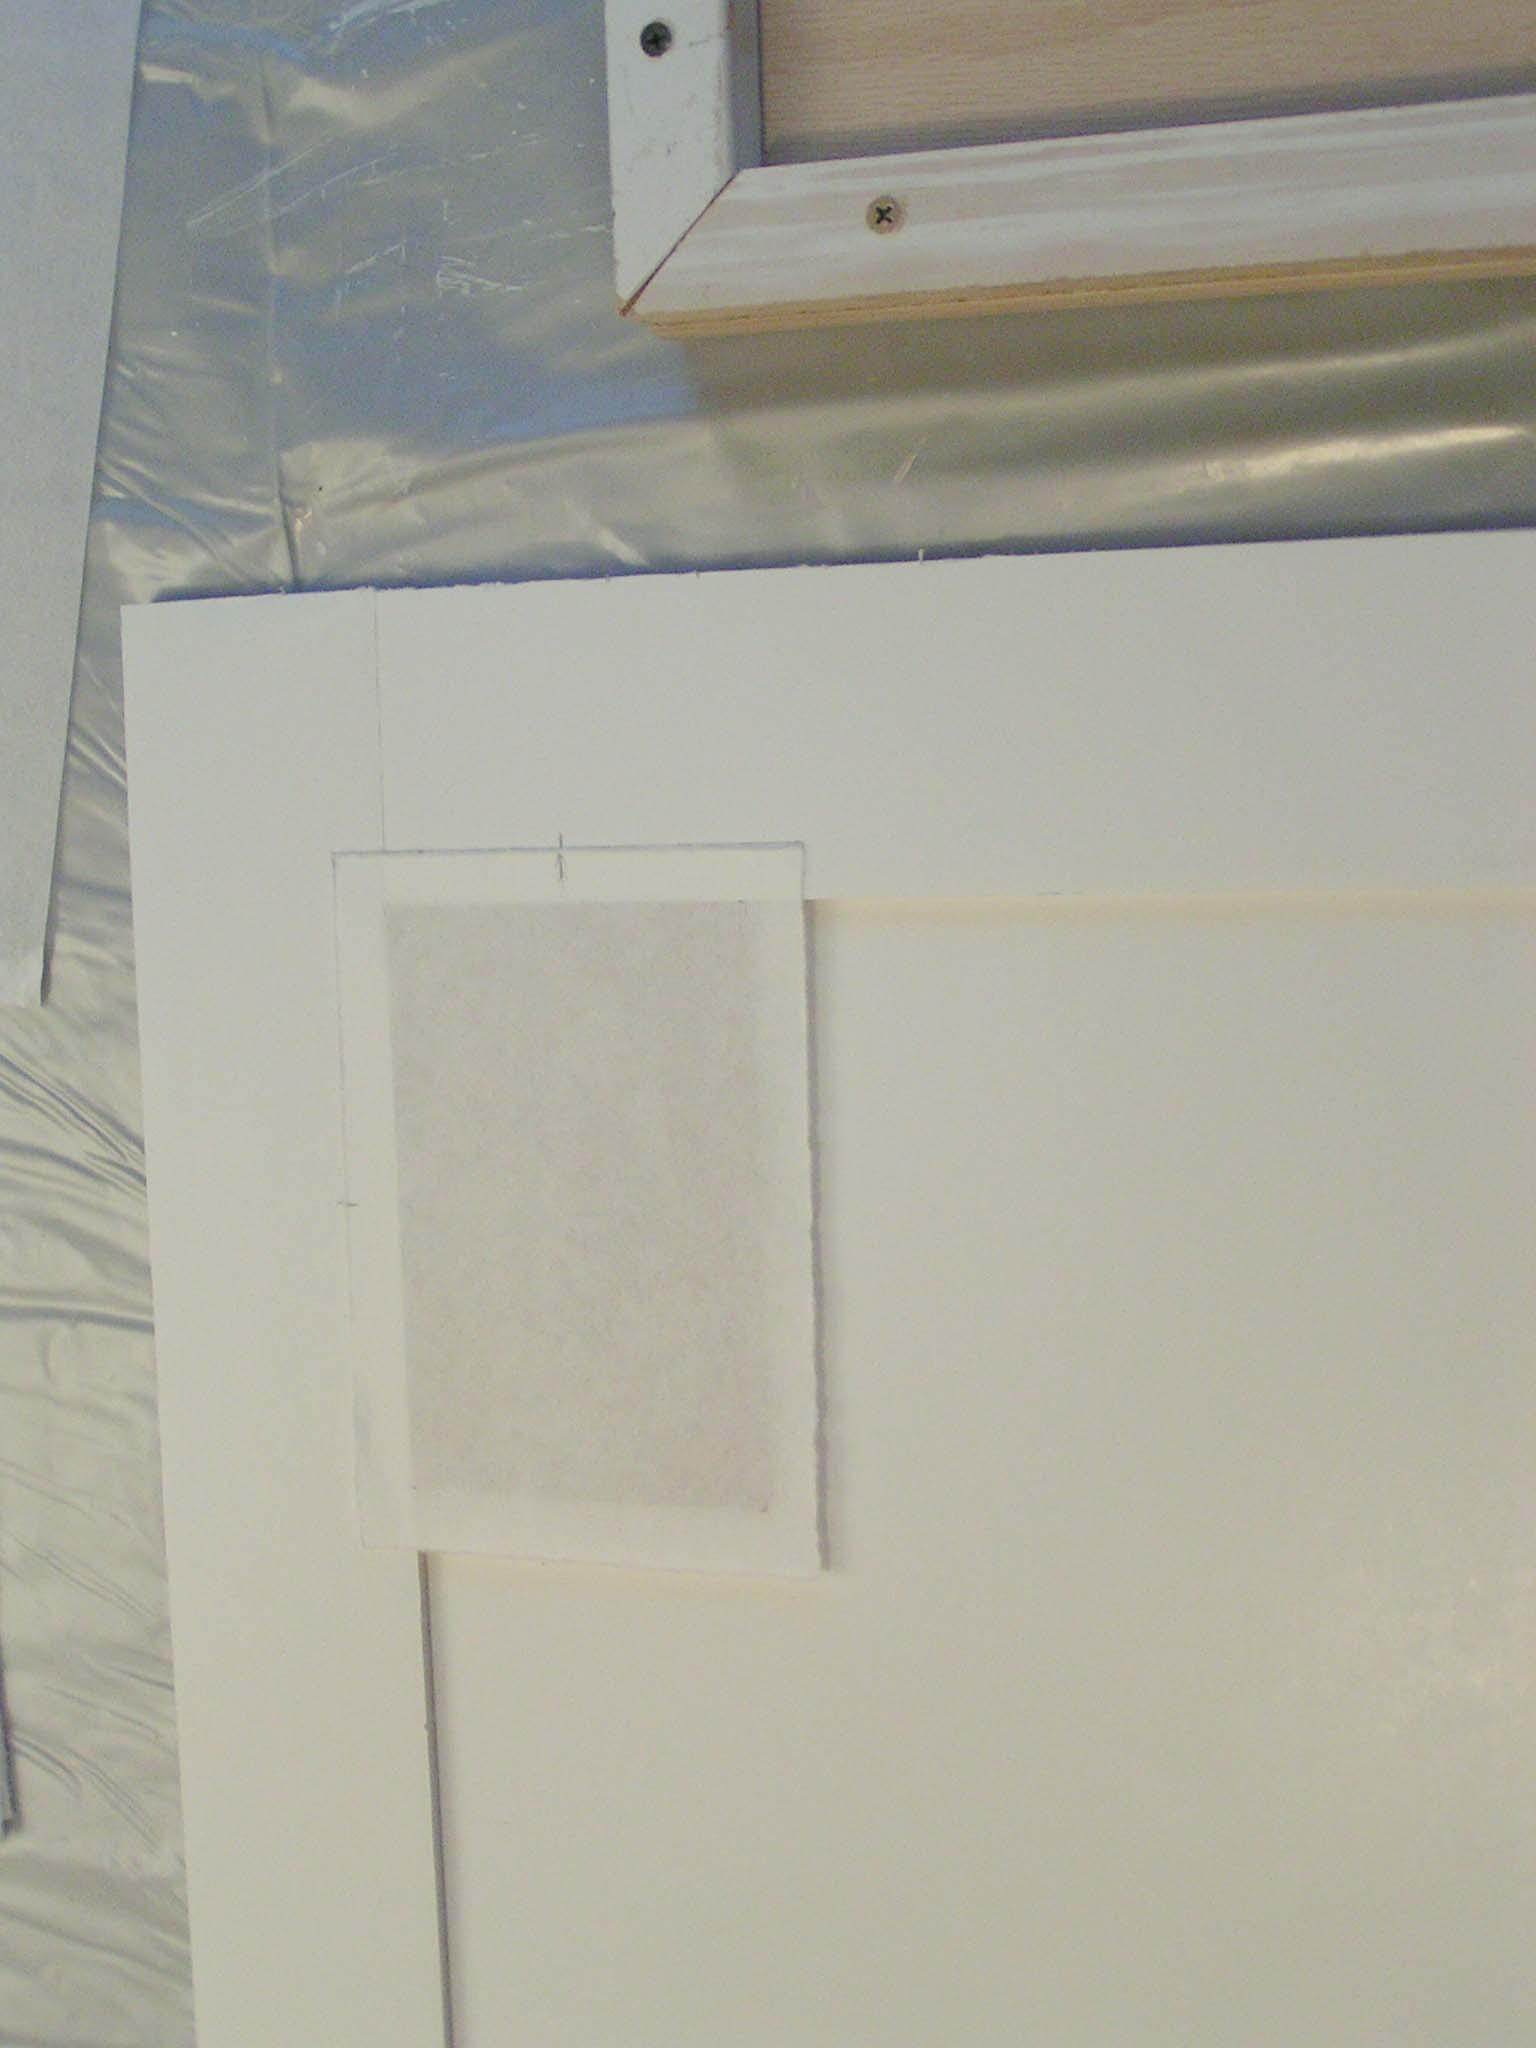
I used the registration jig on the far left to line up my lino block and paper. This is where I am printing the remaining backgrounds. I had gotten so tired the last time I was printing that I didn’t finish the full run. So the picture on the right shows the lino block with the paper on it. Then I covered that with another piece of paper and the acrylic block that is provided with the press.

I then rolled the sandwich through the press and it worked. It saves so much time and the prints are better than what I can achieve by hand. So I printed the rest of the backgrounds.

Then next step was to carve out everything that I wanted to stay blue/green. So here’s the linoleum block after carving. I made the background with random strokes so that if grey, brown or black gets on the background it just looks like branches. Then on to printing grey. The biggest problem was the registration. Even with my registration jig, my prints did not line up well. I realize now that my white areas should have been carved bigger to leave a little room for error. Note to self, remember this point for next time.

I printed my 16 prints and most did not line up very well at all. I have maybe 5-6 prints that are fairly well lined up. I stopped using my jig and just started eyeing the placement of the paper on the block and that worked better. Obviously my jig needs a bit of work. I have ordered some registration pins and I will use those next time. Not this series of prints since I didn’t leave enough of an edge to use the pins this time.
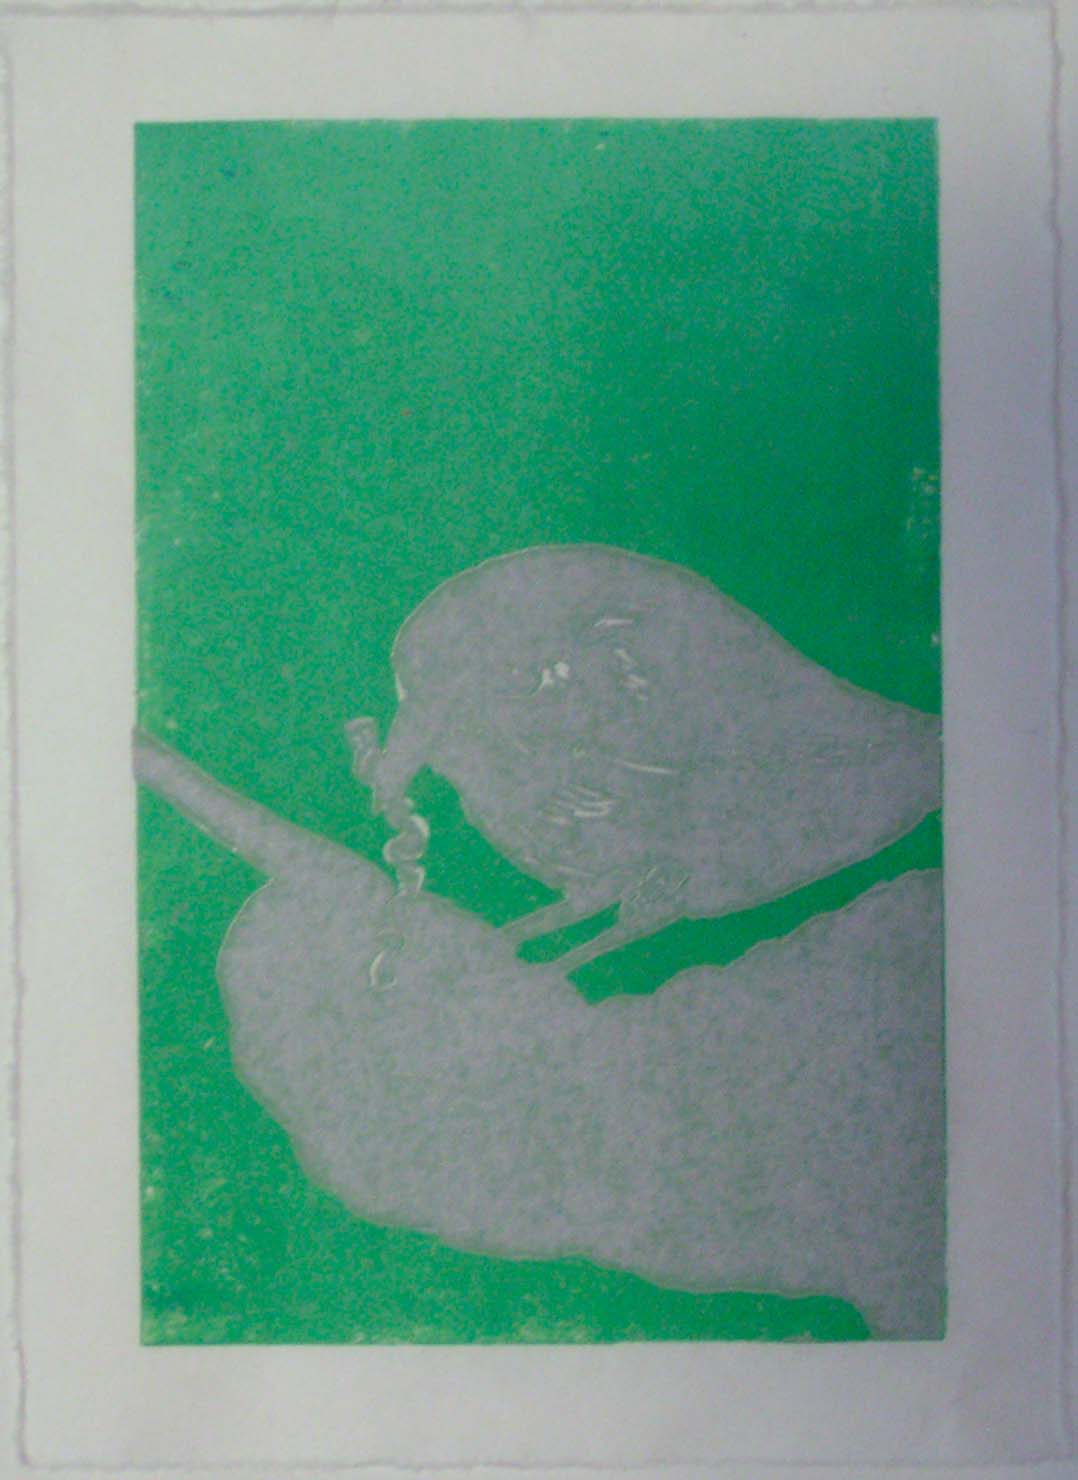
Here’s one of the prints that is lined up fairly well. Next, I have to carve out what will stay grey and then I will print brown. Then only one color left after that. This is quite the process! More updates to follow!
Winter Chat

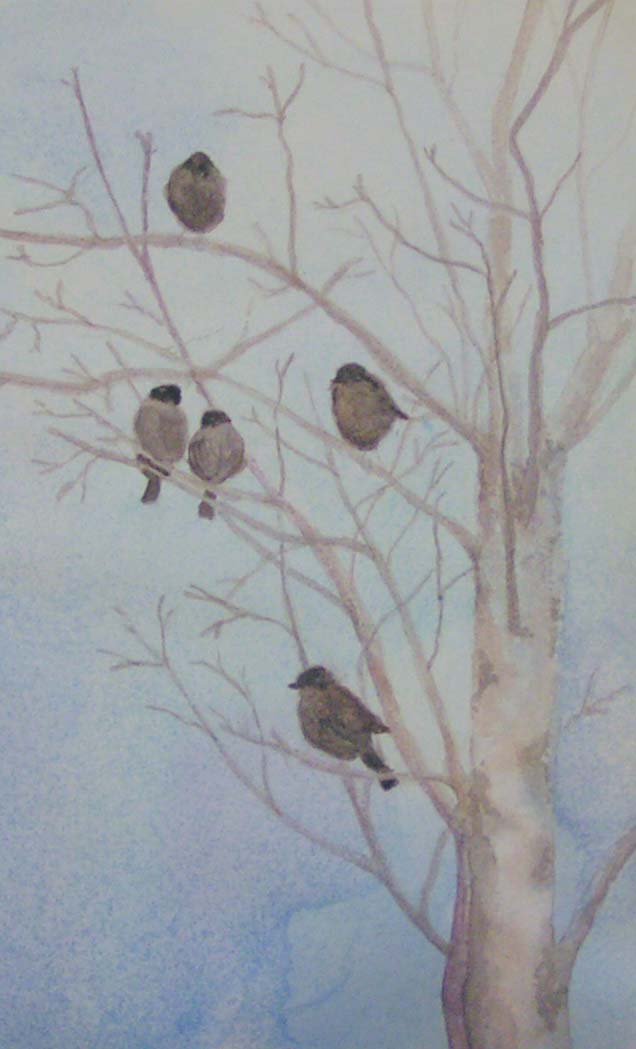
I saw these little birds all congregating in a tree in the Costco parking lot. They were making lots of noise and seemed that they were talking to each other.

So I did a little water color sketch of them. I think it needs a bit more definition and a few darker values but my group all thought it was good the way it is. What do you think?


A Couple of Sketches and a New Project

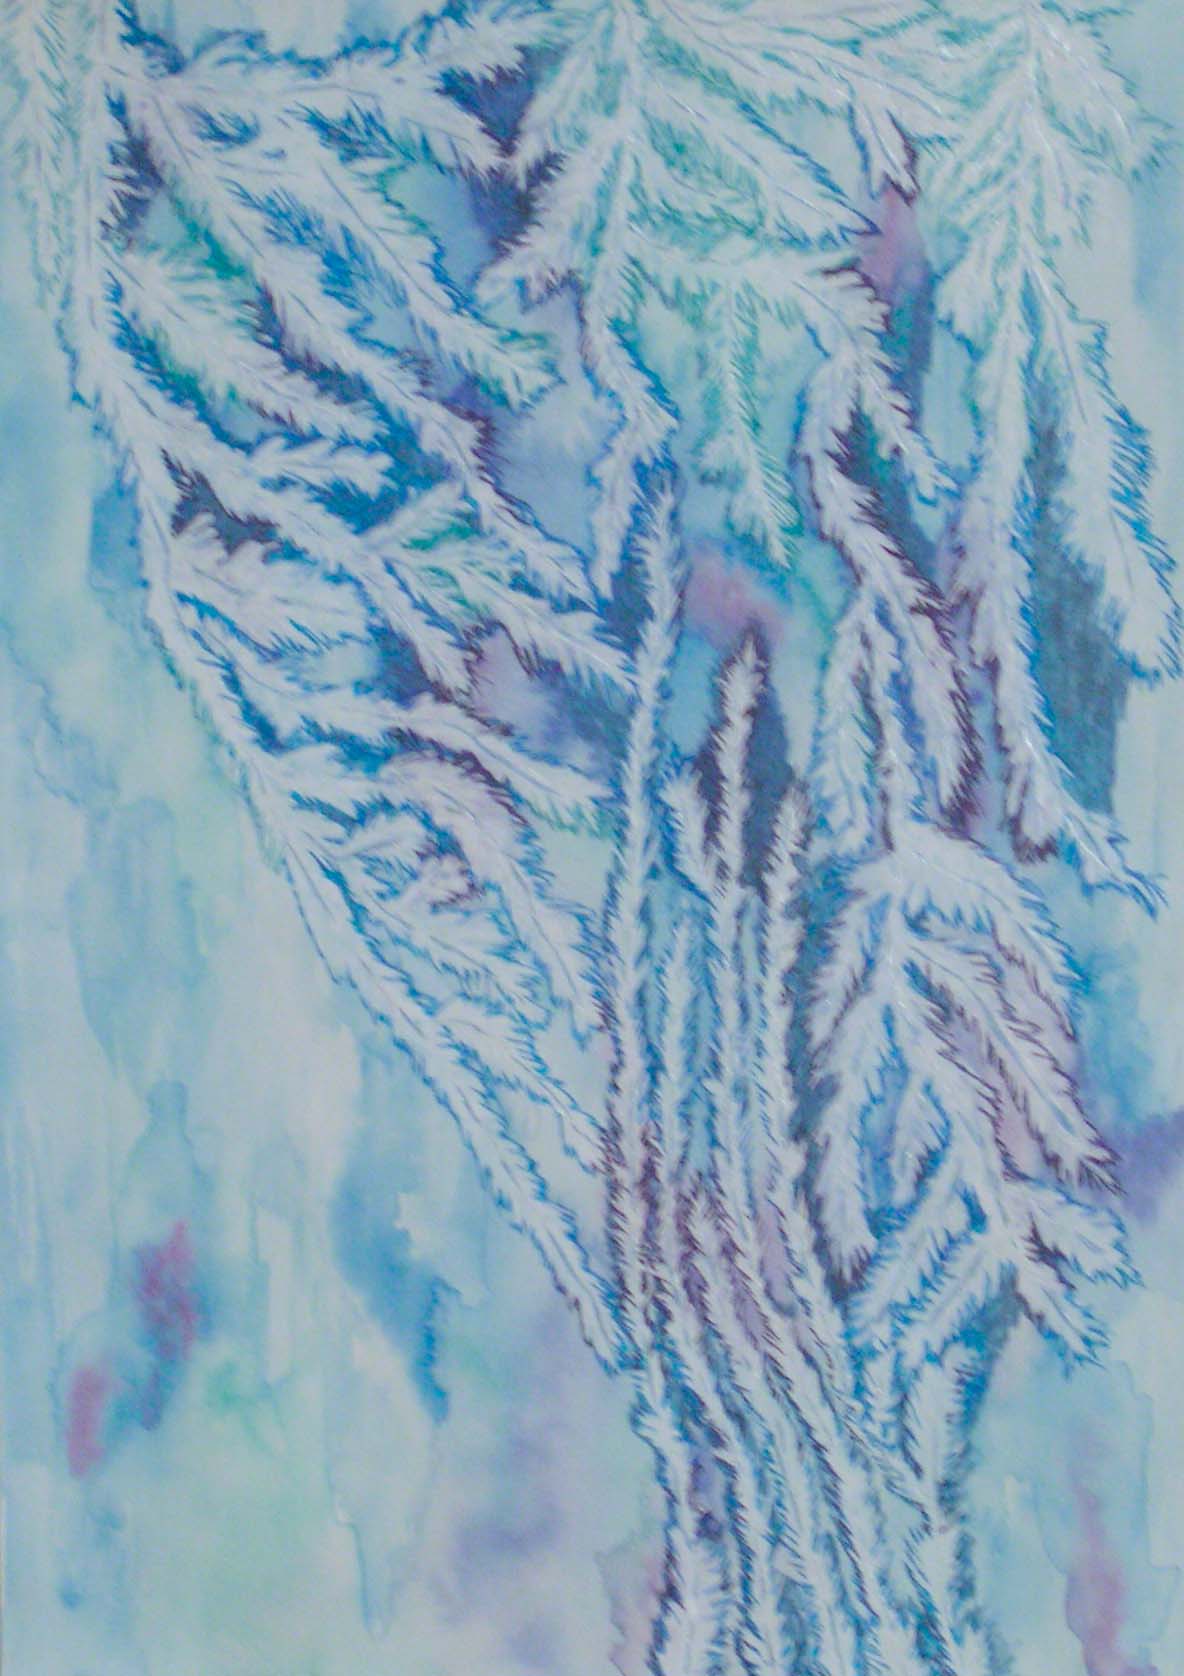
This a representation of frost that I created quite a while ago. It was kind of dull and Gail Harker (my instructor) suggested that I had some darker values around the whiteness of the frost. It is a definite improvement.

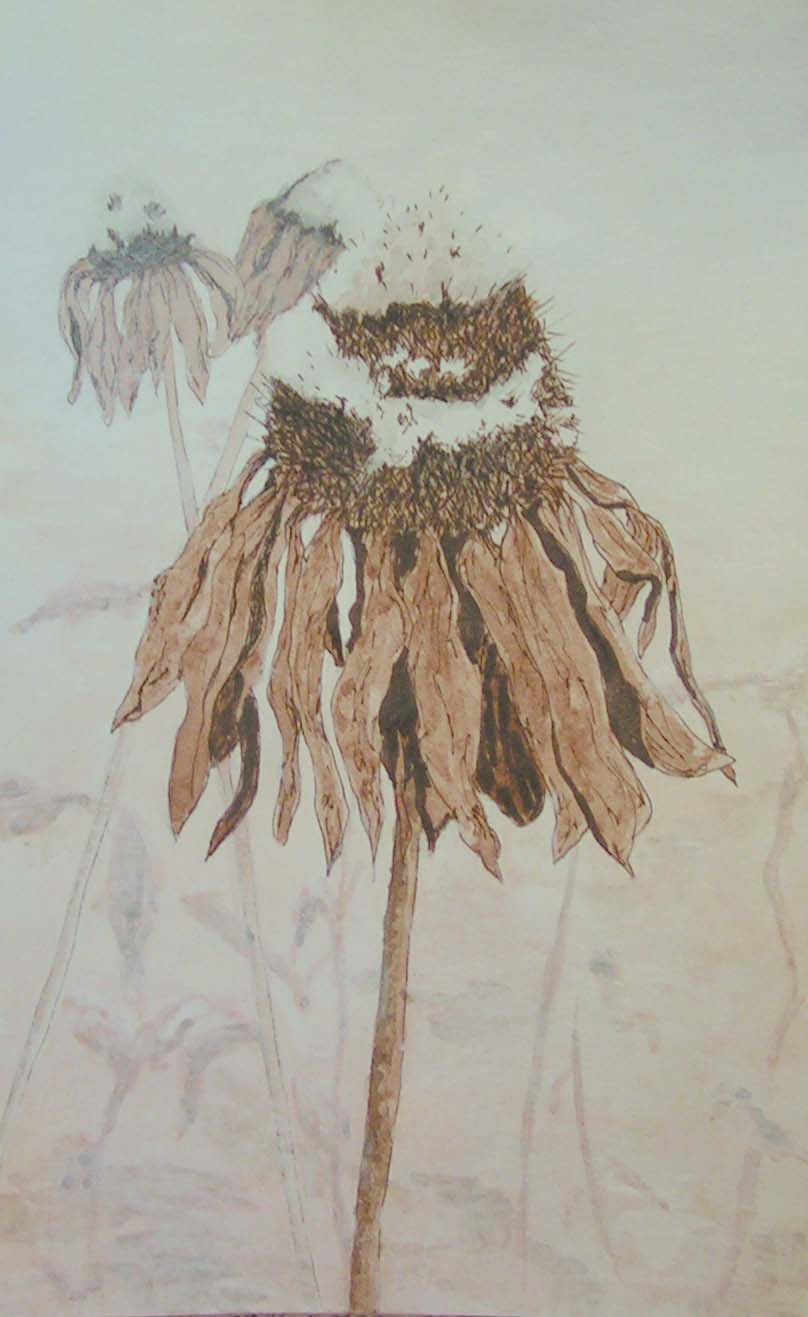
Here’s a sketch of a cone flower in front of my house with the first snow. I used a variety of media including sepia pens, watercolor and acrylic paint. I’m pleased with the result and it looks like a cold, fall day in Montana.

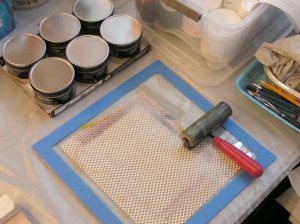
My next project is to try some reduction linocut printing. If you haven’t heard of this before, here is a video that explains one artist’s method of reduction linocut printing. Basically, it means that you carve one color at a time, print all your edition and then carve out the color you just printed. Each time you are carving away what you want to preserve of the color just printed. You work from light to dark with your colors. You can only make one print edition with this method because you destroy the block by the time you are finished carving. If you make a mistake, it is hard to correct. I haven’t tried this before but I thought it sounded like an interesting concept. I asked hubby for the supplies to do this for Christmas and he also kindly made me the bench hook. The photo above shows my table set up for doing the printing process. I actually want to do a large winter landscape print but thought I would start with a small practice piece to see how it goes. I am going to print on Japanese rice paper so I tore 16 pieces into the correct size. I created a registration jig with foam core. You can see it in the front left corner of the table. The uncarved lino block is sitting in place as if it were to be printed.

I drew the steps of cutting on tracing paper so that I know what to cut out with each step.

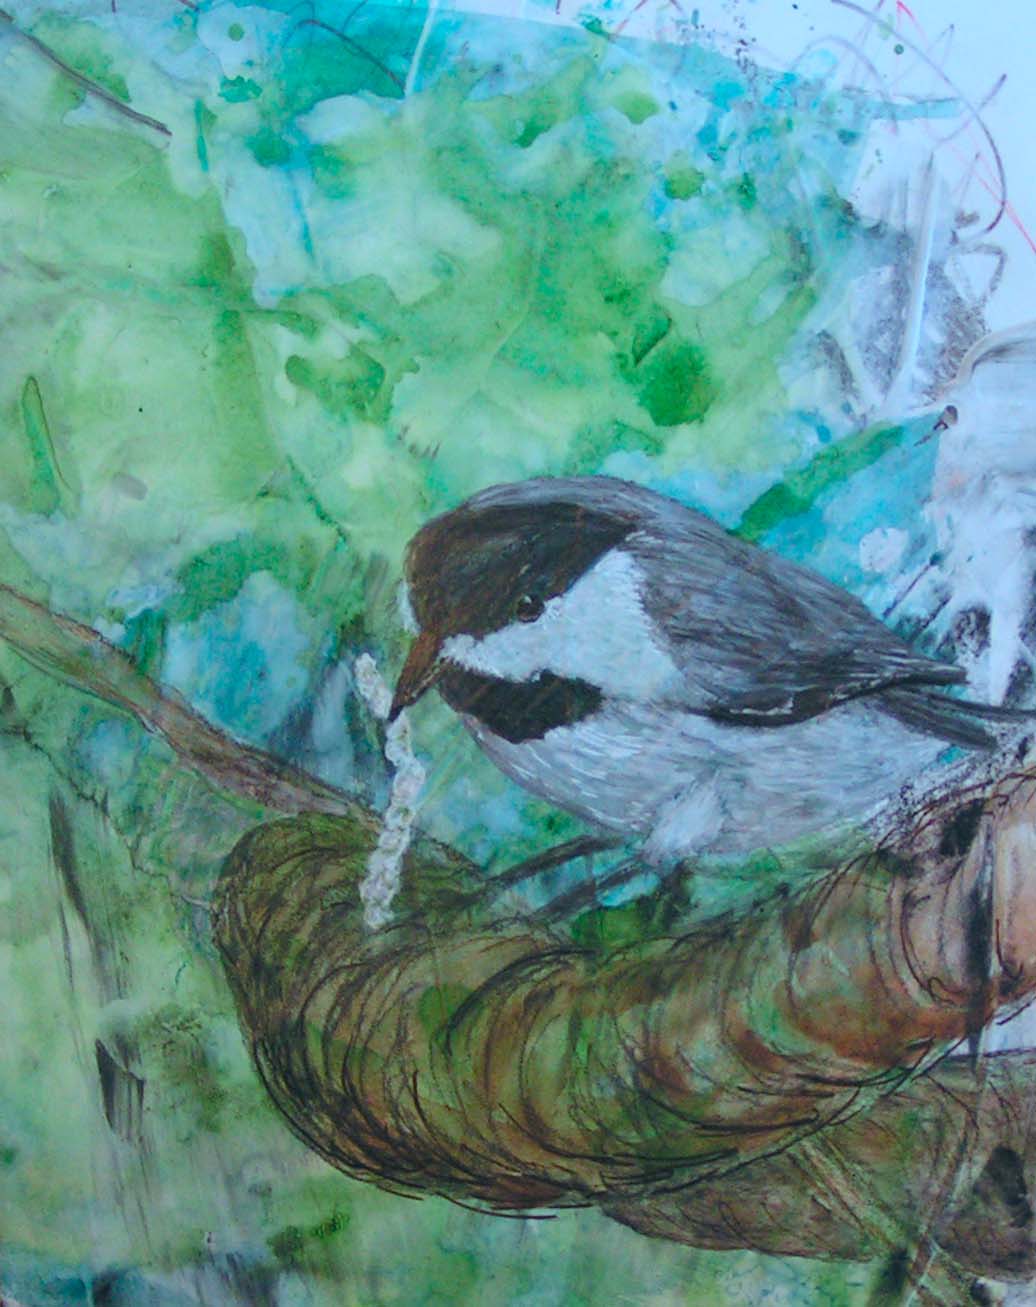
I am basing the linocut off of this collage that I did of a Caroline Chickadee. I got the inspiration photo from my brother-in-law Lewis.

Here’s the registration jig. You probably can’t see it, but I have marked where the paper lines up and each piece of paper is marked on the back with mid points and arrow pointing up for the top. Hopefully, I won’t make too many mistakes while printing. I made 16 pieces of paper in hopes that I will get a good edition of 10 prints. The size of the print block is 4″ x 6″.

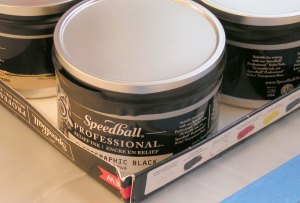
Here’s my inking station. I am planning on 5 colors for this print. I am also trying this Speedball Professional Ink for the first time. I hope I like it since hubby got me a lot! It cleans up with soap and water which I really needed as I can’t really do other chemicals in the bedroom/studio very well.

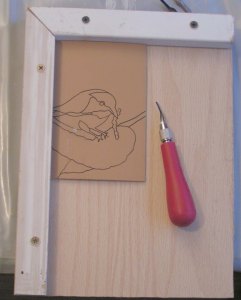
And here’s the bench hook. It fits on the table so that it locks in and you can carve your block without having to hold your hand in the way of the cutting tools. I have actually never carved linoleum before. I have always used a rubber substitute kind of block. So here goes nothing…

Here’s the first carved out areas. (Click on photo to enlarge) These areas will be white, the paper color. I will ink the block in a mixture of blues and greens. I will then print all 16 pieces of paper and then go on to carving out what I want to preserve in the blue and green colors. I didn’t have time to start the actual printing process yet though. I am itching to get started to see how it goes but alas, it is time for dinner. I really enjoyed carving the linoleum vs. rubber blocks. It is a harder substance but it isn’t really difficult to carve. It allows much more detail but I won’t know how I’m doing until I proof the block. I may need to do more carving if the white areas are too small. Wish me luck and I’ll show you the results next week.

Thanks for stopping by and have a great weekend!


Christmas in La Conner Book

At our art and design class in December, part of our assignment was to “find Christmas in La Conner”. Then we were to sketch a few of the holiday ideas that we found. I did a couple of these in class but finished them up when I got home. Another part of our homework was to make a book with an accordion binding. So I combined the two and made a Christmas in La Conner Book.

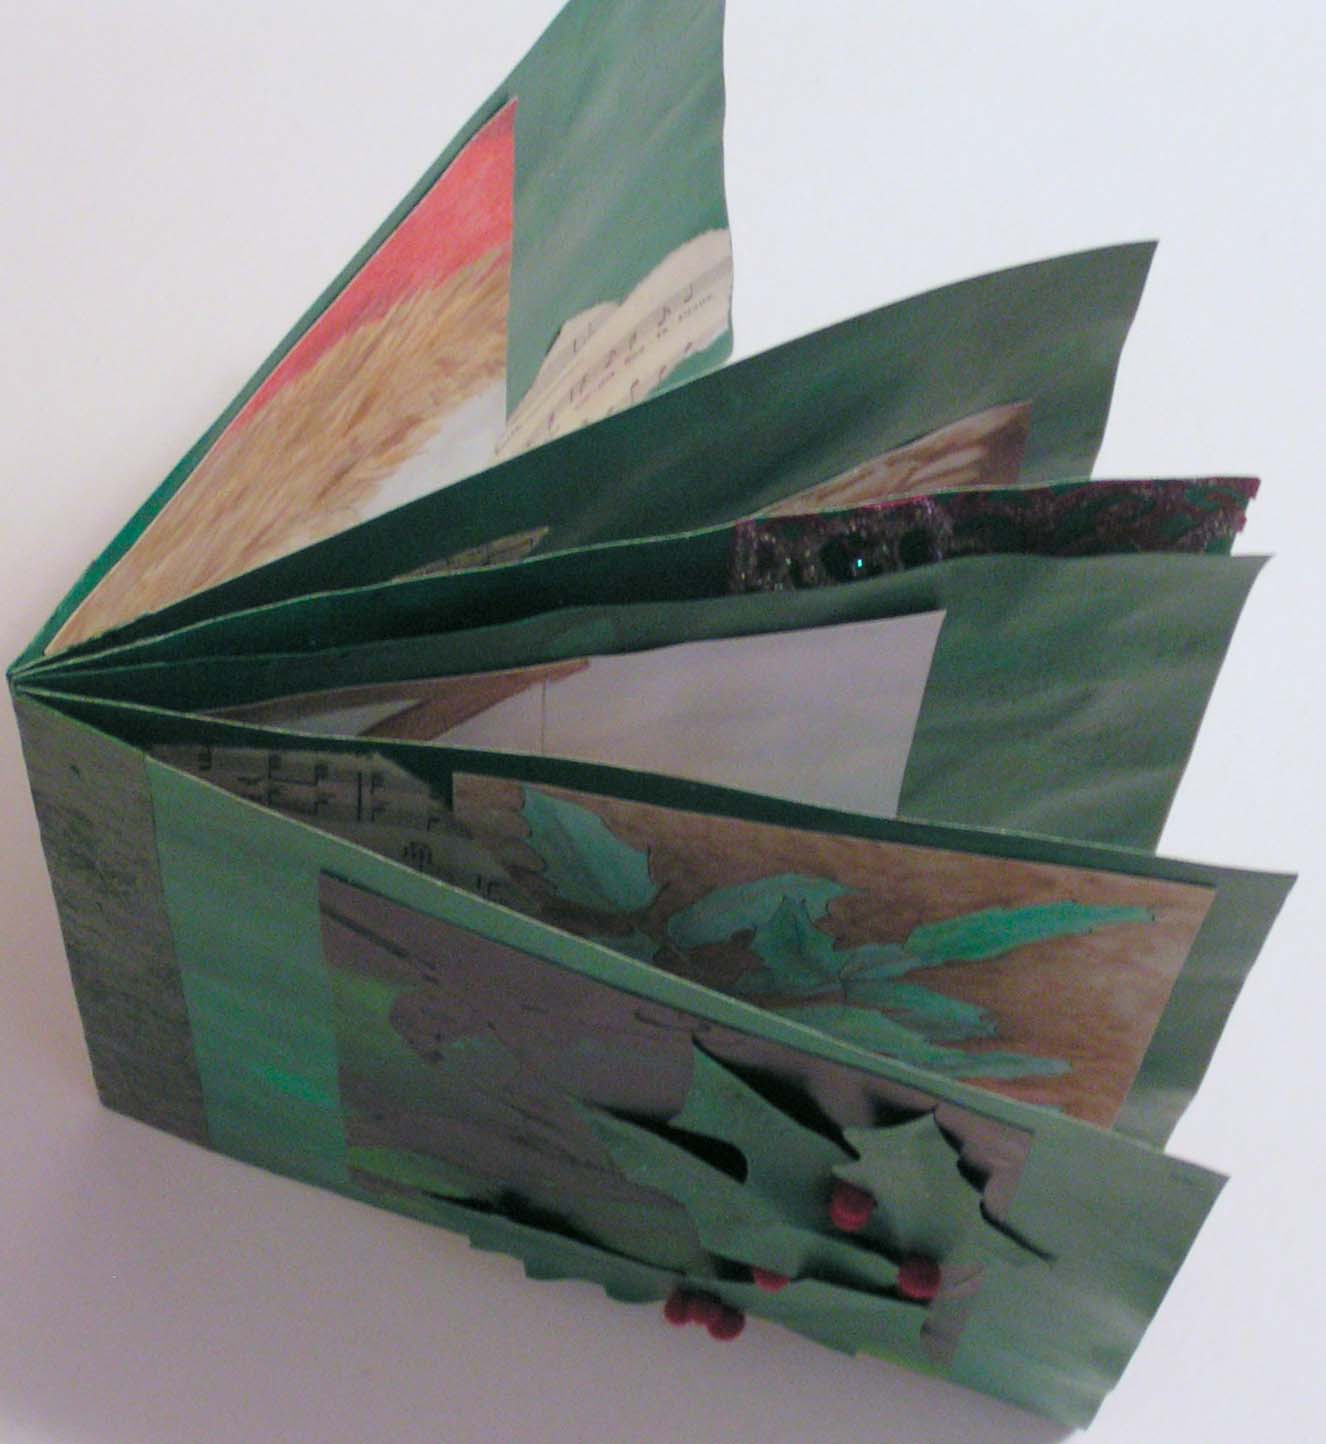
Here’s the front cover. I used some little red felt balls for holly berries and covered them with glazing medium.

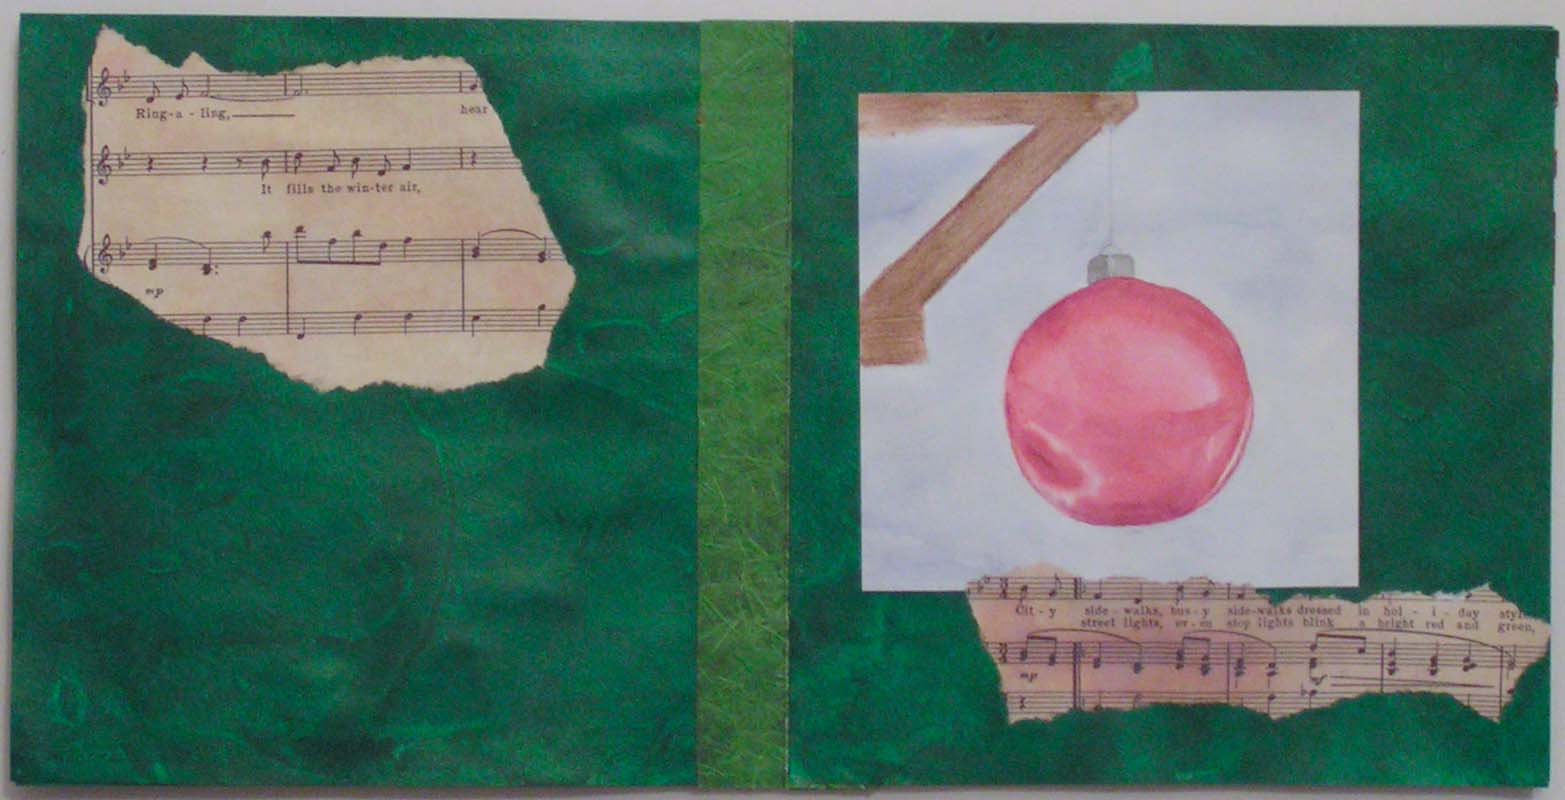
Each page has a sketch of some of the Christmas decorations I saw in downtown La Conner.

You can enlarge the photos to see the sketches a little better.

I used glitter on this one and it is now everywhere. But it looks like the bell I saw on the big Christmas tree that was down by the sound.

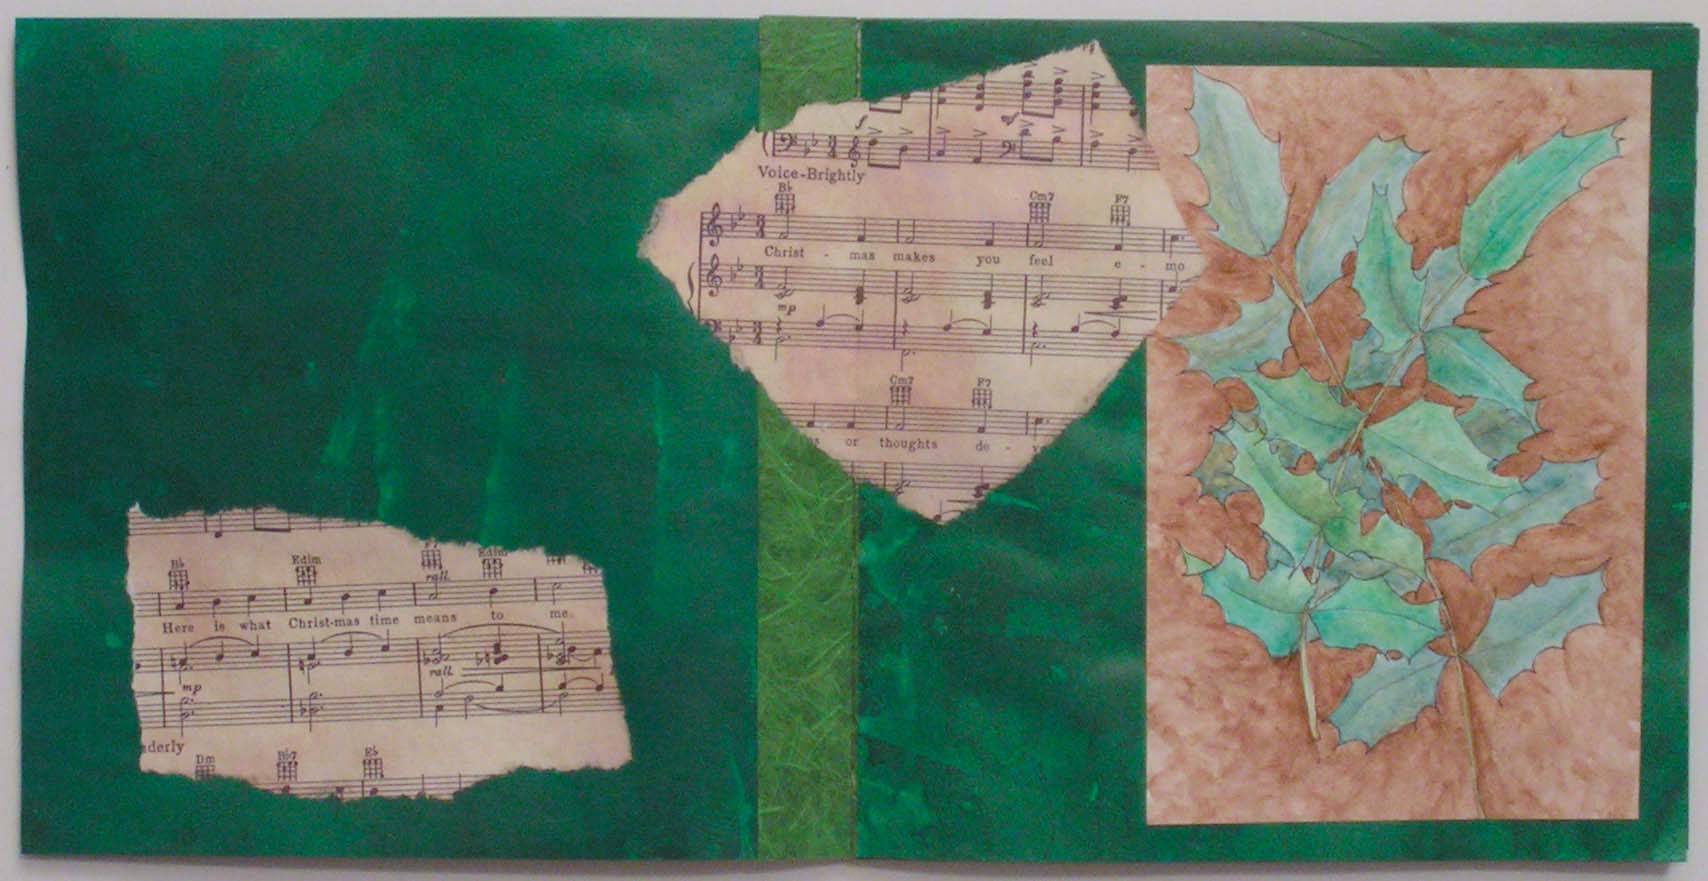
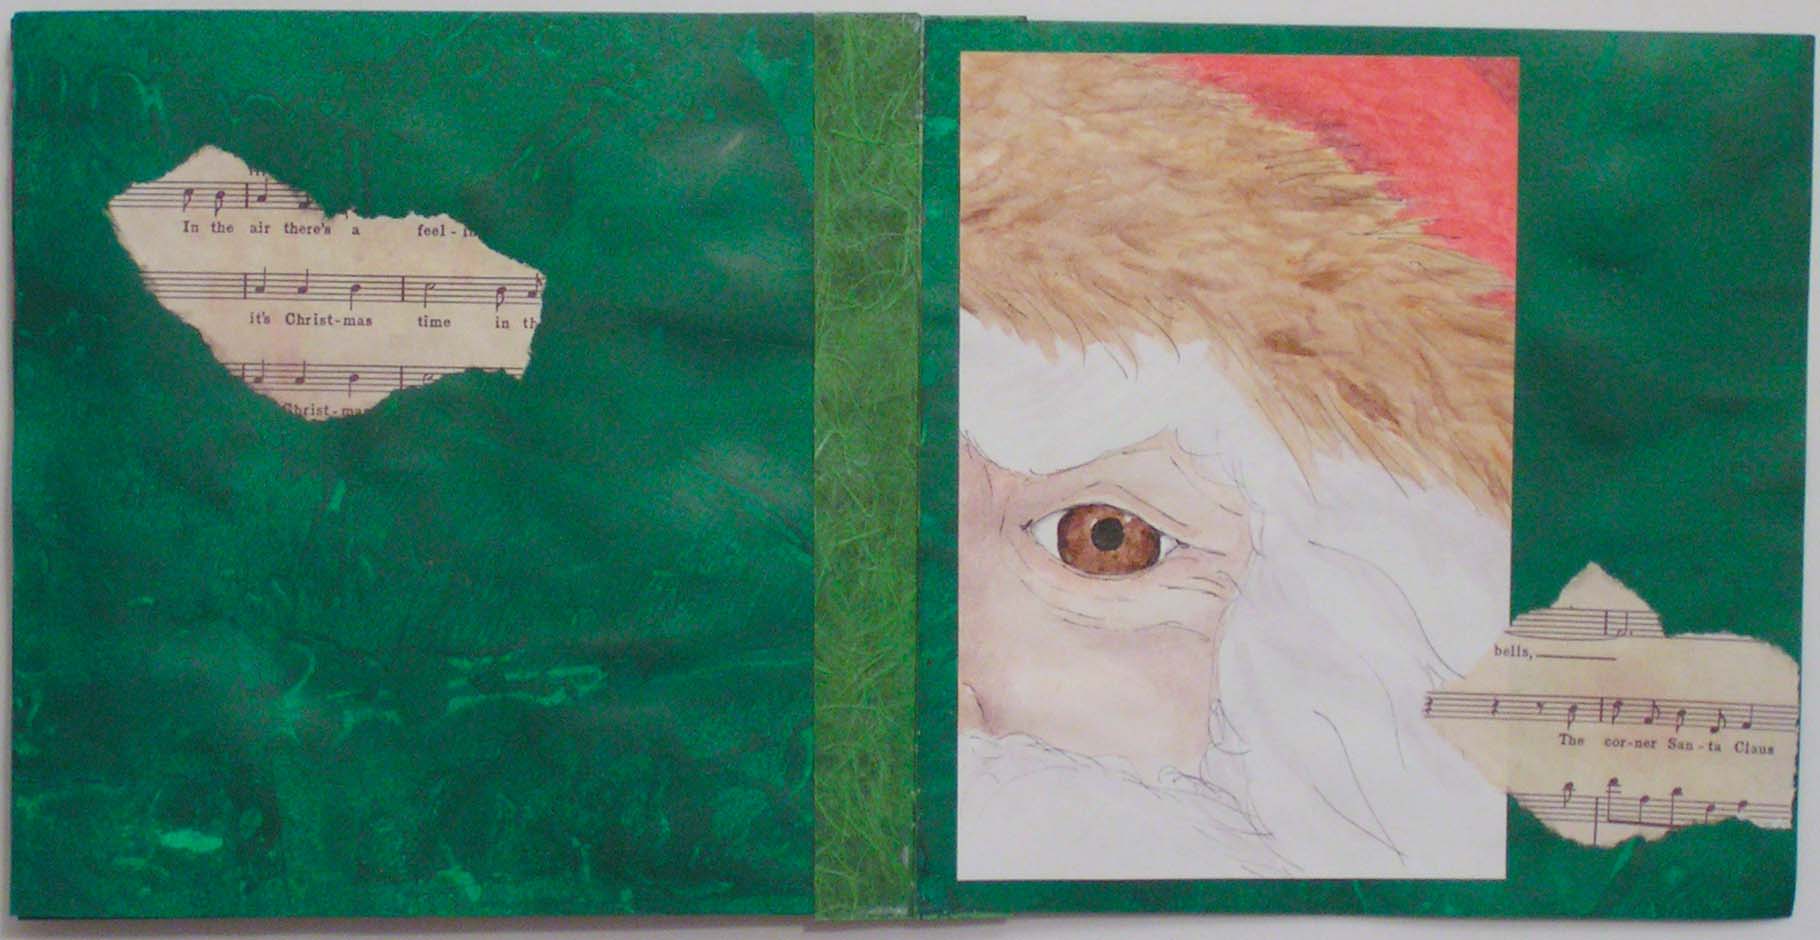
I didn’t think it quite had enough on the pages with just the sketches so I photocopied an old piece of sheet music from my Dad. It is Silver Bells and he used to play it on the piano at Christmas time.

And the last page is Santa peeking at you to see if you are naughty or nice.

Here’s the full book from the top. The binding was made with Japanese rice paper that had been coated with paint and matte medium. I tried to use fabric but I couldn’t get it to fold correctly and I thought the paper worked much better. I still have some of the fabric folded accordion style and may try it with another book. This is a pretty simple book binding and works well if you can fold straight 🙂

Seed Pod Sketch

I have been working on a couple of books for Level 3 Art and Design. It is an accordion style binding and it takes lots of gluing steps to put them together. So I have little to show for the work I did today.

But I can show you a sketch from my sketch book. It was partially painted in the negative painting technique. It’s not a very good photo as the light wasn’t good by the time I got around to taking photos.  I hope to get the books finished to show you next week.