Angelina Challenge

One of the members of my local group got some free packages of heat bondable Angelina and challenged the rest of us to use it in a project. The color she gave us was a “glowing” yellow.  I have two other colors of Angelina fiber in my stash that I rarely use, blue and pink. So I mixed them up in various color combinations, ironed them together and then ironed all the different colors together into a big circle.

Angelina

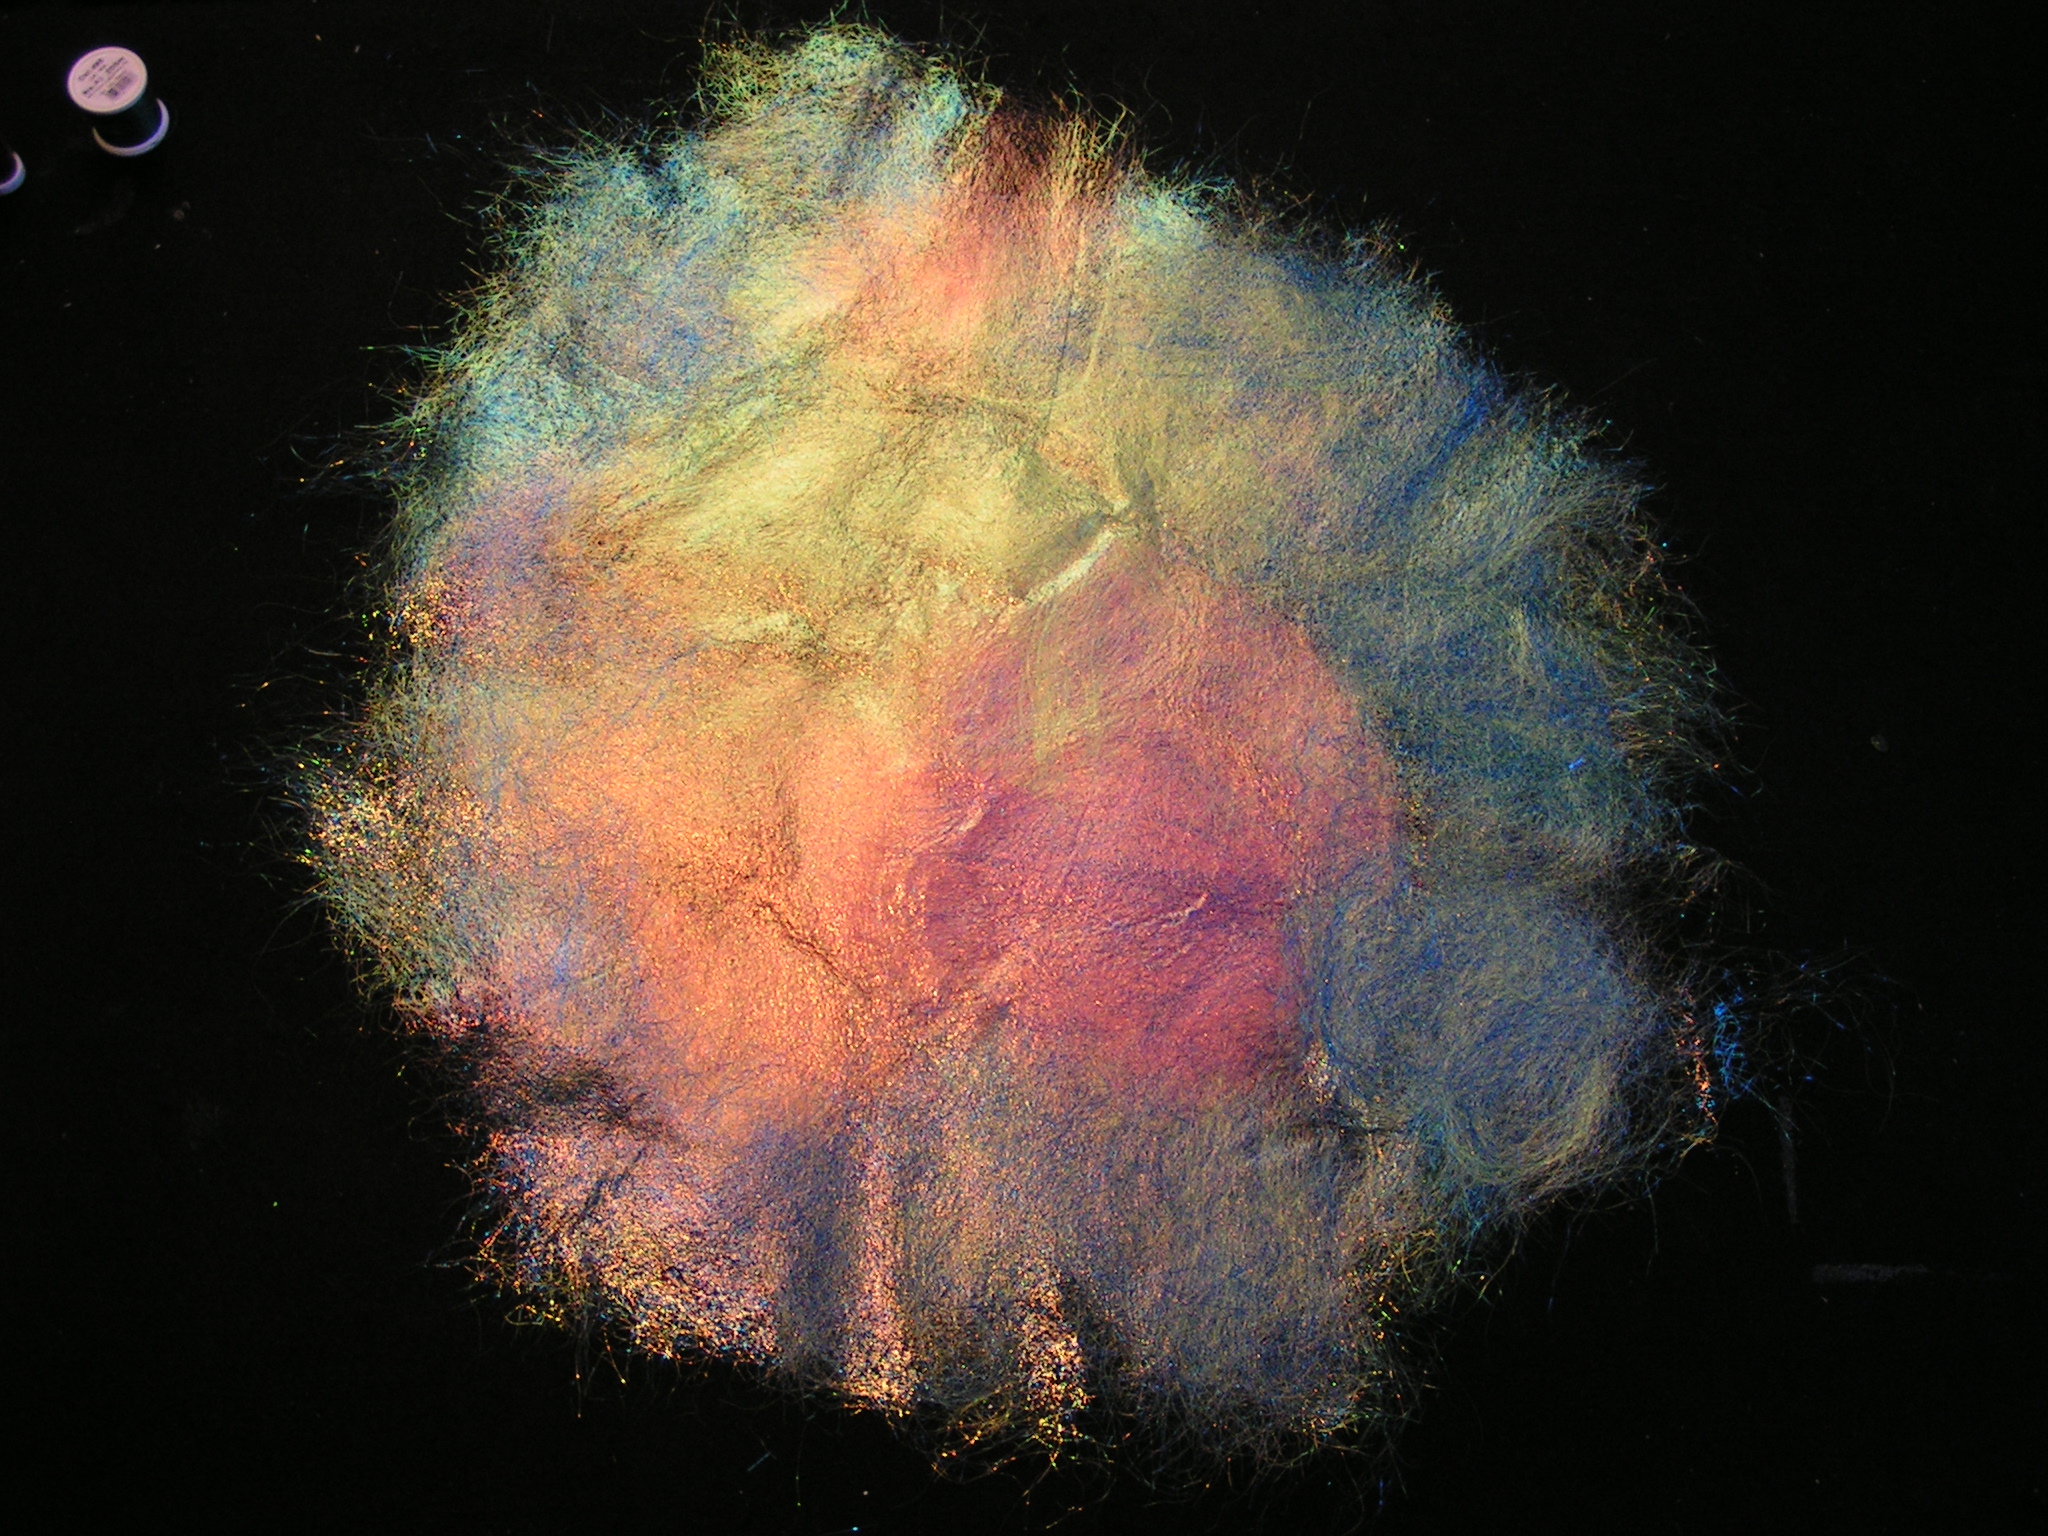
So now I had a big sparkly circle of fiber.

Angelina

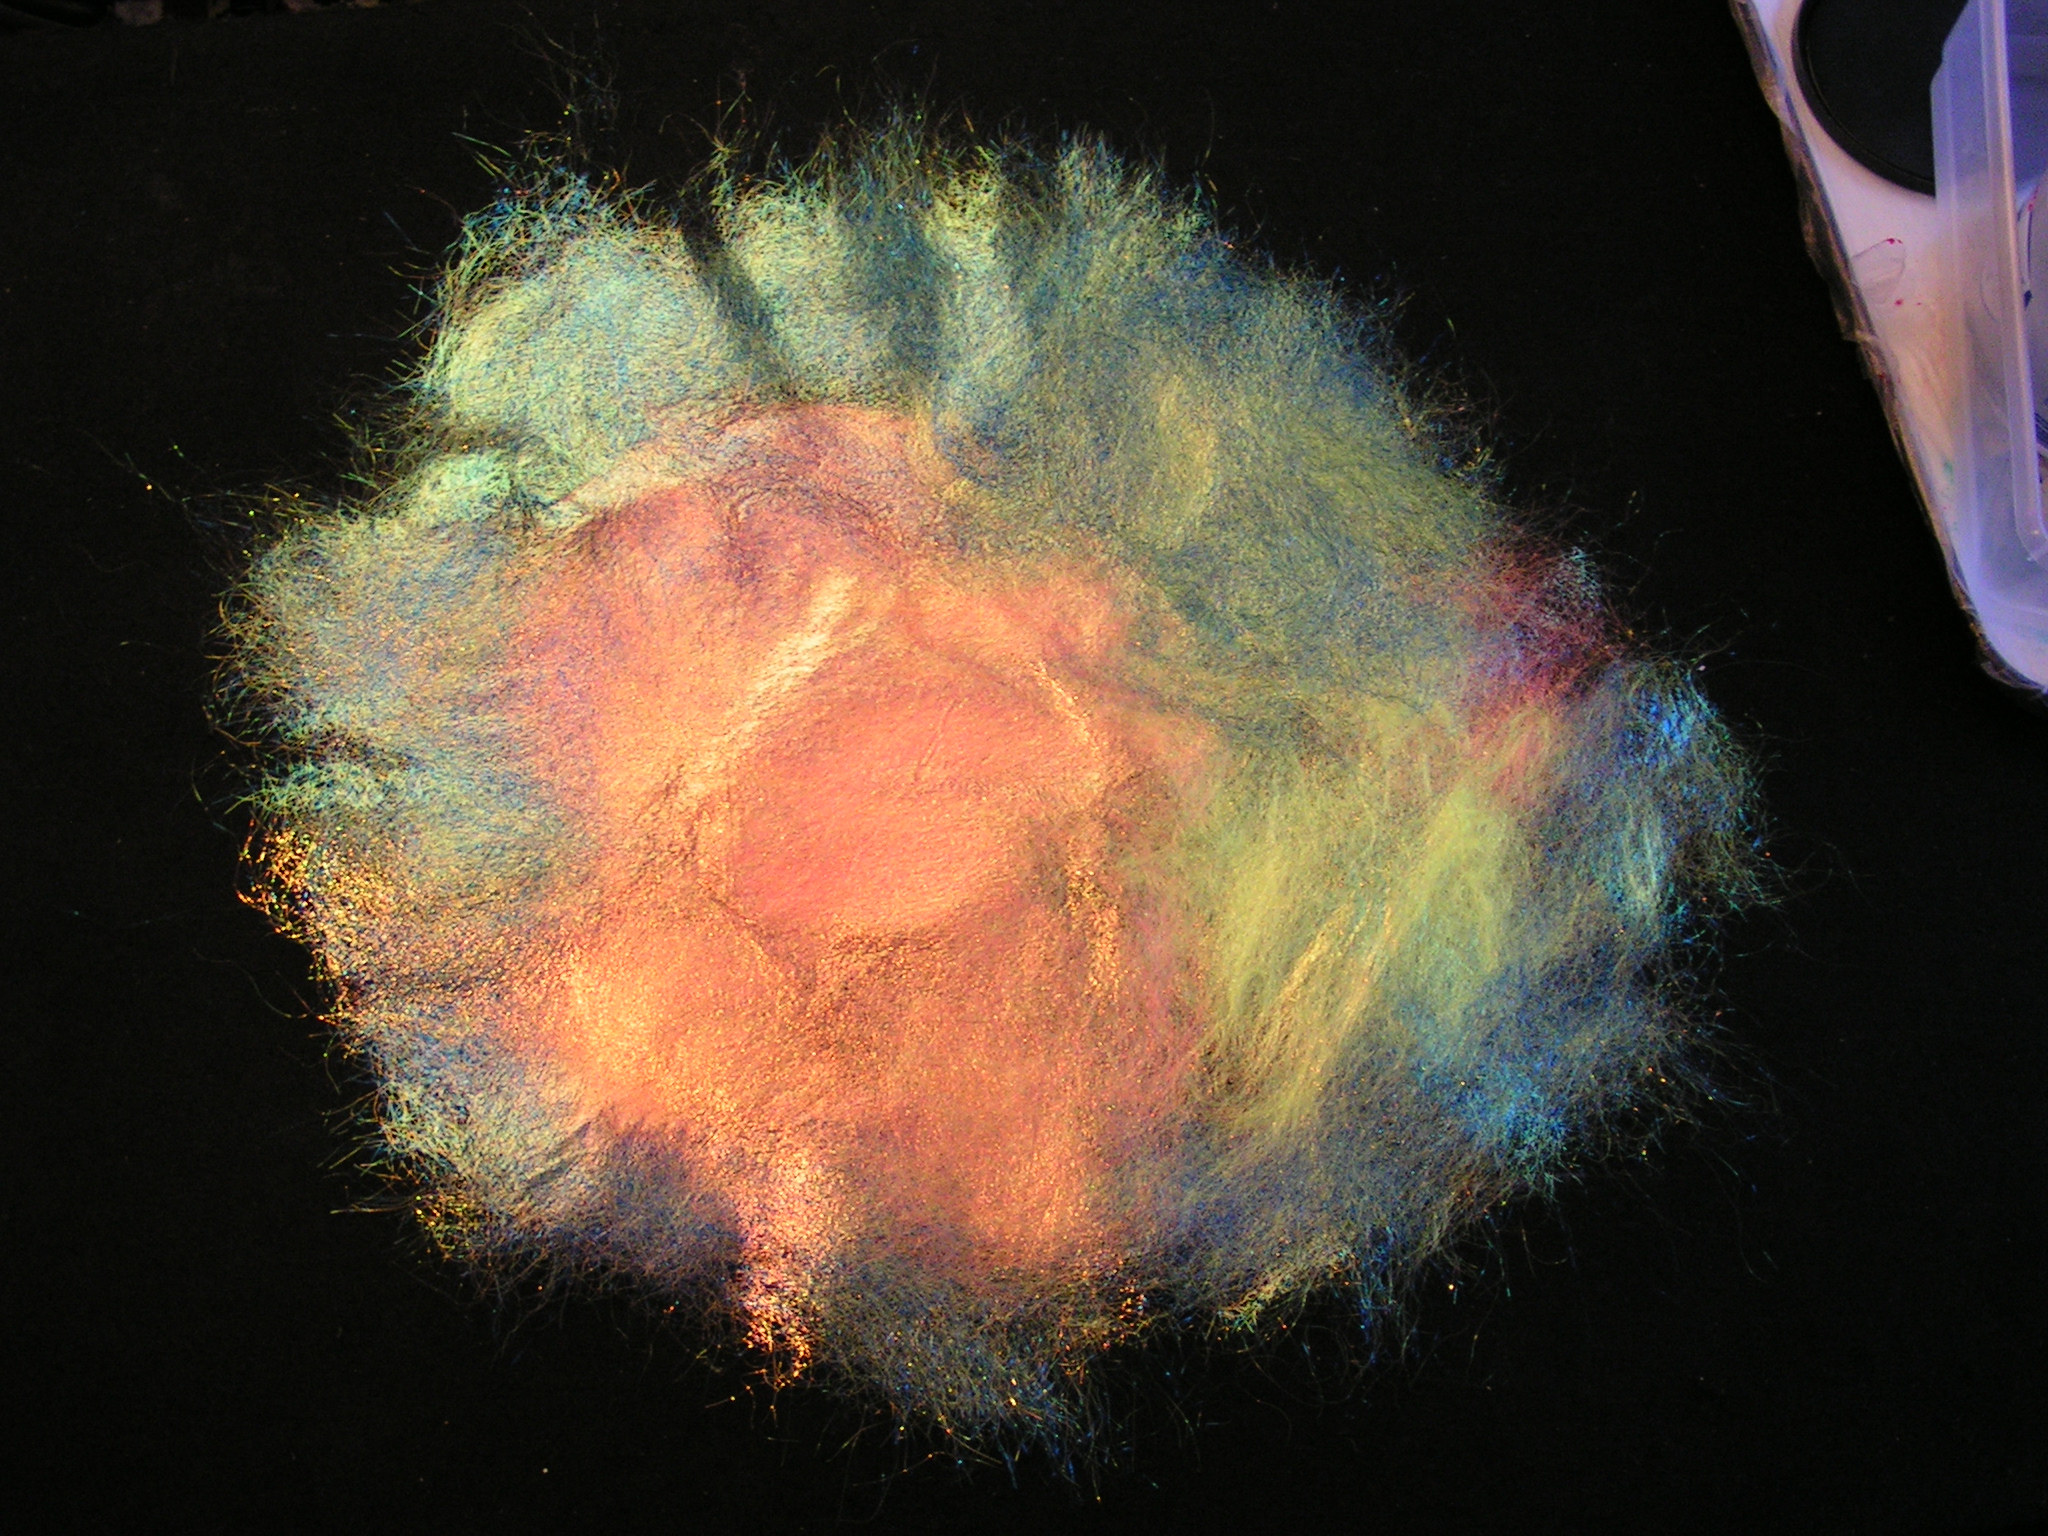
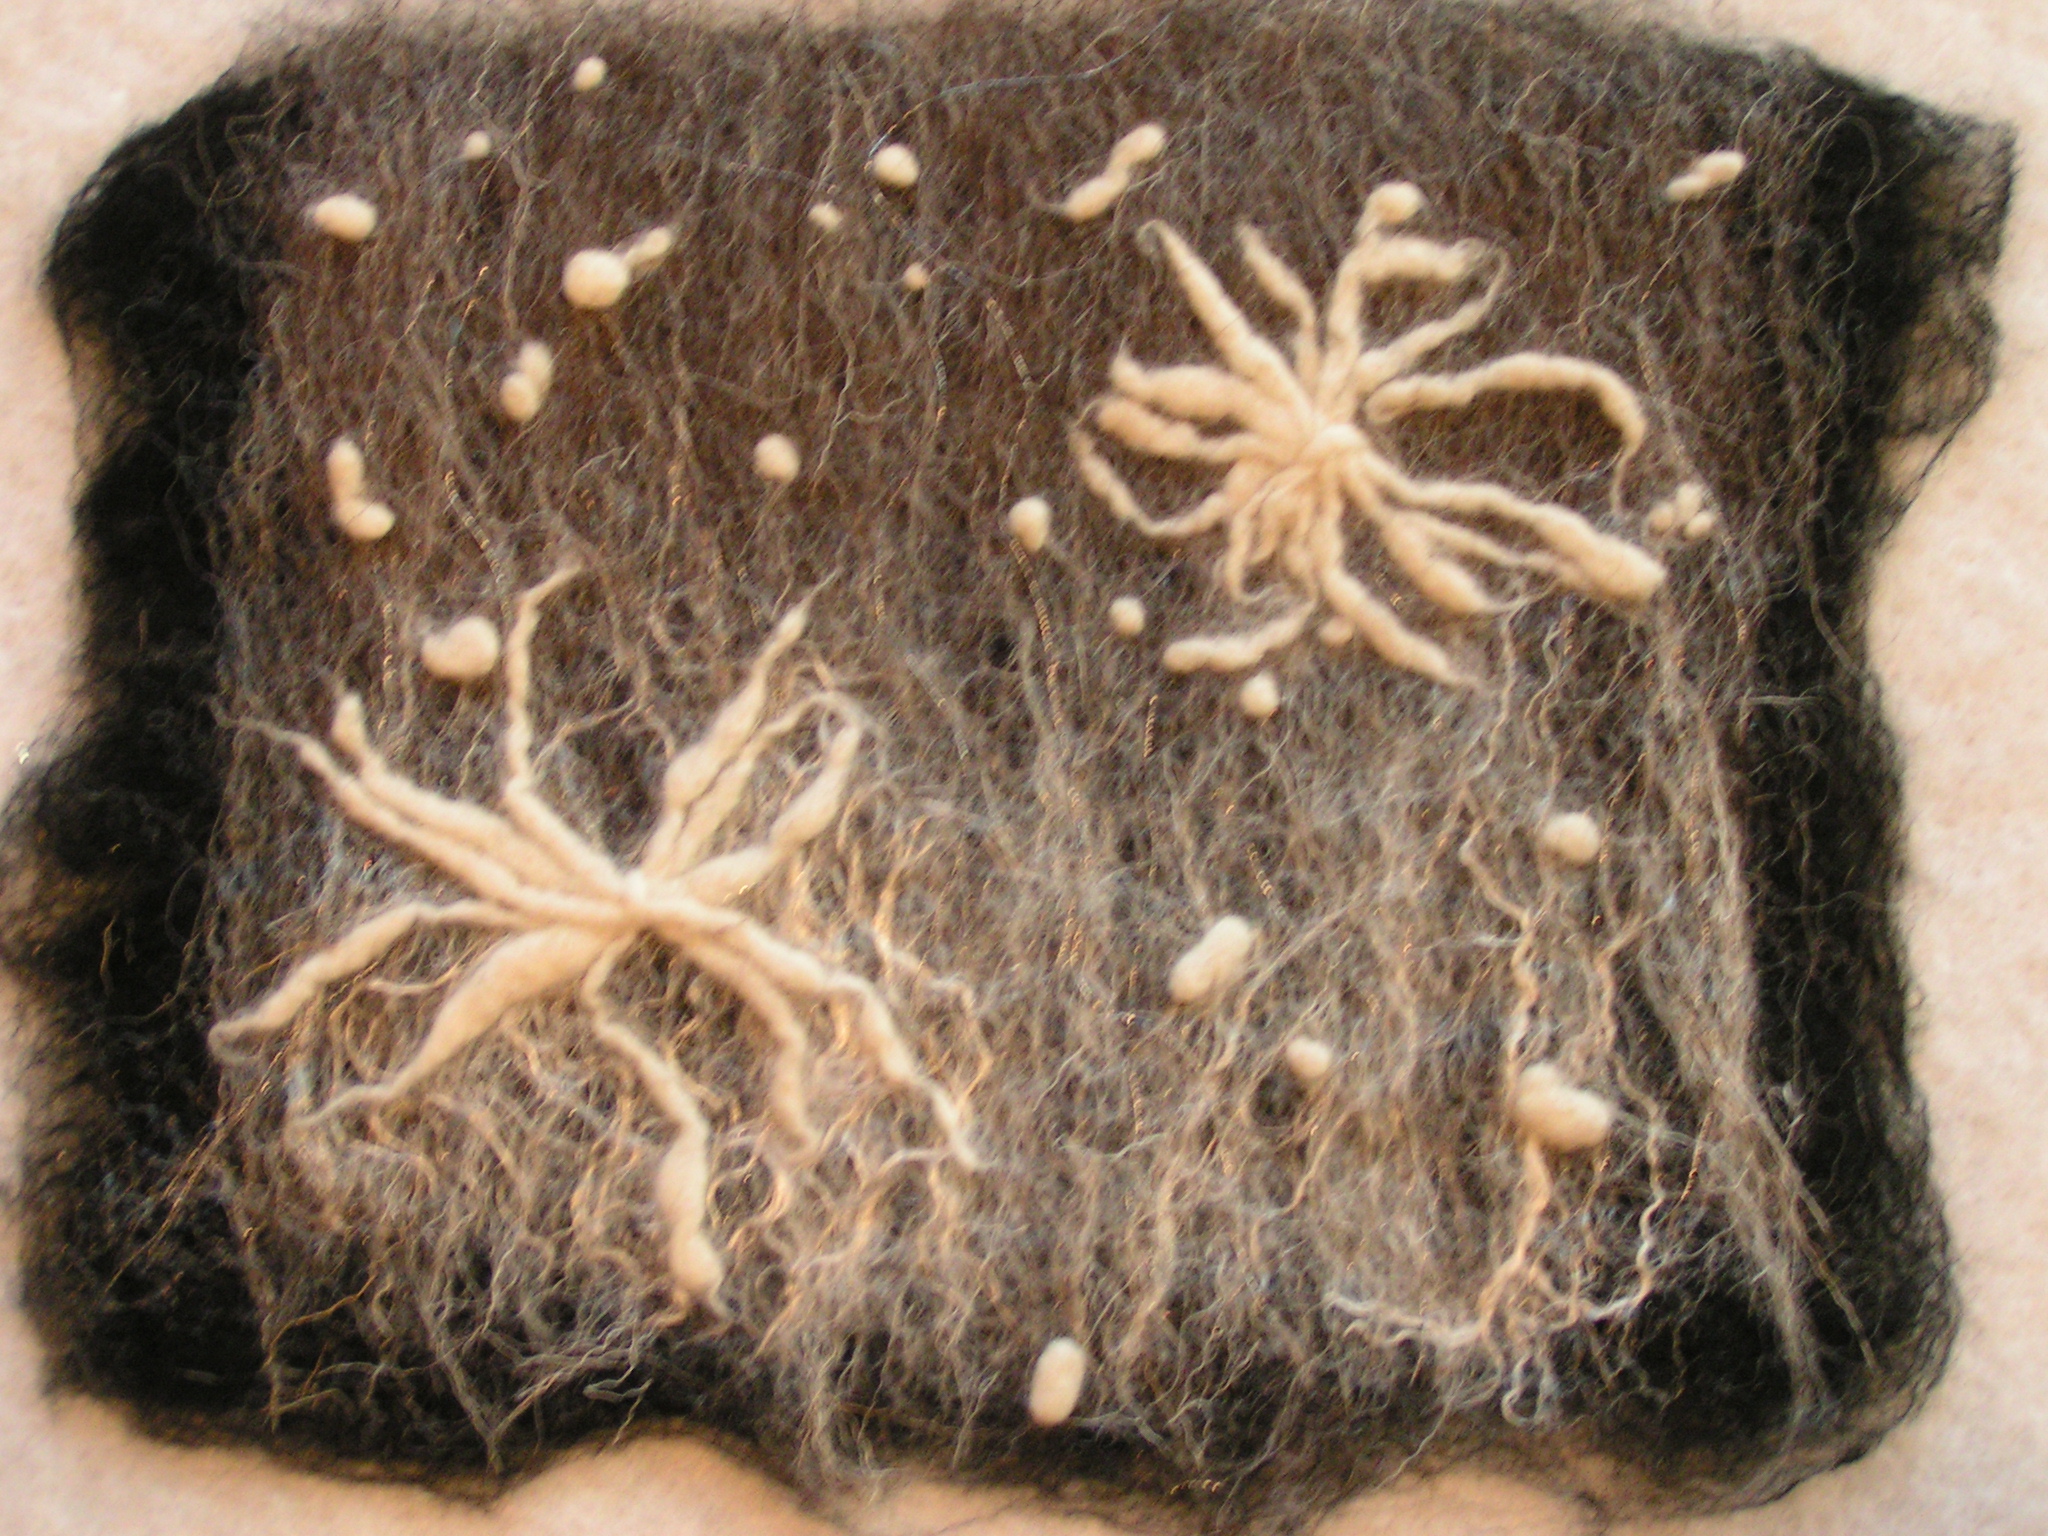
Each side looked different depending on how the fiber was mixed together.

Angelina Close Up

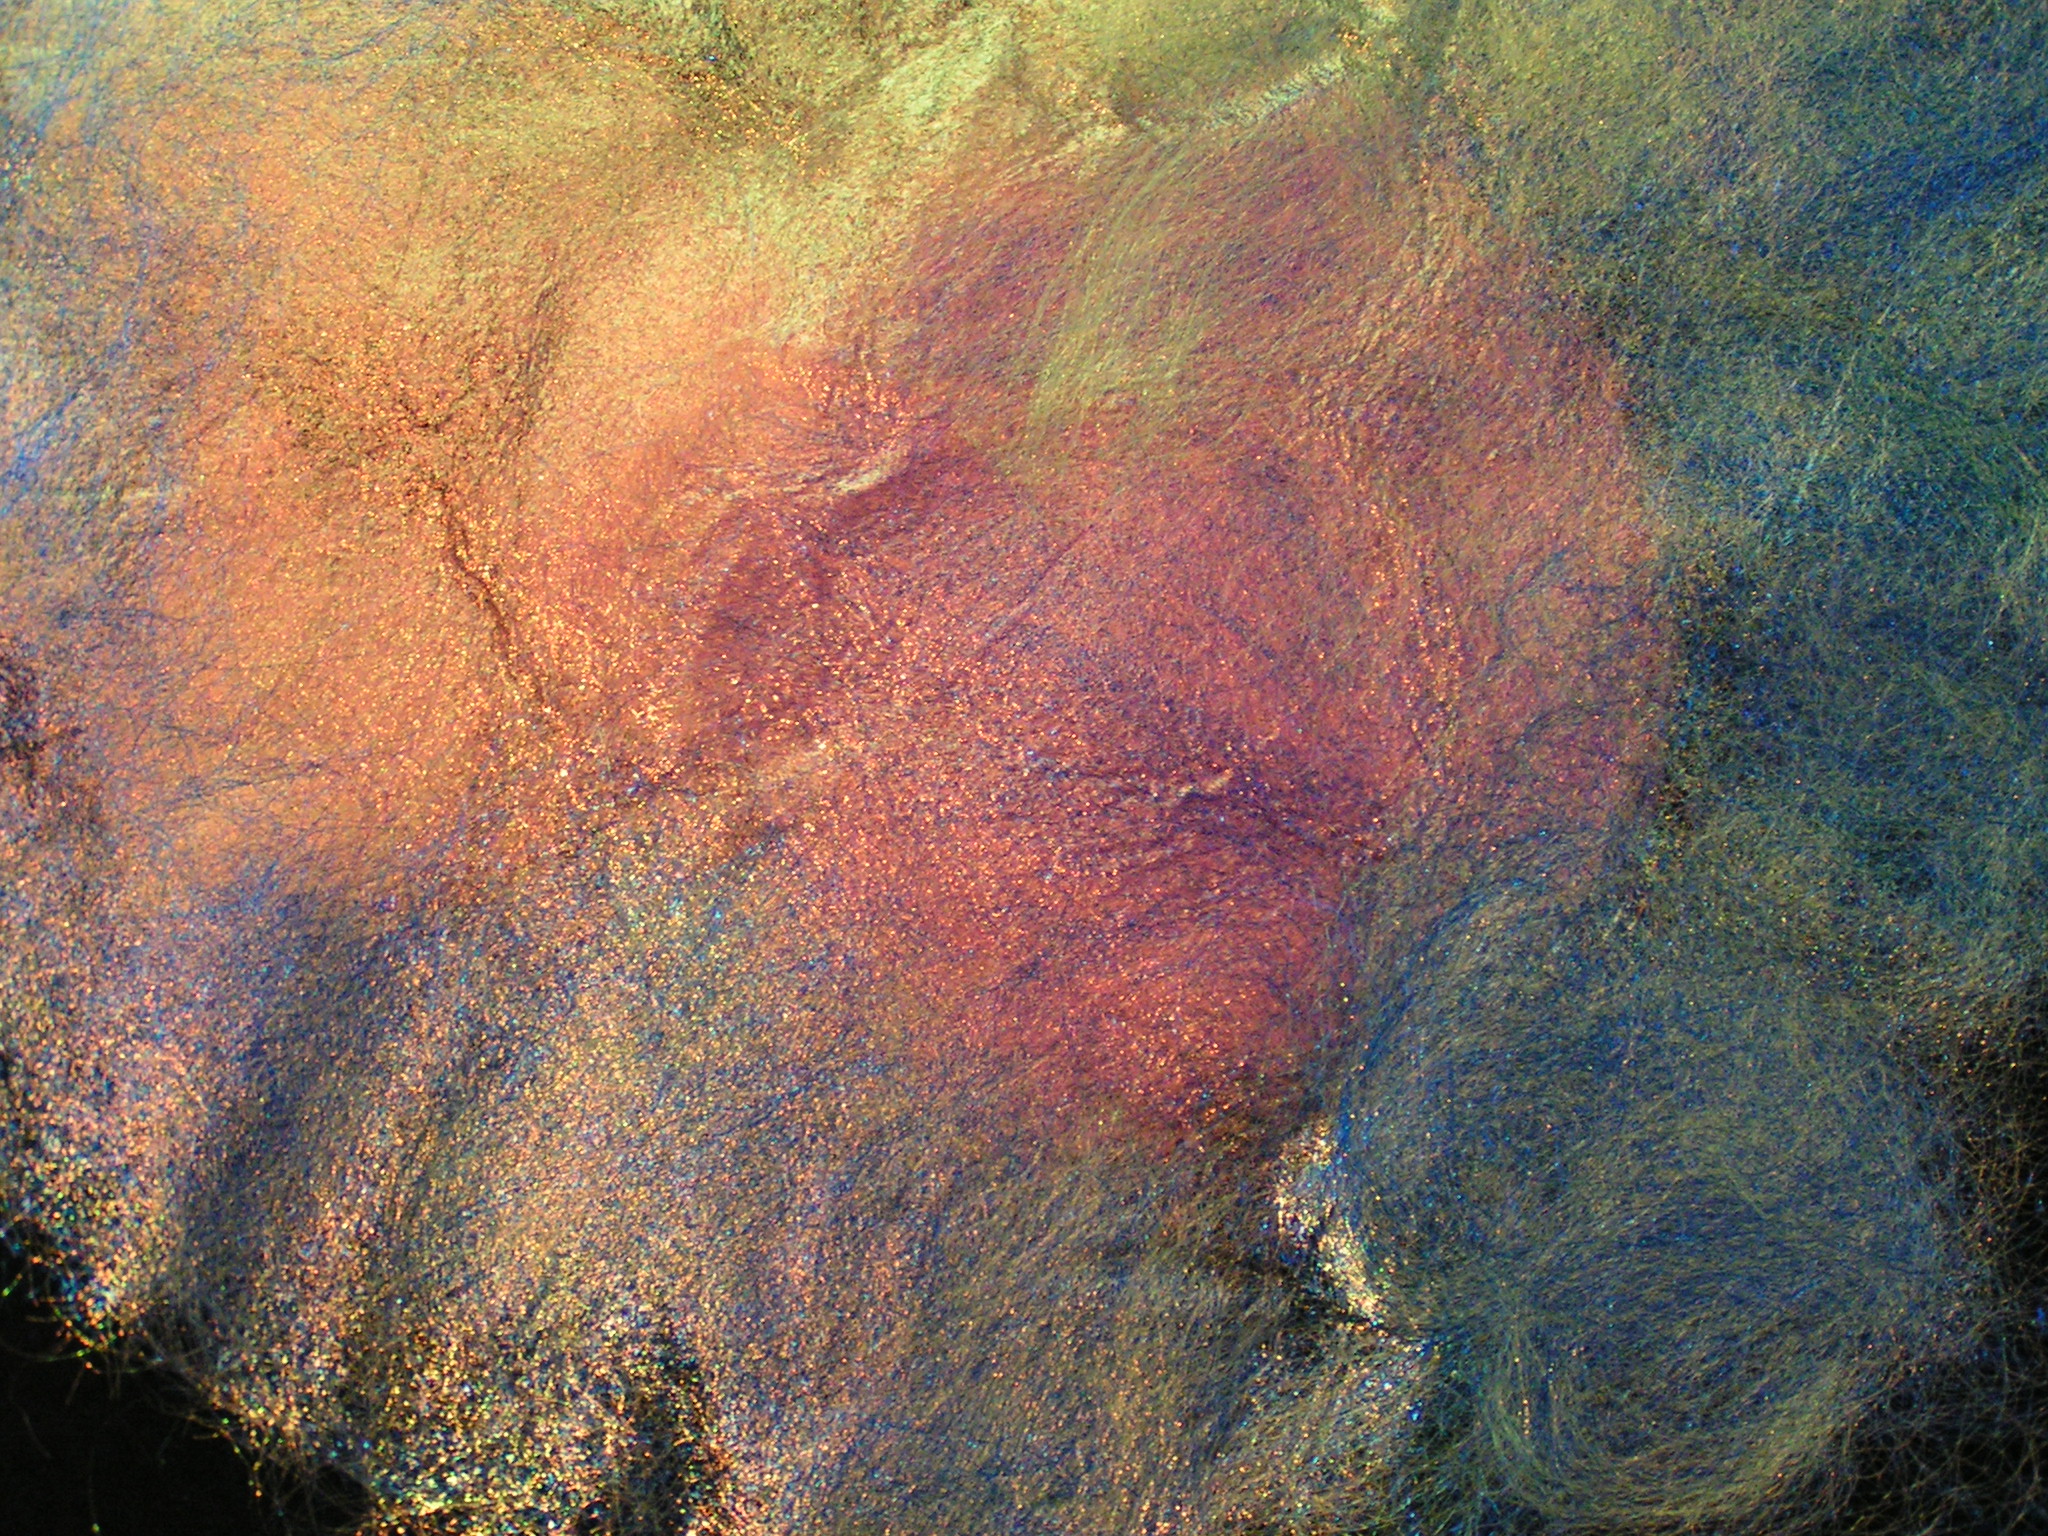
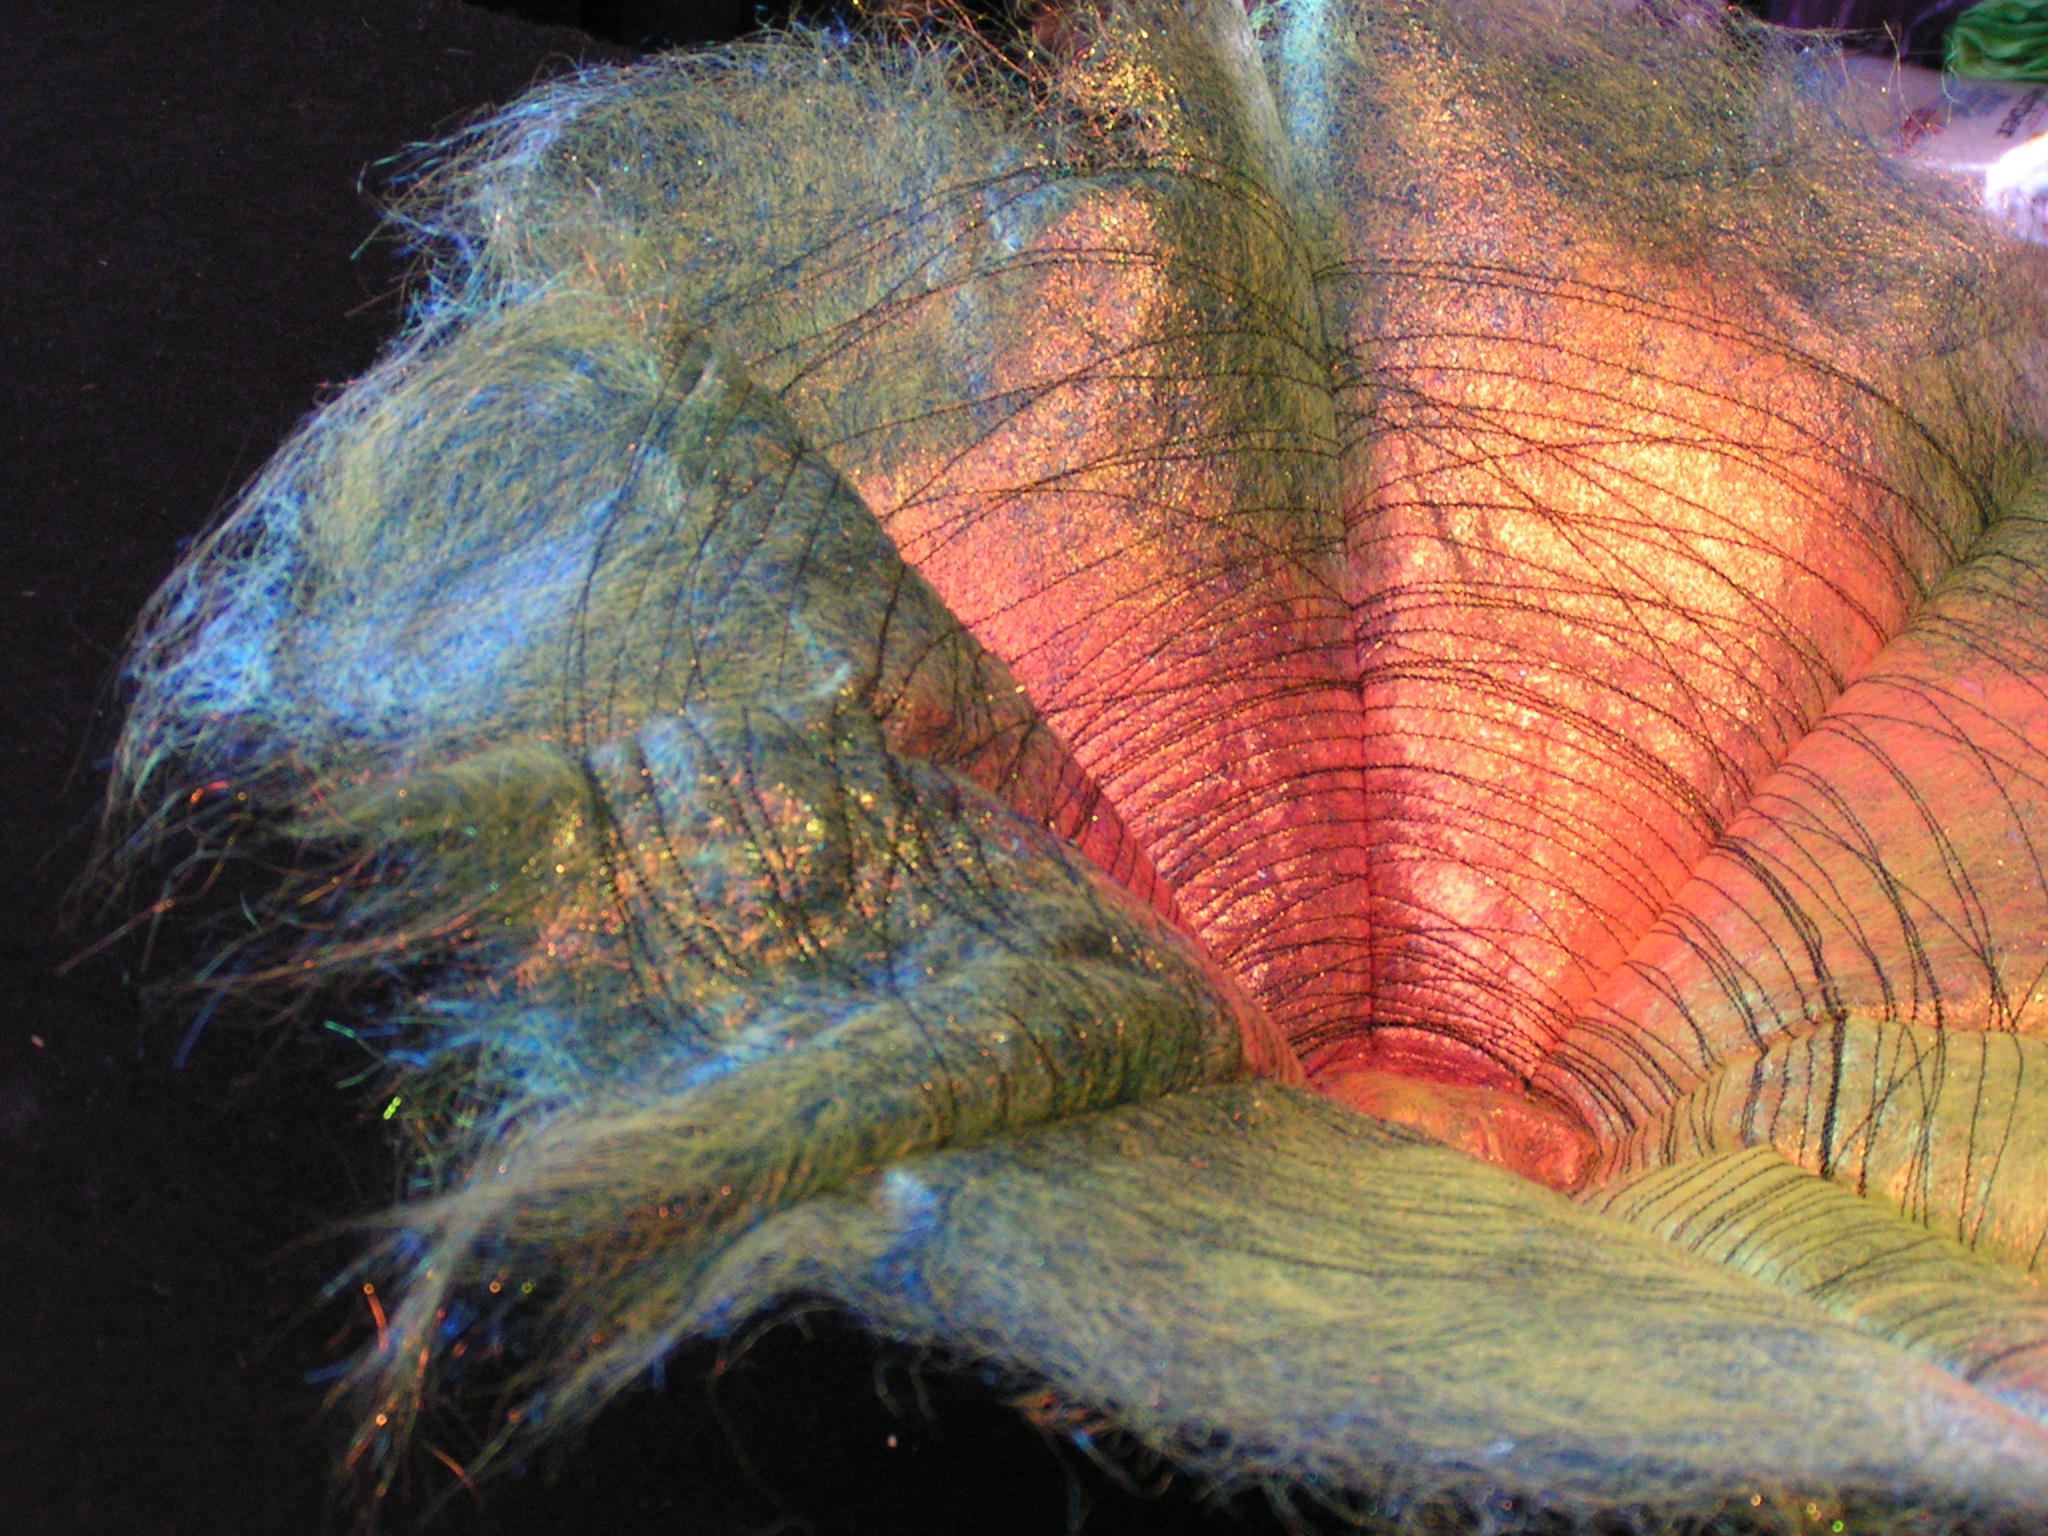
Here’s a little closer view.

Angelina Bowl

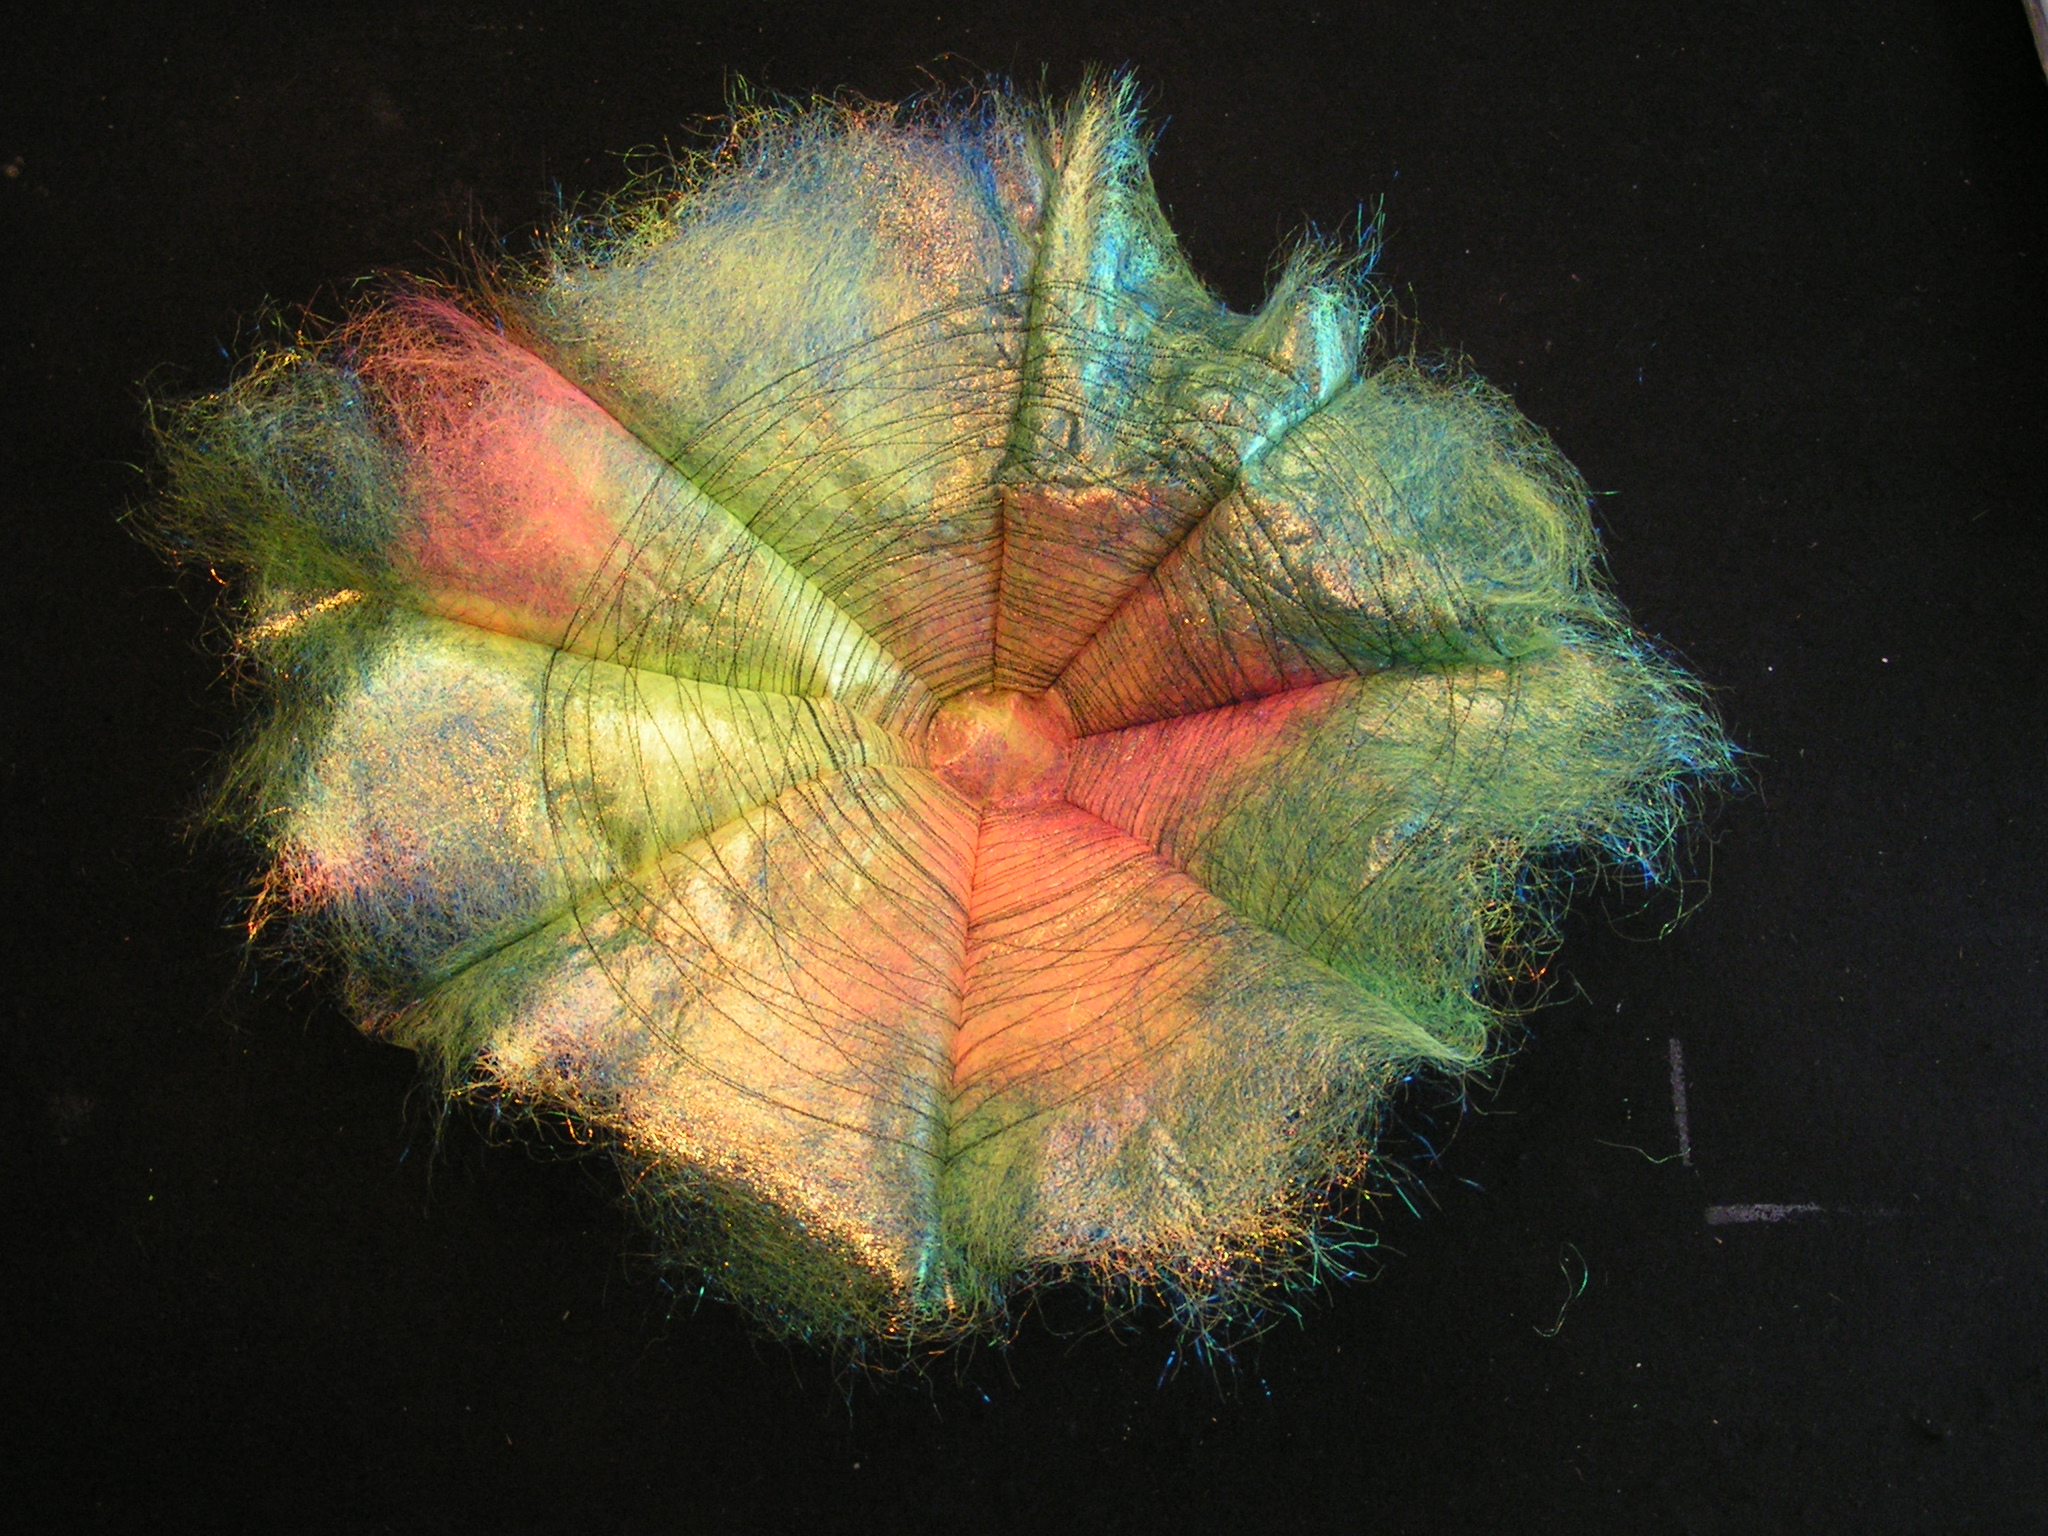
I then decided to stitch on the Angelina to give it a little more strength. So I stitched in circles and then added some “pleats” to give it shape.

Stitching on Angelina Bowl

I used metallic thread to stitch on the sewing machine. This is so not me.

Angelina Bowl

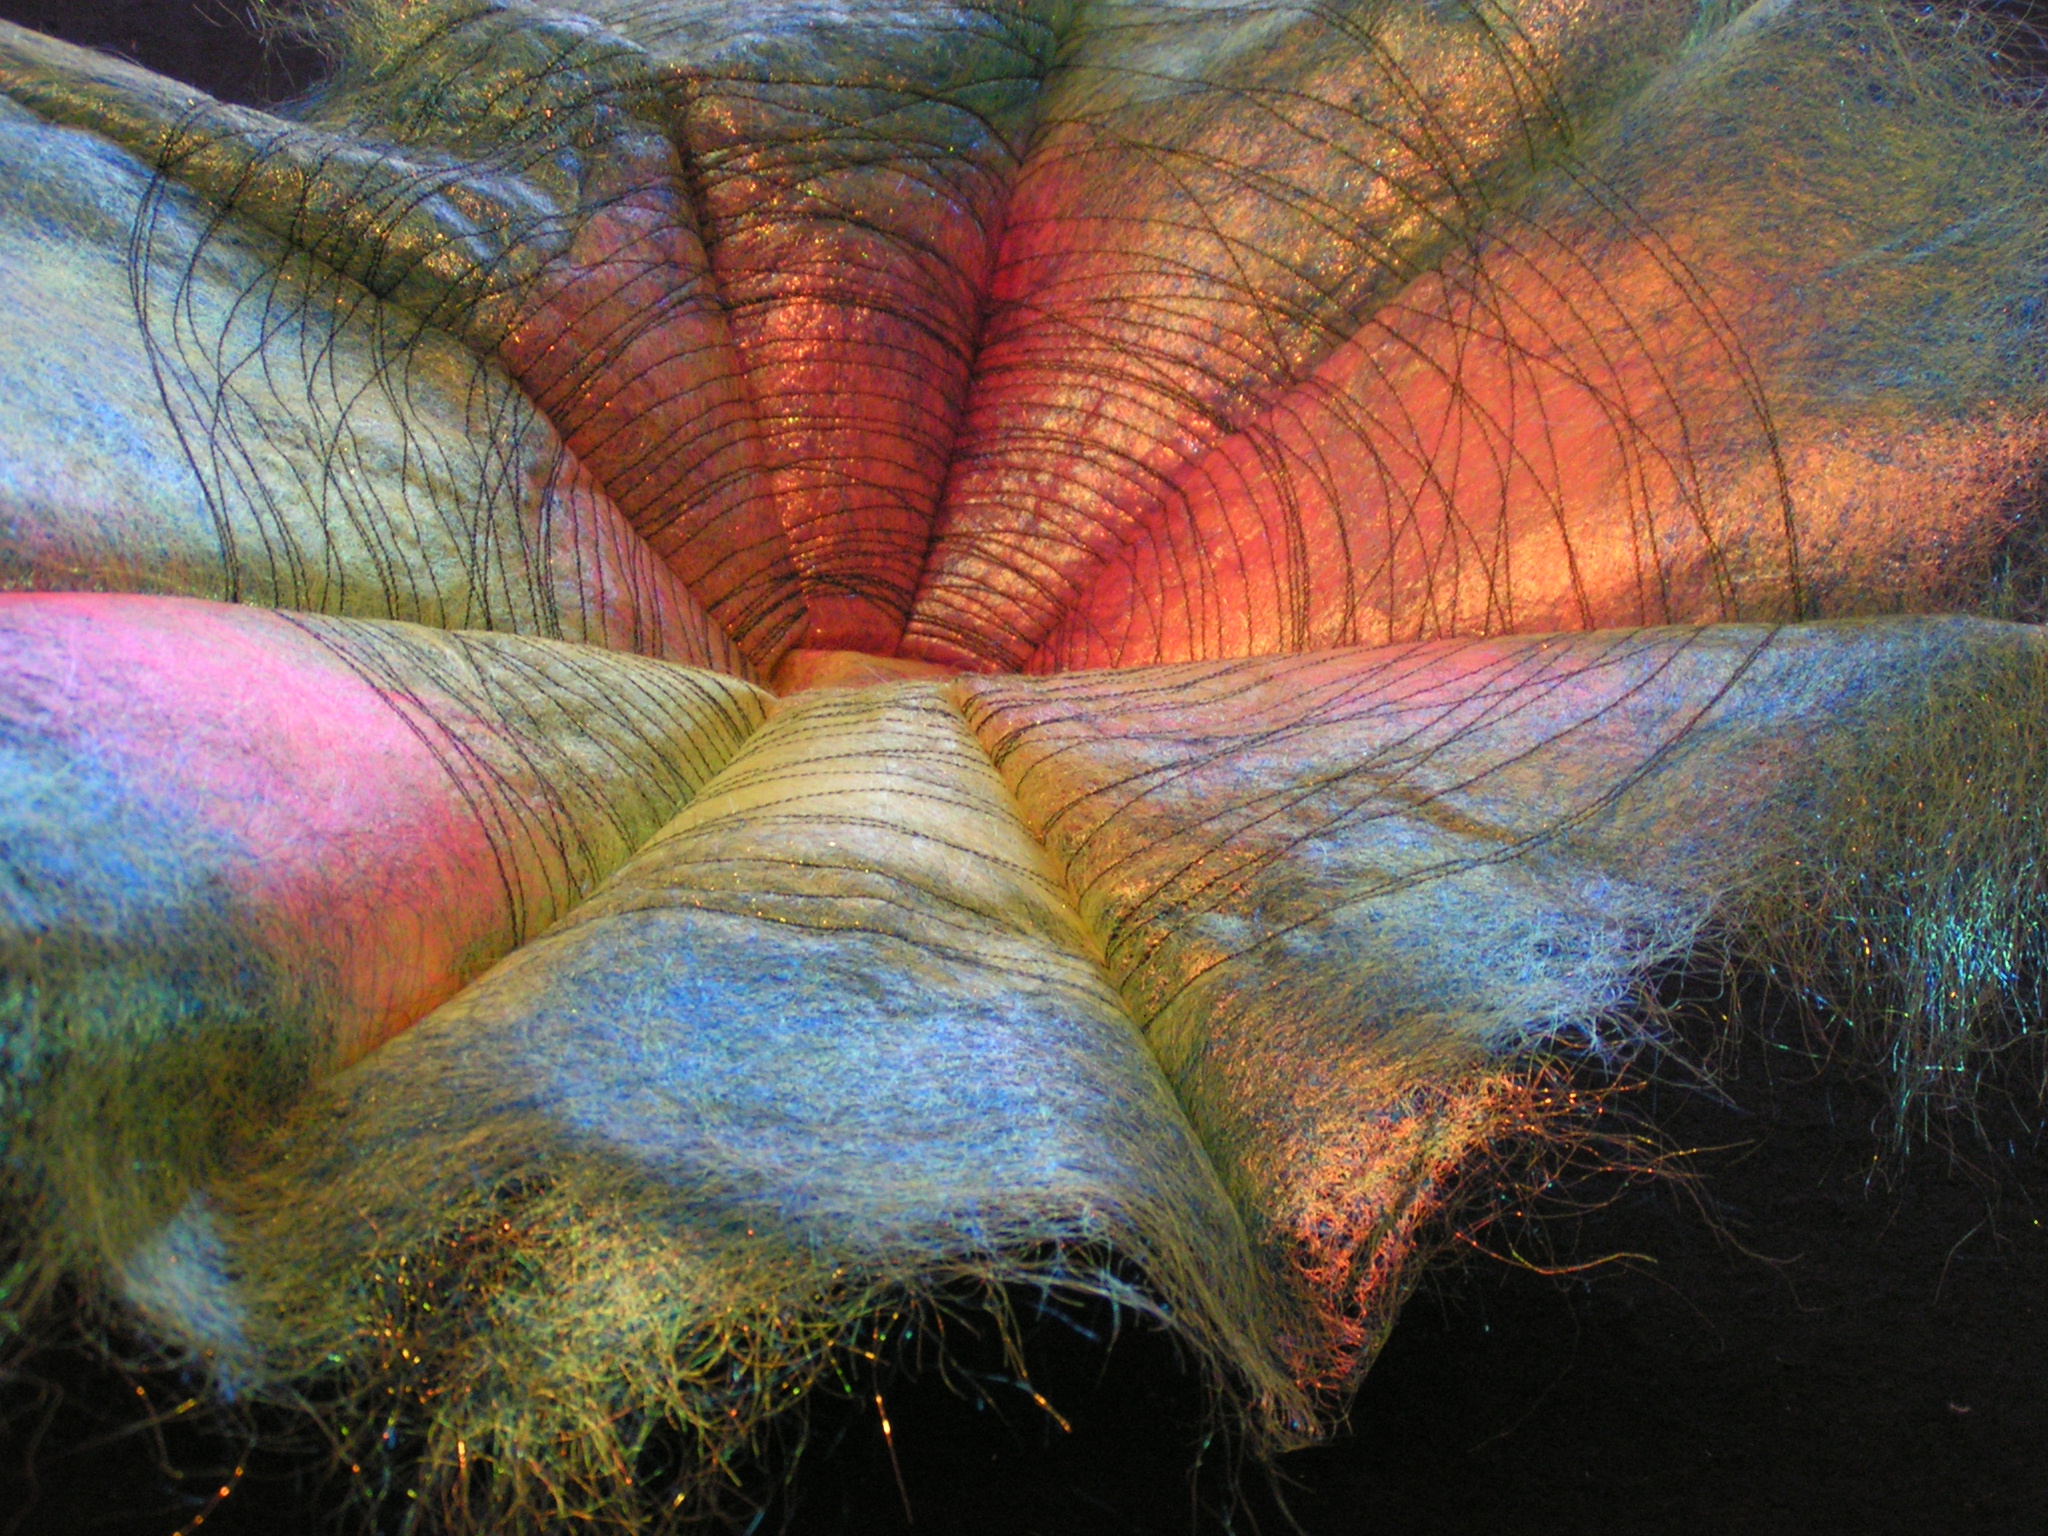
It still isn’t a very sturdy bowl and my husband says “What would you put in it?” Typical husband question!

Angelina Bowl

But I used up the entire package of yellow Angelina. I still have a lot of pink and blue Angelina left. So it went back in the stash to sit for a while longer. I’ve only had it for three years but luckily it doesn’t go bad. Have a great weekend.

Felting Forum Holiday Postcard Exchange

We have a Holiday postcard exchange going on over at the felting forum. Angela from the UK sent me a lovely “card”. Actually it is more of a felt picture as it is bigger than a postcard.

Holiday Felted Picture by Angela

It reminds me of a snowy evening.

Close Up of Felted Picture by Angela

It has wonderful texture.

Close Up of Felted Picture by Angela

And a bit of sparkle which is hard to see in the photograph. I mailed one to Angela at the beginning of the week but I won’t be able to show you that one until she receives it. Thanks Angela – it’s beautiful!


Screen Printing Results

Our local group met today and we worked on shibori. I’ll post about the shibori session on the Felting and Fiber Studio site in a week or so. But I did get some photos of the favorite pieces from the screen printing party.

Sally Glutting with Screen Printed Fabric

Here is Sally with her favorite piece.

Screen Printed Fabric by Sally Glutting

And a little better view of the piece. It has some really nice background details that almost look like water or a lake with trees in the background.

Paula Rindal with Screen Printed Scarf, Nuno Felted in Center

Here’s Paula with her screen printed scarf. She nuno felted the center section and is meant to be a head scarf. The screen that she used was one of my fabric lamination screens.

Louise Barker with Screen Printed Fabric

And this is Louise with her screen printed piece. She has it wrapped around a board. She is thinking of adding some stitching and then covering it with a cold wax technique.

Screen Printed Fabric by Louise Barker

Here’s a closer view.

MINOLTA DIGITAL CAMERA

And here’s a little fellow that came to visit me when I was working this morning.

MINOLTA DIGITAL CAMERA

He/she was right outside my window.

MINOLTA DIGITAL CAMERA

Trying to find something tasty out in the cold, cold weather we are having. Hope you have a nice weekend!

Working on More Class Samples

I have been working on my online paper fabric lamination class samples and writing up the instructions today.

Stencils for Paper Fabric Lamination

I used the stencils that I showed you in my last post.

Paper Laminated to Fabric

And paper that I painted last night.

Poinsettias in Paper Fabric Lamination

Hopefully one of these small ones will turn into a lovely felted postcard for a holiday postcard exchange that we’re having on the forum. Hope you have a good weekend.


Christmas on Halloween?

I made a couple of stencils today based on poinsettias. I made two different sizes of the same design.

Hand cut stencil by Ruth Lane

This is the larger size and you can see I still have the cut out pieces too. If you’re careful, you can use these for a negative/positive image. With this type of plastic though it is hard to hold them in place. Perhaps I’ll try a bit of spray adhesive but I don’t really like that stuff because it gets all over the place.

Hand cut stencil by Ruth Lane

Here’s the small design before I cut it out.

Hand cut stencil by Ruth Lane

And the smaller one cut out. I put a bit of duct tape on the edges because there wasn’t a big enough border and I didn’t want to get paint over the edge.

Hand cut stencils by Ruth Lane

I used one of my silk screened pages and stenciled a few poinsettias on the page. I used a portion of the stencil with green to make the leaves. I think this will make a nice Christmas card. I can scan it in, add some text and I’ll have a nice digital card.

Hand cut stencil by Ruth Lane

Here’s a closer view of the bigger flower.

Silk screen by Ruth Lane

And I added a little yellow ink to this screen printed page. It looks a little more gruesome and fitting for Halloween perhaps than the poinsettias. Happy Halloween!