Order from Sulky and Another Linocut

I got my order from Sulky today. I needed to replace some of my 30 weight cotton threads as I had run out of several colors. And while I was there, I added some thread colors that I didn’t have. How could I resist?

Here’s the colors I got. I know there are a bunch of dark colors but those are the ones I seem to run out of easily. I always need those darker values and don’t seem to have enough. I also ordered some of their Sticky Fabri Solvy. I have used the plain Fabri Solvy quite a bit but I thought this one would be useful for it’s sticky quality. I am planning on trying out some new ideas with this soon.

I worked on this linocut today but didn’t get it finished. These detailed ones take a bit more time to carve. I also worked on some felting today but you will have to take a look at my next post on The Felting and Fiber Studio to see that.

Have a great weekend and thanks for stopping by.

This and That

Today we went to Deb’s house to add more layers to our experimental watercolors we made at my house about a month ago. I didn’t get any photos of the artwork but take a look at Deb’s pens.

You can’t even see all the colors here. Serious pen envy.

I have a new addition to the studio. I bought a used easel from one of my friends. It takes up way too much space but I want to continue on this painting journey I have been on so I thought it was a good time to get an easel.

I finally finished stitching my cedar trees. They will have a matt so I’ve photographed them with croppers. Now I need to find a new hand stitching project to work on.


Using Up More Felt Scraps

I wrote a post about my first felt scrap landscape over on The Felting and Fiber Studio blog. I still had lots of scraps left over and some were pretty bright orange and pink. We visited Hawaii last week and those colors reminded me of sunsets.

Background Layout

Here’s the layout I started with for the sunset background. It’s a combination of screen printed, felted and dyed commercial felt.

Layout with Leaves

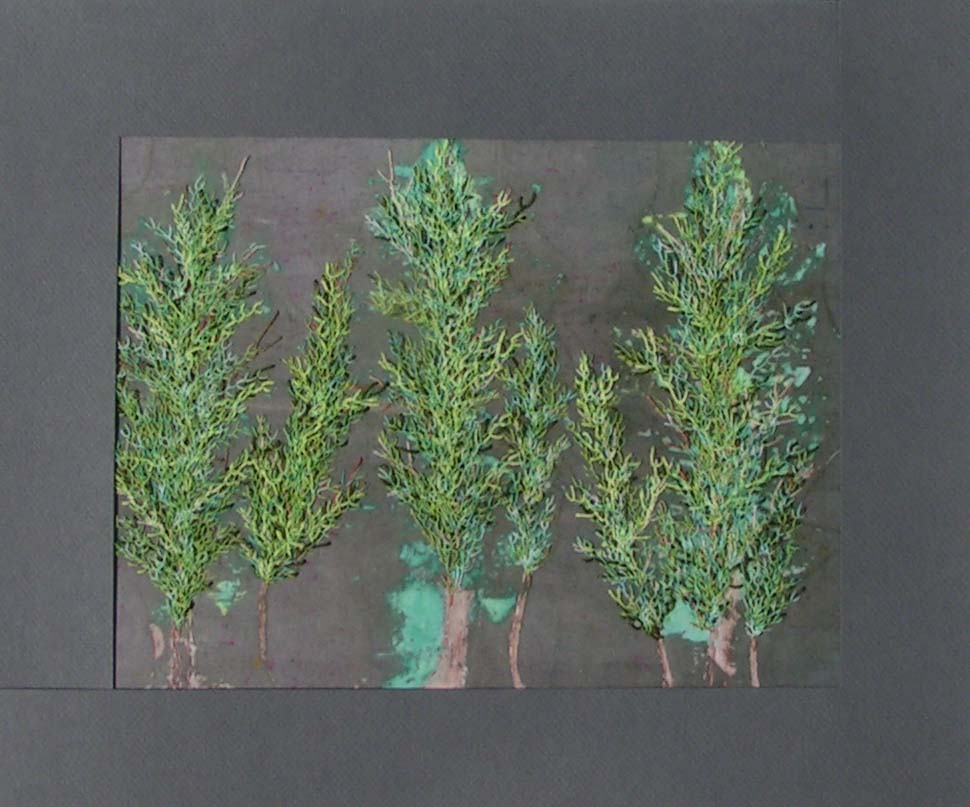
Then to add some lush greenery. I also wanted to include some fiddle head ferns still all curled up. I started with a light taupe green for these but midway through stitching I changed my mind. I felt the piece needed some darker values. You will see the change from this photo to the end but this was just a basic idea of how it would end up.

Painted Background

This time I decided that instead of using a white background of light weight interfacing that I would paint the interfacing. This is a terrible photo but you get the idea. Then there wouldn’t be any white spots showing through between the scraps.

Background Stitched

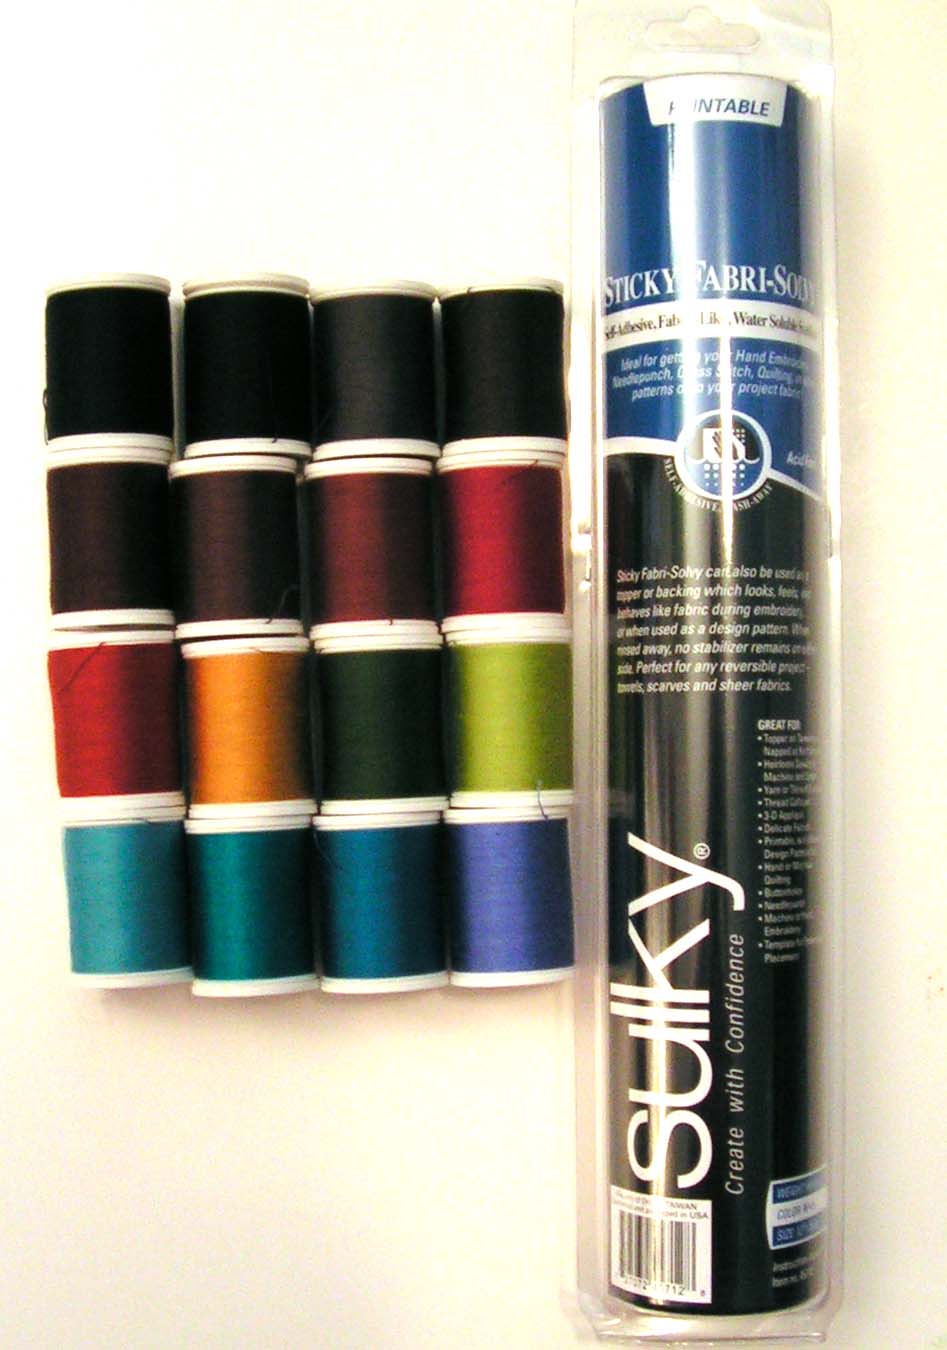
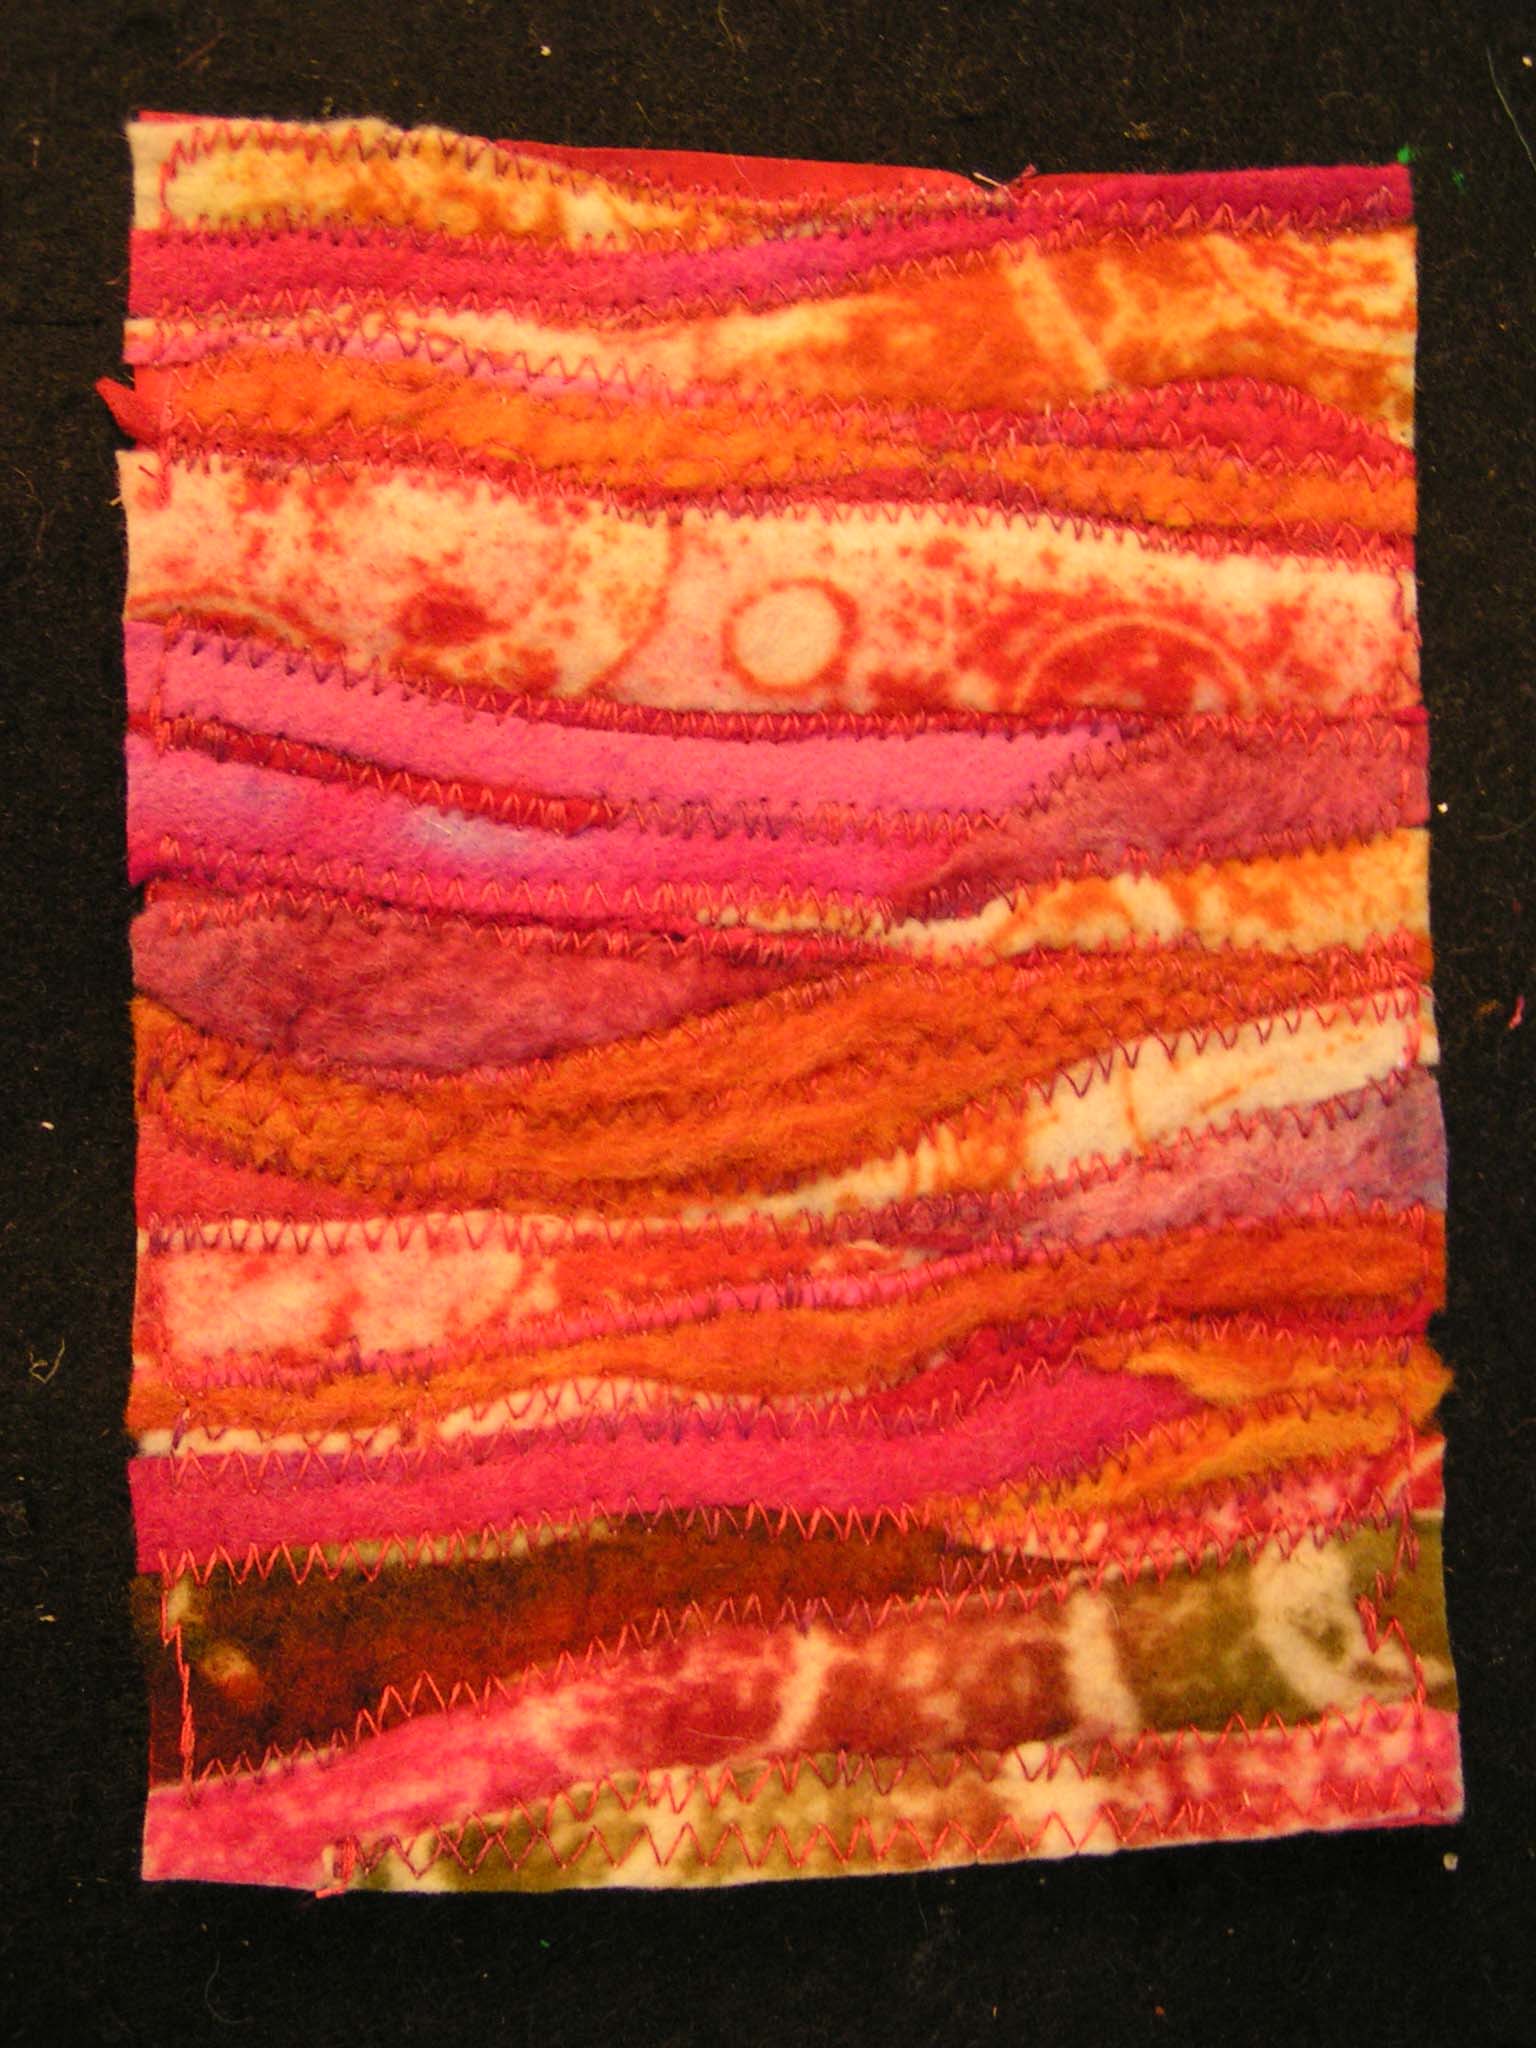
I used a zigzag free motion stitch on the machine to hold all the background scraps down. I used a variegated pink, red and orange thread.

Texture

You can see a little of the texture in this photo. The orange bits in the middle were not very well felted but the stitching holds it all together.

Hand Stitching Greenery

I then started to hand applique the leaves in place. At first I was planning on stitching them all flat to the background but decided I liked the way it looked with parts of the felt loose or just stitched on one edge.

Matted Finished Piece

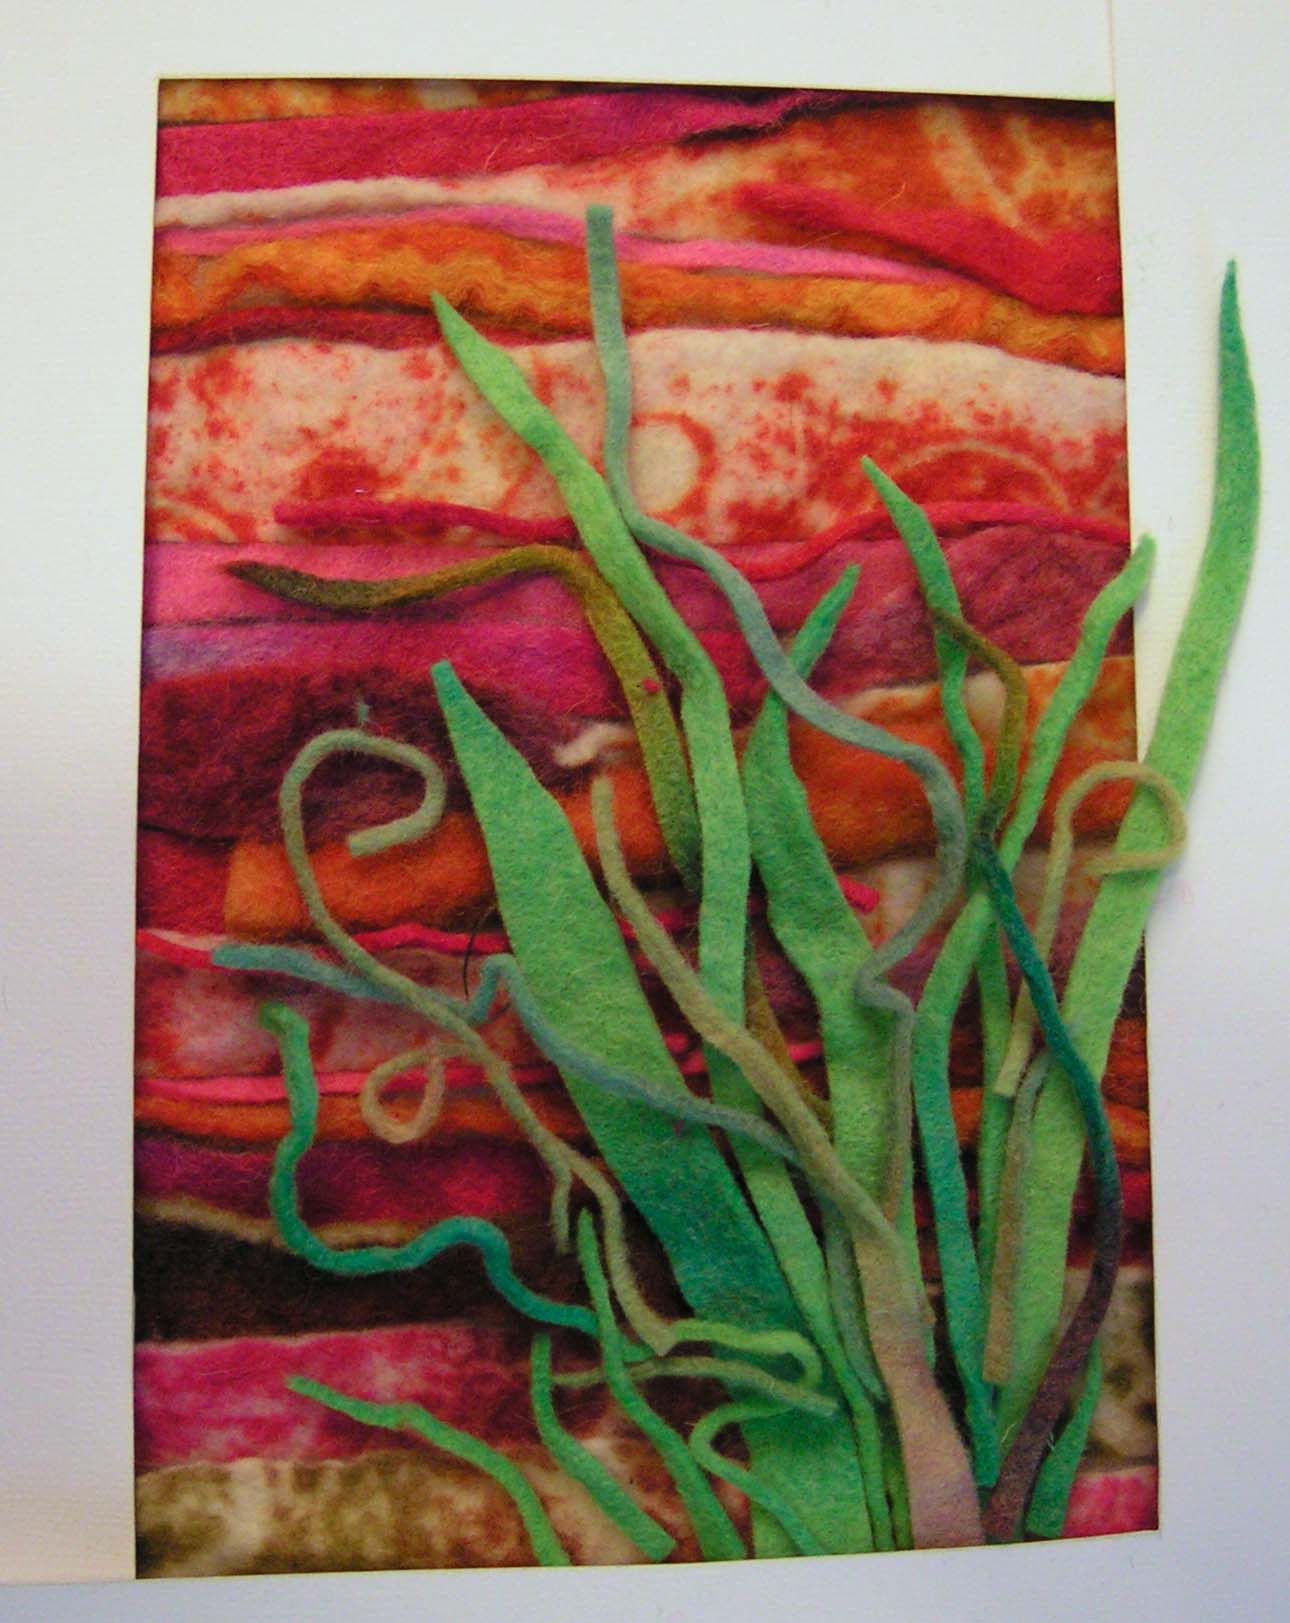
And here it is with the matt around it. I definitely will not use the inside blue matt with this but that’s all I had at the moment. You can see the fiddle head ferns got darker in the end. I just cut some thin pieces from some darker felt scraps and then curled the end into a spiral. It was all a bit fiddly with the stitching but didn’t take all that long.

Finished Hawaii Landscape

And here it is framed. Again, not the best photo but you get the idea. It definitely reminds me of Hawaii. Great tropical colors which I don’t use a lot but obviously if I had scraps, then I had used these colors before. Perhaps I just don’t usually use them together? These scrap landscapes are a lot of fun. I still have plenty of more scraps so I think I’ll just keep going. Have a great weekend.


Finished Crazy Quilt Pillow

I finished the crazy quilt pillow. I added more stitching covering more of the center portion of the pieced sections. I even added a spider.

Finished Crazy Quilt Pillow

I found some coordinating fabric for the back and made an envelope style back so a pillow can be slipped easily in and out.

Crazy Quilt Pillow Close Up

Here’s a little closer view of the center. This was a great way to learn some new stitches and finish a UFO.

Back of the Crazy Quilt Pillow

Here’s the back. Right now the pillow inside is one of our couch cushions so I need to get a pillow insert but otherwise it is finished. I am happy to have finished this project that has been sitting around for several years now. Mark one off my list.

Still Stitching Crazy

I’m still working on the crazy quilt square that I showed you last week but I have all the seams finished. I decided I would add a bit more to the centers of the pieces too as they looked kind of bare. I did try seven new stitches though. Here is what I have learned.

Basque Stitch

This is the Basque stitch. It is a combination of buttonhole with a twisted chain.

Braid or Cable Plait Stitch

This dark blue line is the Braid or Cable Plait stitch.

Knotted Pearl Stitch

The brown stitch on two sides of the triangle is the Knotted Pearl Stitch.

Mountmellick Stitch

The seam stitches in blue are the Mountmellick stitch. Kind of looks like a row of little triangles.

Finished Palestrina Stitch

I went around the edge of the Palestrina triangle to finish that up.

Portuguese Knotted Stem Stitch

The wavy line in blue is the Portuguese Knotted Stem stitch.

Raised Stem Stitch

And this really thick blue line is raised stem stitch.

Full Crazy Quilt Square

And here is the full square as it is currently. I plan on adding a bit more and then I will make it into a pillow. And that will be one UFO completed!