First Day of Nuno Felted Jacket Class

I am in the midst of teaching a nuno felted jacket class at Camas Creek Yarn. We had the first class on Friday and the actually making of the jacket yardage will happen this coming Friday. There is only room for four people in the class as the space is limited for really big projects. Most people need at least three yards.

 Here’s the class room before we started. We talked about nuno felting, design, color and different methods of construction for a jacket.

 Here is everyone working on their 12″x12″ samples. Then we get to do the fun part. Shrinkage and  math!

 This is Debbie’s sample when she started.

 This is Patsy’s sample. She is doing a heavier jacket as compared to everyone else in the class.

 This is Diane’s sample. She is going to make a white jacket.

Here’s Julie doing a bit of rubbing to encourage those wool fibers through the silk. Julie is planning on dyeing her jacket after it’s completely felted.

Next week I’ll show you the jackets when they are nearly finished.

Felting Retreat

 I’ve finally got a moment to show you the photos from my felting retreat. There were 7 of us all together including Chef Rhonda. Rhonda joined in on some of the projects we did. Jan showed us how to make key chains by wrapping and making beads from yarn. It was a fun project.

 Here’s the start of my key chain. Jan brought all the yarn and the rings. All it takes is yarn, a key ring and a tapestry needle.

 Here’s Paula (I think) wrapping her key chain in preparation for making a bead.

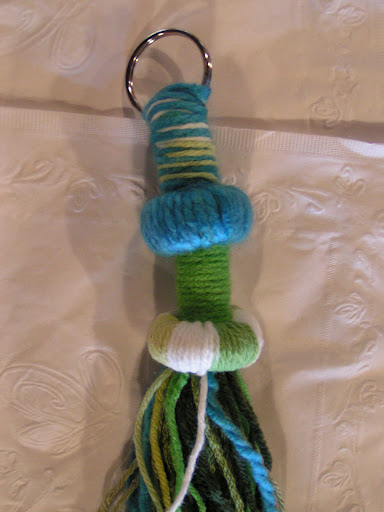
 Here’s my finished key chain.
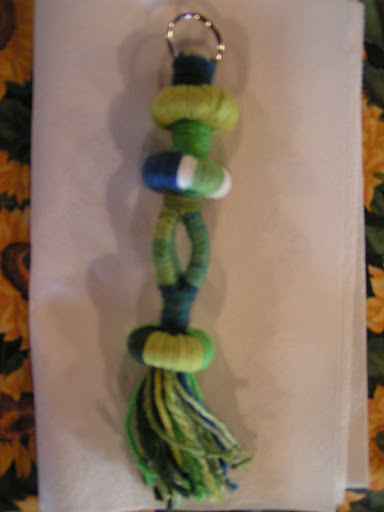
 And here’s Paula’s.

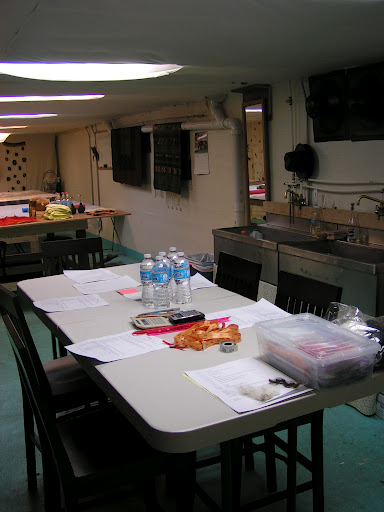
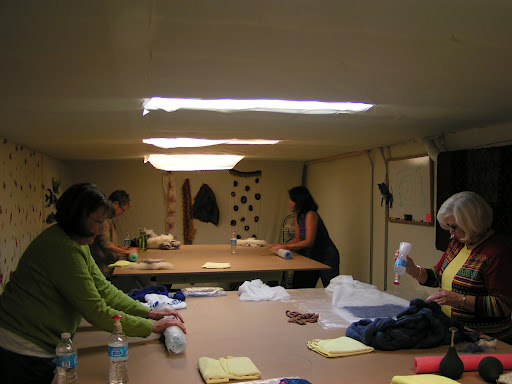
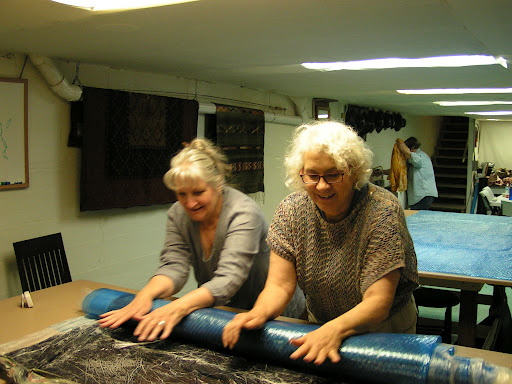
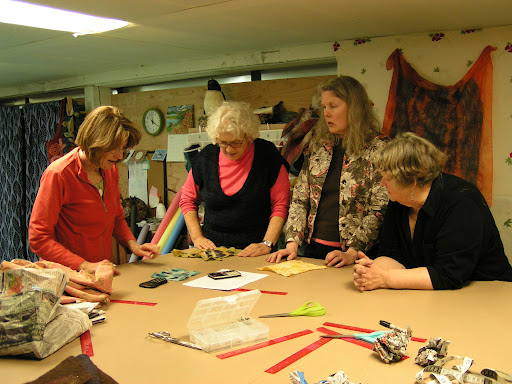
 Here we are after spreading out at the lodge. Everyone worked on their own projects but their was lots of sharing of supplies and equipment and felting ideas.

 Here’s Rhonda sitting in the sun working on her key chain. Notice the brown shirt.

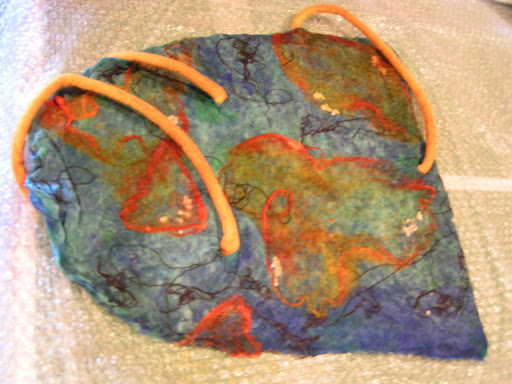
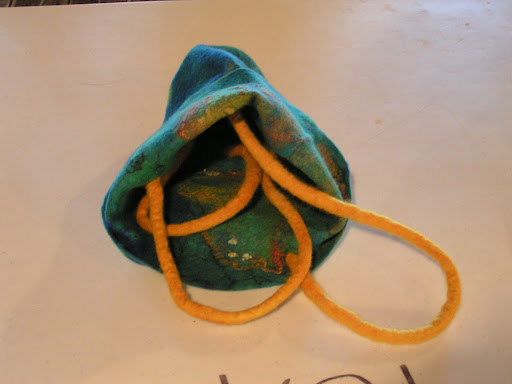
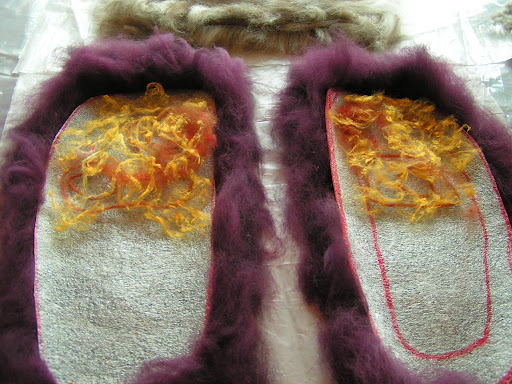
 This is one of Paula’s projects. She wanted to add cords to a vessel. I already had the yellow cords made so she used those on her vessel.

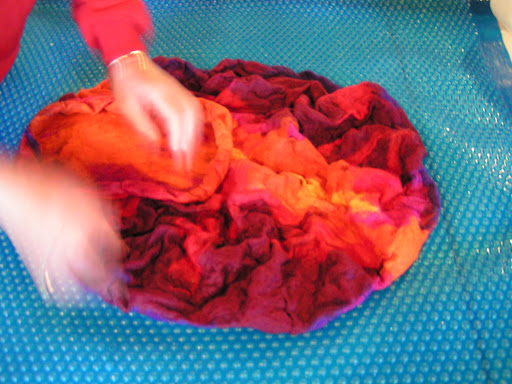
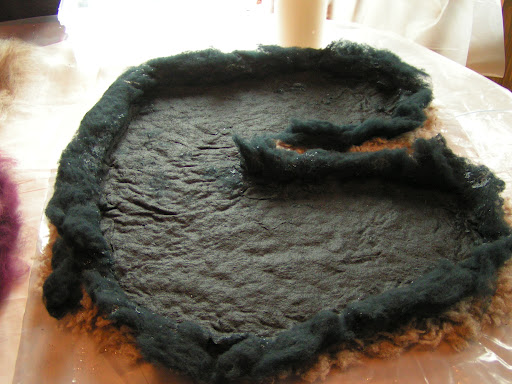
 Here’s Juliane working on her big pod. She hadn’t ever felted anything this large before.

 Here’s Louise resting after working hard at felting.

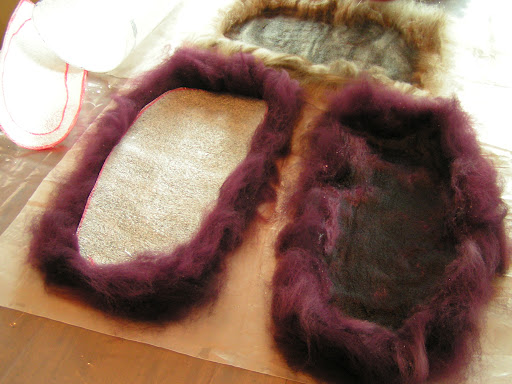
 Here’s Jan working on her pod/vessel.

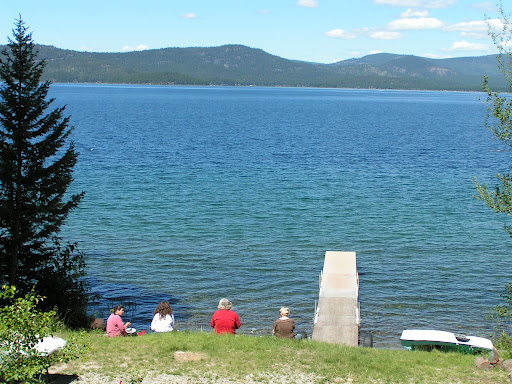
 Here we are taking a break for lunch.

 Here’s Juliane’s pod again after rolling for a while.

 Here’s Jan’s pod. She had a few holes and was a bit disappointed but I like it!

 Jan was also working on finishing up a needle felted figure she had started in a class two years ago. Now she only has to finish his clothing. His name is Bennie and he’s going to be a monk!

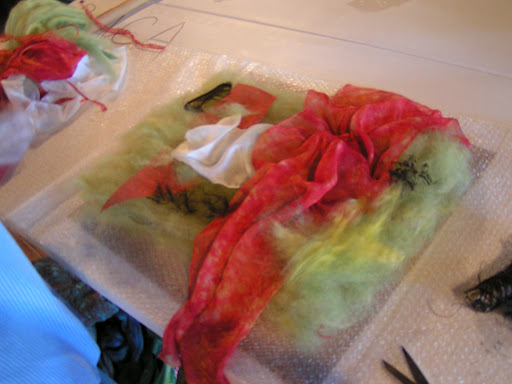
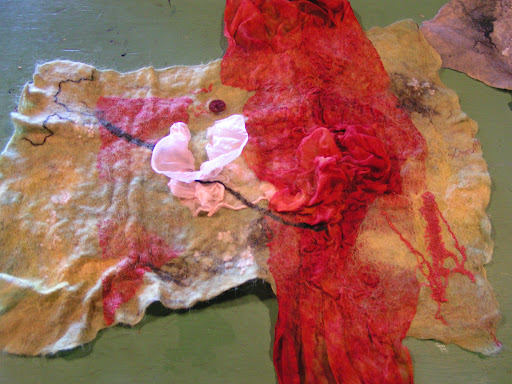
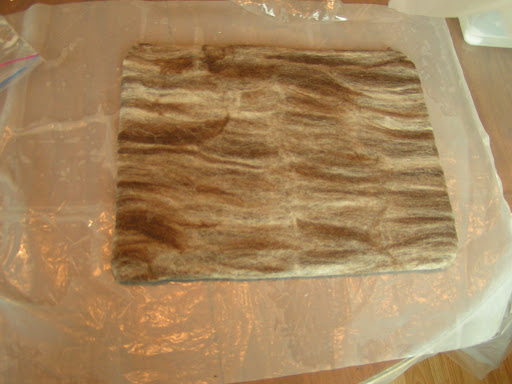
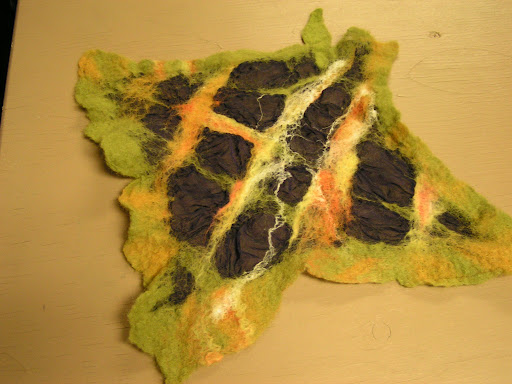
 This is Paula’s felted landscape.

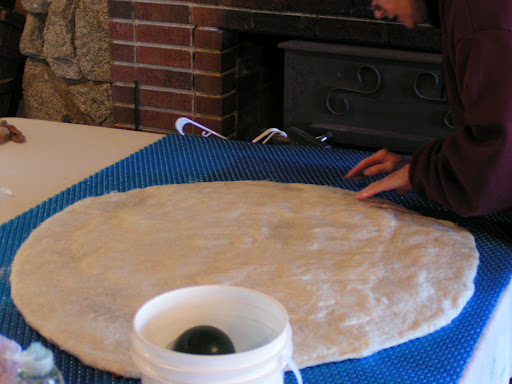
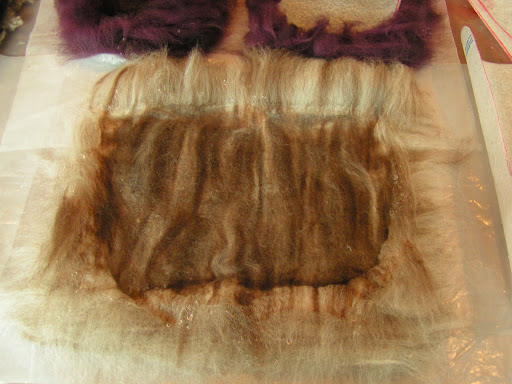
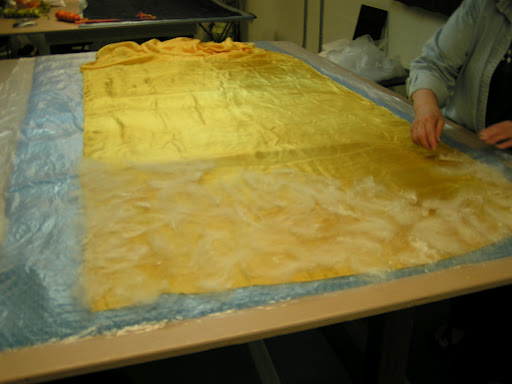
 And Paula laying out another piece. Paula was the most prolific.

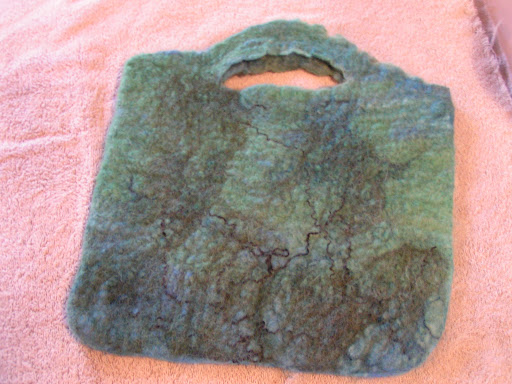
 Here’s a felted bag that Louise made.

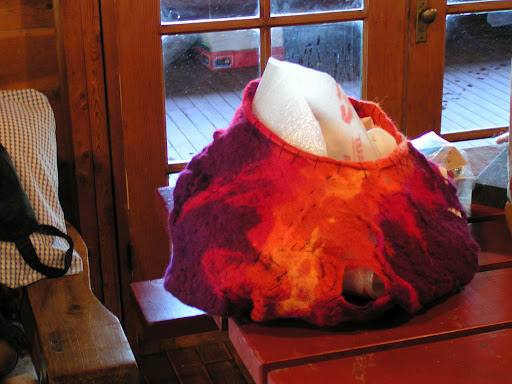
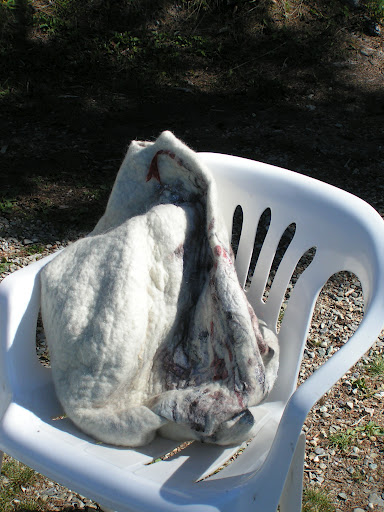
 Here’s Paula’s vessel finished. Looks like it belongs in the sea.

 Here’s her textured piece.

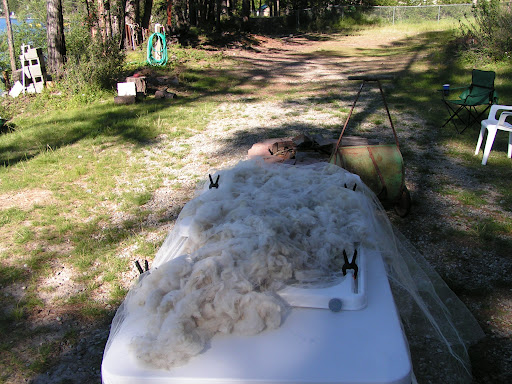
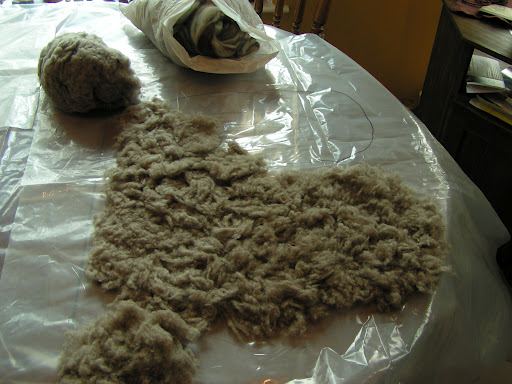
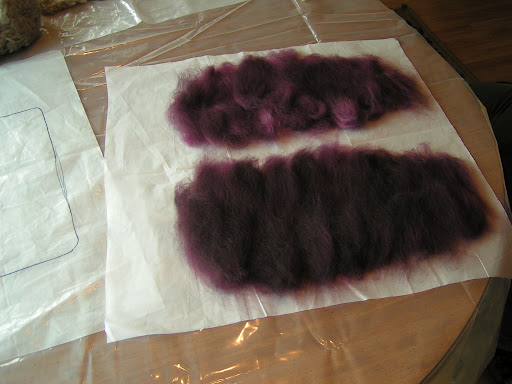
 And this is what I did all weekend. Washed wool and then worked on carding wool.

 I also taught everyone to make felted beads.

 Here’s Julianne’s finished pod drying in the sun.

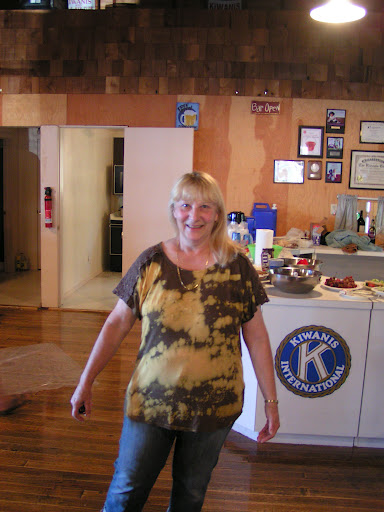
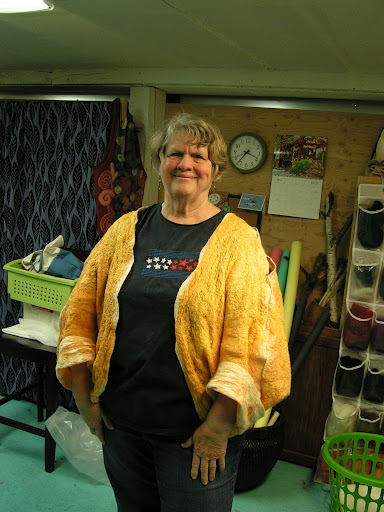
And remember Rhonda’s brown shirt. She got bleach on it (no potable water at the lodge so you have to use bleach in the dish washing water). She had come out to show us she ruined her shirt. So I showed her how to discharge with bleach and now she had a cool shirt instead of just plain brown. We had a blast and there are plans in the works for next year.

Felting Slippers

 My sister Margaret is visiting me for a week and we decided to felt some slippers yesterday. She hasn’t felted before so this was her first effort. The photo above is the layout for slippers for my husband. I used some fiber that a friend gave to me. It is the broken tips from a merino fleece. They can’t be carded because they are too short. It was a pain to lay out but actually worked out better than expected. I made the slippers really thick because hubby wore through the last pair very quickly.

 Here is Margaret’s beginning layout. We decided that they looked like “Wild Thing” feet.

 Margaret also really liked this Blue Faced Leicester wool so I made her an I-pad cover.

 We tried a new experiment with Margaret’s slippers and put a foot shaped piece of wool blanket in the middle of the bottom layers to provide more thickness and support to the bottom of the slippers.

 I put black short fiber merino as a second layer of my husband’s slippers as I was afraid there would be holes in the gray wool.

 Here’s the I-pad cover after partial layout and wet down.

 Margaret’s slippers after partial layout and wet down.

 She added pre-yarn, silk cap and silk noil for embellishment. The wool used here is Falkland that I dyed with leftover dye from my cocoon jacket dyeing session.

 Here are the wet down and rubbed slippers for hubby. It took lots of rubbing to get the wool to start holding together.

 Here are Margaret’s slippers after a bit of rubbing.

 And the I-pad cover.

 We got really busy after that with rolling and fulling and forgot to take any photos. But here is a photo of me fulling hubby’s slippers on the washboard. Boy am I fast 🙂

 And here are Margaret’s finished slippers. Didn’t she do a great job? She was really pleased with them.

Here are my husband’s slippers and the I-pad cover. He still hasn’t tried them on so there might be some shaping left to do. All in all, it was a great day. Hope you have a good weekend and thanks for stopping by.

Cocoon Jacket Class

 I taught the second session for the cocoon jackets today. Unfortunately, we had two students that were unable to attend. But Vicki and Diana made two beautiful jackets. Here’s Diana starting on her layout.

 Here are Vicki and Paula perfecting their rolling technique. We did LOTS of rolling.

 Diana is getting her piece warmed up in hot water in preparation for fulling.

 And here she is doing some gently throwing. After lots of work, both of these lovely ladies ended up with absolutely gorgeous jackets. We pinned the shoulder seams together so we could get the fit right.

 And here’s Vicki in her jacket. She added fringe to the ends so the fringe ended up along the shoulder seams and was a great addition.

 Here’s Diana in her jacket. She is wearing it with the silk side out. These are reversible jackets so they can be worn with the wool side or silk side on the outside.

It was a really fun class and we all learned something. Especially about fitting the jackets. Thanks Diana and Vicki for being great students, I had a blast!

Cocoon Jacket Class

On Friday, I taught the first session of the Cocoon Nuno Jacket class at Camas Creek Yarn. I had four students but one had to leave early. We worked on making a sample and then the rest of the day was spent designing, measuring, figuring and deciding what yardage was needed for each jacket.

 There was lots of calculating, measuring, trying on and re-calculating.

 We used newspaper and muslin to make a pattern and to see how the jacket would fit.

 Here is Judy’s sample (not really this green). She is going to make some changes on her final jacket as she didn’t like the dark blue blobs.

 This is Vicki’s sample. She is planning on doing much thinner edges and thinner strips of wool on her jacket.

This one is Diana’s sample. She is planning on dyeing her jacket after it is felted. She used a yellow piece of silk but will be using white on her jacket.

The class meets again in two weeks and we’ll be felting all day. I can’t wait to see the finished jackets 🙂