Umbrella Felting

Hmmm… What does umbrella felting conjure in your mind? A new technique using an umbrella? A bunch of beach umbrellas at a felting party? For those of you wondering what I’m making for the Shelter Exhibition, I think this post will give it away.

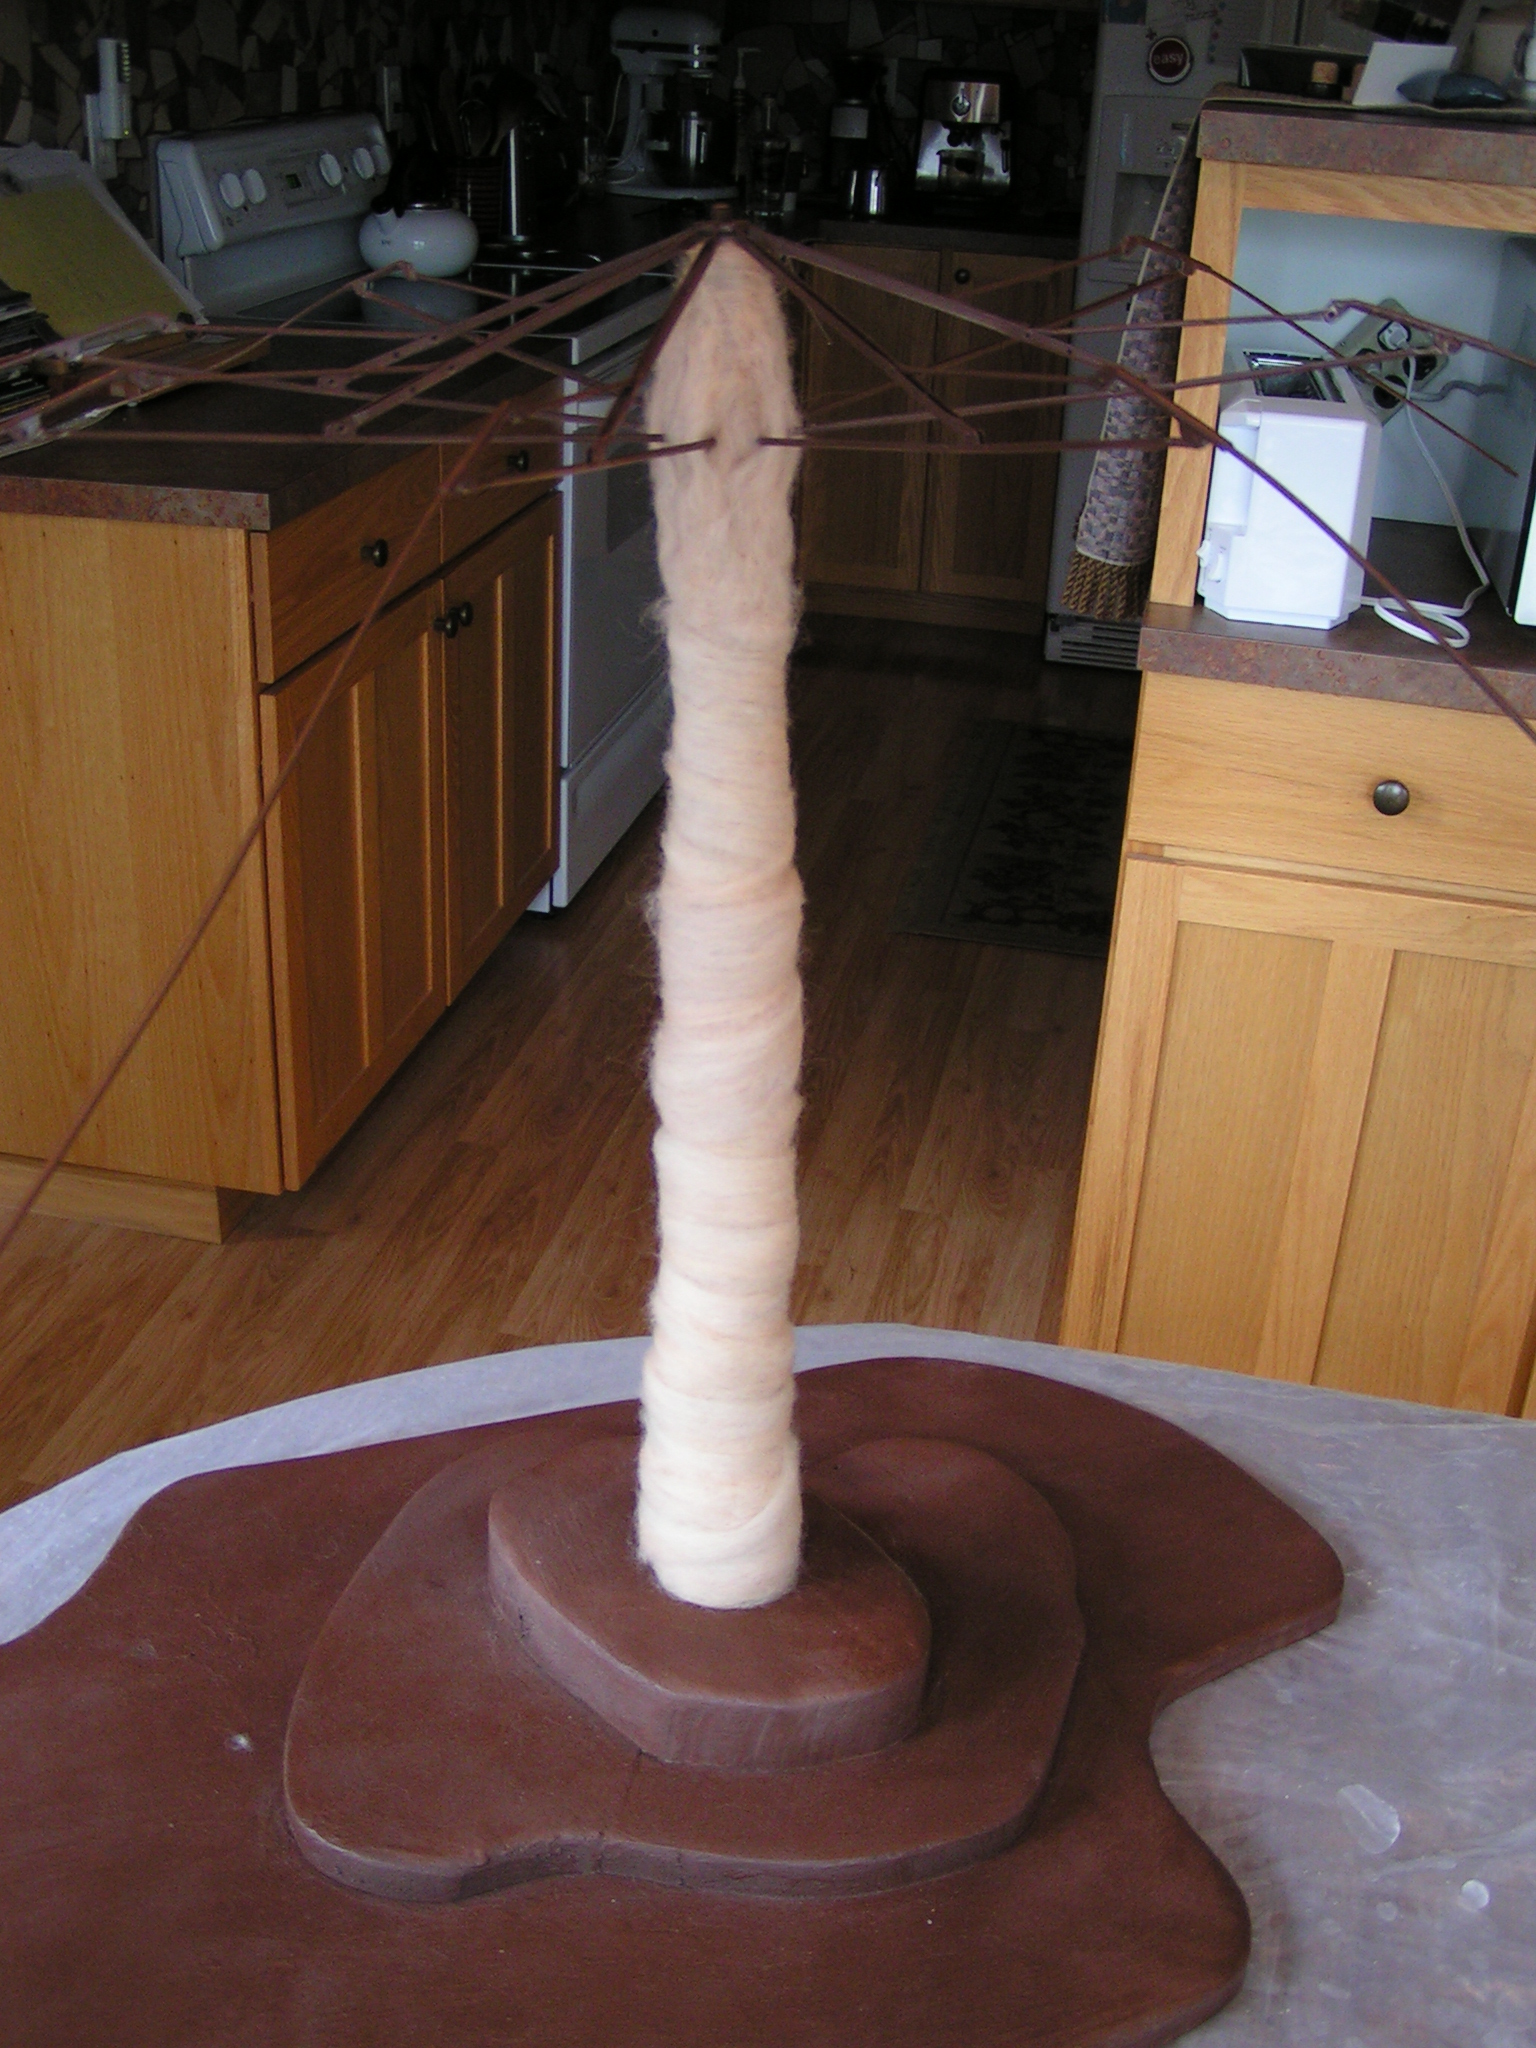
Umbrella with BaseThis is where I started today. I had already removed the fabric from the umbrella and my husband fabricated the stand. He also painted it brown. Have you ever tried to spray paint the ribs of an umbrella? Not the easiest thing to do. So I was ready to start my umbrella felting.
First layer of woolI started with some tan wool that I rarely use to add a bit of bulk to the trunk. I wrapped it all around the umbrella handle first. I needle felted the wool in a few places so it would hold.
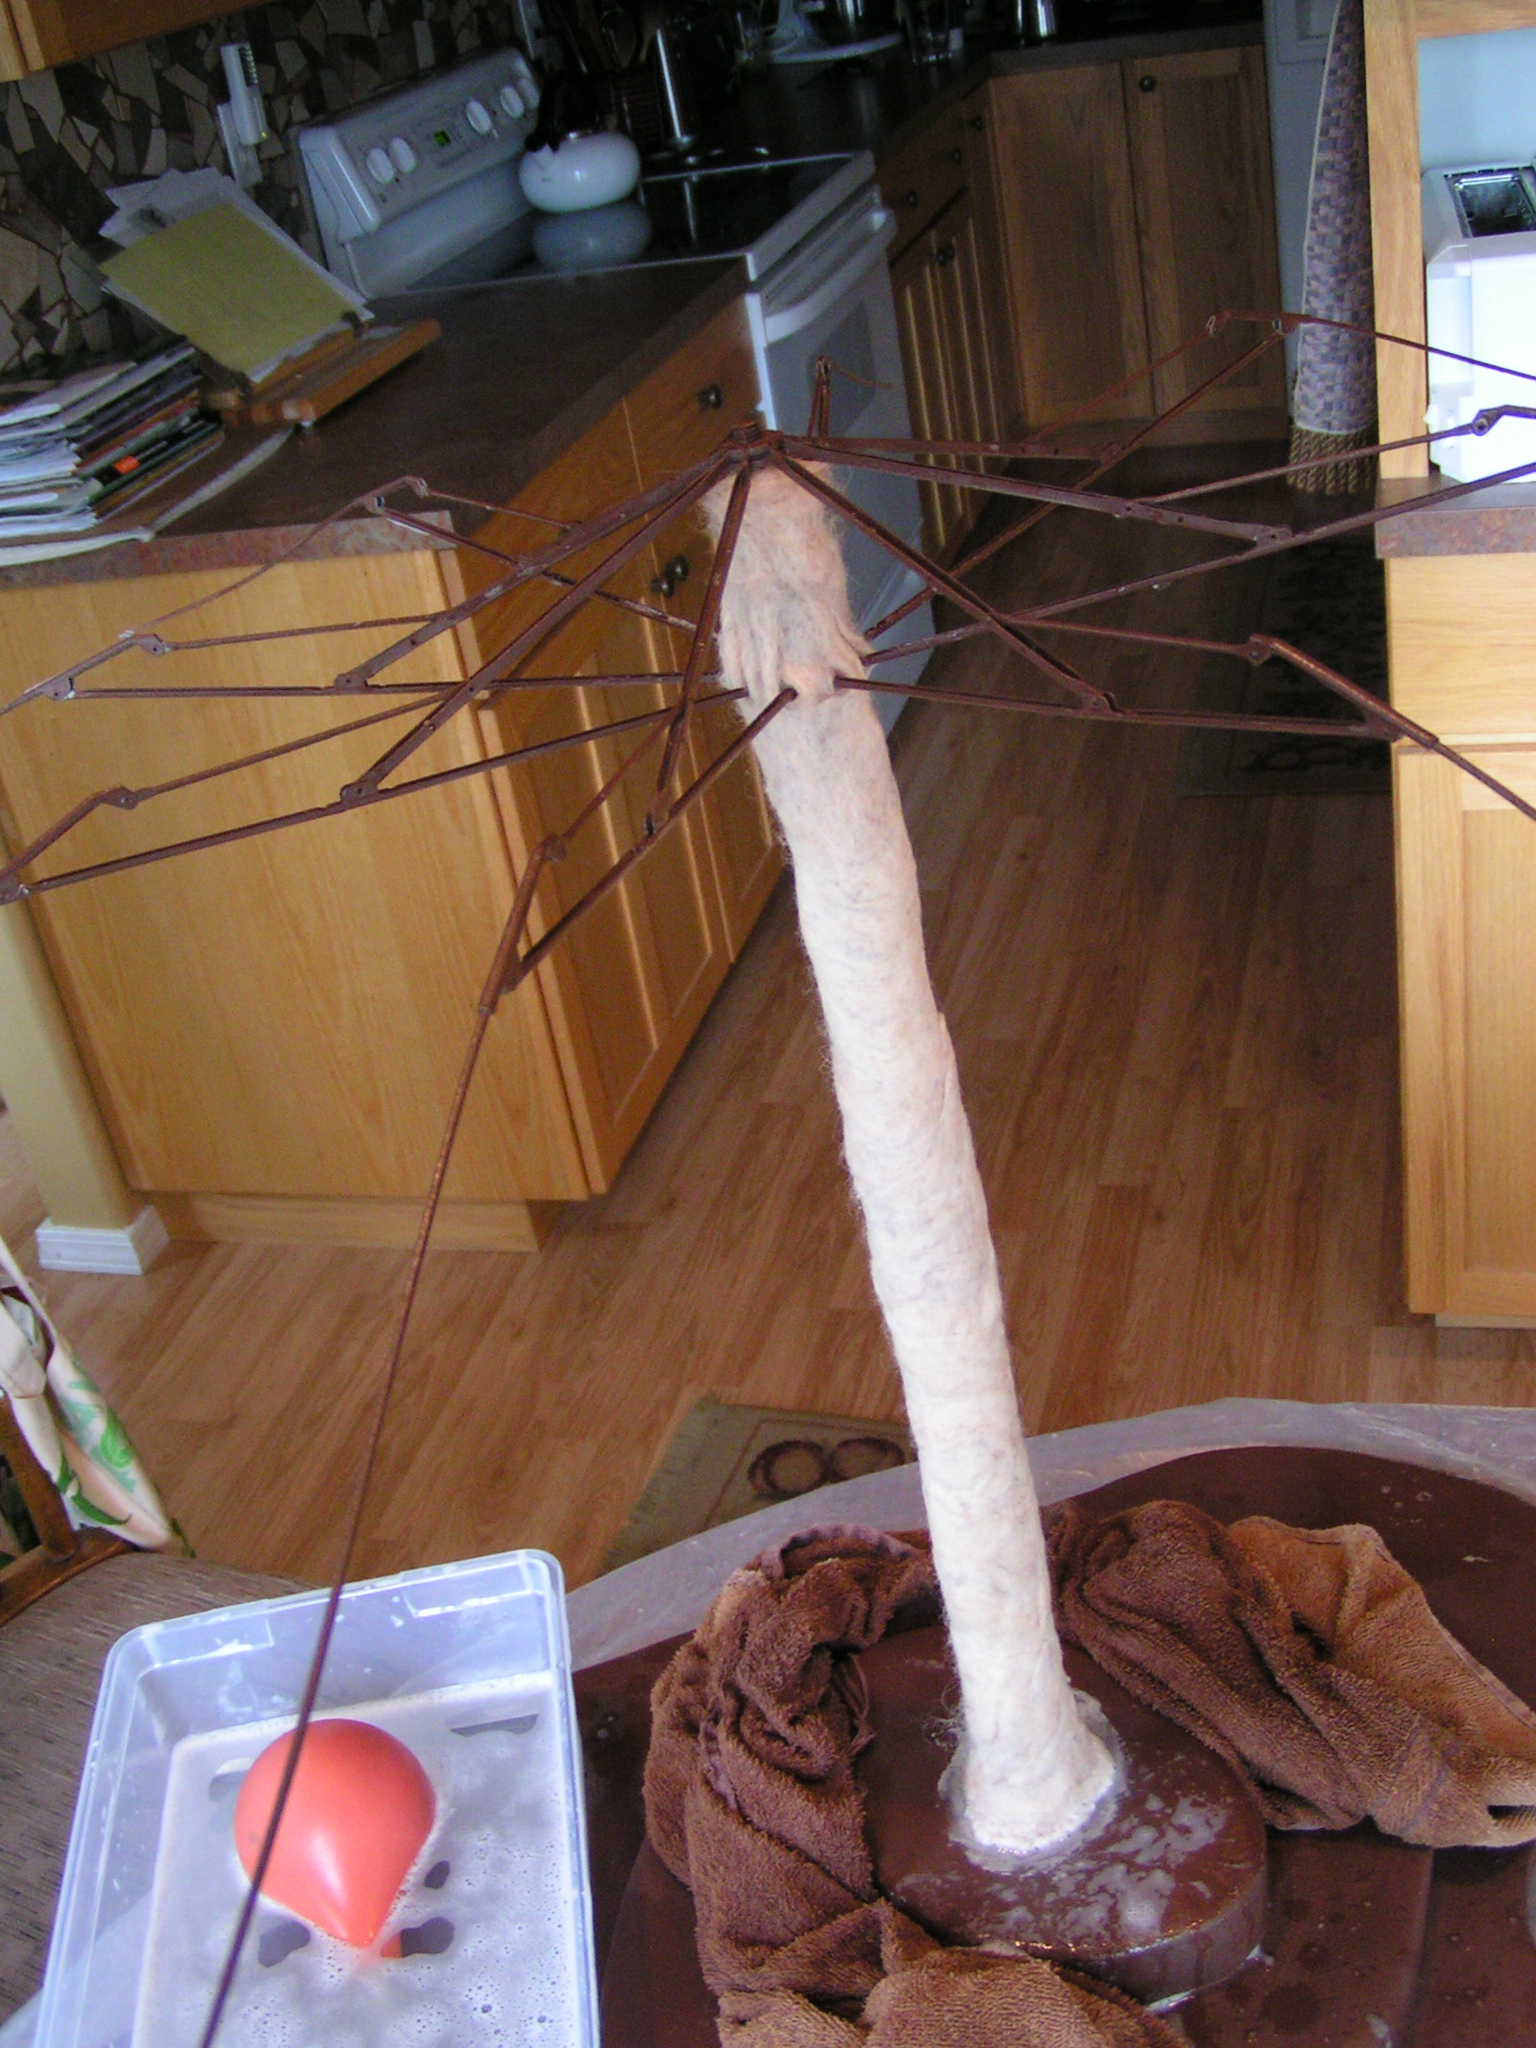
Wetting Down First LayerThen I wet down the wool and started rubbing away. This was a bit messy and water was going all over the place, dripping down my arms and all over the floor. But I persevered.

Adding Locks


Next I added some dark brown Romney locks in hopes of adding texture to the final layer.  As it turns out, I could have skipped this step as it didn’t really show through the final layer of wool at all.

Adding Final Layer


Then I added a batt of mixed Corriedale and Moorit wool, wet it down and rubbed away. The color is perfect but I really had hoped you would see the darker wool coming through in spots. I will be adding more texture to the felt but that will happen later.

Trunk FeltedHere it is after the trunk was finished. You can see that it shrunk quite a bit. There is about a 2″ gap now at the bottom. I’ll fix that when I add the roots and what ever is going to go on the base. I haven’t quite decided on that yet.

Adding Wool to BranchesNext I started wrapping brown wool around the ribs of the umbrella. Again, I used the felting needle to hold things in place as needed. The first one I did was kind of painful but then I got the hang of the wrapping and covering all those angles at the top.

Beginning to Felt BranchesMy husband came home at this point and said “Oh that looks like a spider.” So then I had this idea of taking the top part of the umbrella off of the handle and making umbrella spiders. Wouldn’t that be cool? But no, I am working on “Shelter” not spiders. So I started felting the wool around the ribs. I did the first one on the table but holding my arms up in the air that way was very tiring. So I put the whole thing on the floor and that worked great with me sitting in a chair and rubbing all those “limbs”.
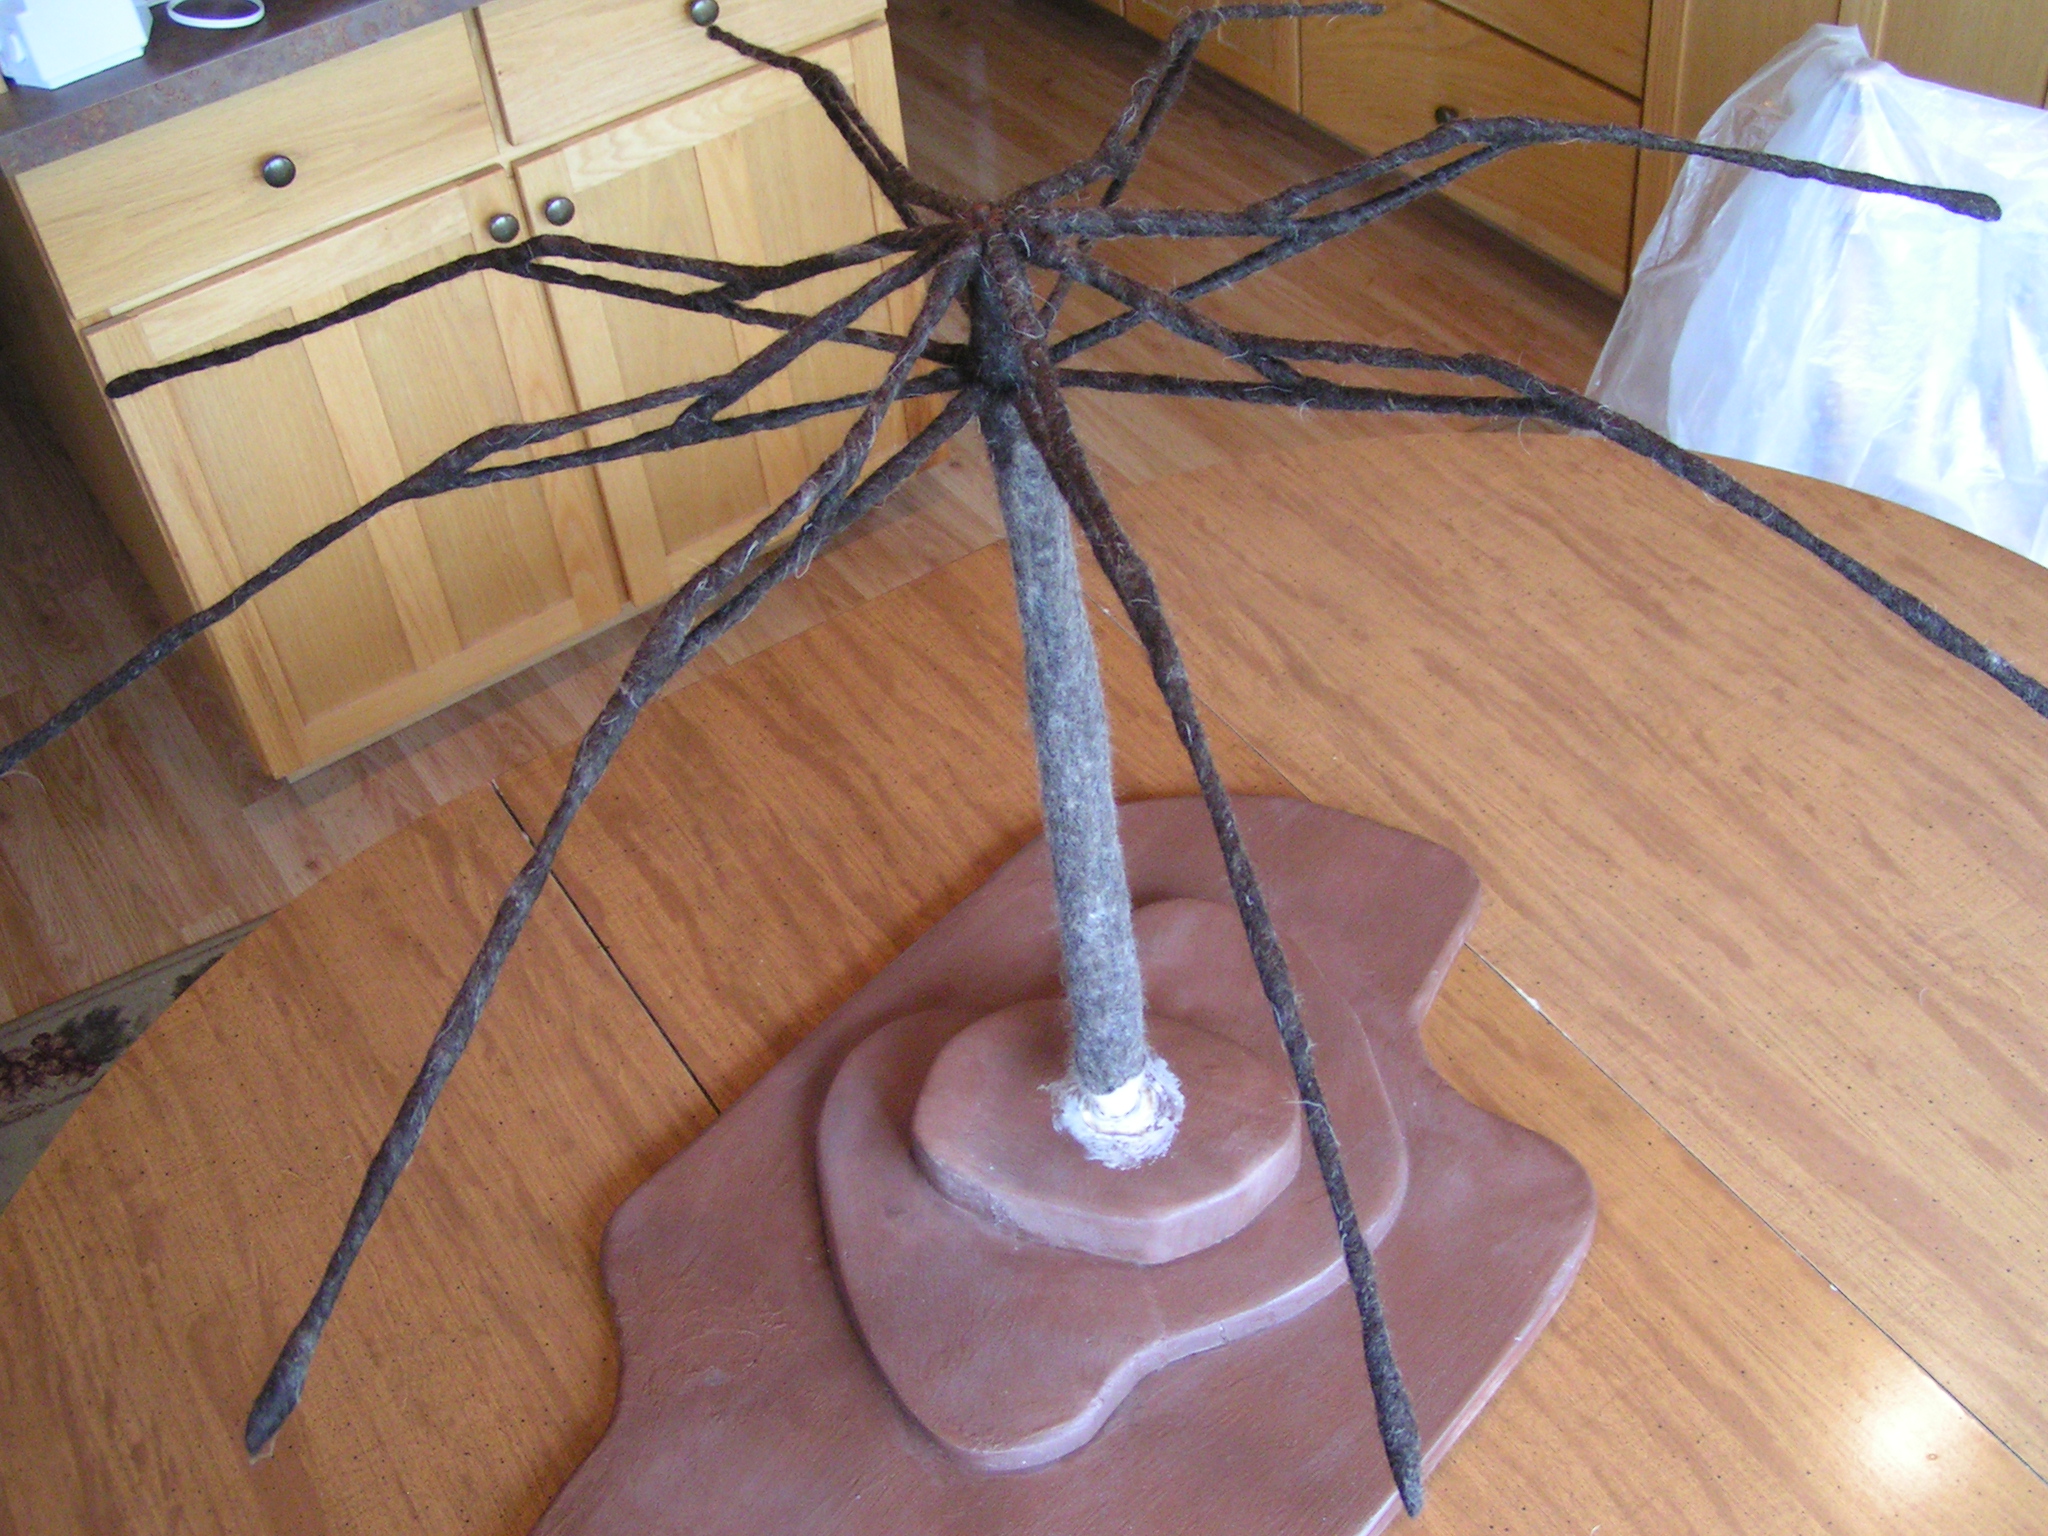
Felting CompletedAnd here is the felted umbrella tree. I thought it would take a really long time to finish the limbs of the tree but it went fairly quickly. They aren’t fulled completely because I didn’t want the wool to shrink so much that the ends would poke out. It’s not meant to be functional so it didn’t need to be shrunk down all the way.
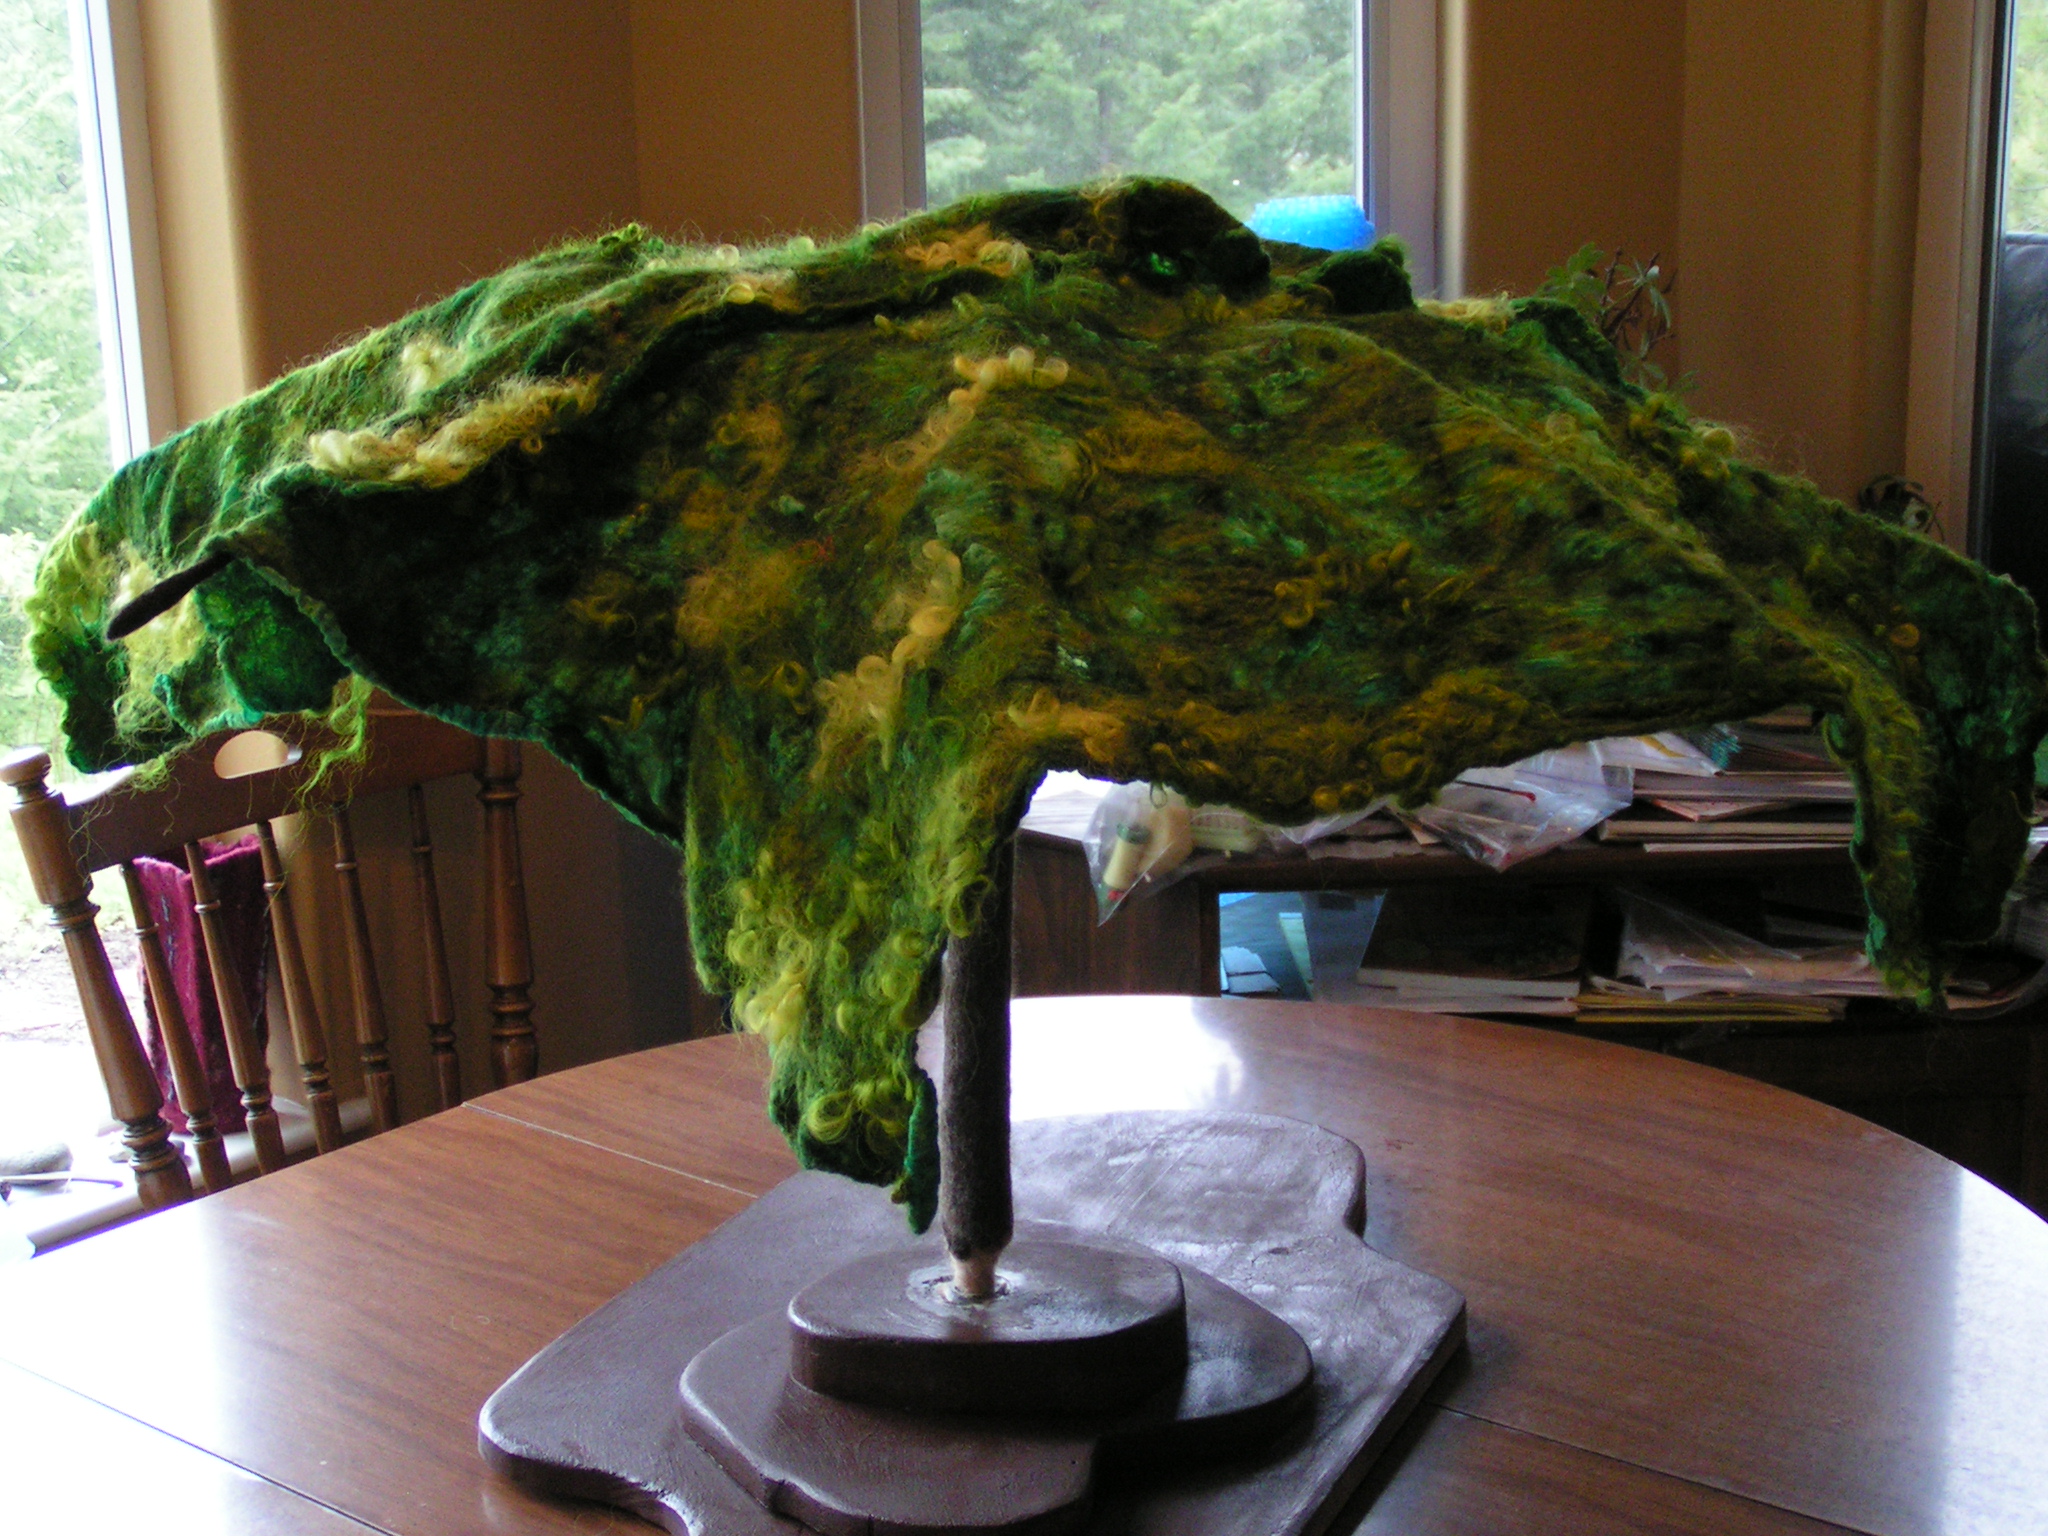
Nuno Felt on TopSo for those of you that were wondering how the green nuno felt would be used, I bet you’ve already guessed. In the photo above, I just have the green pieces draped over the umbrella frame. I will be cutting these up and sewing them back together to fit over the umbrella. This is just to give you an idea of how it will look.

Under the ShelterAnd I love this view from the inside, under the shelter of the umbrella tree.  Lots more work to do yet but I’m happy with it so far. If you’re interested in entering a piece for the exhibition, take a look at the Call for Entries on the Tangled website.


And Then There Were Two

I am continuing to work on my exhibition piece that I started a couple of weeks ago. I made the second piece of nuno felt yesterday. I hope this will be enough for what I need but I may need to make one more piece that is this size.

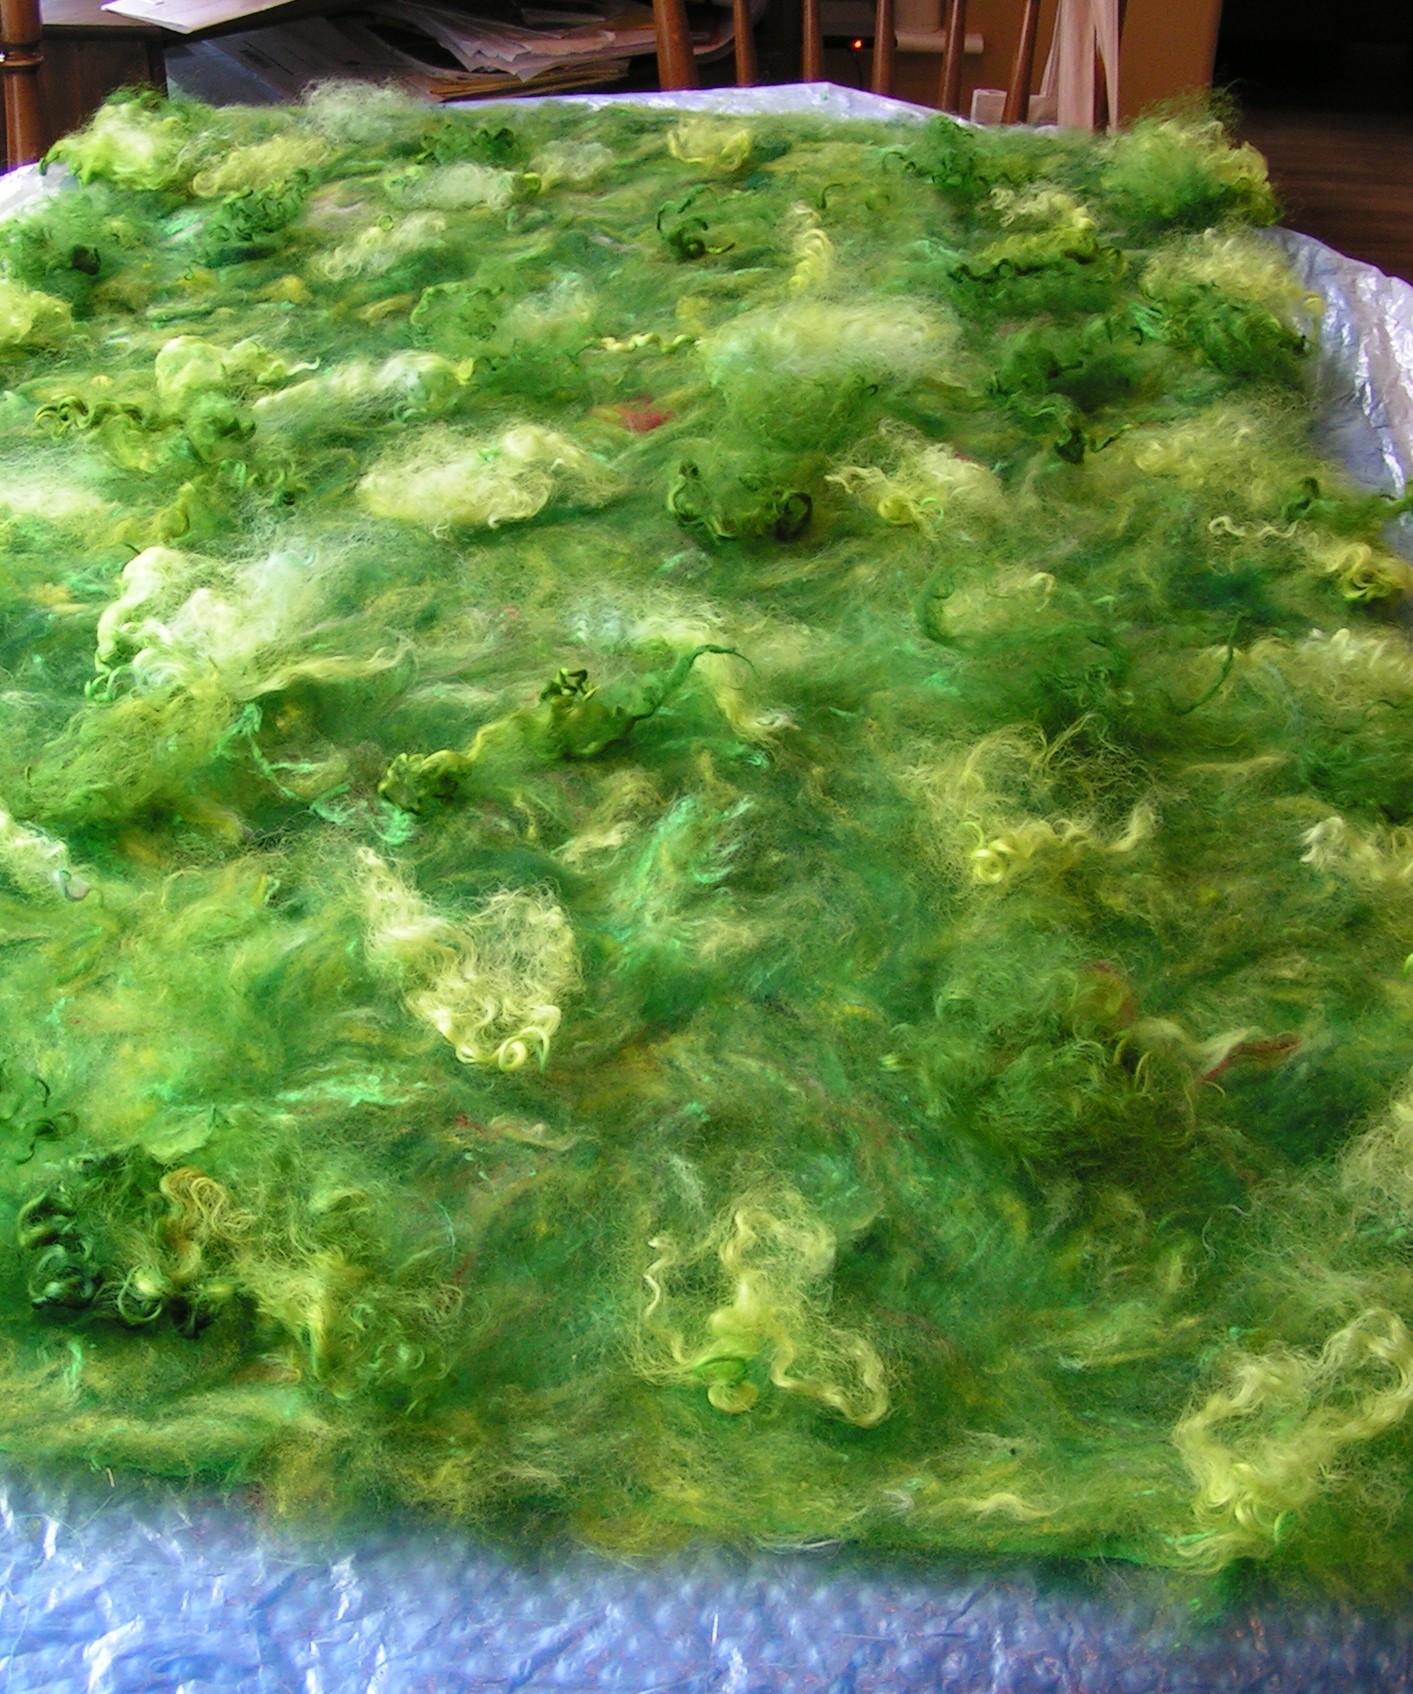
Second Nuno Felt LayoutThis is the lay out of the second piece. It looks just like the first!

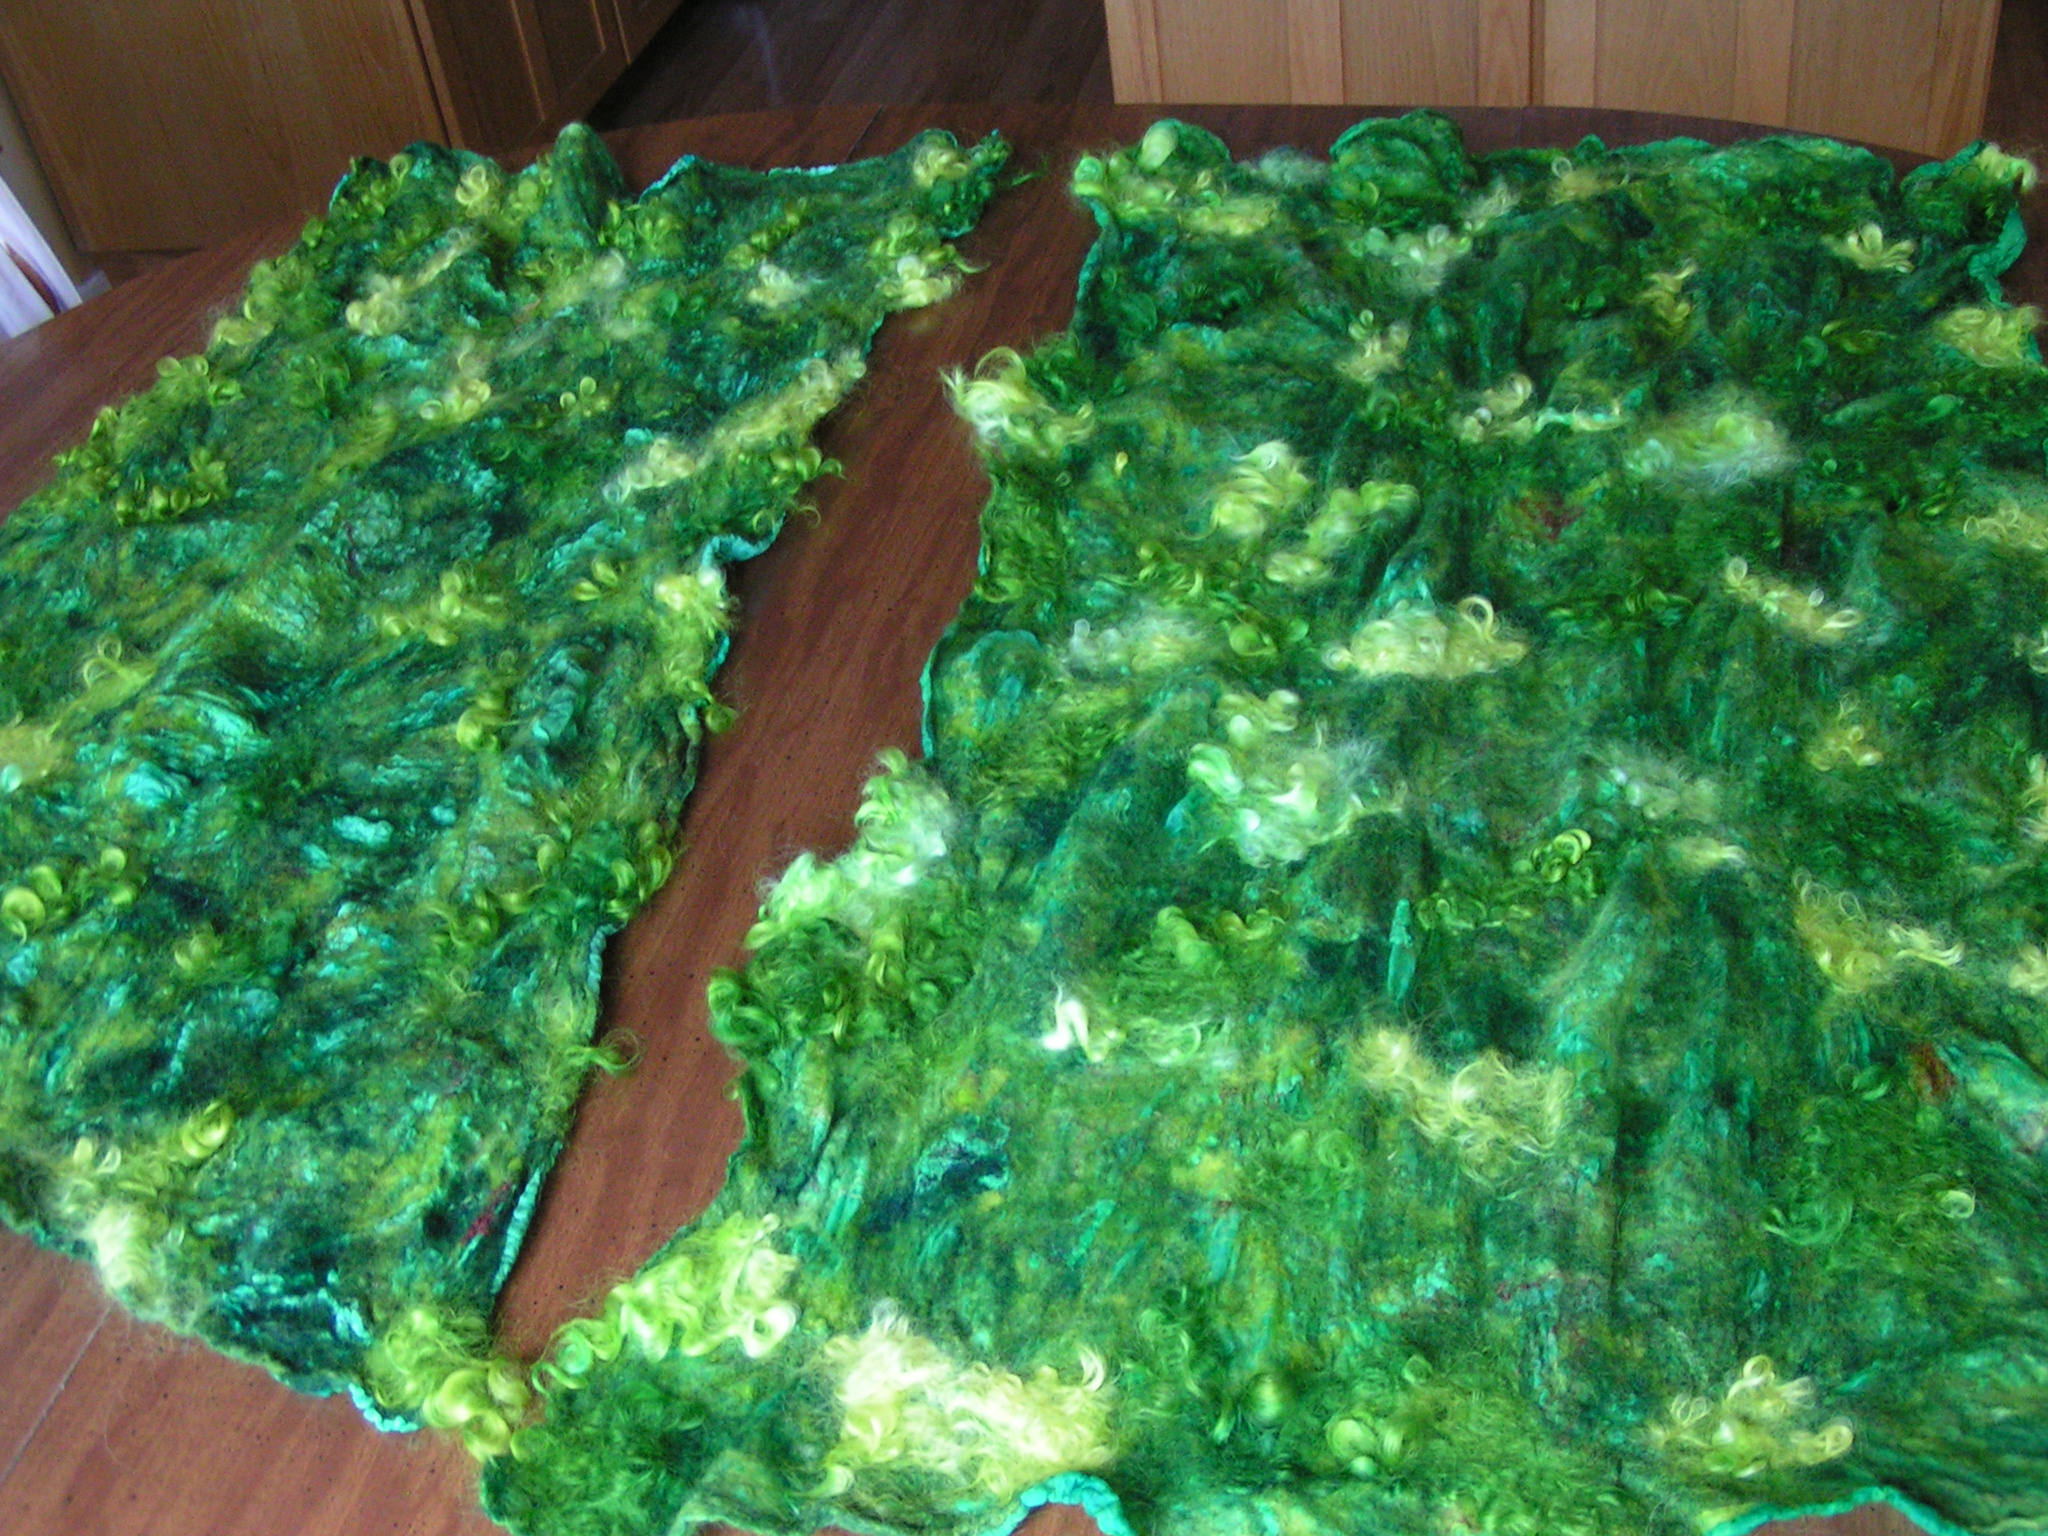
Two Completed Nuno FeltsAnd here are the two completed pieces together. I am happy that they look similar because the next step is to cut each of them up into four triangles and then sew them together. With this much texture, the stitching the piece together might turn out to be very interesting. I wrote a post on the Felting and Fiber Studio site about the exhibition. If you didn’t see it, go check it out. It’s a call for entries for an exhibition and I’d love for any fiber artist that’s out there to submit an entry.  See the details here


The Basics of Nuno Felting

I haven’t done a nuno felting tutorial so I thought it might come in handy for those of you who haven’t tried it before and need a little guidance. The most important thing to remember about nuno felting is that you need to be more gentle and take a little more time when you start felting so that the wool fibers have time to migrate through the silk or open weave fabric that you are using. Nuno felting is the process of making a new type of fabric by combining a loose weave fabric with wool fiber. The easiest way to do this is use a fabric that is light weight and loosely woven with a wool that is a fine fiber such as merino. This allows the fine fiber to move easily through the fabric. It is possible to use other fabrics and fibers but if you’re just starting out, I would suggest trying a 5mm silk gauze and 18-22 micron merino wool. I got the silk gauze from Dharma Trading and the merino was from a local source. I also carded in some embellishing fibers when I was making batts but you can add embellishments on the surface without carding them in with the wool. You just need to remember that silk and other plant fibers will not felt and attach to the silk fabric unless they have some amount of wool to help adhere them to the surface.

MINOLTA DIGITAL CAMERA


To start, I laid out a layer of plastic to protect the table. I then laid out a section of pool cover. You can use bubble wrap if you have that instead. Then I use very thin, light weight painter’s plastic big enough to cover the piece of silk that I am using. You need two sheets of painter’s plastic to sandwich your nuno felt in. The photo above is actually the back side of my felt. I used preyarn to create a branching effect. I then placed the other piece of plastic over the top and flipped the sandwich of plastic and silk over to the other side.

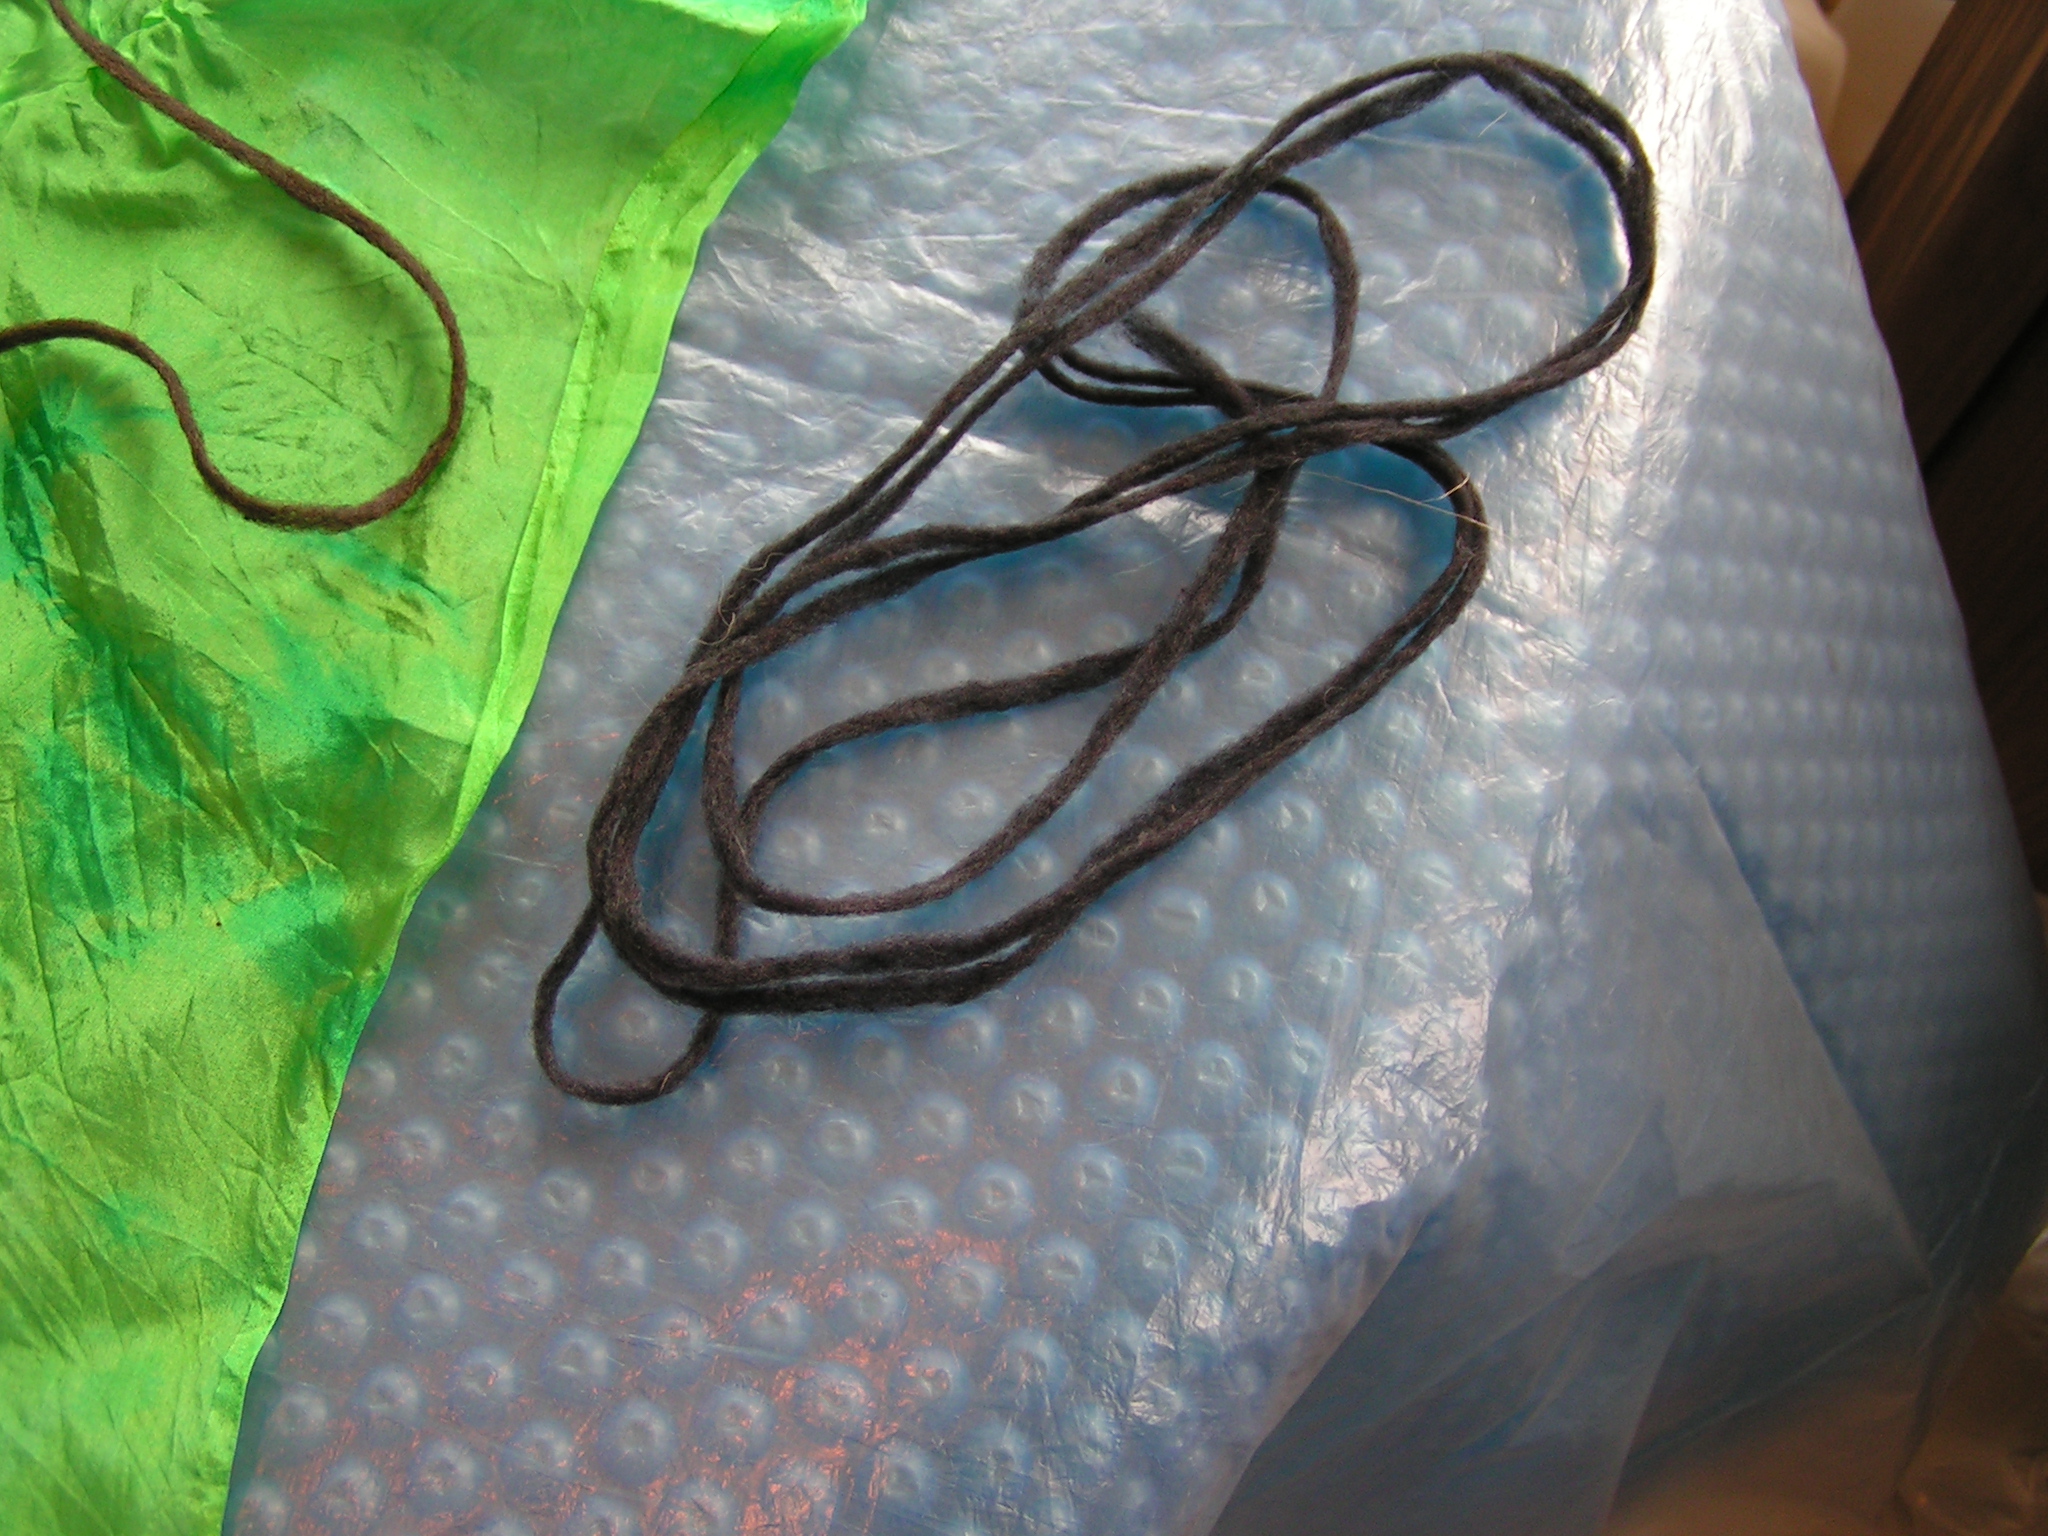
MINOLTA DIGITAL CAMERAHere’s a photo of the preyarn. I really like to use this for fine lines in felting.

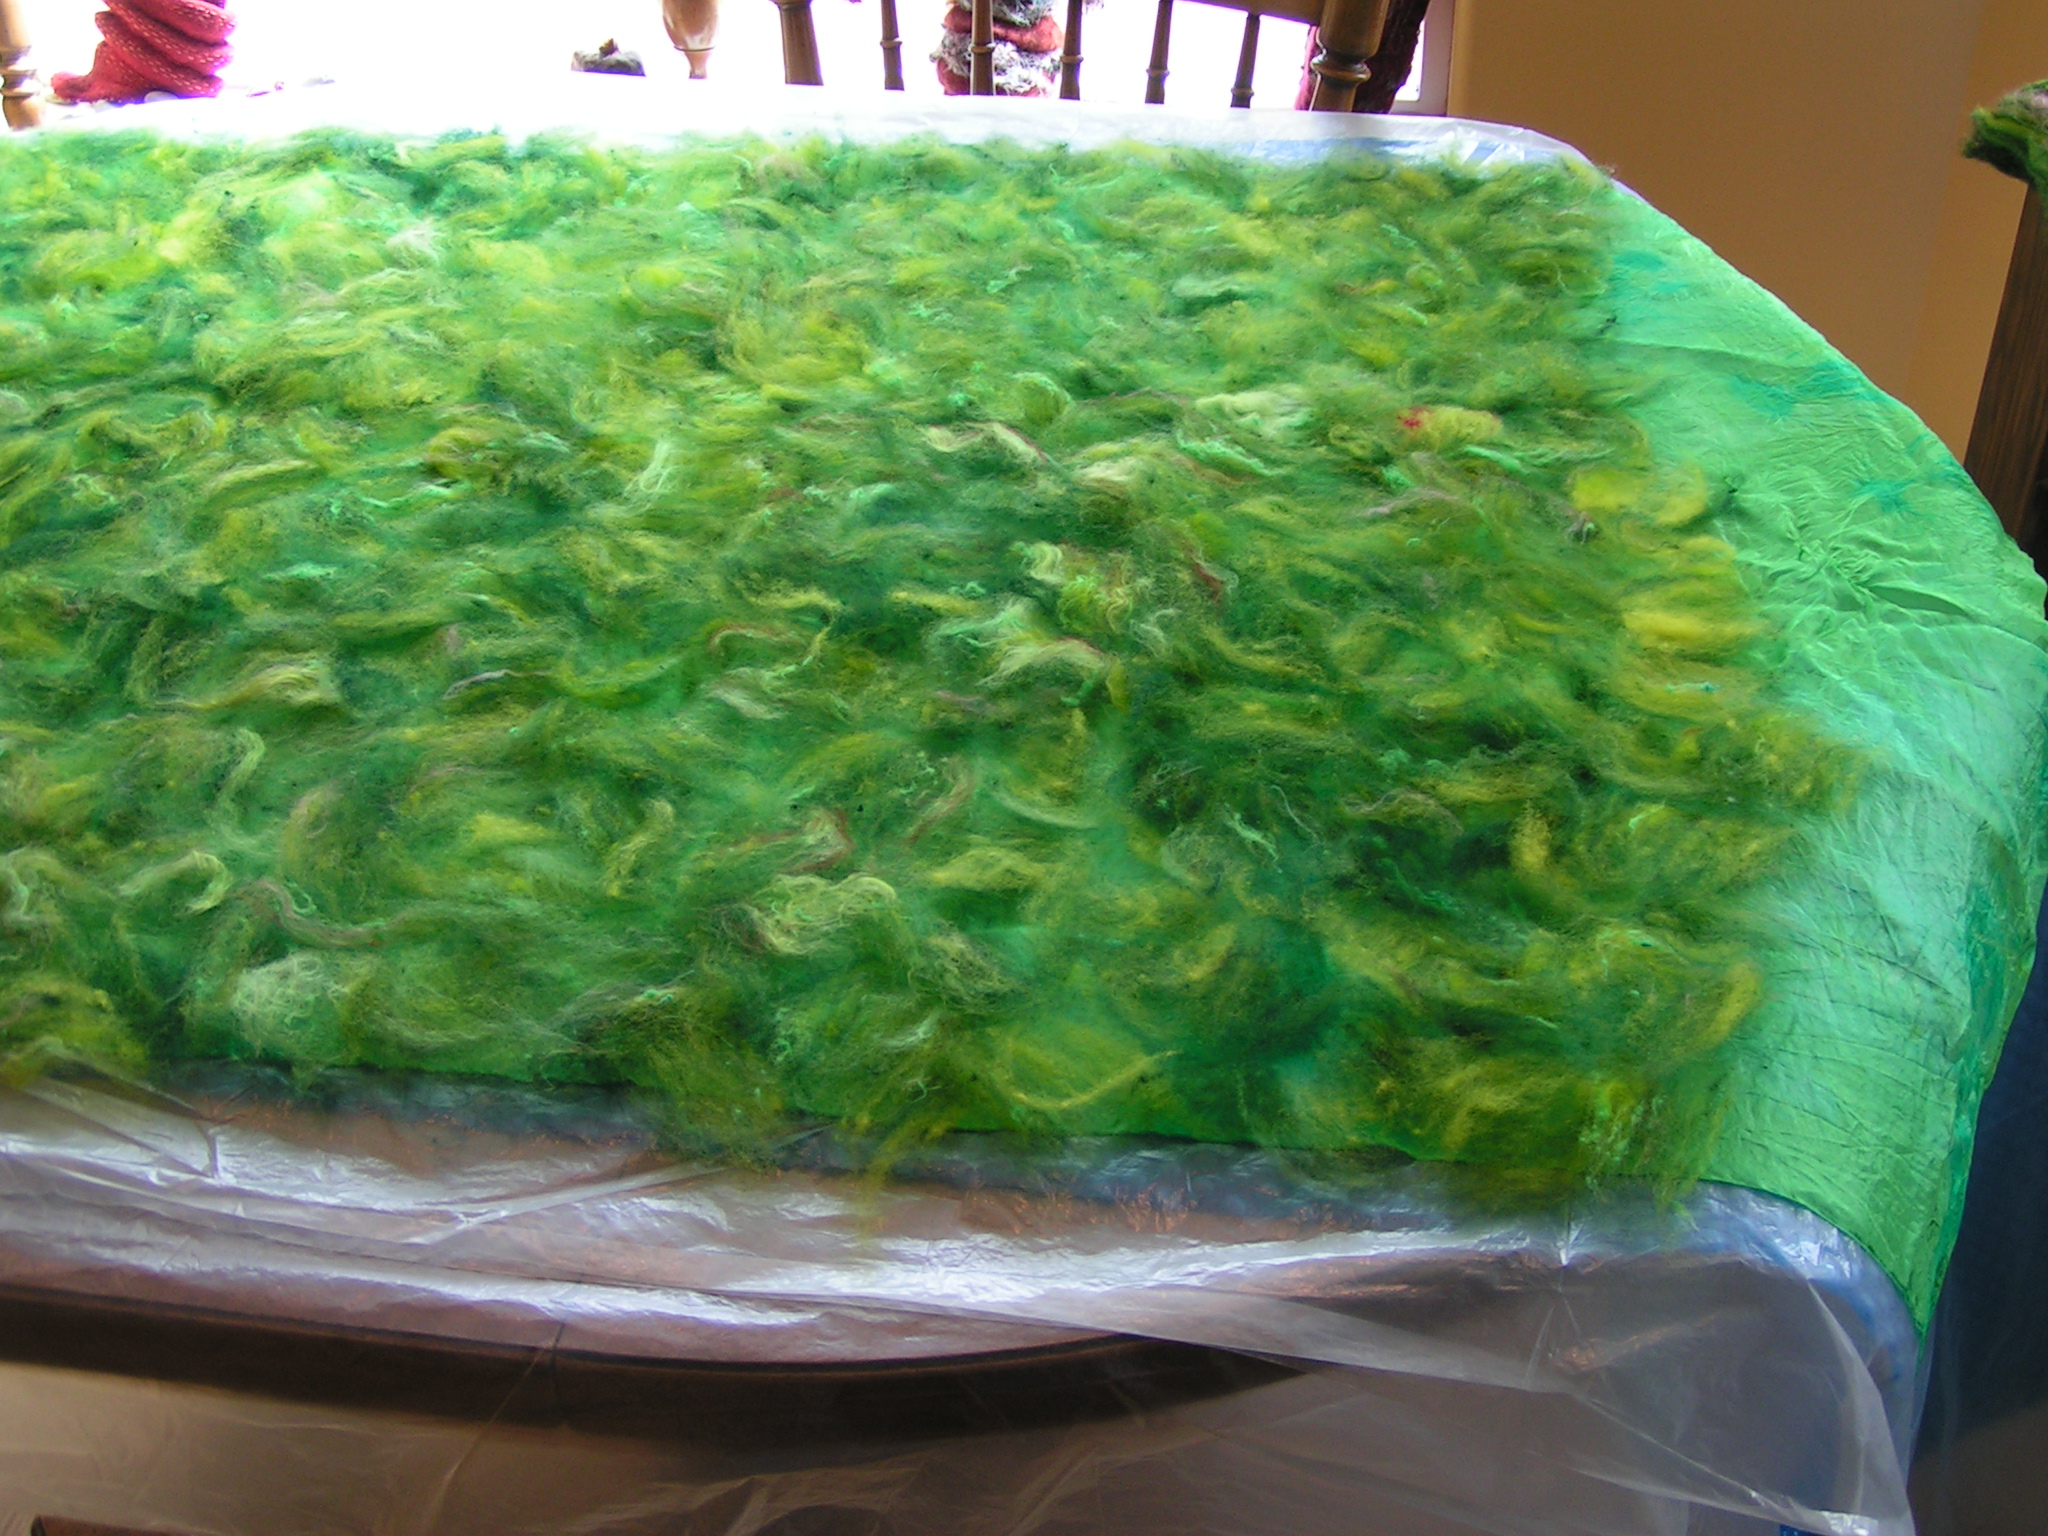
MINOLTA DIGITAL CAMERANext I laid out my wool on the silk fabric. I just pulled small bits off the batt and laid them randomly on the fabric. I didn’t want the piece to shrink in the same direction thus the fiber is in all different directions. I didn’t worry about missing any spots as I wanted some of the silk to show through. You do need to be careful about the edges and cover them completely with fiber especially if the edge has been cut or torn. The wool once adhered with the felting process will keep the silk from fraying. Also, if you pat the wool down as you go, it has less tendency to fly away as you’re working.

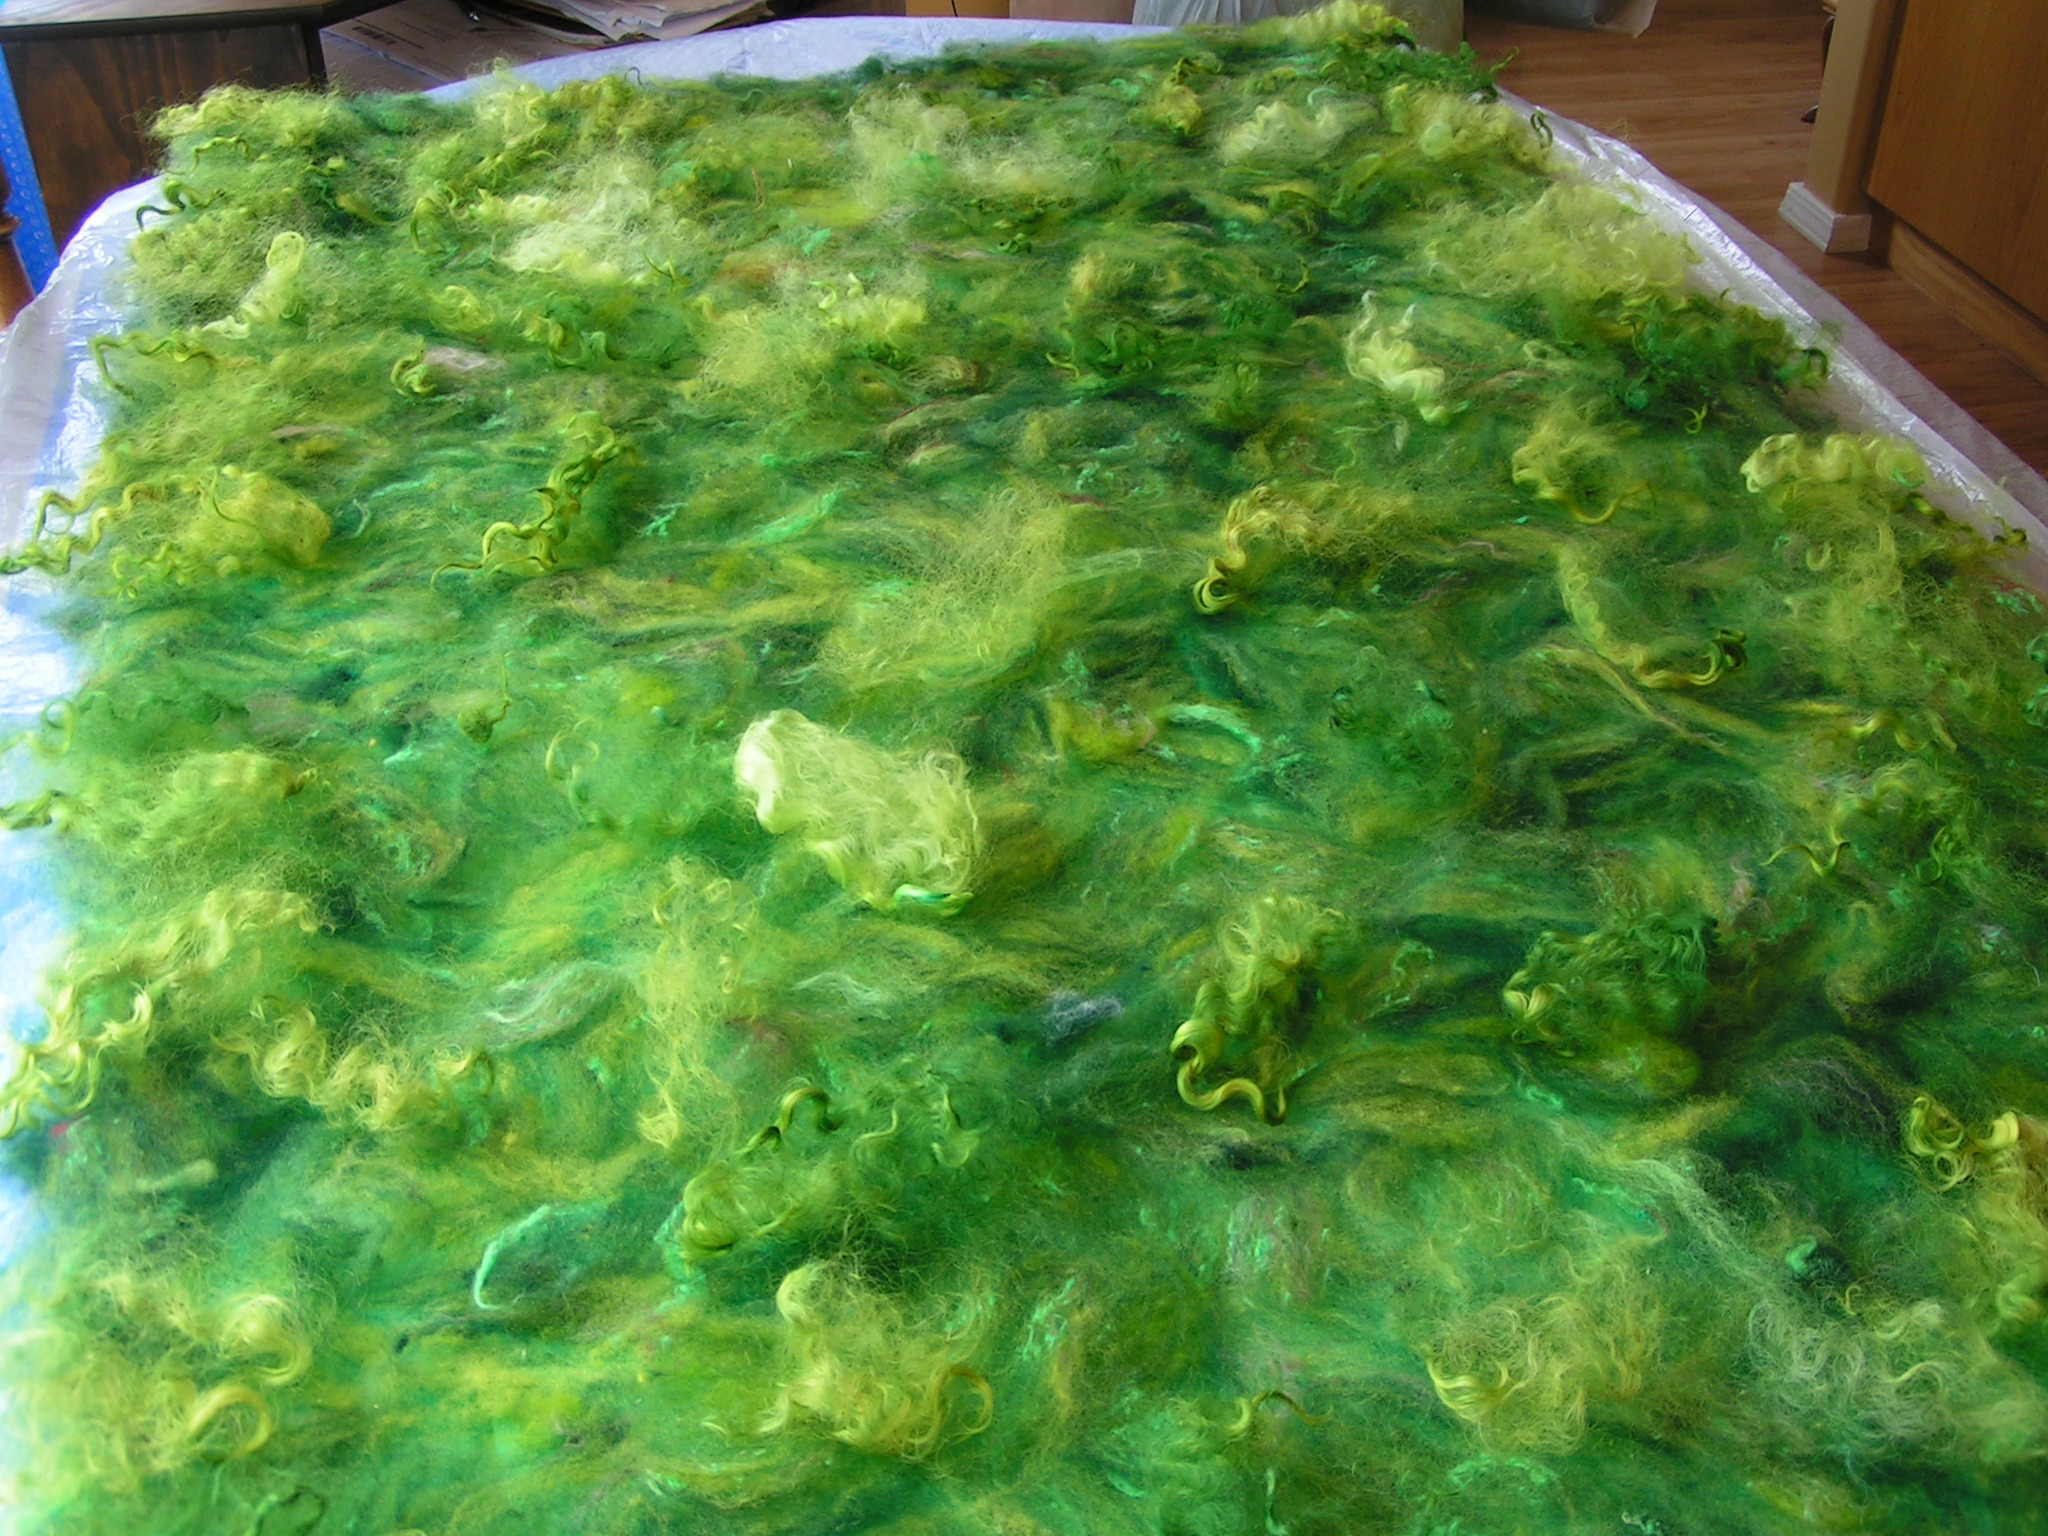
MINOLTA DIGITAL CAMERAOnce the silk was completely covered I added Wensleydale locks as embellishment. If you don’t want a very textured surface, don’t add locks. They shrink differently than the merino and give a very textured effect. But I love texture so on with the locks.

MINOLTA DIGITAL CAMERANext I wet down the entire top surface. I used cool, soapy water sprayed from a ball brauser type sprayer. Avoid hot water as you don’t want the wool to felt to itself before the fibers migrate through the silk. I gently pat the wool down as I wet it to make sure all the air bubbles are out and that the wool is completely wet. The photo above you can see the preyarn lines showing from the other side so there really isn’t a lot of wool here, just a small, light layer of wool. Once you’ve got the entire surface wet down, cover the whole piece with thin painter’s plastic.

MINOLTA DIGITAL CAMERAThen roll everything up in the pool cover or bubble wrap and tie with nylons. Then the rolling begins. Start rolling gently and avoid heavy pressure to start. I usually roll 50 times, unroll, and then roll up from the other end. I do that at least twice. Check between each roll and try to smooth out the wrinkles that develop in the plastic. Have towels handy for sopping up any errant water that comes out the end. After doing 4 x 50 rolls, I check to see if I see any fibers migrating through the silk. Look at the back side of the silk and see if you see little ‘hairs’. Sometimes you can see this better if you add more water or take water away by blotting with a towel. At this point, I flip the piece over so the back side is up and remove the top piece of plastic.

MINOLTA DIGITAL CAMERAThen I start rubbing the back side of the silk with soapy hands to encourage those fibers to come through the silk. I use quite a bit of soap on my hands for this although you can’t really see it in the photo.  Once I’ve rubbed over the entire back surface, I put the plastic back over the whole thing, fold it up and put it in the microwave for a couple of minutes to heat it up. Then I roll again. This time you can add more pressure with your rolling. I usually roll 4 x 100 with this set, checking each time and switching from end to end as I roll.

MINOLTA DIGITAL CAMERAThe next step is to begin fulling. Make sure that you see lots of fibers on the back side of the silk before you start fulling and again, you need to be gentle. I take the whole piece, dip it gently in hot water to warm it up again and then I either rub very gently against the pool cover or do gentle dropping. As the wool starts to shrink and the silk starts to ruche or pucker up, you can add more pressure and be a little more aggressive. I keep warming up the felt as I go either in hot water or in the microwave. Keep dropping and rubbing the felt against a rough surface such as the pool cover or bubble wrap until the wool has shrunk and is completely attached to the silk. Nuno felt usually shrinks at least 40-50% and sometimes more than that. If you want to make something a certain size, it is best to make a sample first and measure the shrinkage. That way you know what size is needed at the start.

MINOLTA DIGITAL CAMERARinse the fulled piece of nuno felt in clear water and then soak in a bath of vinegar water for 5-10 minutes. Rinse again with clear water. I usually put the nuno felt in the washing machine on the spin cycle to get the water out and then hang to dry. If you want the piece to be more square, you should block it to dry. You can see that I got lots of texture which is what I wanted. MINOLTA DIGITAL CAMERA

This is the silk side. I always love the texture and ruching that you get from nuno felting on the silk side. That’s the basics of how to nuno felt. If you have any questions, please feel free to ask. I have a much more thorough explanation in my book The Complete Photo Guide to Felting if you need more explanation.

If you would like to take an online course about nuno felting, it’s available on The Felting and Fiber Studio website.

New Look

I’m jumping up and down and waving madly! Are you there?? I hope everyone has followed me over to my new site here on WordPress. It made sense to me to have everything in one place. Now I have my store site, The Felting and Fiber Studio and Permutations in Fiber all in one place. I am still working on some of the pages here and I’ll be adding more photos and fixing up the tutorial/video page.

MINOLTA DIGITAL CAMERA

I did get a bit more stitching done on the book cover.

MINOLTA DIGITAL CAMERA

It is starting to look more like a paisley pattern. I would really appreciate it if you would go over and like my new Facebook page if you do the Facebook thing. You can find it here.

Needle Felted Wool Paintings

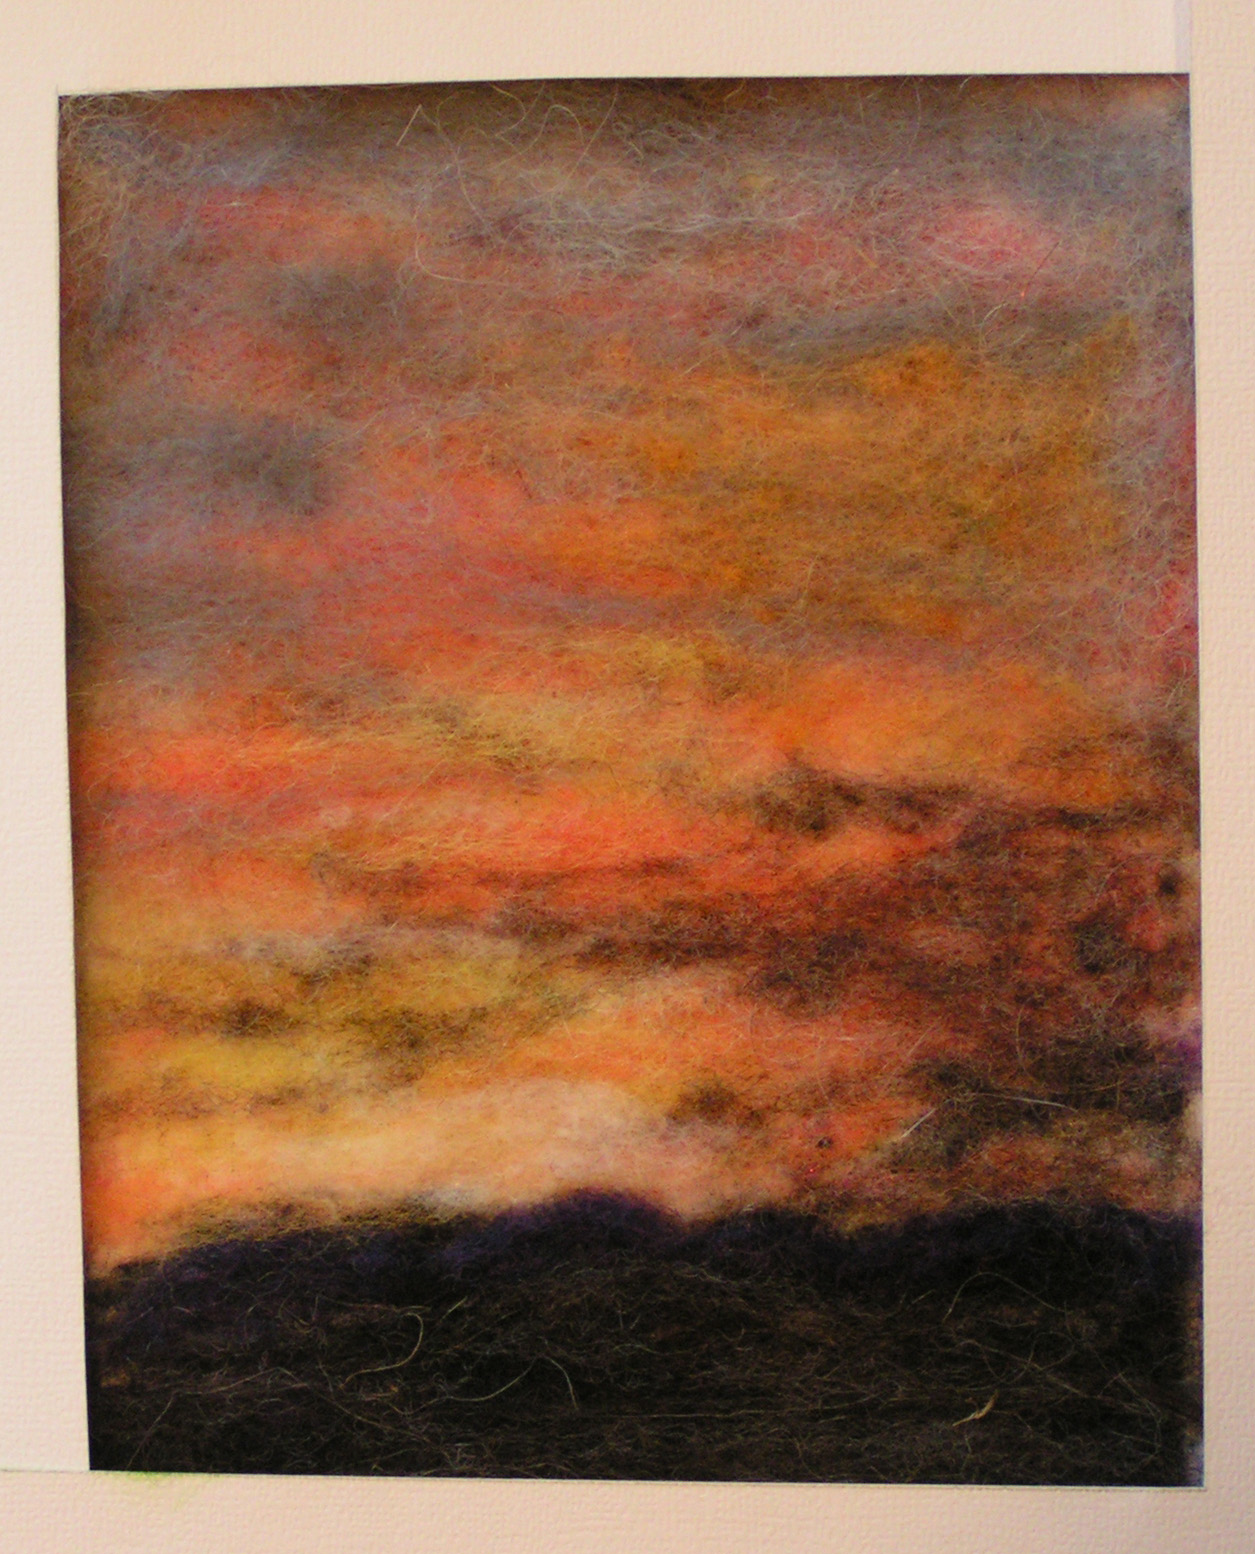
 My local group got together yesterday to do some needle felted wool paintings. Everyone started with an inspirational photo or picture. We used flannel fabric as a background. These are all 5″ x 7″ pieces. This gorgeous sunset was done by Carole.

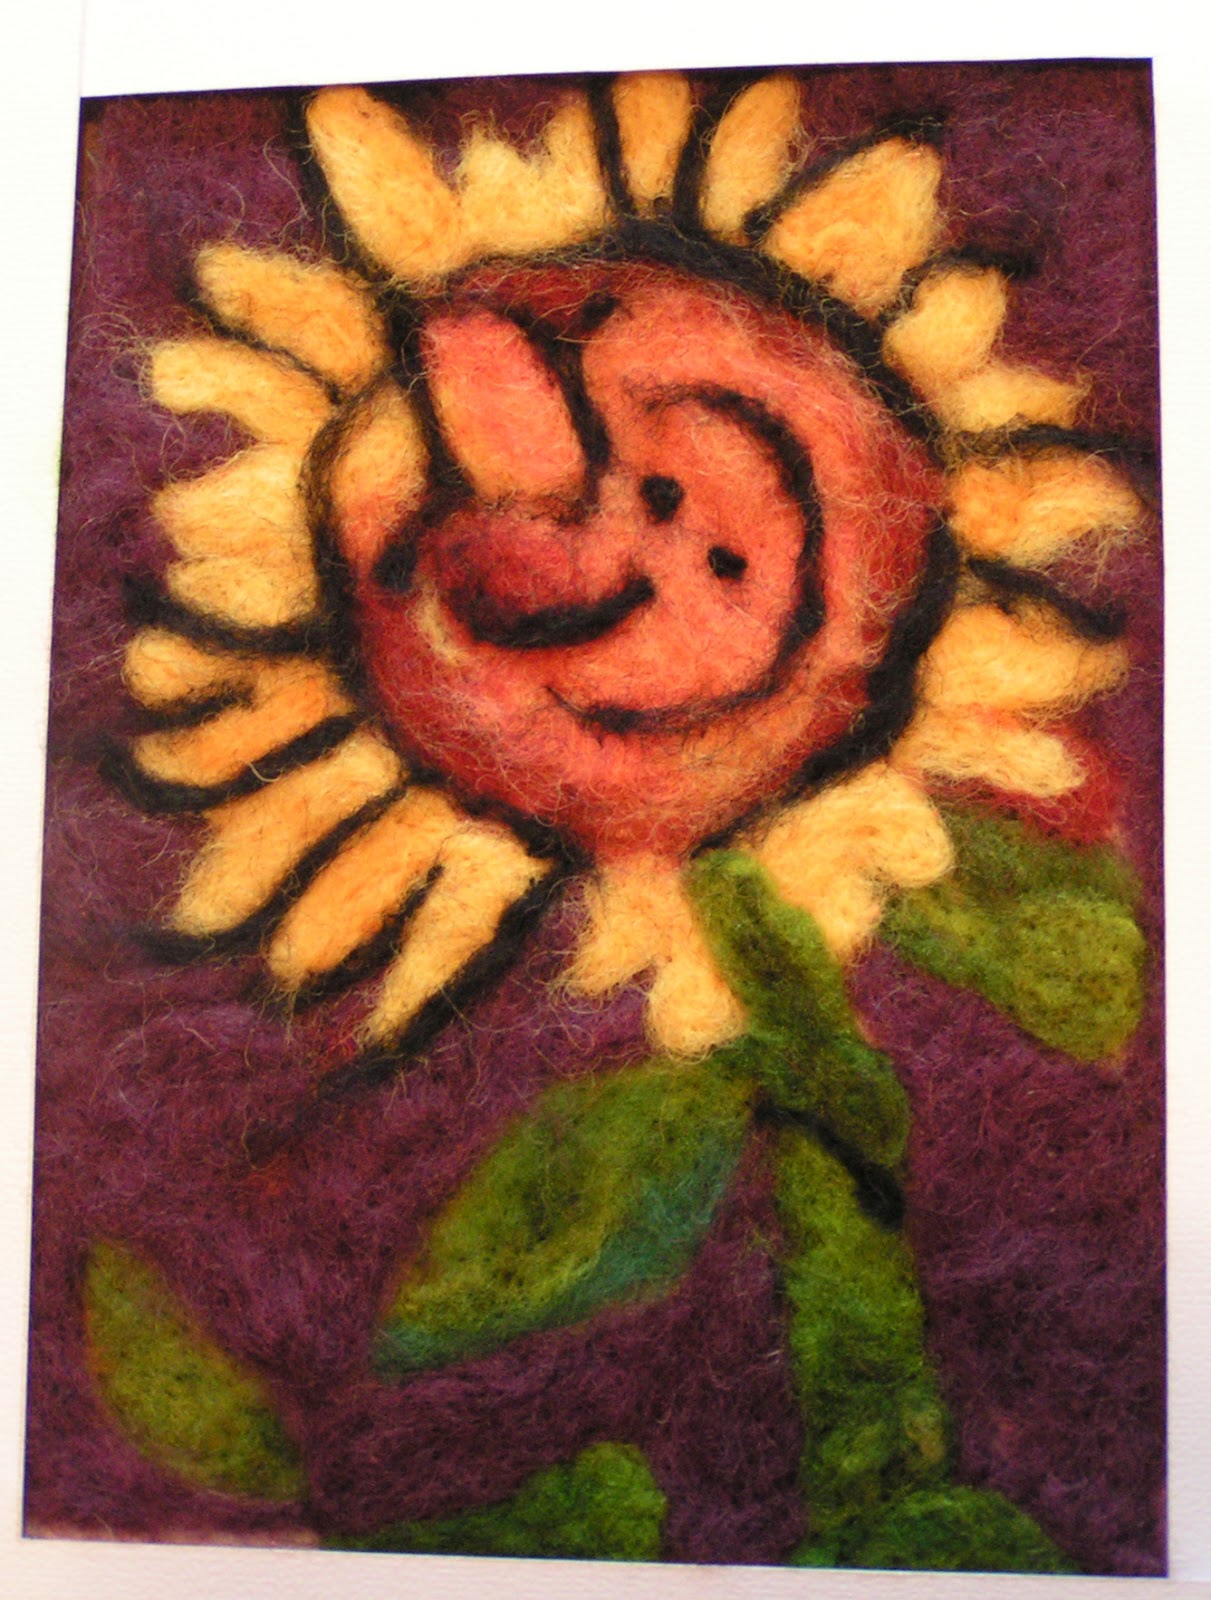
 This is Jan’s sunflower. She changed it up a bit from her inspiration as the original background was blue.

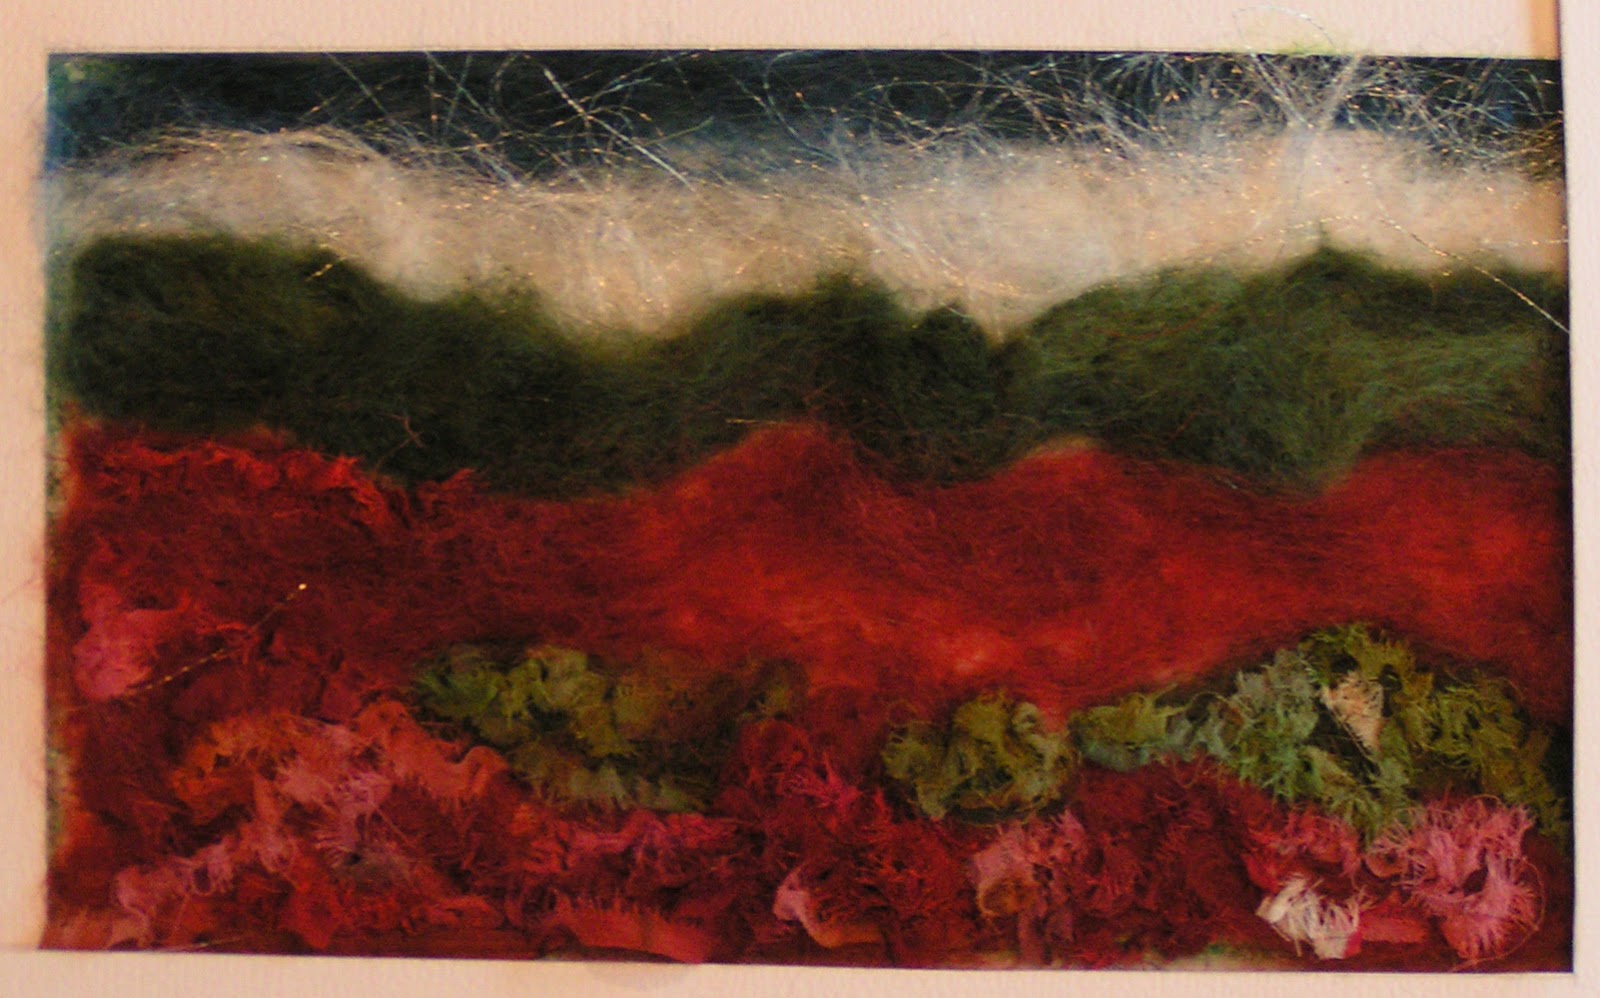
 Here’s Louise’s landscape. She was using all kinds of fibers and silk ribbons. She thought  she might do some free motion stitching as well.

 Here’s my photo that I used for inspiration.

 This is the partially finished wool painting.

And here it is when it was almost done. These were lots of fun to do and we all had a good time. Next month we’re going to try silk painting.