I haven’t done a nuno felting tutorial so I thought it might come in handy for those of you who haven’t tried it before and need a little guidance. The most important thing to remember about nuno felting is that you need to be more gentle and take a little more time when you start felting so that the wool fibers have time to migrate through the silk or open weave fabric that you are using. Nuno felting is the process of making a new type of fabric by combining a loose weave fabric with wool fiber. The easiest way to do this is use a fabric that is light weight and loosely woven with a wool that is a fine fiber such as merino. This allows the fine fiber to move easily through the fabric. It is possible to use other fabrics and fibers but if you’re just starting out, I would suggest trying a 5mm silk gauze and 18-22 micron merino wool. I got the silk gauze from Dharma Trading and the merino was from a local source. I also carded in some embellishing fibers when I was making batts but you can add embellishments on the surface without carding them in with the wool. You just need to remember that silk and other plant fibers will not felt and attach to the silk fabric unless they have some amount of wool to help adhere them to the surface.

To start, I laid out a layer of plastic to protect the table. I then laid out a section of pool cover. You can use bubble wrap if you have that instead. Then I use very thin, light weight painter’s plastic big enough to cover the piece of silk that I am using. You need two sheets of painter’s plastic to sandwich your nuno felt in. The photo above is actually the back side of my felt. I used preyarn to create a branching effect. I then placed the other piece of plastic over the top and flipped the sandwich of plastic and silk over to the other side.
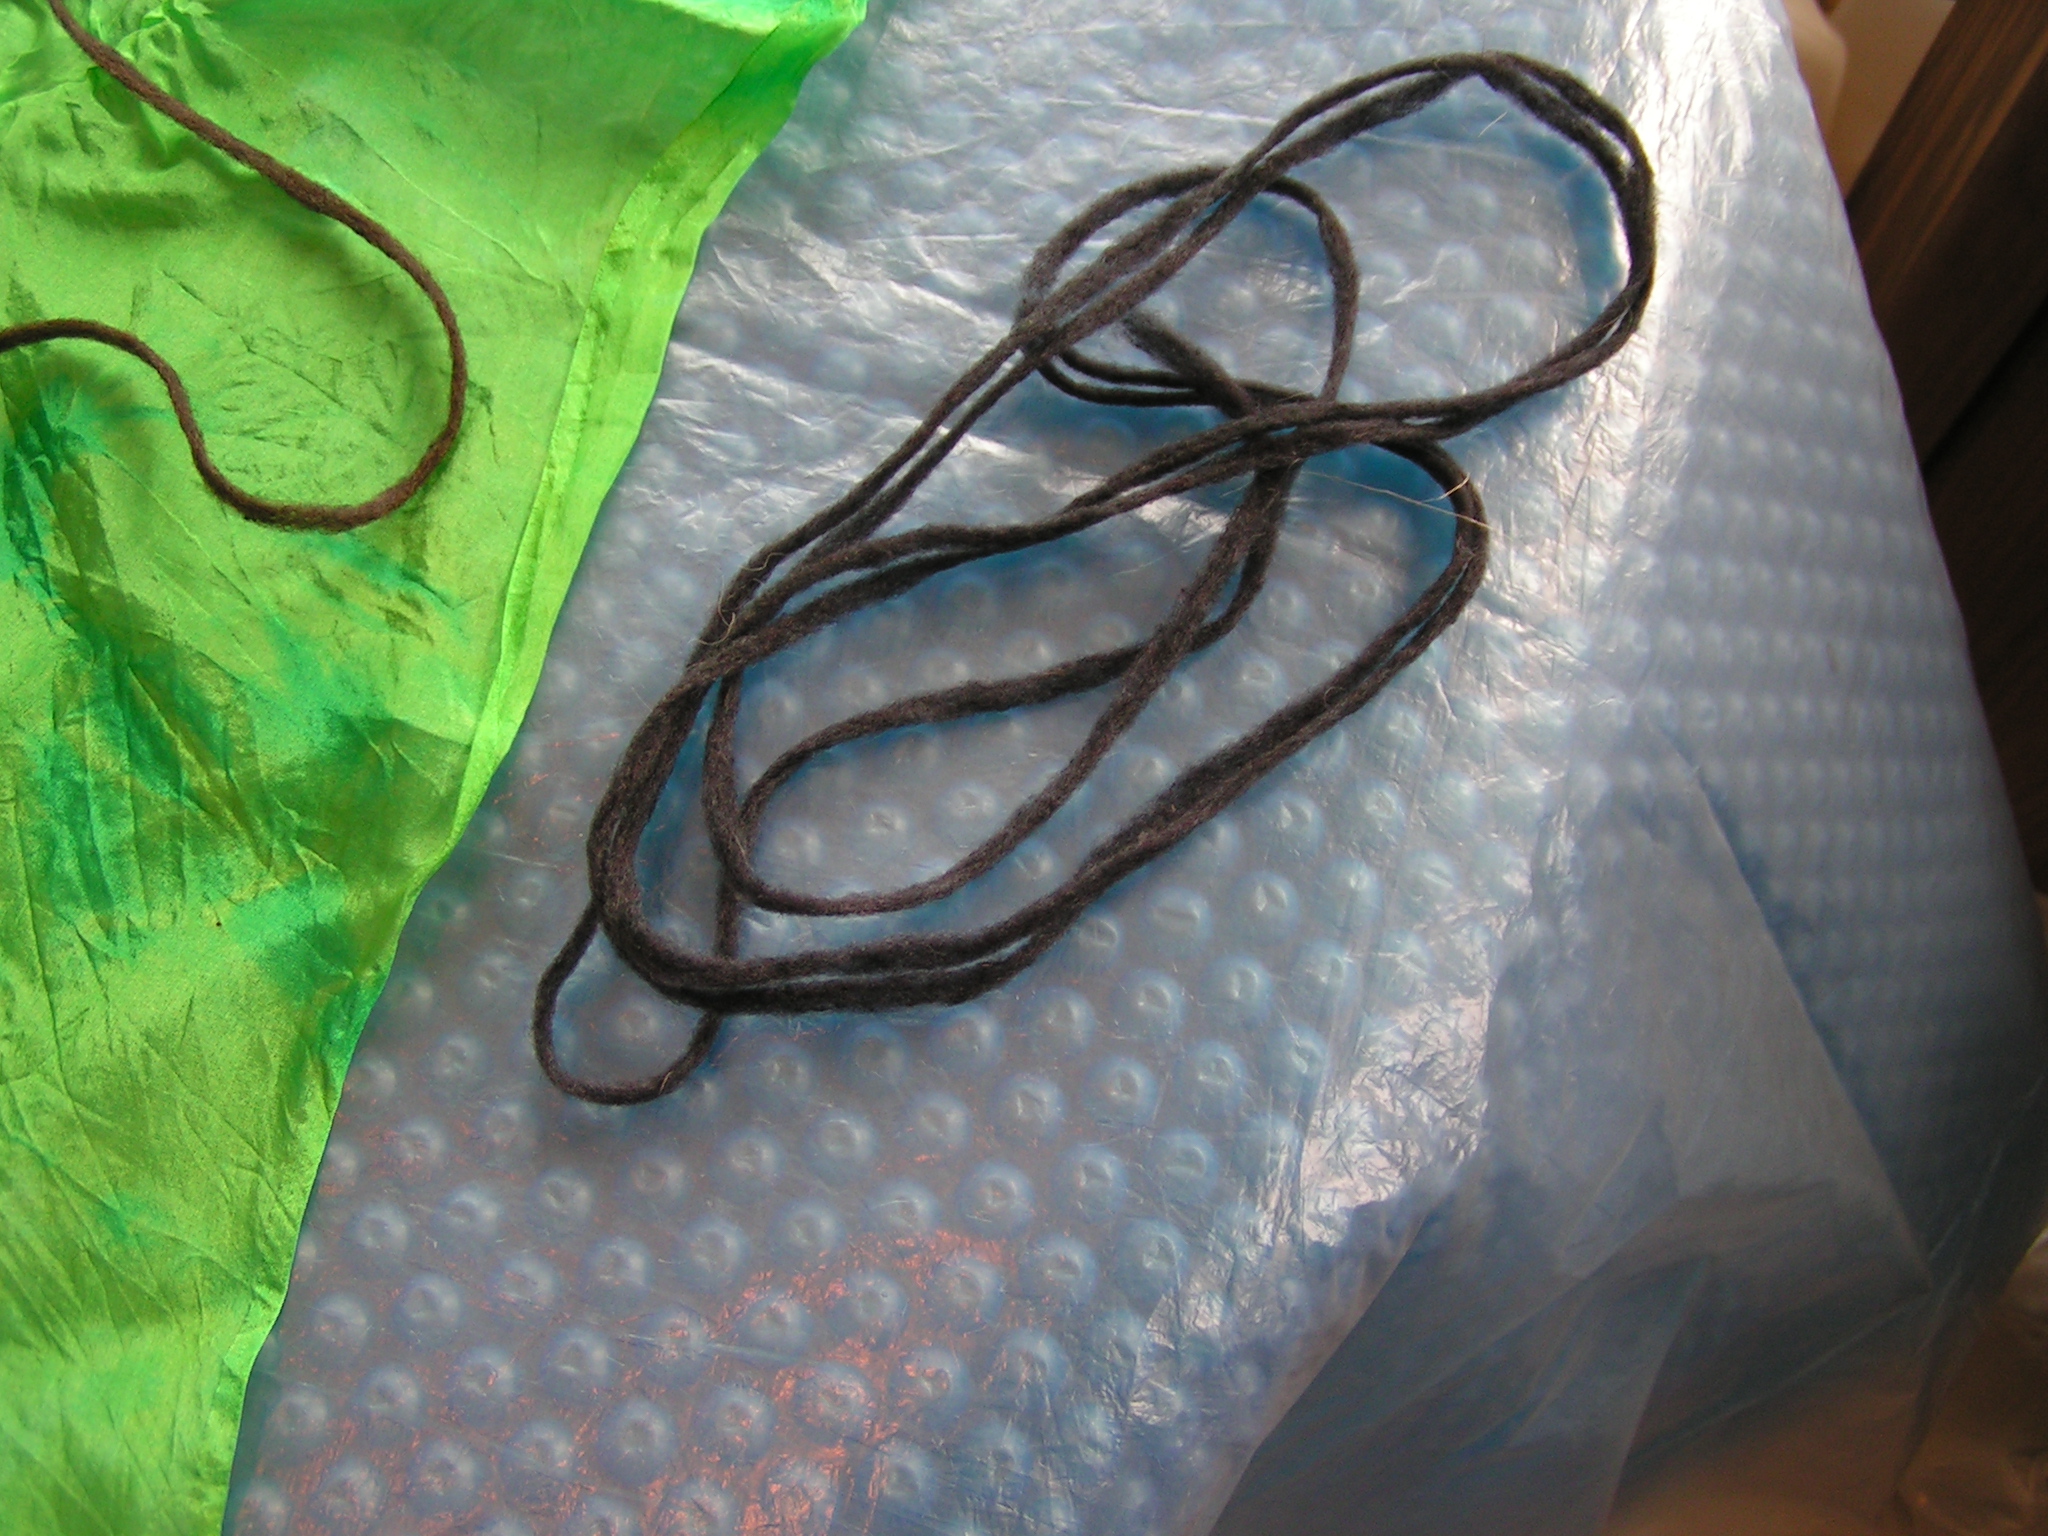 Here’s a photo of the preyarn. I really like to use this for fine lines in felting.
 Next I laid out my wool on the silk fabric. I just pulled small bits off the batt and laid them randomly on the fabric. I didn’t want the piece to shrink in the same direction thus the fiber is in all different directions. I didn’t worry about missing any spots as I wanted some of the silk to show through. You do need to be careful about the edges and cover them completely with fiber especially if the edge has been cut or torn. The wool once adhered with the felting process will keep the silk from fraying. Also, if you pat the wool down as you go, it has less tendency to fly away as you’re working.
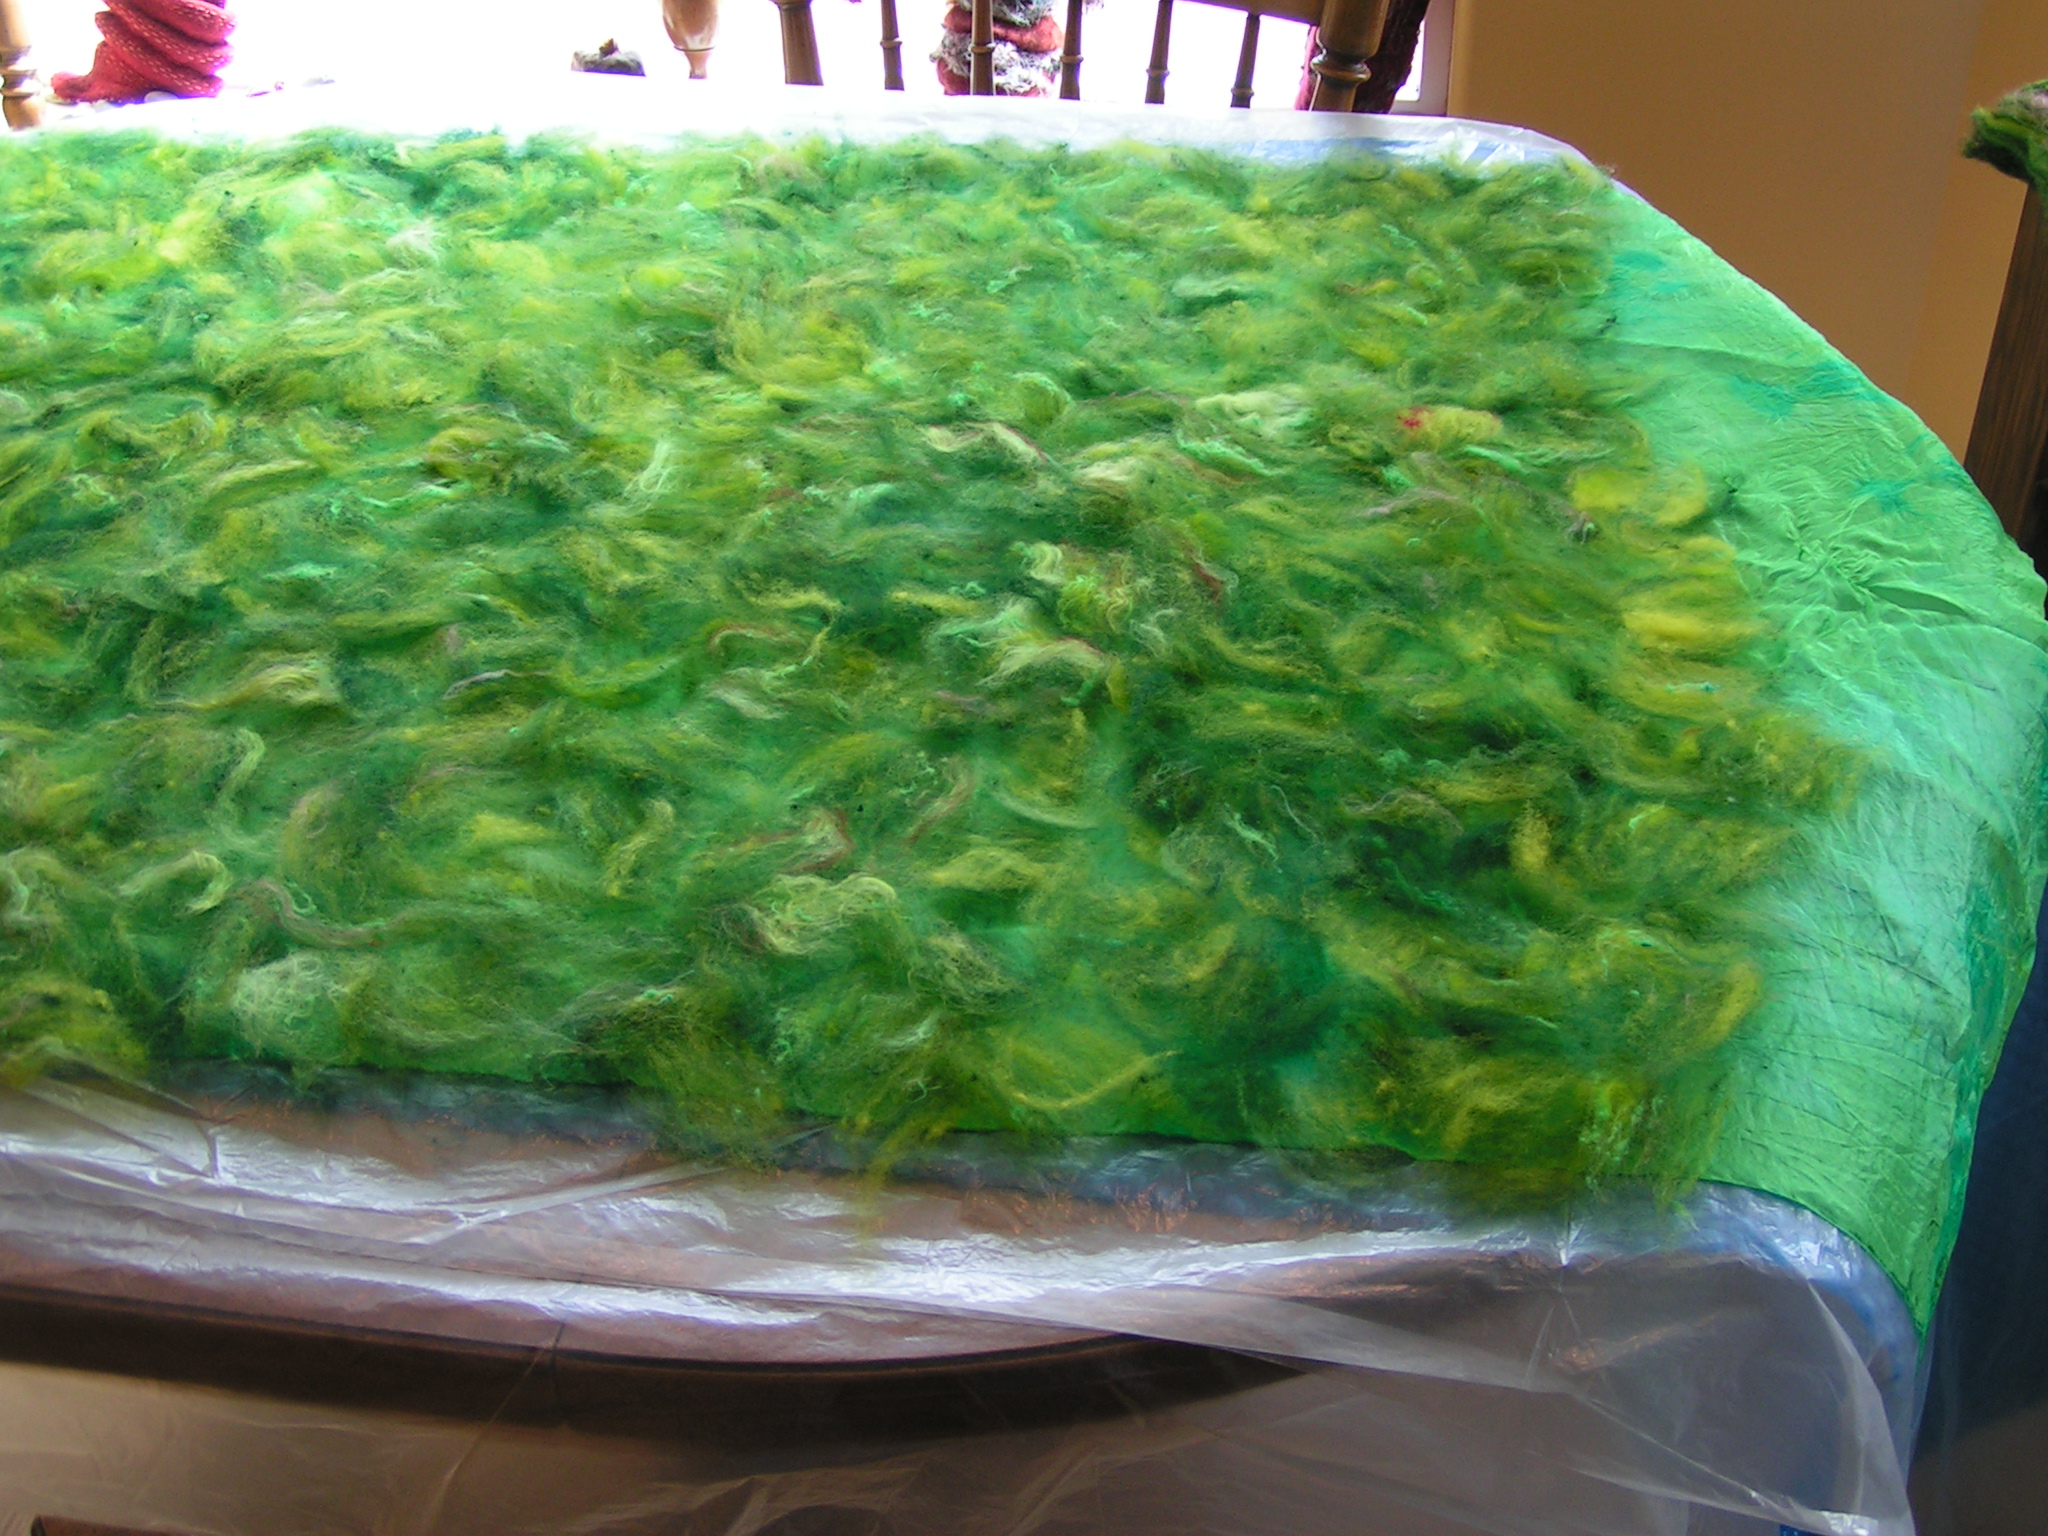
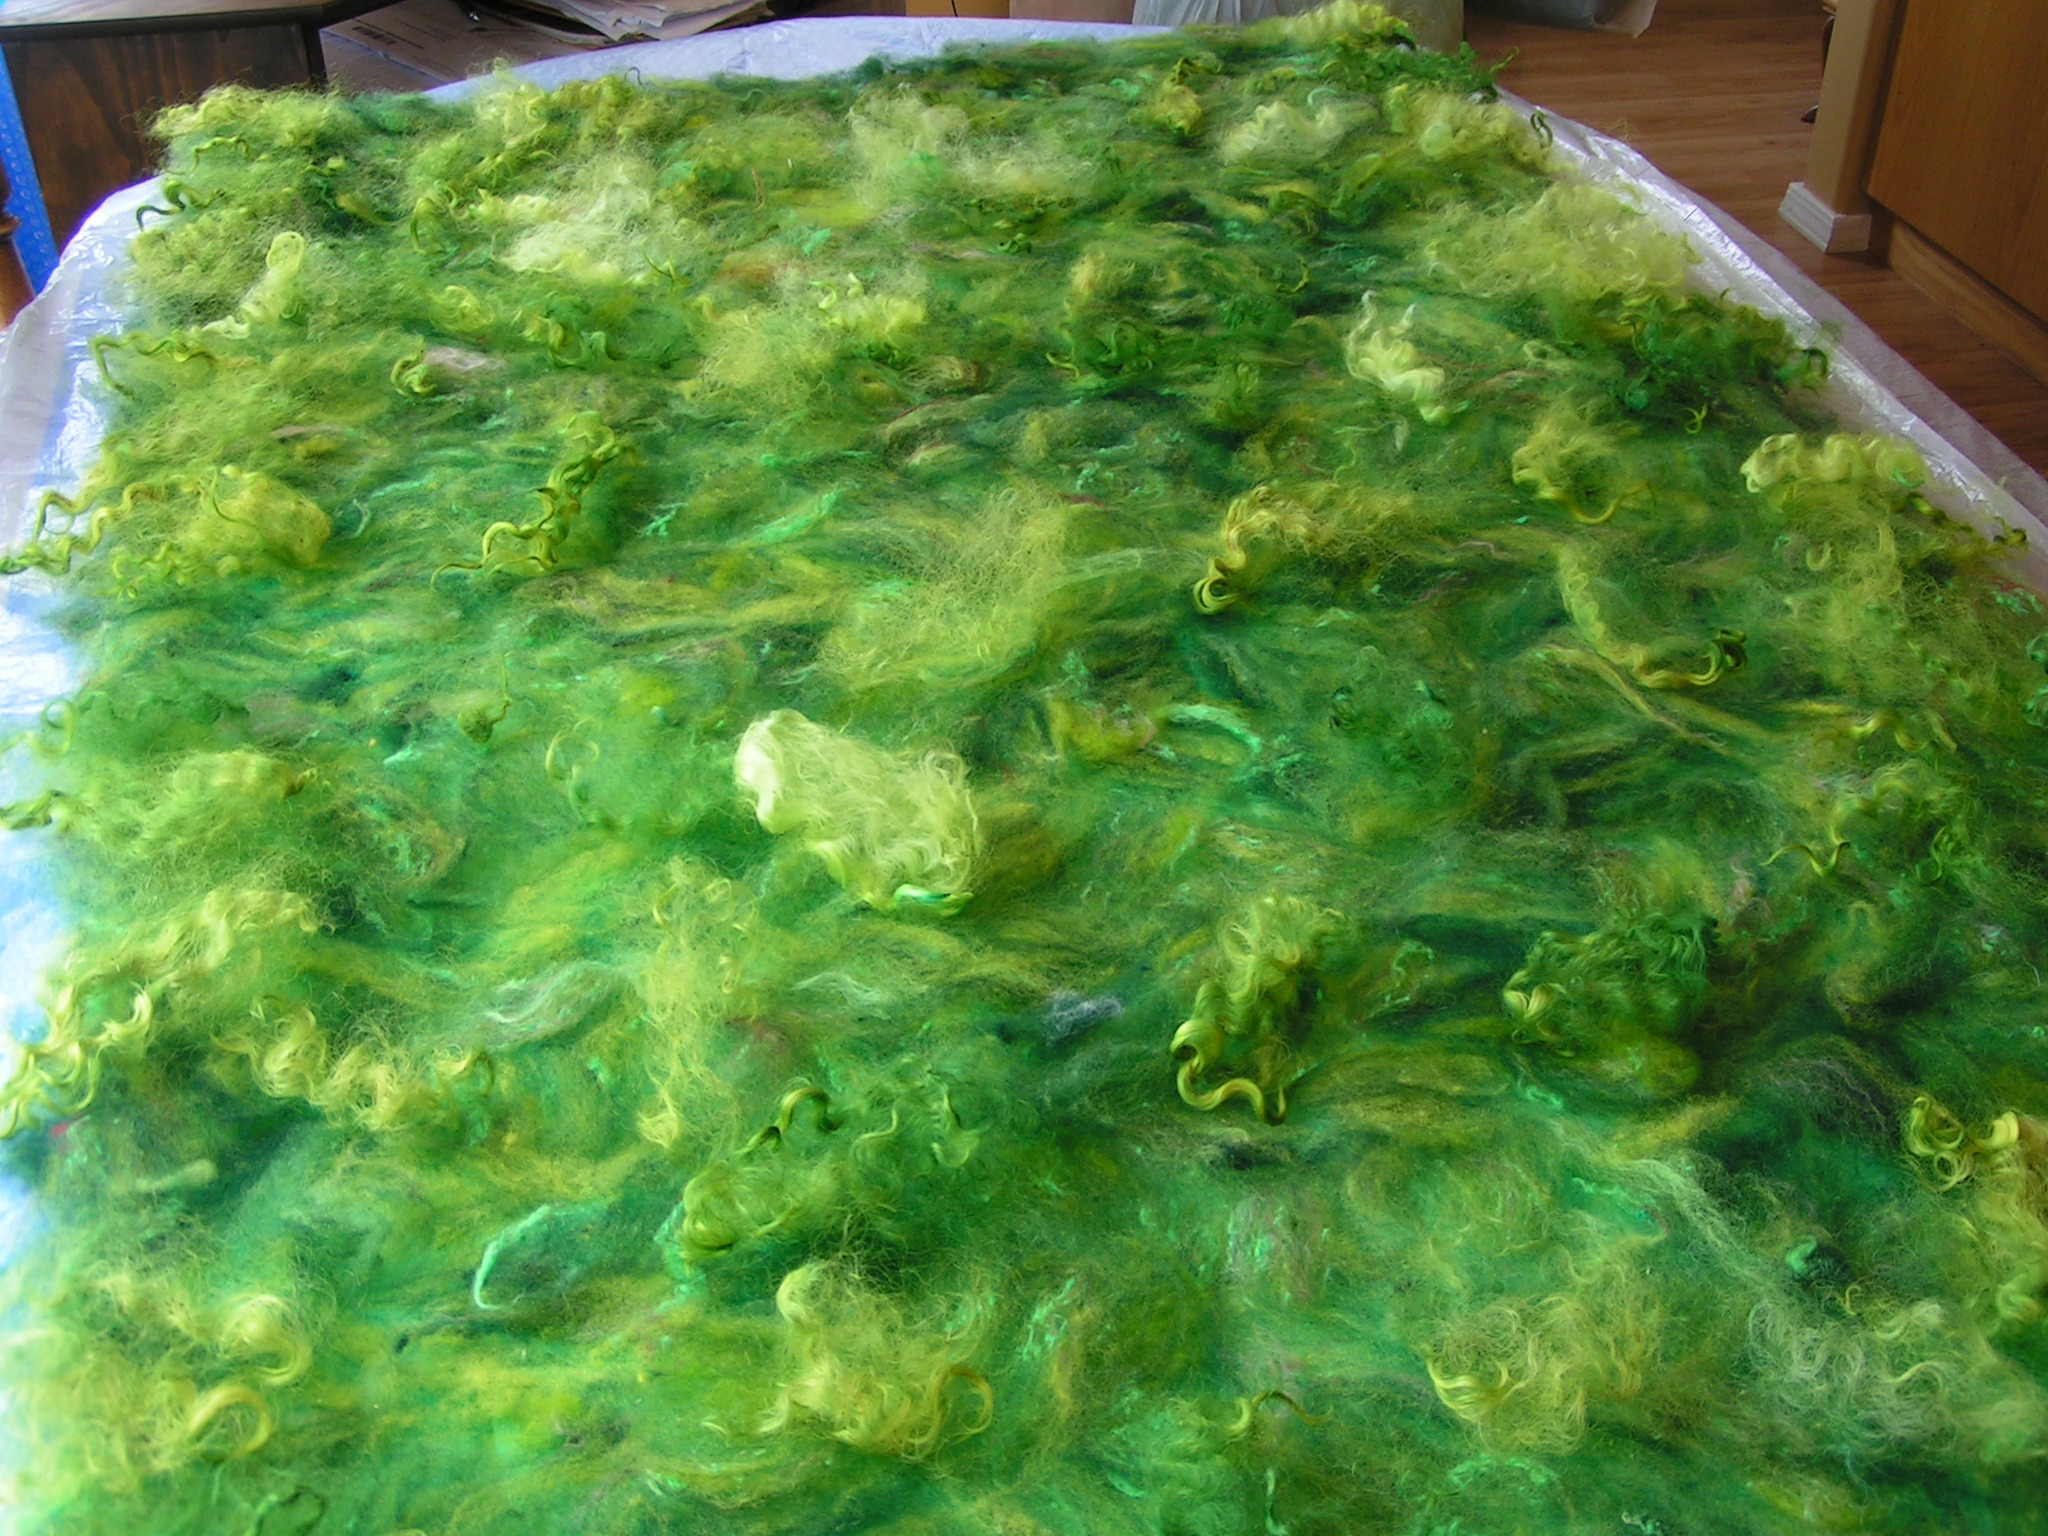 Once the silk was completely covered I added Wensleydale locks as embellishment. If you don’t want a very textured surface, don’t add locks. They shrink differently than the merino and give a very textured effect. But I love texture so on with the locks.
 Next I wet down the entire top surface. I used cool, soapy water sprayed from a ball brauser type sprayer. Avoid hot water as you don’t want the wool to felt to itself before the fibers migrate through the silk. I gently pat the wool down as I wet it to make sure all the air bubbles are out and that the wool is completely wet. The photo above you can see the preyarn lines showing from the other side so there really isn’t a lot of wool here, just a small, light layer of wool. Once you’ve got the entire surface wet down, cover the whole piece with thin painter’s plastic.
 Then roll everything up in the pool cover or bubble wrap and tie with nylons. Then the rolling begins. Start rolling gently and avoid heavy pressure to start. I usually roll 50 times, unroll, and then roll up from the other end. I do that at least twice. Check between each roll and try to smooth out the wrinkles that develop in the plastic. Have towels handy for sopping up any errant water that comes out the end. After doing 4 x 50 rolls, I check to see if I see any fibers migrating through the silk. Look at the back side of the silk and see if you see little ‘hairs’. Sometimes you can see this better if you add more water or take water away by blotting with a towel. At this point, I flip the piece over so the back side is up and remove the top piece of plastic.
 Then I start rubbing the back side of the silk with soapy hands to encourage those fibers to come through the silk. I use quite a bit of soap on my hands for this although you can’t really see it in the photo. Once I’ve rubbed over the entire back surface, I put the plastic back over the whole thing, fold it up and put it in the microwave for a couple of minutes to heat it up. Then I roll again. This time you can add more pressure with your rolling. I usually roll 4 x 100 with this set, checking each time and switching from end to end as I roll.
 The next step is to begin fulling. Make sure that you see lots of fibers on the back side of the silk before you start fulling and again, you need to be gentle. I take the whole piece, dip it gently in hot water to warm it up again and then I either rub very gently against the pool cover or do gentle dropping. As the wool starts to shrink and the silk starts to ruche or pucker up, you can add more pressure and be a little more aggressive. I keep warming up the felt as I go either in hot water or in the microwave. Keep dropping and rubbing the felt against a rough surface such as the pool cover or bubble wrap until the wool has shrunk and is completely attached to the silk. Nuno felt usually shrinks at least 40-50% and sometimes more than that. If you want to make something a certain size, it is best to make a sample first and measure the shrinkage. That way you know what size is needed at the start.
 Rinse the fulled piece of nuno felt in clear water and then soak in a bath of vinegar water for 5-10 minutes. Rinse again with clear water. I usually put the nuno felt in the washing machine on the spin cycle to get the water out and then hang to dry. If you want the piece to be more square, you should block it to dry. You can see that I got lots of texture which is what I wanted.
This is the silk side. I always love the texture and ruching that you get from nuno felting on the silk side. That’s the basics of how to nuno felt. If you have any questions, please feel free to ask. I have a much more thorough explanation in my book The Complete Photo Guide to Felting if you need more explanation.

Very clear explanation Ruth and a lovely piece of nuno.
Thanks Lyn!
Great tutorial Ruth, thank you. Jan/florontyne
You’re welcome Jan!
Great job Ruth. I hadn’t realised how big this piece was.
Yes – it was big. I have to make at least one more that size for my project, maybe two more.
What other fabrics can you use to nuno felt? Anything that you could pick up at your local Joann fabric store?
Jan, any fabric that is fairly loose weave will work. The test is to blow through the fabric and if air moves through the weave, it will work.
I looked at dharma to purchase material and could not find 5mm silk gauze. could it be called something else. thank you.
If you give them a call, I’m sure they can help you with it. They are very nice and helpful there.
I’ve just started nuno felting and only one of my 3 attempts hasn’t fallen off the scarf in a splat on the floor! Will be following your instructions word for word, a lot of answers to the questions I had thank you so so much!
I hope that your results turn out better than your first attempts. Nuno felting actually takes patience mainly. Go slowly and don’t try to force it. I hope you’ll join us at the forum and show your results.
http://feltandfiberstudio.proboards.com/
You can learn a lot from other members and it’s nice to interact with like minded people.
I will thanks very much!
hey thank you for the tutorial.may i know why the fabricv was soaked in vinegar in the end?
Hi – it is to return the pH of the wool to it’s normal level. Soap changes the pH and will eventually deteriorate wool.
and also i would like to know if a loose weave cotton fabric could be used instead of a silk
Yes, loose weave cotton fabrics will work as well.
Hi,
Your fabric looks like it might habotai and not silk gauze.
Just wondering, Cheryl
Thanks Cheryl but I know for sure it is silk gauze. Hard to tell from photos though but I do know the difference 🙂
This tutorial is very clear and articulate, lovely photos. You might mention that the percentage of shrinkage depends in part on the volume of wool fiber you apply…more fiber, less shrinkage and vice-versa.
Thanks Phyllis – I should have mentioned that. It is hard to remember everything you need to say when writing a tutorial, isn’t it?
Thanks for sharing this informative, clear, tutorial. I am always grateful to find this type of info detailed information available on the www. Kind regards
You’re welcome!
Very grateful for such clear instructions.
I found 400 yards of silk chiffon in my moms basement and have wanted to try nuno felting. your instructions are excellent,your work beautiful and I’ve set up a work area and am starting tomorrow. I also ordered your book.can’t wait to start my new craft
Wow Blair! 400 yards of silk chiffon should keep you busy for a long, long time. I am glad you enjoyed the tutorial and I hope you enjoy the book. Please feel free to join our forum too. It is free and has felt makers from all over the world that share their work, ask questions and help each other out. Just sign in here: http://feltandfiberstudio.proboards.com/
That is a great explanation of nuno.
Thank you Although I have been felting for years I still learned from it.
Anne
Glad it was helpful for you.
Generous talented people like you are what made the internet so useful and popular. Thank you so very much!
I’m glad you found it helpful, Linda!
I am making a piece of nuno felting on silk georgette to get the correct width I am joining/slightly overlapping the self edges. Do you think I should cut the self edges off before joining or is self edge on self edge going to be ok?! Please help.
Hi Stephanie, I would definitely cut the selvedges off. They are more tightly woven than the rest of the fabric and will not felt as easily into the wool. I recommend doing a small sample of the overlapping fabric so you can see how it will work before doing the main project. Good luck!
Hello Ruth, I’m a beginner, but I love the nuno felting projects others post on various forums. I can’t quite work out, from the tutorial above, the order in which your layers were placed. Was it preyarn, silk then fibre, or silk, preyarn then fibre? I’m thinking the latter, but I’d like to be sure. Maybe it doesn’t matter?
Thanks! I laid out preyarn on one side of the silk and fiber on the other side. This was specifically because I wanted the preyarn “branches” to show on one side and the fluffier fiber to be on the outside as this was for a tree that I was creating. However, you can do nuno felt in a various ways. You can have fiber on one side only or on both sides of the silk. The main thing for a beginner is to use a silk that has a low mm count so it has a looser weave. That allows the wool to migrate easily through the silk. Also, take your time, start with cool or cold water and don’t rush the process. Have fun!
Hello Ruth, First, thank you for a very straightforward tutorial on Nuno felting! You wrote this almost 11 years ago, and I’m not sure if you still check for comments/questions. In case you are, I was wondering about the microwave step: you put the very thin painter’s plastic back over the piece, then folded it and it went into the microwave for a few minutes. How confident were you (the first time) that the plastic wouldn’t melt? That’s my worry: that I ruin the piece at such a late stage with melted plastic!
You’re welcome, I am glad that the tutorial was helpful. I don’t actually use the microwave much anymore for heating up felt. But that said, I have never had plastic melt in the microwave. Just make sure that you do short sessions when heating. I would recommend 30 seconds to start and build up to one minute at a time. Check between each session to see how hot it is getting. Also, the felt should be fairly wet, dry felt can burn.
Beautiful piece! I like using this tool when I am felting! https://www.etsy.com/listing/1809248520/wet-felting-tool-black-floral?click_key=23444bde0de5b4465d935fa4d0e326dc09345ffa%3A1809248520&click_sum=43a9c961&ref=shop_home_active_1
Thanks Sandy!