Painting More

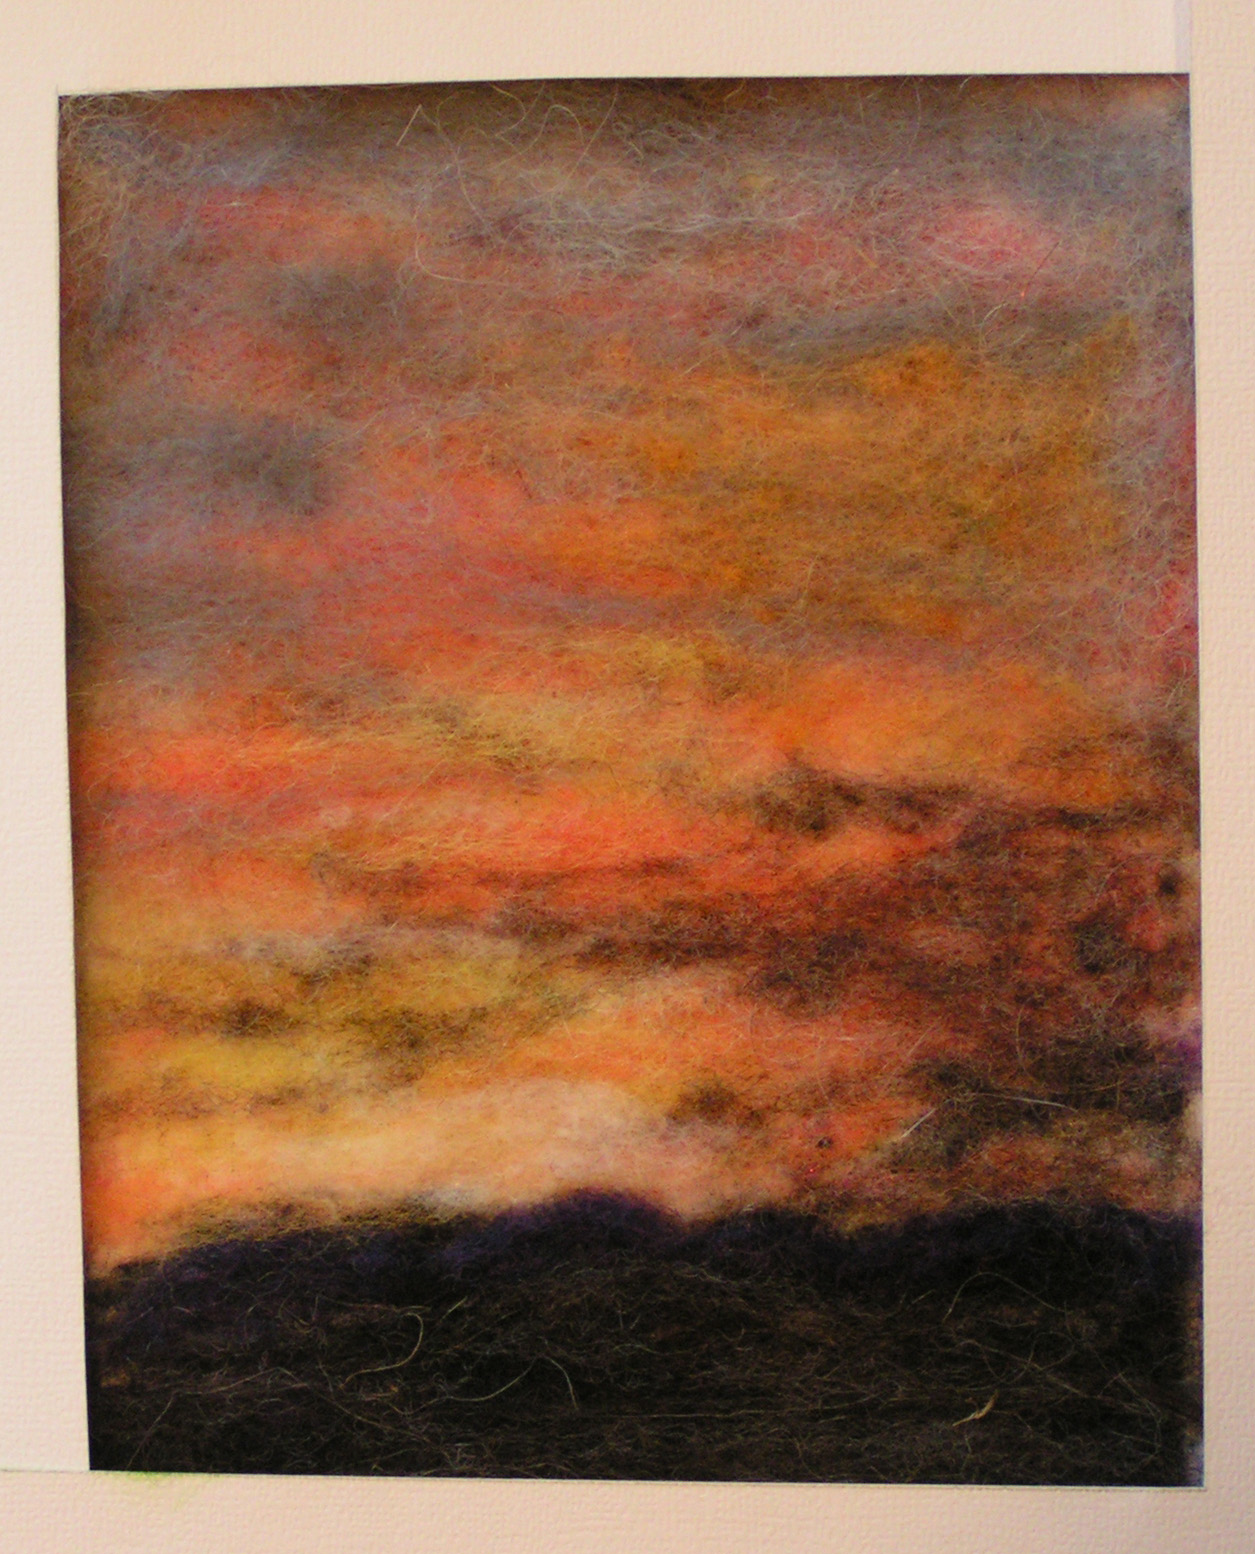
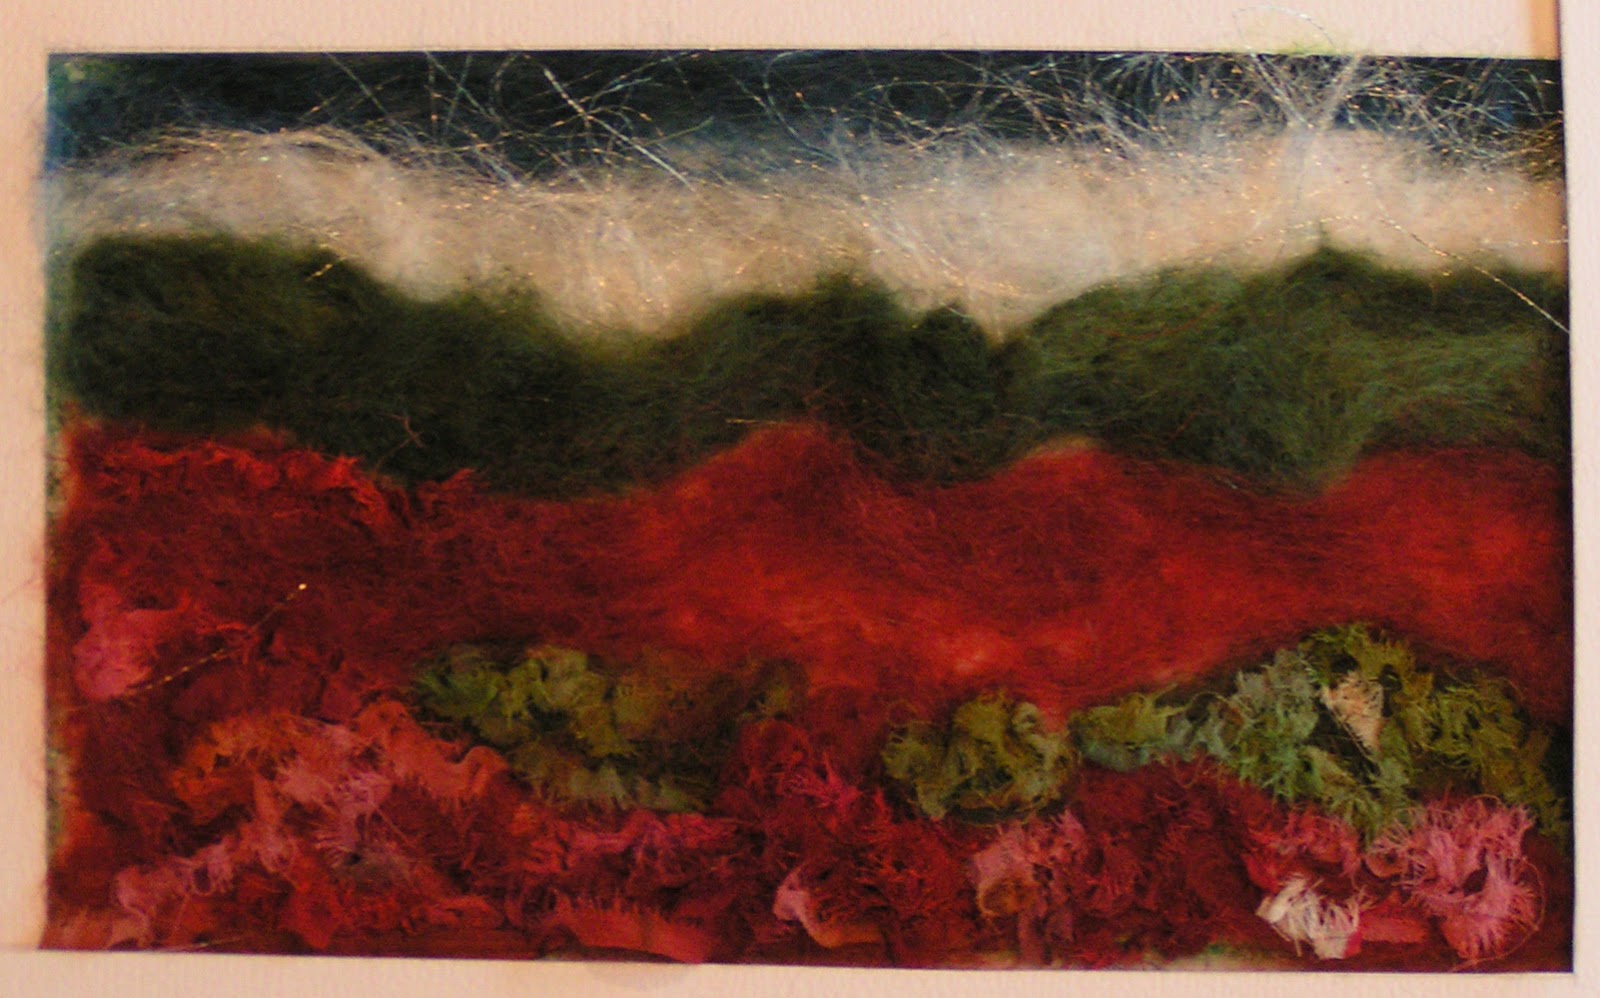
I wrote a post today about painting landscapes with salt and plastic wrap over on The Felting and Fiber Studio. I decided to paint some more today and I thought I’d show you what they look like in process.

You can see that they don’t look like much when you first start so if you’re trying this technique, don’t give up and don’t work on them too much. I was a bit more free the first time I did this technique and I think those will be better than this set but we’ll see. Just put the paint on quickly and apply the salt and plastic wrap and leave it alone. The colors in these are less diverse than my last set as well. So don’t try to picture what you want in advance and I think the results will be better.

moose

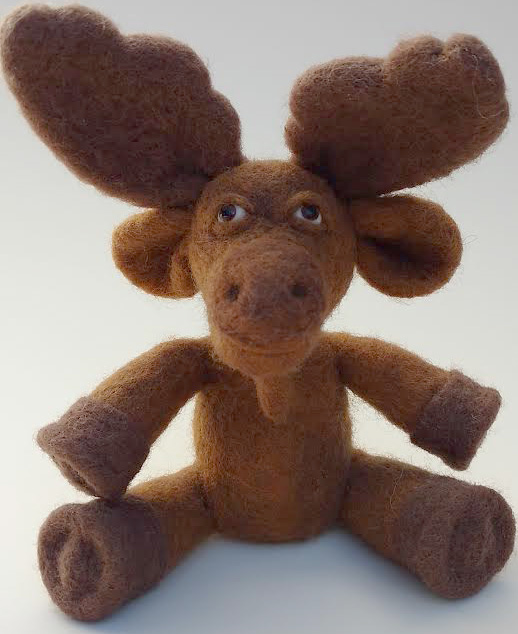
The other thing I have been working on is making tutorials from the projects that I wrote for my book. These projects didn’t get into the book because it was too long. So I am finally getting around to getting the tutorials together and turning them into PDF’s. I’ll be selling them on The Felting and Fiber Studio site and maybe here too if I get really ambitious. The first one is for this moose.

Needle Felted Wool Paintings

 My local group got together yesterday to do some needle felted wool paintings. Everyone started with an inspirational photo or picture. We used flannel fabric as a background. These are all 5″ x 7″ pieces. This gorgeous sunset was done by Carole.

 This is Jan’s sunflower. She changed it up a bit from her inspiration as the original background was blue.

 Here’s Louise’s landscape. She was using all kinds of fibers and silk ribbons. She thought  she might do some free motion stitching as well.

 Here’s my photo that I used for inspiration.

 This is the partially finished wool painting.

And here it is when it was almost done. These were lots of fun to do and we all had a good time. Next month we’re going to try silk painting.

Resist for the Tangerine Hat

I had a question about the resist shape that I used to make the tangerine hat in my last post about the felting class I will be teaching. Here’s a photo of the actual resist. The yellow hat form in the center of the resist gives you an idea of how big it is. The hat is sitting on this form in the photo in the last post. I always find that making a resist very simple and then adding structure to the hat with shaping is the easiest way to go. If you’d like to learn more about hat making and you’ll be in the Kalispell area, sign up for my class at Camas Creek Yarns.