I have been continuing to work on my Shelter exhibition umbrella tree. I finished the ground and the roots. Most of the ground was fairly flat so I wanted to add a bit more dimension. I thought about using raw wool to pad underneath but I was being stingy and didn’t want to use it all up. So instead, I used some really soft wool sweaters that I had originally gotten at the thrift store to make wool flower pins. They were too soft for that but would be perfect to pad underneath the ground felt.
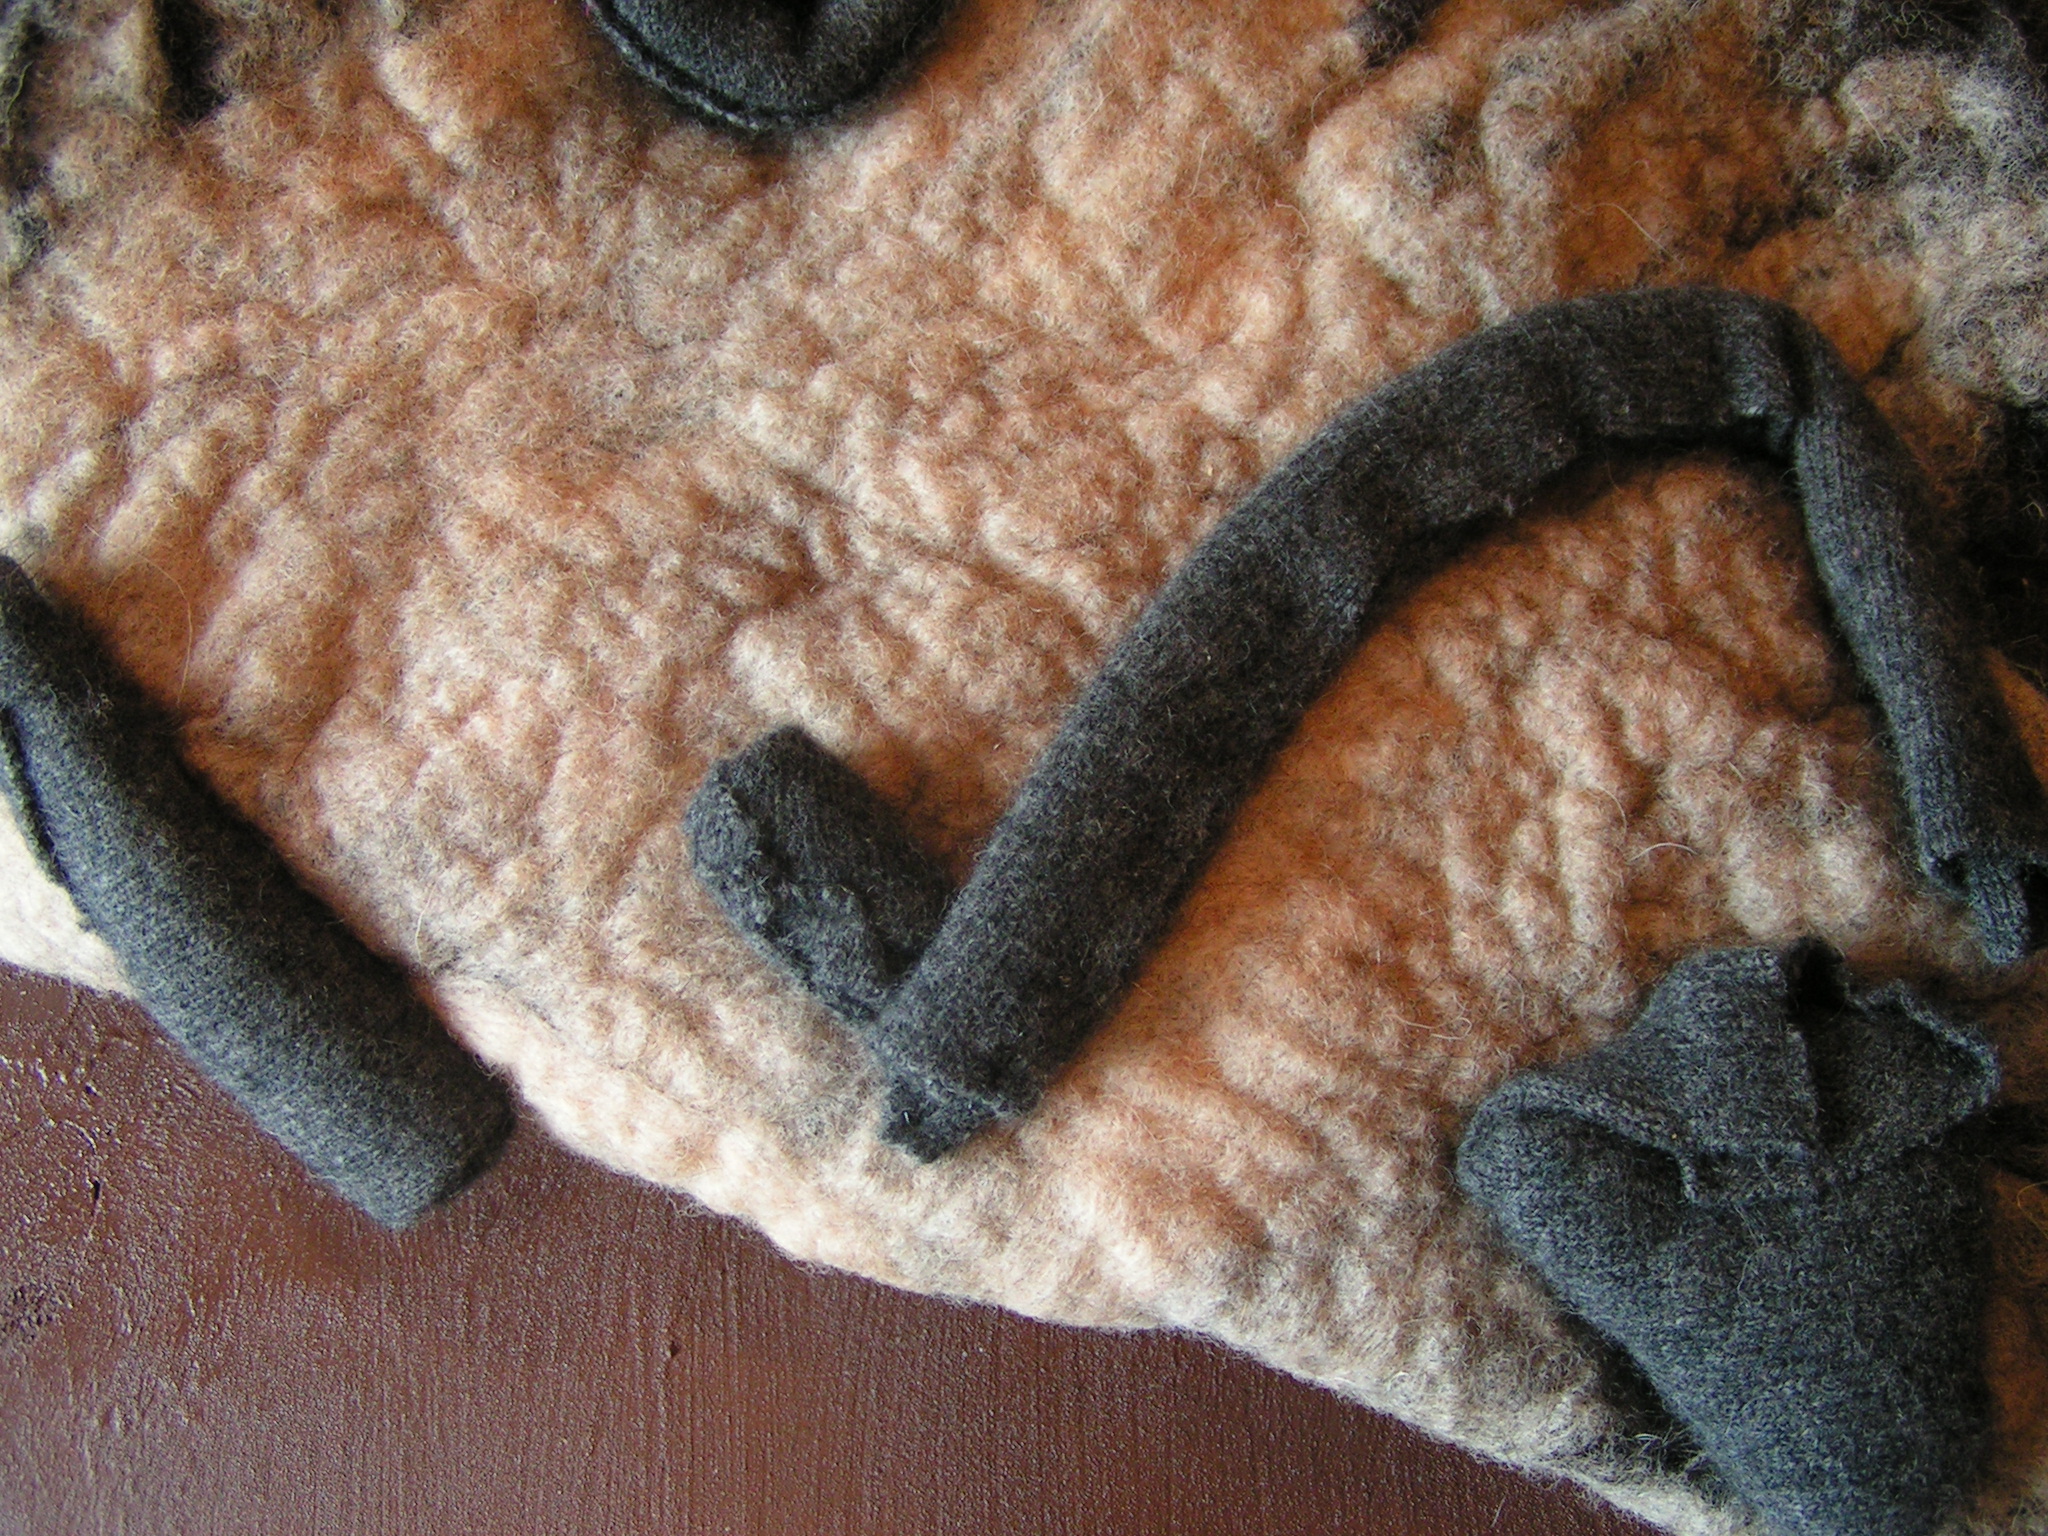
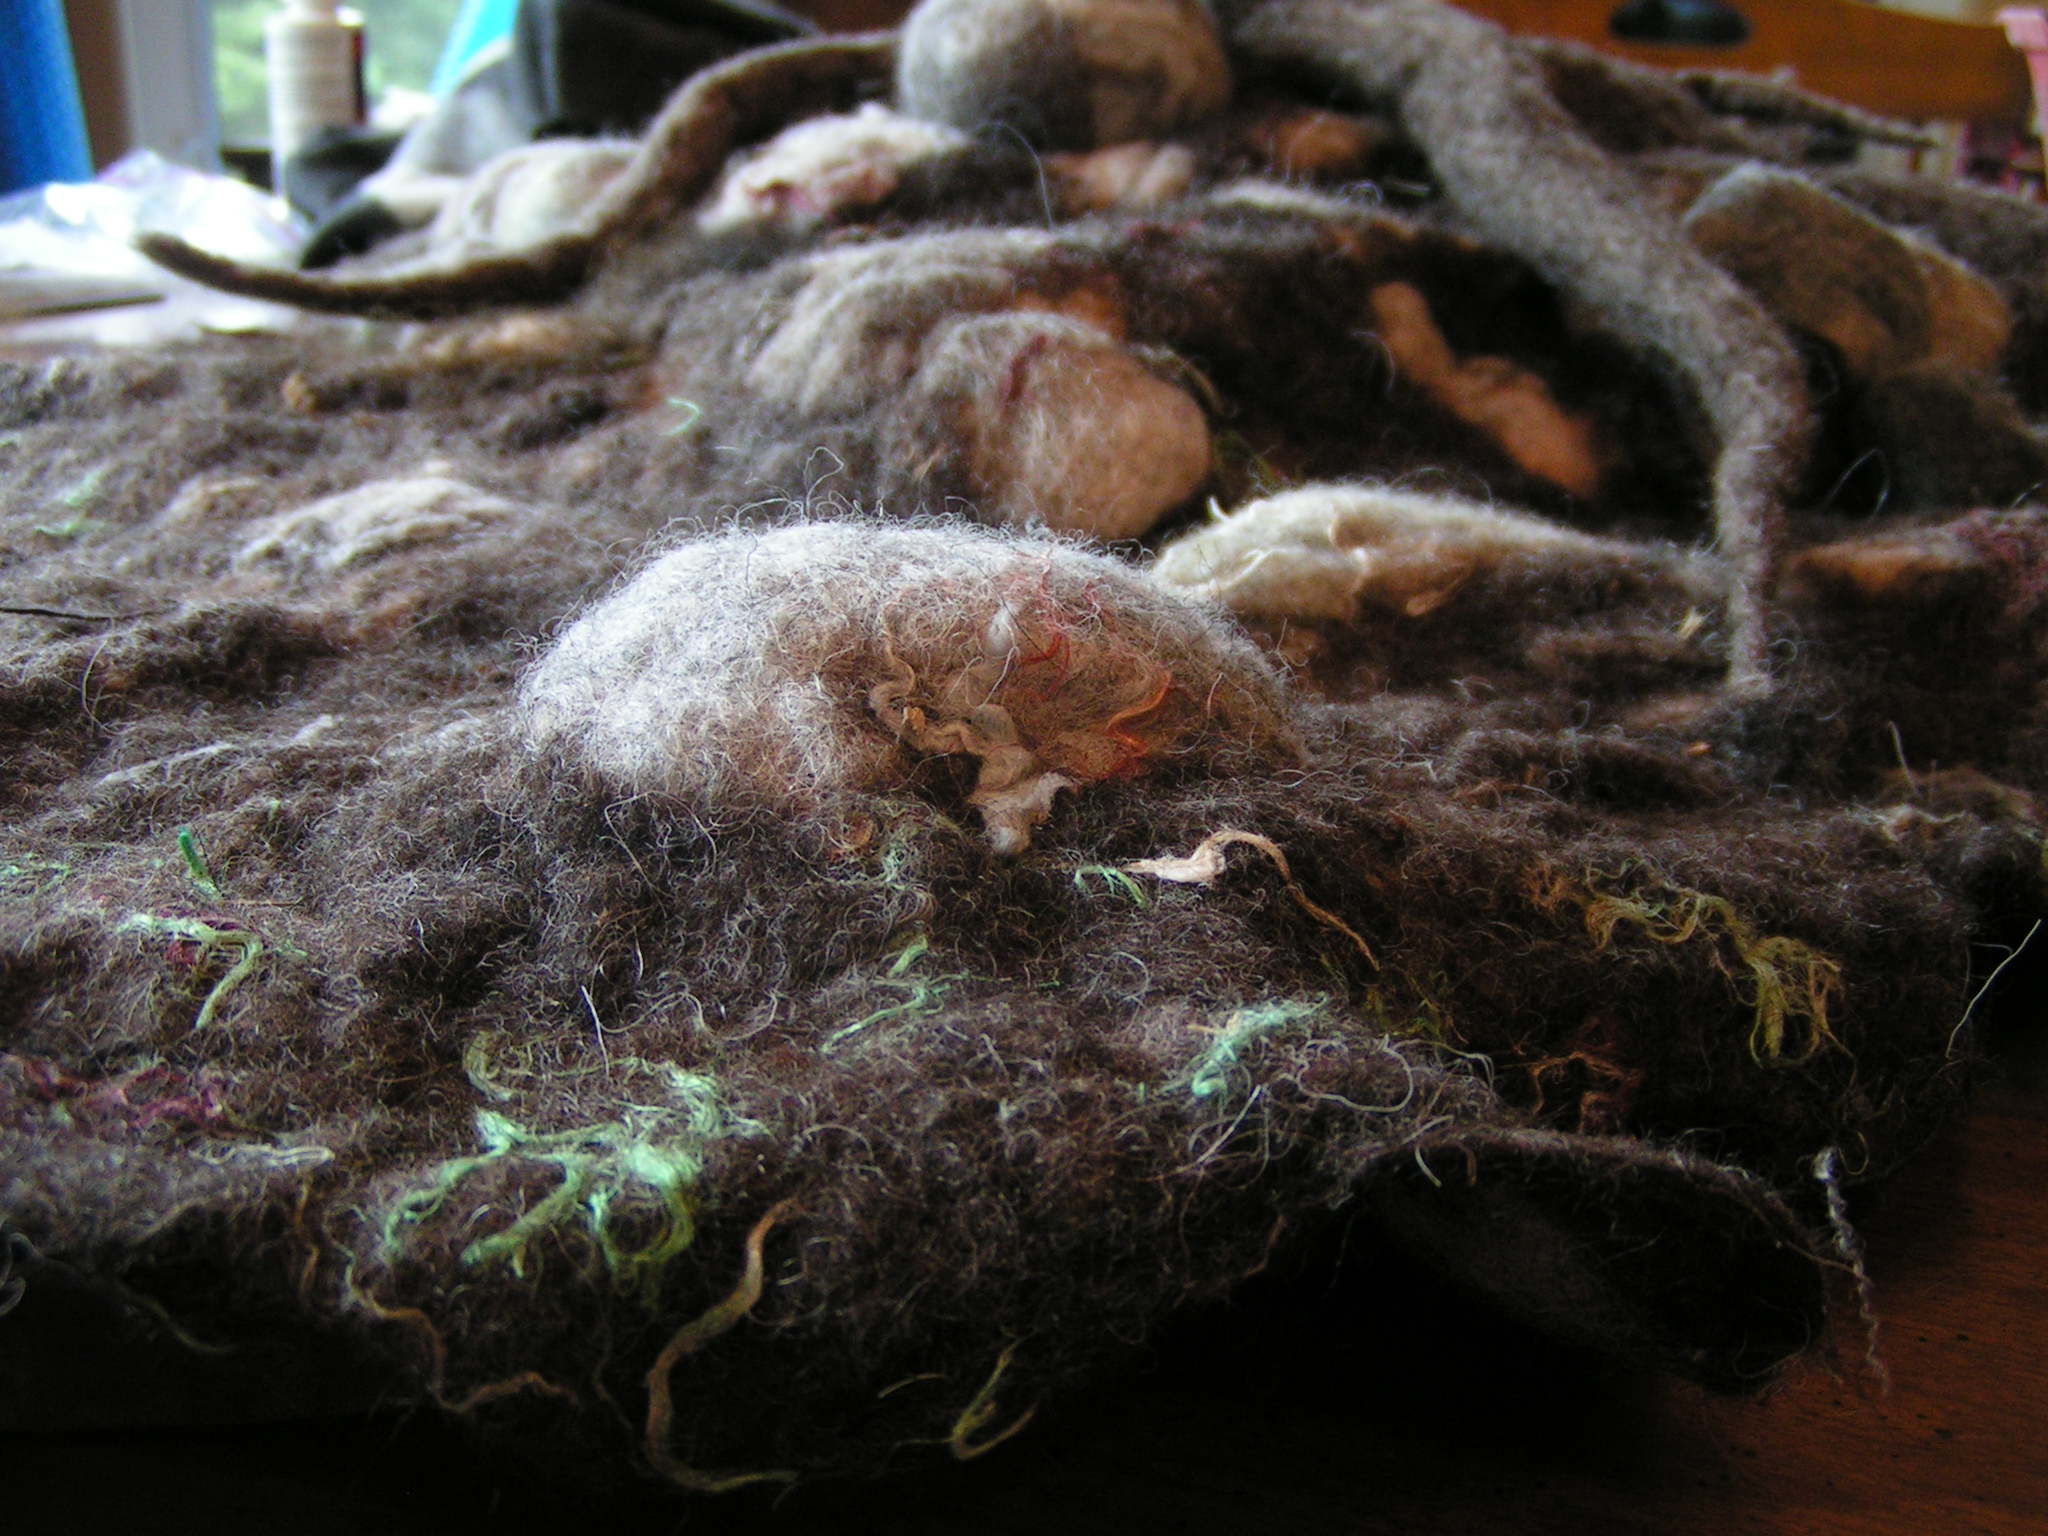
 In this photo, you can see the rolled up pieces of sweater on the bottom of the felt. I just rolled it up and needle felted a little to hold the shape. Then I needled the ground felt down to the sweater pieces.
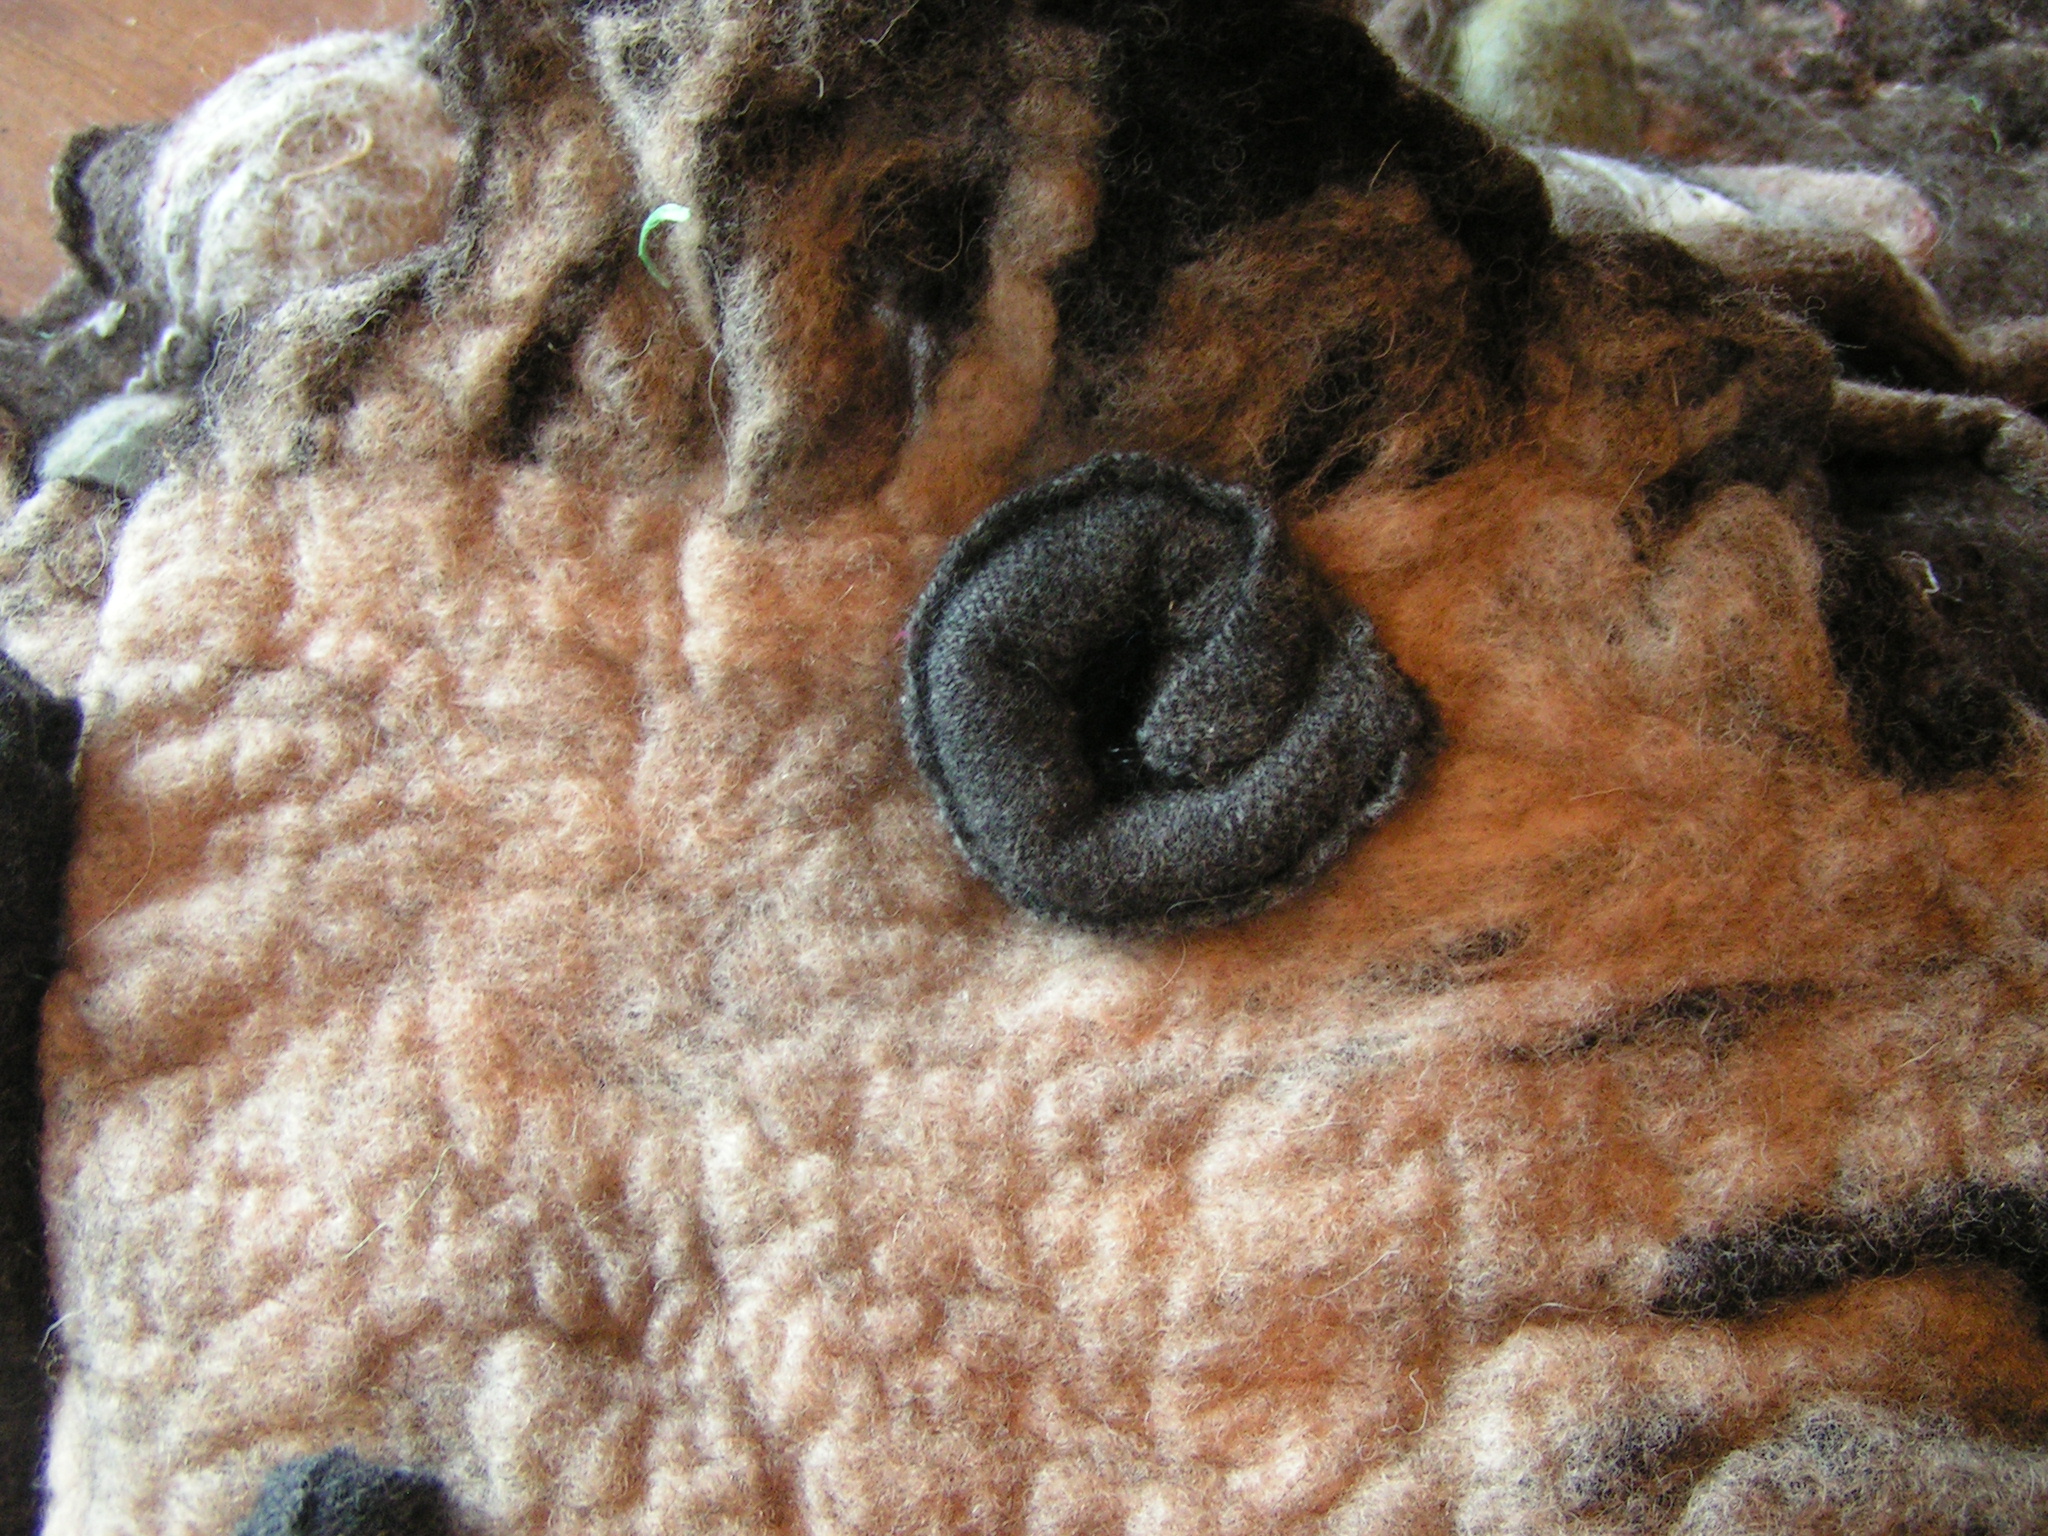
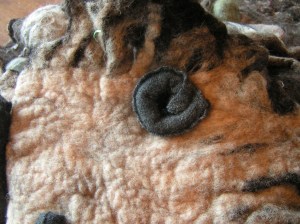 Here you can see a little round bump I made. Can you guess what it’s for?
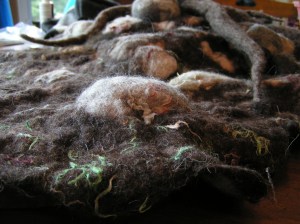 Here you can see how the surface now has more lumps and bumps to represent rocks etc. I then glued the ground felt down to hold it in place on the wood base.
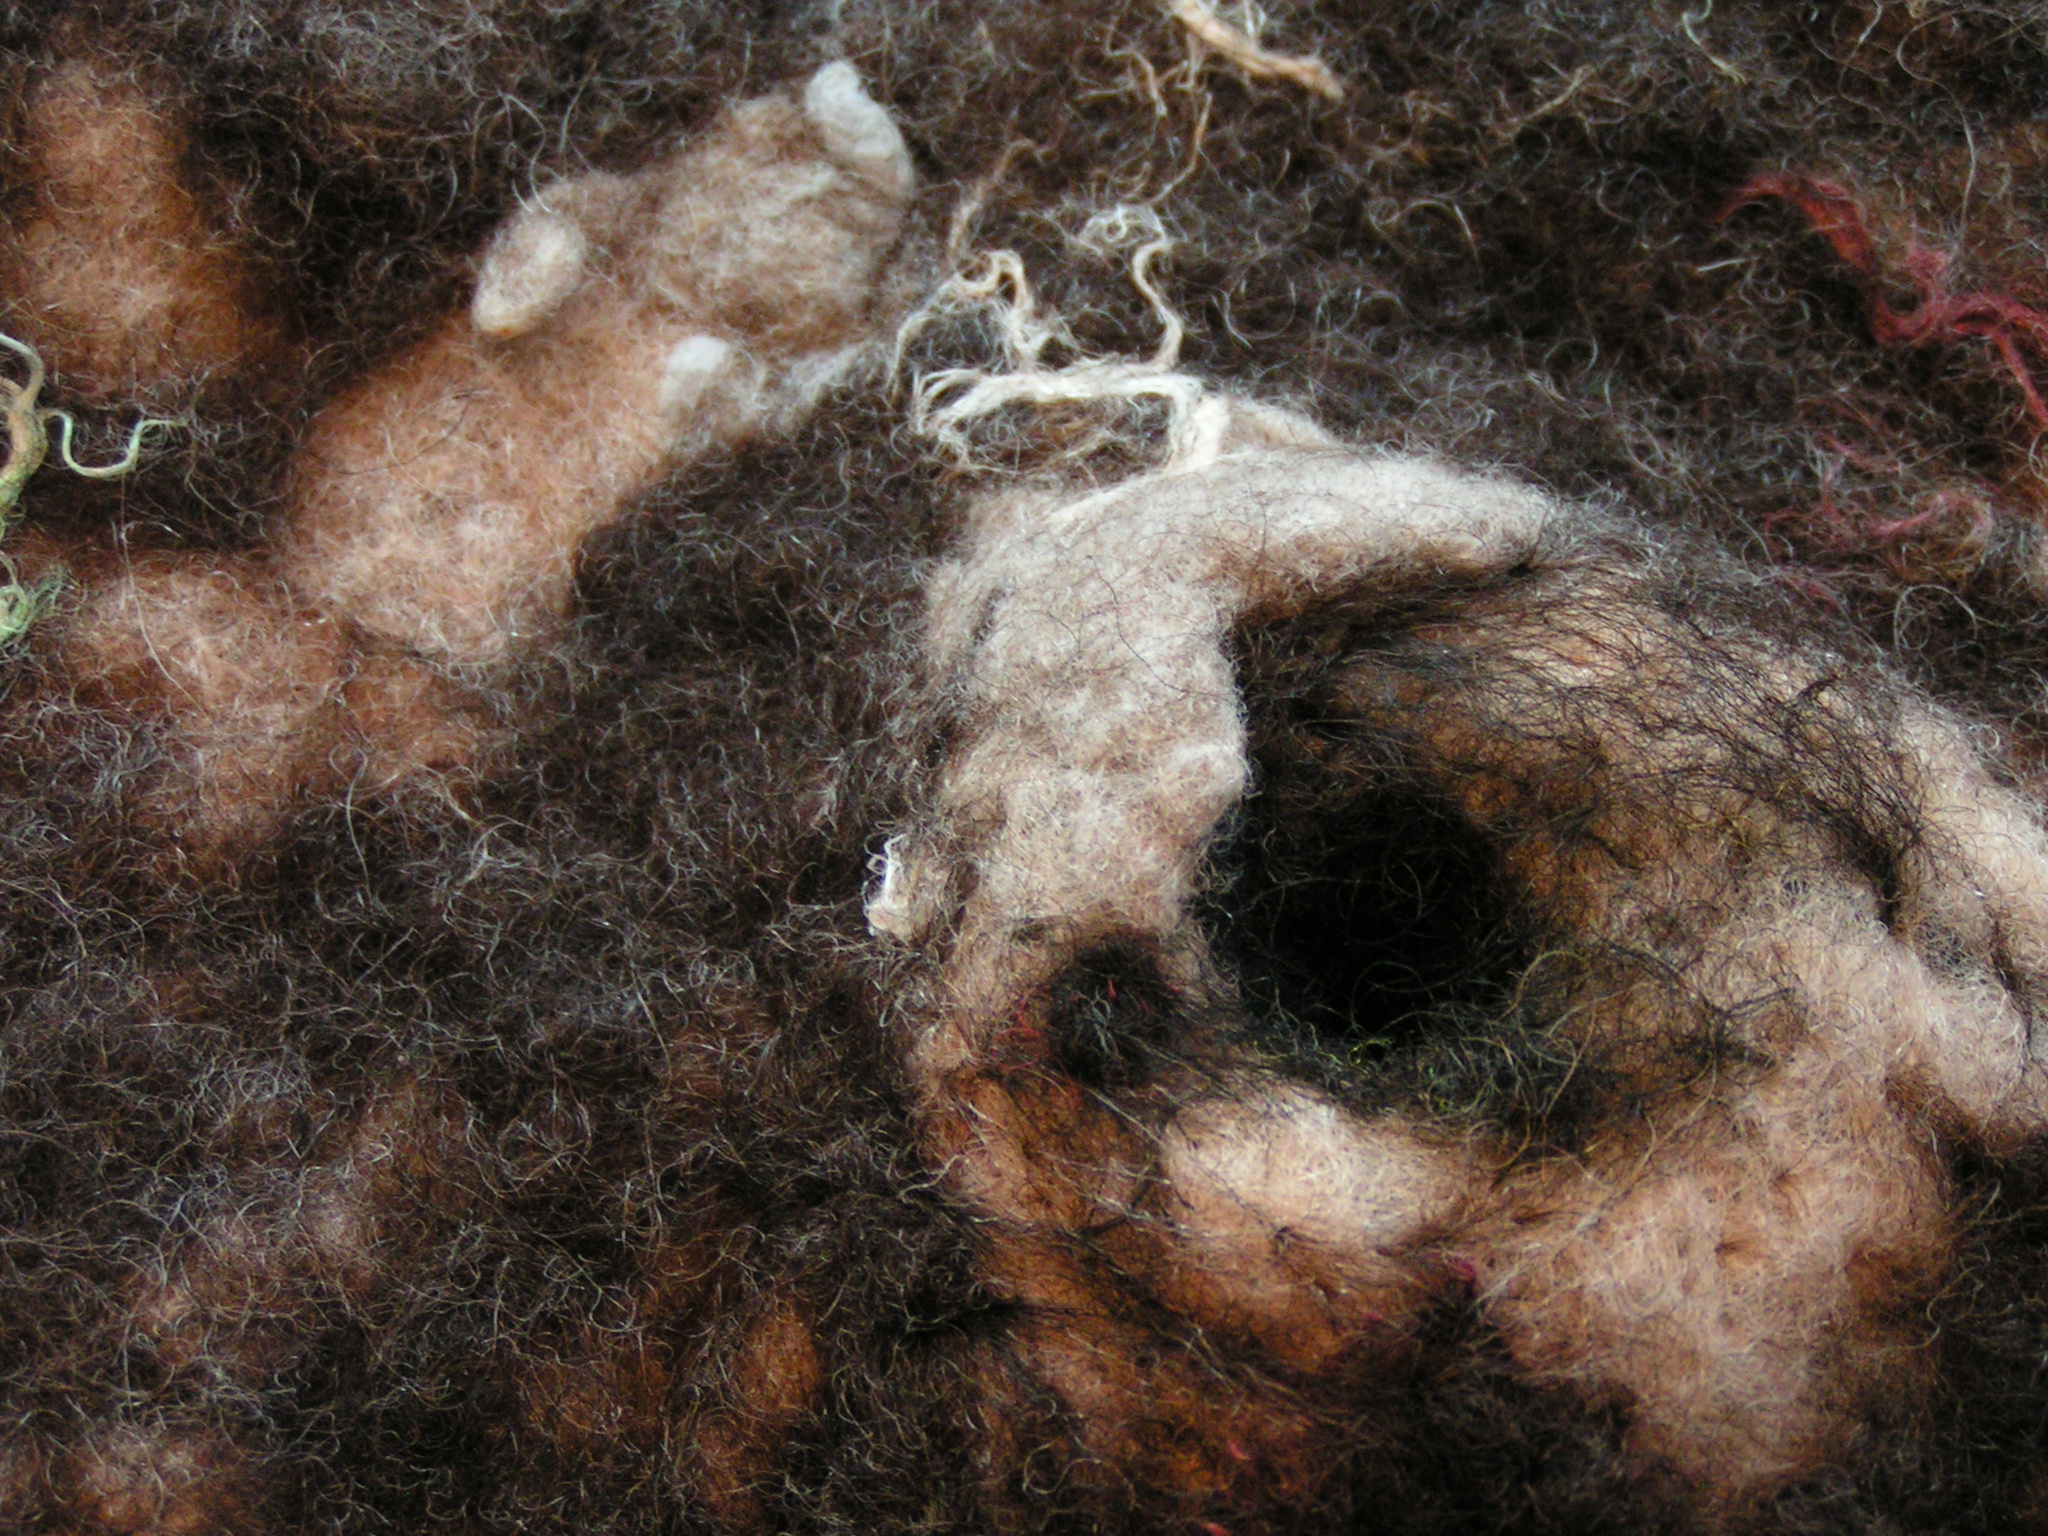
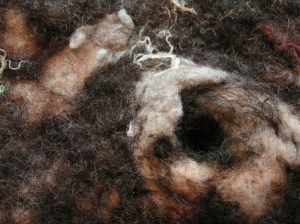 The round bump turned into a critter hole. There was already a hole in the felt so I decided that the ground critters might need a little shelter too!
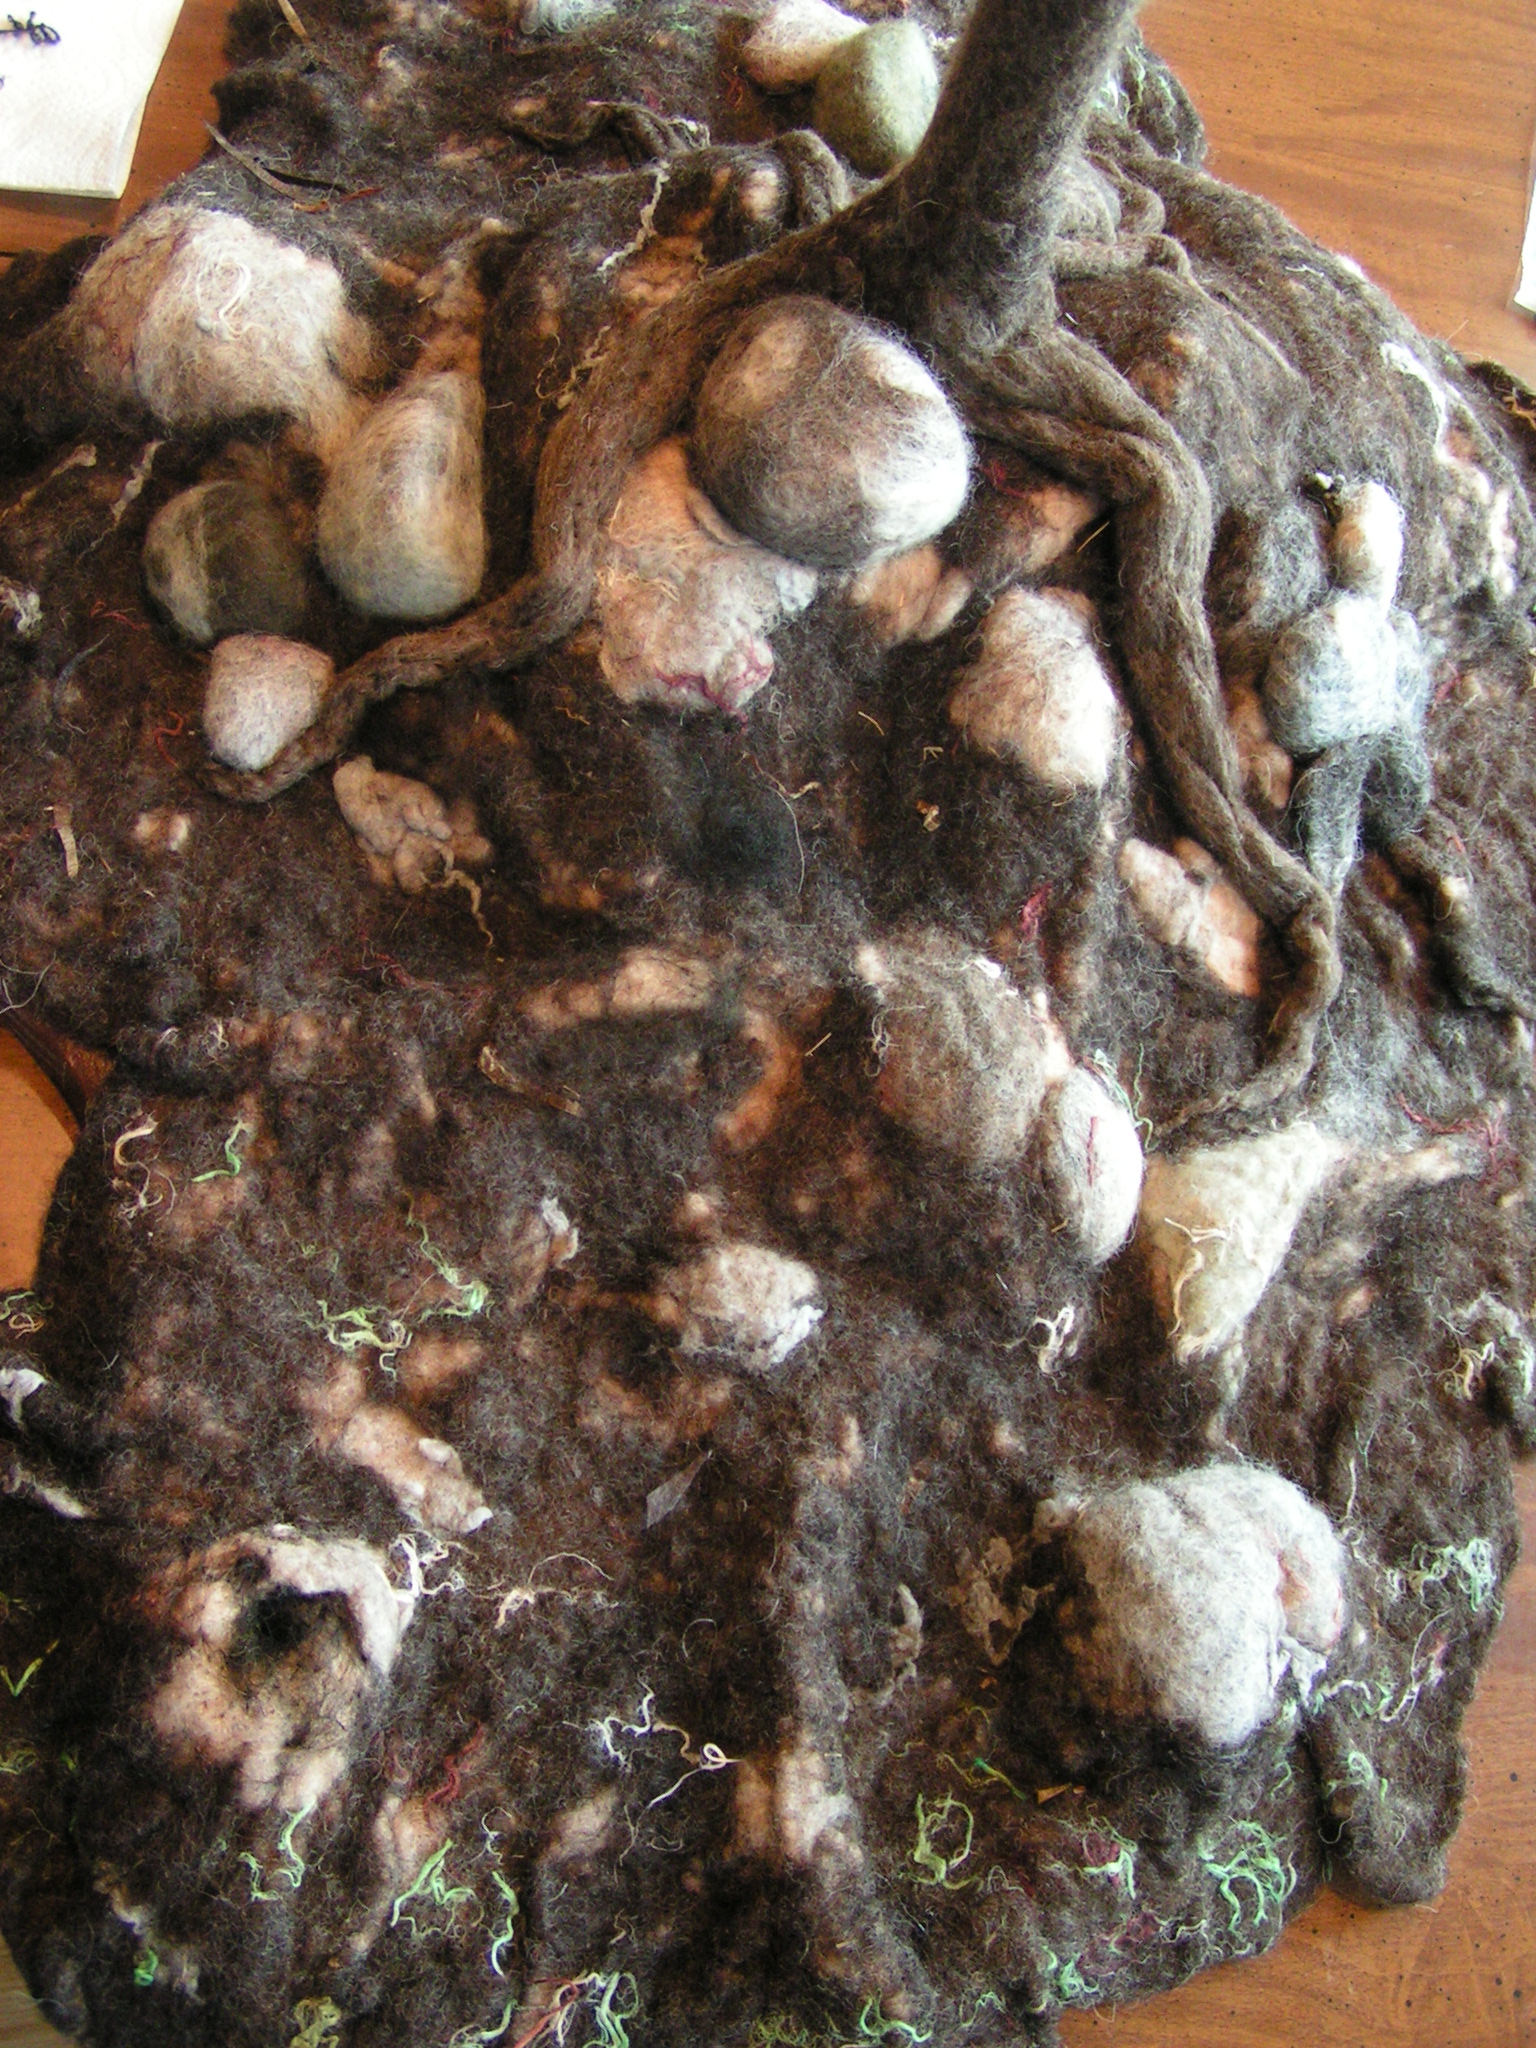
 Here, you can see what the ground looks like from above. I worked more on the roots as well, tacking them down and adding some texture with the felting needle.
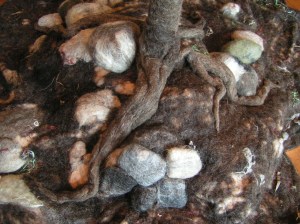 I really love how the roots came out. They look quite realistic in with the rocks and ground felt. I haven’t decided if I should add more details such as moss or just leave it. I don’t want to overwork it or make it “cutesy”. So there won’t be an animal popping its head out of the hole.

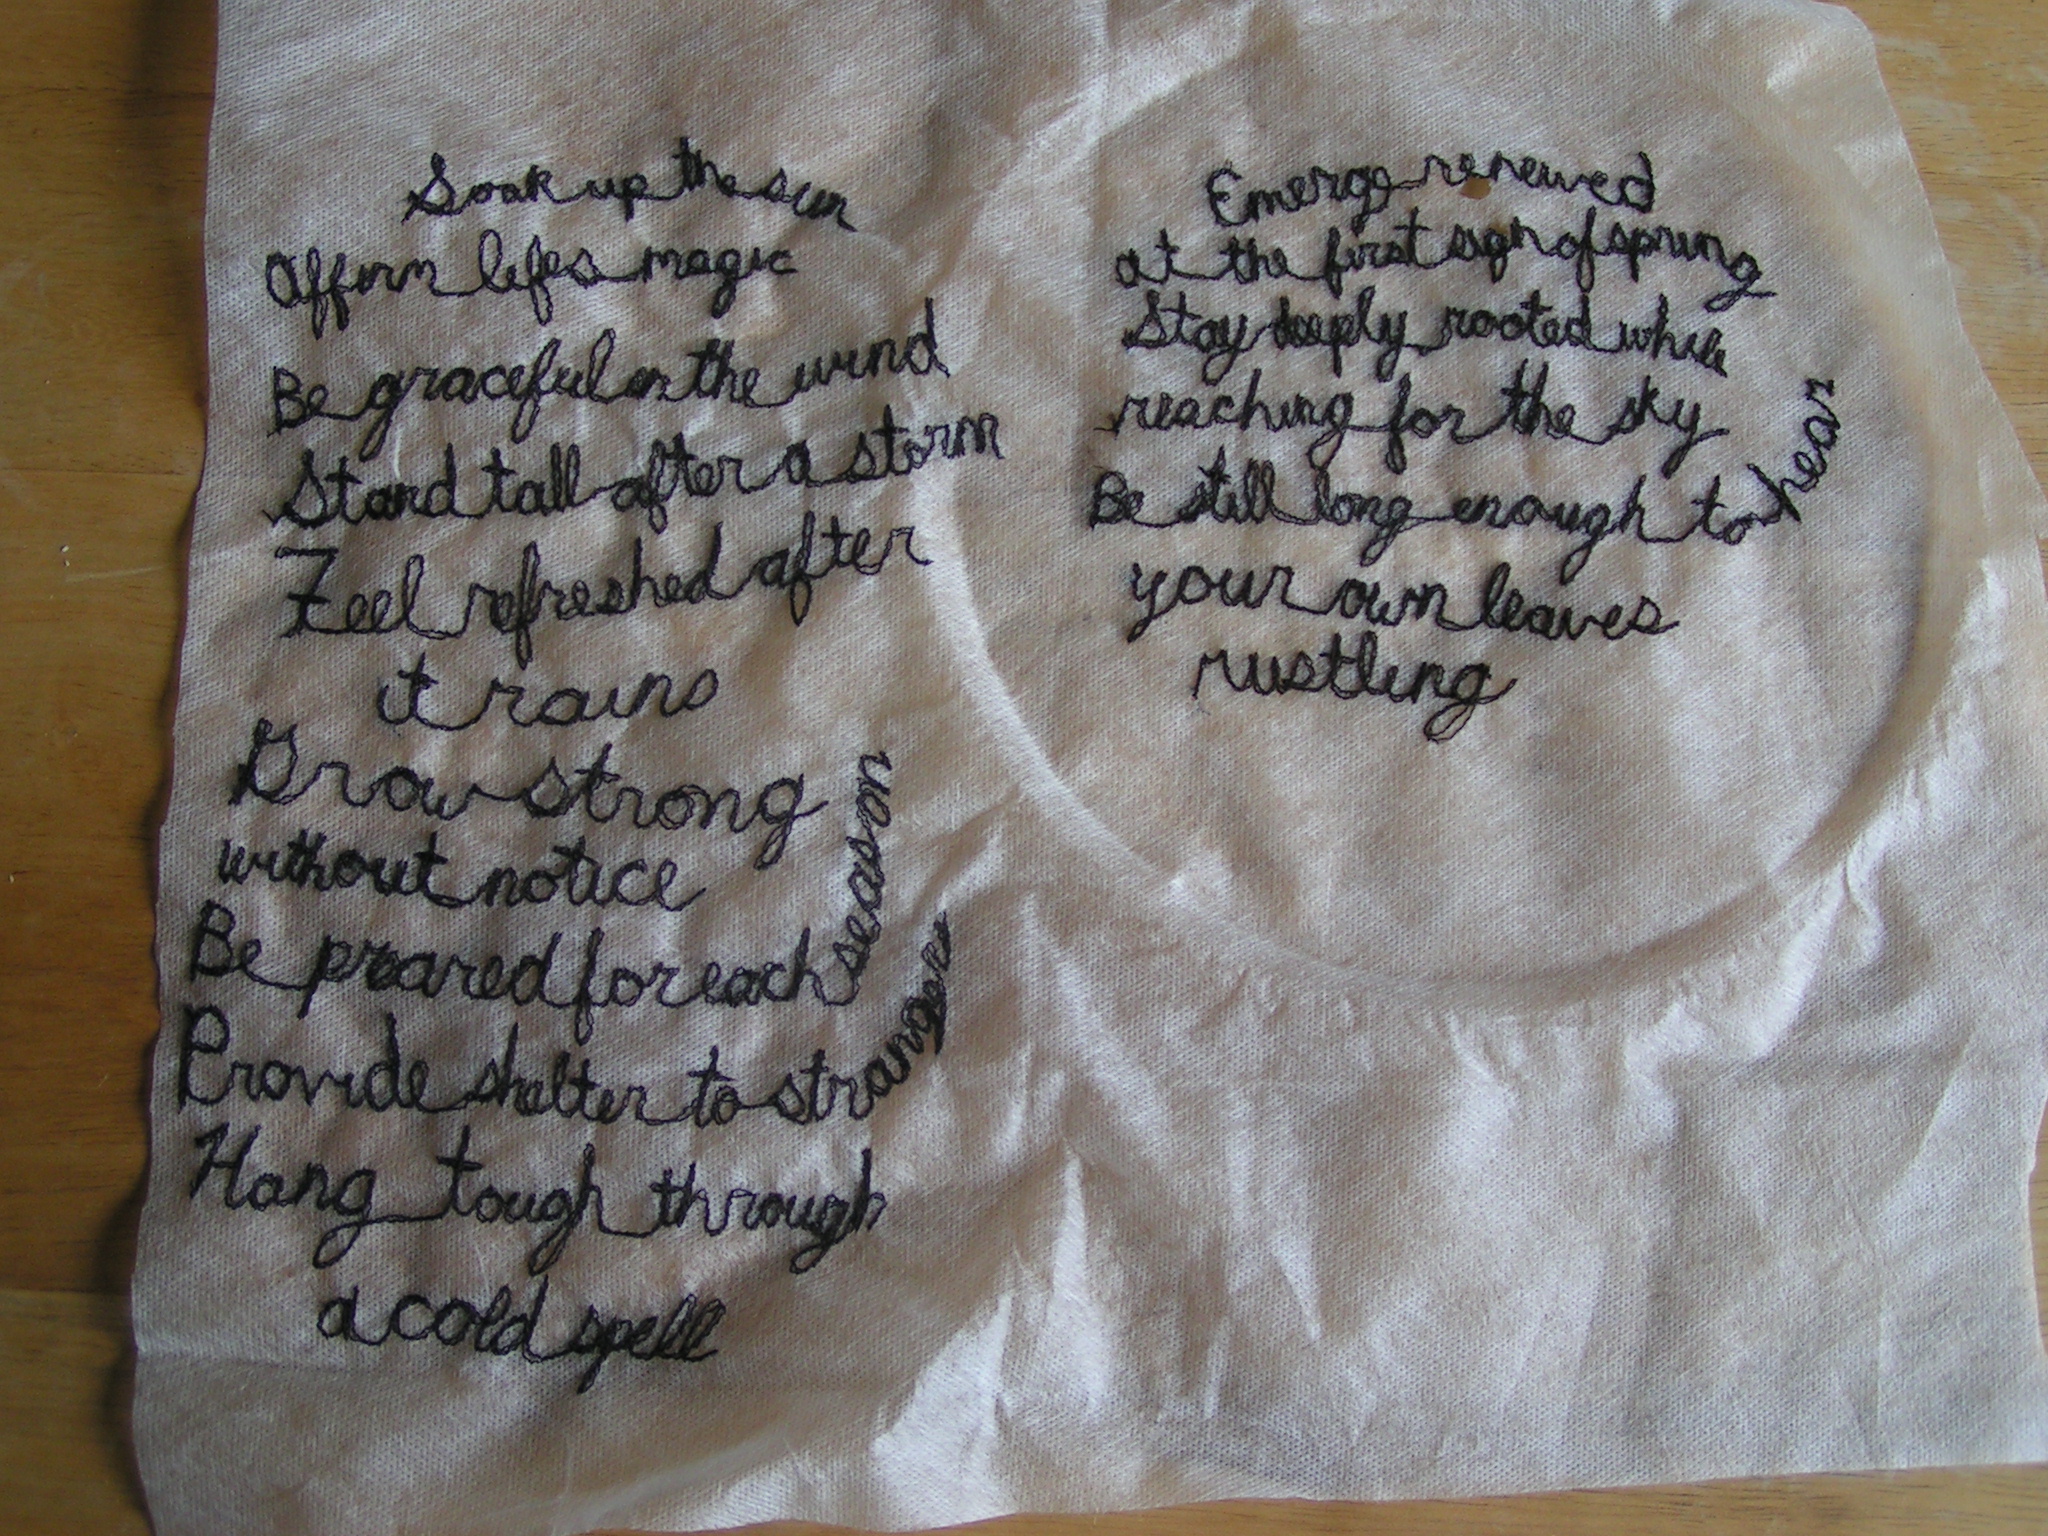
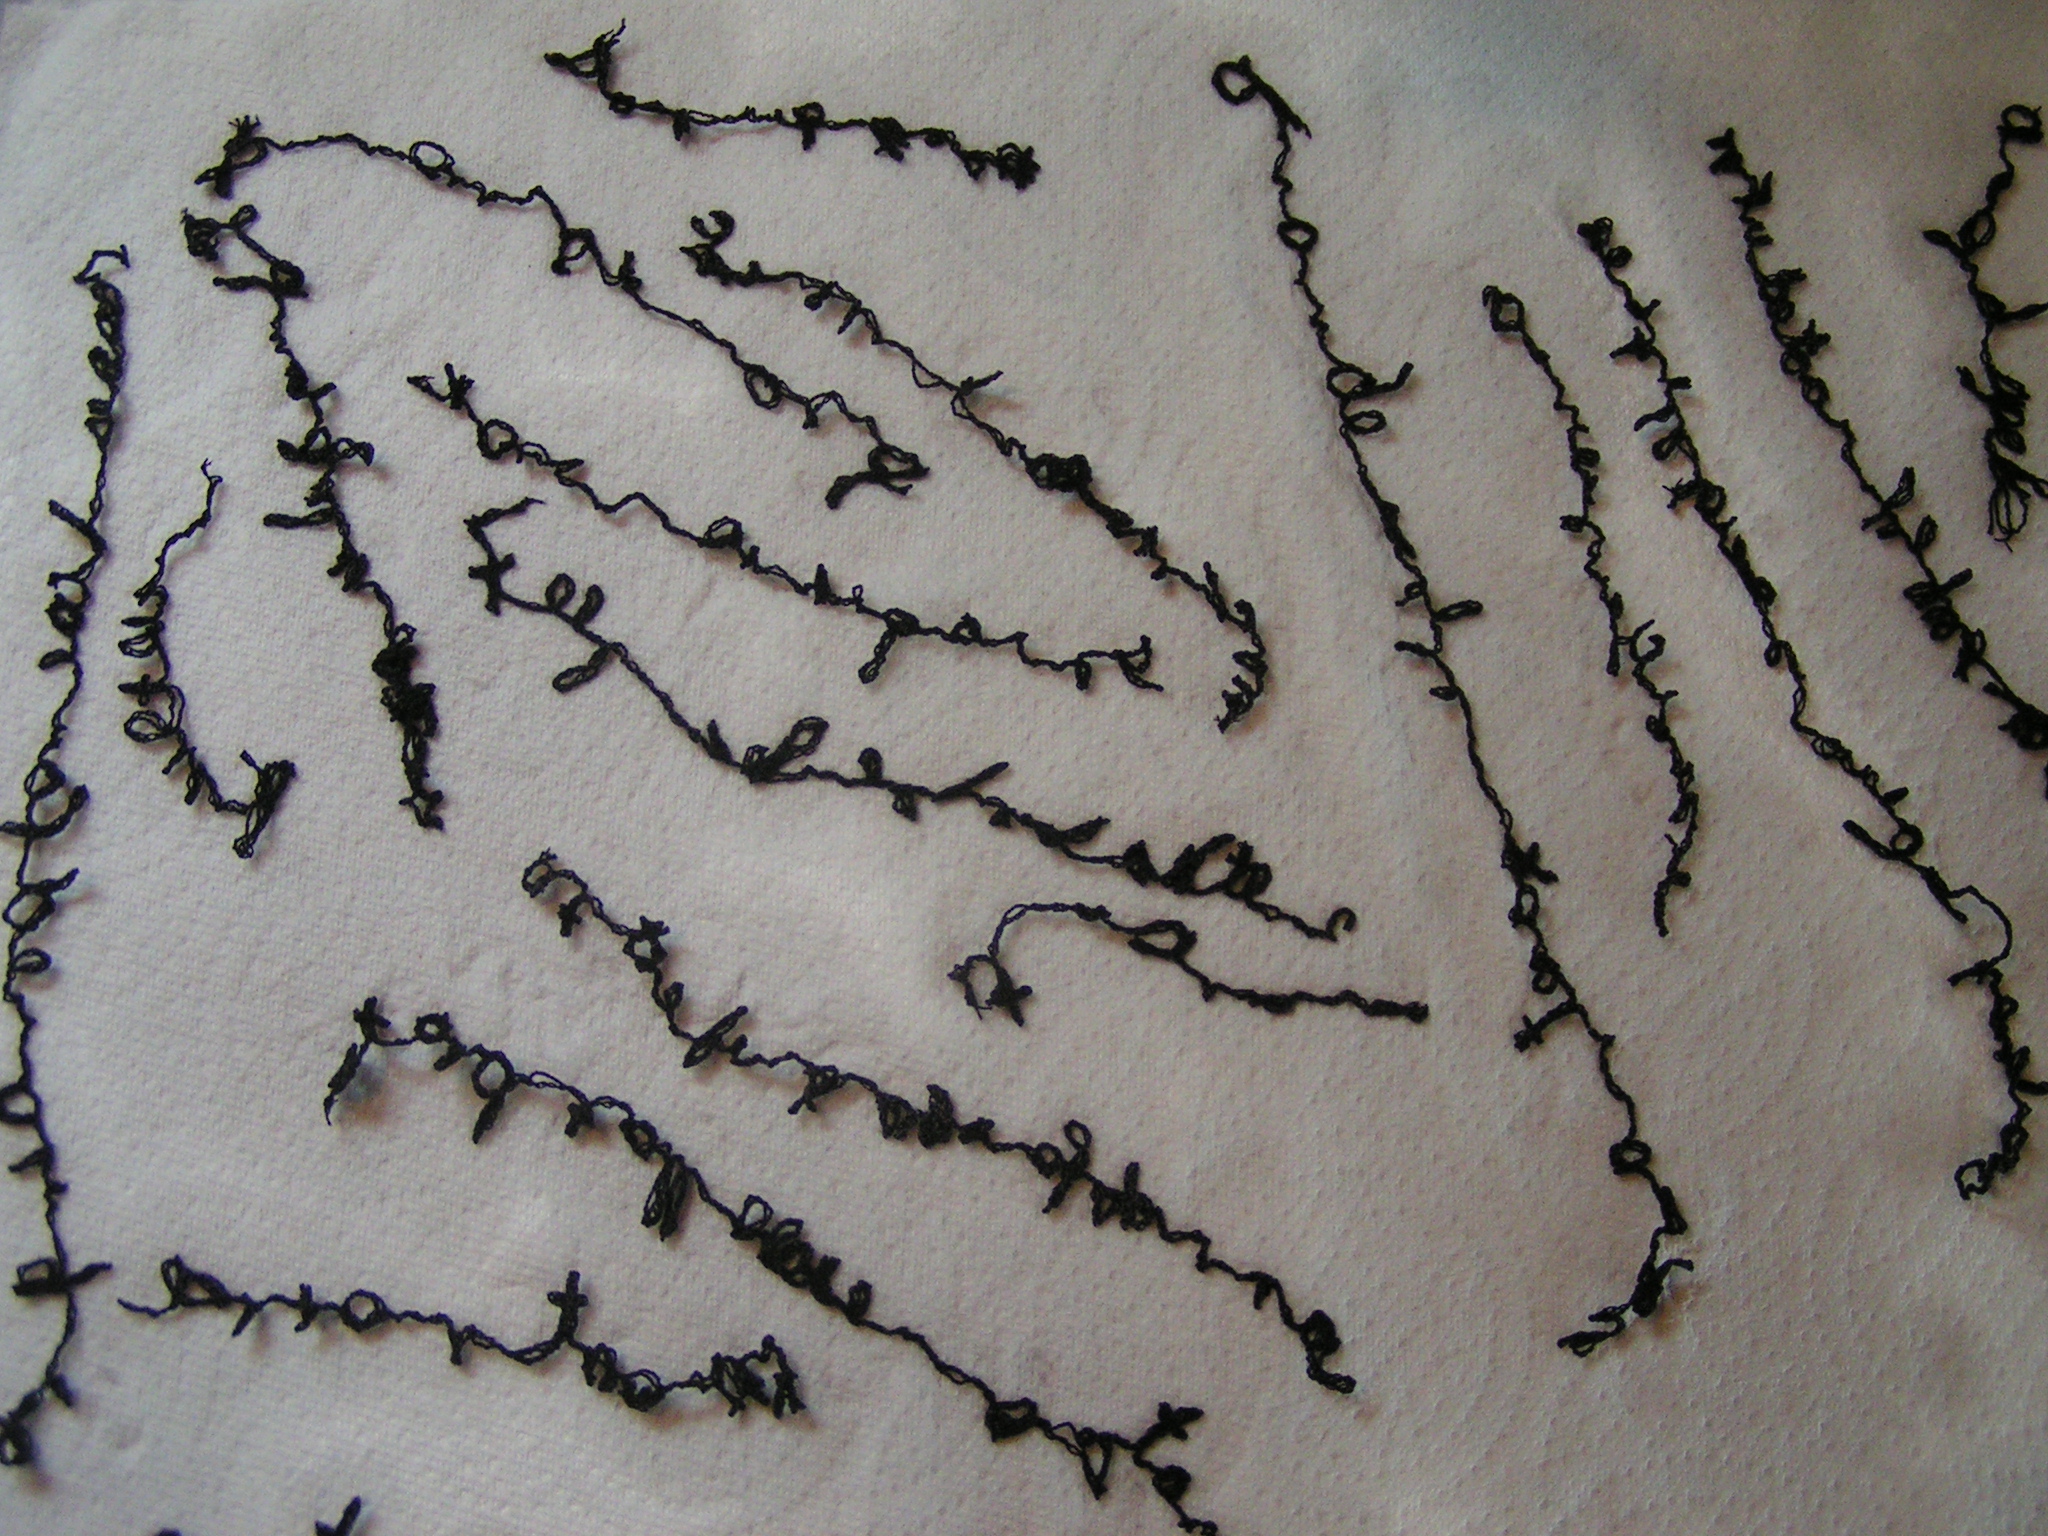
Next, I wanted to add more texture to the tree trunk and I wanted to incorporate the tree poem inspiration into the piece. You can read the poem on my recent post at the Felting and Fiber Studio. I used soluble fabric, put it into a hoop and stitched the poem in dark brown thread. I only messed up one word but as you’ll see in a minute, it didn’t really matter.
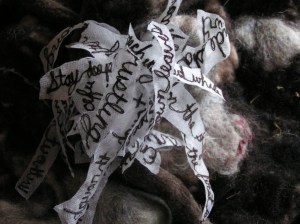 Next I cut all the lines of the poem apart and soaked them in water.
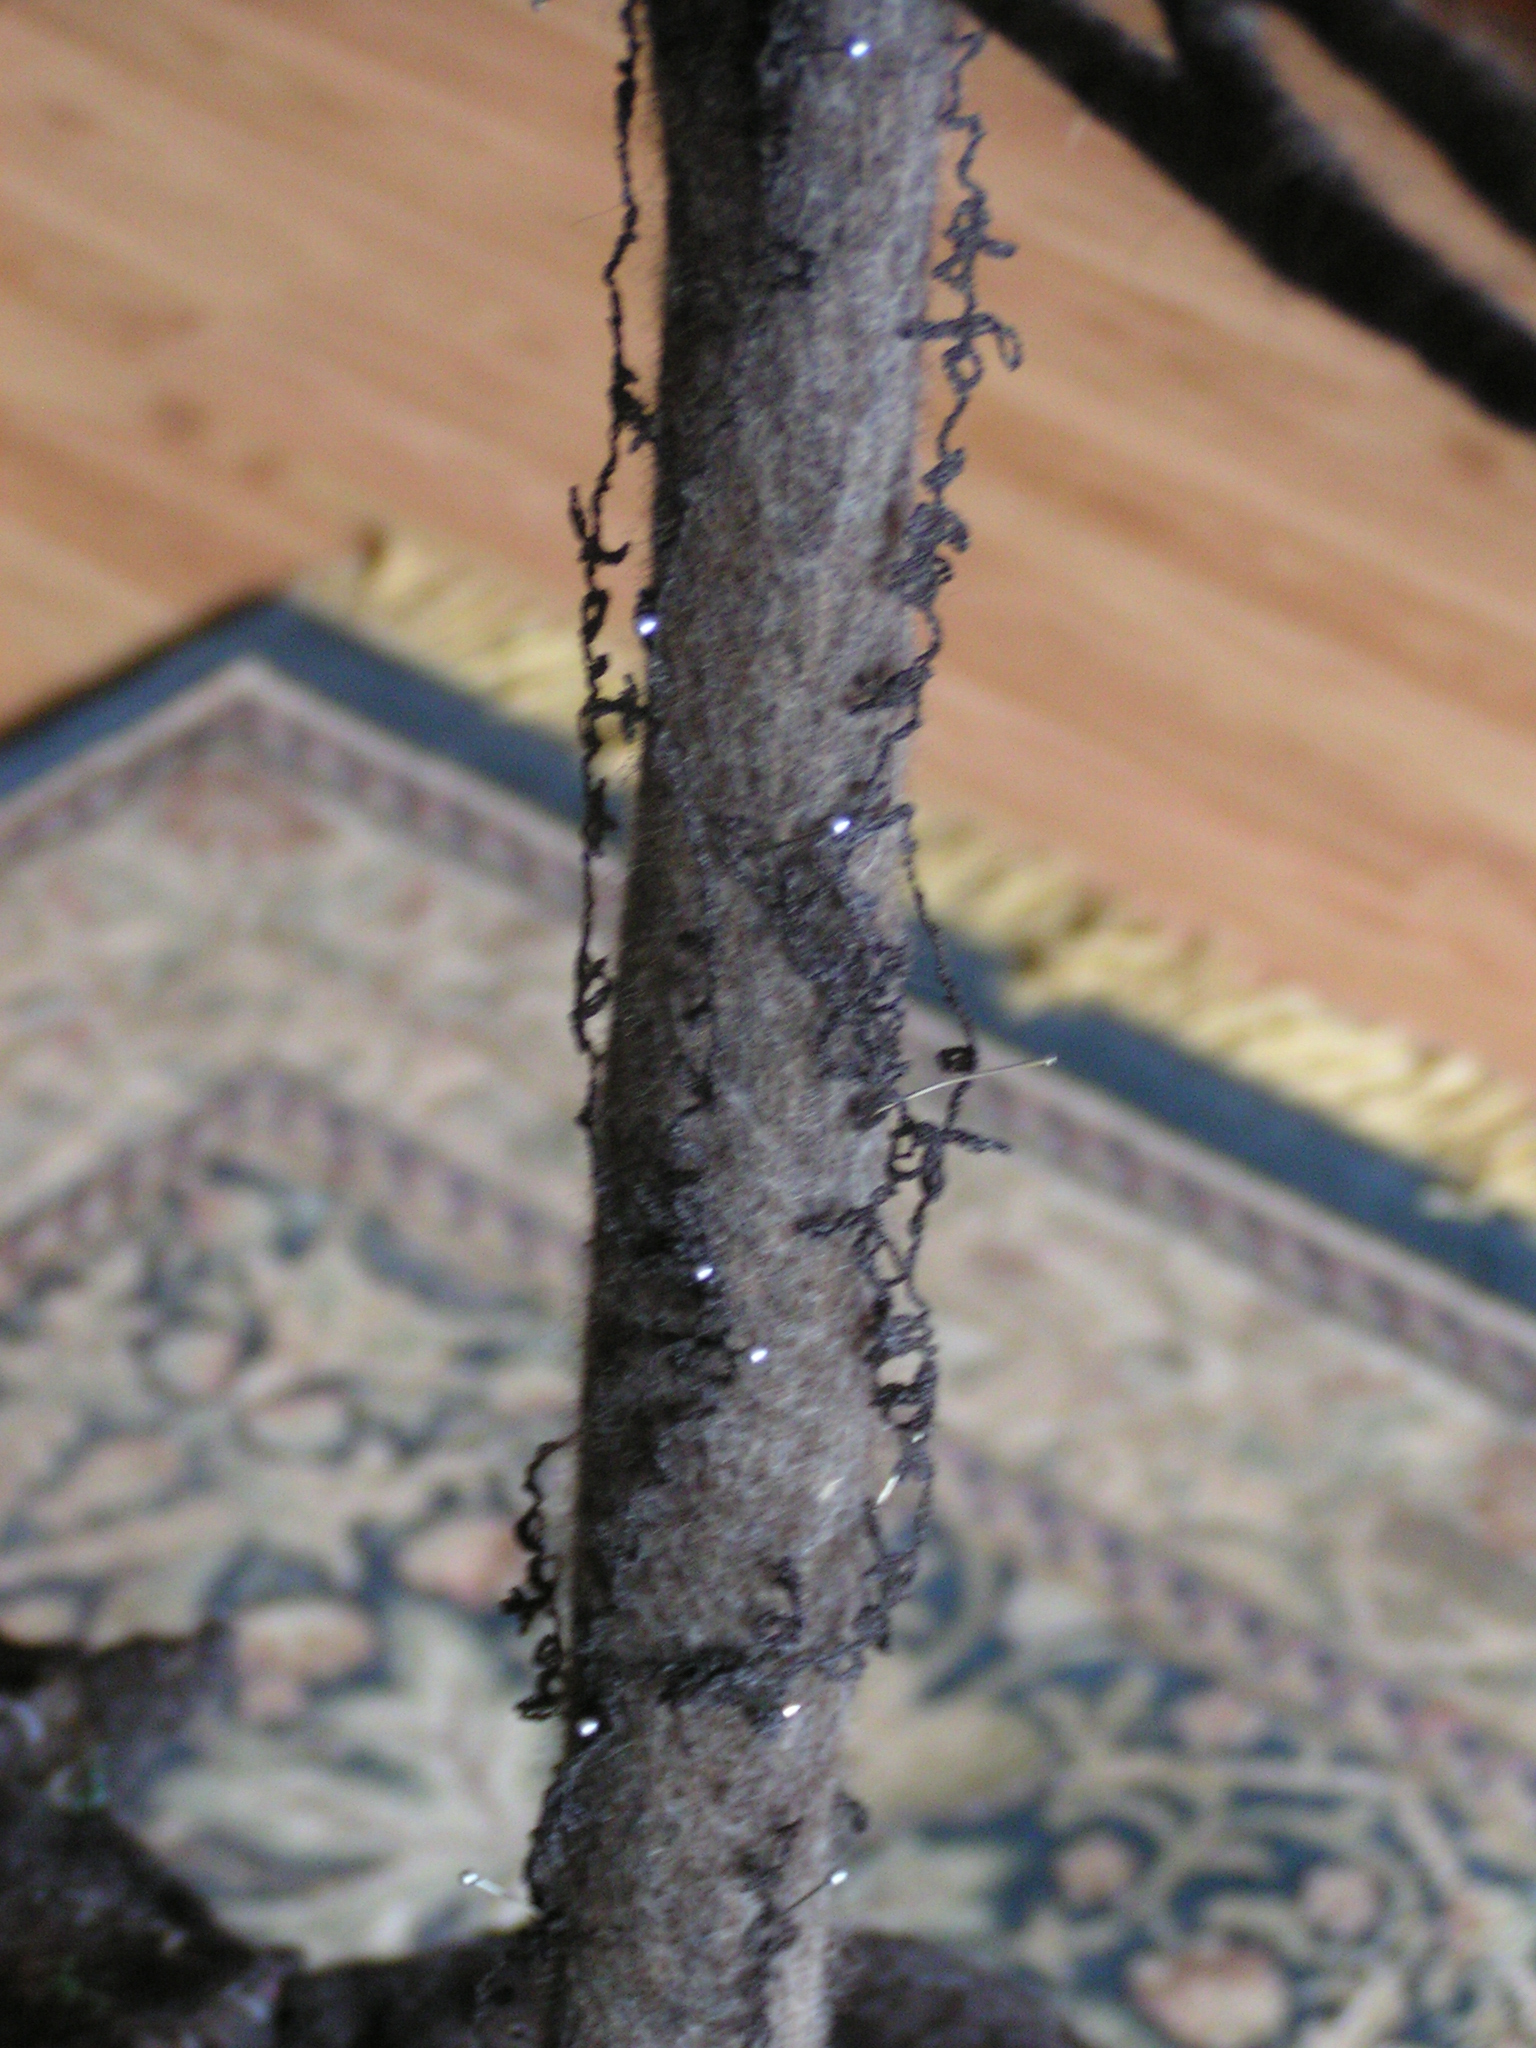
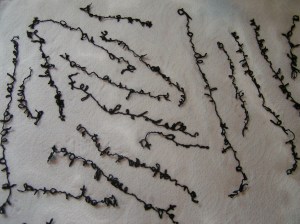 And this is the result. Stitching that vaguely looks like writing but you can’t really read it. Perfect for adding texture to my tree trunk. Now I just have to attach the lines of poetry. I will most likely stitch them on but I haven’t tried it yet. I could always glue them but I thought stitching would hold better.
Dennis and I did get started building the yurt frame. There will be a post tomorrow on the Felting and Fiber Studio if you’d like to see how the yurt is progressing. I’m off to LaConner, Washington next week for Level 1 Color Studies class at the Gail Harker Center for Creative Arts. I’m looking forward to it, I love being able to spend 5 full days immersed in creativity.
 The felting class will be for high school students at an “art retreat” and I’m going to teach them to make a cell phone case. The theme is “Intergalactic Disco Carnival”. So I thought a “cosmic cell phone case” would be the perfect class. This photo is a little dark but you get the idea.
 I also made this one with cheesecloth on one side. This is some of the cheesecloth that I recently dyed. I sent pieces to Zed, Ann and Lyn and they are going to play with it to. I just used a tiny piece – I have lots more to try.
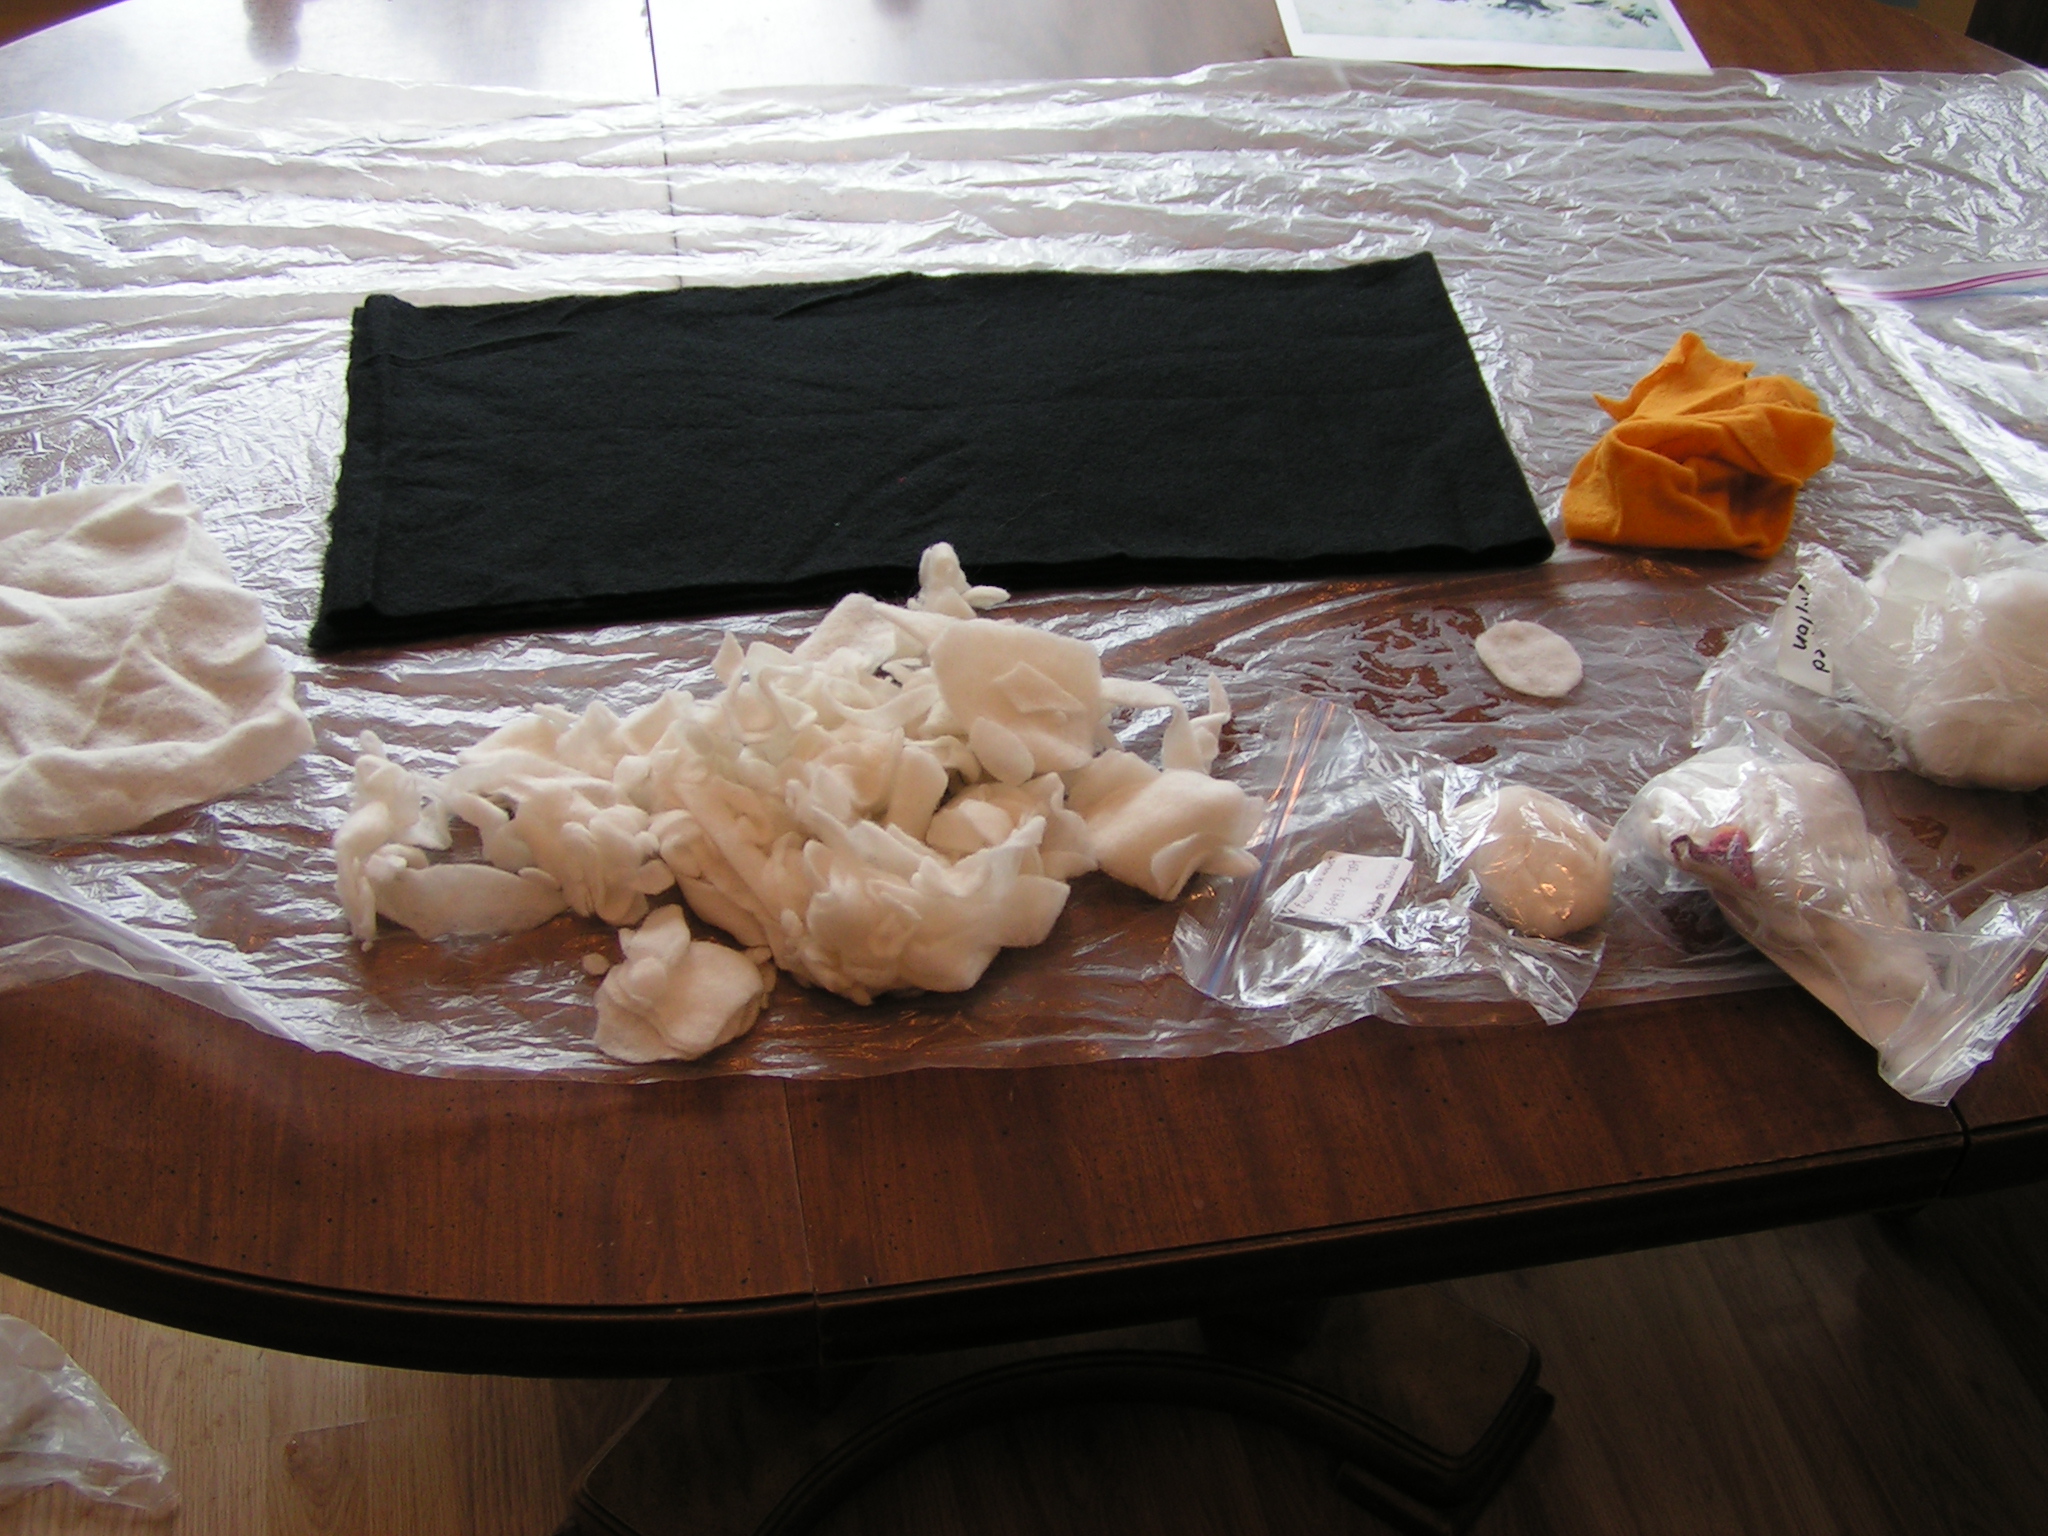 And I did finish my 1st quarter challenge piece but you’ll have to wait to see the final photo. I’ll post about it on the Felting and Fiber Studio site next week. This is the pile of pre-felt that I used to make it. I also worked on my ice flower piece but didn’t have any photos because it got to dark. I’ve gotten all the flowers and leaves sewn down. Now I need to sew it on to the background fabric and attach the “twiggy bits”. I haven’t ordered the stretcher bars yet. Got to get that done.