Cocoon Jacket Class

On Friday, I taught the first session of the Cocoon Nuno Jacket class at Camas Creek Yarn. I had four students but one had to leave early. We worked on making a sample and then the rest of the day was spent designing, measuring, figuring and deciding what yardage was needed for each jacket.

 There was lots of calculating, measuring, trying on and re-calculating.
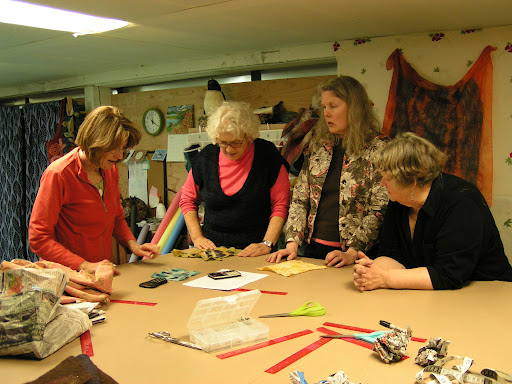
 We used newspaper and muslin to make a pattern and to see how the jacket would fit.

 Here is Judy’s sample (not really this green). She is going to make some changes on her final jacket as she didn’t like the dark blue blobs.
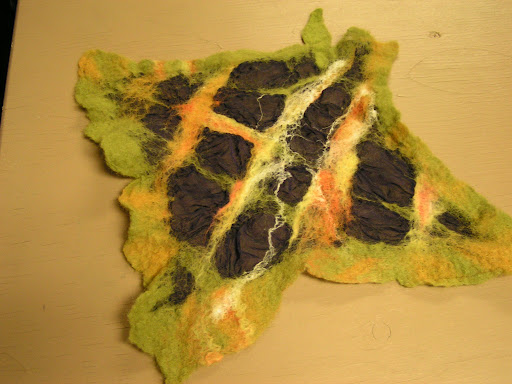
 This is Vicki’s sample. She is planning on doing much thinner edges and thinner strips of wool on her jacket.

This one is Diana’s sample. She is planning on dyeing her jacket after it is felted. She used a yellow piece of silk but will be using white on her jacket.

The class meets again in two weeks and we’ll be felting all day. I can’t wait to see the finished jackets 🙂

Have you used a hat form before?

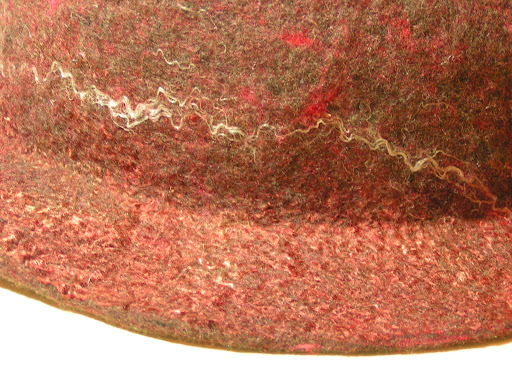
 I recently got three hat forms from Hat Shapers to make more felt hats. In the past, I just shaped my hats with the washboard and fulling techniques. I would then put plastic bags inside to hold the shape while the hat dried. But to make a hat that is really specific, it works wonders if you have a hat form. The hat above was an experiment and was only partially successful. It was going to be a flat beret with a brim but it ended up looking really silly. So I turned it into a baseball cap with the help of a hat form. It still looks a bit silly but at least it doesn’t cause people to fall down laughing.

 This hat is a sample made using a Columbia wool from Oregon. It comes in these really nice tweedy colors. It doesn’t felt as quickly as merino but it’s very sturdy and works really well for hats. I used the fedora hat shaper for this one and it actually looks like a fedora.

I used flax and bamboo fiber to add a little embellishment to the brim. I’m still trying to work out where you put embellishments that will end up in the area of the hat band. It’s hard to determine that exactly because of the shrinkage and how the hat form works. I never thought I would like making hats but with the hat forms, they are really easy. I have no connection with Hat Shapers but I do like their products.

Learning to Felt a Hat

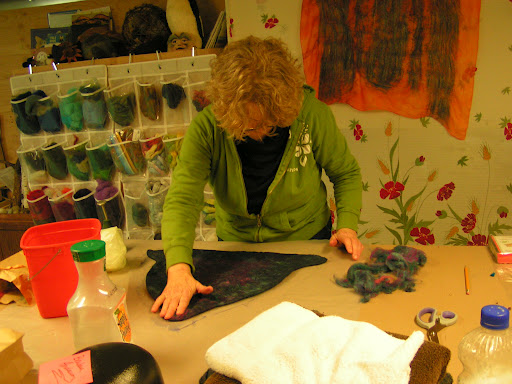
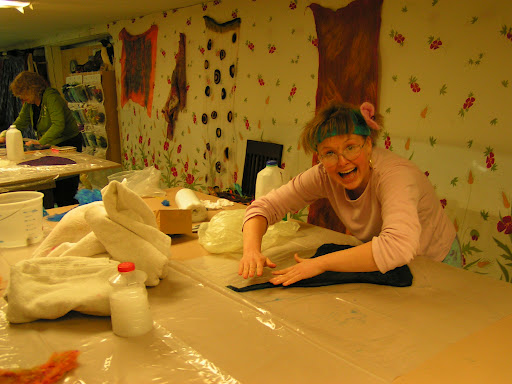
 I had another felted hat class yesterday at Camas Creek Yarn. There were 5 students and we had a really good time. Each of the hats created was unique and they all turned out great. Here, Michelle and Karen are drawing out their resist shapes.

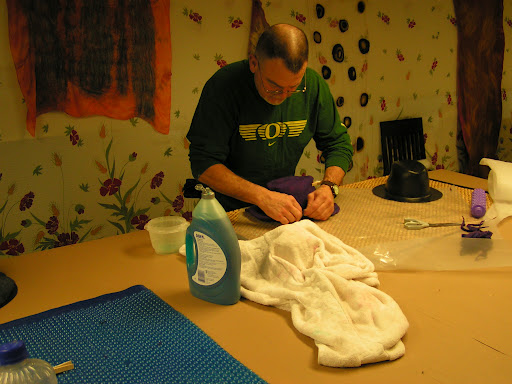
 Jason and Barbara are laying out wool for the bottom layer.

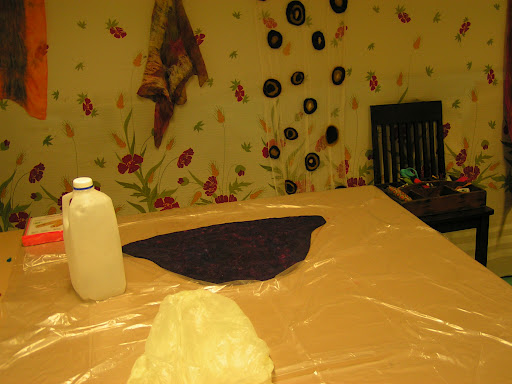
 Here is Zoe’s first layer for her hat.

 Barbara has her resist completely covered and is wetting it down completely.

 Here’s Jason’s resist covered with wool and completely wet down.

 Michelle is beginning to rub the outside layer.

 And Zoe, always enthusiastic, is rubbing her hat as well.

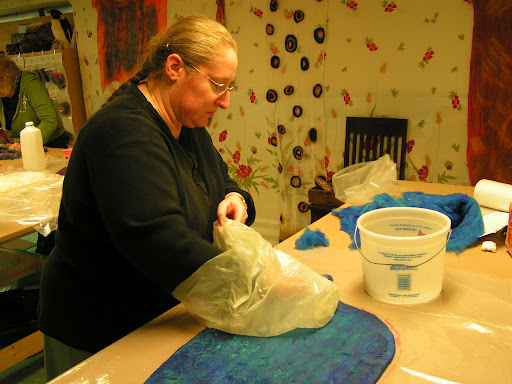
 Next up was rolling and Jason is rolling while Barbara is sopping up excess water.

 Here is Zoe rolling, rolling, rolling… It looks like Karen is doing a good job of supervising.

The resist has been removed and the hats are on the Hat Shaper hat forms. Barbara is pounding away to get the right shape.

 Jason made a fedora style hat and is shaping on the hat form.

 Michelle made a cloche style hat.

 Here is Zoe and her swirly hat, she’s working that pointy top to just the right position.

 Karen has her hat on the hat form and she got some wonderful folds on the top.

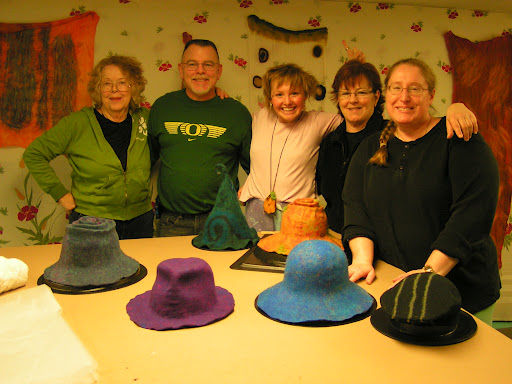
Here is everyone at the end of class. My hat that I made for demonstration is at the far right. What a wonderful group of people and look at those hats! Didn’t they do a great job?

Another Hat Class Coming Soon

I have another hat class scheduled at Camas Creek Yarn on March 23rd from 10 am to 5:30 pm. Go here for more information. There are still a couple of spots left if you’re in the area. I had a blast with the last class and I’m looking forward to this one.

If you haven’t signed up for my fiber giveaway, there’s still time. I’ll be doing the drawing tomorrow afternoon. So go to the previous post and leave a comment. Thanks for stopping by!