Yurt Samples

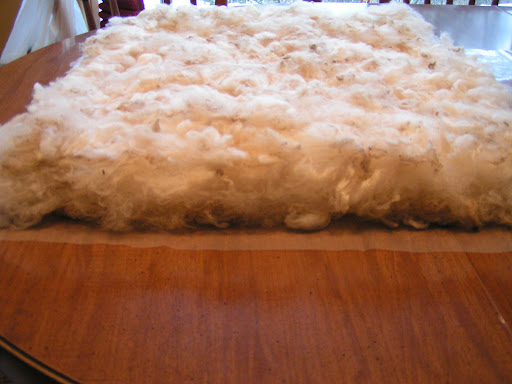
 I’m off to my next Level 2 Stitch class tomorrow but I thought I’d tell you about what I’ve been doing in regards to Yurt planning. I have gotten several books from the library that talk about yurts. None of them suggest you use felt for the covering. They all suggest you use canvas but that pretty much defeats the whole purpose of making a yurt in my opinion. So I’m trying to figure out how much wool I will need. I thought it would be possible to felt the covering with raw wool and skip the washing and carding parts. So I made a sample to test this theory. This is the pile of wool before felting. It is 18″ x 18″ after layout and is 5 layers of wool thick.
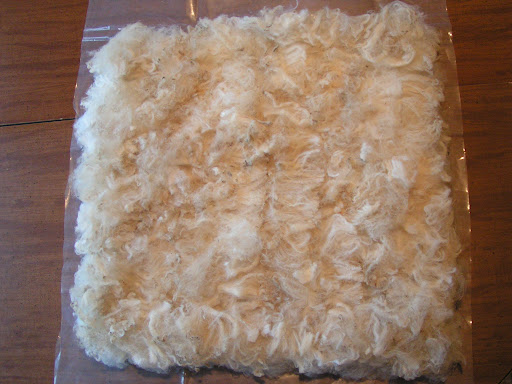
I thought I had a photo of the finished sample but somehow it isn’t on the camera. Even though it did felt, I still had holes in the finished felt even though it was five layers thick at the start. The greasy wool seemed to slide around a lot more than clean, carded wool. It didn’t shrink as much as expected either. I think that was due to the sliding around problem. I could definitely make the yurt covering with raw wool but I think it will take less wool and be easier to felt with clean, carded wool. I have found a Montana source for raw wool at $3.07 per pound. I have also found a mill in Canada that will process the wool into batts for $7.00 per pound. That price is for finished weight so you don’t have to pay the full raw wool weight which is generally 40-50% lanolin. I think I’m going to need 200 pounds of raw wool to end up with 120 pounds of wool batt. I did speak to Ankaret from Canada (Thanks Ann for the connection) who is in the process of making a 10 foot yurt. She was very helpful about how much wool they used and the process they went through. We are planning on making an 18 foot yurt. No guts, no glory!

My 400th post is coming soon and I’m planning on a give away. So keep you eyes peeled in the next couple of weeks to win a variety of fibers and threads. 
Hat Felting Class

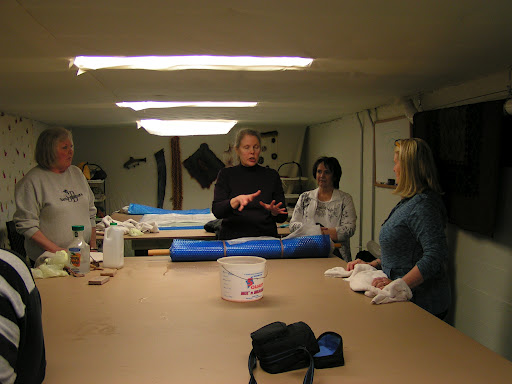
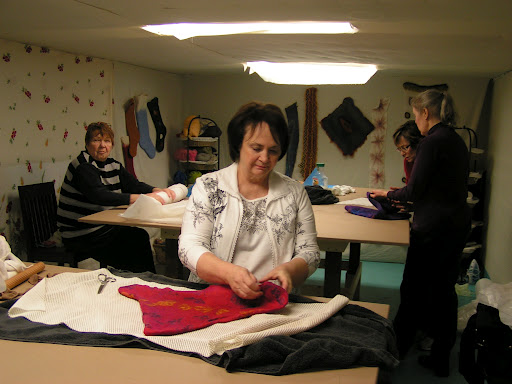
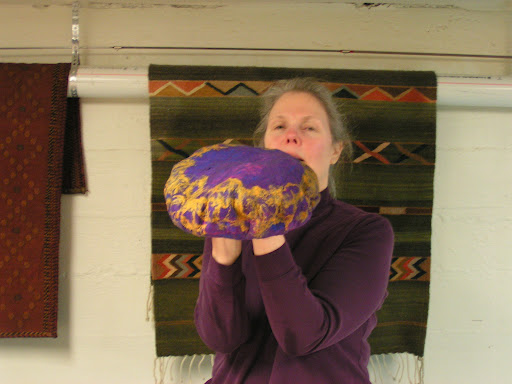
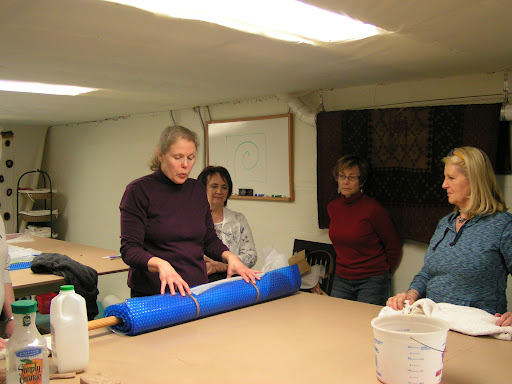
 I taught a felted hat class on Friday at Camas Creek Yarns in Kalispell. I had 6 students and we had a great time. I forgot that I brought the camera until about half way through. Paula took most of the photos and the one I did take of her was blurry and didn’t come out. All of the photos of me, I either have my eyes closed or I’m looking silly. This one looks like I’m whistling while I roll.

 And of course, my hands are always going when I speak.

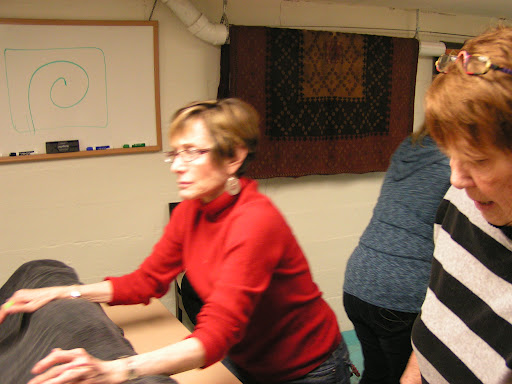
 Here are Jan and Marylou rolling with Darlene’s help.

 Here is Mary rolling and Leah looking on.

 This is Darlene’s hat after the resist came out. Most of the students decided to do a “cowboy” style hat with a folded crown.

 This is Mary and her hat. We’re working on stretching the felt after rolling.

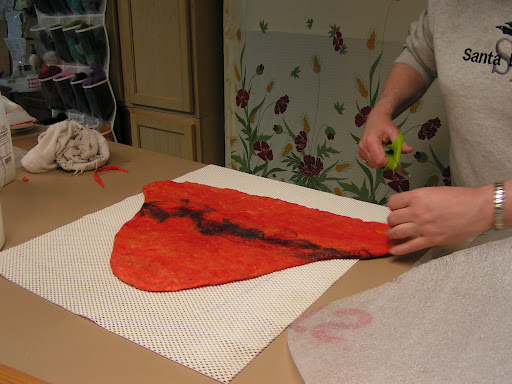
 Here’s Jan cutting the resist out of her hat.

 This is Marylou’s hat before shrinking.

 Darlene is removing her resist and Leah is in the background rolling hers.

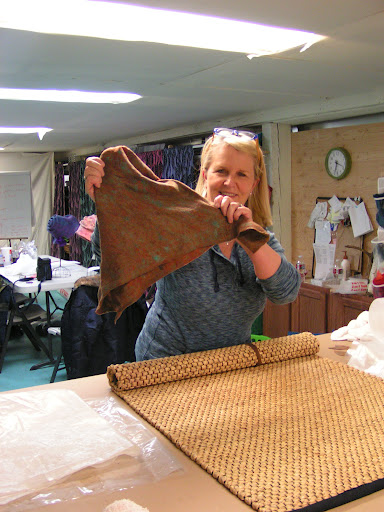
 Here is the beret I made for a sample. We used Strata batts from New England Felting Supply and they are so easy to felt. It really saves on layout time as well.

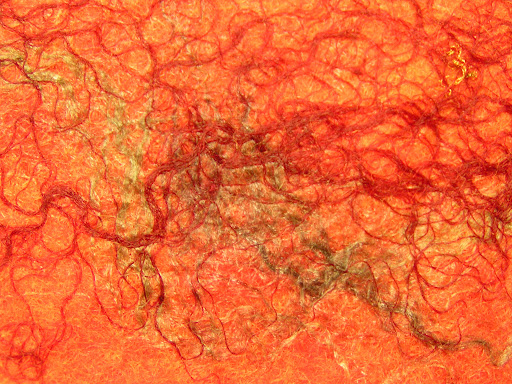
 This is a close up of the embellishment fibers on Jan’s hat.

Here is Darlene making the folds on the crown of her hat.

And Jan is working on her folding here as well. We didn’t quite get the hats completely finished so I’ve asked everyone to send me a photo of their finished hat. Hopefully, I’ll have some finished hats to show you soon. I’m teaching the same class in mid March. Visit the Camas Creek website if you’ll be in the area and would like to make a felted hat. I’m also planning on an advanced hat class and that will be happening in April or May. 

Nuno Felted Book Cover

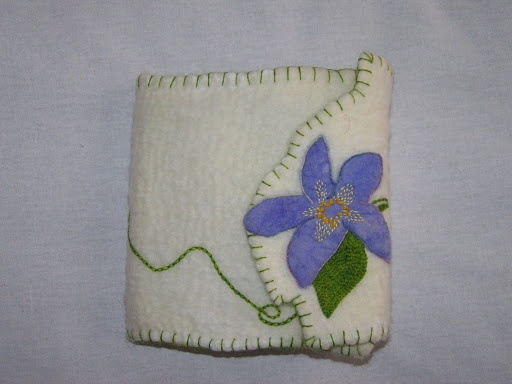
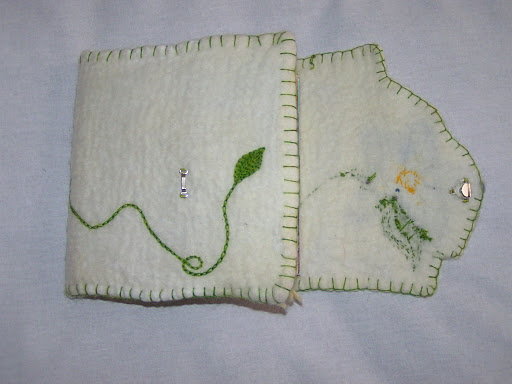
 This is a book cover that I made last summer but never finished. It was a practice piece for another project and it just happened to fit my paper stitch book perfectly. The purple portion of the flower is felted to the cover and was a pre-felt. The cover was made with merino and cotton ‘harem’ cloth. The cloth was covered on both sides with wool and a resist was used to make the pocket that the front cover of the book slides into.

 I added hand stitching, mainly button hole and chain stitch. But there are also a few straight stitches and some french knots. The leaves are done with chain stitch used as a filling stitch. It’s still pretty plain and I may add other flowers and leaves at a later date but right now I’m happy with it.

 I added a hook and eye type closure, the kind that is made to go on trousers.

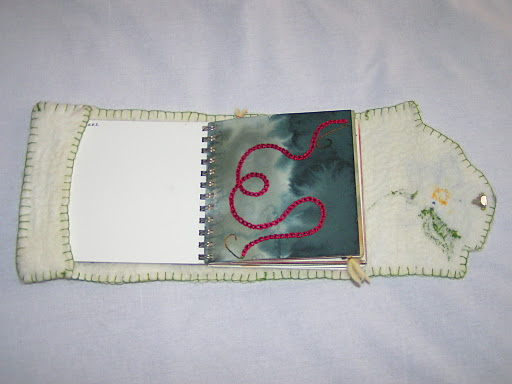
Here’s the inside showing the first page of my stitch book. It’s a little wonky in places but it helps to keep the book closed as it tends to bulge open a bit with all the stitching on the pages.

Resist for the Tangerine Hat

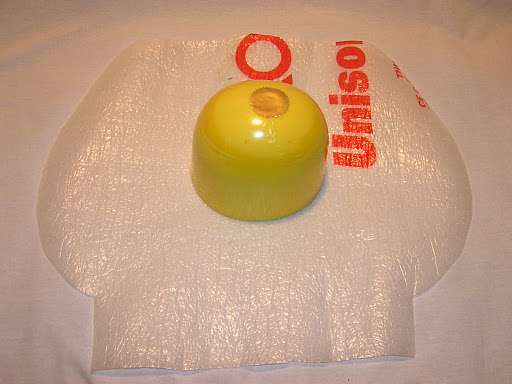
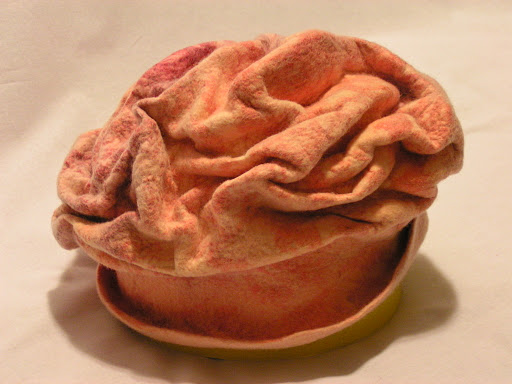
I had a question about the resist shape that I used to make the tangerine hat in my last post about the felting class I will be teaching. Here’s a photo of the actual resist. The yellow hat form in the center of the resist gives you an idea of how big it is. The hat is sitting on this form in the photo in the last post. I always find that making a resist very simple and then adding structure to the hat with shaping is the easiest way to go. If you’d like to learn more about hat making and you’ll be in the Kalispell area, sign up for my class at Camas Creek Yarns.

Felt Hat Class

I am going to be teaching felting classes at Camas Creek Yarns in Kalispell, MT. The first class is scheduled for February 10th and will be about hat making.

You’ll learn how to make a pattern and design your own hat. We’ll be using short fiber merino batt so it will felt quickly and easily. That way we can spend more time on developing your own unique hat and shaping it to fit. If you’re in the area and would like to learn about hat making, here’s the link where you can sign up. Just look down the list, find my class and click on the Register Now button.