Red, Blue Green and Yellow Green Collage

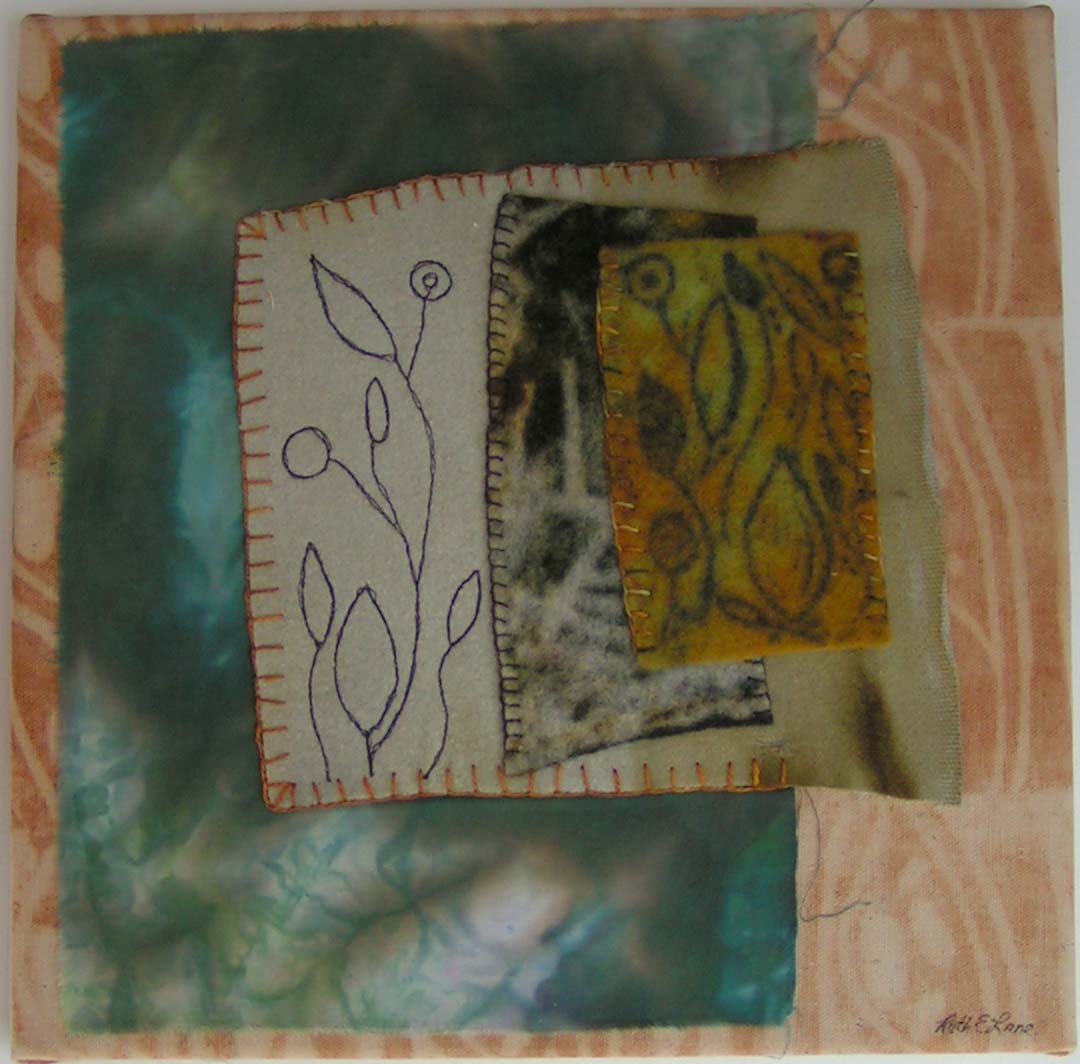
I attended my first session of Level 3 Stitch at Gail Harker Creative Studies Center last week. We started with dyeing a variety of fabric and threads in a bright color wheel and then a neutralized color wheel. Then we got started on a variety of fabric and stitch pieces that I am calling collages.

We are working our way through a variety of color schemes using both hand and machine stitch. But mainly the exercises are about color and how to put different color schemes together.

This is the red, blue green and yellow green color scheme. The piece on the left was free motion machine stitched and the one on the right with stripes is just regular straight stitch. Then the idea was to cut them up and put them back together. I decided to use two different pieces to give a bit more contrast.

So I cut the pieces up into strips and sewed them back together.

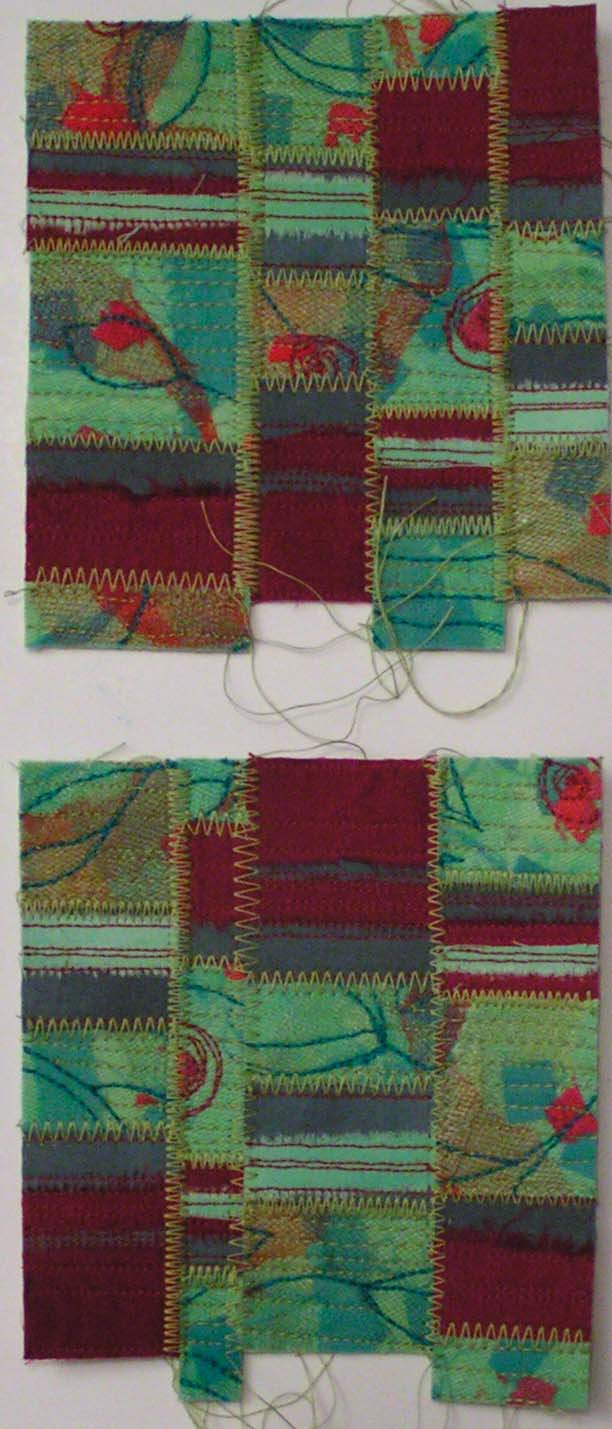
Then they were cut again and sewed again. Looking better! Next up was to put all the pieces into one bigger piece.

And here’s the end result. This was fun to do and I do like the effect. You definitely look more at the colors then any particular design. I will be showing you a lot of these in the coming months; little color studies in fabric and stitch.


Revamped Cards

I made these cards quite a while ago with scrap paper and poured acrylic skins. I put them in the store for sale and they haven’t sold. There has been minimal interest in them. So it was time to revamp and see if I could improve them.

So I looked in my notebooks where I put quotes that I like. I found enough quotes and then printed them out.

I then cut them out and pasted them to the already made card.

This one I had to redo because I misspelled happiness.

I hope that with these quotes, people will like the cards better.

People seem to like items/cards with words on them.

At least they have a “focal point” now.

Of course it would help if I could spell. Picasso on the card is wrong. Sigh. I have printed out another piece of paper with the correct spelling and will paste it over the first one. Now I’ll take these back to the store and see what happens.

Birthday Cards

I spent nearly all day today photographing my artwork from my art and design course. I set up the fancy lights and the tripod for the camera. I felt like a took a gazillion photos. I will show you some of them as I get them edited. I did need to get some birthday cards made so I can show you those.

Here’s the first one. It’s a piece of screen printed paper made with deconstructed screen printing.

Here’s one with a pine cone that I stenciled on to screen printed paper. This is one of my own stencils.

The last one is some paper that I created when I was using up paint from my palette. Hopefully, everyone will like their birthday cards. My cards are never very “birthday” like but hopefully people appreciate that they are getting a one of a kind card. Have a good weekend!

Tree Fragment Series

I created the first two of these “Tree Fragments” quite a while ago and then they just hung around the studio being UFO’s. I was invited to include some of my work in the “Uncommon Threads” exhibit at the Bigfork Cultural Arts Center. It is the same time as the exhibit for Whitefish Gallery Nights that I posted about here. So I needed different work for the Bigfork show. I decided to create one more piece to make this a series. I have created a post about that piece over on The Felting and Fiber Studio which will publish on August 13th. But I will show you the other two pieces here.

This first one is called “Chemo Leaves”. I used a rust printed background and covered a 12″ x 12″ canvas. This pattern was created from the curtains when my husband was taking chemotherapy several years ago. This is a combination of printed, screen printed and machine stitched felt as well as ice dyed cotton fabric.

The second piece is called Aspen Leaves and is created from printed and stenciled felt, iced dyed cotton fabric and machine stitched and painted silk. The background is an eco printed piece from my friend Paula. Thanks Paula!

I tried to fit these into some frames but it didn’t work. So I think they will stay unframed. Now I just need to finish up the backs and put on a hanger.