Sketchbook Revival

A week or so ago, I saw that there was a free sketching course that has a variety of artists doing short tutorials for a couple of weeks. So I decided to join. It’s called Sketchbook Revival. You can still join in if you’d like, just click on this link.

I have been watching the videos but not doing all of the specific exercises. I decided that I would use this opportunity to start sketching in my small nature journal again. I want to sketch something from my daily walks. I am using different techniques, the tamarack branch is done with pen and markers.

I found three antlers already this year in and around our property. We have lived here for 15 years and these are the first ones I have found. This one is pen and watercolor.

And here’s a piece of wood that was interesting. I meant to pick up another one but left it behind. But this one was smaller and easier anyways. Again, pen and watercolor.

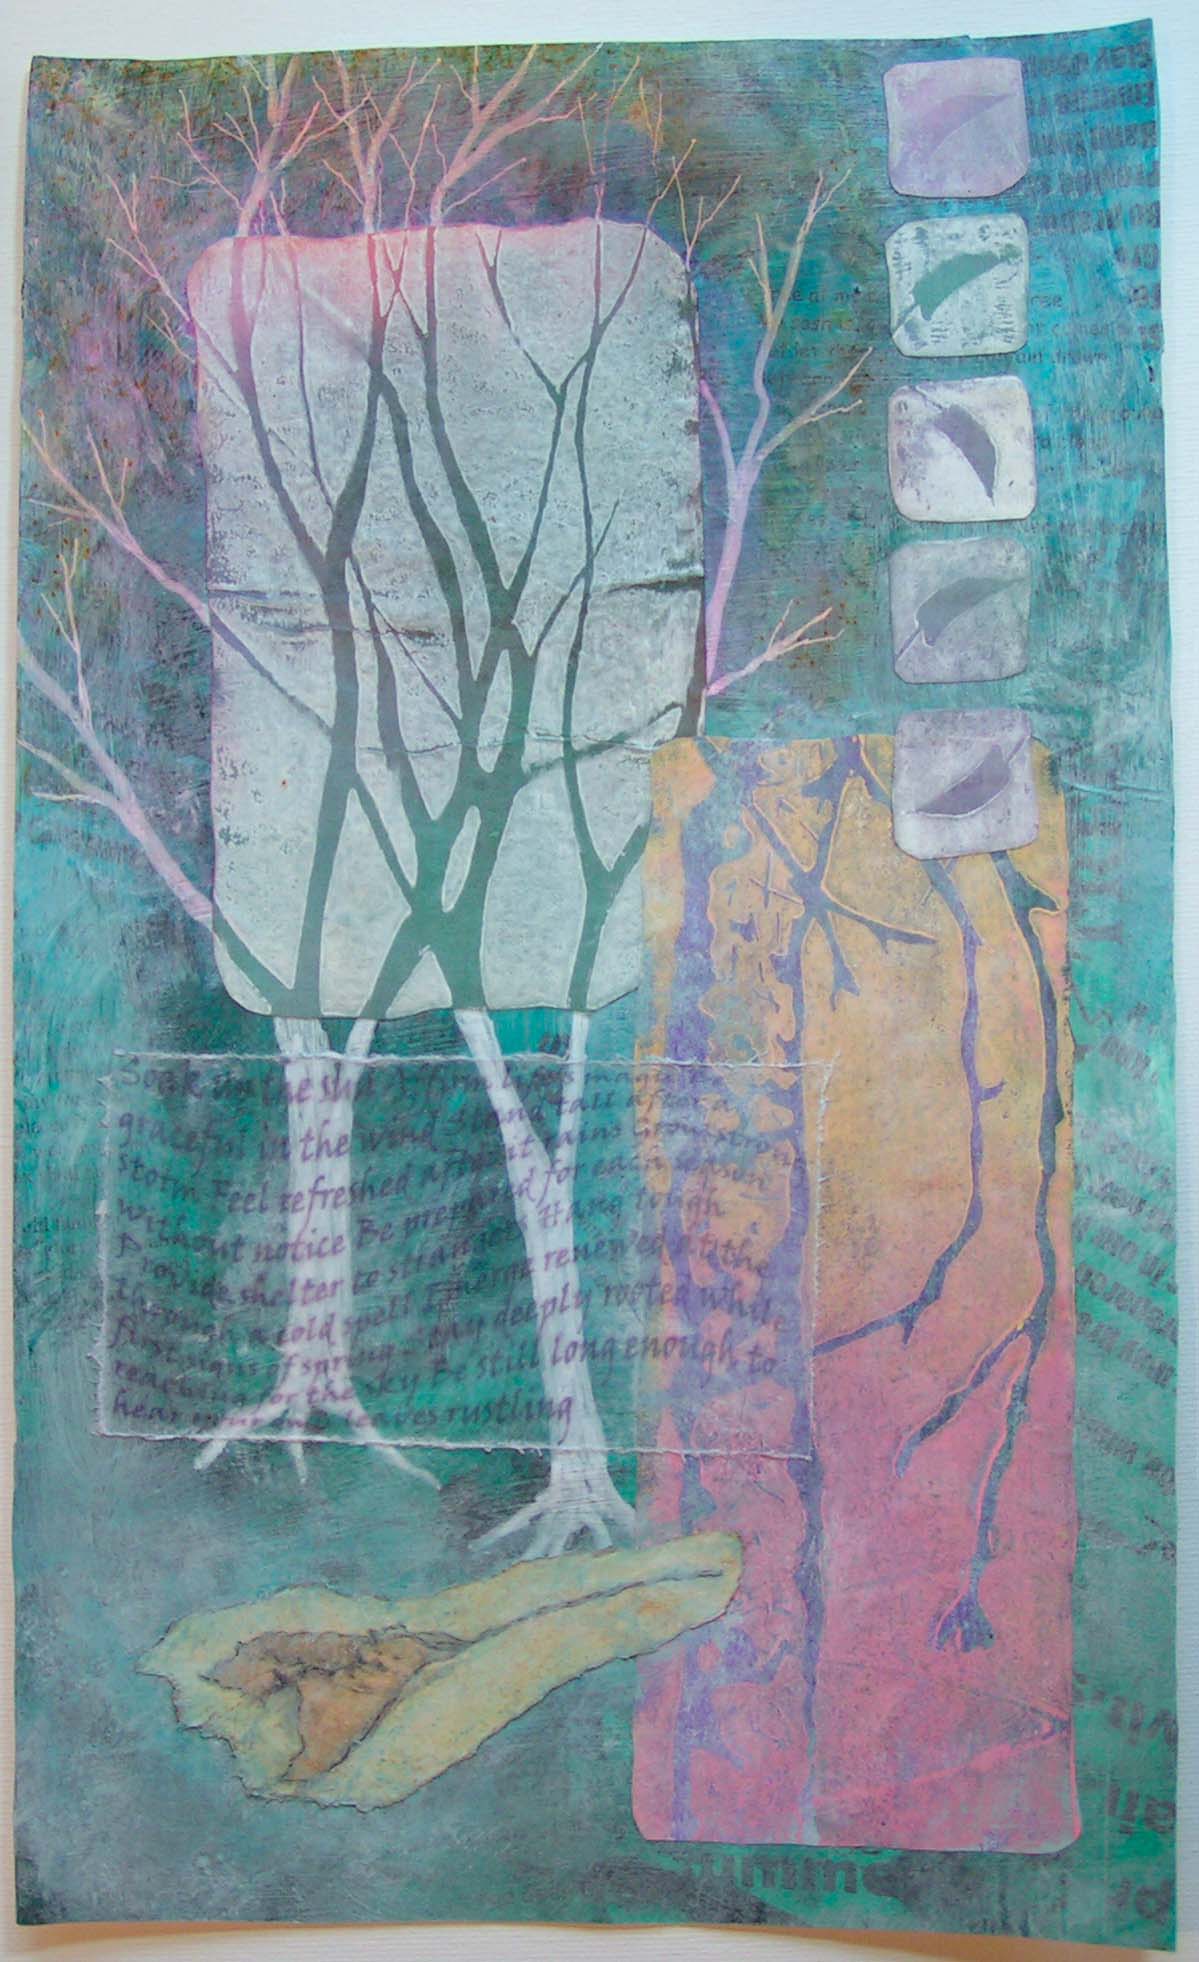
This is the first exercise in Sketchbook Revival tutorials that I decided to try. It is from day 4 by Val Webb. I thought it was a very useful tutorial including ways to use ink to make textural marks and feathers. I might have to try some more birds now. I am still working on my class homework too but trying to spend 15-30 minutes a day on sketching. Hopefully, I can keep sketching and practicing my drawing skills. I always enjoy it when I get started, it is just the getting started part that is hard.


Sunrise in the Trees

I finished another collage that I have been working on. It’s a little bit different color scheme than I usually use.

Hubby even noticed the colors and said, “These aren’t colors you usually like.” Pink is still not really one of my favorite colors but I think it works here. Do you have colors that you don’t usually use in your artwork?

Thinking of Spring

I am still wishing for and thinking of spring. It was a little warmer today with a bit of sunshine. However, there are still piles of snow around the house. So I have been doing some studies of wild flowers to pretend it is spring.

I’m not even sure what this flower is but it looks like a dogwood blossom. It grows on the ground and it is not on a tree, so it’s probably called something else. This is a combination of cut paper, some printed, some painted and then additional paint added.

This cut photo collage came about by accident. I was planning on printing some of my wild flower sketches on regular paper and then including them in collages. However, when I printed these, I accidentally printed them on 4″x 6″ photo paper. I didn’t want to waste them and I kind of liked the shiny surface which you don’t usually have with a sketch. So I used the technique that Deb showed our group last September. It involves taping the back side and slicing the photos up with a craft knife. It’s hard to take a photo because of the glare on the photos.

I hope that I start seeing some of these wild flowers soon when I can take my daily walks. Right now everything is mud, snow and slush. Maybe another week and I’ll see if the path is ready for walking. I’ll just have to wear my galoshes.

Usual State of Chaos

I almost forgot to post for the week. I’m in the usual state of chaos.

Here’s what the table looks like in my studio at the moment. This doesn’t show the piles of other projects in the works lying around in the rest of the house and by the sewing machine.

Here’s one of the pieces I am working on at the moment. I am doing some wild flower studies as I am pretending it is spring even though it is still snowing outside. This is a combination of collage and paint. I am not sure what these wild flowers are called but they remind me of dogwood. They grow in a bush, not a tree. I am using my photo and sketch as inspiration. Then I have used a variety of printed and painted papers for the collage part and adding paint as needed. Still got a ways to go yet. Have a great weekend and I hope it is spring where you are 🙂

Texture Collages

I showed some of these over on the Felting and Fiber Studio. If you missed them, you can see them here. I have a bunch more to complete so I work on them a bit at a time. One of the issues is drying time between layers which takes at least 2-3 days. So I have them in every stage of completion. They are spread out all over the house, I am sure that hubby is loving that!

These are made with a variety of paper, fabric or foam. Then multiple layers of paint are added until I am satisfied with the outcome. There’s a couple that might be a total loss but I haven’t given up on them yet. Perhaps I will show you those later 🙂

This one kind of looks like some kind of skeleton embedded in the ground, do you see it?

This one has some metallic highlights. Usually I’m not much of shiny loving gal but it’s OK in small amounts.

It’s funny when I started these, I didn’t have a real plan as to what most of them would look like. So each one is different and I kind of go with what I see in them as I add layers of paint. So they tend to morph from one thing to another until I settle on what the final outcome will be.