Glacier Lilies in Progress

I have been adding layers of paint to this canvas for several weeks now. Now I am working on the design based on Glacier Lily shapes.

Glacier lilies are yellow but I just wanted to use the shapes that I had sketched out over the last few weeks. Some of the shapes are flowers that had just bloomed and others are based on flowers past their prime and wilting. They make really interesting shapes then.

Here you can see how I have some cut out of freezer paper that I will be using as a resist and to the right are some of the different shapes I am using on tracing paper. I did them in different sizes to get a variety of scale. Once I get them all cut out, I need to decide if I have enough flowers. I will be adding layers of green paint over the flower shaped resists and then adding leaves and more stems. Then I will add another layer of paint. So I have a long ways to go yet on this one.

Today we’re going to a Native American Pow Wow. I have lived here for 20 years and never been to one so I thought it would be great to experience. I hope to show you some photos of the bead work and costumes next time.

Avalanche Creek Collage

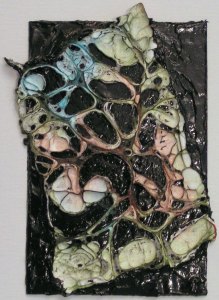
I created this collage several months ago but I forgot to post about it. It had started out as a collage of poured paint. I was planning on doing layers of paint or other media over the pieces of poured paint. But the only poured paint left is the water. I ended up covering the poured paint with torn paper.

I painted all the paper that was used and the tree leaves are created from rice paper that was painted in a variety of greens. Considering how ugly this was when it started out, it turned out better than expected. The scene is a favorite of mine in Glacier National Park.

Hope you have a great weekend!

Tyvek Texture Samples

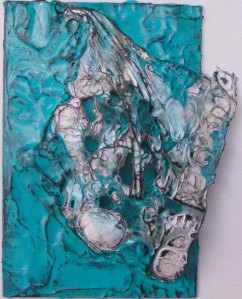
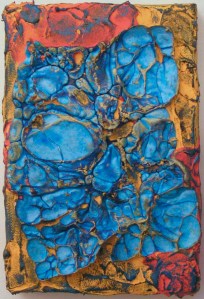
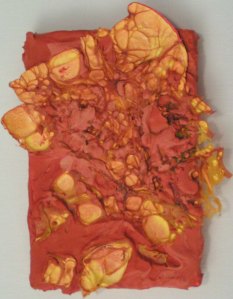
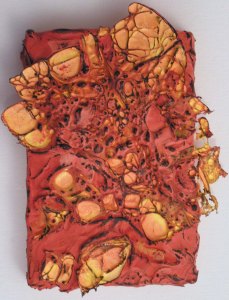
I showed you one of the Tyvek texture samples while it was wet last week. Today I added some oil paint stick highlights.

The photo on the left is before the oil paint stick application. As you can see, the black is really shiny because I used gloss gels mixed with acrylic paints. I was trying a variety of mediums with these tyvek samples so that I could see which worked best. On the right, I have added some matte oil paint sticks to the background to cut the shine. I also added more black to the Tyvek.

And the same with this one. I added a bit of matte blue to cut the shine and then added black oil paint stick to the ridges and the edges of the tyvek. The black definitely helps to integrate the tyvek into the piece more.

This one is definitely not my favorite. It looked better in the “solarized” photo last week. I added two colors of blue and gold oil paint sticks to this one. Bleh.

This is my favorite one. I just added a bit of black to this one. It kind of reminds me of butterfly wings.

This one has a bit different technique and is still wet. I painted the background first instead of adding paint to the medium as I did with the others above. I then applied clear gel gloss very thickly. It is supposed to dry clear but still isn’t completely dry. The thicker areas are still white. I’m not sure it will ever be completely clear but I am going to leave it for a while to see if it will clear up.

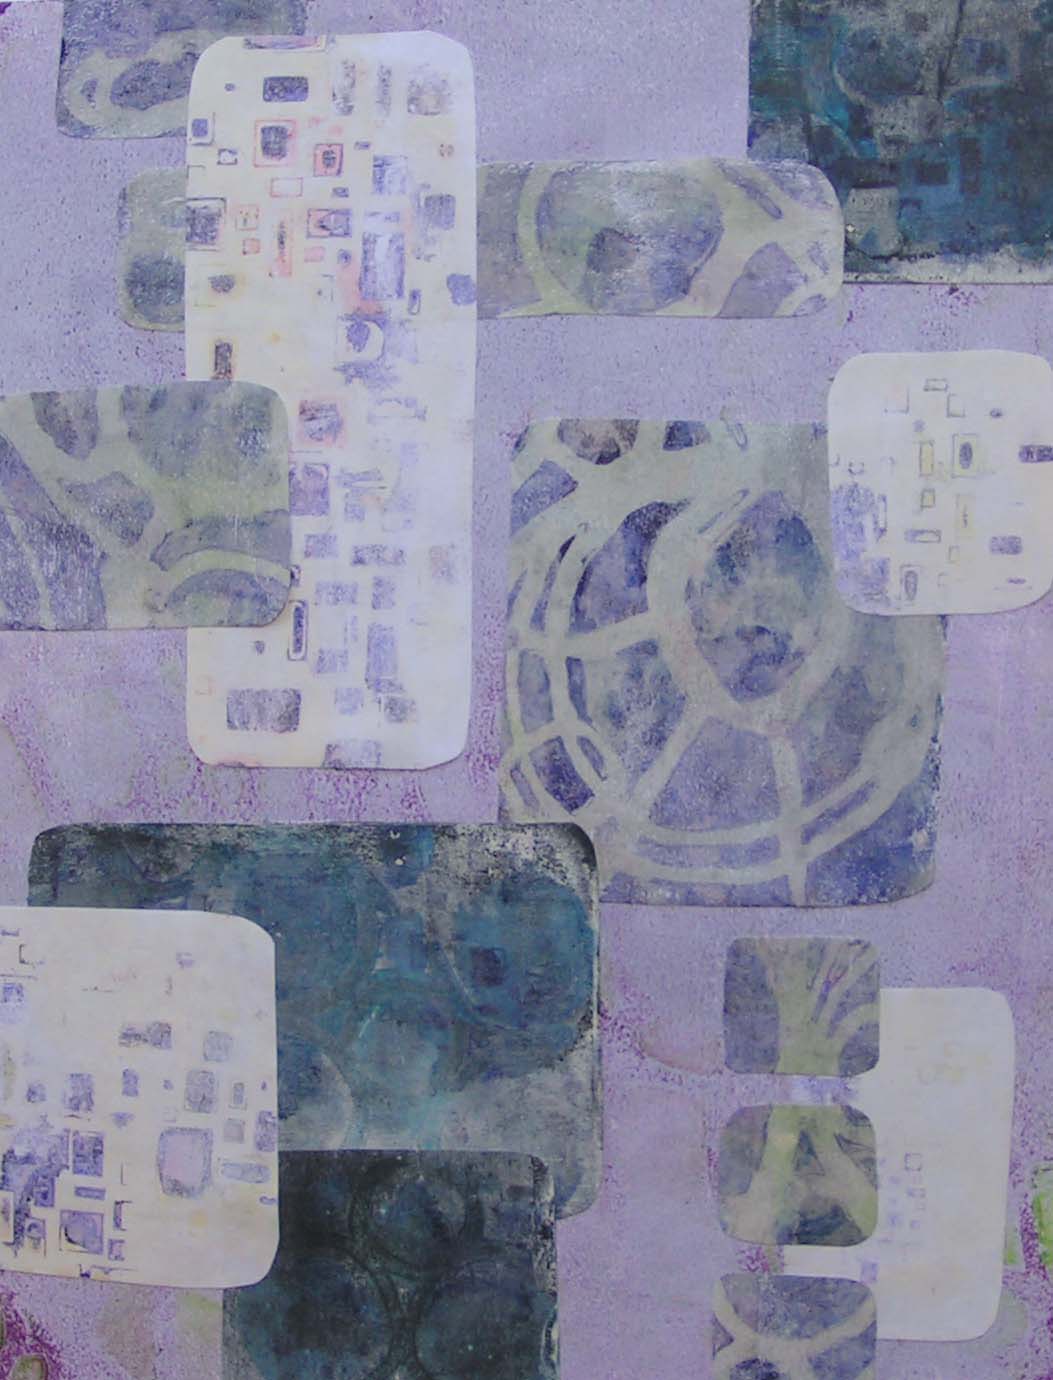
Here’s a collage I created out of some of my recent gelatin plate prints with alcohol inks.

Thanks for stopping by and I hope you have a wonderful weekend.

Experimenting with Acrylics

I wrote a post about creating some painted Tyvek samples on the Felting and Fiber Studio here. I decided to combine the tyvek pieces I had with a variety of acrylic mediums and paint. Since they are both plastics, I thought they might be a bit more integrated than trying to add tyvek to fabric. I always have an issue with the fact that it looks like I just plopped the tyvek on top and called it good. The tyvek never really feels integrated into a piece. So this was an attempt to try something different with tyvek. I made 5 samples but they aren’t dry and I can’t move them to take a good photo. But I did take a photo on my cell phone that turned out better than the photos from my regular camera.

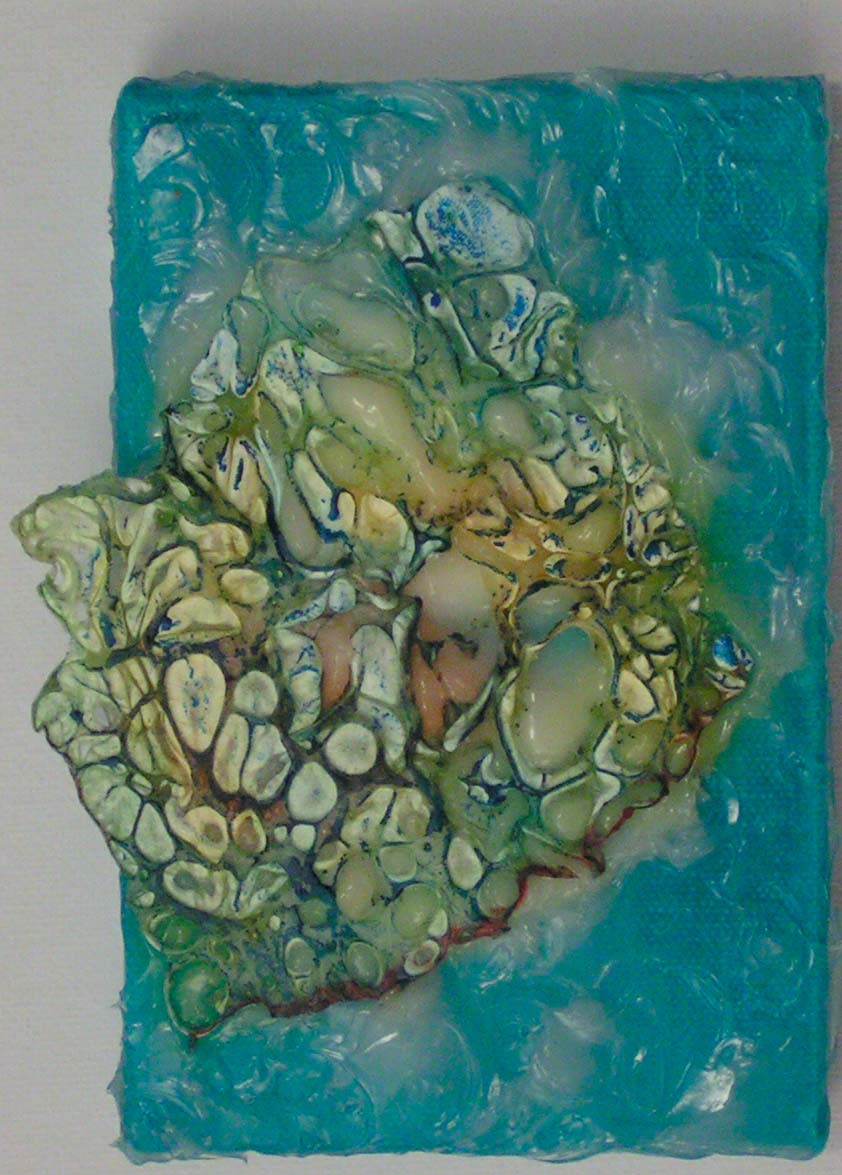
I used light modeling paste mixed with orange paint and then pushed the tyvek down into the modeling paste. It squeezed up through the holes in the tyvek and the result is definitely interesting. I will have to see if it needs something more after it dries. I could always add more paint or perhaps brush the high points with oil paint sticks. It definitely has texture.

This is one of my samples that the photo was bad so I “solarized” it in Photoshop. Pretty cool effect. Maybe I can print this out and use it in a collage.

I painted this “stripe” painting for my first session of my art and design class. The one on the left is the original. It sat in my studio for a year. But now I have had some time to add a bit more to it. The end result is on the right. I like it better but can’t decide if it is finished or not. What do you think?


Gelli Printing

I had two people over today so that they could learn how to use a Gelli Plate for printing. I showed a bunch of different techniques to try. One of them printed on paper mainly with stencils and the other mainly on fabric. I of course forgot completely to take any photos while they were here or of their work. But I did take a few photos of some new techniques that I tried.

These first three are done with a combination of alcohol inks and paint. I did more than these but these are my favorites. The alcohol inks dry very quickly and give a different look than the paint alone. Thanks to my friend Paula for letting me borrow her equipment and inks to try this out.

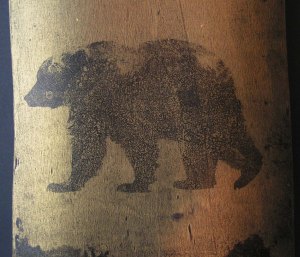
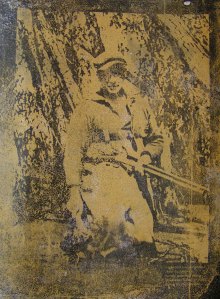
Then I wanted to try using magazine photos for a resist on the Gelli plate. The first one on the left is a failed one but I kind of liked it. It took me a while to get this one figured out. It wouldn’t work with cheap paint. It worked best with Golden liquid paint. The magazine type also makes a big difference too. I had a very poor selection of magazines and even tried a few calendar photos. The bear and the man holding the gun did work. Now that I have figured this out, I’m not sure how I would use these in artwork as I seldom use figures. But I’ll see if I can use them for something.

Then I did several that look kind of like this only in different colors. These are for backgrounds and I do use these in collages quite a bit. If you’re interested in trying Gelli plate printing there are tons of YouTube videos available that explain the process. You can make your own plate but I find the “real” ones well worth the money as they print much better than the homemade ones. It’s a lot of fun and if you give it a try, I’d love to see your results.