Practicing Sky and Birch Tree Techniques

I got another watercolor book from the library this past week, Zoltan Szabo’s 70 Favorite Watercolor Techniques. So I have been doing some of the exercises in the book, he encourages you to copy his “sketches”. So that’s what I did. I found it helped not to have to think to hard about what the painting was going to look like but just to practice each technique as laid out in the book.
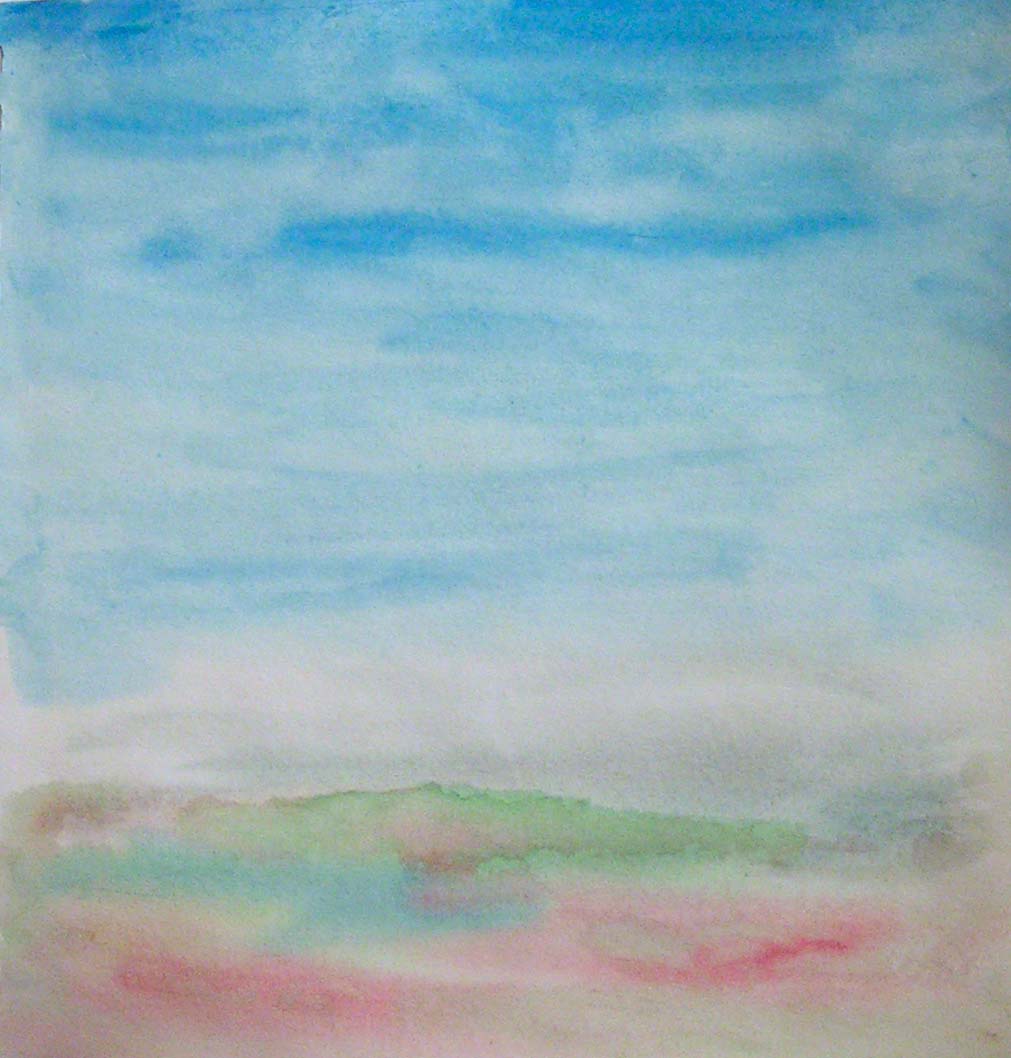
These first three are all about the skies and how to create clouds. This one was a subtractive technique using a stiff bristle brush.
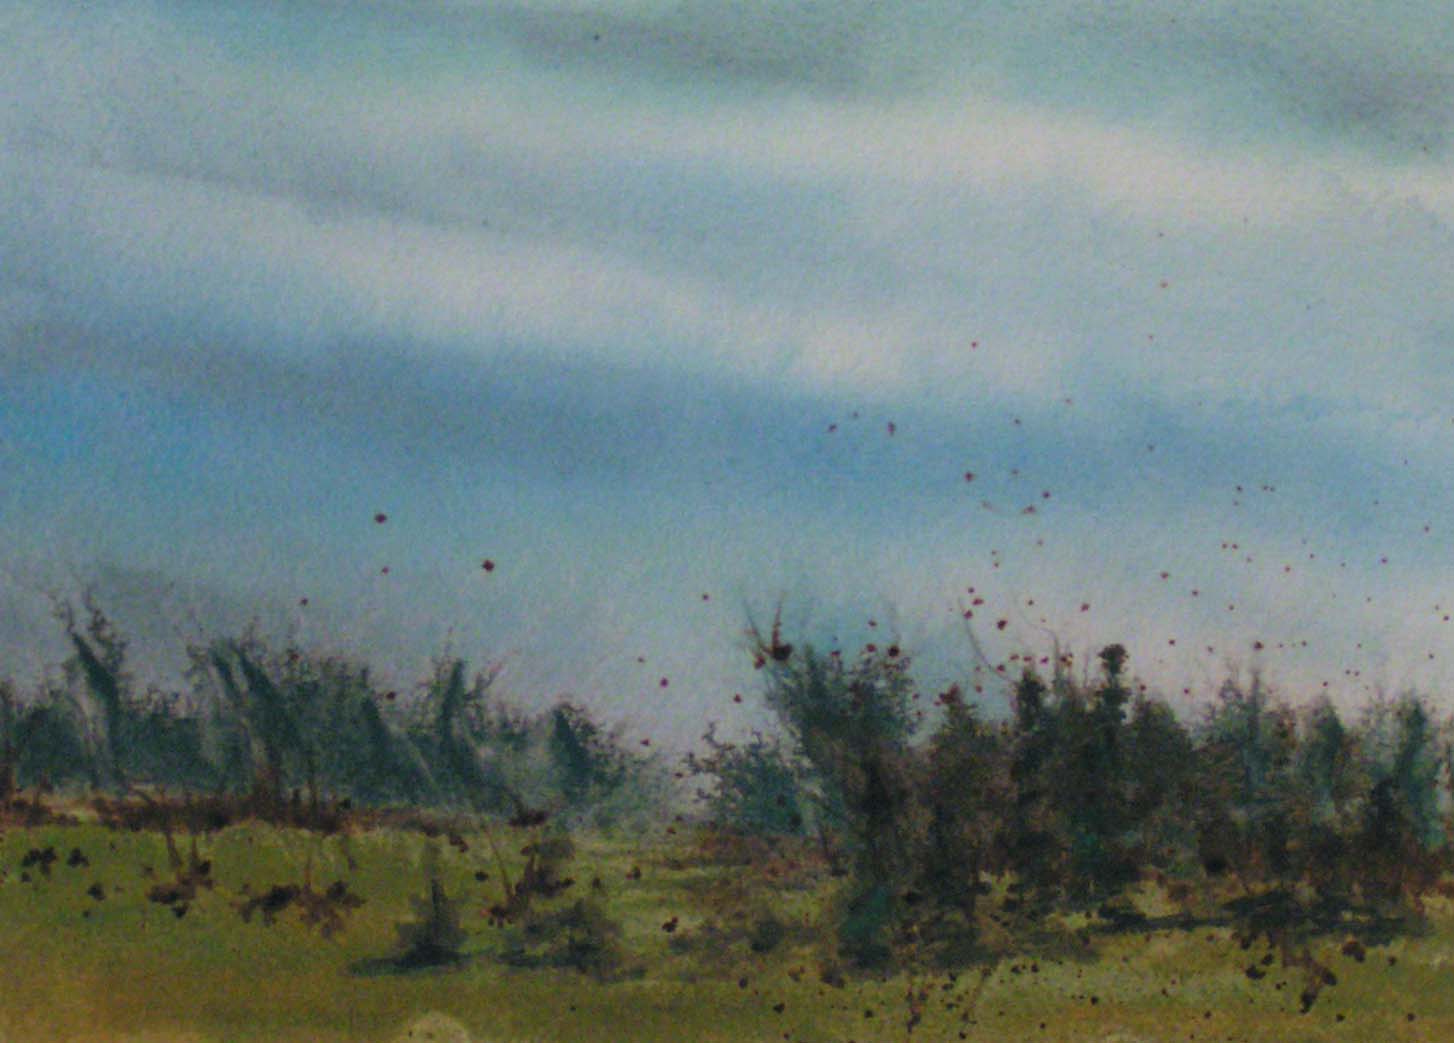
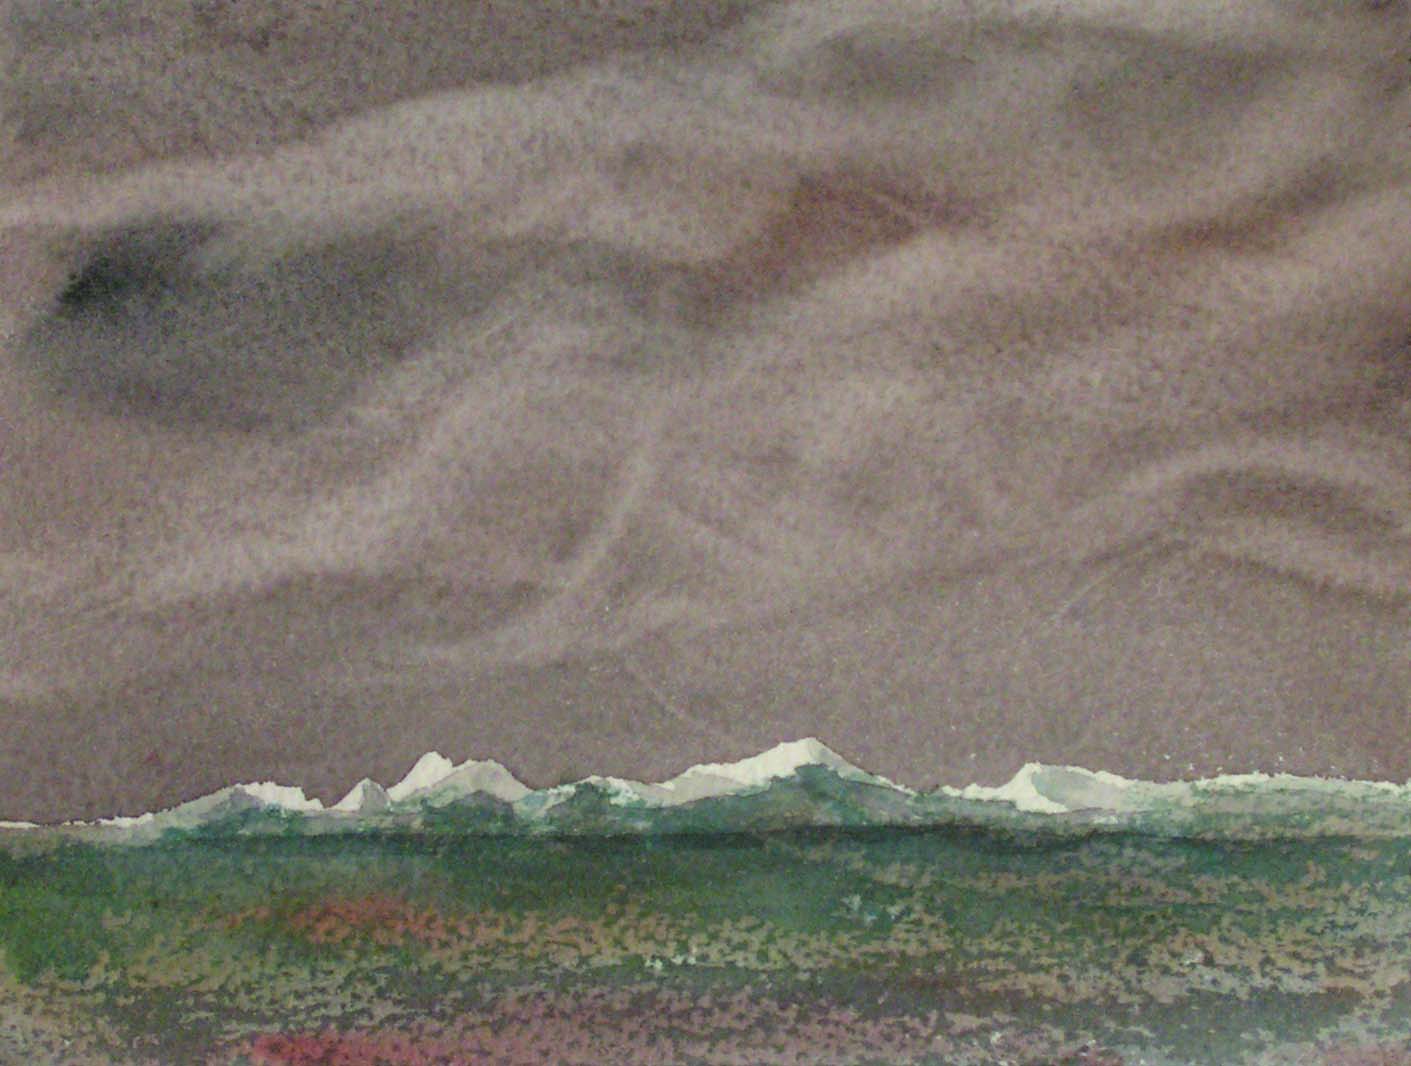
This one was painting stratus clouds. I got a little carried away on the bottom portion and added some walnut ink powder that then got all over the place. But the clouds turned out OK.

And this one is cumulus clouds. I think I’m getting slightly better with landscapes but these are all still small samples about 5″ x 7″. I can always use these to make greeting cards.
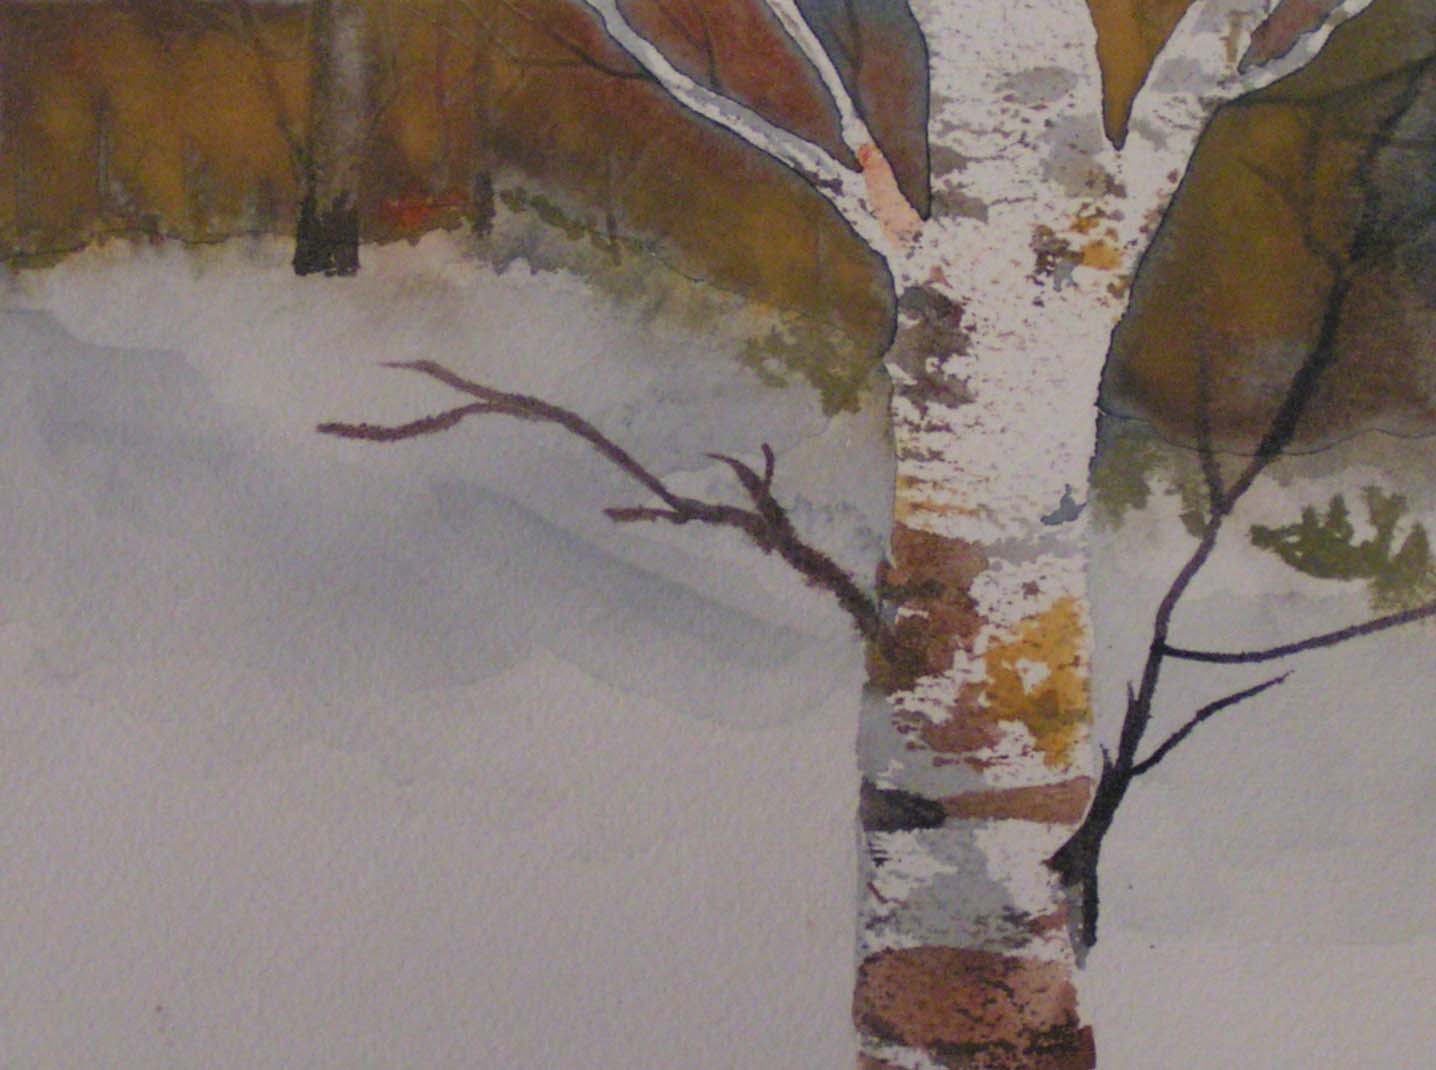
Then on to the technique of creating birch trees. And playing a bit with shadows on the snow. I am pleased with this one.

And then I decided to try another birch tree with a more autumn background. These were both fun. I am sure I will be doing some more of these.

Thanks for stopping by. Have a great weekend.
 

This and That

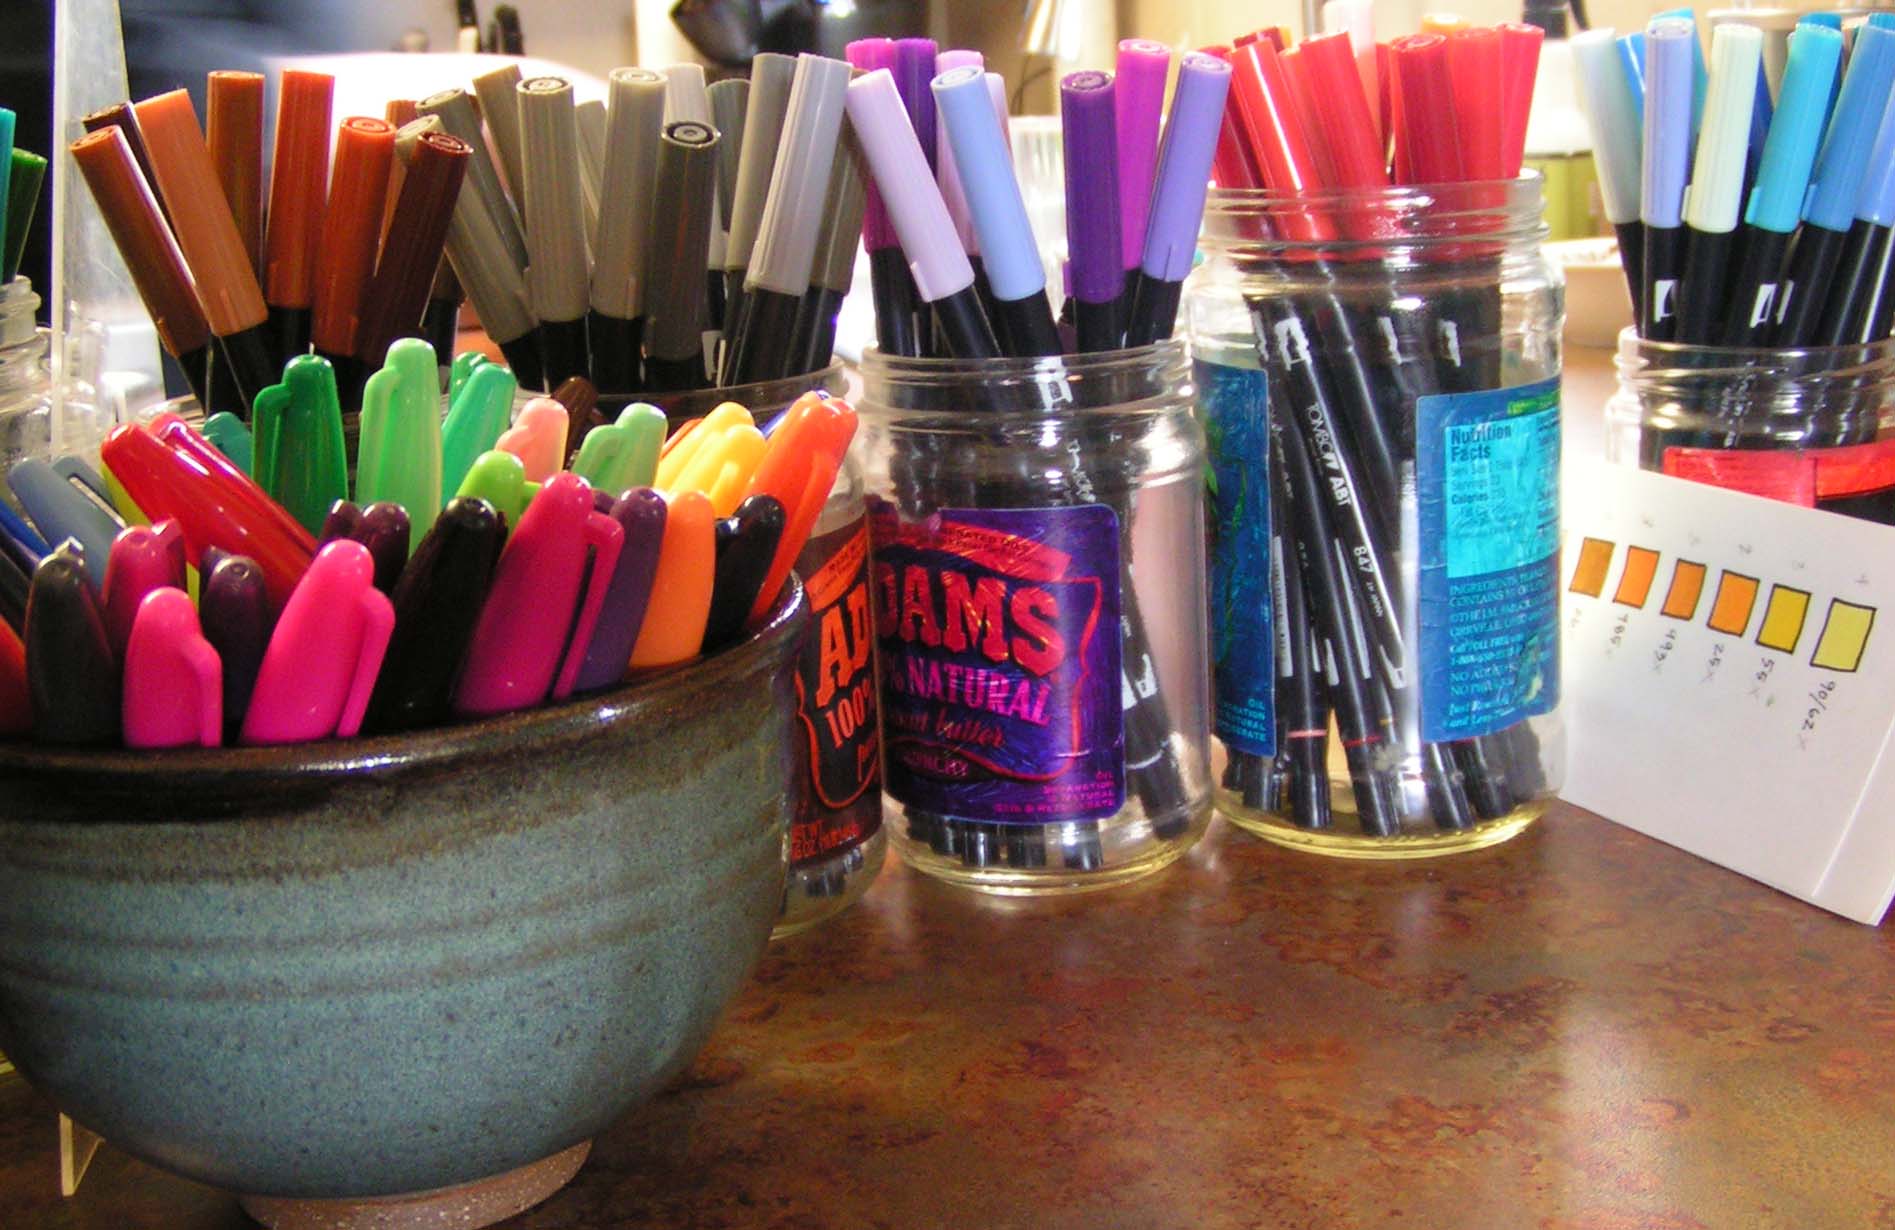
Today we went to Deb’s house to add more layers to our experimental watercolors we made at my house about a month ago. I didn’t get any photos of the artwork but take a look at Deb’s pens.

You can’t even see all the colors here. Serious pen envy.

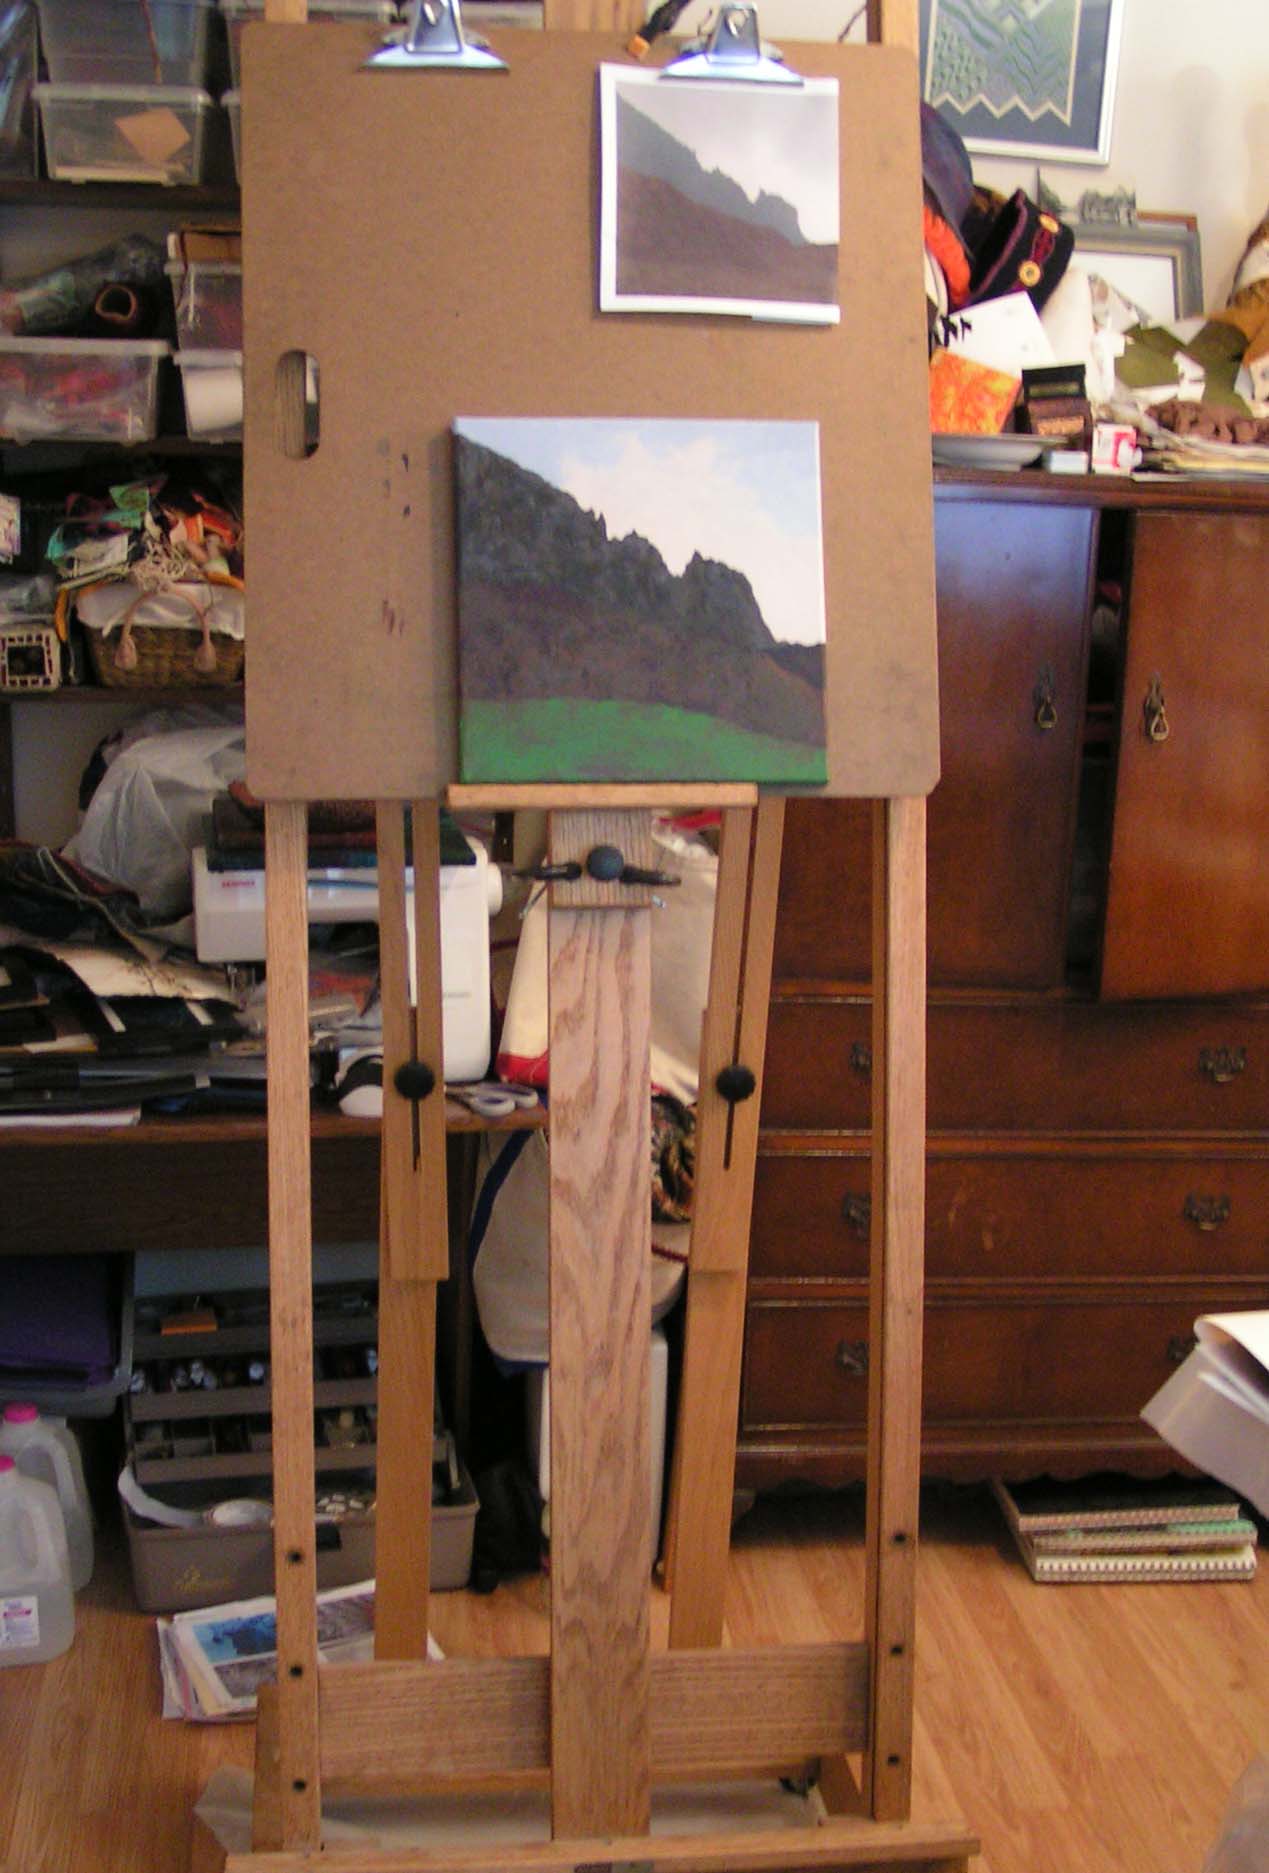
I have a new addition to the studio. I bought a used easel from one of my friends. It takes up way too much space but I want to continue on this painting journey I have been on so I thought it was a good time to get an easel.

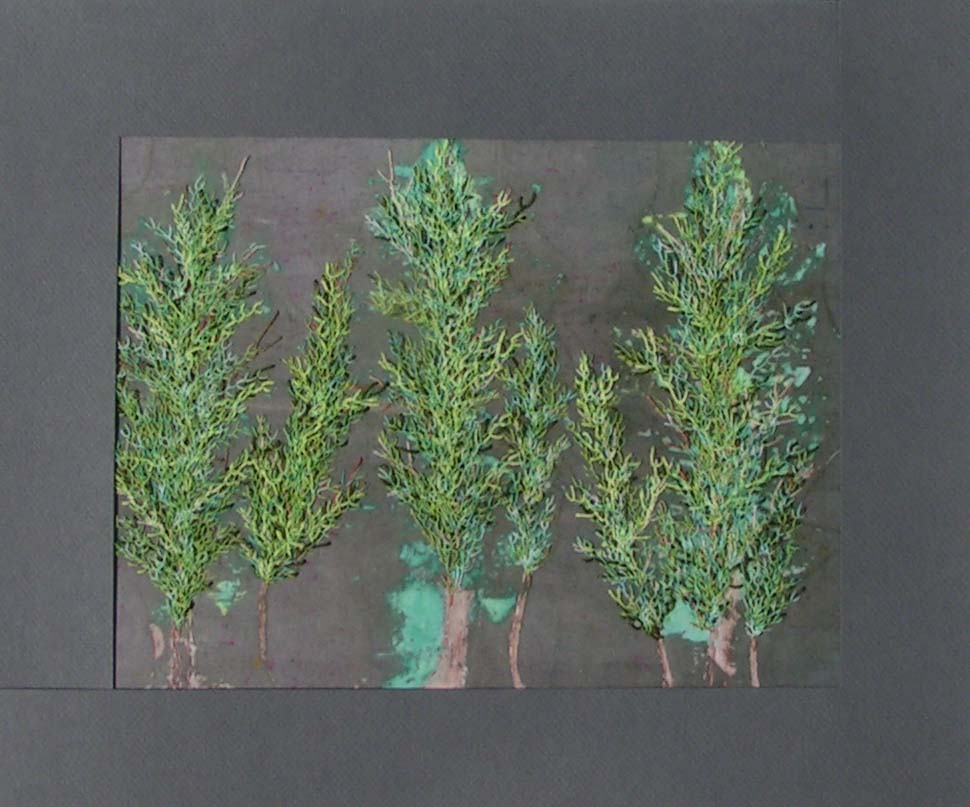
I finally finished stitching my cedar trees. They will have a matt so I’ve photographed them with croppers. Now I need to find a new hand stitching project to work on.


A Couple of Cards

I have been cropping most of my watercolor experiments and making them into one of a kind cards. Here are a couple that I completed today.

If you look carefully at the centers of the daisies, you will see little circles. That was done by adding a little bit of dish soap to blue watercolor paint and blowing bubbles in the paint. Then the bubbles are put onto the card. They shrink down into little circles of bubbles and as they dry, they leave a cool pattern. It reminded me of the centers of flowers so I turned them into daisies. I painted the background or negative space around the flowers in several layers.

This started out as a bigger painting that was 9″ x 12″. It wasn’t very good so I cut out the best bit, toned down the colors slightly and it looks better in a small format. I was experimenting with various ways to paint pine trees. I used different bits of fabric in the paint and then pulled them off after the paint dried. I will have to try this again on a sky that isn’t so over the top and vibrant.

Thanks for stopping by and have a great weekend.

Loosening Up

I am still working on loosening up with the watercolors but it has been an uphill battle. I have a really hard time with things not looking like expected. And most of these are pretty lackluster. But I will show you anyways and hopefully, you won’t laugh.

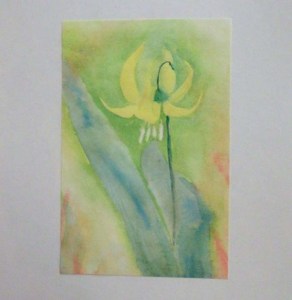
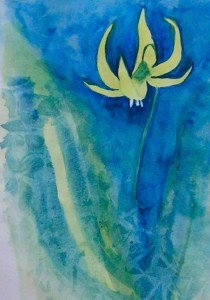
I saw my first Glacier Lily this week on my hikes up behind my house. It’s so wonderful to see signs of spring and this is one of the first wildflowers that blooms in Montana.

This was created while using up leftover paint. It’s definitely lacking any excitement. I could work back into this again and I might, but then I tend to over work things so it might just stay like it is.

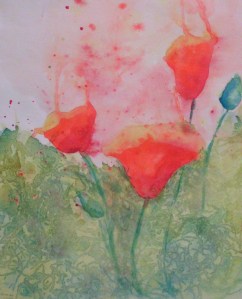
These two were done after watching a couple of YouTube videos about painting loose flowers. I think the roses are more effective than the poppies. But I like the greenery on the poppies. It is hard to figure out what to paint when and to get the timing right. But I learn something every time I paint something so all is not lost 🙂

Revamped Cards

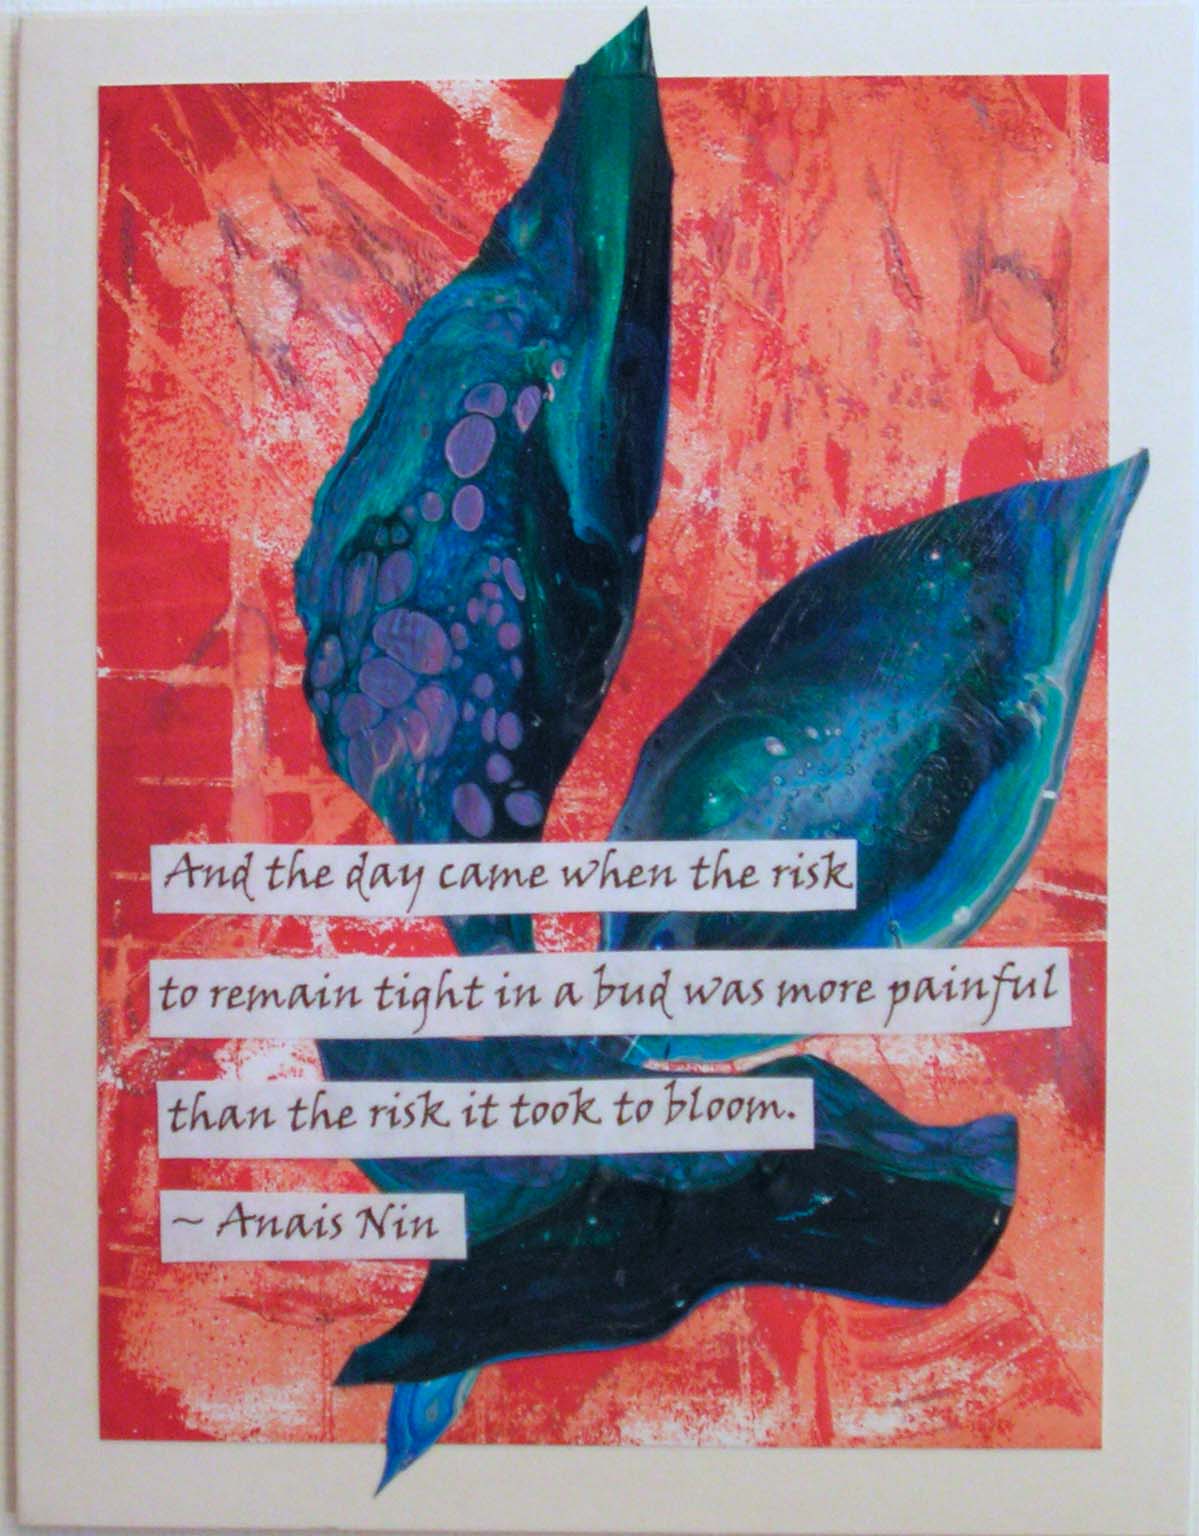
I made these cards quite a while ago with scrap paper and poured acrylic skins. I put them in the store for sale and they haven’t sold. There has been minimal interest in them. So it was time to revamp and see if I could improve them.

So I looked in my notebooks where I put quotes that I like. I found enough quotes and then printed them out.

I then cut them out and pasted them to the already made card.

This one I had to redo because I misspelled happiness.

I hope that with these quotes, people will like the cards better.

People seem to like items/cards with words on them.

At least they have a “focal point” now.

Of course it would help if I could spell. Picasso on the card is wrong. Sigh. I have printed out another piece of paper with the correct spelling and will paste it over the first one. Now I’ll take these back to the store and see what happens.