Color Mixing with Distorted Cross Stitch

 Here’s one of the samples that I did for Level 2 Stitch. We started with cut up bits of fabric and then added distorted cross stitch over the fabric. This is the base which was the starting point.

And this is the end result. About halfway through, I thought it looked like a big mess. But I persevered and it did finally look a bit like what I had imagined when I started. The point was to use the stitching to mix the colors and achieve a look of foliage. I need to do another sample for homework and I’m thinking I’ll do one based on a garden against a rock wall. I considered doing a winter scene but I don’t really have the threads needed for that one. But I am going to dye more so… I’m sure I’ll make up my mind soon.

Level II Hand and Machine Stitch Class and a Surprise

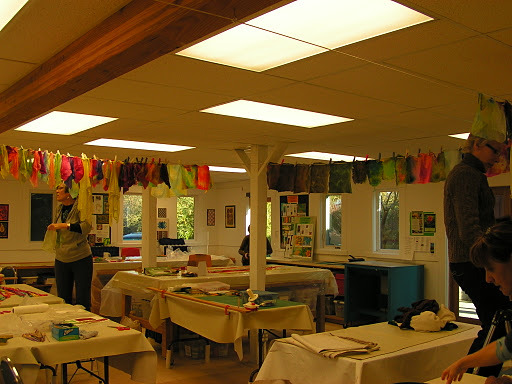
 I started the Level II Hand and Machine Stitch class at Gail Harker’s last week. The first two and a half days was spent in the dyeing studio. Gail has just moved recently from Oak Harbor to LaConner, Washington. Her new studio is wonderful and we had a great time. I won’t discuss the10 hour drive from Montana to Washington with two Yorkies who both had Giardia. The less said about that the better!

 Here are some other class members hanging up their dyed fabric and threads to dry. It looked like colorful prayer flags all around the room.

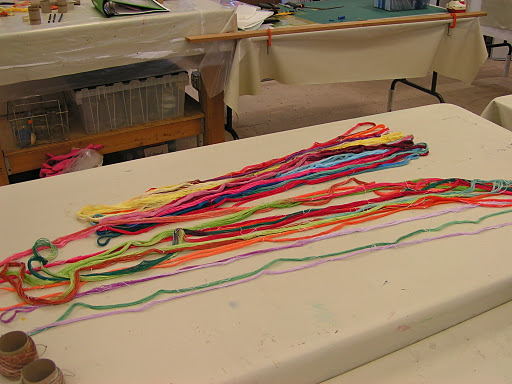
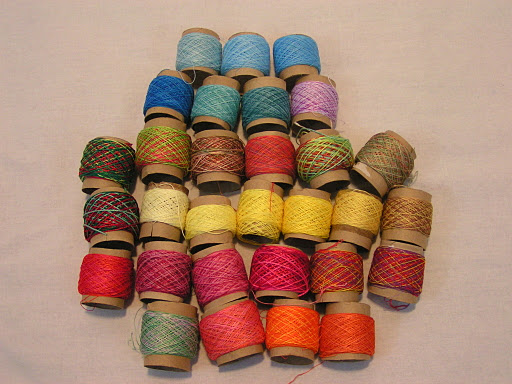
 Here are some of the threads I dyed after they were dried. They were waiting to be wound up with a thread winder. Normally, we wind the thread on half of a toilet paper tube but they didn’t have many so I only got two in class.

 Here we are at the table discussing something. We worked on hand stitch this session and I have lots of homework to do. We’ll be working on Kantha stitch on our next session in February.

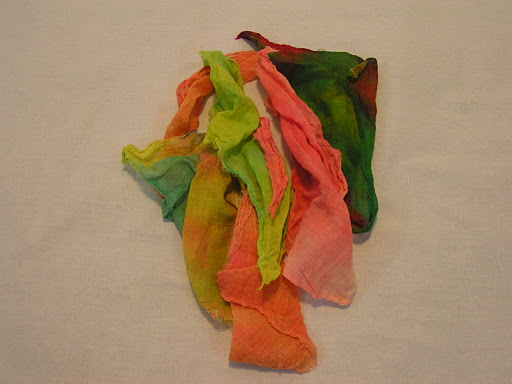
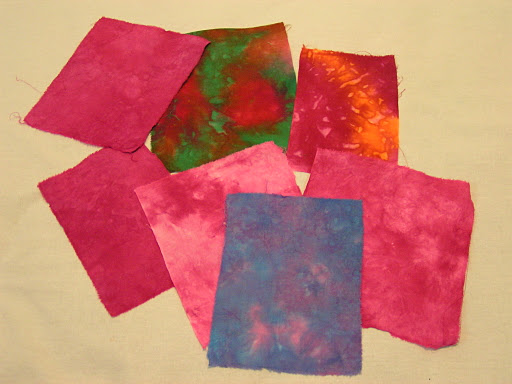
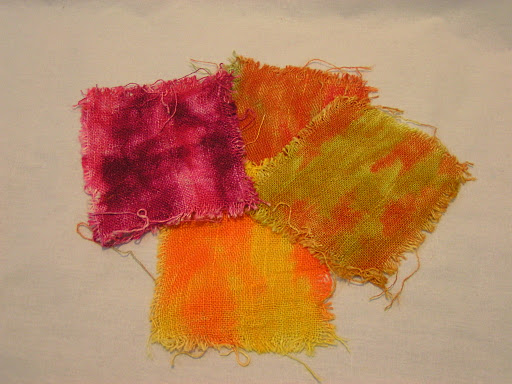
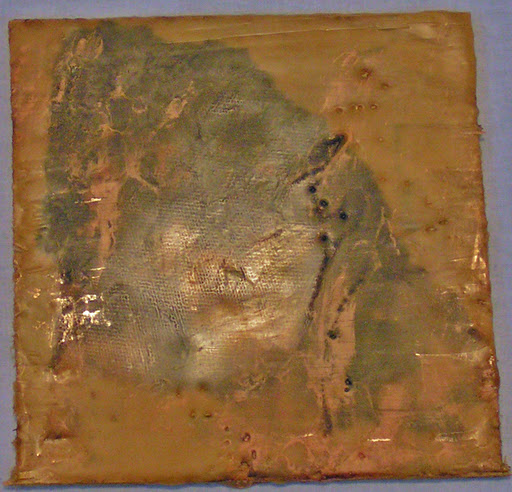
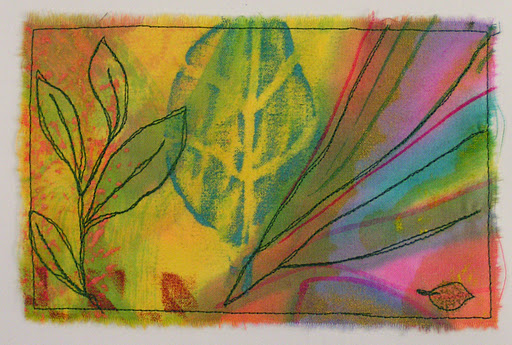
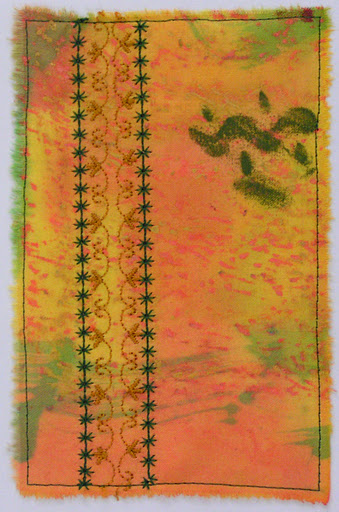
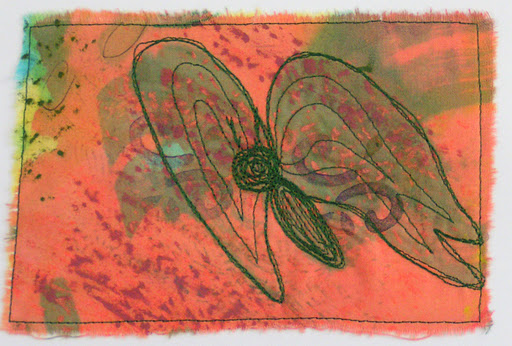
 Here are some photos of my dyed fabrics. We will be using these over the entire course of the class. This is silk organza. We used Procion MX dyes. I usually use acid dyes at home but I’ll be ordering some Procion MX as it is part of the homework to have another dye session.

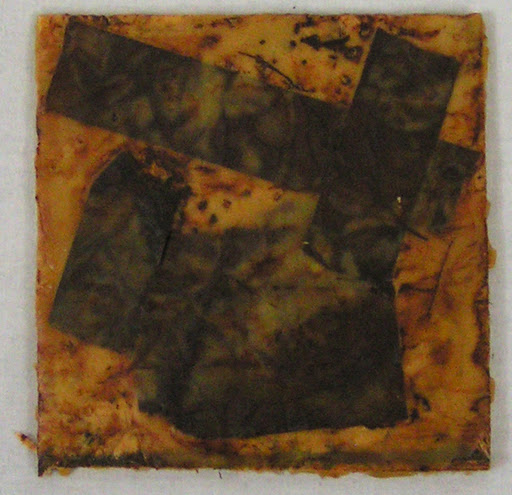
 This is cheesecloth – #50 and #90 weights. A lot heavier cheesecloth than the kind you buy in the grocery store around here which is #10.

 This is linen.

 And muslin.

 And then white burlap.

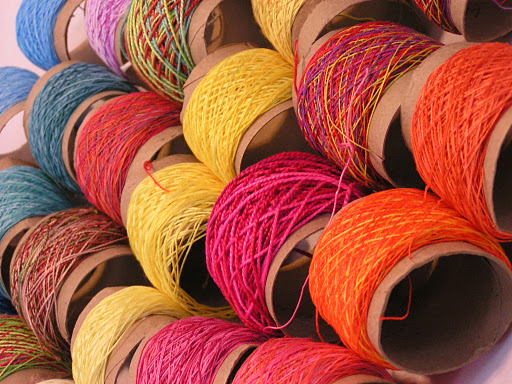
 Here are all the threads I dyed on their cardboard tubes. I finished winding them at home. We used all cotton threads in a variety of weights.

 Don’t they look yummy?

 I need to dye some deep purples and perhaps some more greens. So more thread to come!

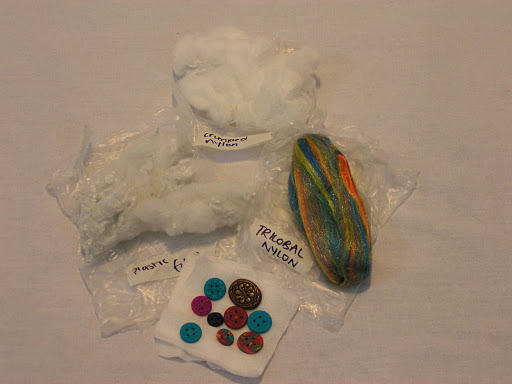
 When I got home I found a package from the UK. Zed had sent me samples of nylon and plastic fiber to experiment and add to felt. Thanks Zed – it was a wonderful surprise to find this package waiting for me when I got home.

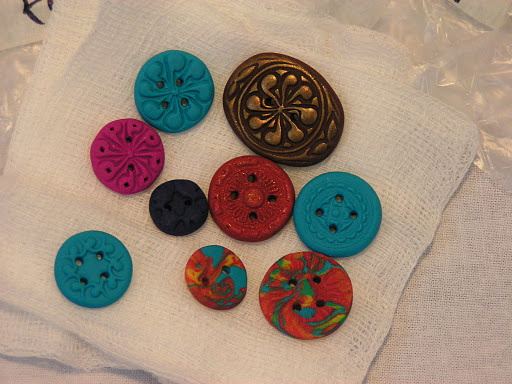
And look at these wonderful buttons she makes out of polymer clay. I can’t wait to add them to something.

Playing with Encaustics

 I met with my local fiber group today and we played with beeswax and encaustic techniques. I had never tried this before and it was pretty interesting how the layers of wax and oil paint work together.

 The first step is to paint a layer of beeswax on a board. You can then mark the beeswax and apply oil paint into the marks.

 Once the oil paint works into the cracks, you wipe the surface of the wax with a canola oil on a paper towel.

 It then leaves the paint in the cracks. This is one of Jan’s pieces.

 You can then heat the wax again with a heat gun or a blow torch to move the wax and paint around. You keep adding layers of wax and paint. You can also collage in a variety of things such as papers. We used yellow beeswax so the results are on the yellow to orange side.

 These are the ones that I made. I had a hard time getting a good photo. This one has a piece of dyed paper towel on the first layer.

 This one has wool added to the first layer. The wool made the wax very bubbly and dimensional.

 This one has another dyed paper towel as the base.

 I can’t remember all the layers on this but it’s mainly paint.

This has pieces of “leather” paper I made several years ago with beeswax and paint. It’s hard to get the wax to react as you think it should look. I was just experimenting to see what would happen. This isn’t something I think I’ll do all the time but it was fun trying out the process.

Quick and Easy Note Cards

 I cut up my painted fabric into approximately 4″x6″ rectangles and I now have a big stack to use to make note cards. I already had the white note cards and since the fabric is so colorful, it’s simple to add a bit of machine stitching  and sew it to the card.

I just looked at the piece to find a place to start. The green paint on the left looked like leaves so I thread sketched those in and sketched in longer leaves on the right. I used stitch and tear to stabilize the fabric. I found it worked best if I fused the stitch and tear and the fabric before stitching. I then fused the stitched fabric to the card before sewing around the edge.

For this card, I used automatic machine stitches to make a pattern. I tried using a glue stick to baste this in place before stitching to the card. It didn’t hold very well and shifted a bit with stitching.

I saw a butterfly in this piece of painted fabric. He’s a bit wonky but still looks like some sort of flying insect. Each card only takes about 10 minutes or so. I’m going to try and stitch a few every day so I have cards to use when I need them.

Carole’s Bag

Look what Carole made from the fabric that we all painted. Isn’t it gorgeous?

She said she highlighted the designs in the material, quilted and  then painted over the quilted areas. I haven’t done anything with my painted fabric yet but this is really inspiring me.