Go Fly a Kite

Today was our local fiber group meeting. We made kites and then went out and flew them. I have never made a kite before and I can’t remember the last time I flew one. It was really simple to make the kite and we had a lot of fun flying them.

MINOLTA DIGITAL CAMERA

Wally, Bunny’s husband, helped us with the kites. He already had a pattern made and we used plastic garbage bags to make the kite. We just traced around the pattern and then cut out the kite.
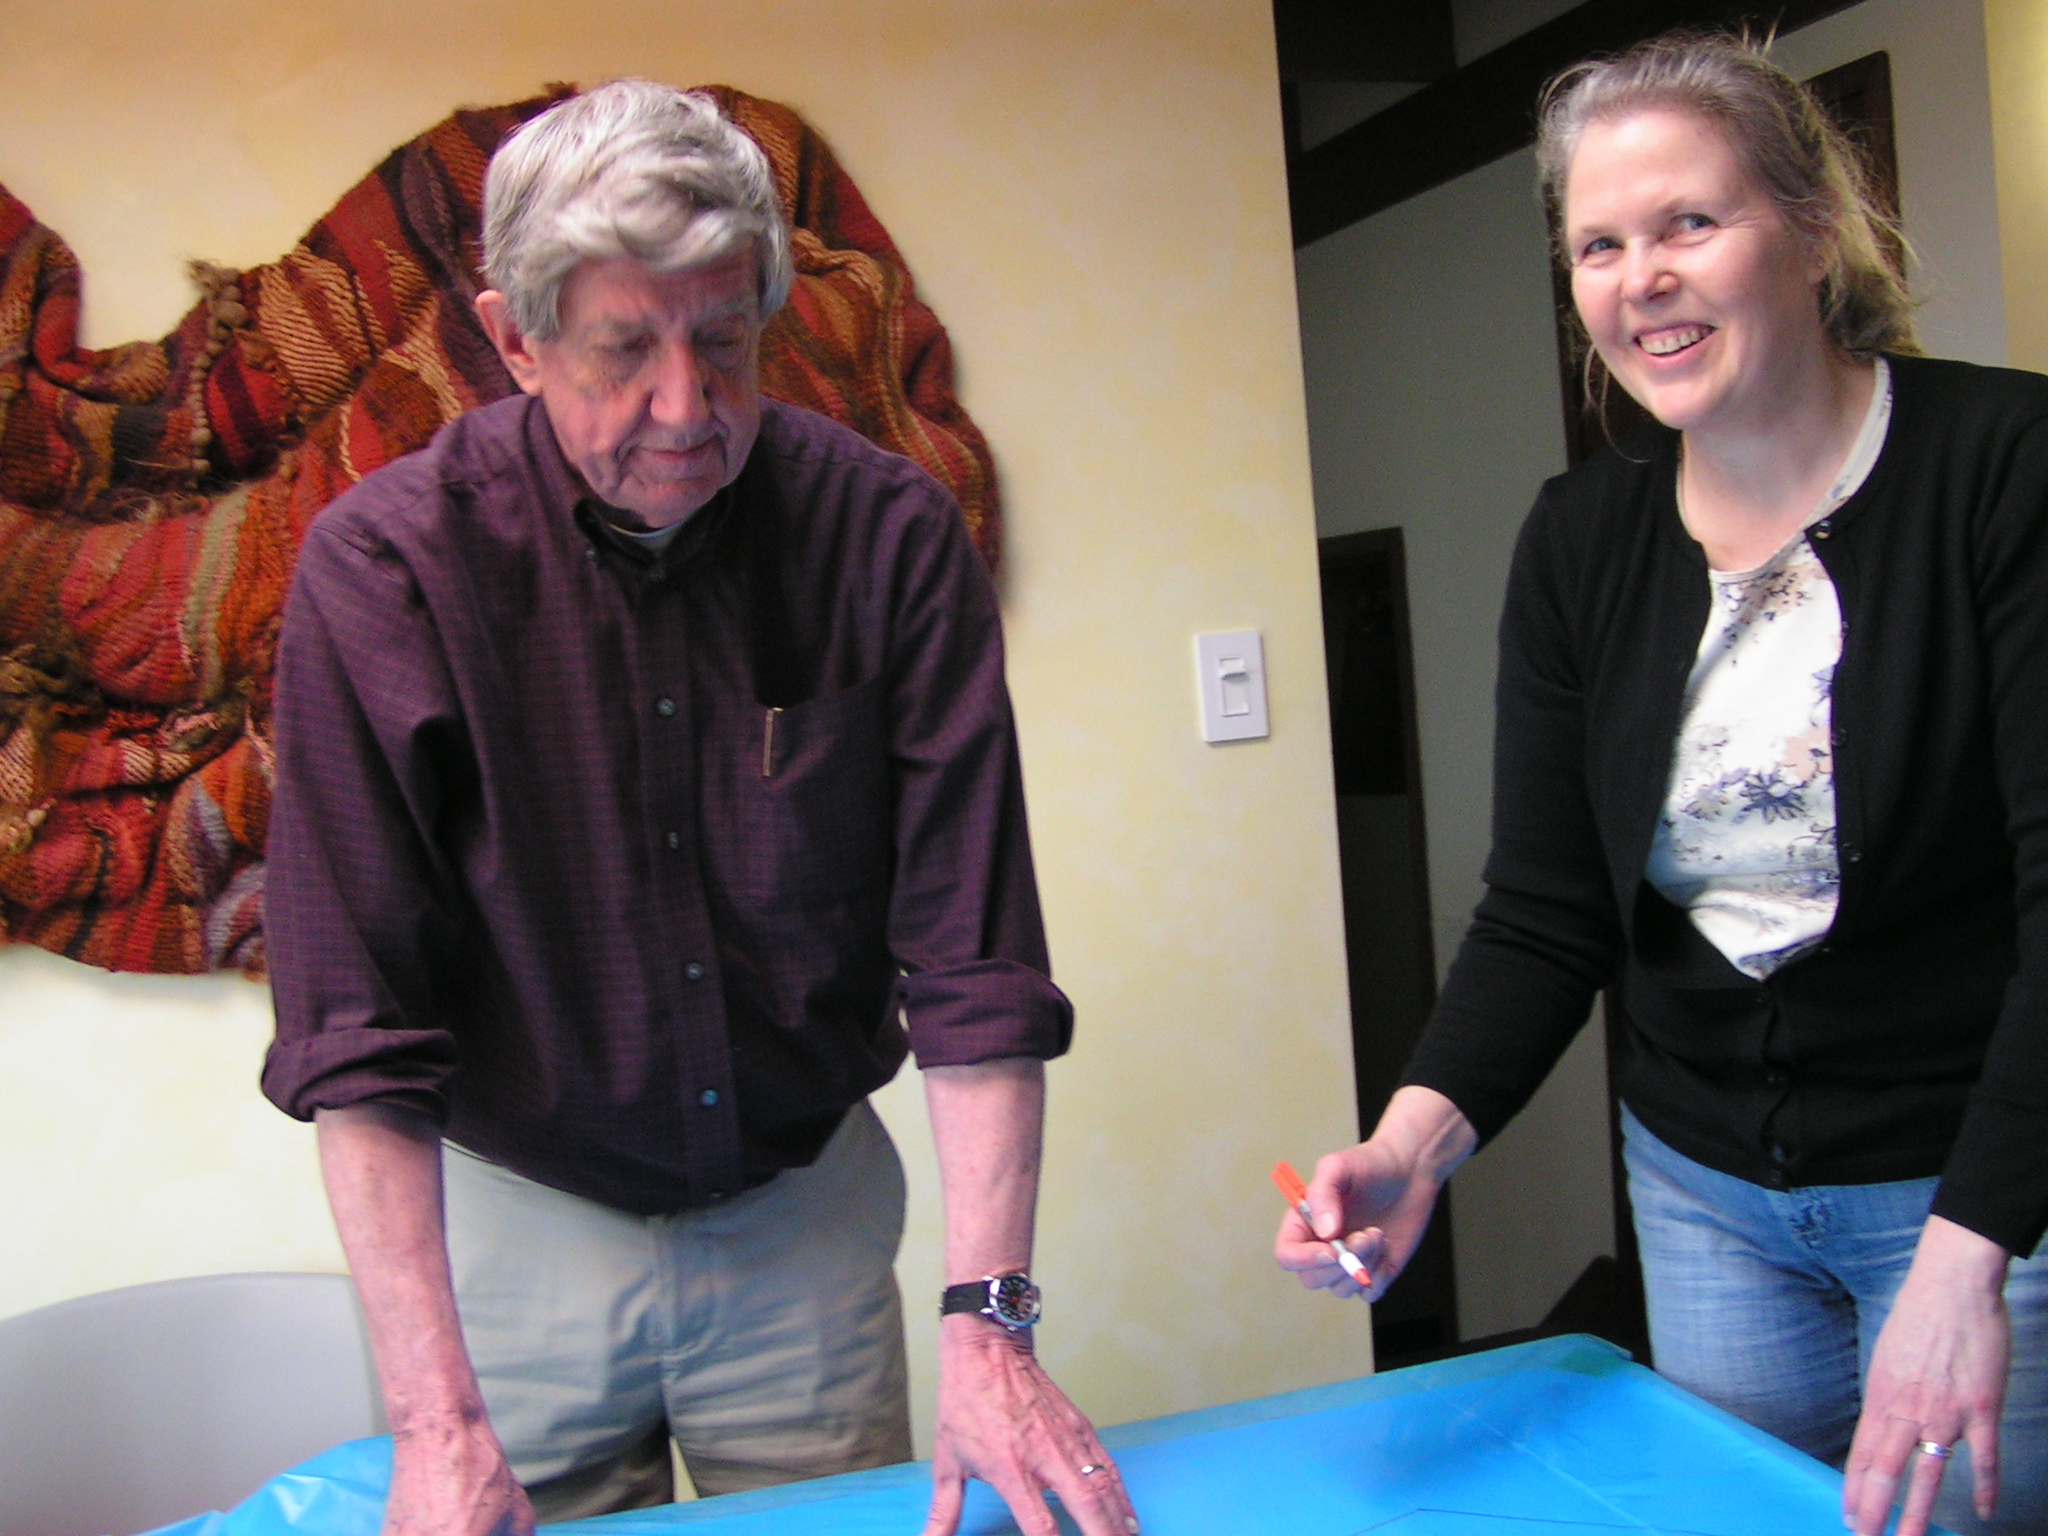
MINOLTA DIGITAL CAMERA

Here’s Wally and I.

MINOLTA DIGITAL CAMERA

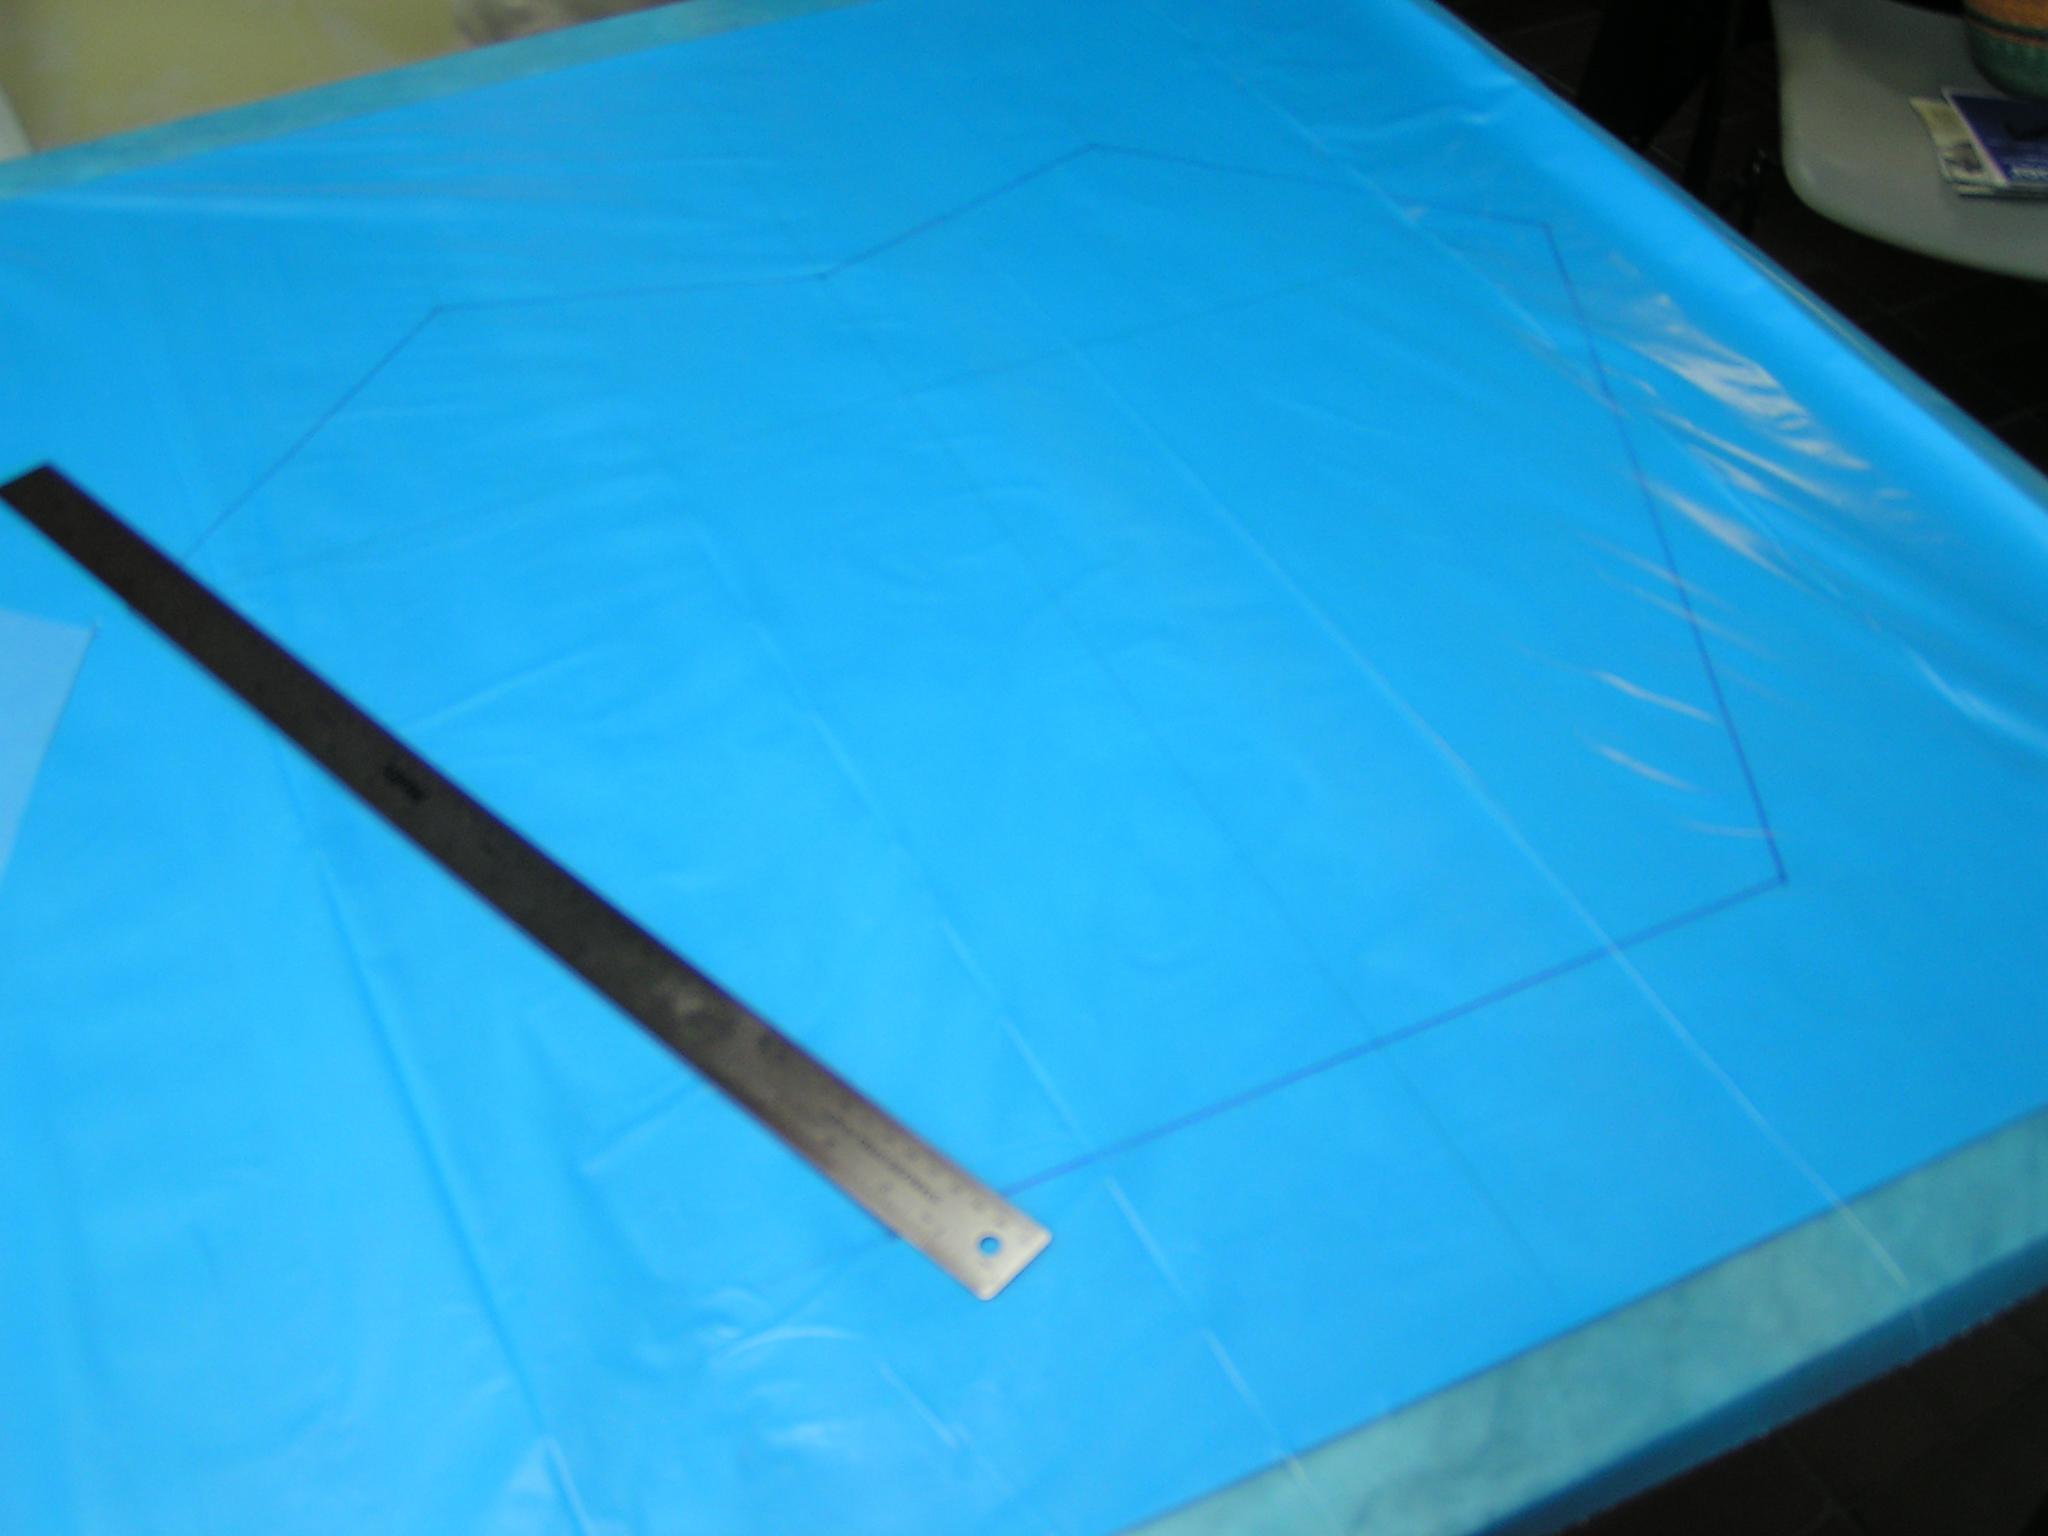
I’m tracing out a pattern.

MINOLTA DIGITAL CAMERA

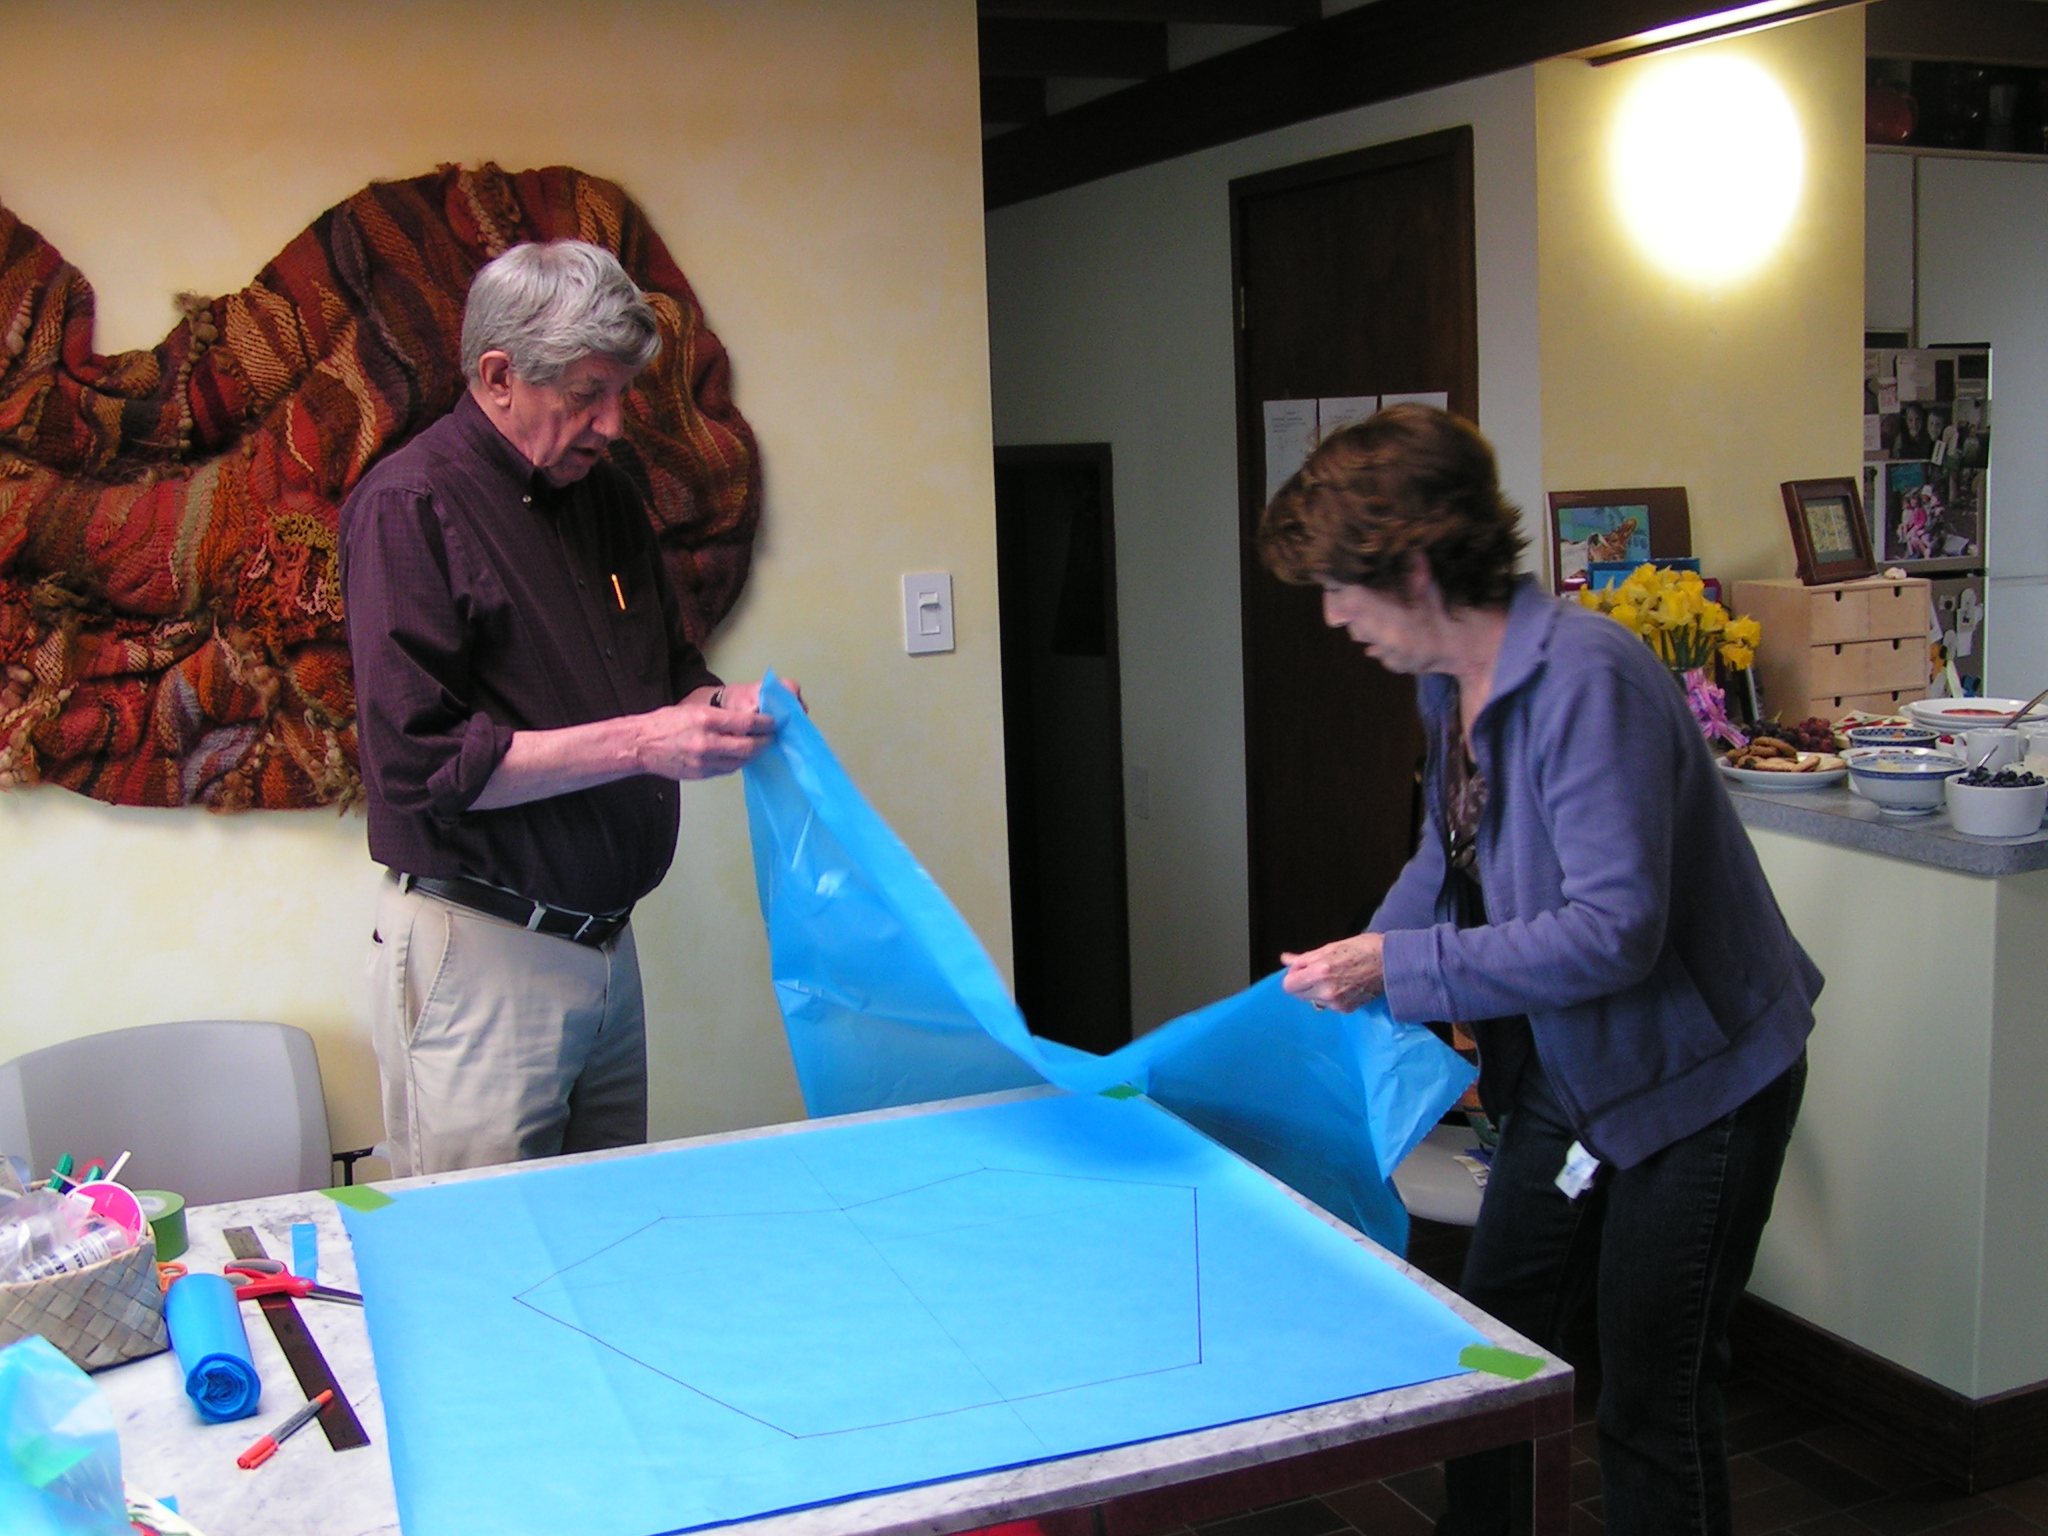
Here’s Carole and Wally getting the next bag ready to trace and cut.

MINOLTA DIGITAL CAMERA

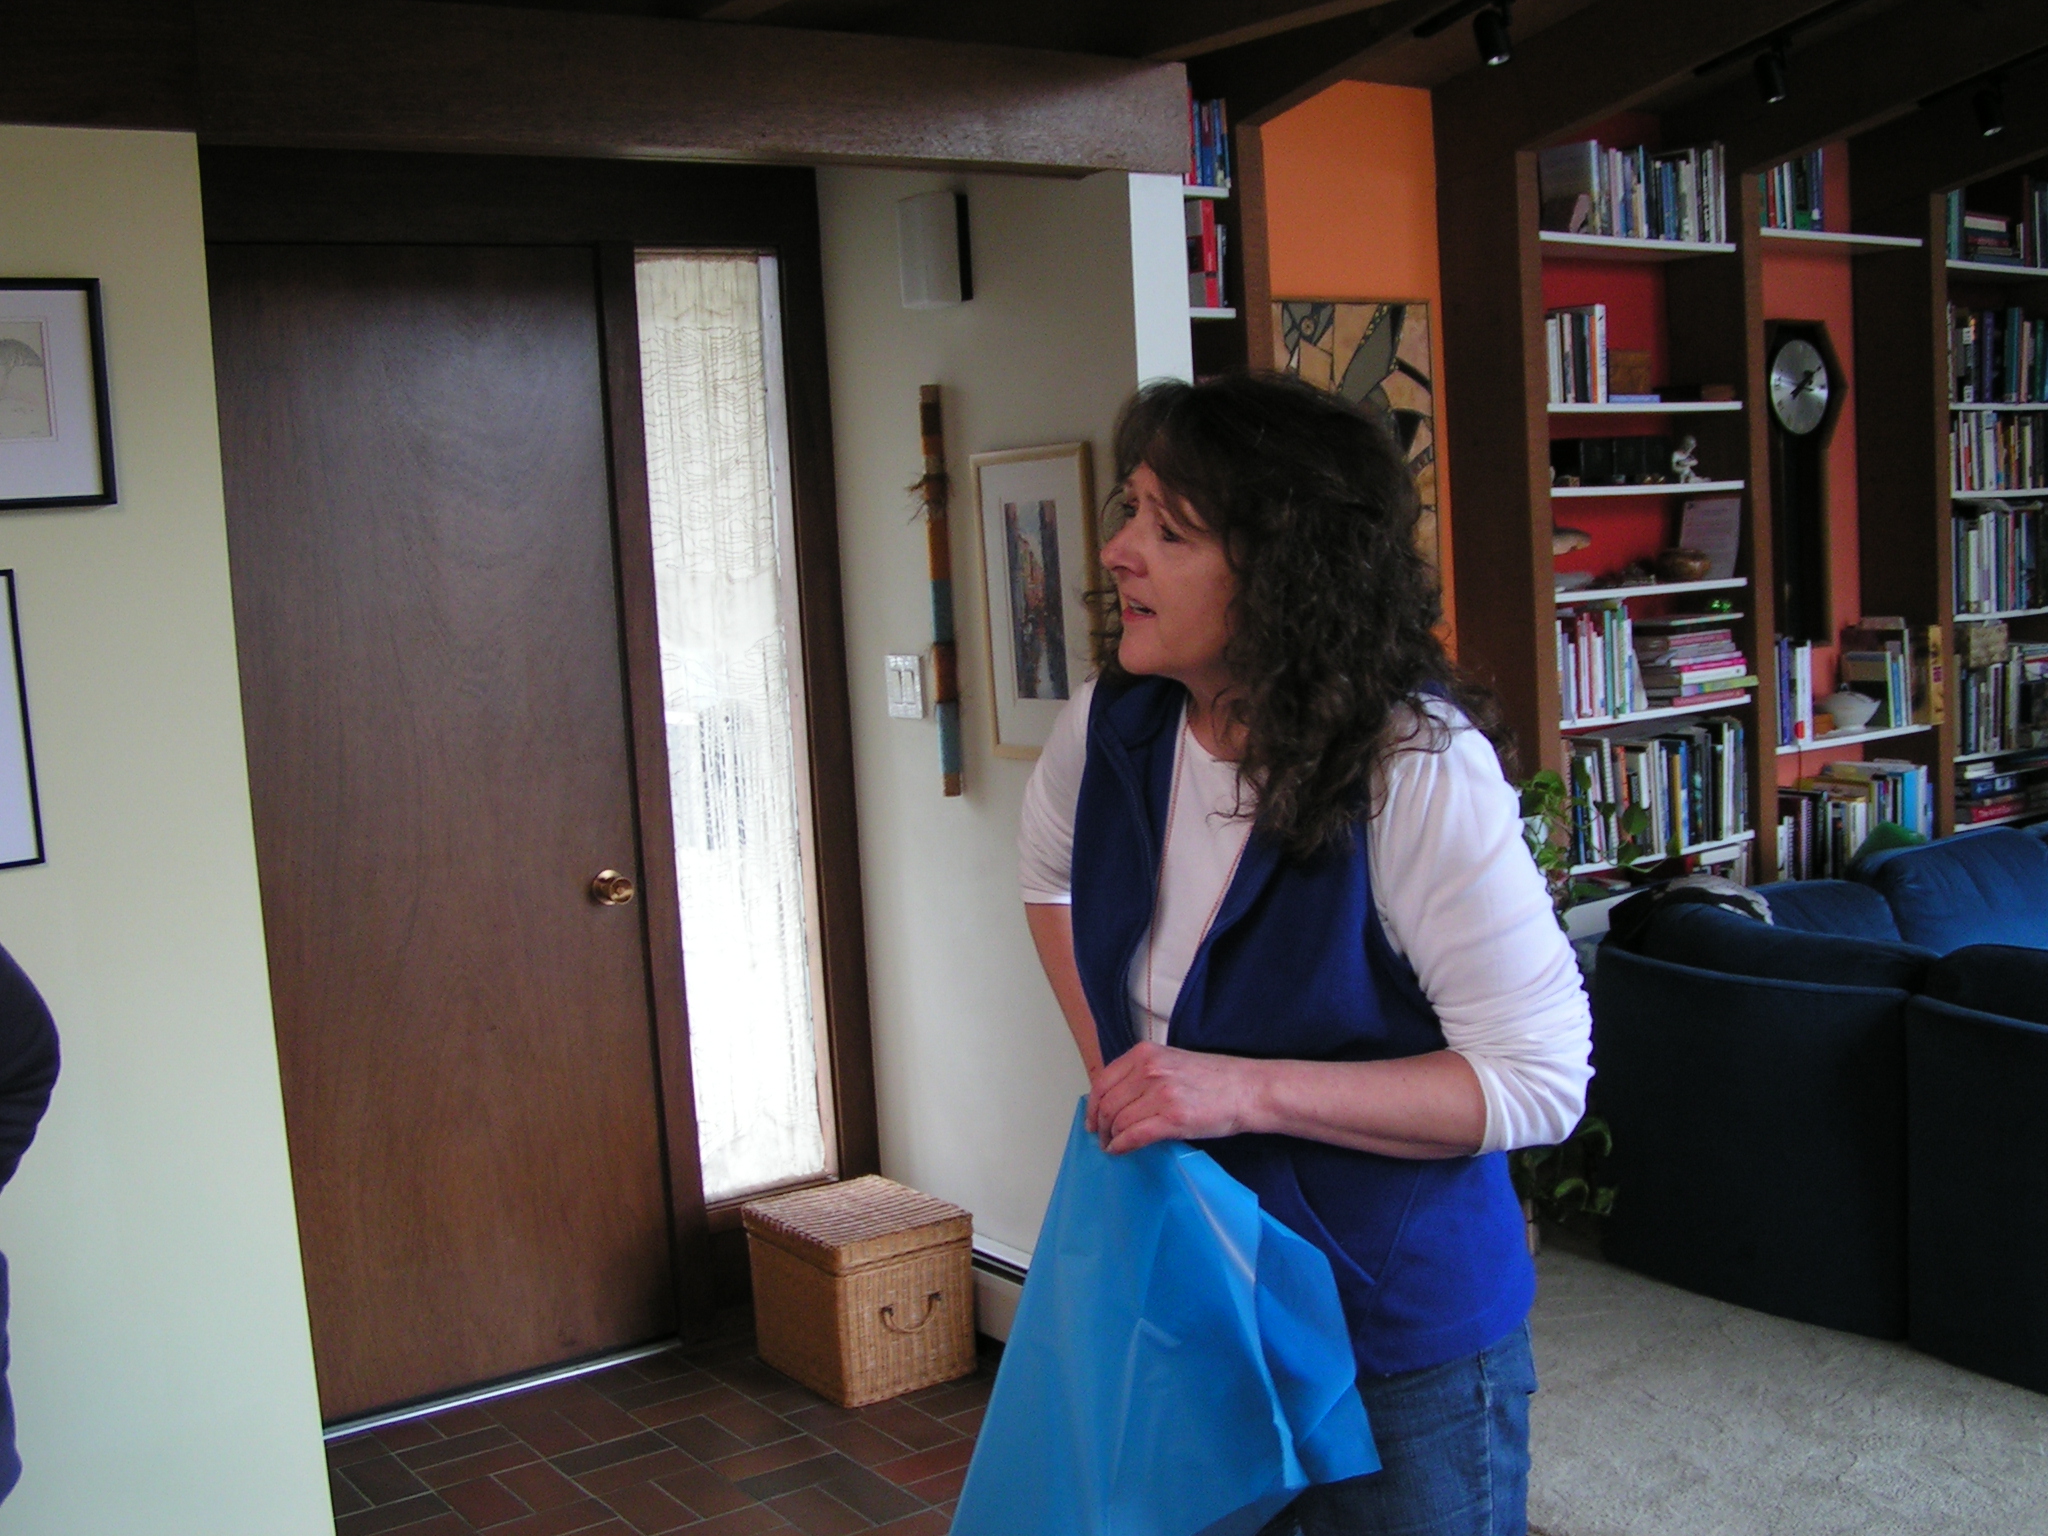
I’m not sure what Louise was saying at this point but,

MINOLTA DIGITAL CAMERACarole is replying!

MINOLTA DIGITAL CAMERA

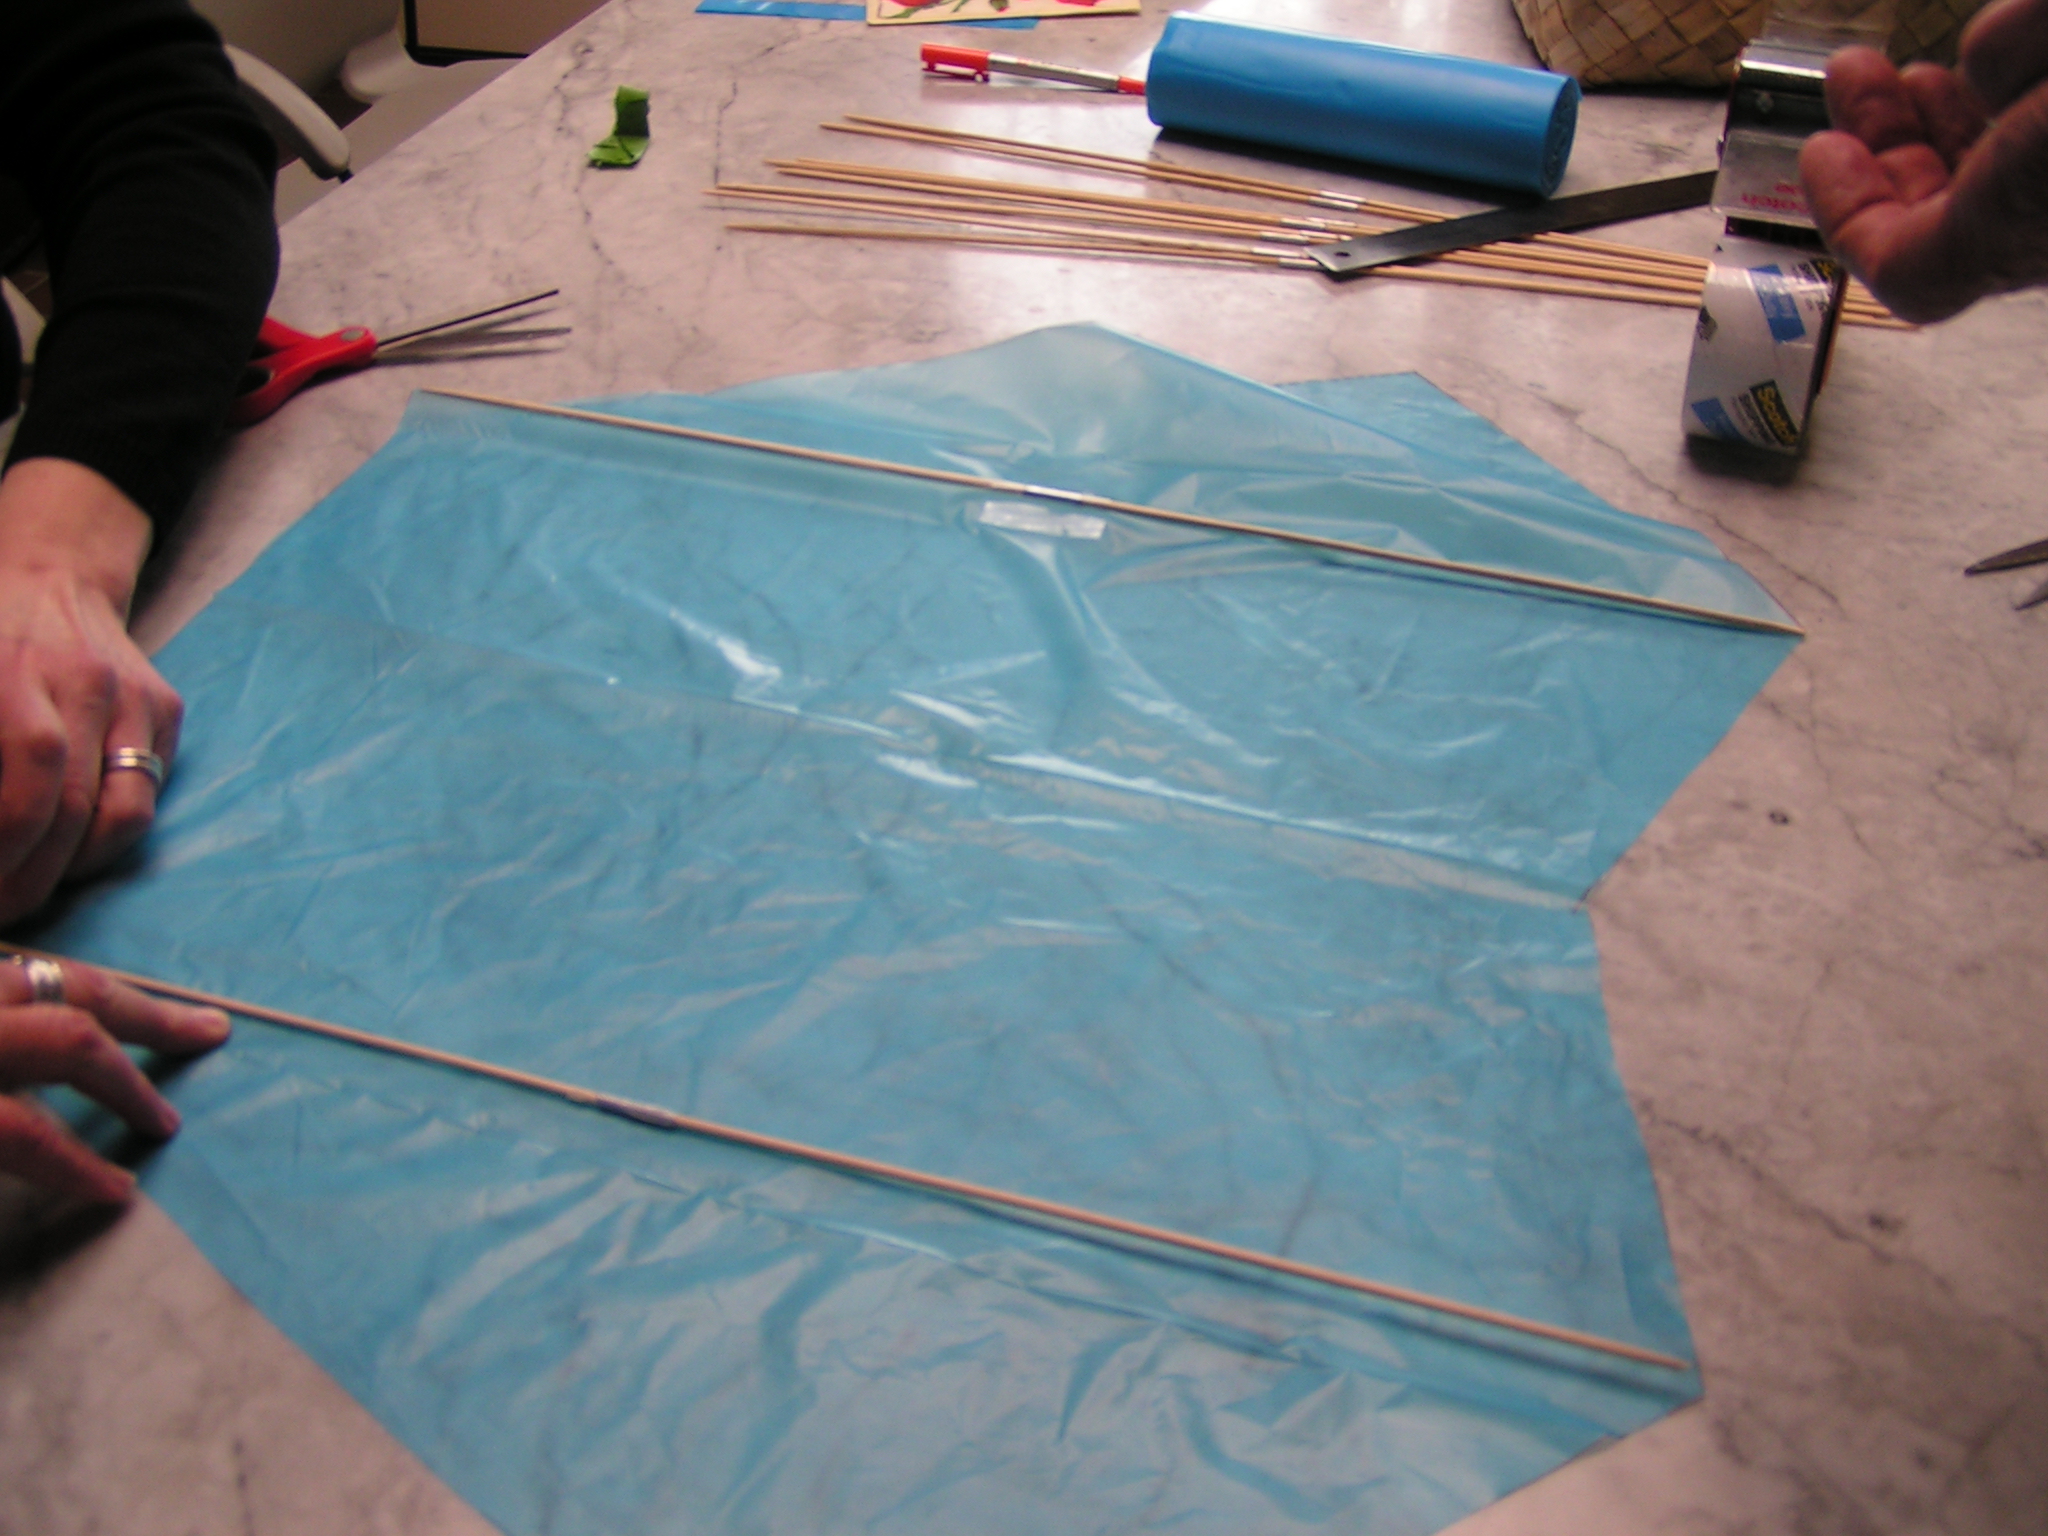
Then we taped sticks to the kite.

MINOLTA DIGITAL CAMERA
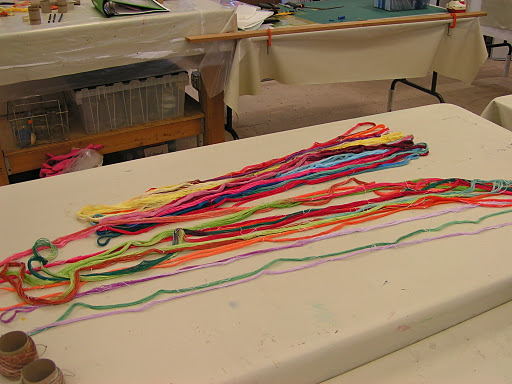
Cut some kite string.

MINOLTA DIGITAL CAMERA

Reinforced the edges with tape, burned a hole through the plastic and tied the two edges with string.

MINOLTA DIGITAL CAMERA

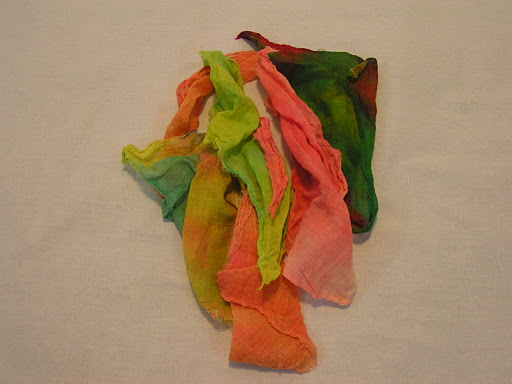
We added tails with ribbon and attached the long strings to fly the kites.

MINOLTA DIGITAL CAMERAAnd off we went to the park to fly them.

MINOLTA DIGITAL CAMERA

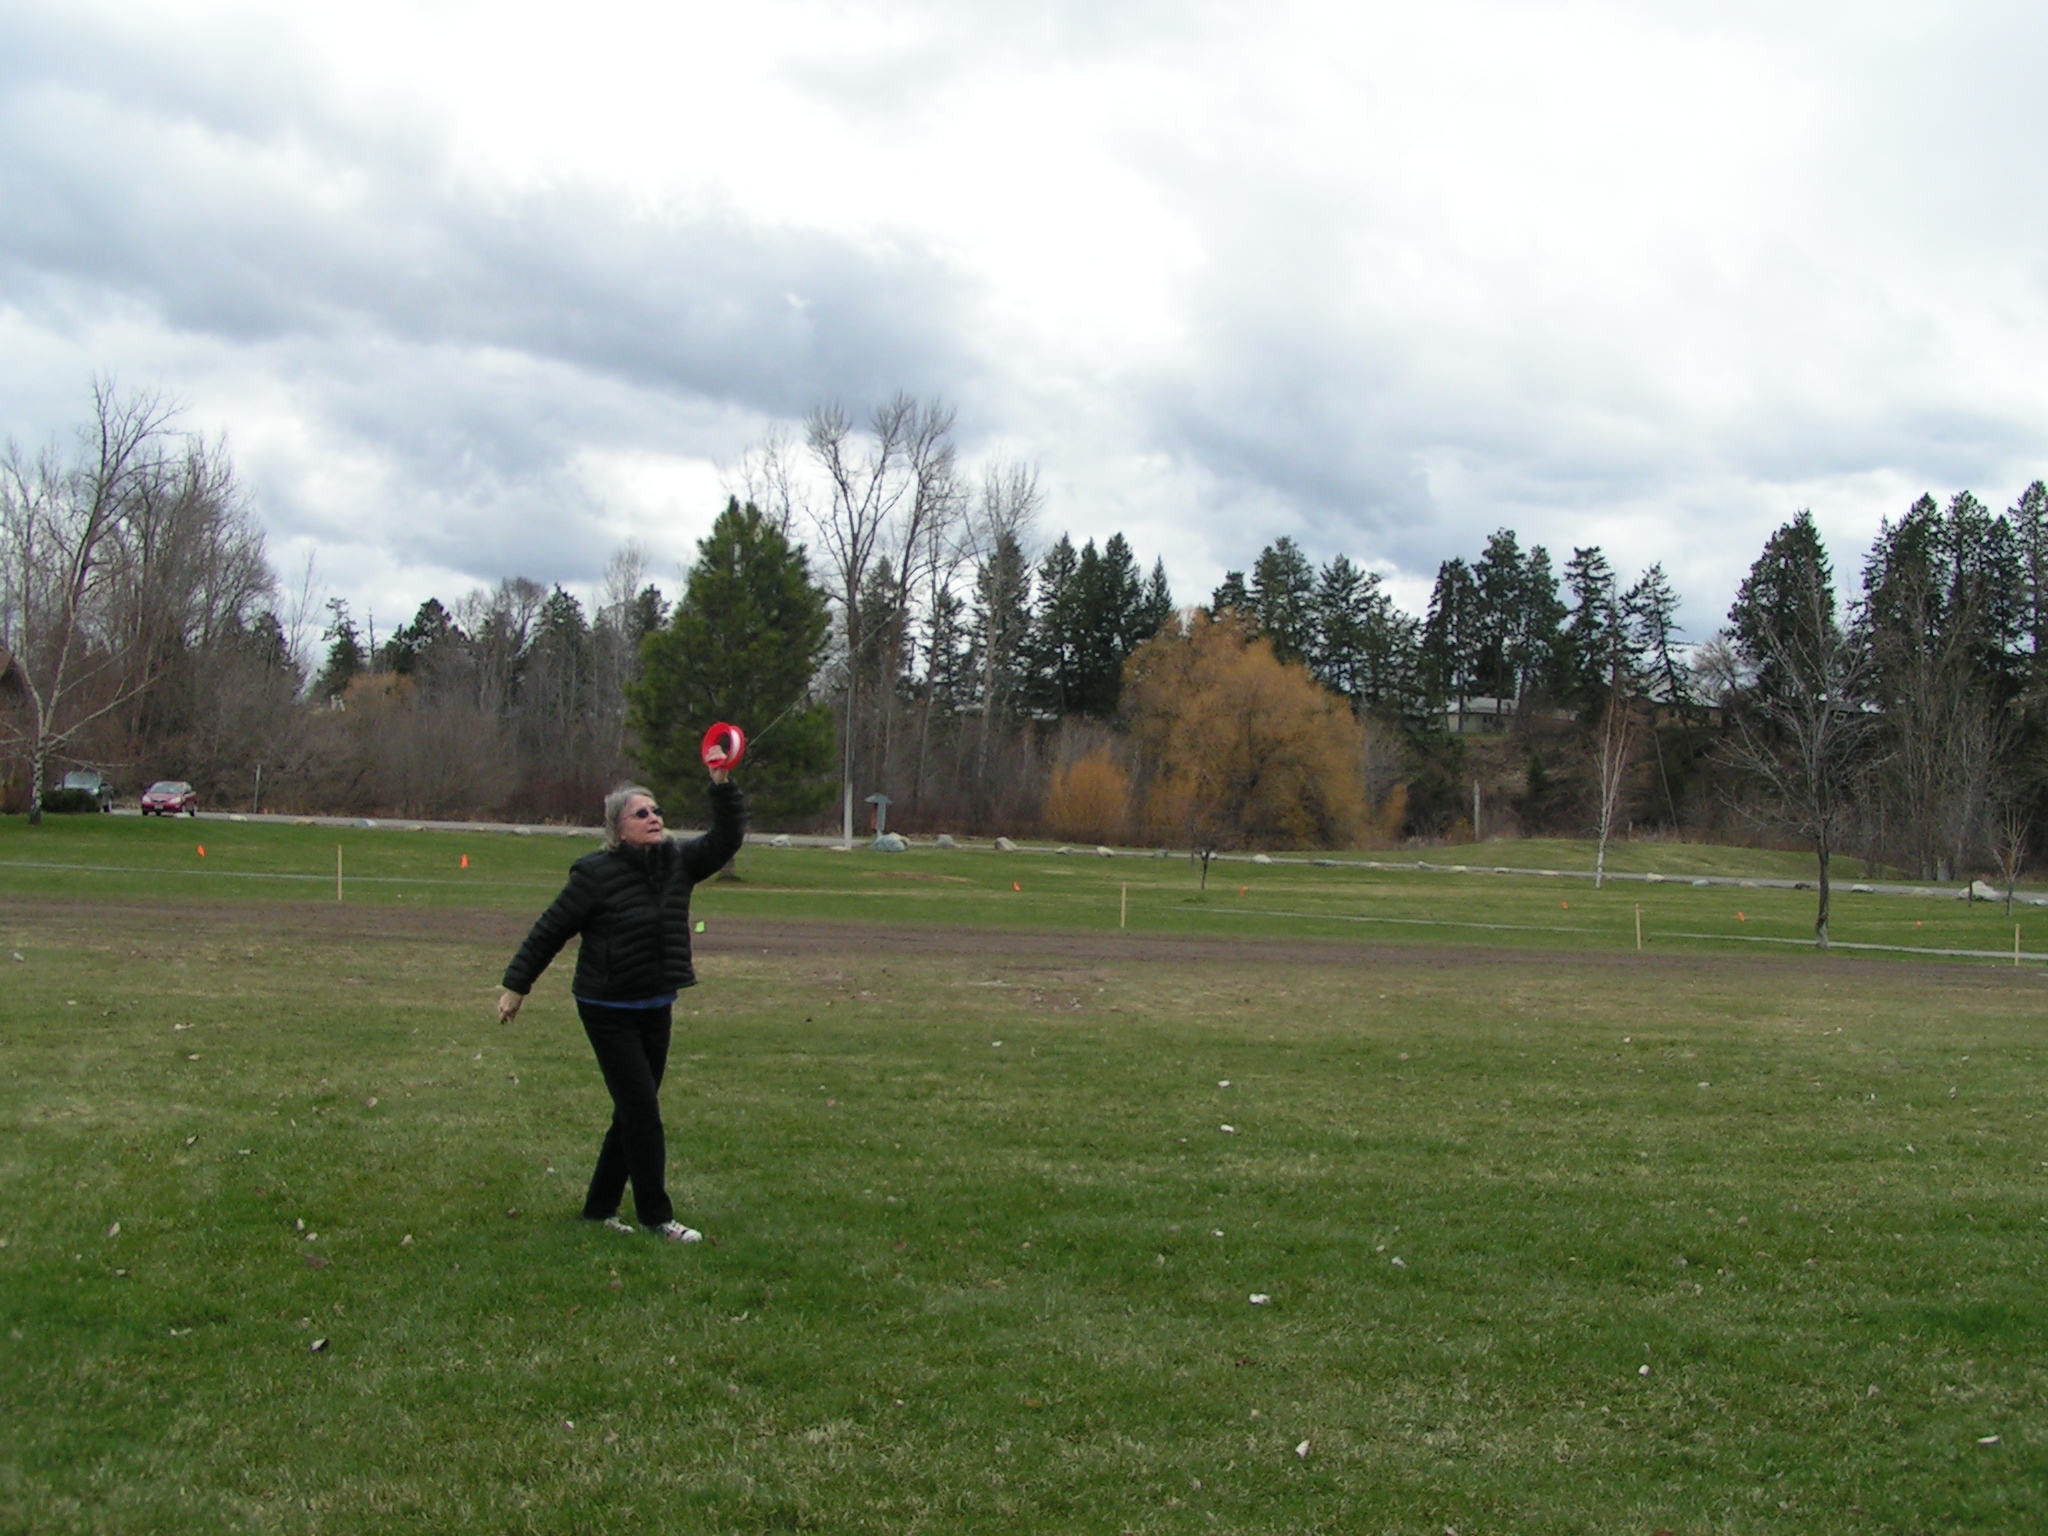
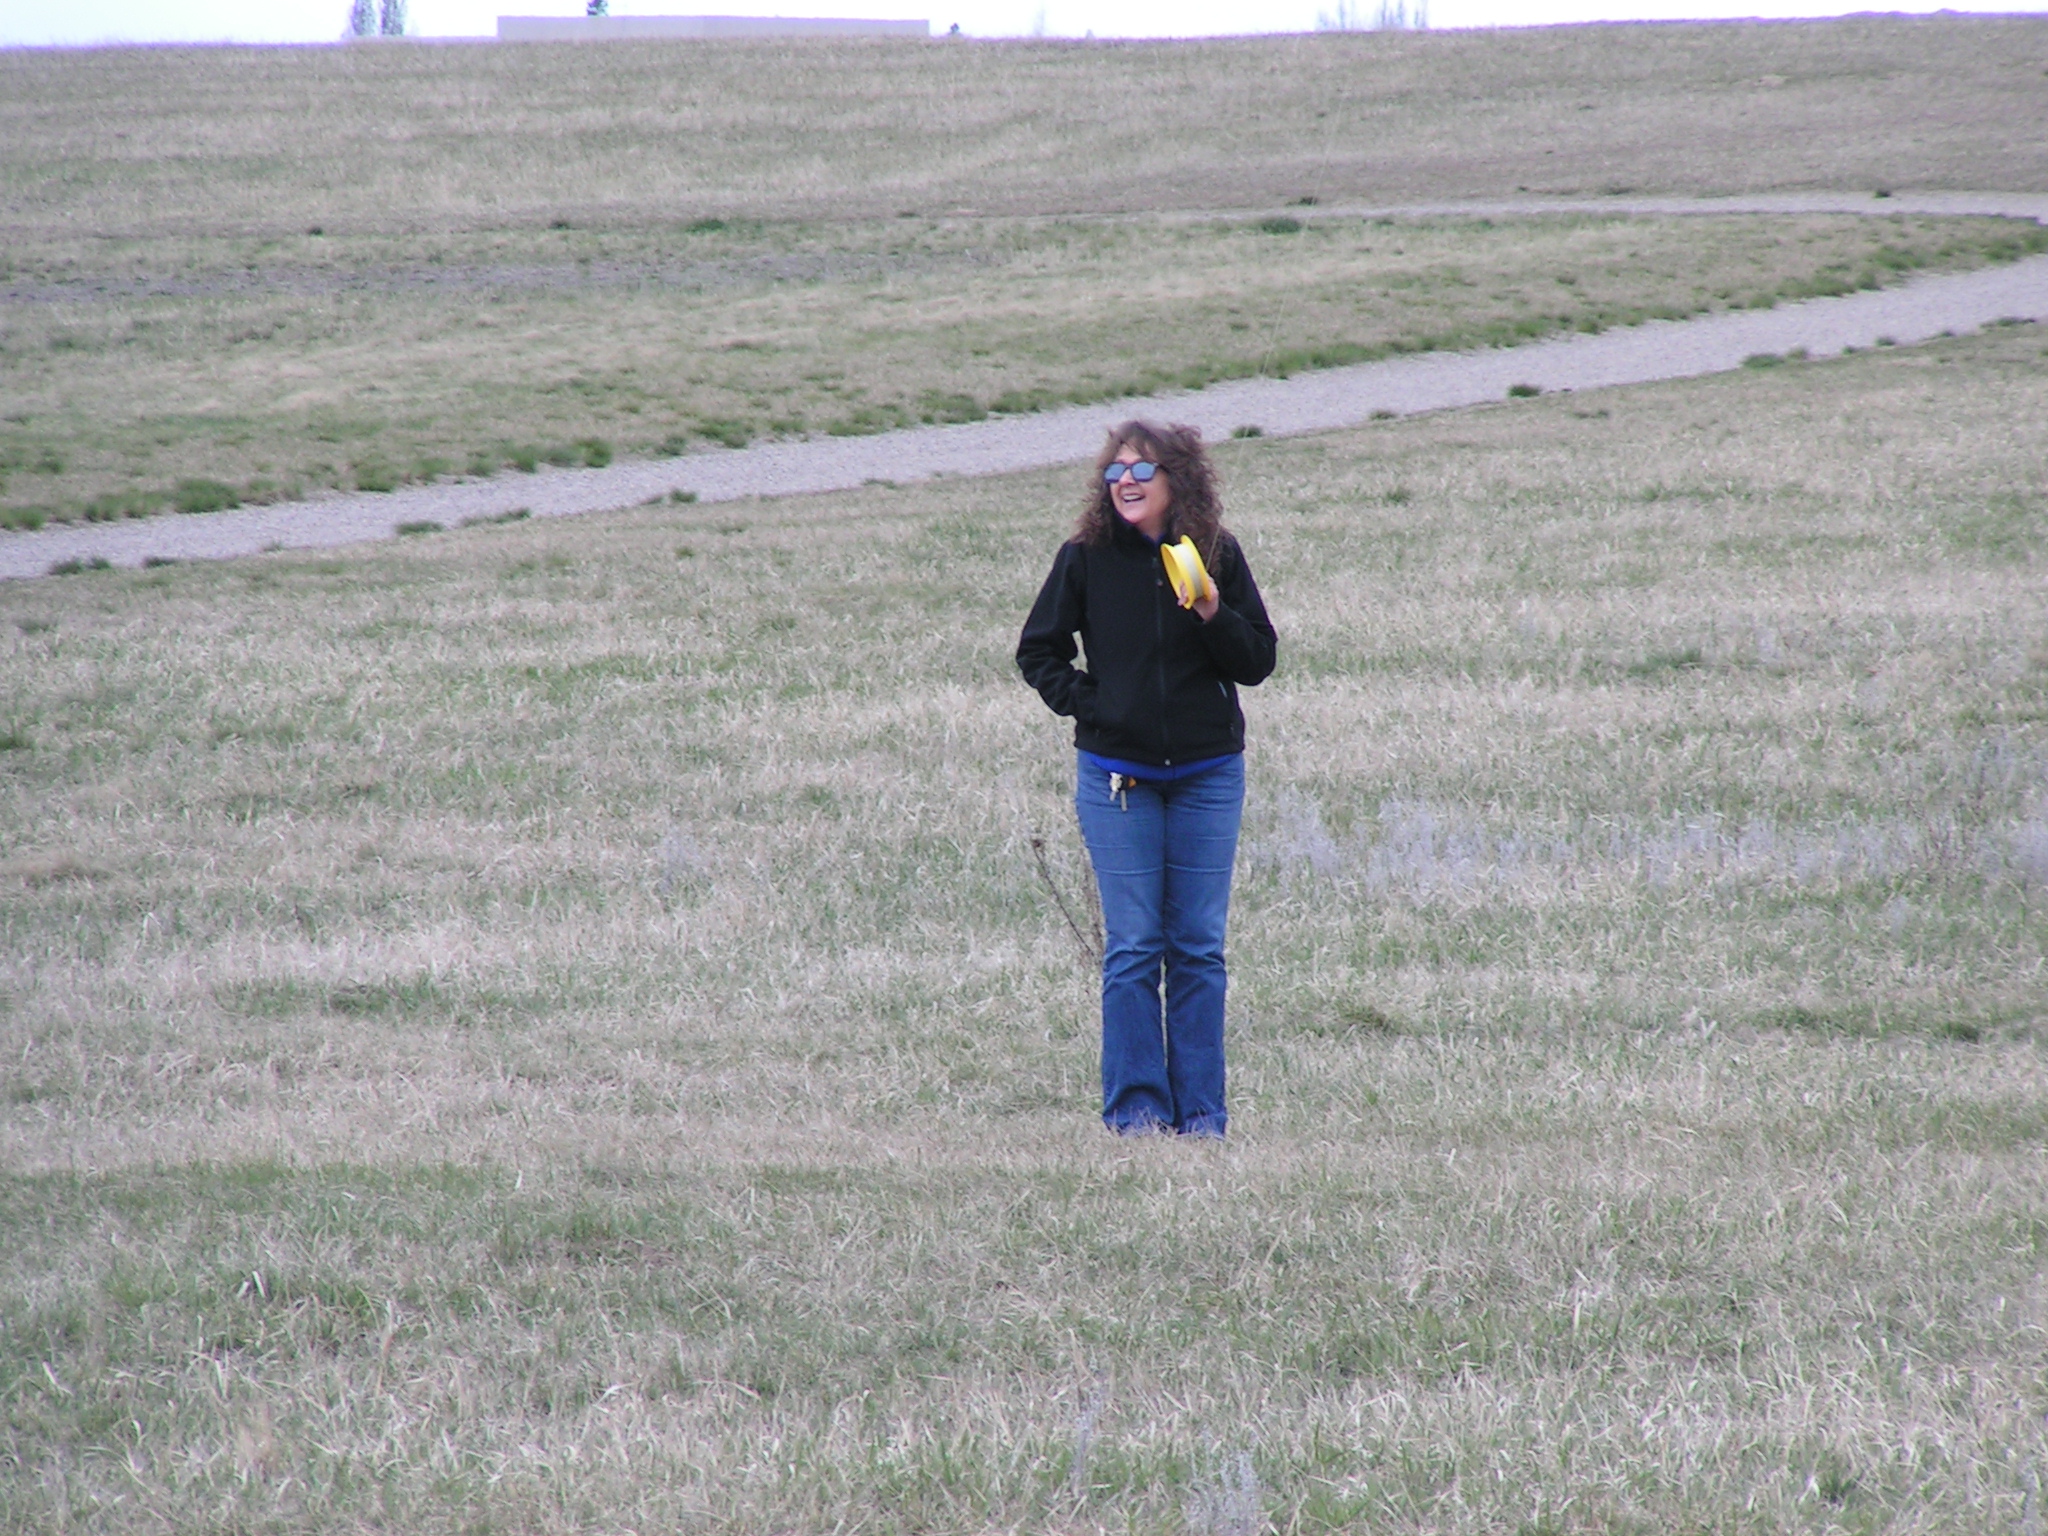
Here’s Bunny flying her kite.

MINOLTA DIGITAL CAMERA

We decided to try a different location since there wasn’t quite enough wind.

MINOLTA DIGITAL CAMERA

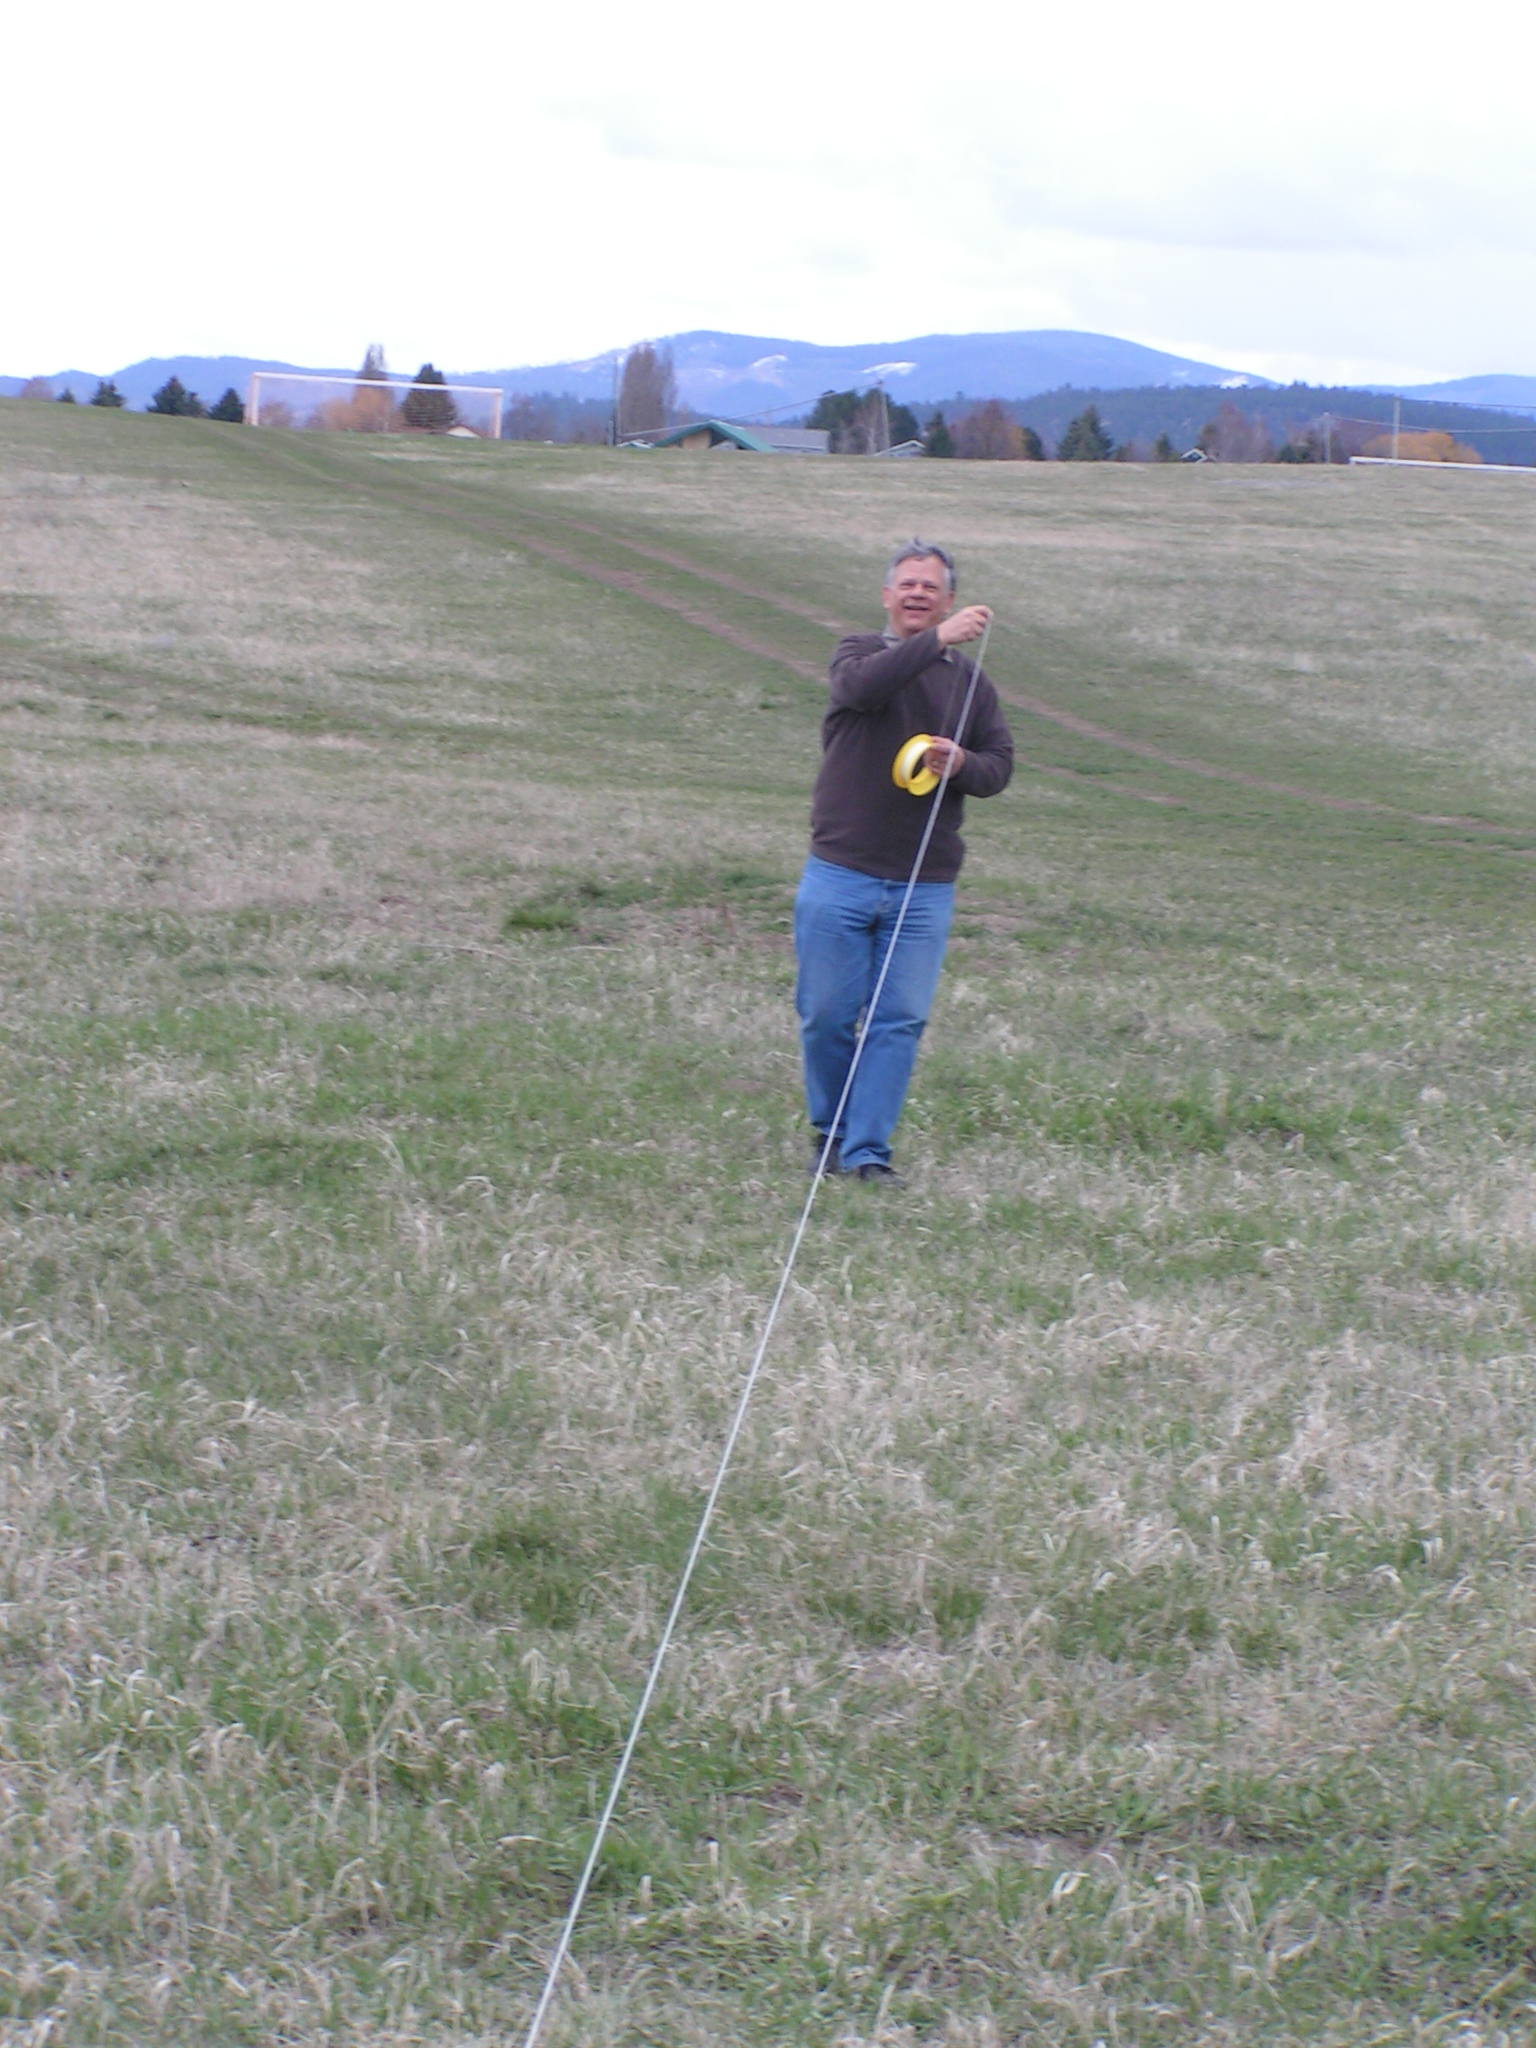
It was starting to get cold but the wind was good.

MINOLTA DIGITAL CAMERA

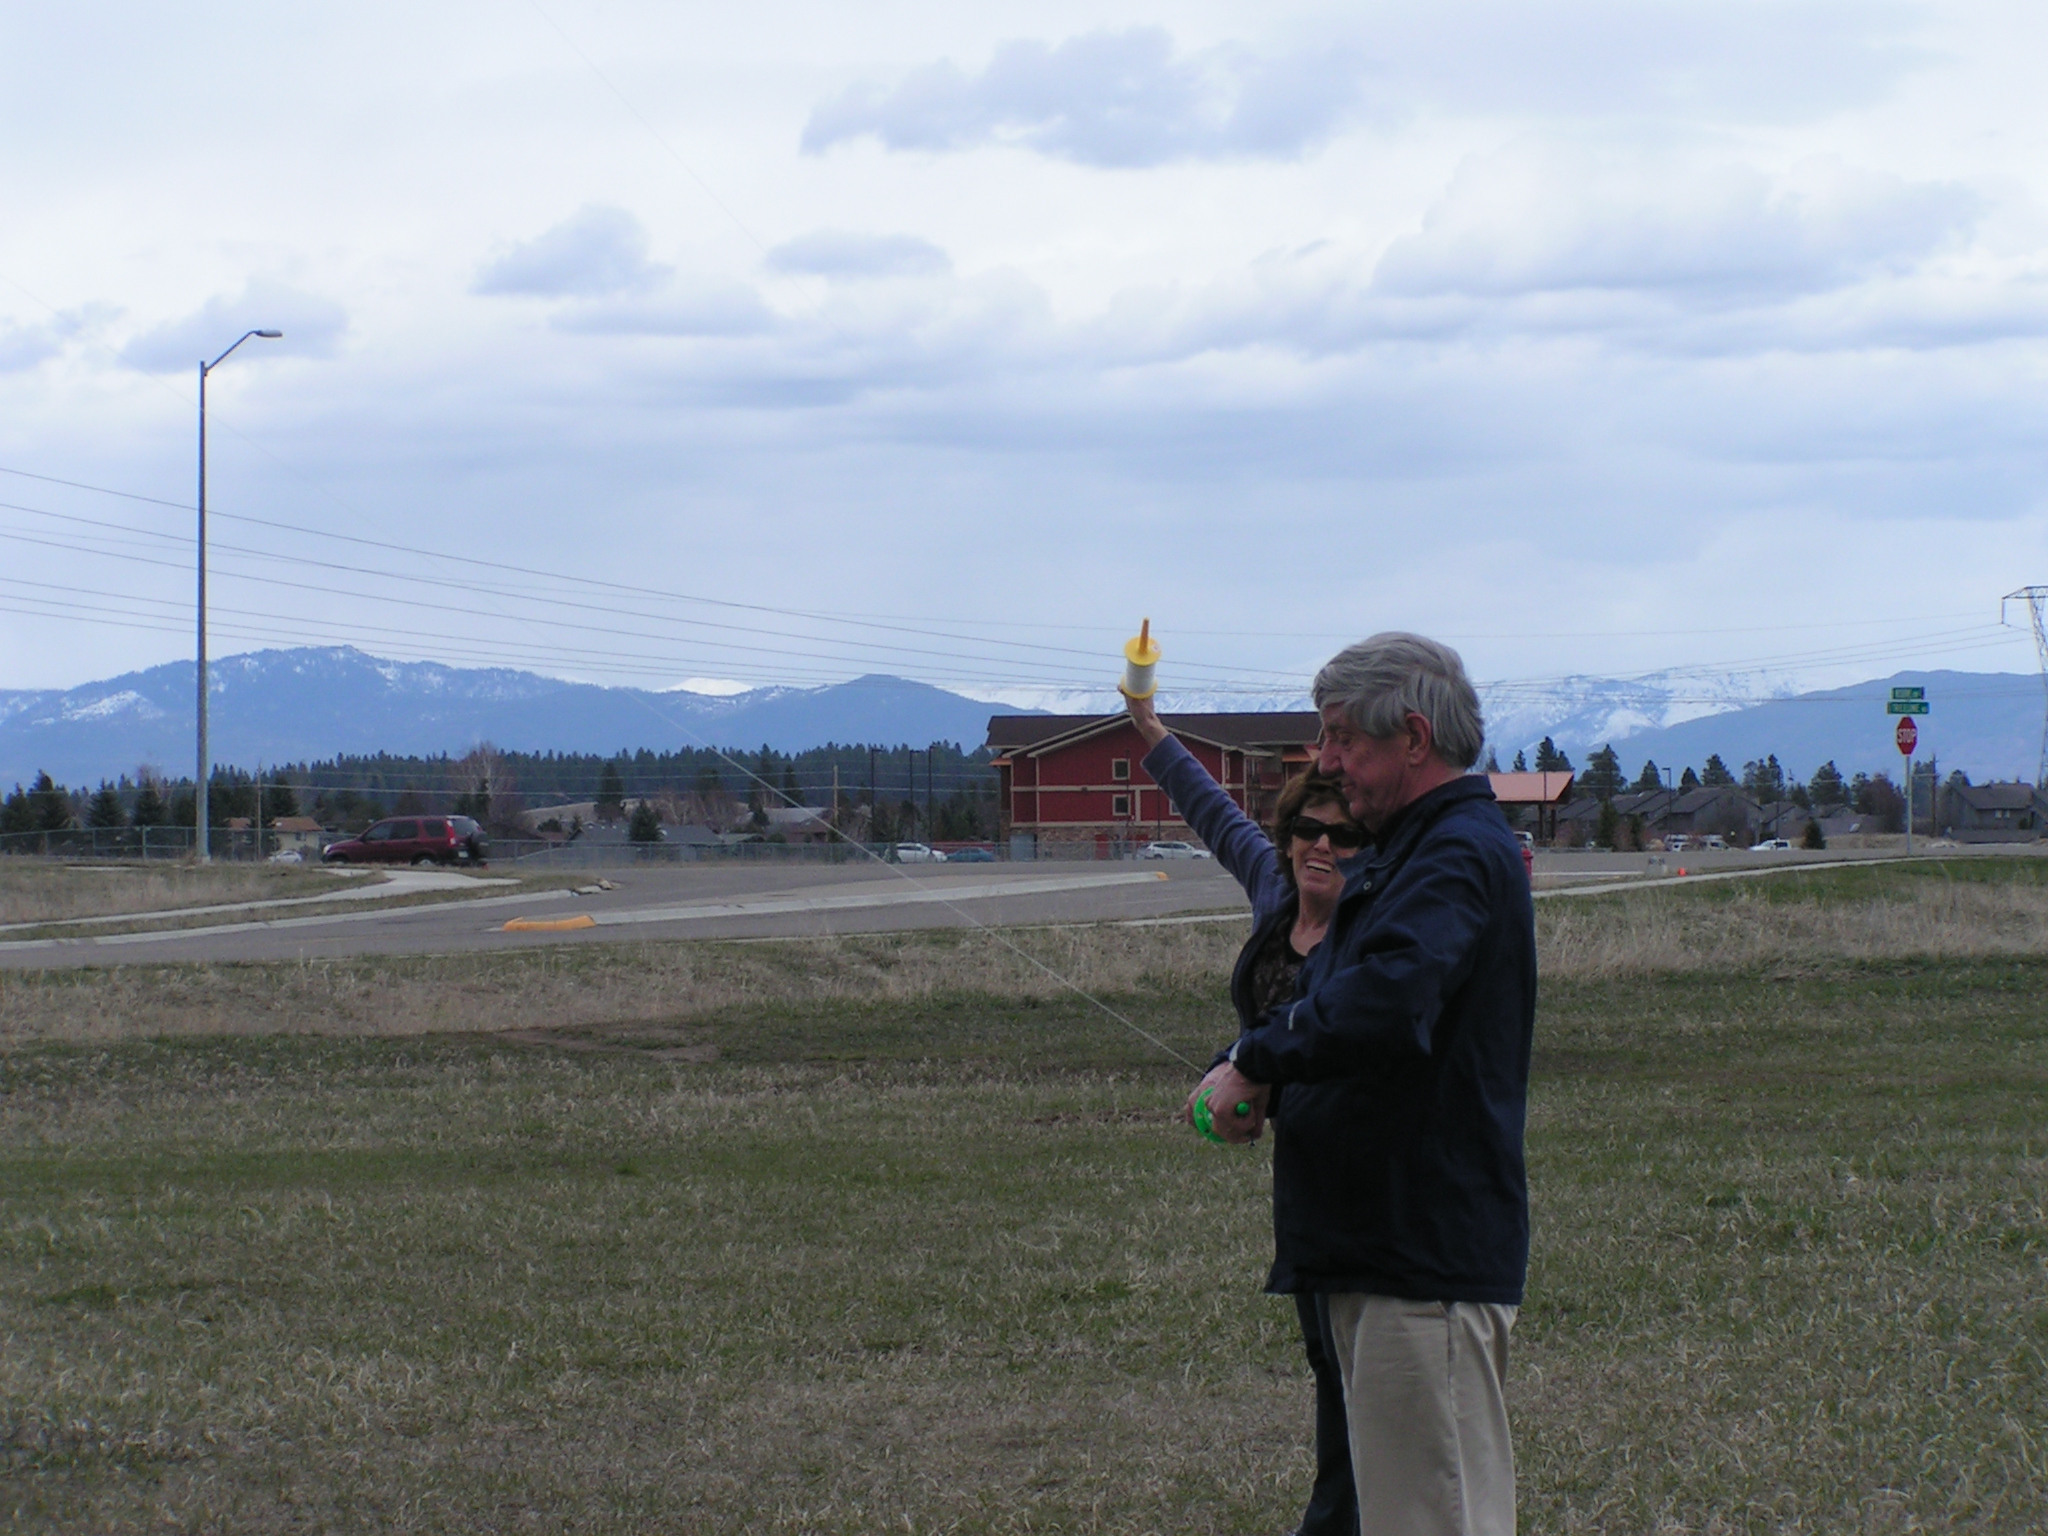
Everyone got into the act!

MINOLTA DIGITAL CAMERA

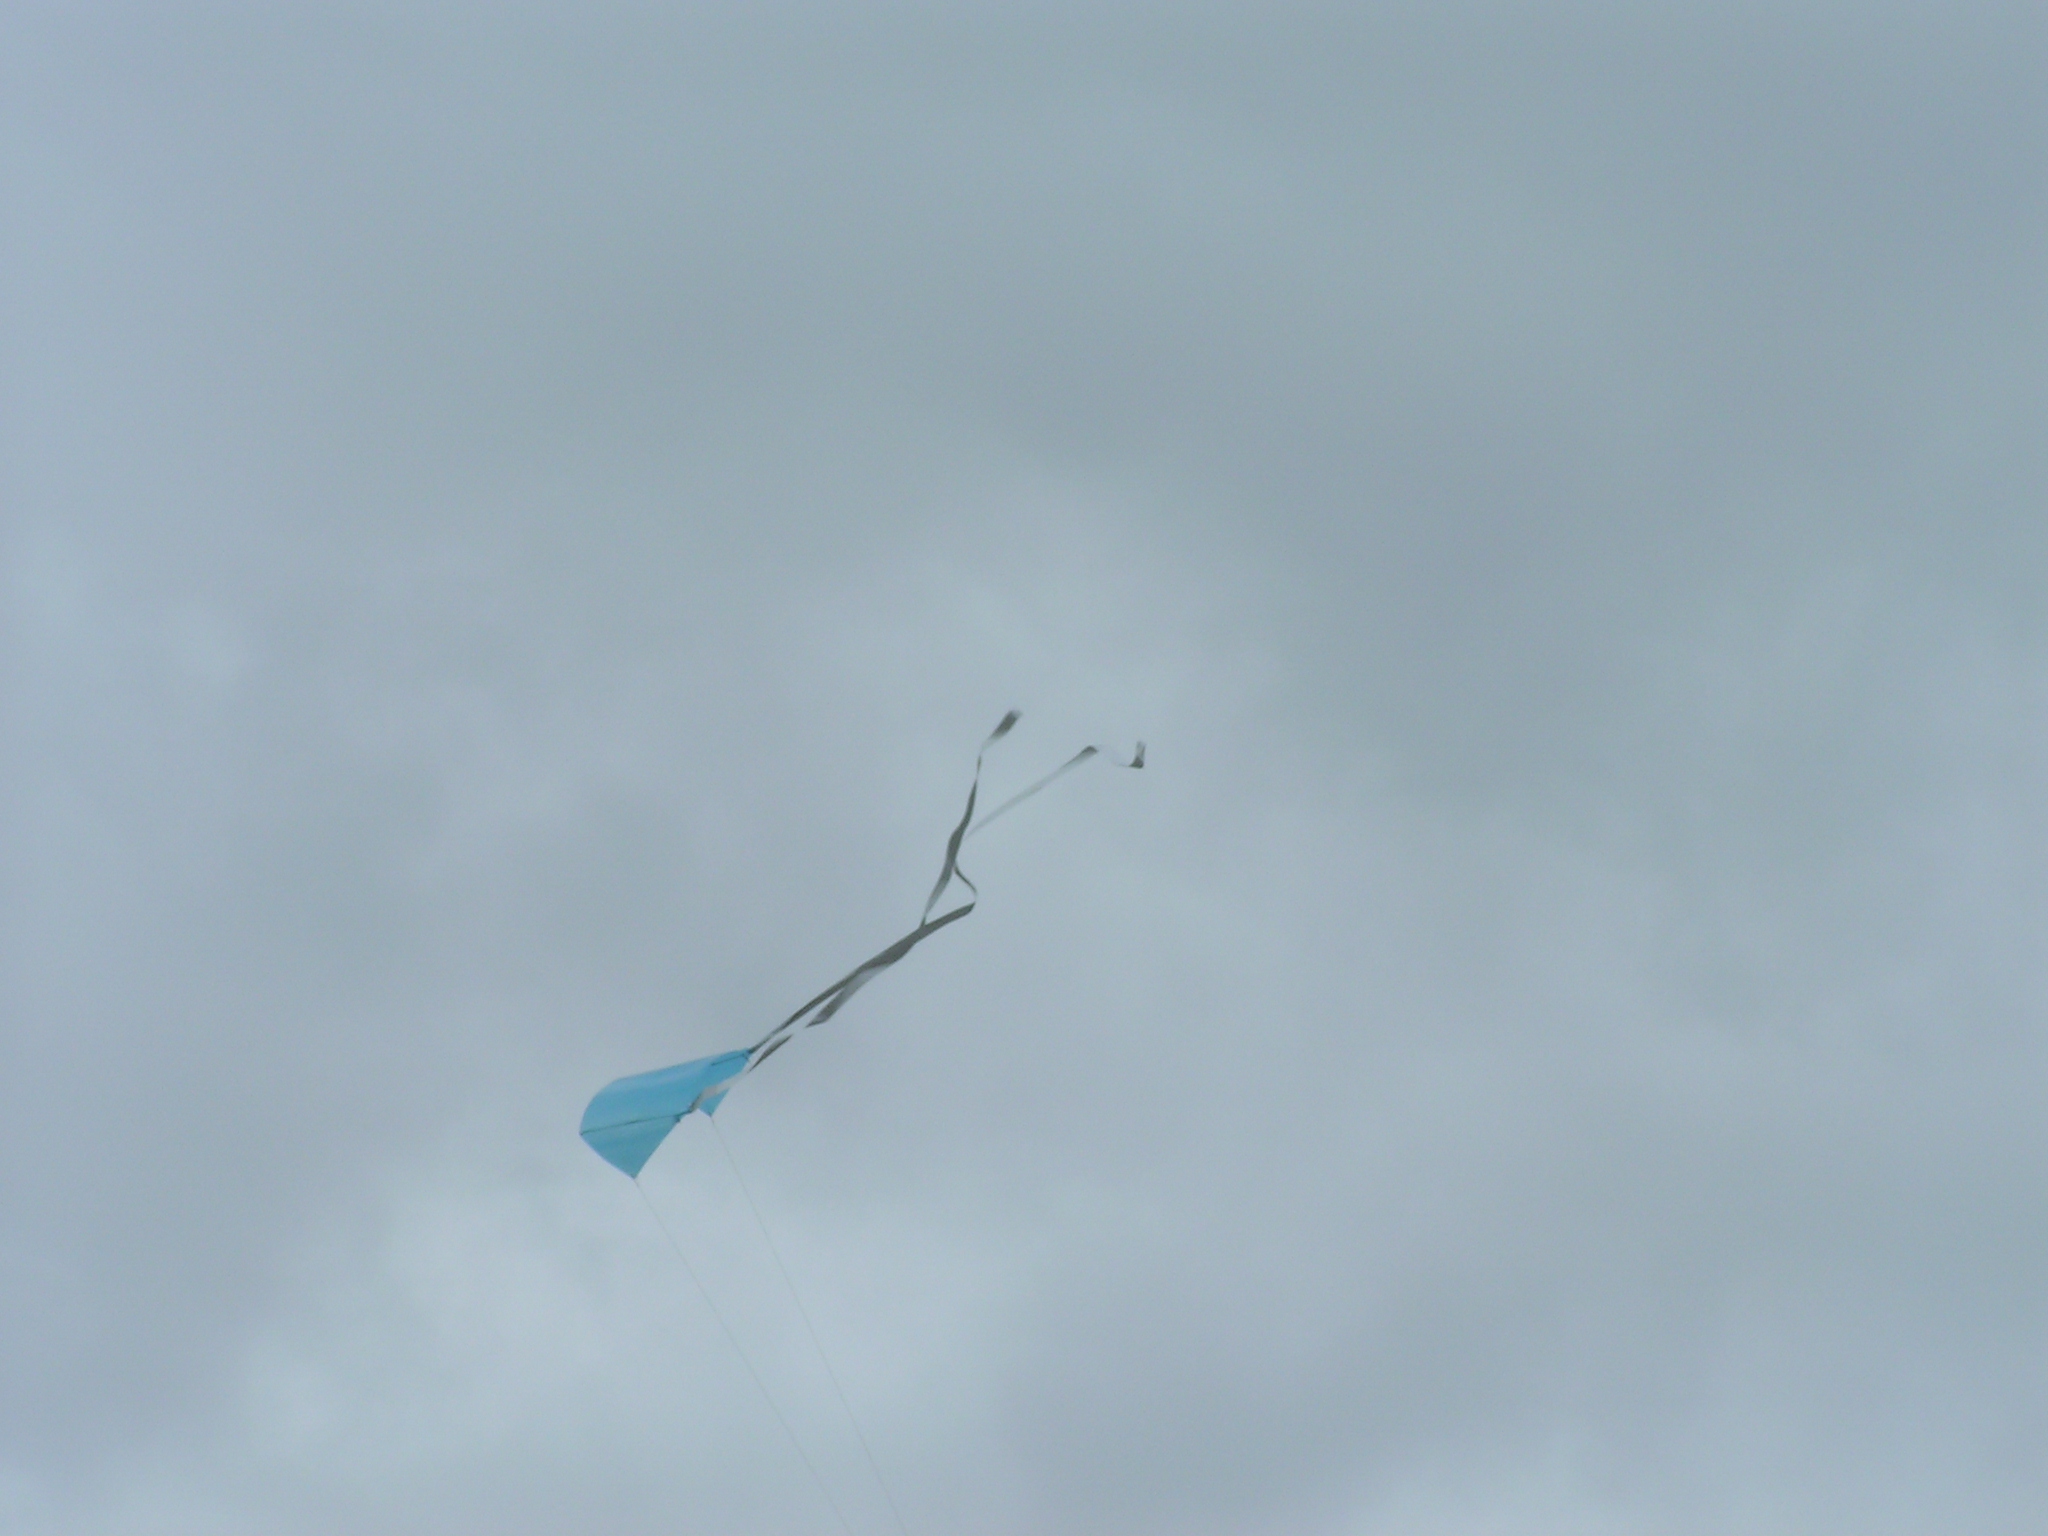
It was amazing how well the kites flew.

MINOLTA DIGITAL CAMERA

We had a great time. So my suggestion for you is go fly a kite.

Level II Hand and Machine Stitch Class and a Surprise

 I started the Level II Hand and Machine Stitch class at Gail Harker’s last week. The first two and a half days was spent in the dyeing studio. Gail has just moved recently from Oak Harbor to LaConner, Washington. Her new studio is wonderful and we had a great time. I won’t discuss the10 hour drive from Montana to Washington with two Yorkies who both had Giardia. The less said about that the better!

 Here are some other class members hanging up their dyed fabric and threads to dry. It looked like colorful prayer flags all around the room.

 Here are some of the threads I dyed after they were dried. They were waiting to be wound up with a thread winder. Normally, we wind the thread on half of a toilet paper tube but they didn’t have many so I only got two in class.

 Here we are at the table discussing something. We worked on hand stitch this session and I have lots of homework to do. We’ll be working on Kantha stitch on our next session in February.

 Here are some photos of my dyed fabrics. We will be using these over the entire course of the class. This is silk organza. We used Procion MX dyes. I usually use acid dyes at home but I’ll be ordering some Procion MX as it is part of the homework to have another dye session.

 This is cheesecloth – #50 and #90 weights. A lot heavier cheesecloth than the kind you buy in the grocery store around here which is #10.

 This is linen.

 And muslin.

 And then white burlap.

 Here are all the threads I dyed on their cardboard tubes. I finished winding them at home. We used all cotton threads in a variety of weights.

 Don’t they look yummy?

 I need to dye some deep purples and perhaps some more greens. So more thread to come!

 When I got home I found a package from the UK. Zed had sent me samples of nylon and plastic fiber to experiment and add to felt. Thanks Zed – it was a wonderful surprise to find this package waiting for me when I got home.

And look at these wonderful buttons she makes out of polymer clay. I can’t wait to add them to something.