End of the Quarter

It’s hard to believe but we’re already a quarter of the way through the year. I thought I would do a little update on my fiber art plan for 2011. I am pleased with the amount that I have accomplished.

  1. I took the Hand Stitch Level I class in February.
  2. I have sent in my work for consideration to a gallery in Missoula and will hear back from them by April 1.
  3. I entered a fiber art piece in two exhibitions. I have heard back from one and was not accepted. I will hear back from the other at the end of March.
  4. I have been blogging more frequently and have continued with the Design Focus Friday series. I have also done a couple more tutorials which were well received.
  5. I have been thinking frequently about my word for the year “choice” and have tried to make conscious decisions that take me in the direction I want to go on my fiber art path.

I made a decision recently that is going to change my plan for the year considerably. I am not at liberty to discuss the details but it will involve lots more felting activities and a 6 month deadline. I’m going to be very busy over the next 6 months and as soon as I can, I will let you in on the details. I won’t have a lot of extra time on my hands so I will have to cut down on my blog reading, commenting on others’ blog posts and even posting to my own blog. I will finish out the Design Focus Fridays but I’m not sure I’ll get much else accomplished on the blog. I hope you all won’t desert me. I’m really excited about this project and in a couple of months, I’ll be able to tell you all about it. So stay tuned!

Screen Printing Party

We had a screen printing party at my house last Friday. I always get so busy I forget to take photos but luckily Carole remembered. Thanks Carole! Here is one of my scarves that I had already discharged some circles. I added a deconstructed break down screen that I made from an embroidery hoop. It worked fairly well but the resulting print didn’t end up dark enough for my taste once rinsed out. I’m on the left and Louise is on the right.

We also tried writing on the screen with thickened dyes. This is supposed to say “Dear John” but somehow spelling escaped me. We also tried using blue school glue on a screen, screen printing over oatmeal (every one’s personal favorite), screen printing over shredded paper and deconstructed breakdown printing.

Here we are printing the Dear John screen. This was my least favorite fabric. The writing needed to be much smaller. The syringe I used had quite a big hole so you got big squirts of dye. But it was an interesting process.

Here are a few pieces drying. Most of the screens shown here came from the blue school glue screen except the one in the lower left corner. That was done with oatmeal. The oatmeal was done on a piece of fabric that Carole brought and it all washed out (which is really sad as it turned out beautifully). I also screen printed again on Saturday with a member of the group that couldn’t make it on Friday. But alas, no photos. I’ll show more of the results in a later post. We had a great time and we’re going to come up with more ideas for screen printing experiments.

The Story of the Traveling Pages Tree Book

It’s finally complete! I finished construction on my tree book for the The Story of the Traveling Pages Swap. I was still missing two pages but thought there was little chance I would receive them. I guess if I do I can decide at that point what to do.

I am pleased with the results. It was a bit of a pain sewing the sticks on but once I figured out what I was doing it worked out pretty well.

I used a button thread to give strength. I sewed a few stitches on the edge of two pages to hold the pages together and then I added the stick and did a sort of lasing technique (ala Girl Scouts).

And I really think it’s amazing how different the pages all are but how well they went together. I put them in chronological order by month.

I went a little overboard on the front and back twigs but I really liked the “twigginess” of it.

Here’s a photo of the book nearly closed.

So what do you think? Didn’t it turn out great? Go check out the Traveling Pages Book Swap blog to see how everyone’s books are turning out.

Design Focus Friday – Color Studies

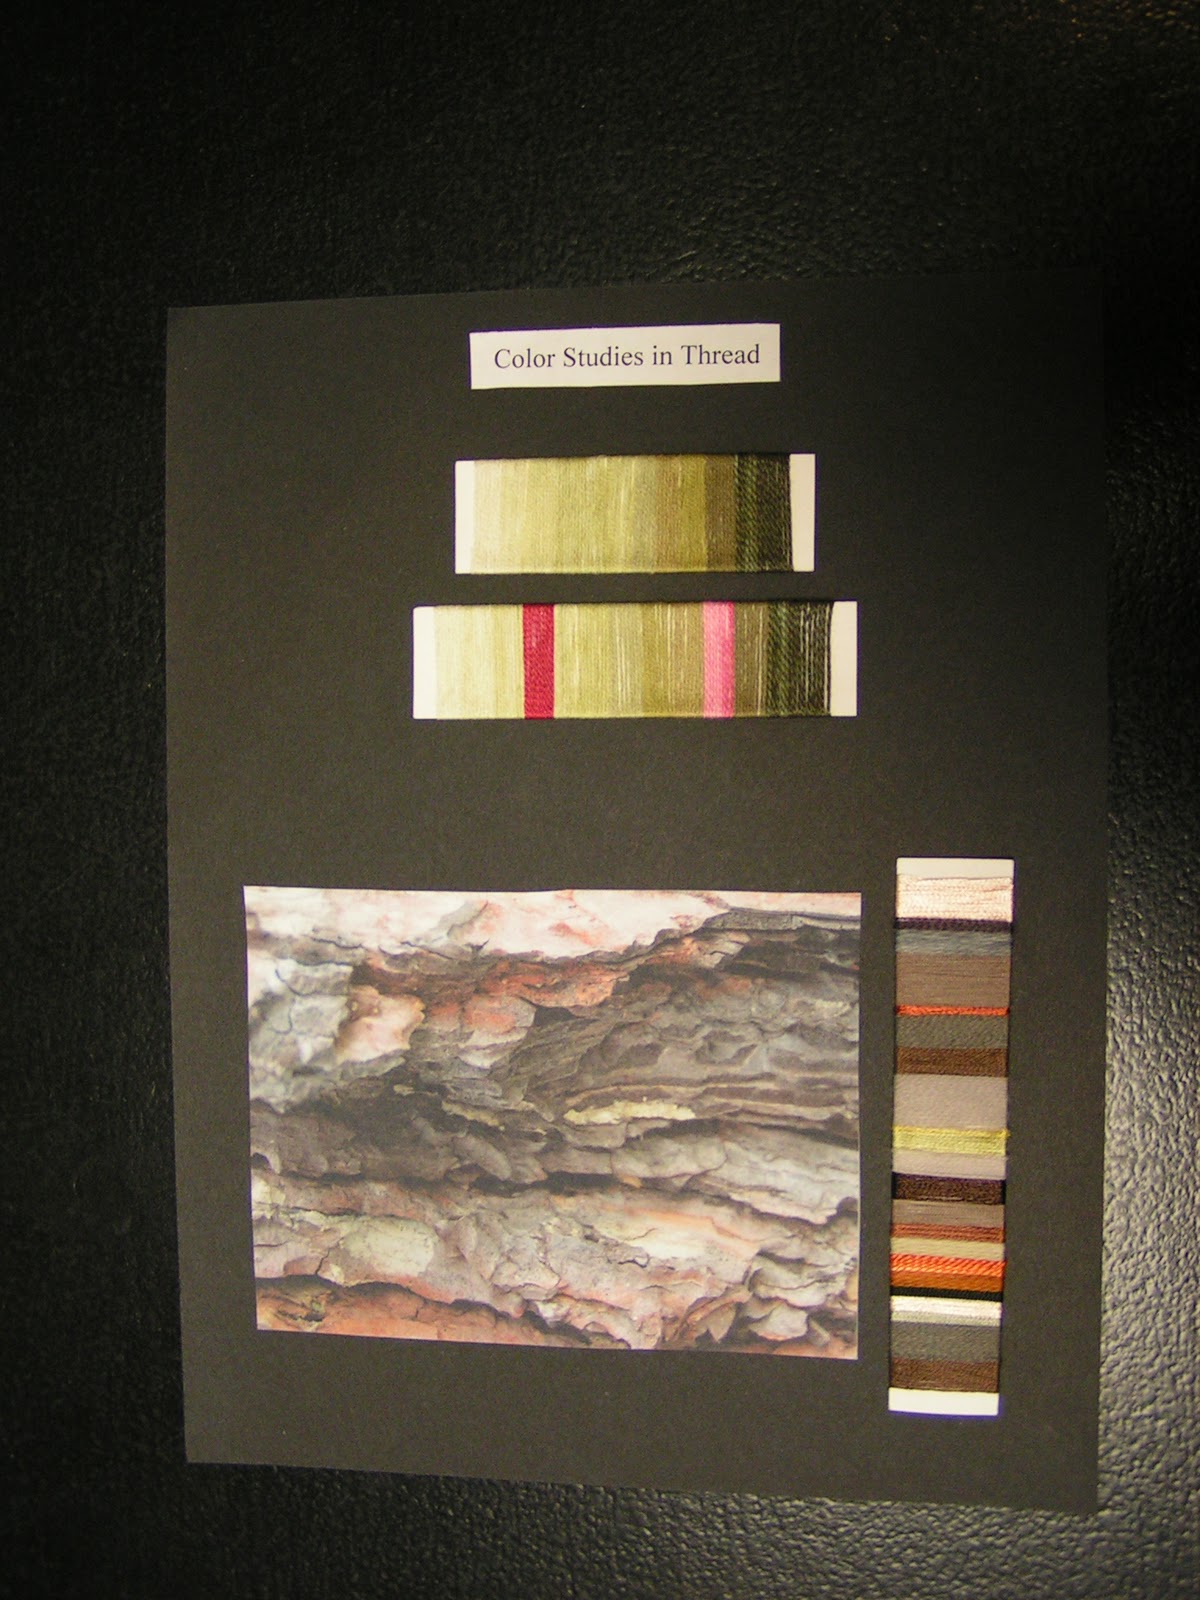
This week I’ve been working on my thread color studies for my hand stitch class homework. I’ve tried some thread color studies in a previous class I took as well. The threads on the top are some of the ones that I dyed in the class as well and are an analogous color scheme. I am using these same threads in the homework assignment of chain stitch as a filler stitch. I will show that to you later. The second thread set down is the same color scheme but add two complementary thread.  This is an excellent way to try out different color schemes and it only takes a small amount of thread.
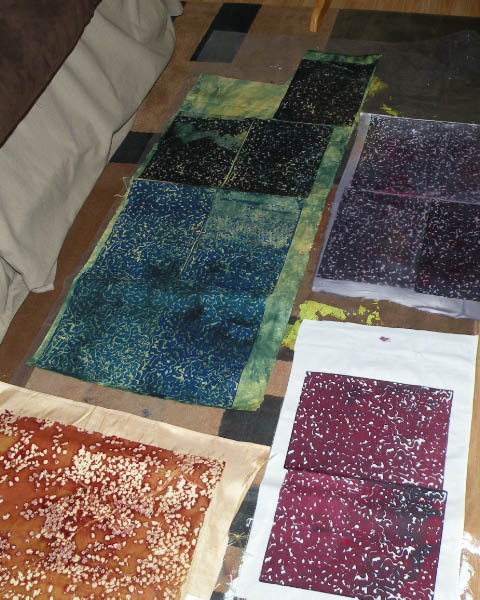
The second part of the homework is to find an inspirational photo and amazingly enough I chose bark. Then I found threads in similar colors and put them on the card in similar proportion to the photo. I had a bit of difficulty finding very many greyed down browns. Most of the brown threads I have are tending toward red. I do love the orange coming out in this bark photo. It sets off the browns so nicely. 
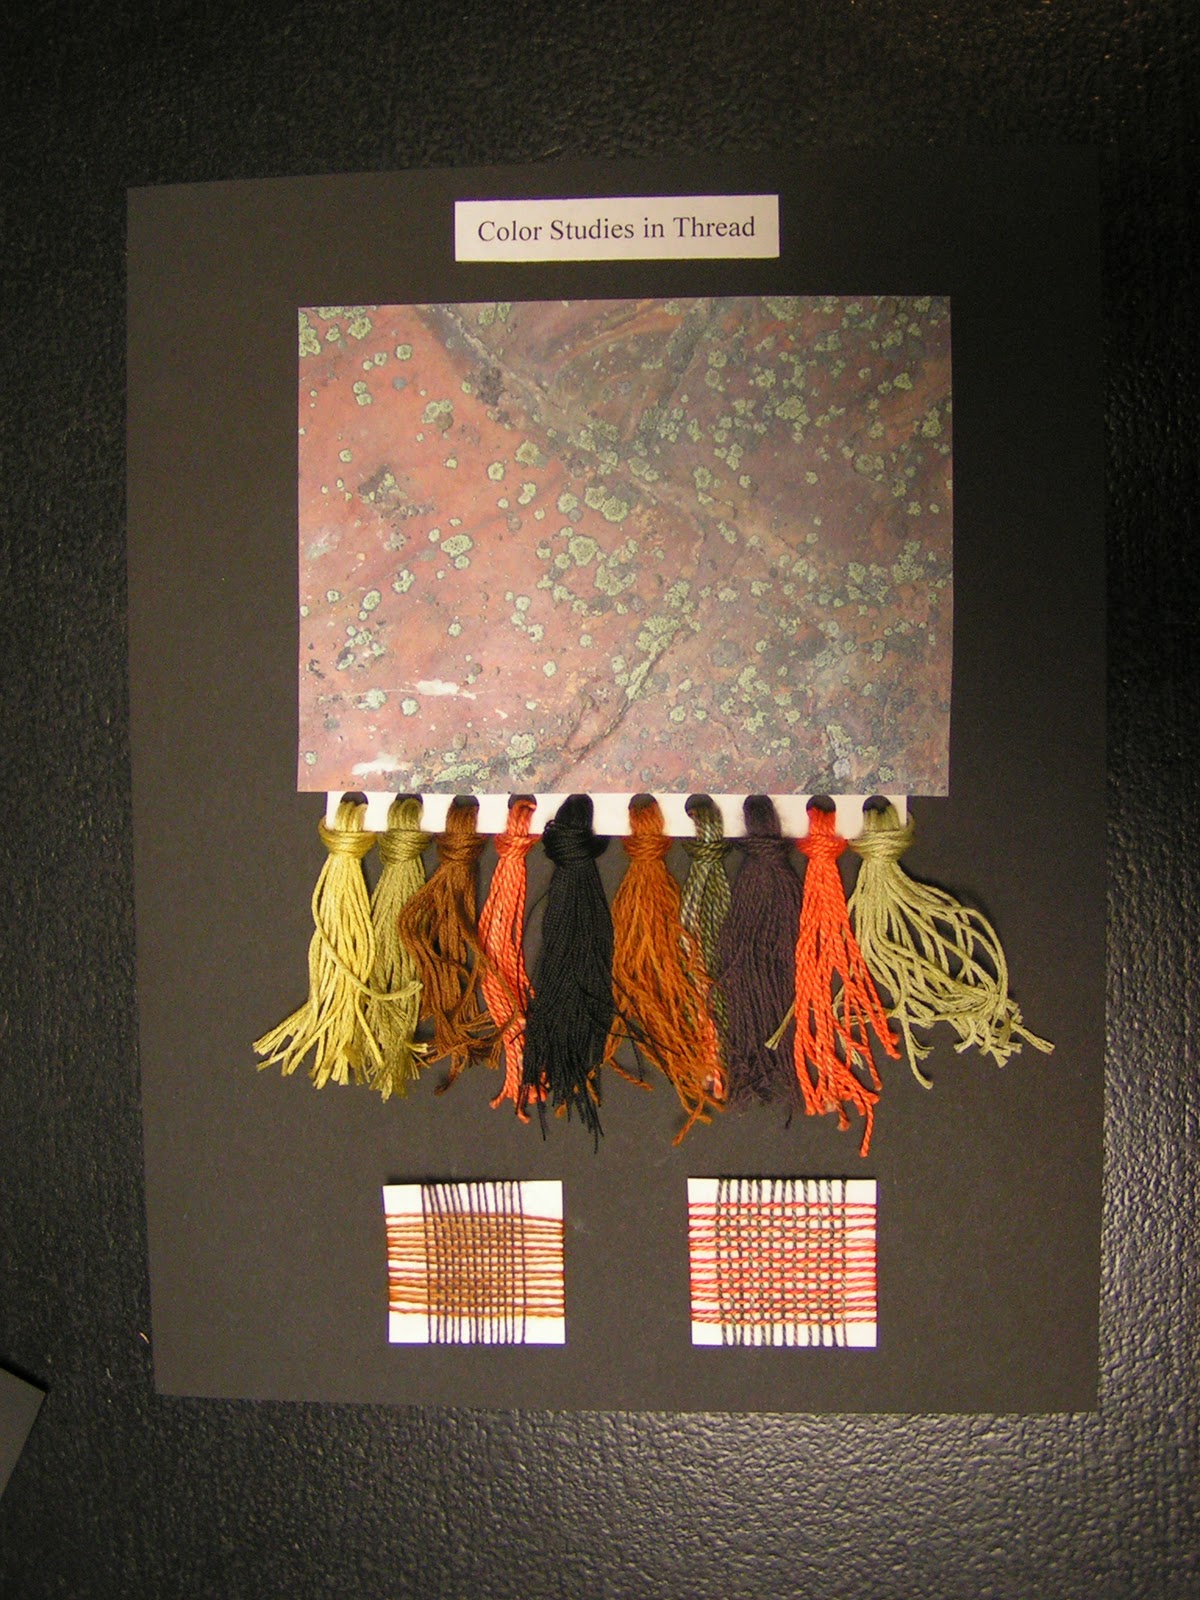
Here’s my second sheet of threads. This one, I did a fringed sample of threads to go with this photo of lichen on a very orange/red rock. I have to say I liked doing the wrapped samples better than the fringed samples but they do look more impressive on the page. The last part of the homework was to do a couple of woven samples with your threads. You can’t see these very well (you can double click the photo to enlarge) but I thought this method was really helpful. It gives a much better idea of how the colors will blend together when close together. Colors do change when viewed together and many times a thread that you thought might really pop, blends in too much. The weaving samples only took a few minutes and it really shows you how the colors work with each other.
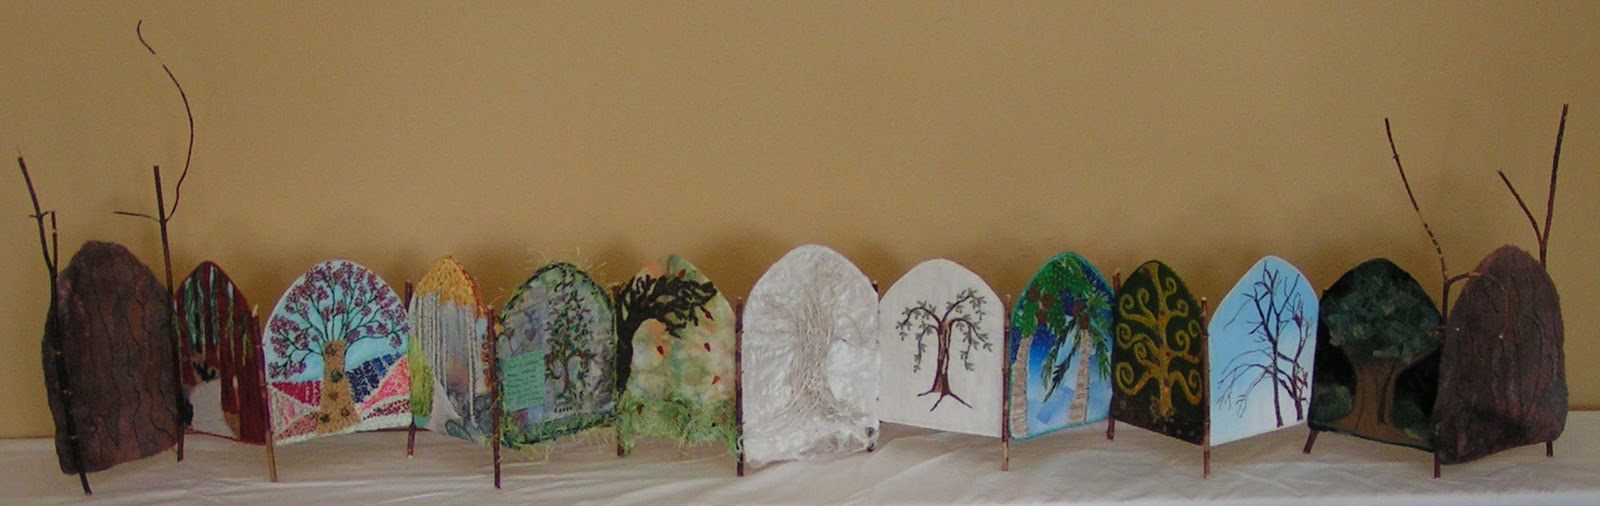
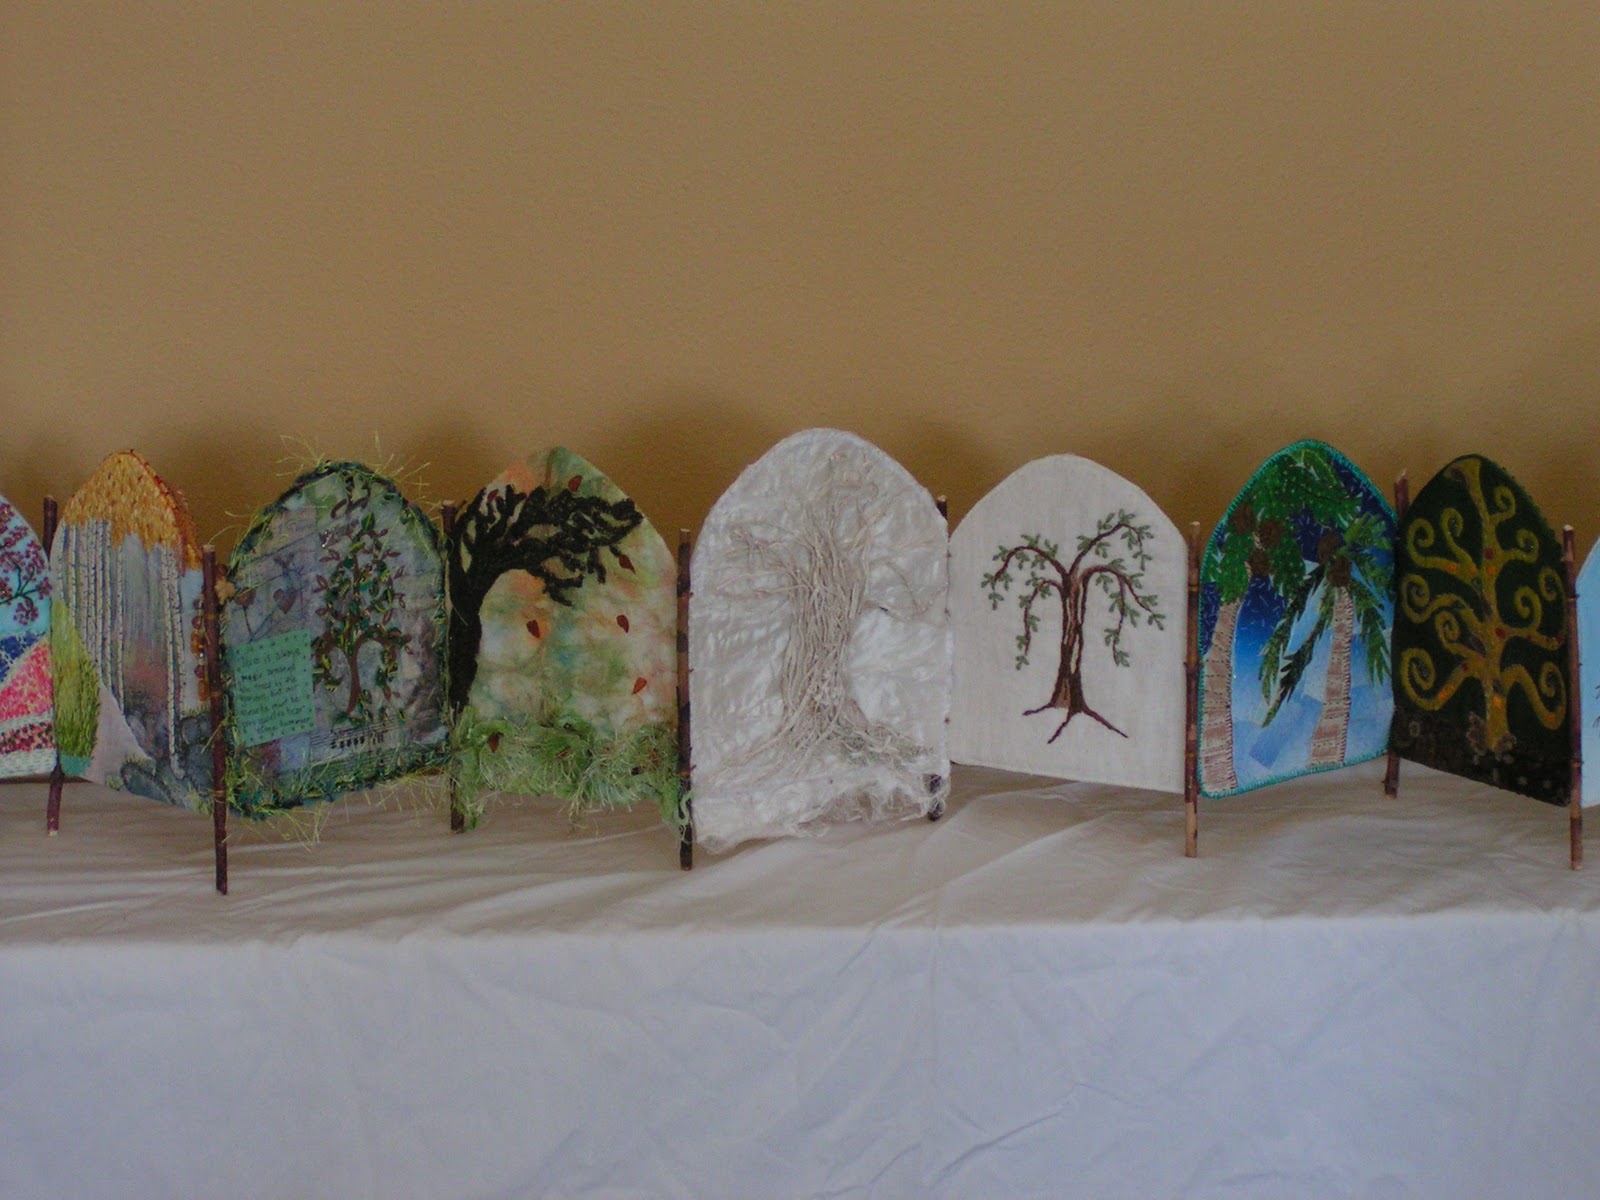
Here is the full page spread how it will be in my notebook that I turn back in for my grade. One of the things that I tried to do in this class was to use colors that I wouldn’t normally use as much. Of course I use green a lot but the orange was definitely a change for me. I have to say that after working with the orange in several samples and using it in my color studies that it’s beginning to grow on me. Are there certain colors that you use all the time? How about colors that you avoid? Maybe you could try a few color studies either with thread, paints, paper or fabric (whatever you have handy) of colors that you don’t normally use. Spread your wings and try a different section of the color wheel, it’s fun!

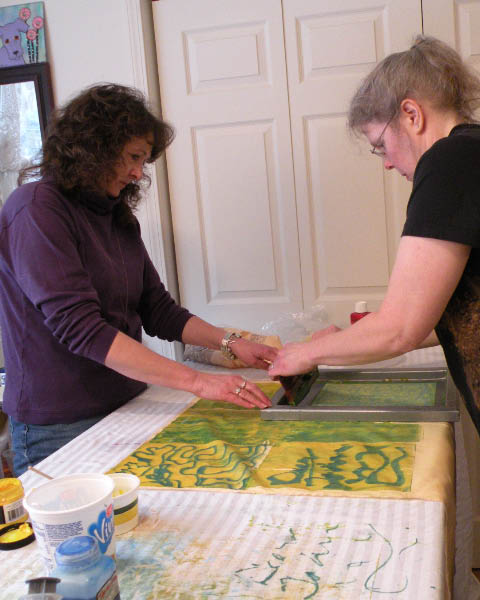
I also painted a few color wheels today in preparation for my local group meeting tomorrow at my house. We are going to paint color wheels using the Dye-na-flow paints I got for Christmas. I purposely got two of each of the primaries so that I could see the difference when mixing the paints. The example above shows the difference between using yellow, magenta and turquoise as compared to yellow, scarlet and ultramarine. Sorry that the photo isn’t the best but you can definitely tell a difference in the purples and the greens. I don’t see as much difference in the orange section but it is slightly different. These samples were painted with Caran D’Ache Neocolor II’s. I really think it’s beneficial to paint a color wheel with the various paints you have. If you put it on a nice piece of paper (these are done on watercolor pager) or in your journal, you’ll have it for future reference when you’re using your paints.

Next week, I’m going to be doing more paint mixing, checking out tints, shades and tones. What have you been doing with color? Do leave a comment and let me know.

Fabric Book Update

I have been working out the logistics for putting my fabric book pages together from the Traveling Pages Swap. I am going to make an accordion style book. Right now I have the pages pinned together and this shows the backs of the pages.

Here’s the fronts. It’s not very sturdy with just the pins holding it. I am planning on adding twigs for legs at all the page junctures.

Here it is all folded up with the bark covers that I wet felted and then hand stitched with stem stitch.

I think it kind of looks like a burger with little lettuce bits sticking out. I’ve got to cut the sticks to size and then start assembling. It should be a bit fiddly so I’m not really looking forward to the process. Hopefully, it will go more smoothly than anticipated!