


Here are the results from the screen printing session yesterday. The top photos are on fabric and the bottom ones on sketchbook paper. I added the “trilobite” print to the sketchbook page to see if I like how it looked.
Here are the results from the screen printing session yesterday. The top photos are on fabric and the bottom ones on sketchbook paper. I added the “trilobite” print to the sketchbook page to see if I like how it looked.
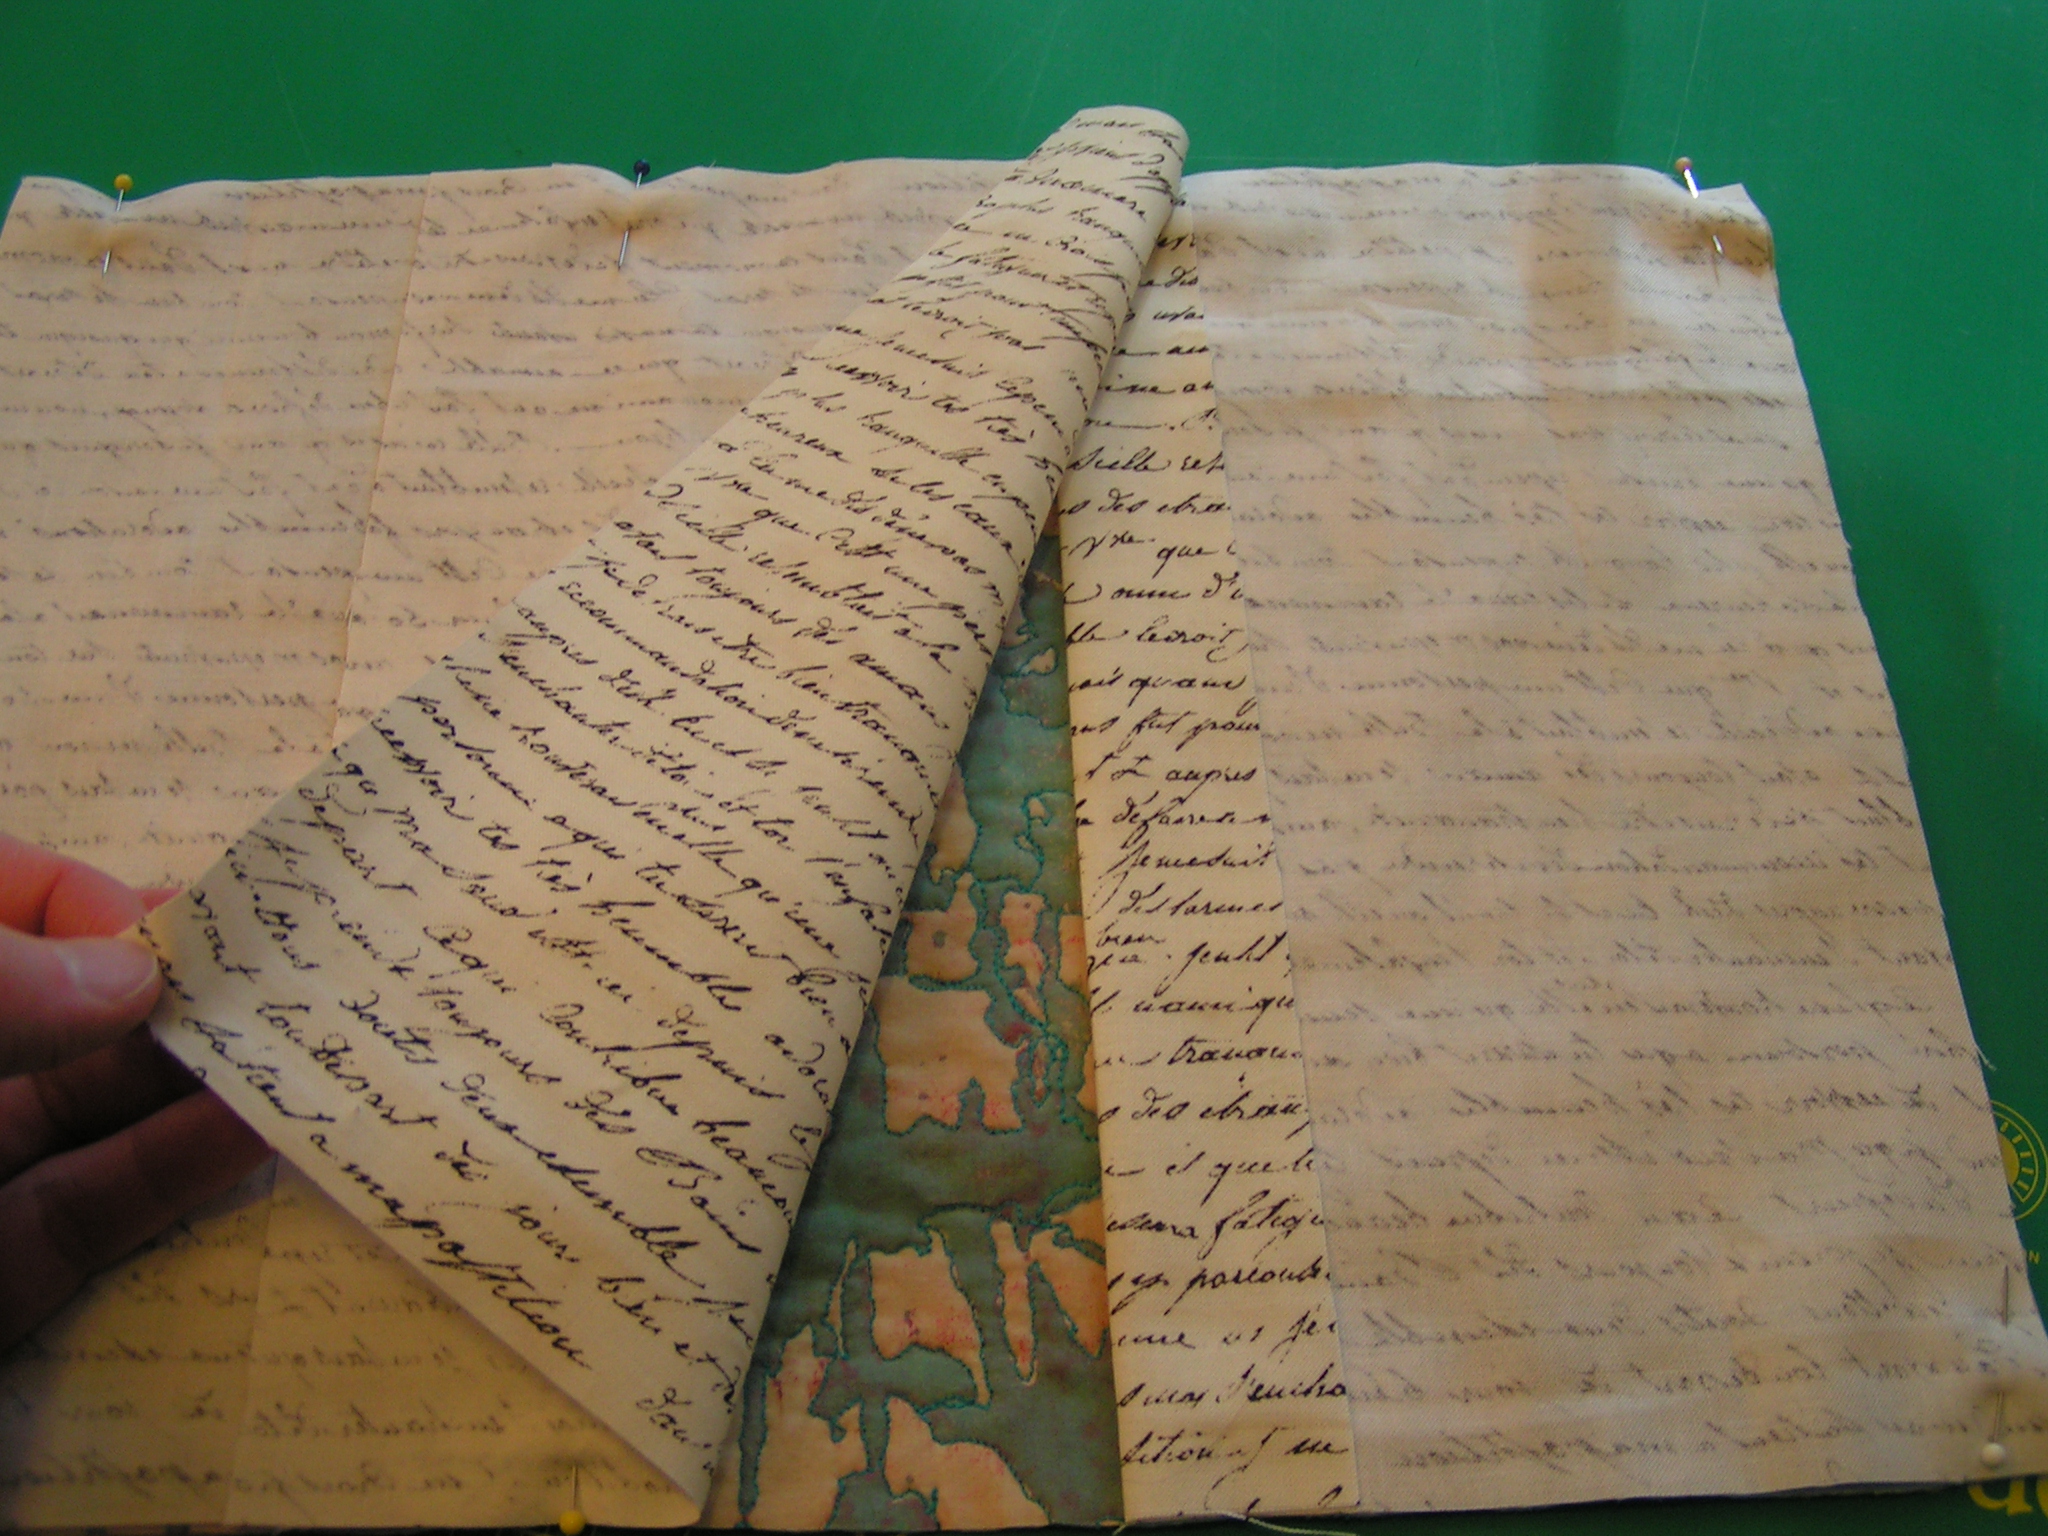
I finished up a couple of more notebook covers this week. I used another piece of my soy wax batik fabric which was big enough to make two covers. I quilted the fabric and then stitched the cover together with more of the “hand written” fabric for the inside.

Here’s one of the covers.

And this is the second one. I decided to use just white thread and not add another color.
I finally got these to fit almost exactly. The trick for me was adding 3/8″ seam allowance and stitching a 1/4″ seam.

So three down and two to go. The one that was too big and the one that was to small, don’t count 🙂
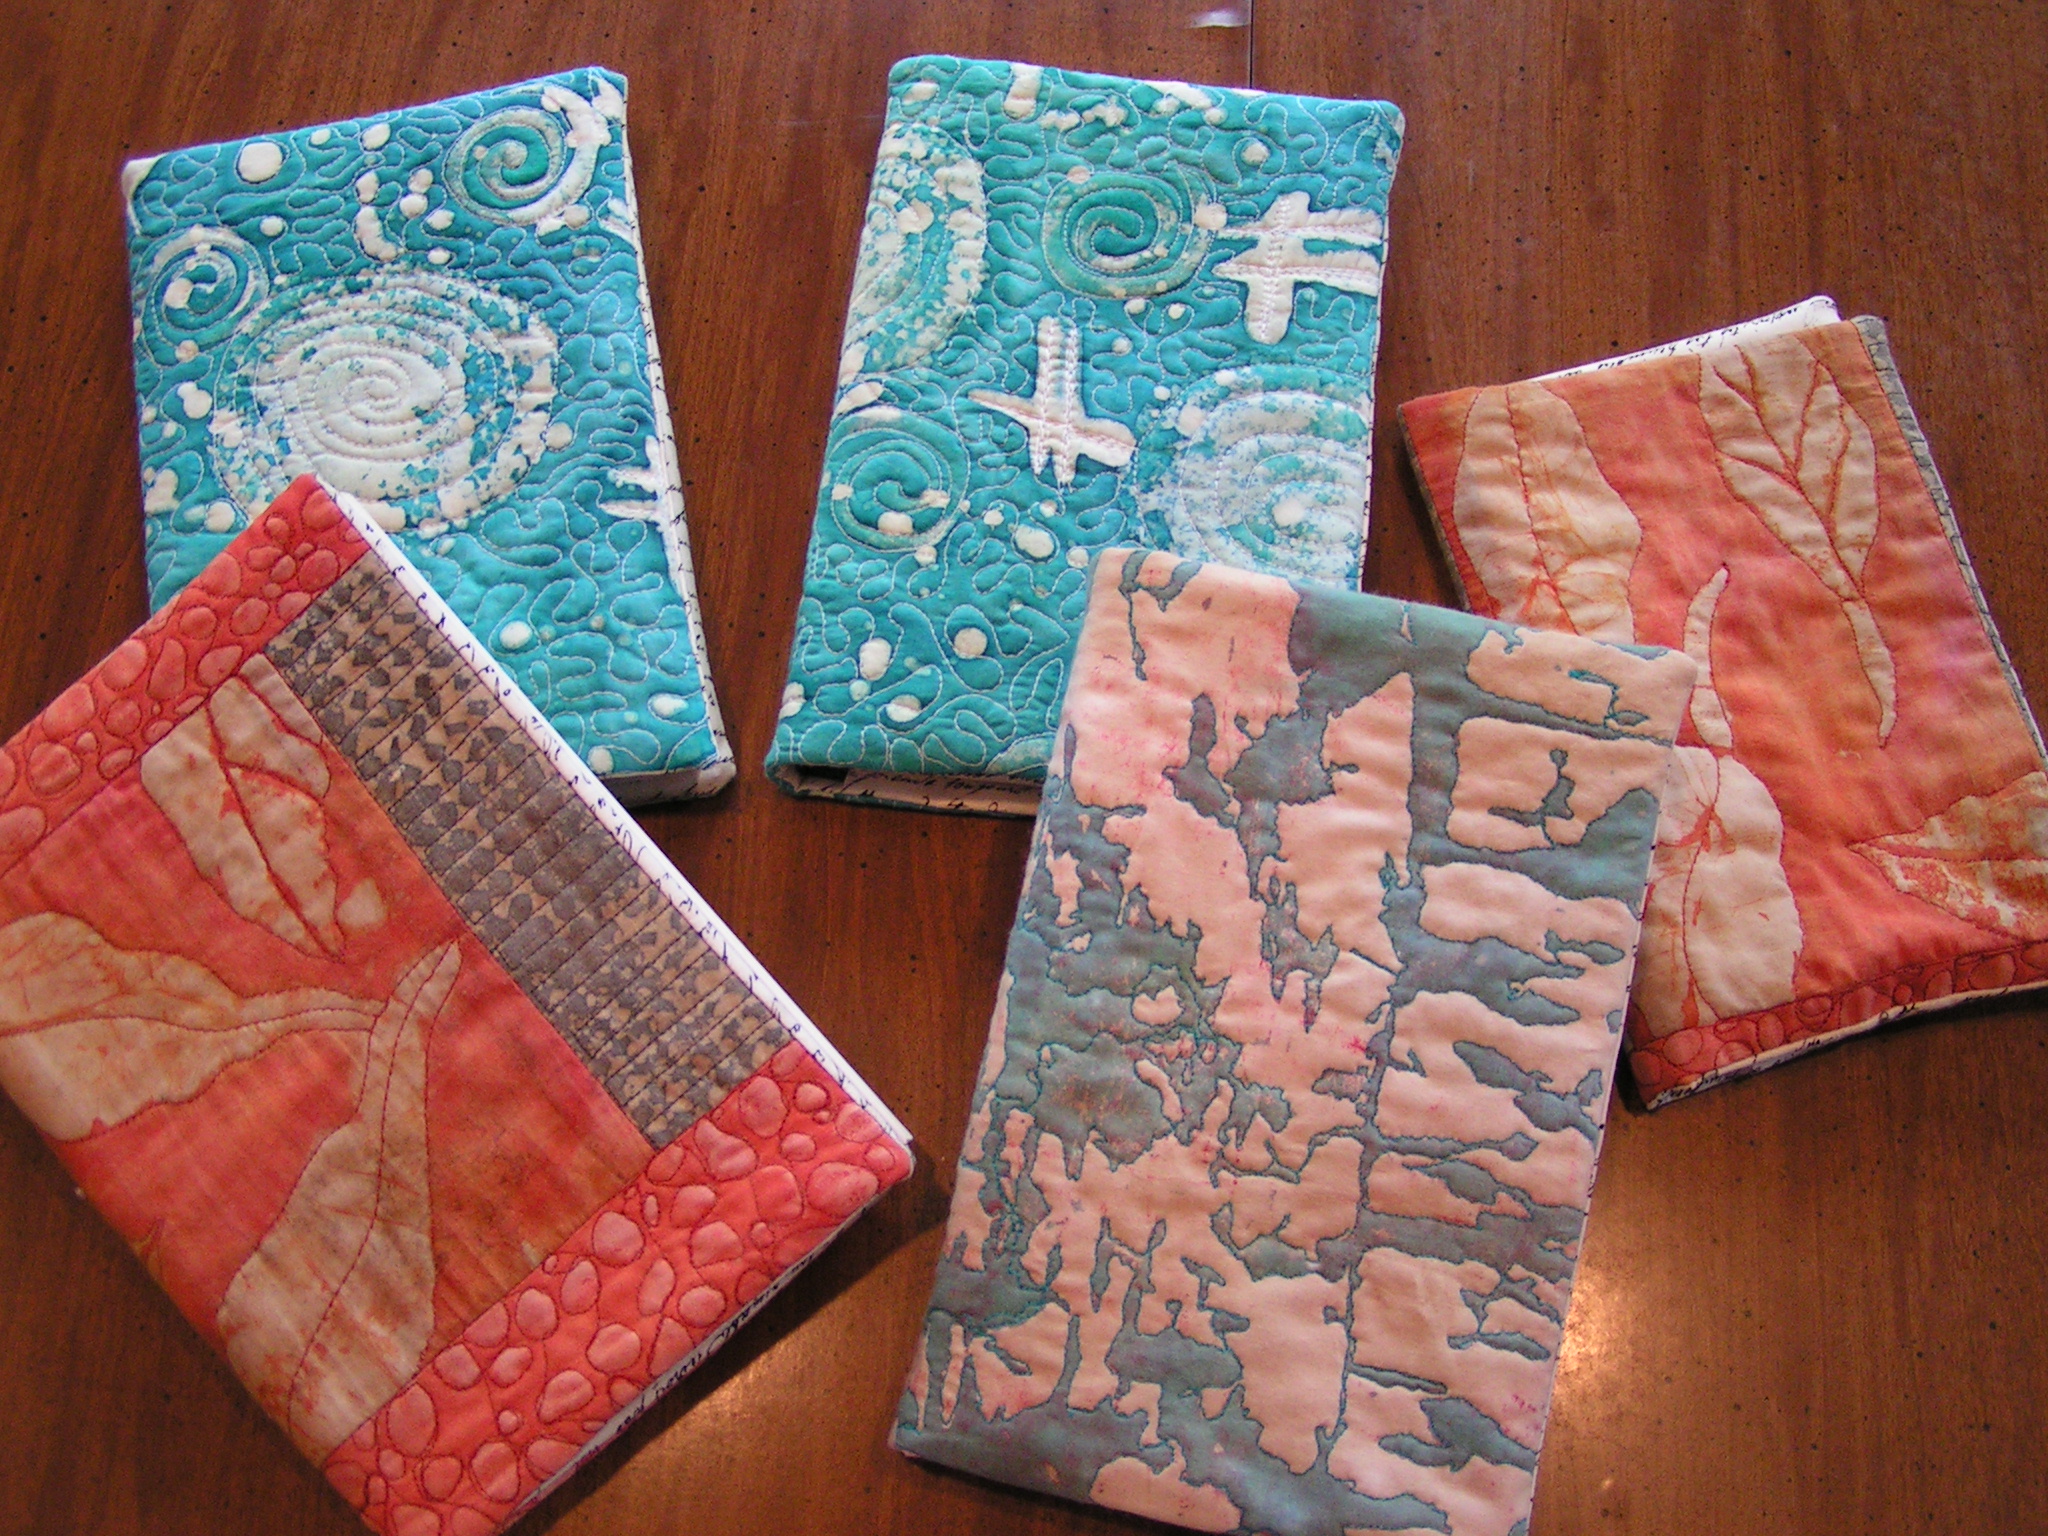
And here they are all together. I hope that they sell well because they are pretty simple to put together and I have a lot more fabric to use up. If you want to hear about our break down screen printing session, check out my post over at The Felting and Fiber Studio tomorrow.
My local group is planning another session of screen printing. We had such a good time and successful day last time that we decided to repeat the process.
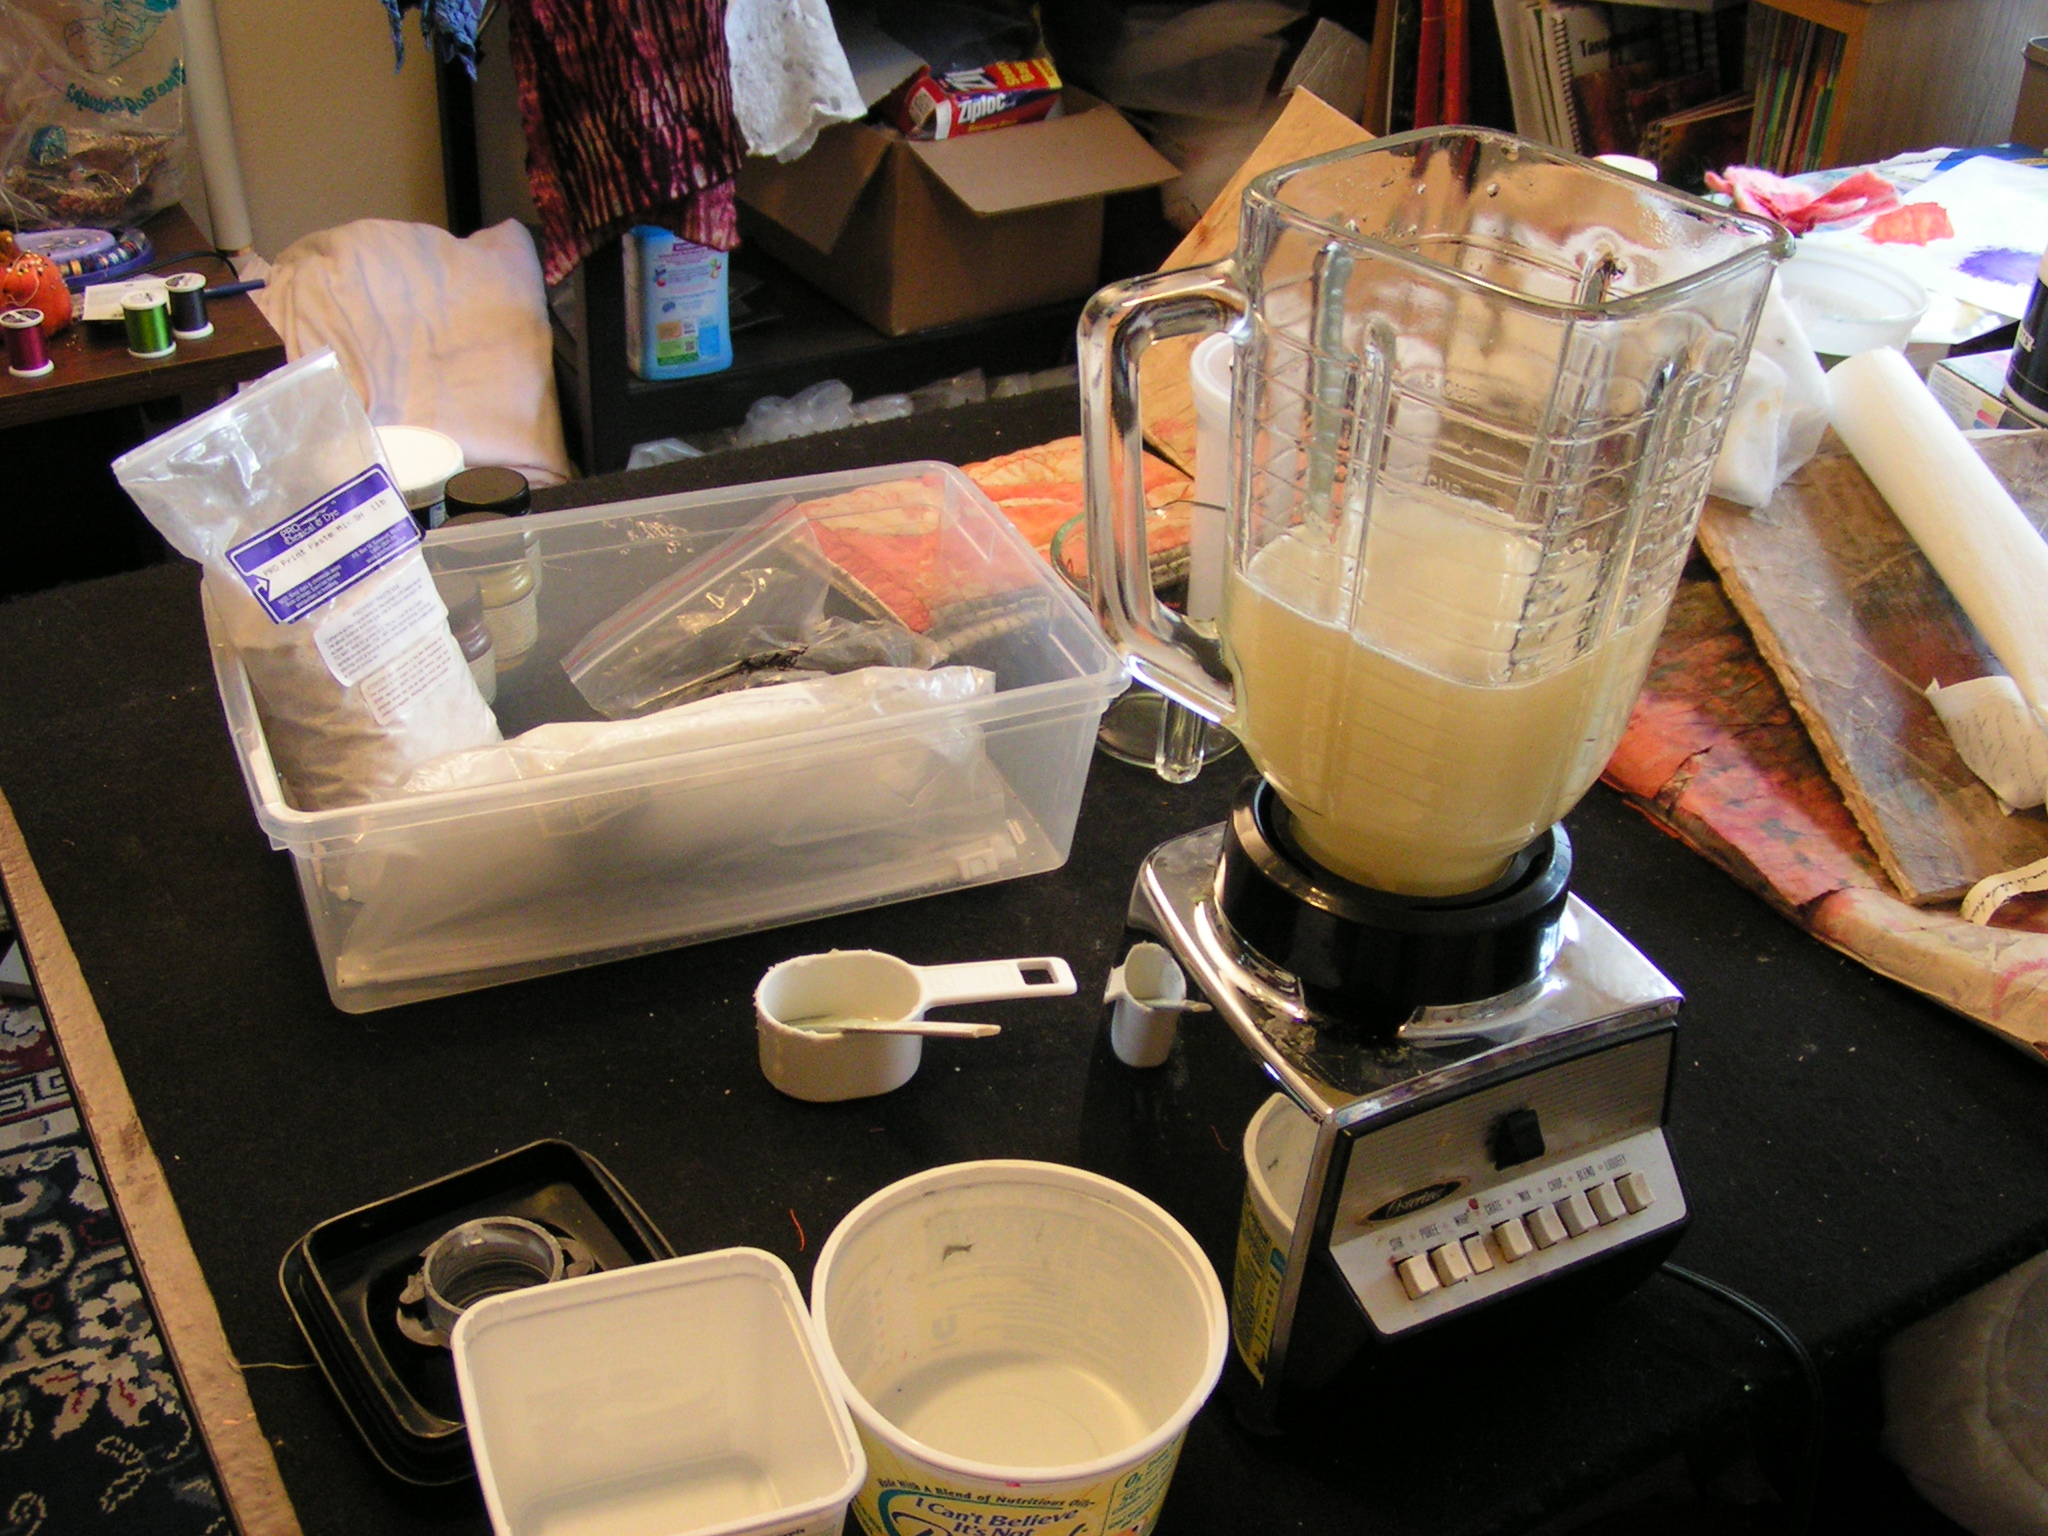
So I mixed up some print paste. You can buy it ready to go without having to mix any extra chemicals. You just add water and whir it up in the blender. I use this blender just in the studio.

This is the print paste I used. I only needed a little over a 1/4 cup for 2 cups of paste. We made tons of prints last time with 2 cups of paste. We can always make more if we need it.
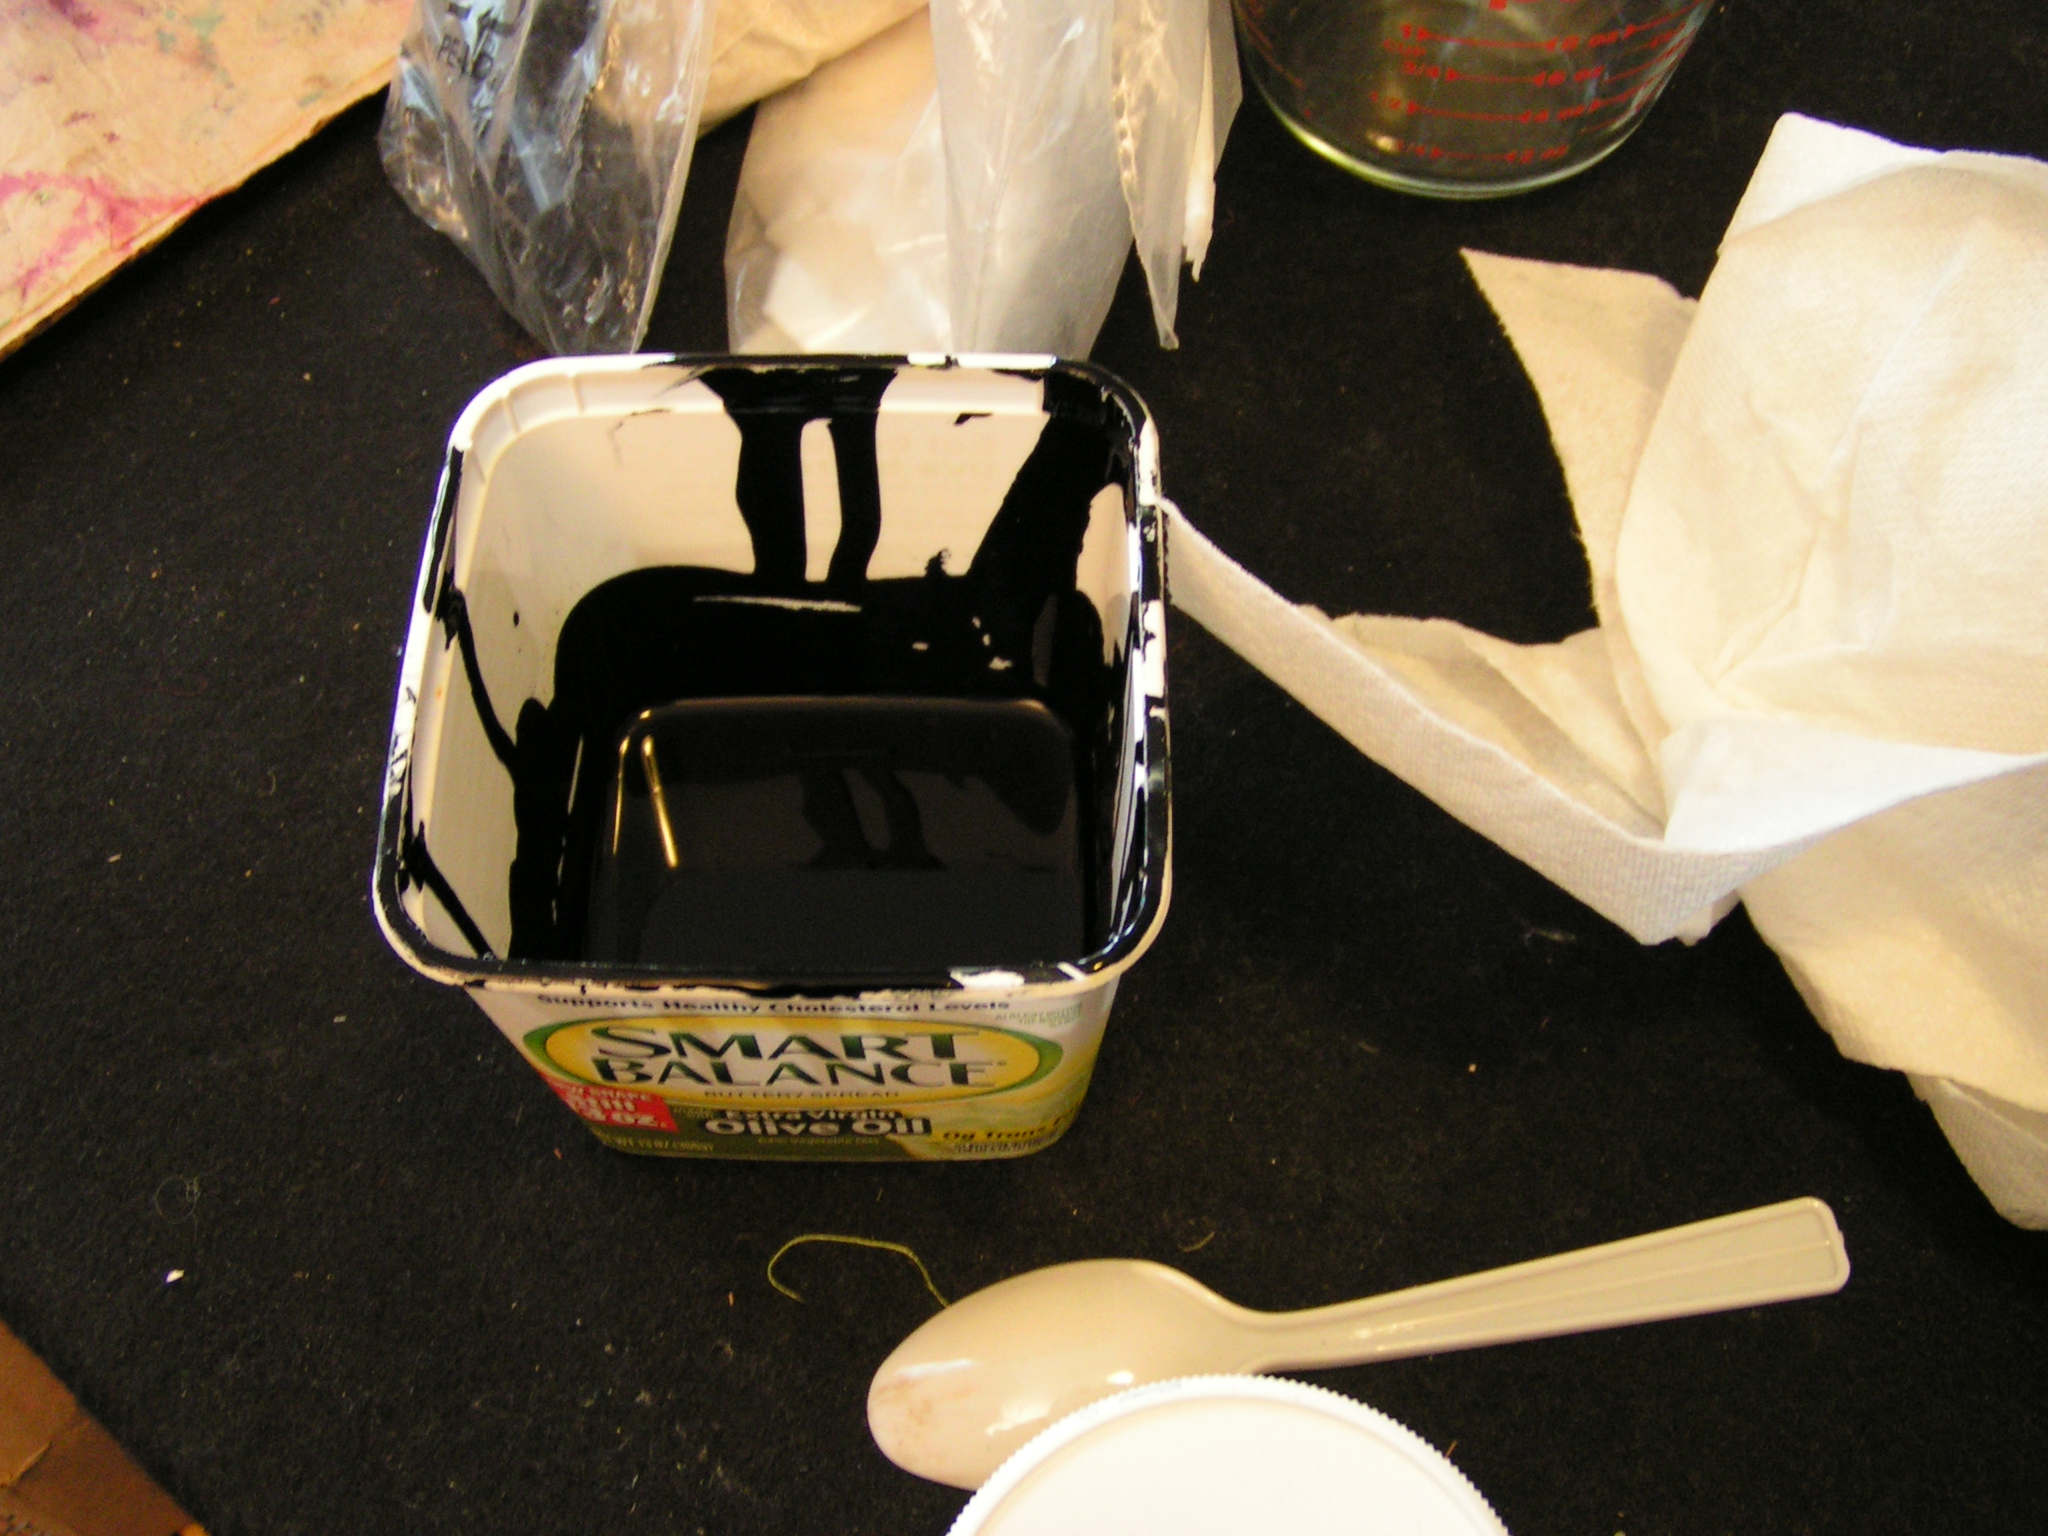
Then I added dye powder to a very small amount of print paste. This is the black one and I also mixed a green. We’ll add more colors later when we screen through the readied screens.
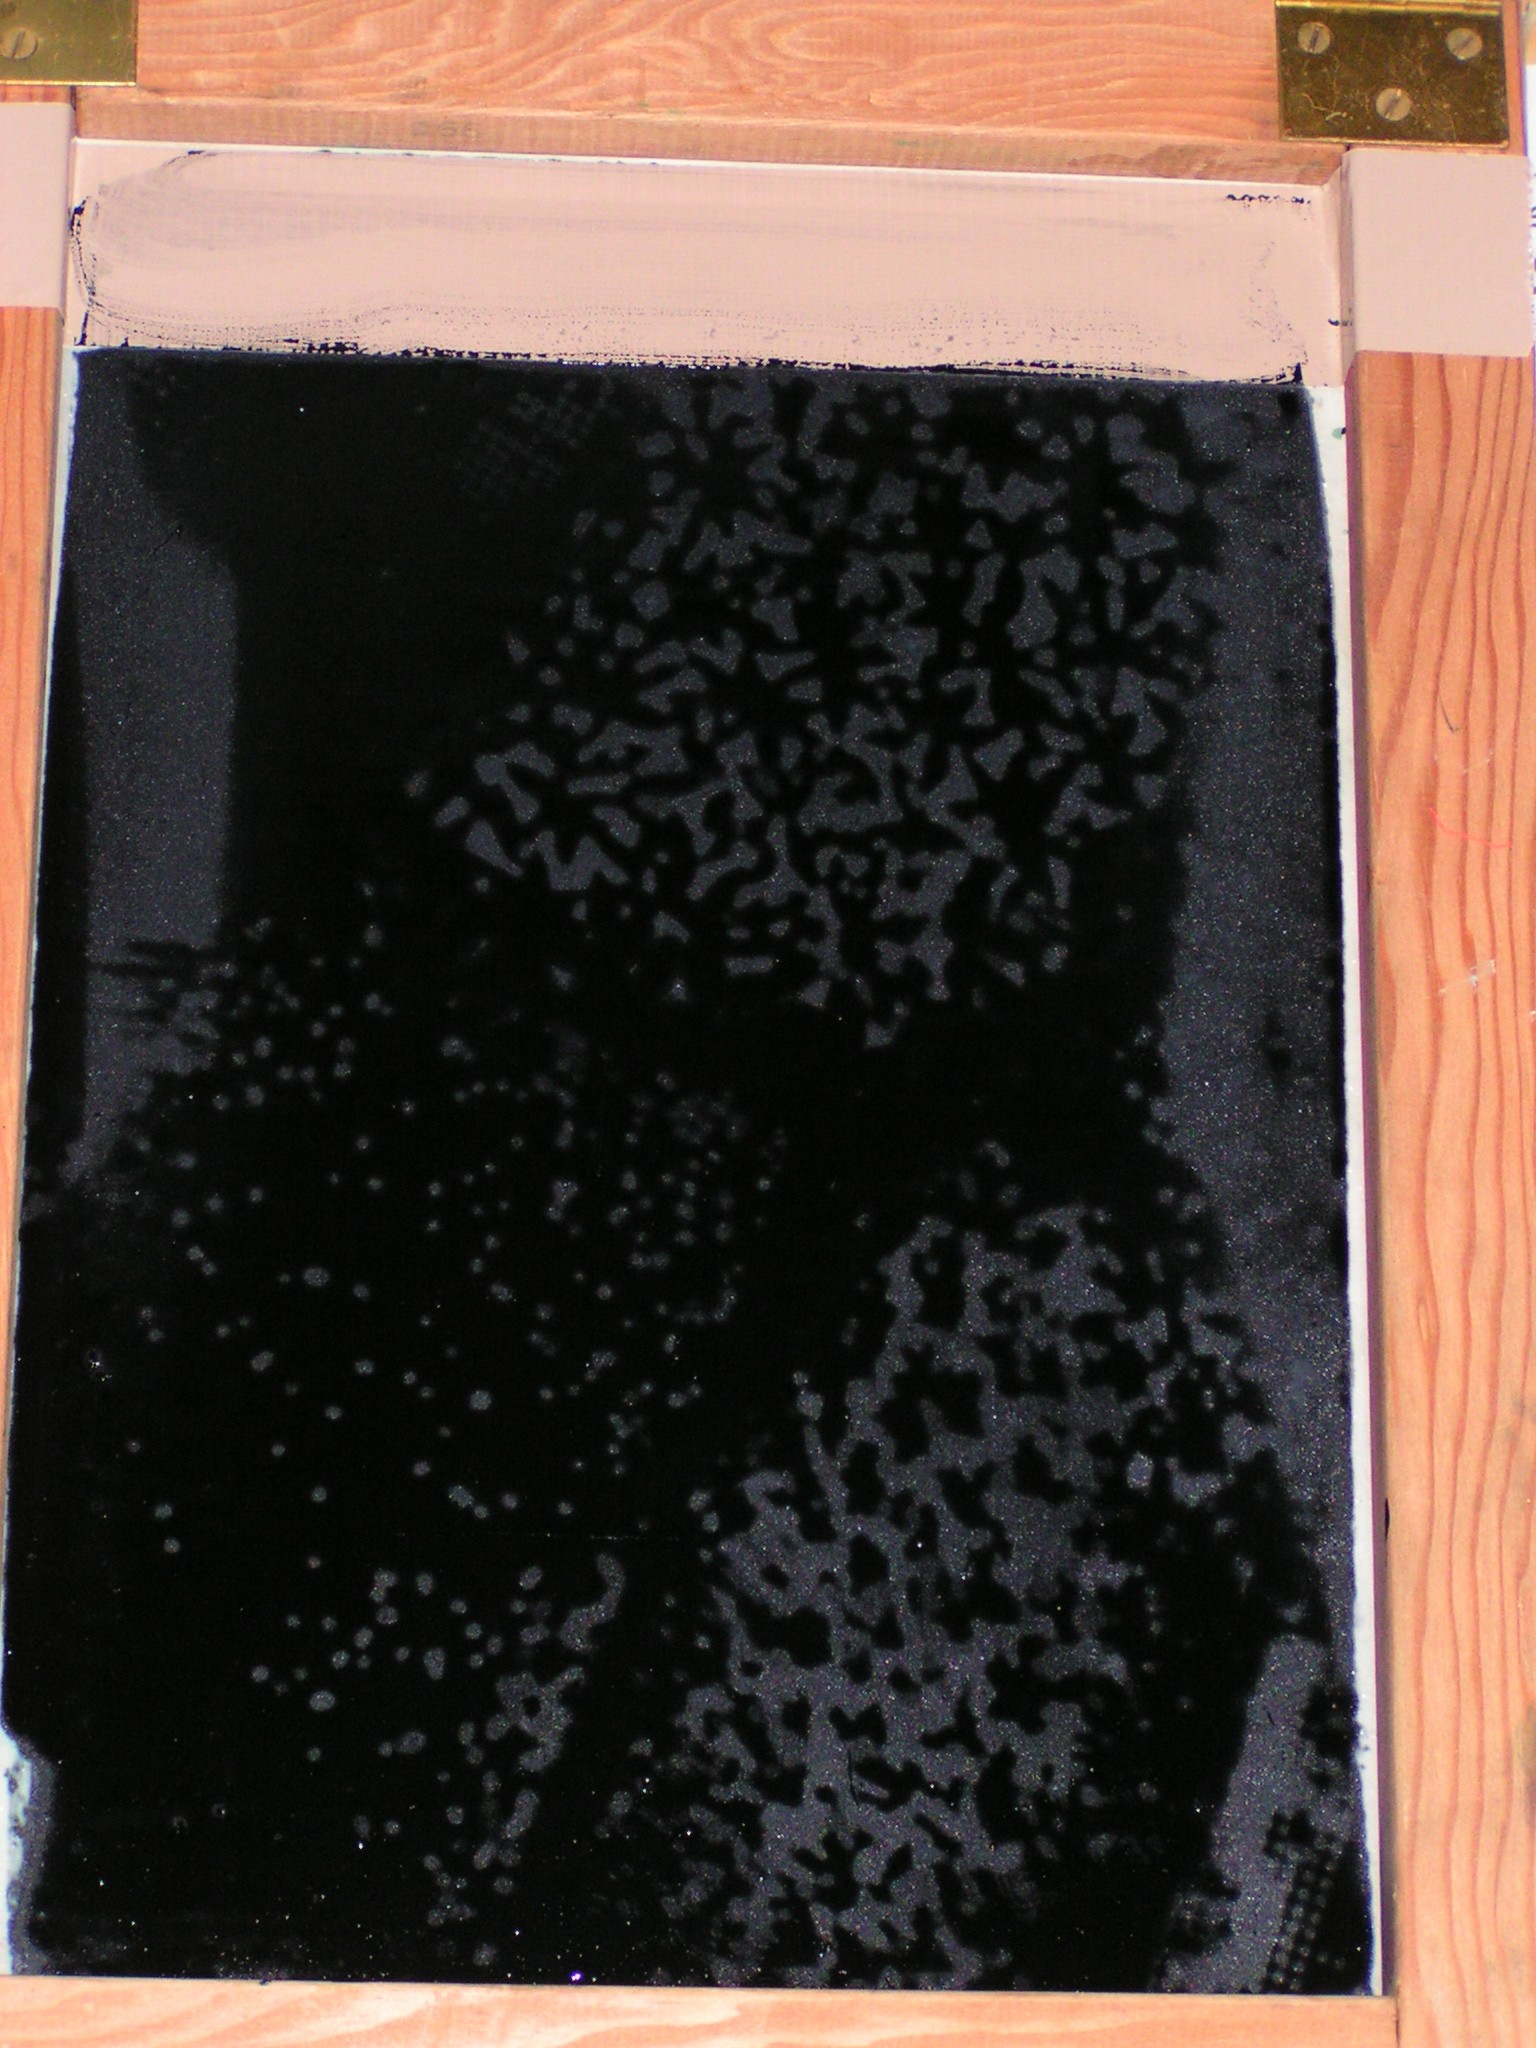
If you enlarge the photo above, you’ll be able to see that there is texture on the screen. I put commercial texture plates under there. Then I screened the black thickened dye over the screen and let it dry.

You can see the texture on this one better. It has a variety of stuff under there.
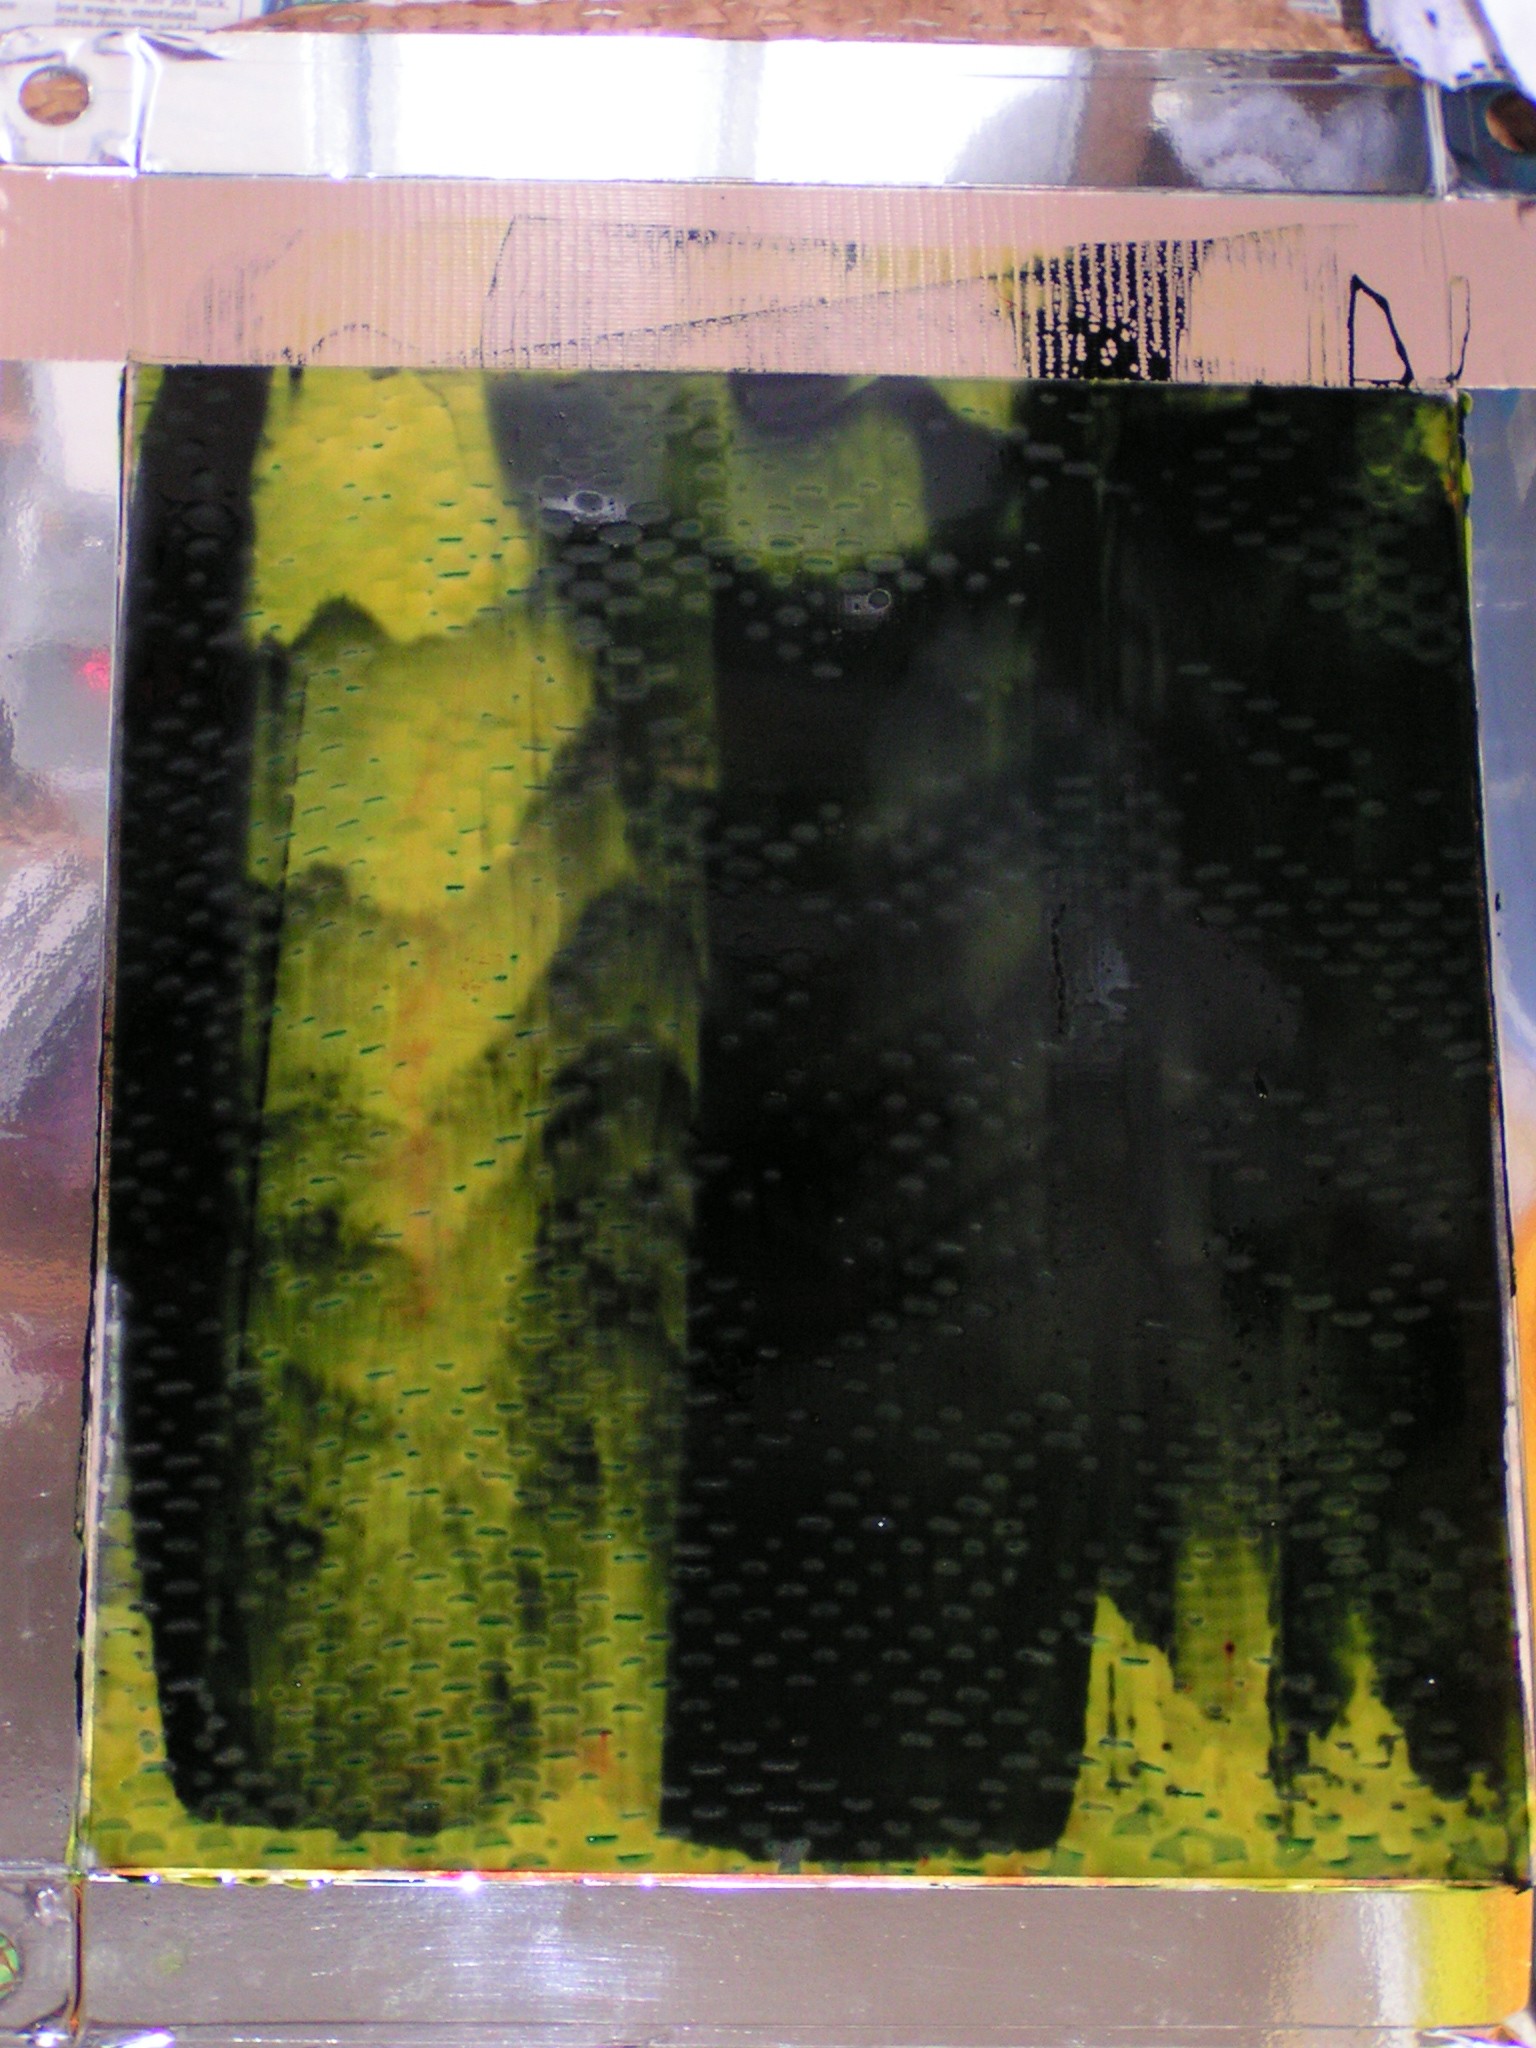
I did a mix of green and black on this one and it has a textured paper underneath.

This one has bubble wrap underneath. Next week, we’ll use these dried screens and use either clear print paste or dyed paste and screen on to fabric. The dried dye breaks down and makes really interesting patterns as the screen “breaks down”. The look you get is very organic and I don’t know another way to get the patterns that you do with breakdown screen printing.
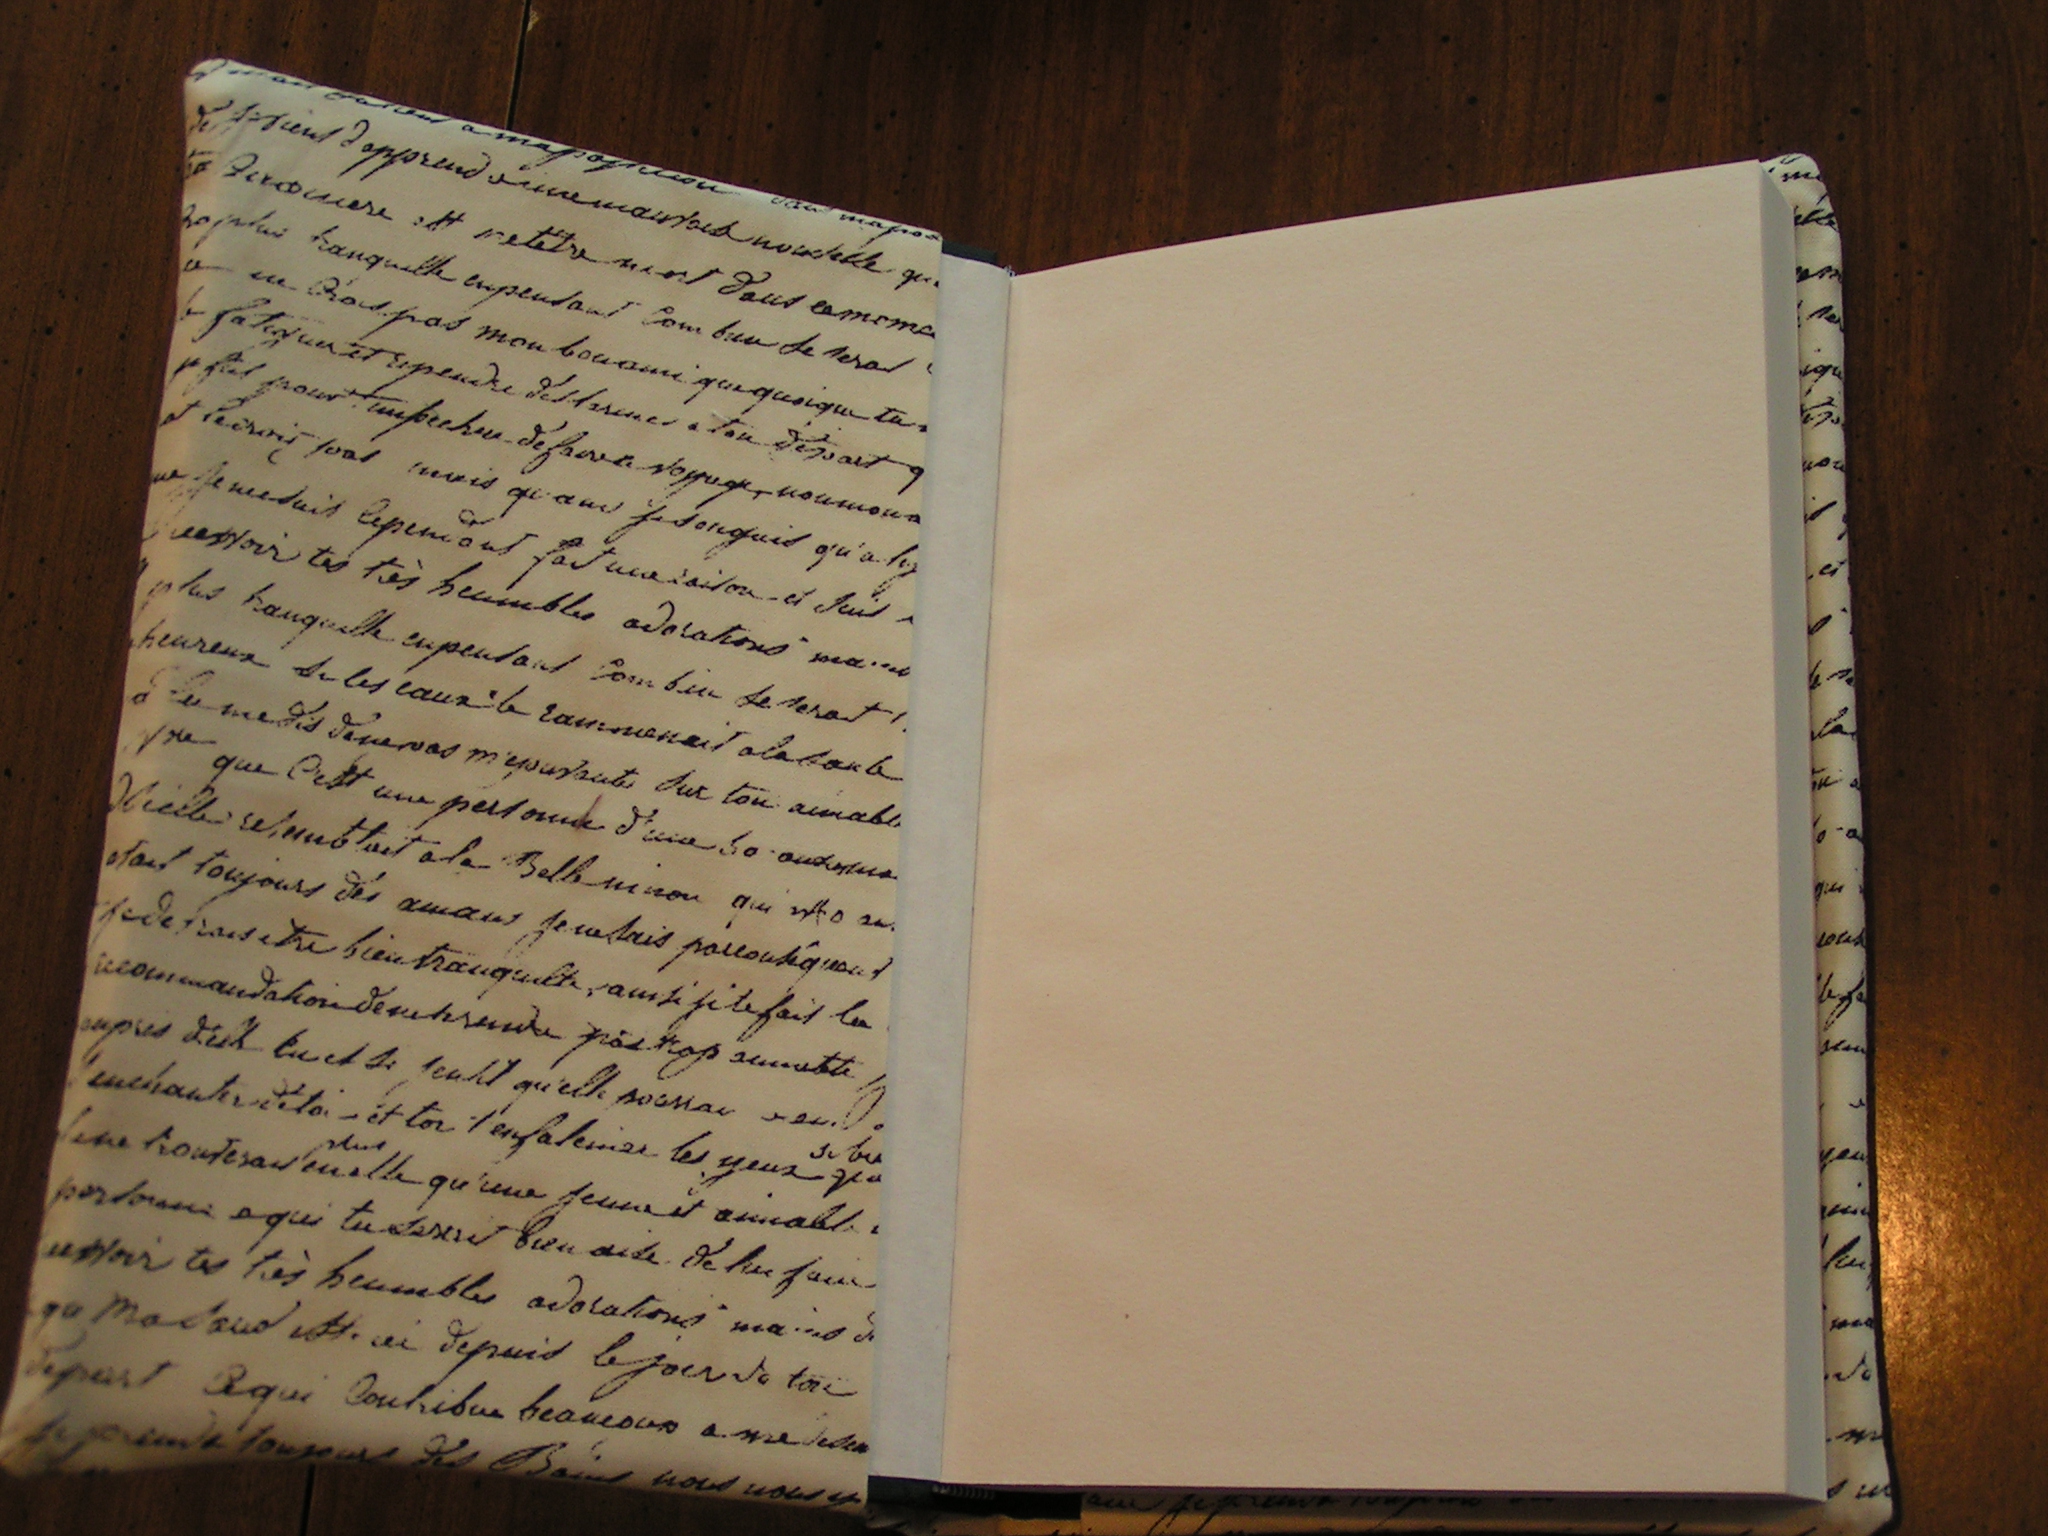
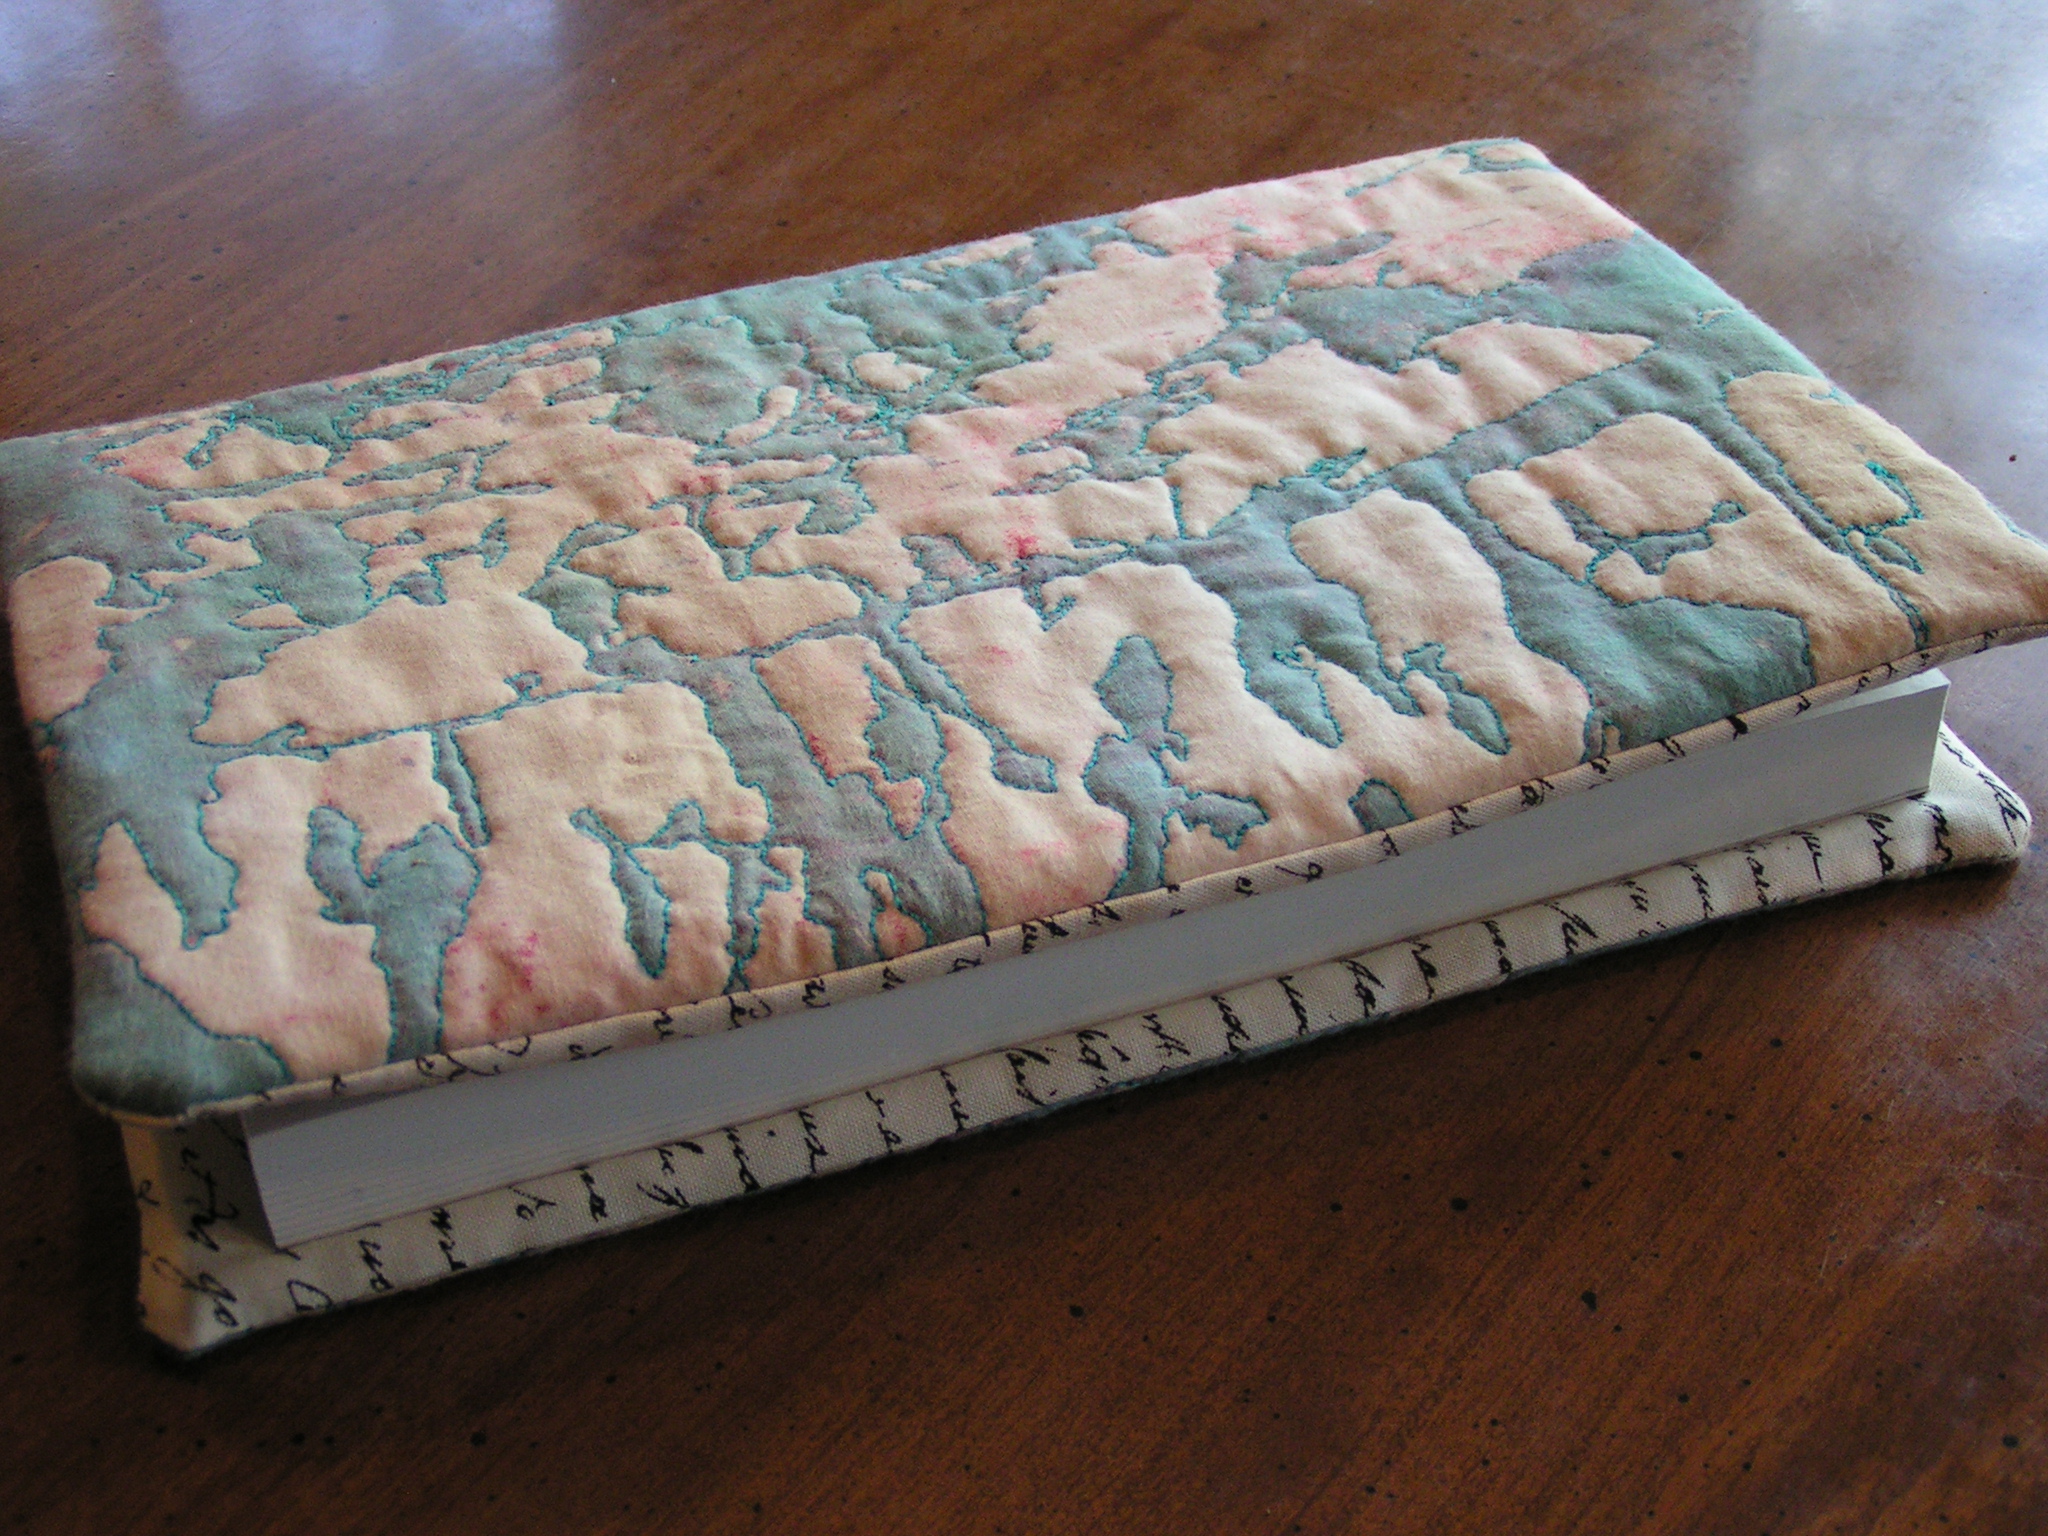
If you read my post this morning over on the Felting and Fiber Studio, you’ll recognize this book cover. This is one of my screen printed fabrics. I finished the free motion quilting.

You can see the stitching a little better from the back side. I marked the book size and added 1/2″ around the edge. I have problems with my last set of book covers as they didn’t fit correctly.
Then I put on the inside cover parts and stitched it all together, turned it right side out and voila!

It worked – it is slightly big but fits the notebooks I bought.
 Here’s the back side. It could go either way but the inside cover has writing so I put it right side up this time 🙂
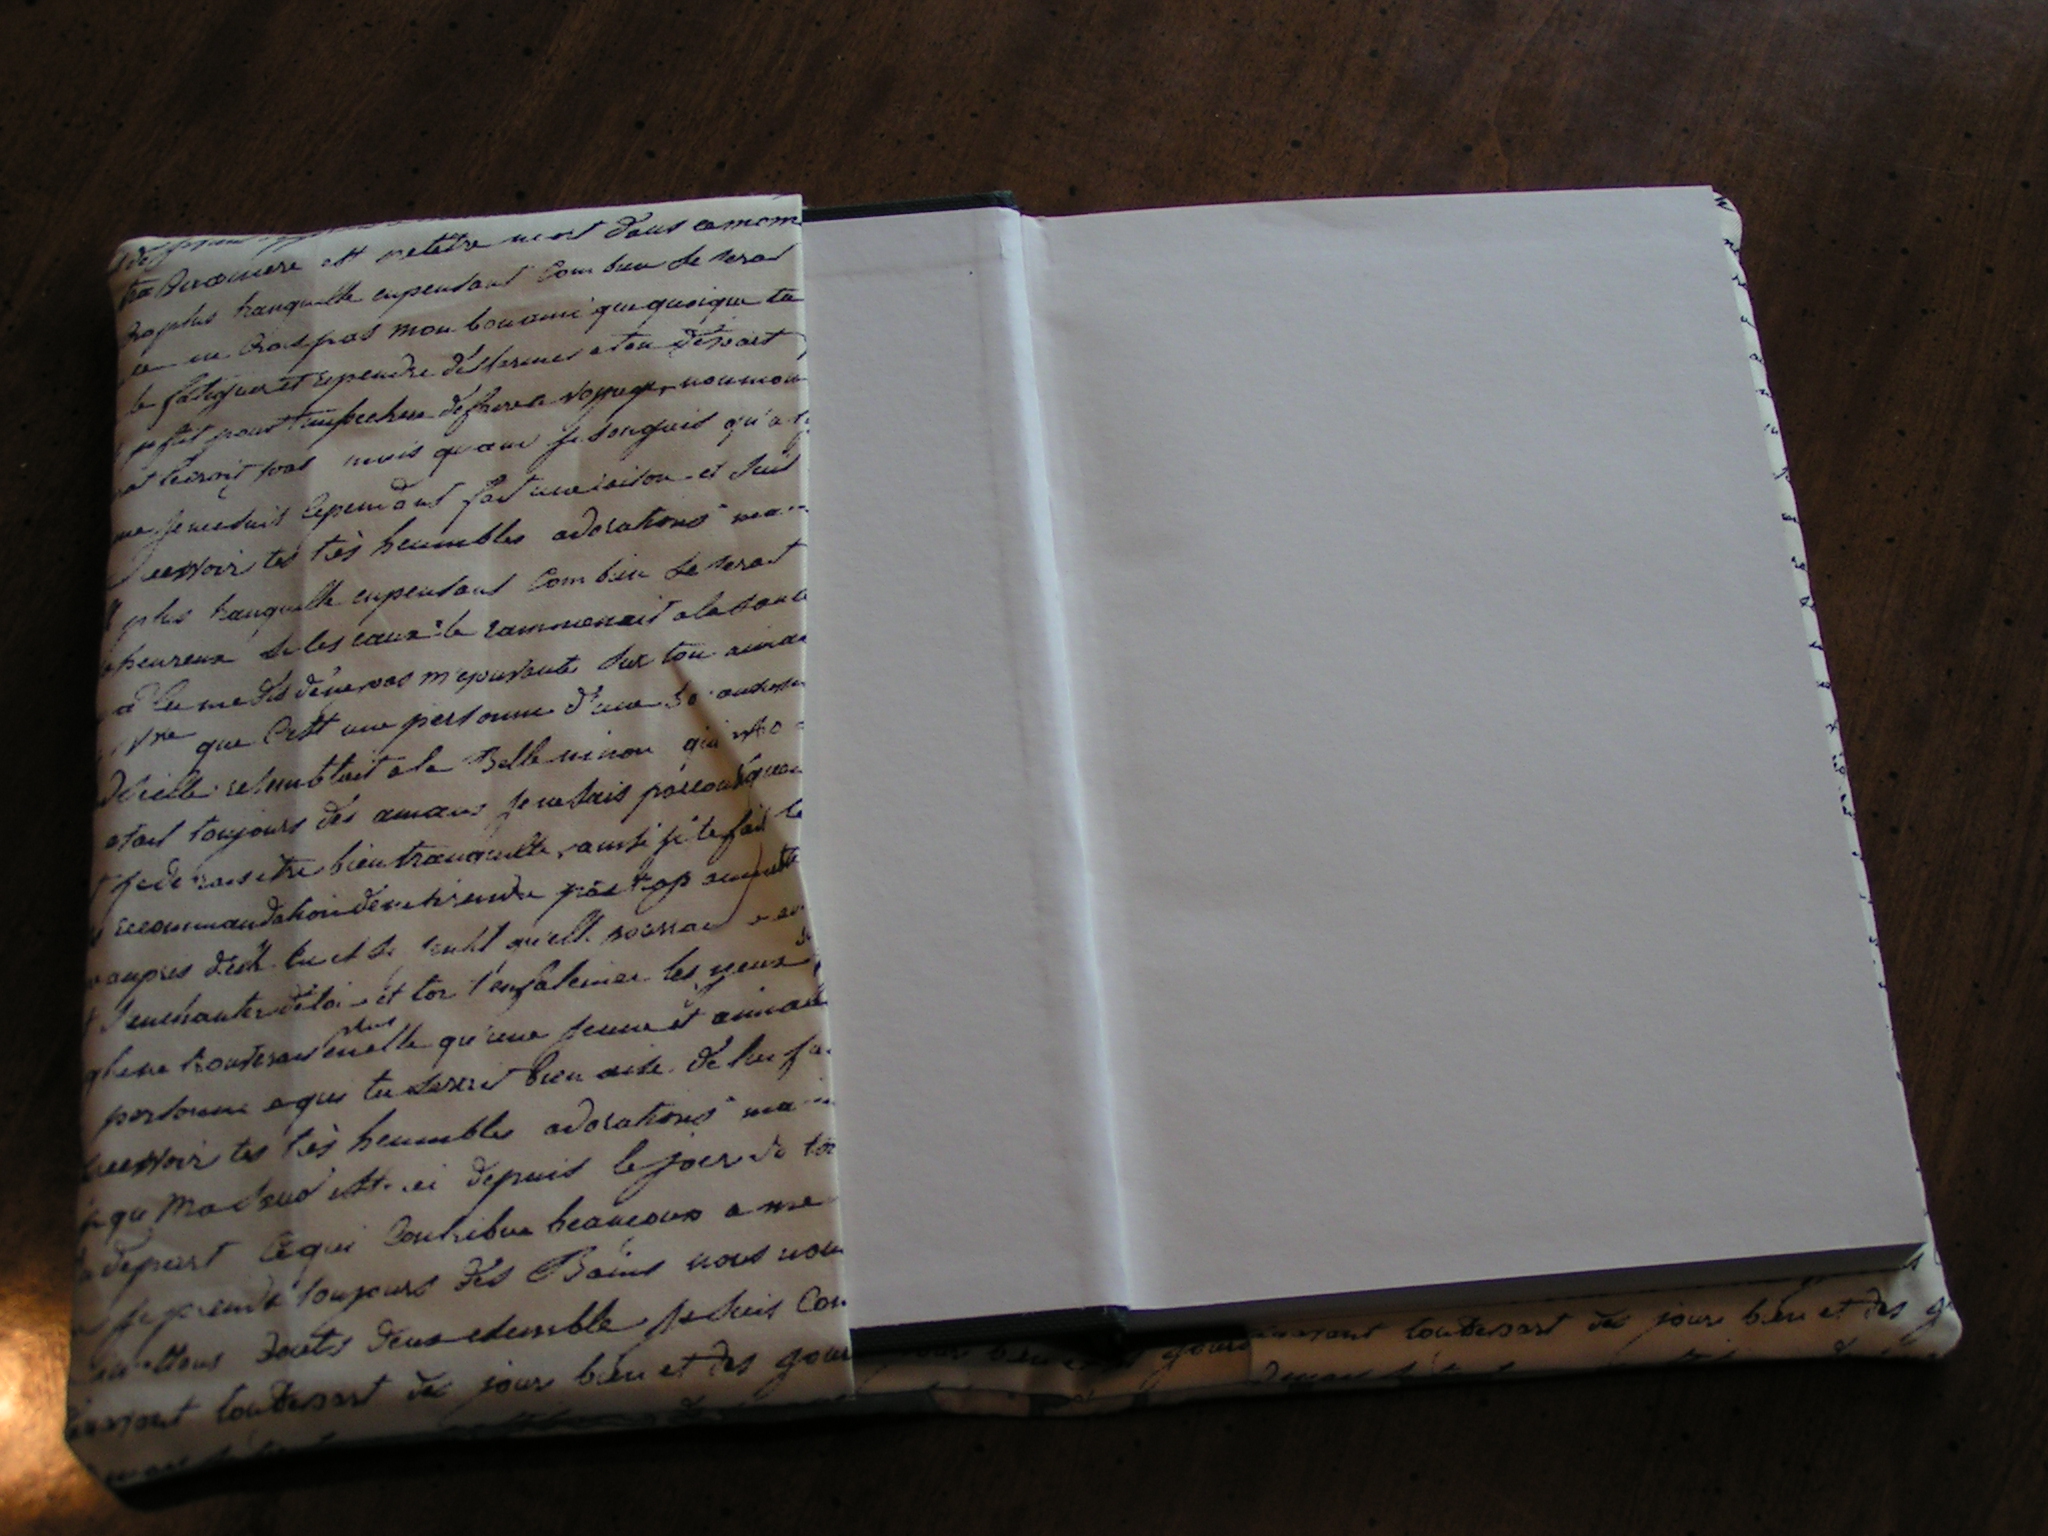
Here’s the inside view.
I’m happy it worked this time! Four more to go and then I’ll take them to the store and see if anyone wants to buy one. Hope you have a nice weekend!
My local group met today (minus two people) and had a mammoth screen printing session with the screens I had prepared last week.
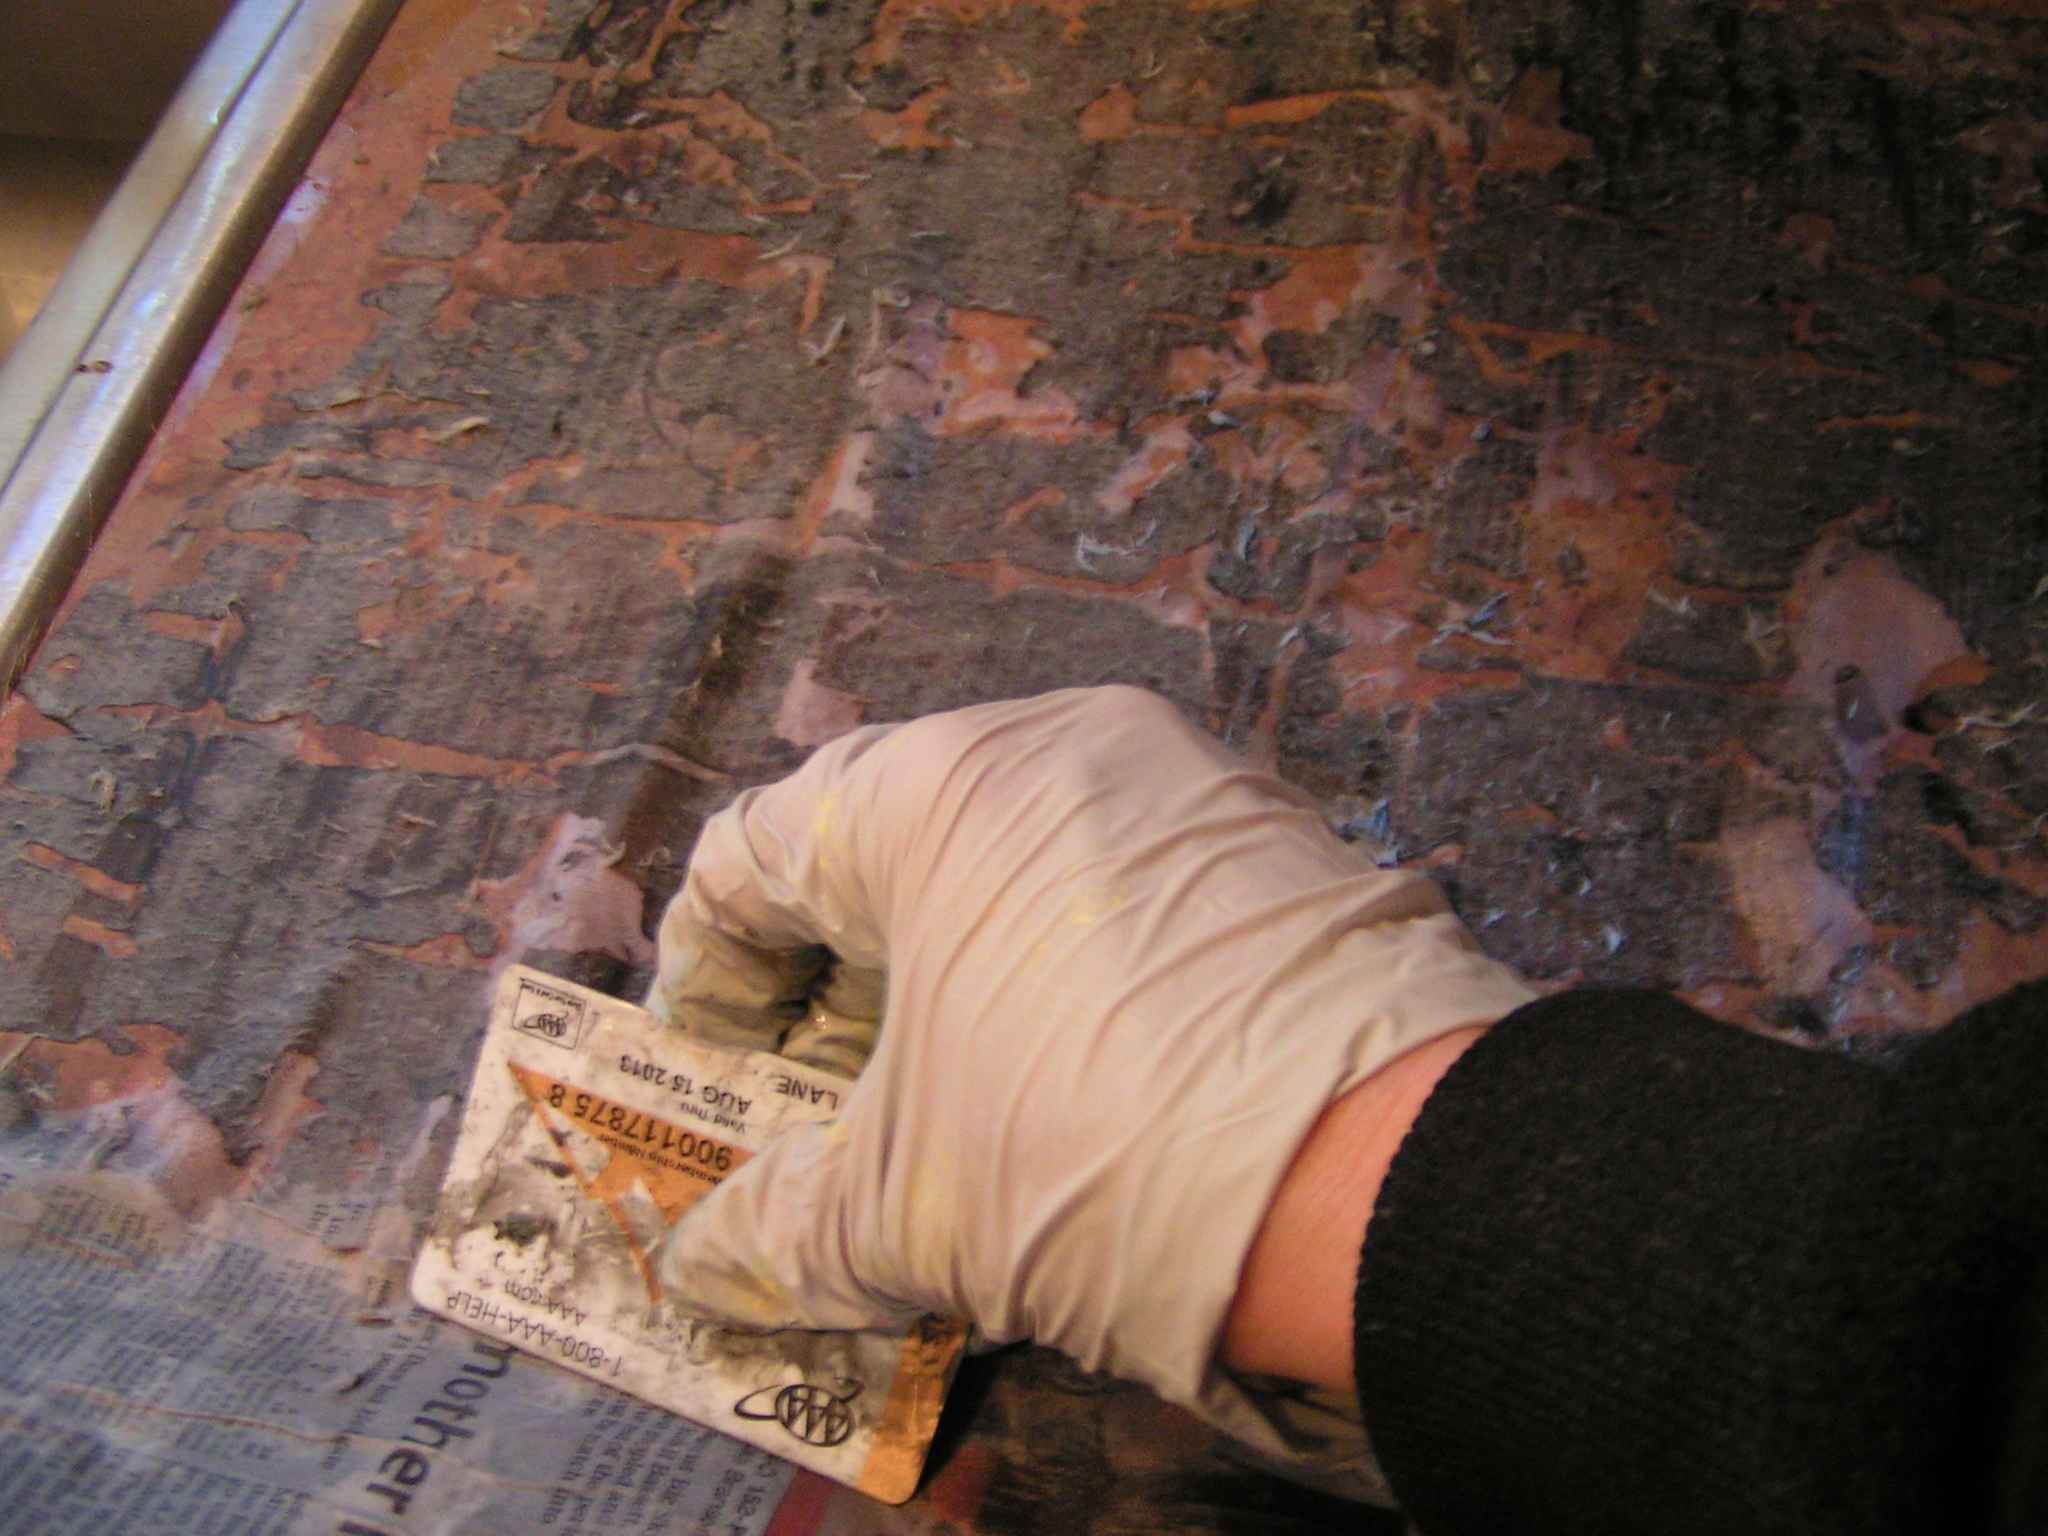 I did take a few photos of scraping the paper off the paper lamination screens. After the screen has dried, you soak it in water and then scrape all the paper off. That leaves the matte medium in the organza and you use this to screen on thickened dye.
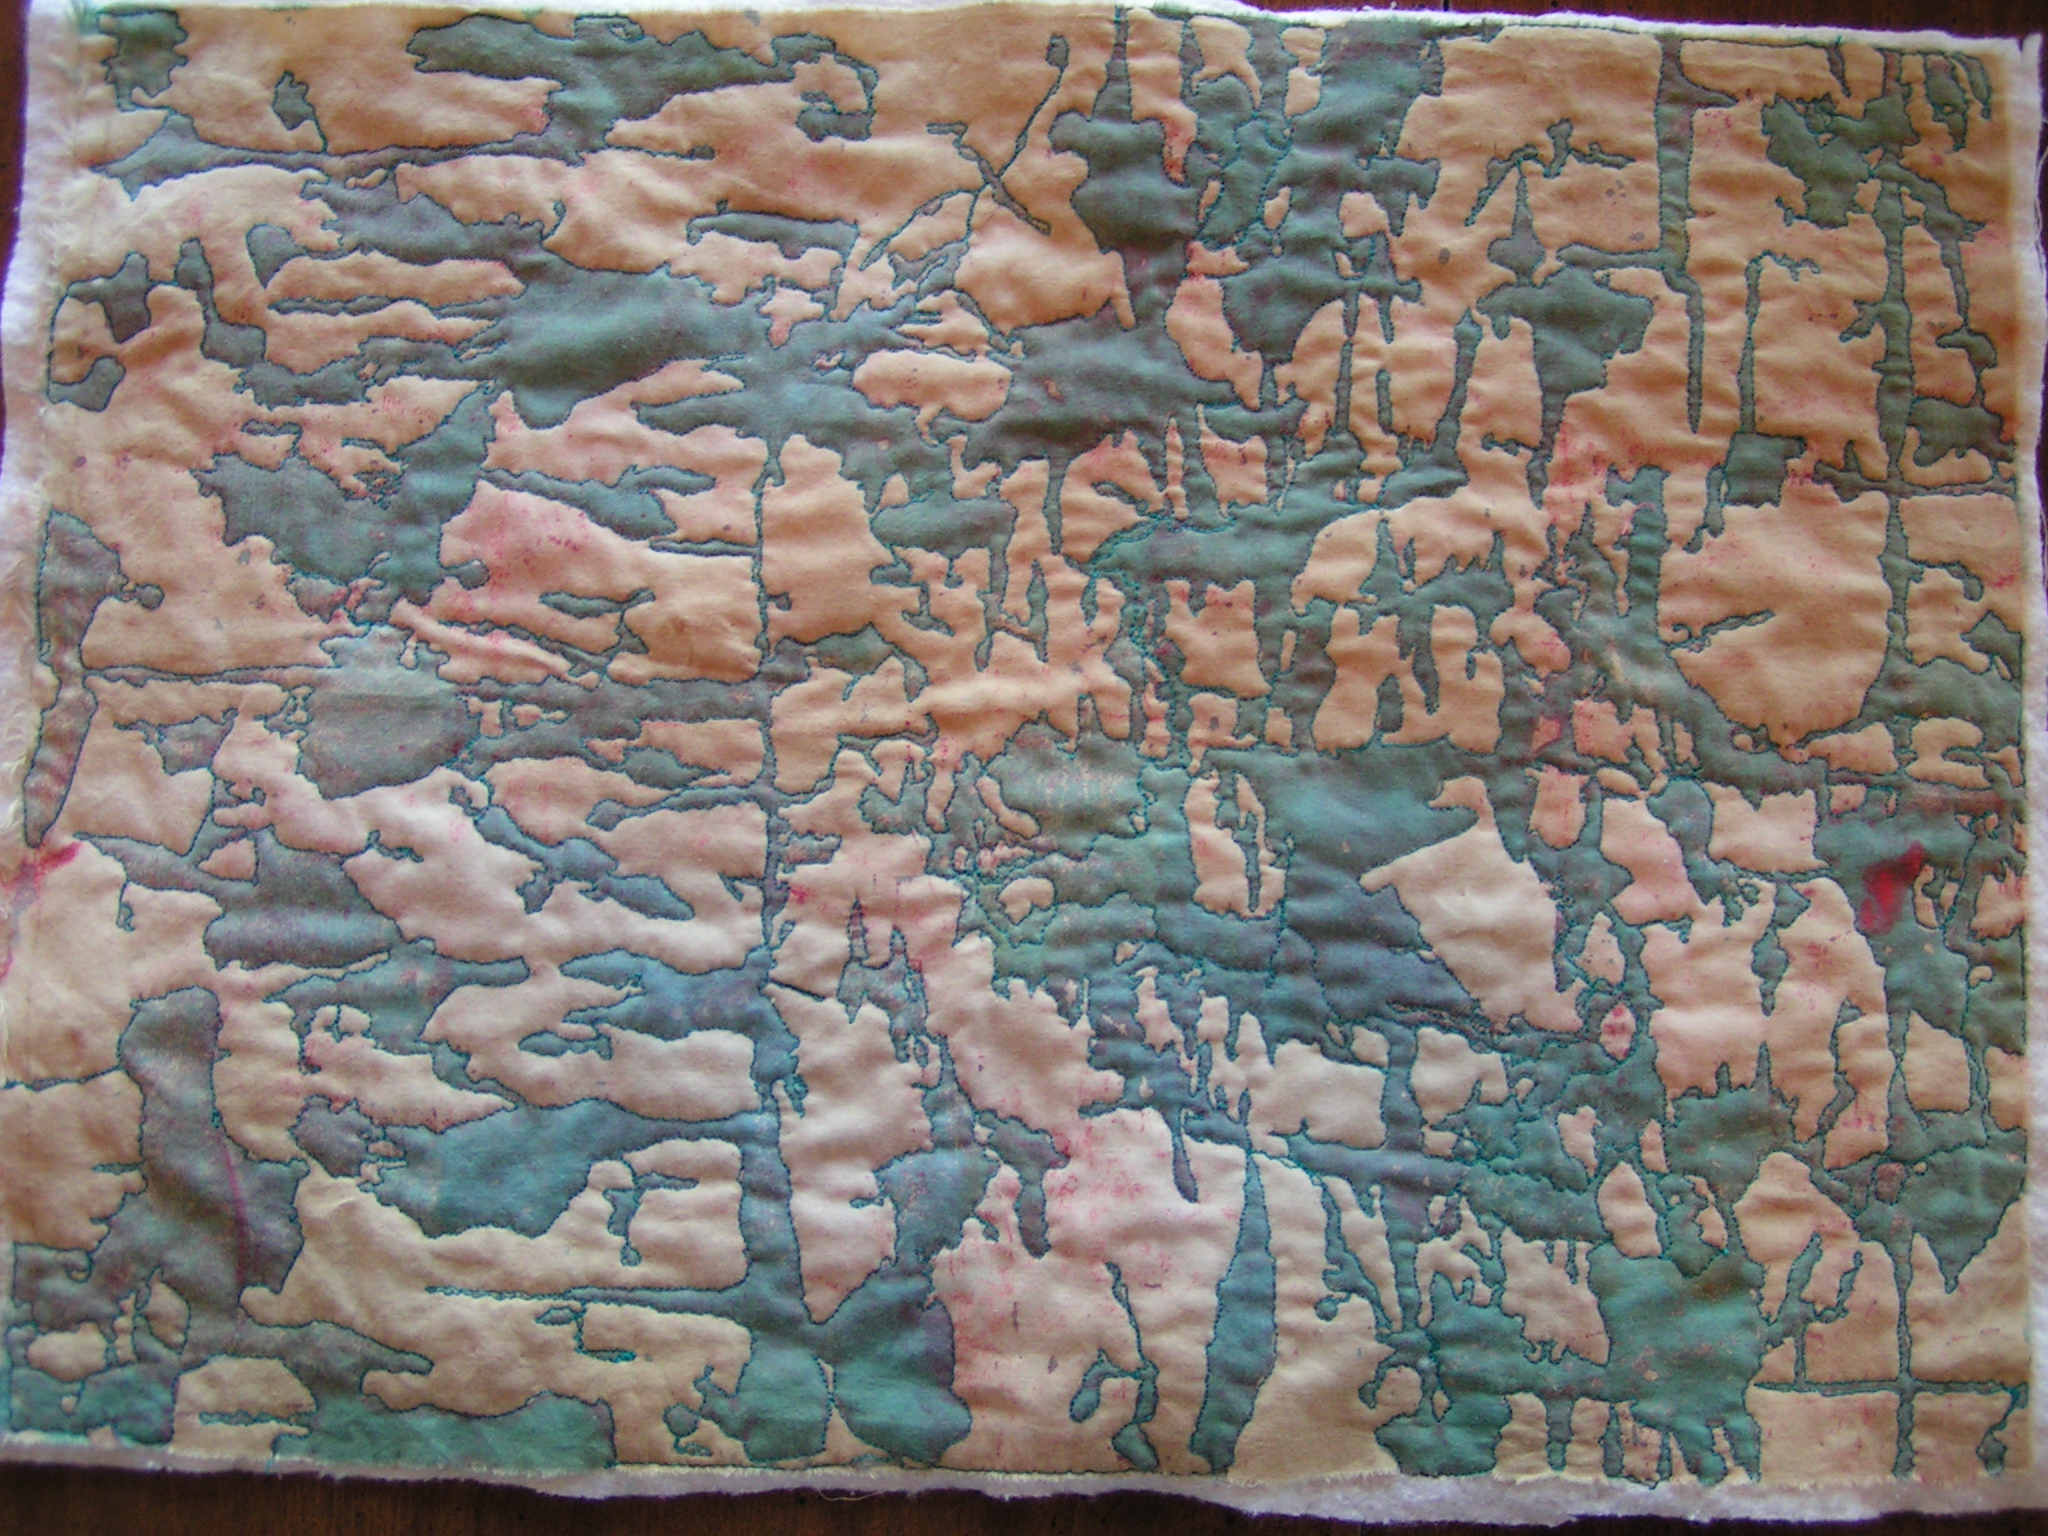
 Here is the largest paper lamination screen I made. It kind of reminds me of cracking paint on an old wall.
 I also made some masks for the deconstructed screens. I cut out the designs with a craft knife.
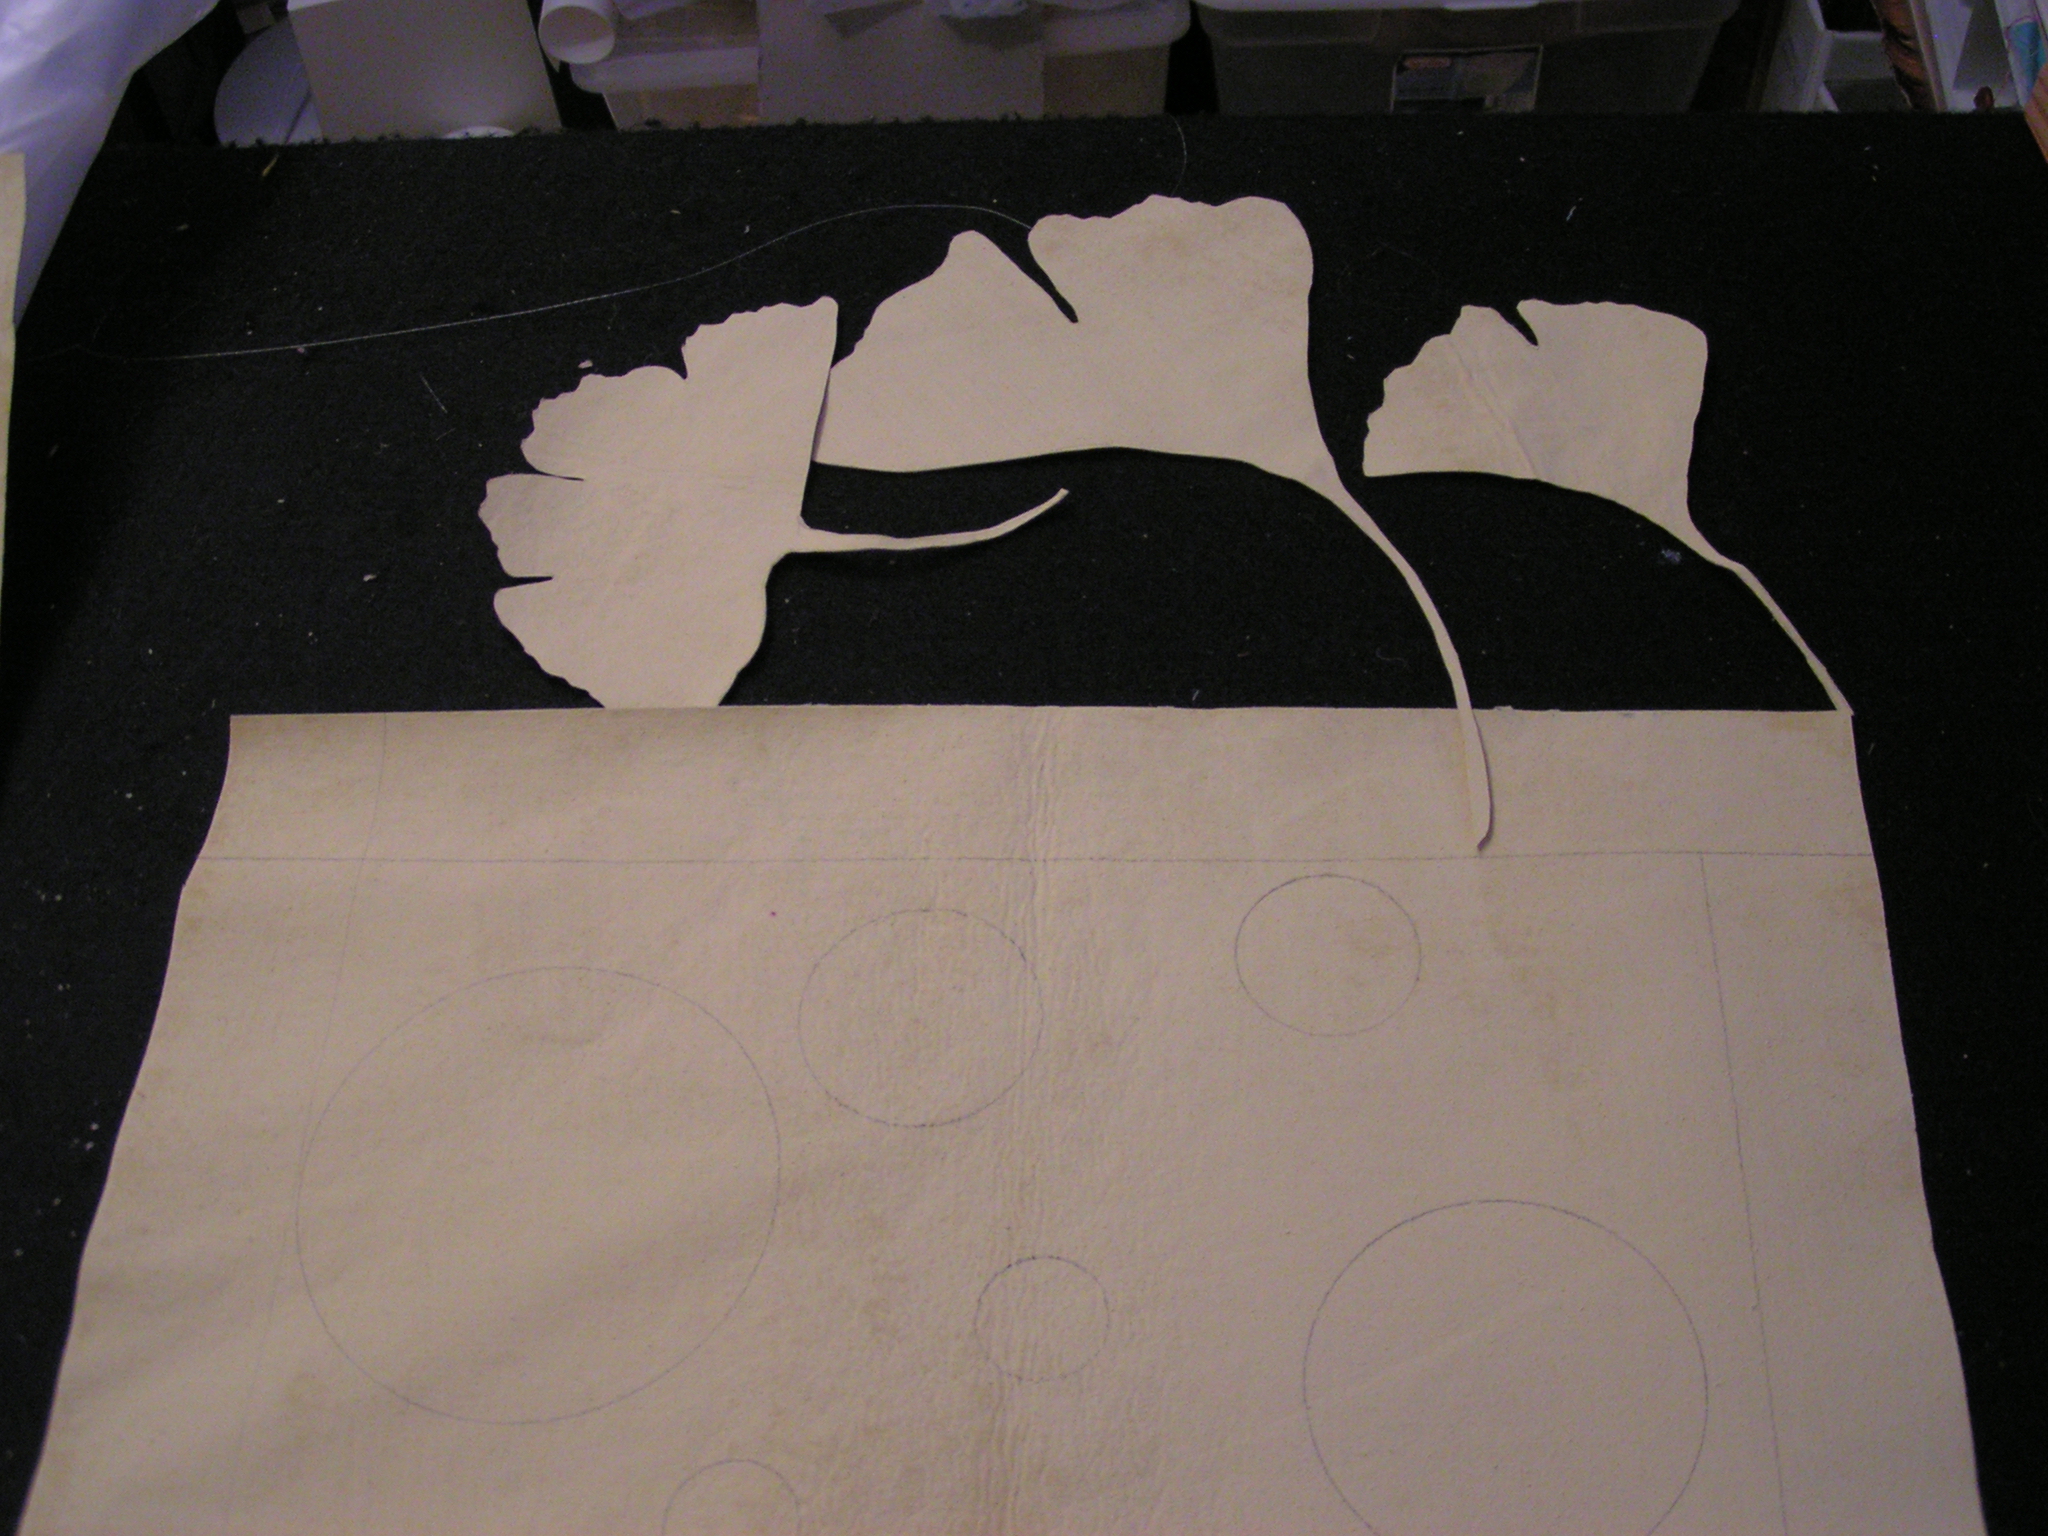 You can see the ginkgo leaf cut outs that remained after I cut out the leaf screen.
I was so busy helping to screen that I didn’t get any in process photos. This is one of the deconstructed screens printed on a silk scarf. I will try to get better photos of these when they’ve been washed. I took a bunch of photos but very few turned out well. We used thickened Procion dye. Sometimes we just used clear print paste (thickened) to break down the dye already dried in the screens and other times we used thickened dyes through the screen.
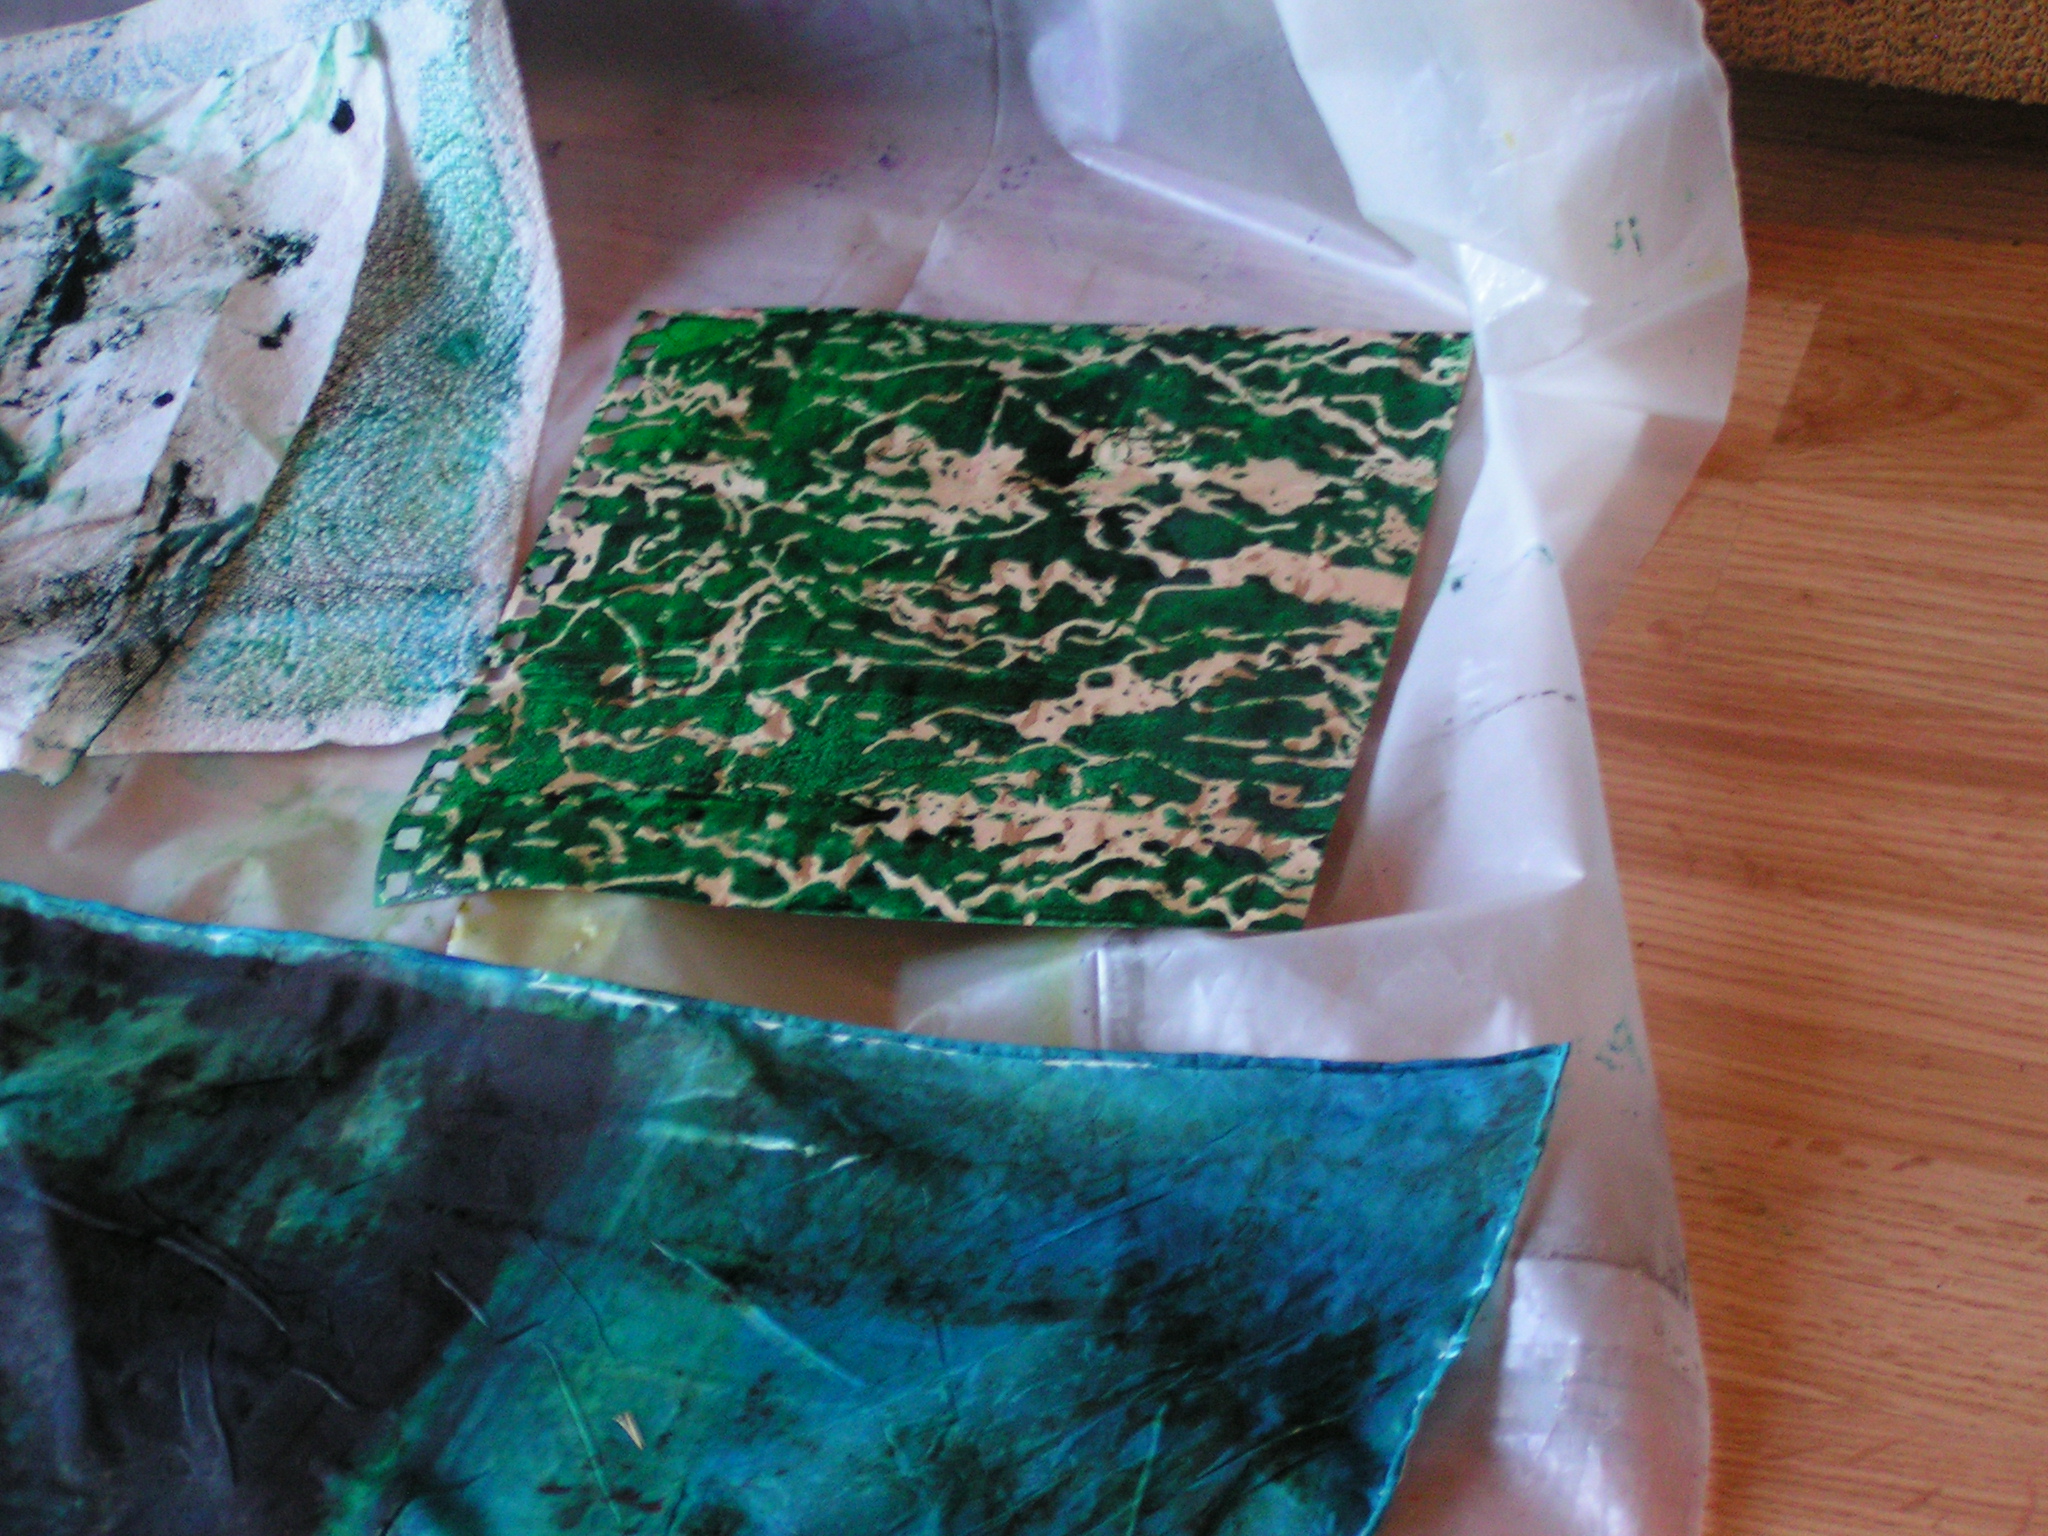 The green piece with squiggly lines was printed with the rice baby cereal screen. It gave very interesting prints.
 This was another of the deconstructed screen prints.
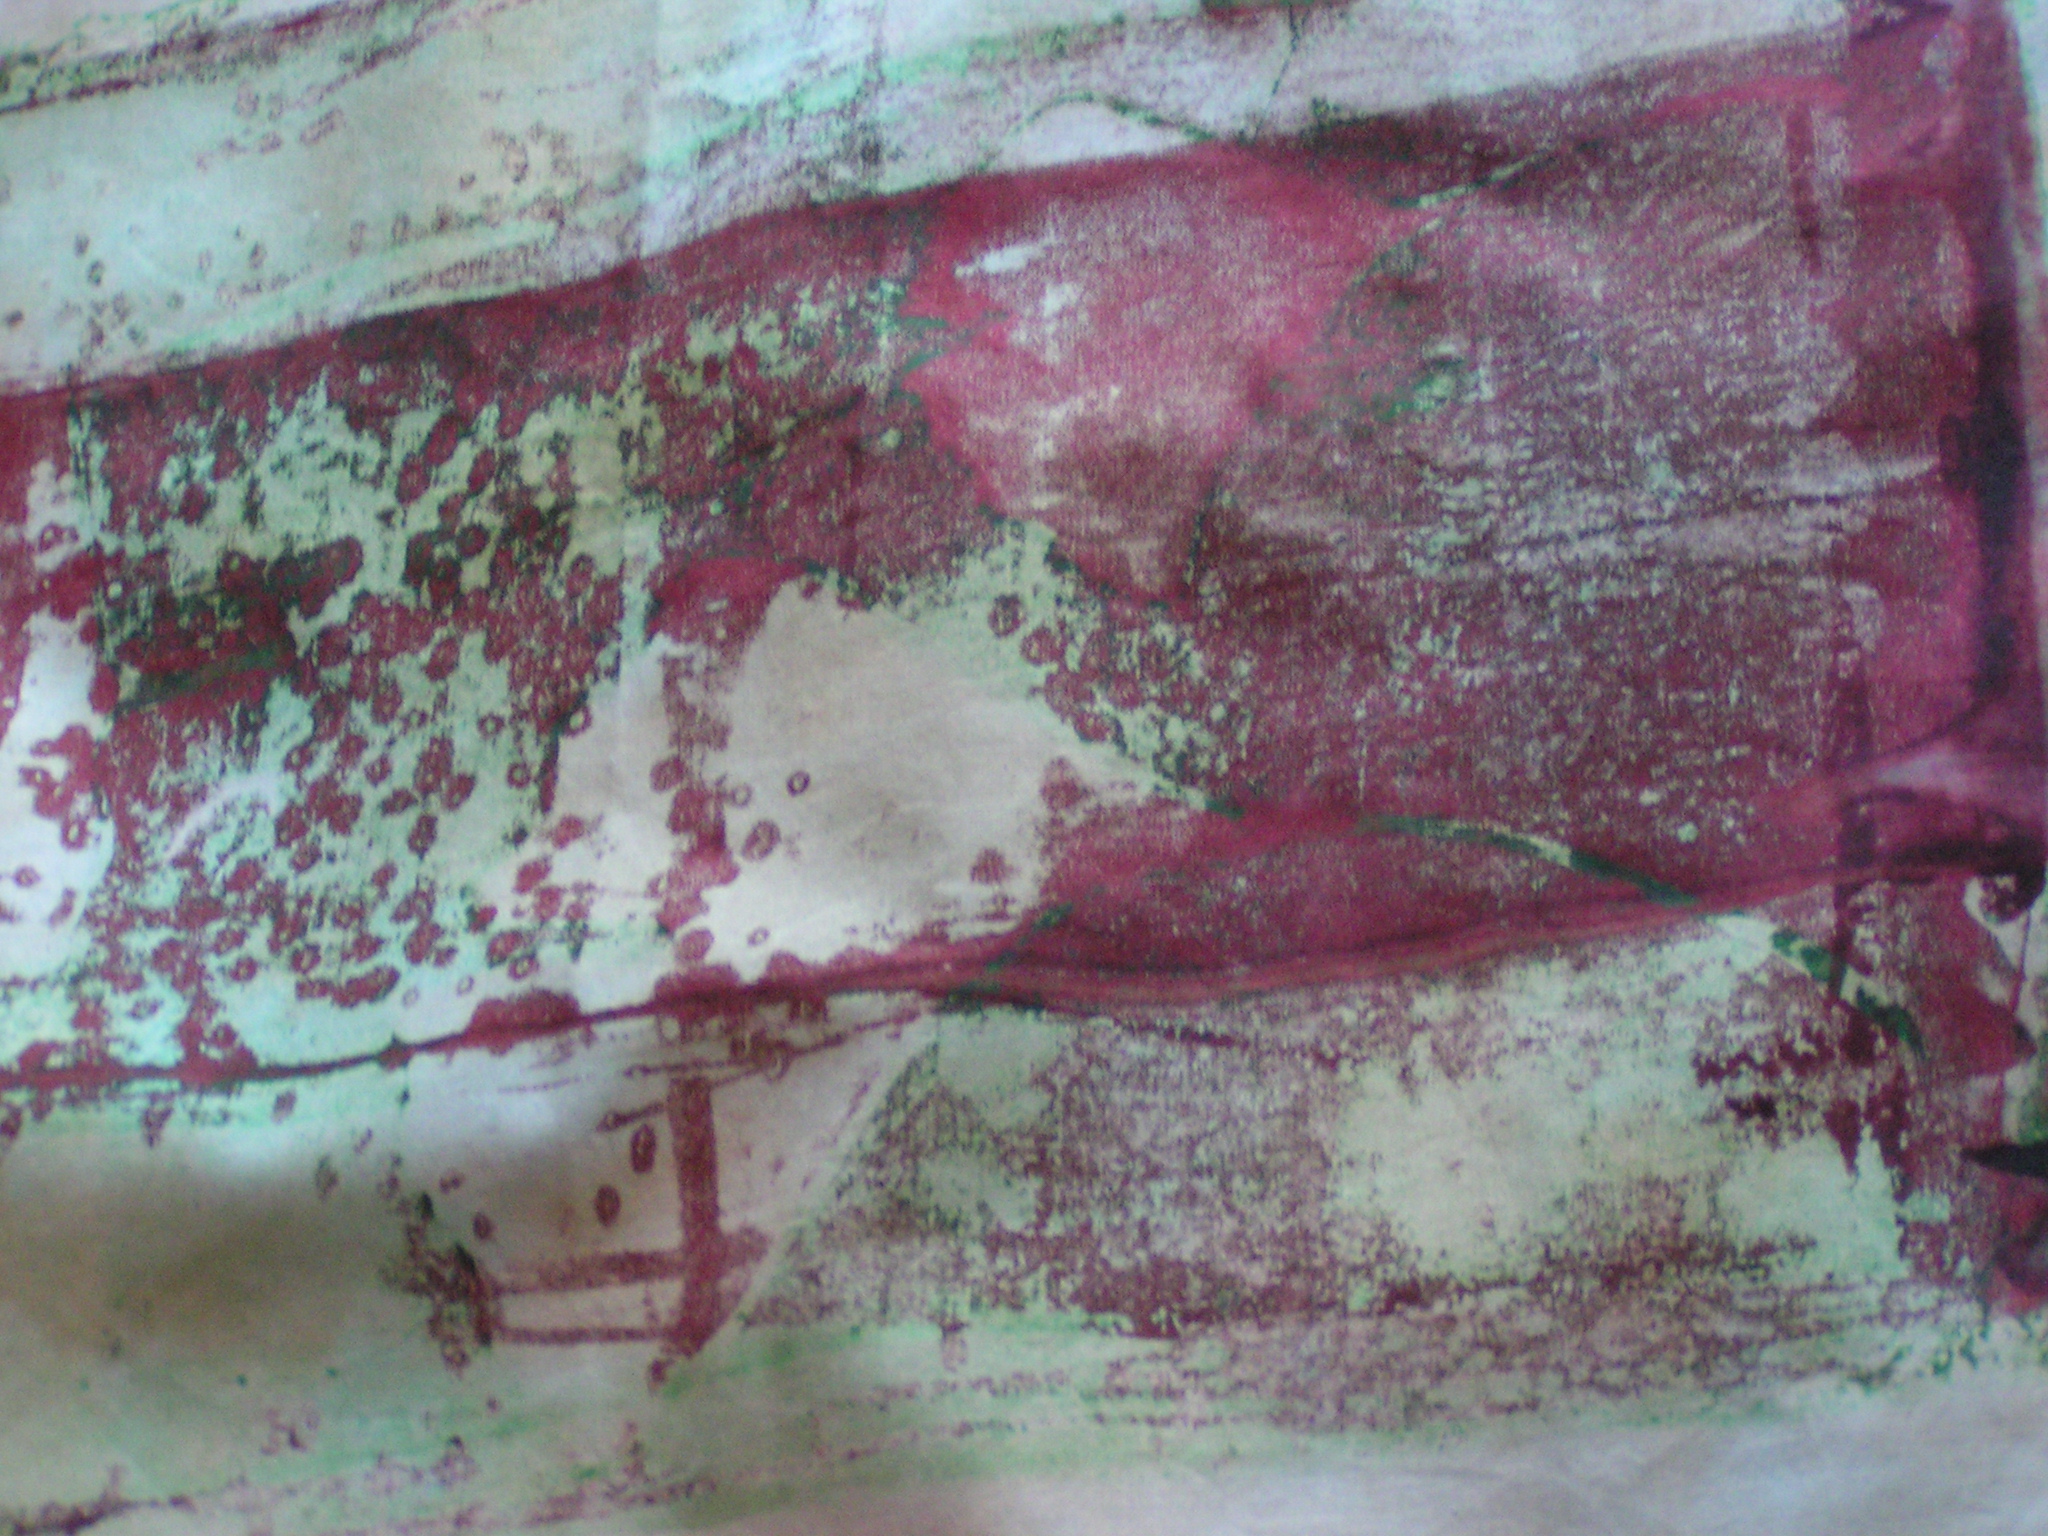
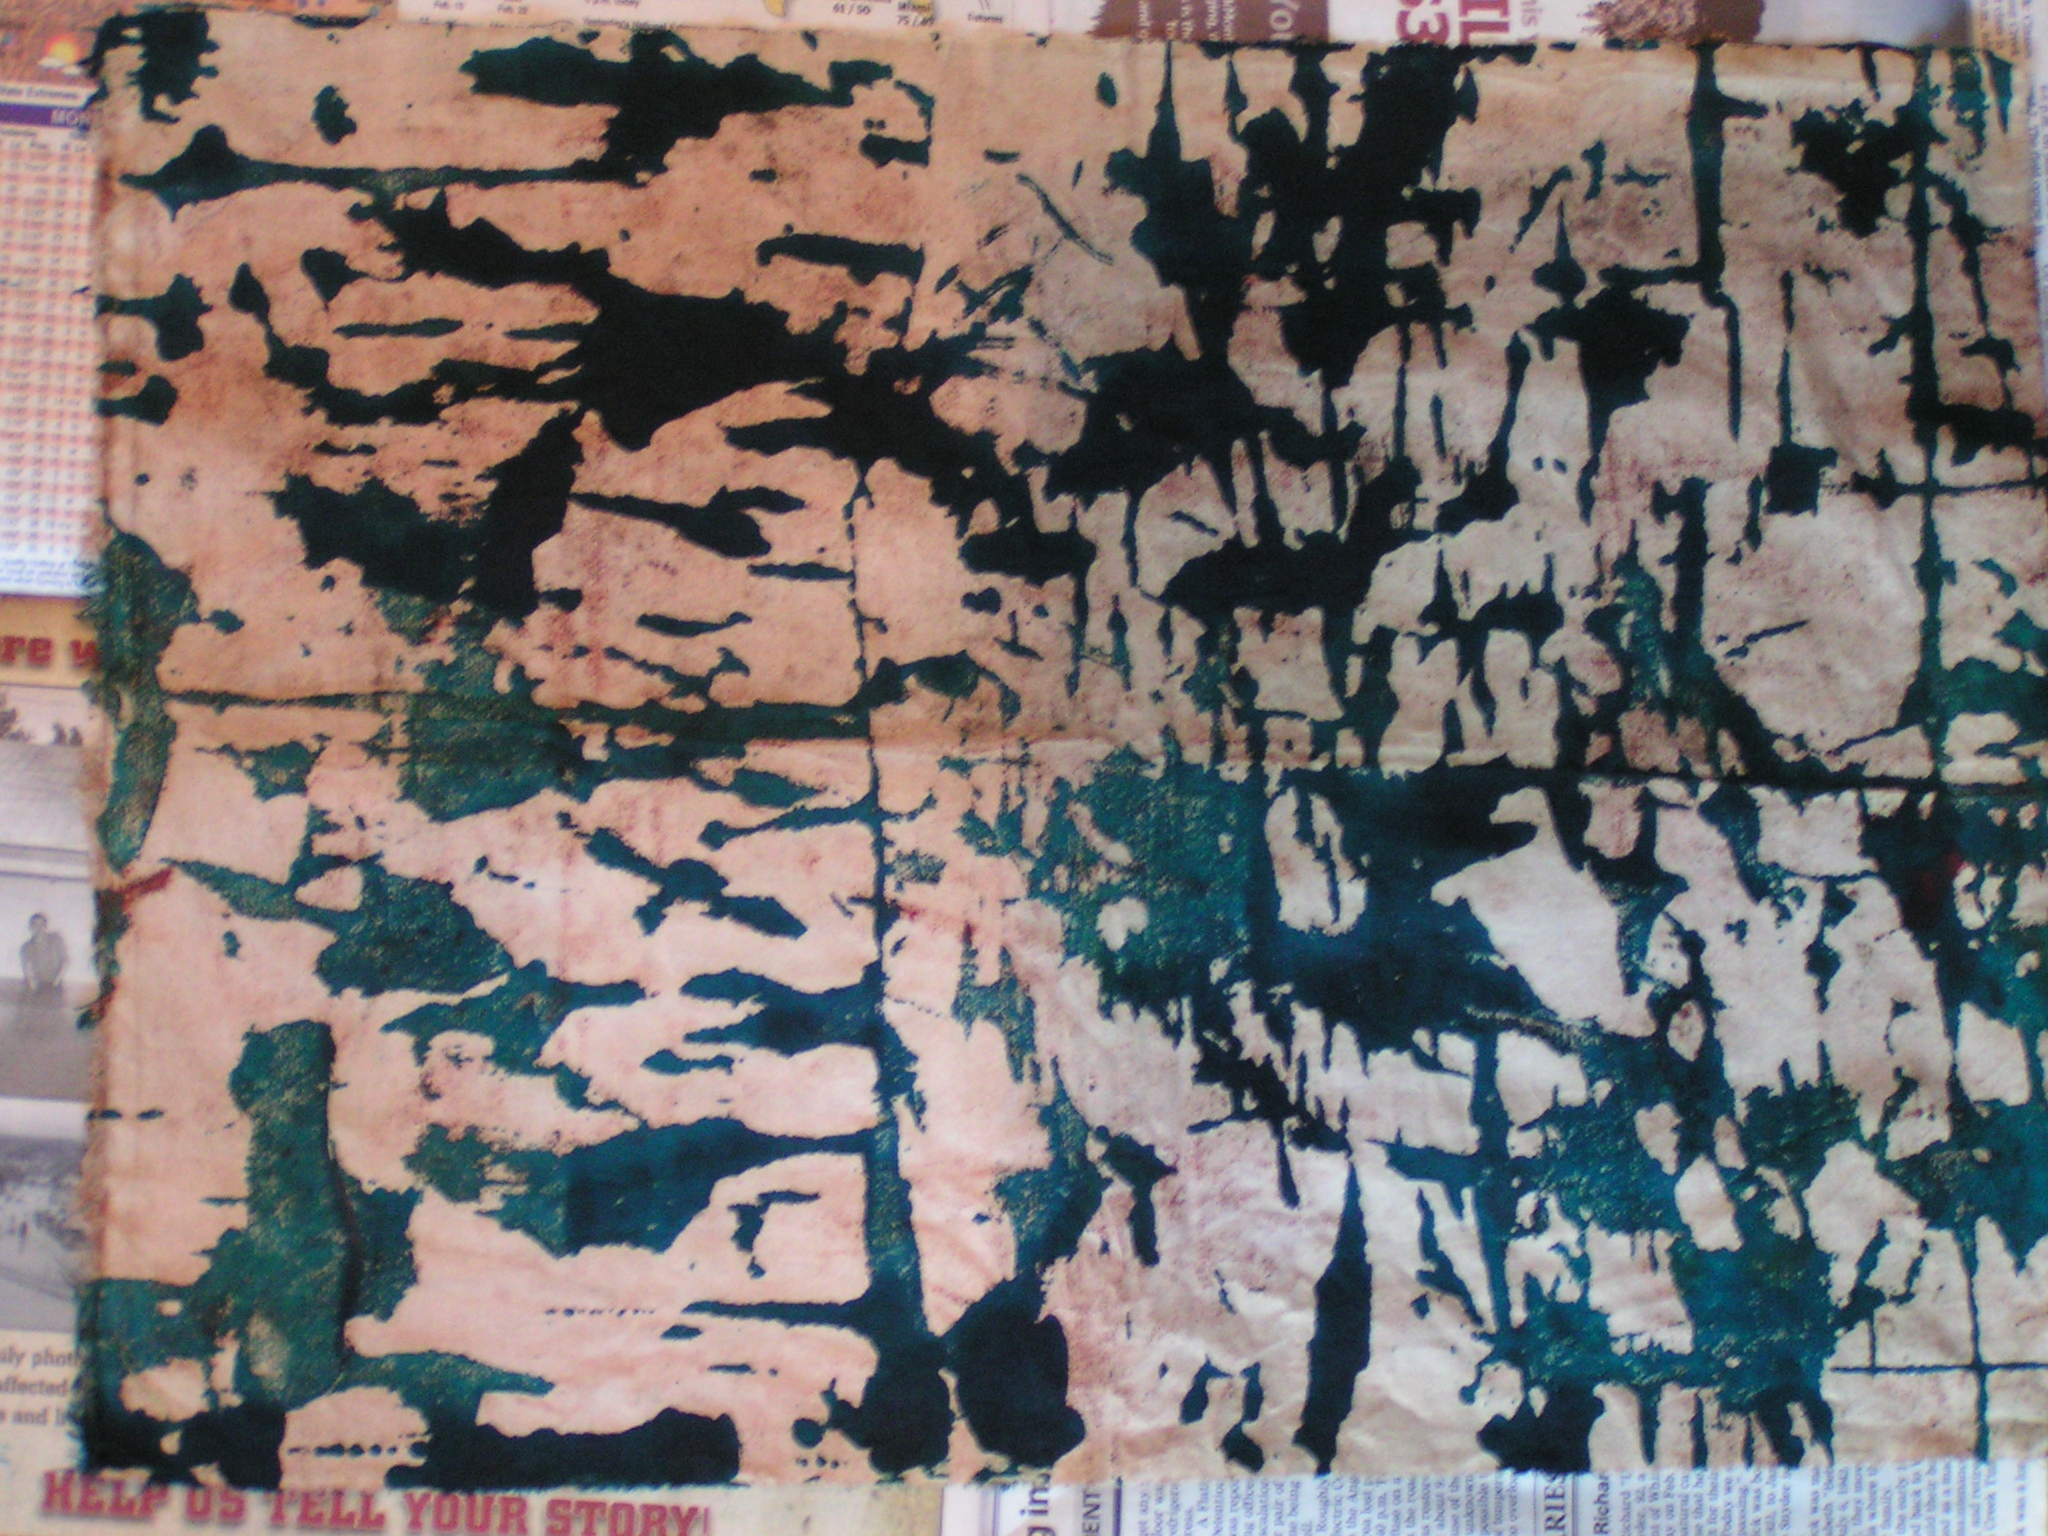 Here is one printed with the paper lamination screen. I really like the organic look you can get with this screen.
 This is a silk scarf printed with the paper lamination screen.
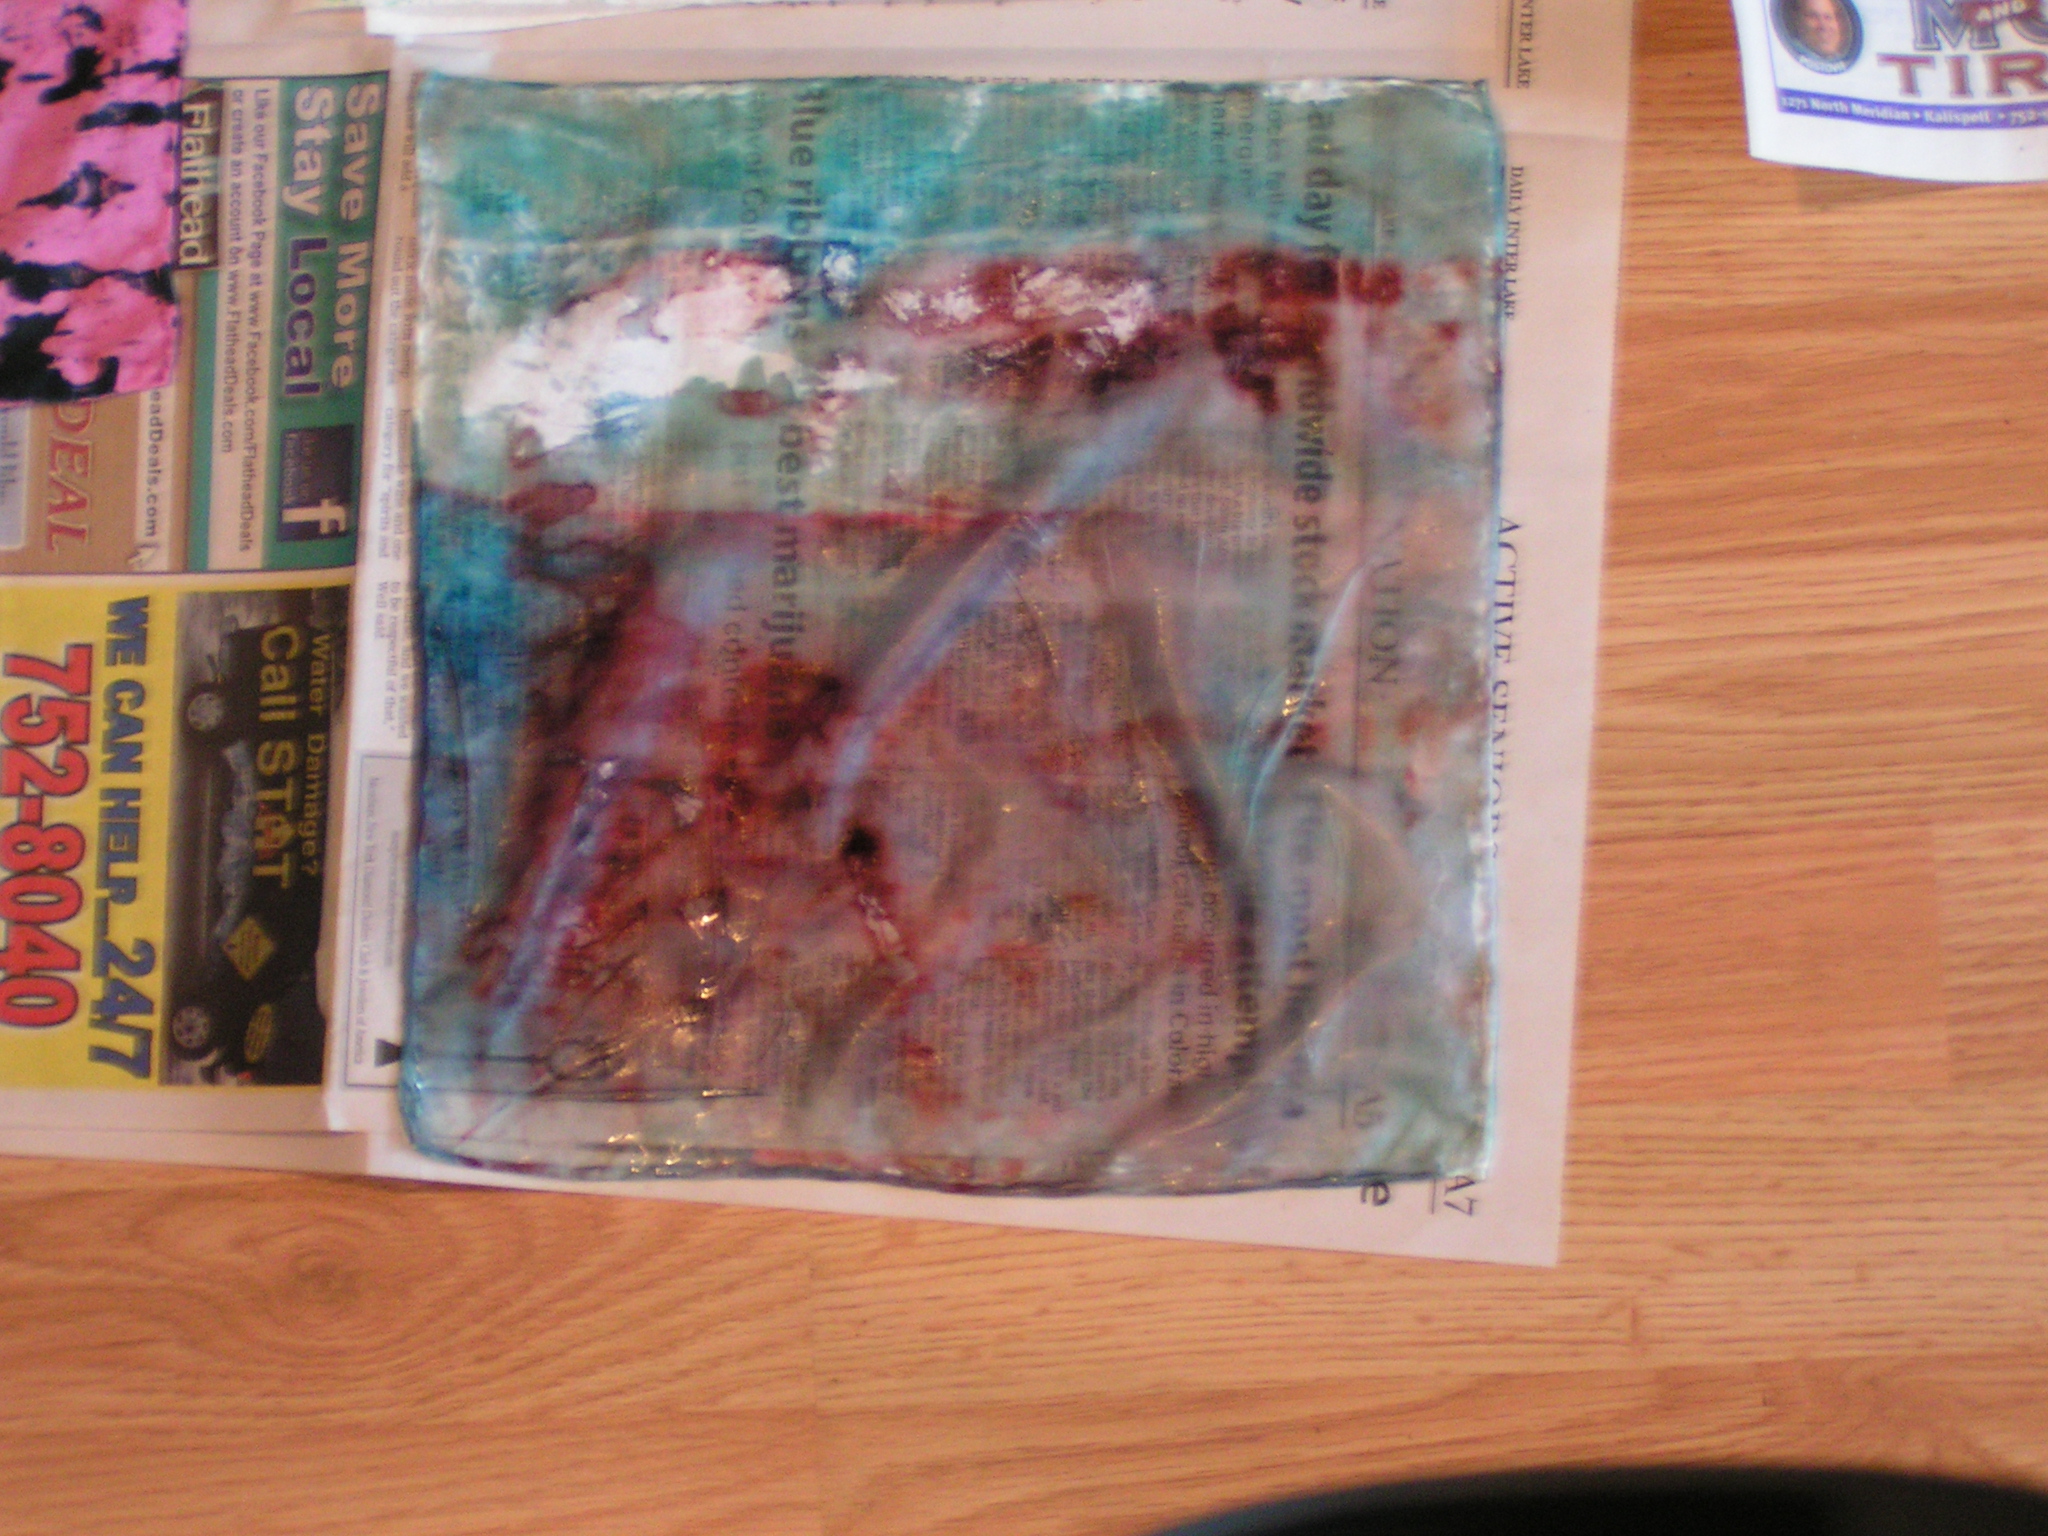 Here’s a square printed with a deconstructed screen.
 Here is cotton fabric printed with one of the rice baby cereal screens. It should fit well into my current circles theme. I will take more photos of the fabric after it’s been washed and ironed. Hopefully, I can get some better photos. The screen printing was fun and all the screens worked great. Everyone was pleased with the outcome.
 I did get my background fabric dyed for my ice flower piece. It is dark green. The colors are a bit off in the photo.
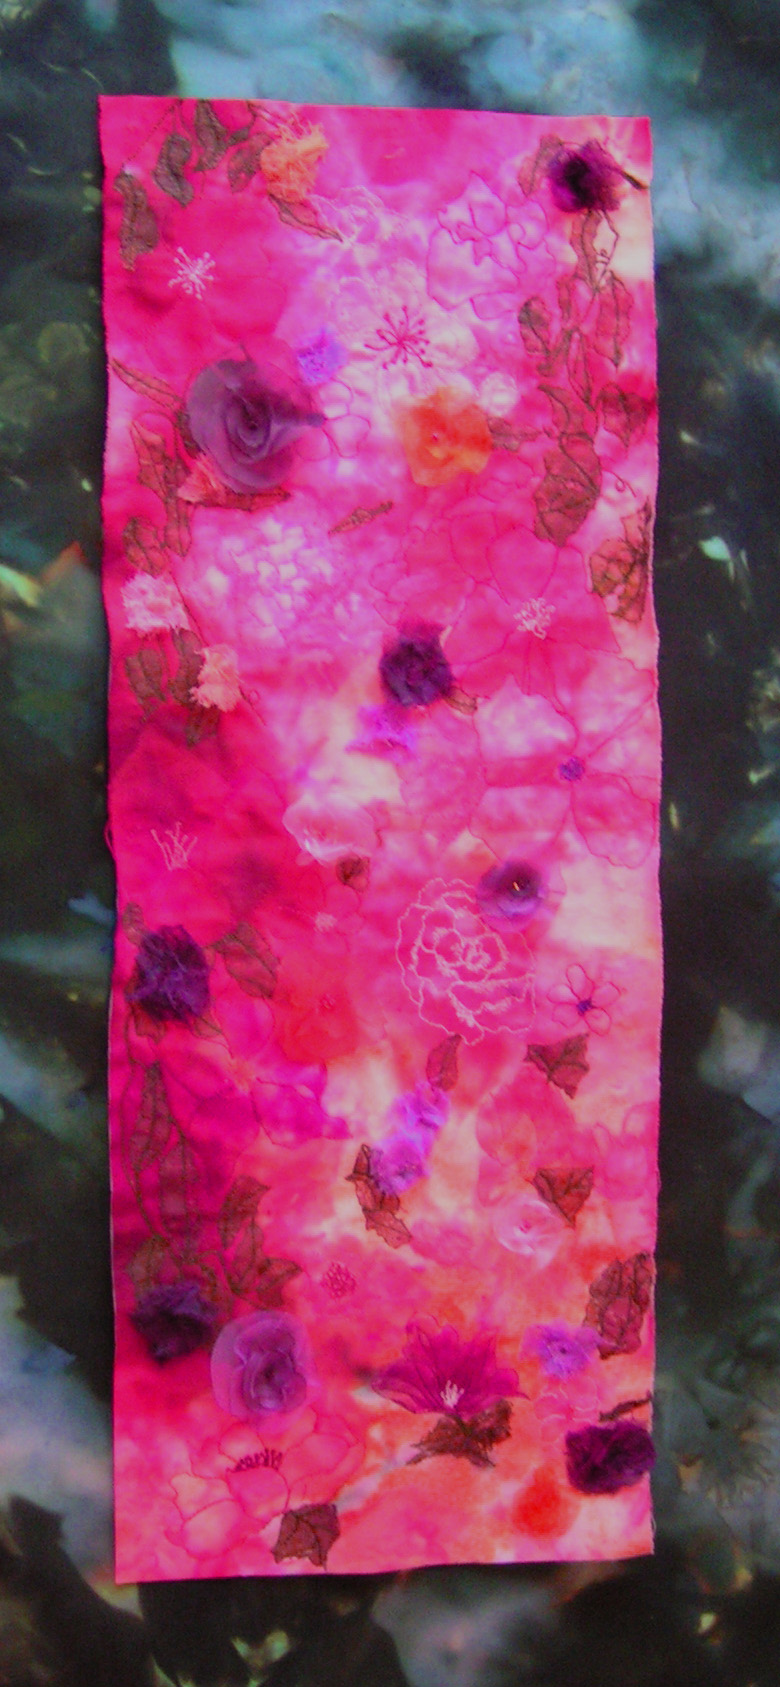
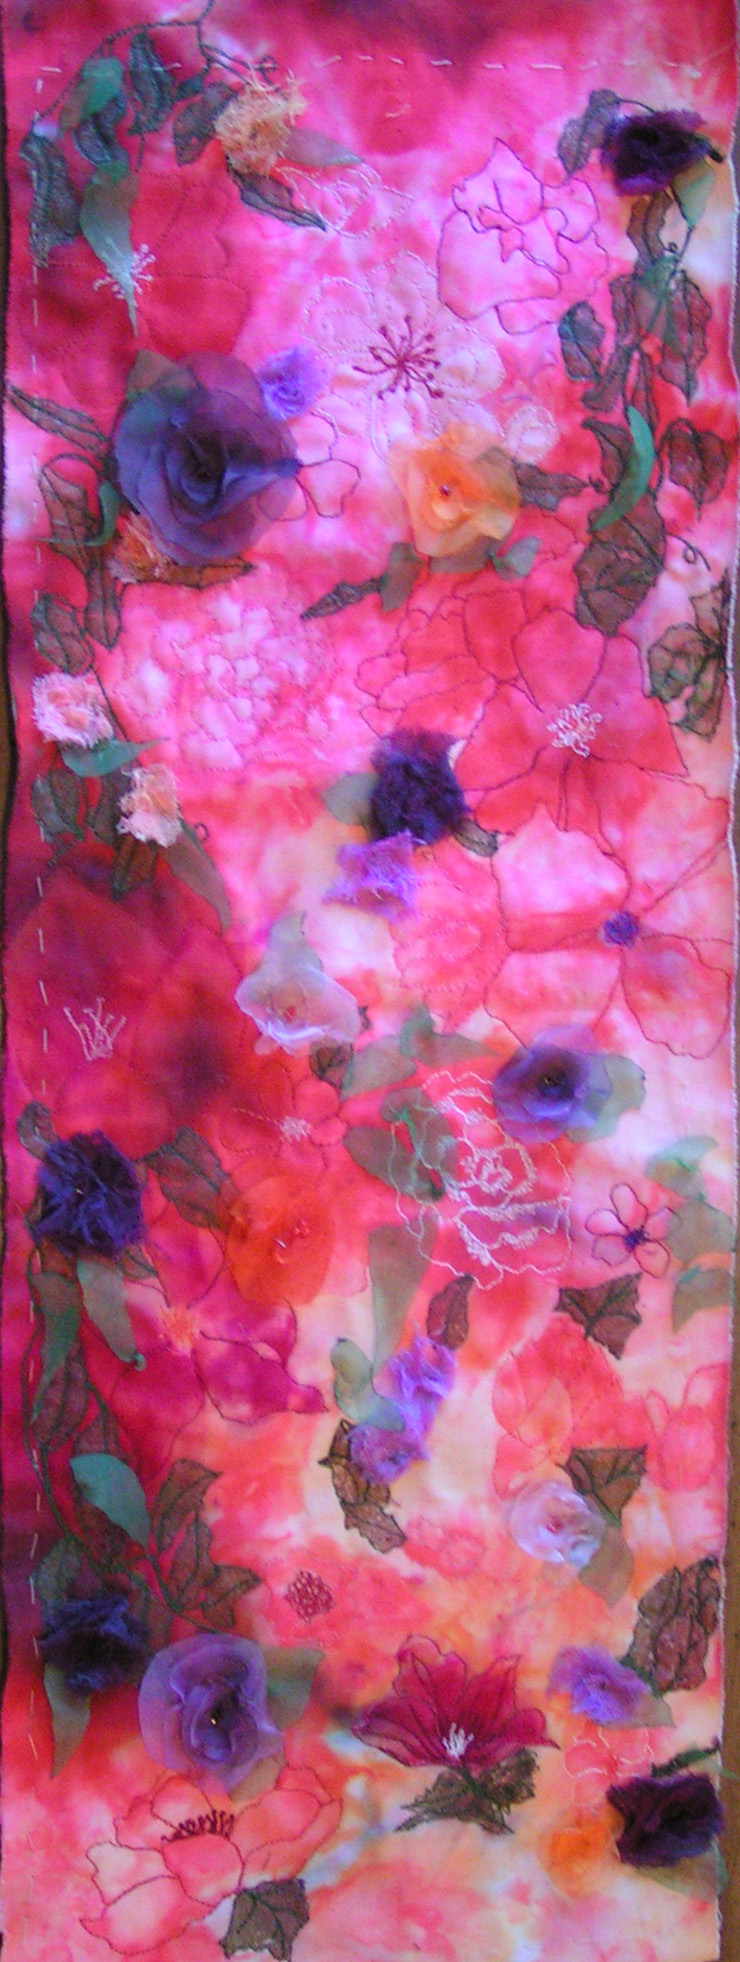
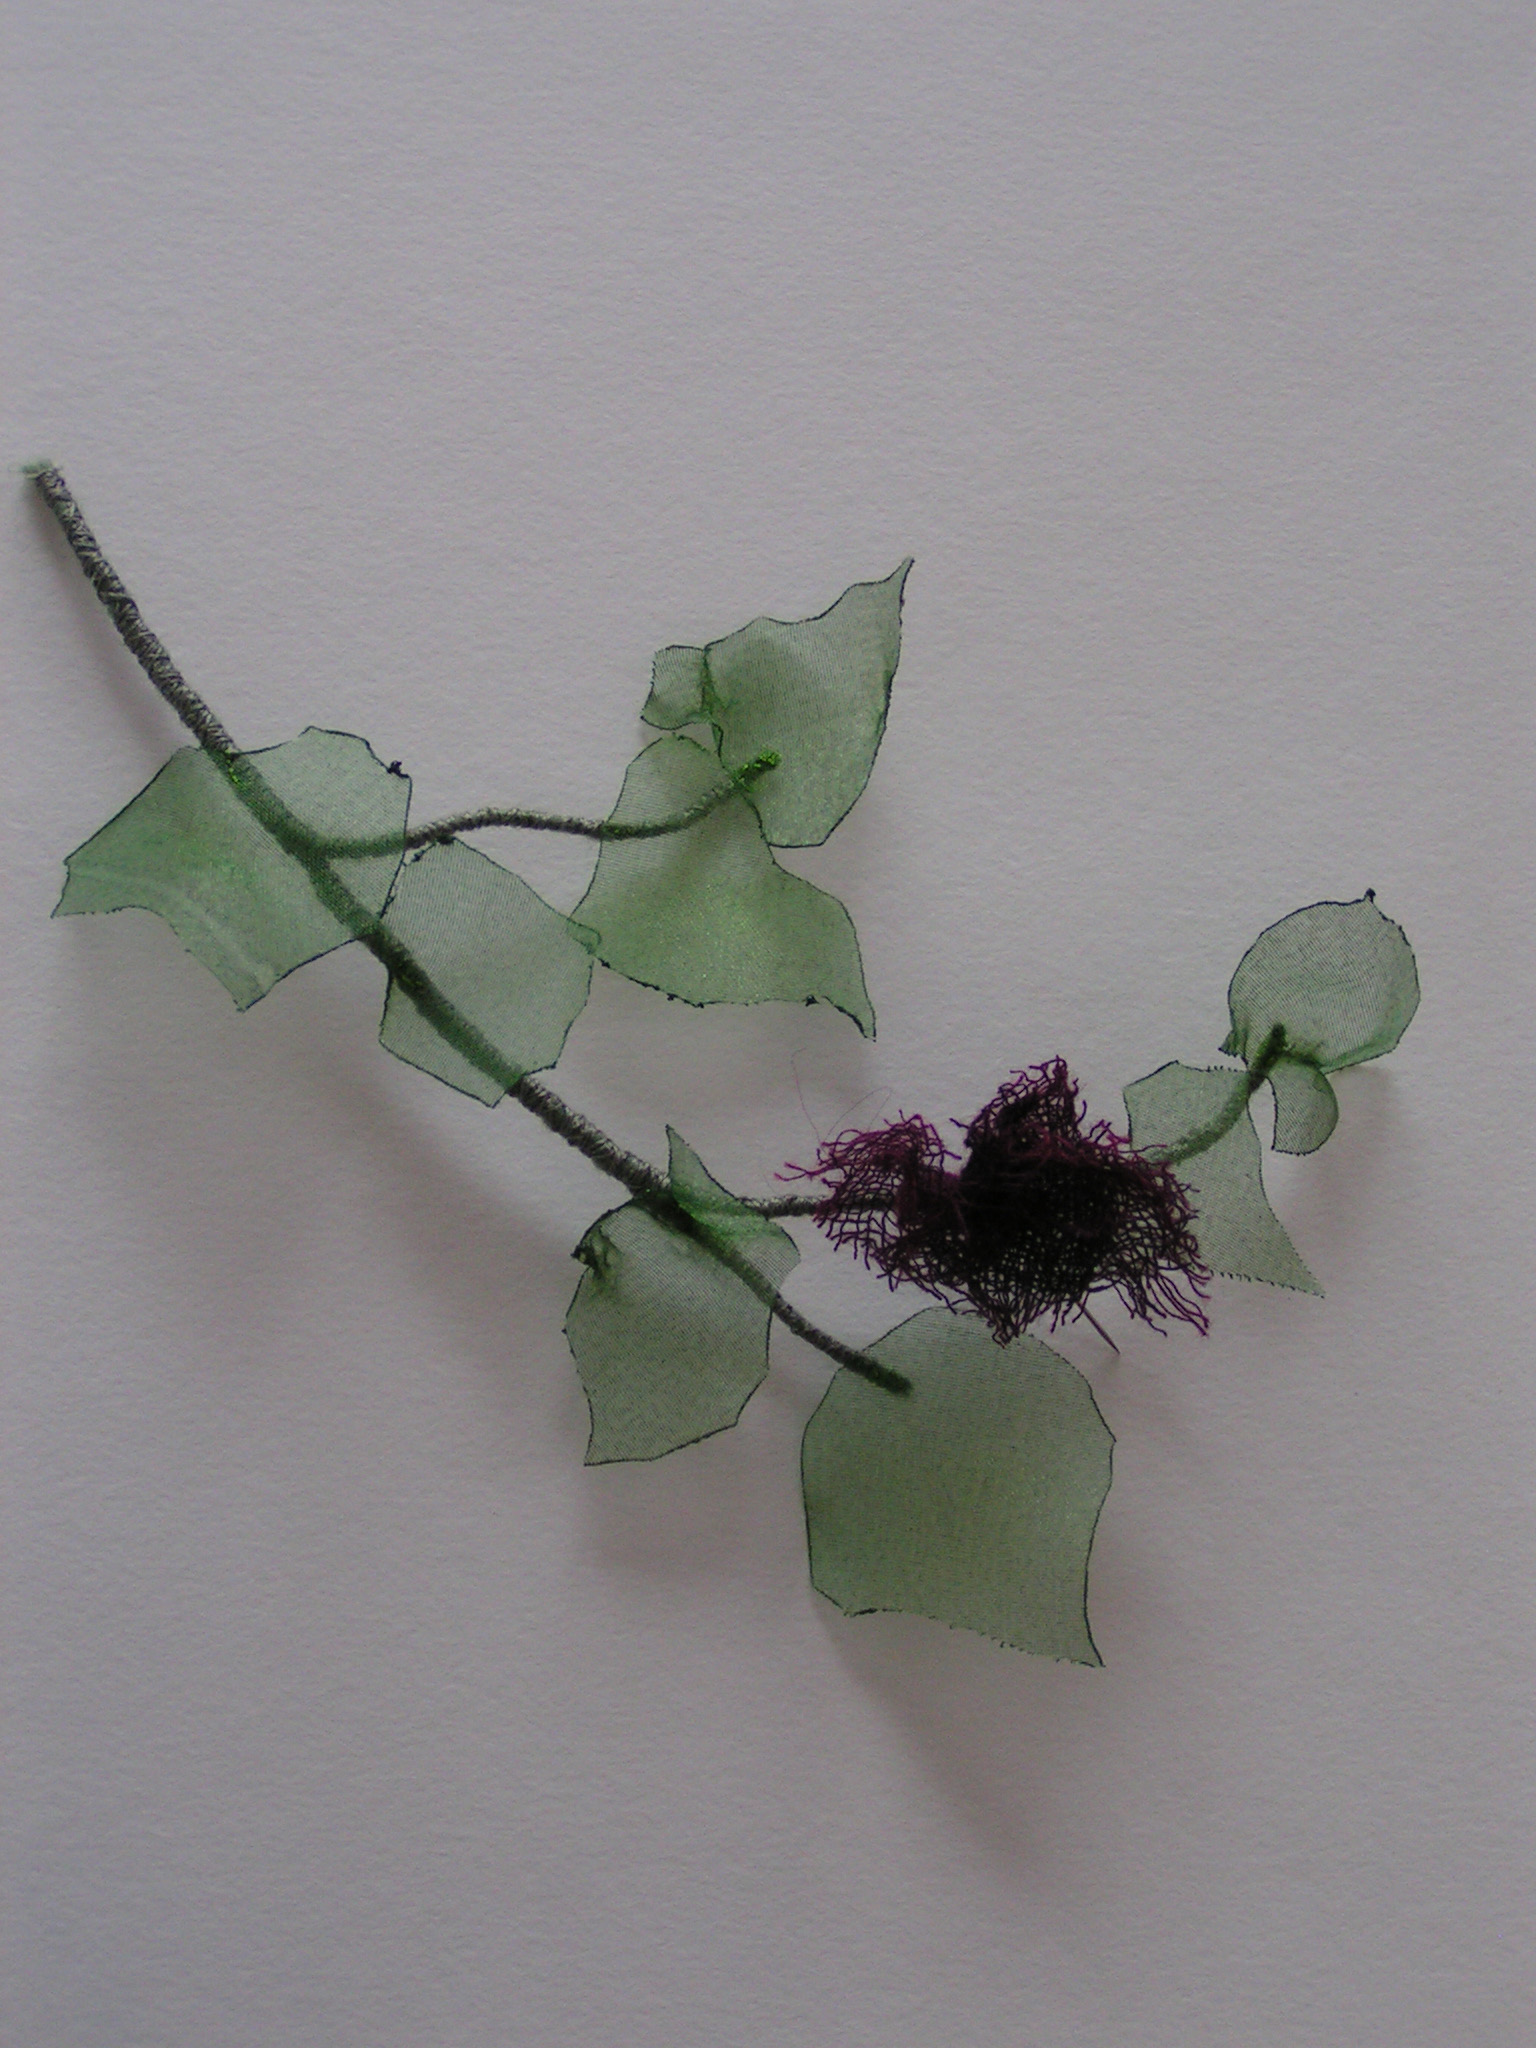 I also made a vine with organza leaves which I plan to put along one edge. The flower isn’t sewn on but I was trying it out to see if I liked it. I really like the sheer leaves and I’ll be adding those over the entire piece. Now I have to decide how to attach the red/pink piece of fabric to the background fabric. I will probably zigzag stitch it down and perhaps couch a piece of green yarn around the entire edge.
Next week, my local group is meeting at my house for some experimental screen printing. I spent most of the day today preparing the screens.
 I took a look through all my old Quilting Arts magazines for some ideas. One article was about using a mask with deconstructed screen printing. The mask is made from light weight interfacing covered with paint. The photo above shows three pieces of interfacing ready to paint.
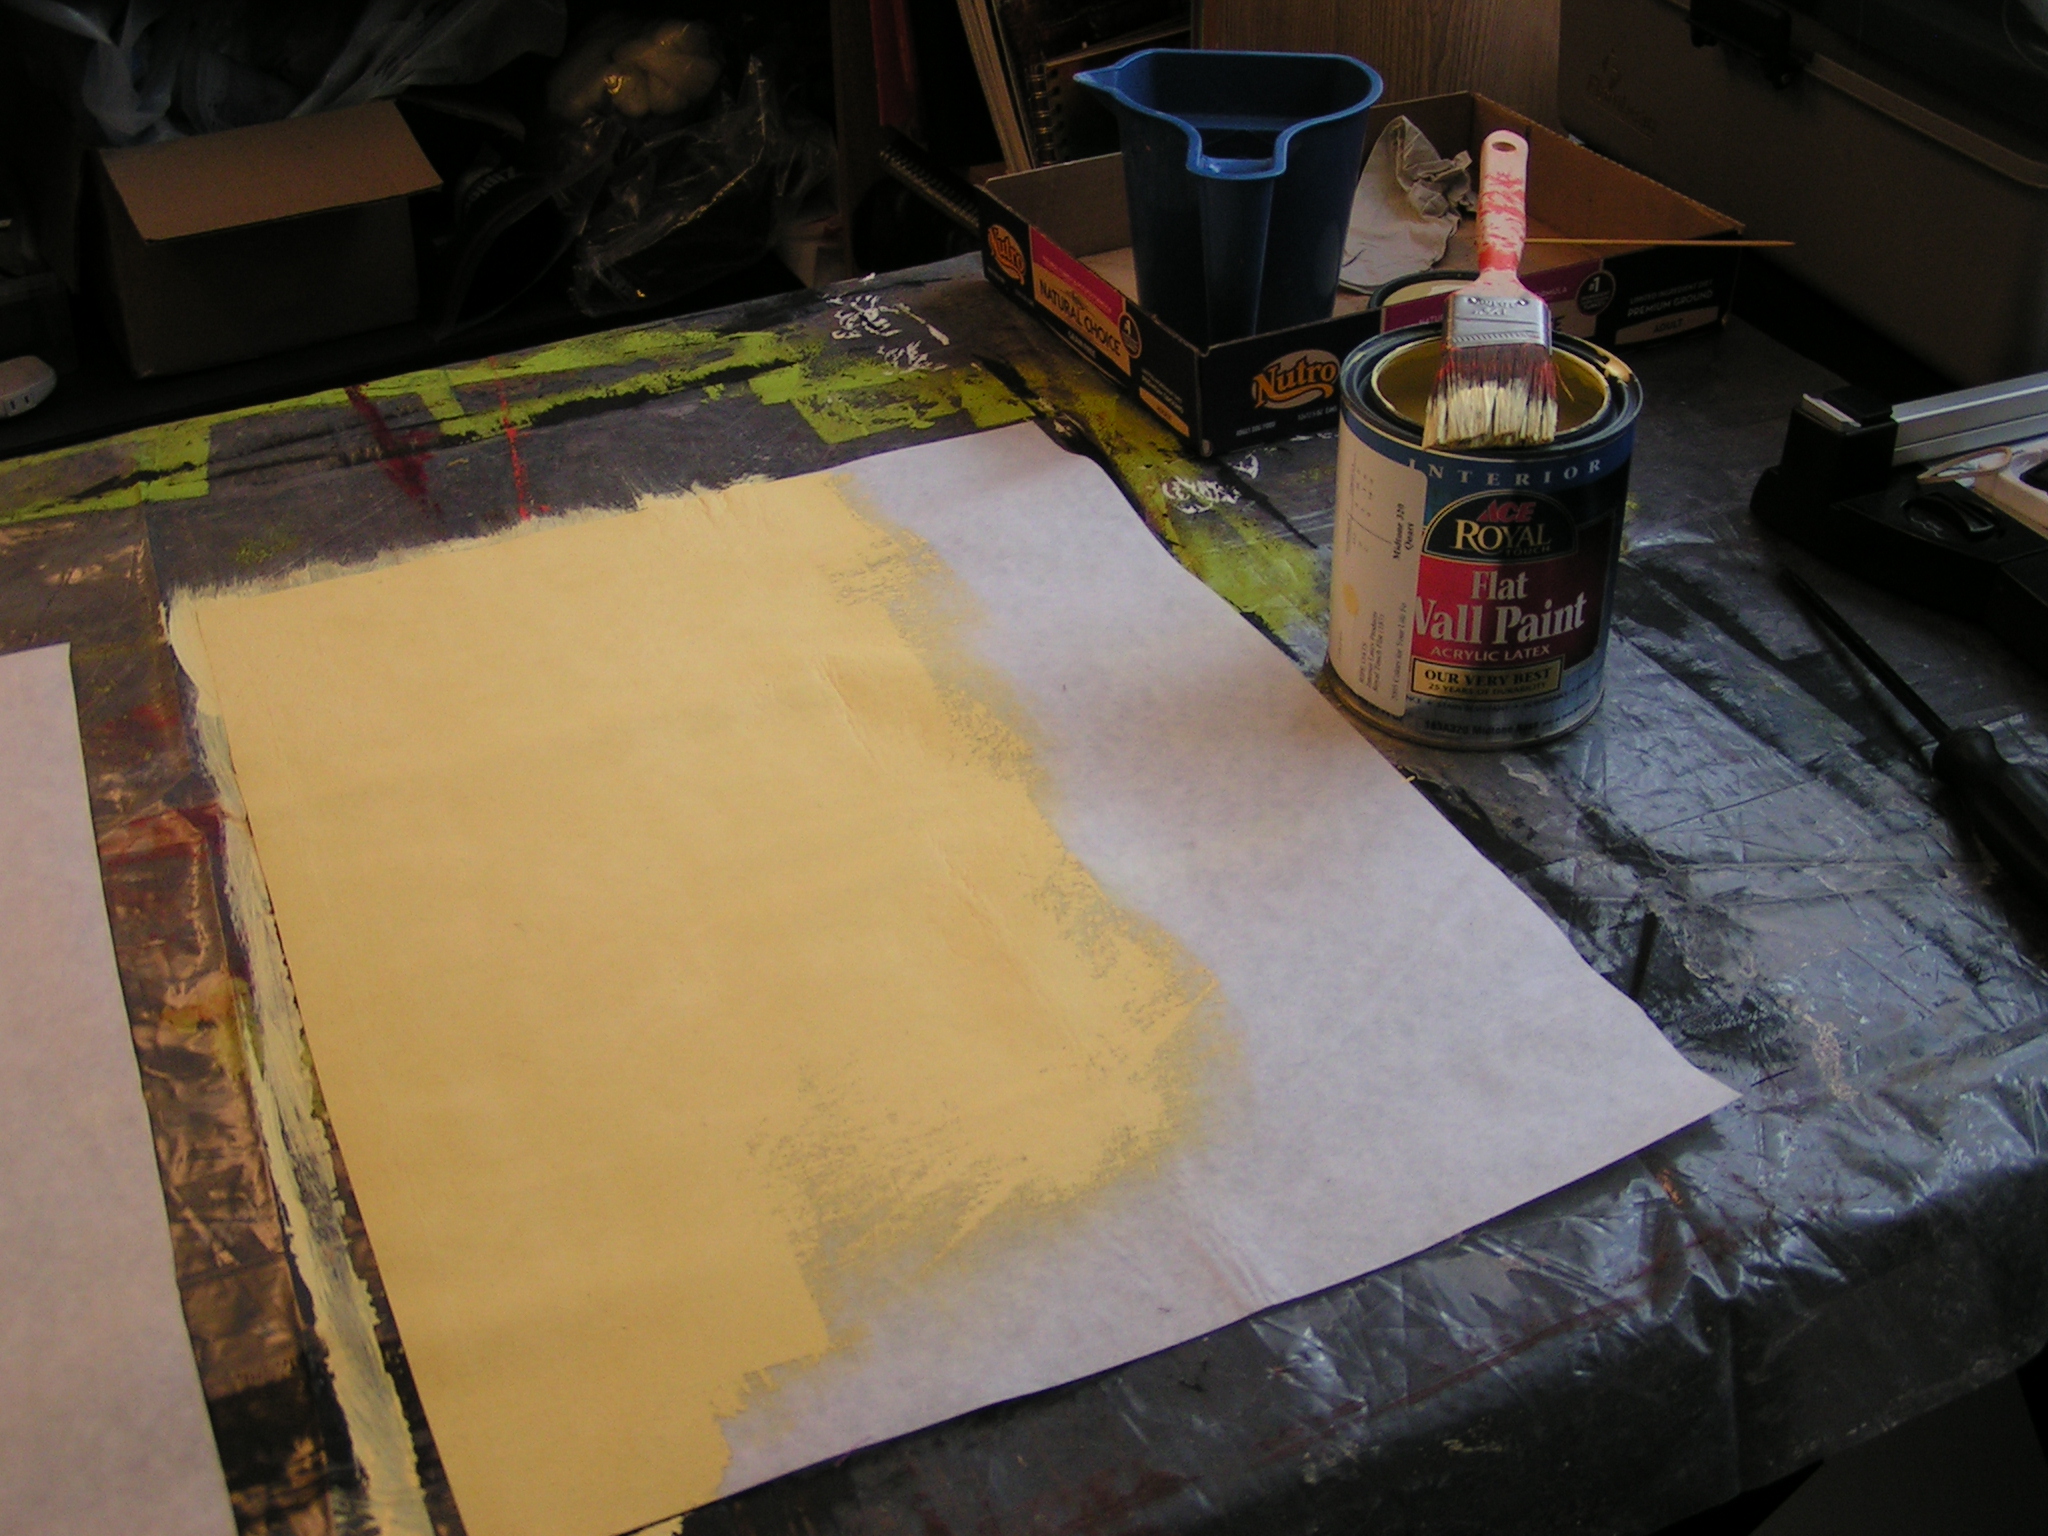 I used some left over house latex paint. The point is to cover the interfacing so that when used as a mask, no dye or ink will leak through the mask except the portion that is cut out.
 I painted all three pieces and it took quite a lot of paint as it soaks in.
 Here’s the back side, you can see the paint came through easily. Now to let it dry. I’ll paint the other side and then cut an opening like a stencil. I am thinking I will cut some leaf shapes.
 Next I did some paper lamination screens. This is the process where you glue organza to paper with gel medium. I did three organic patterned screens. I have to let these dry as well and then iron to set and wash off the excess paper.
 Next up, I decided to try some rice baby cereal as a resist on the screen. I applied the cereal through a syringe. And then let it dry. Lots of things drying now…
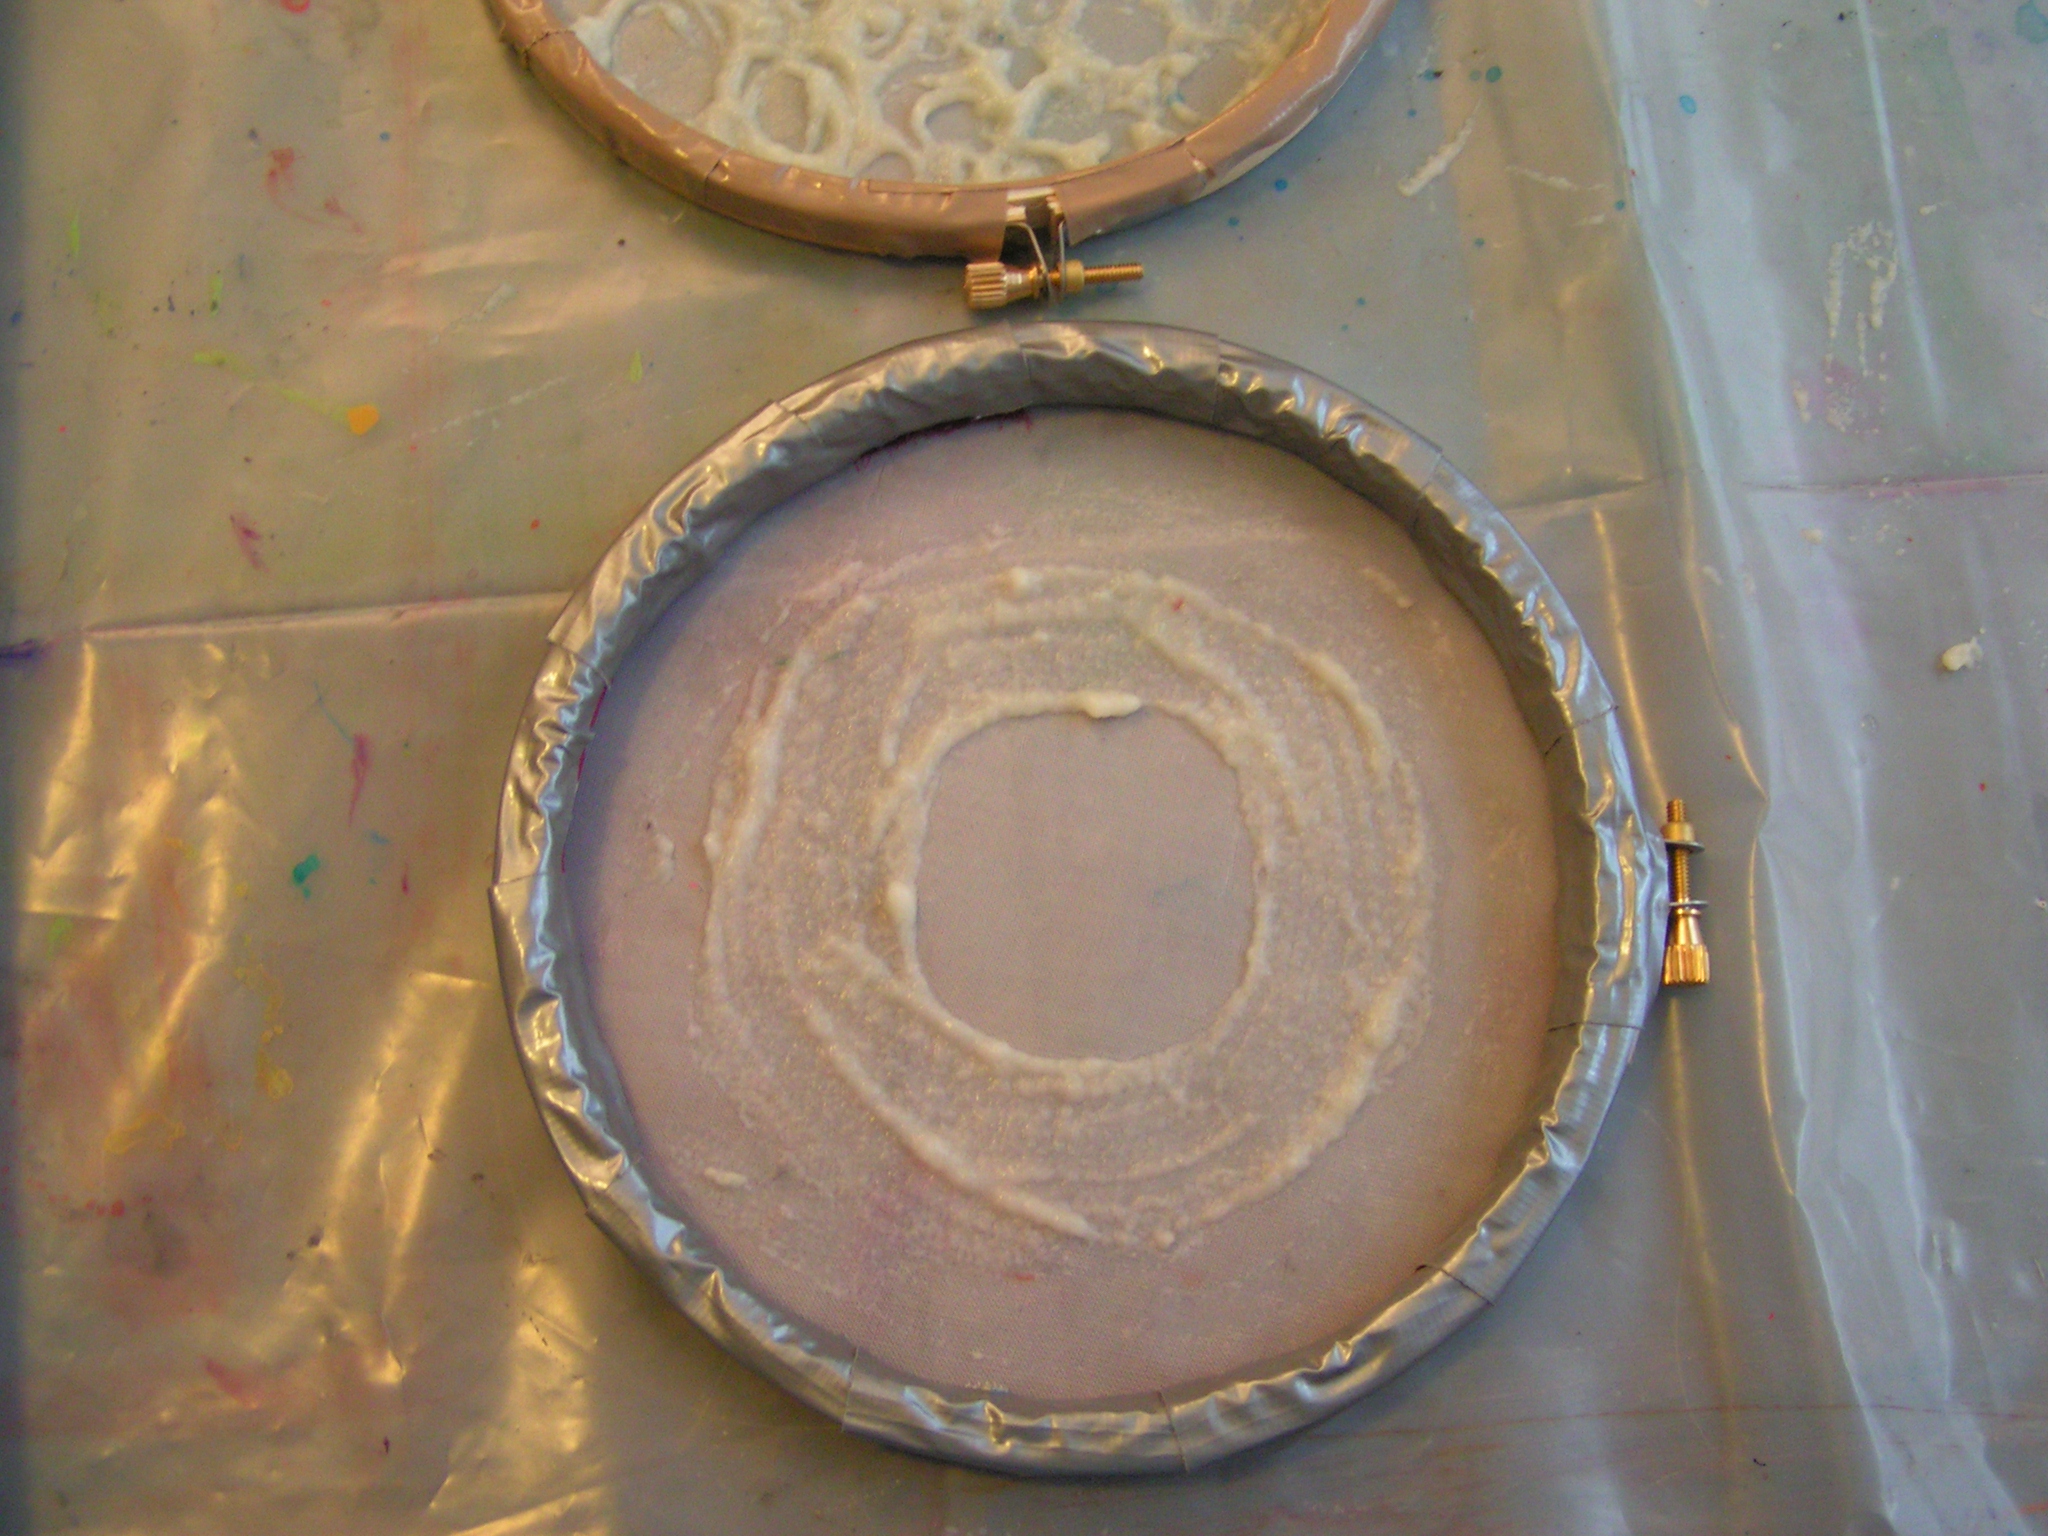 I had a bunch of 6″ embroidery hoops when I ordered them thinking I was getting one and instead got sets of three. I just put organza in the hoop and taped it with duct tape. I added more rice cereal to this. I am hoping that as these screen, the thickened dye will gradually break down the cereal so it will be like the deconstructed screens which change the more prints you make.
 I had some left over cereal so I covered this piece of fabric. The plan is to let it dry and then crack the cereal and then add a layer of dark paint over the top. The same idea as using flour paste resist.
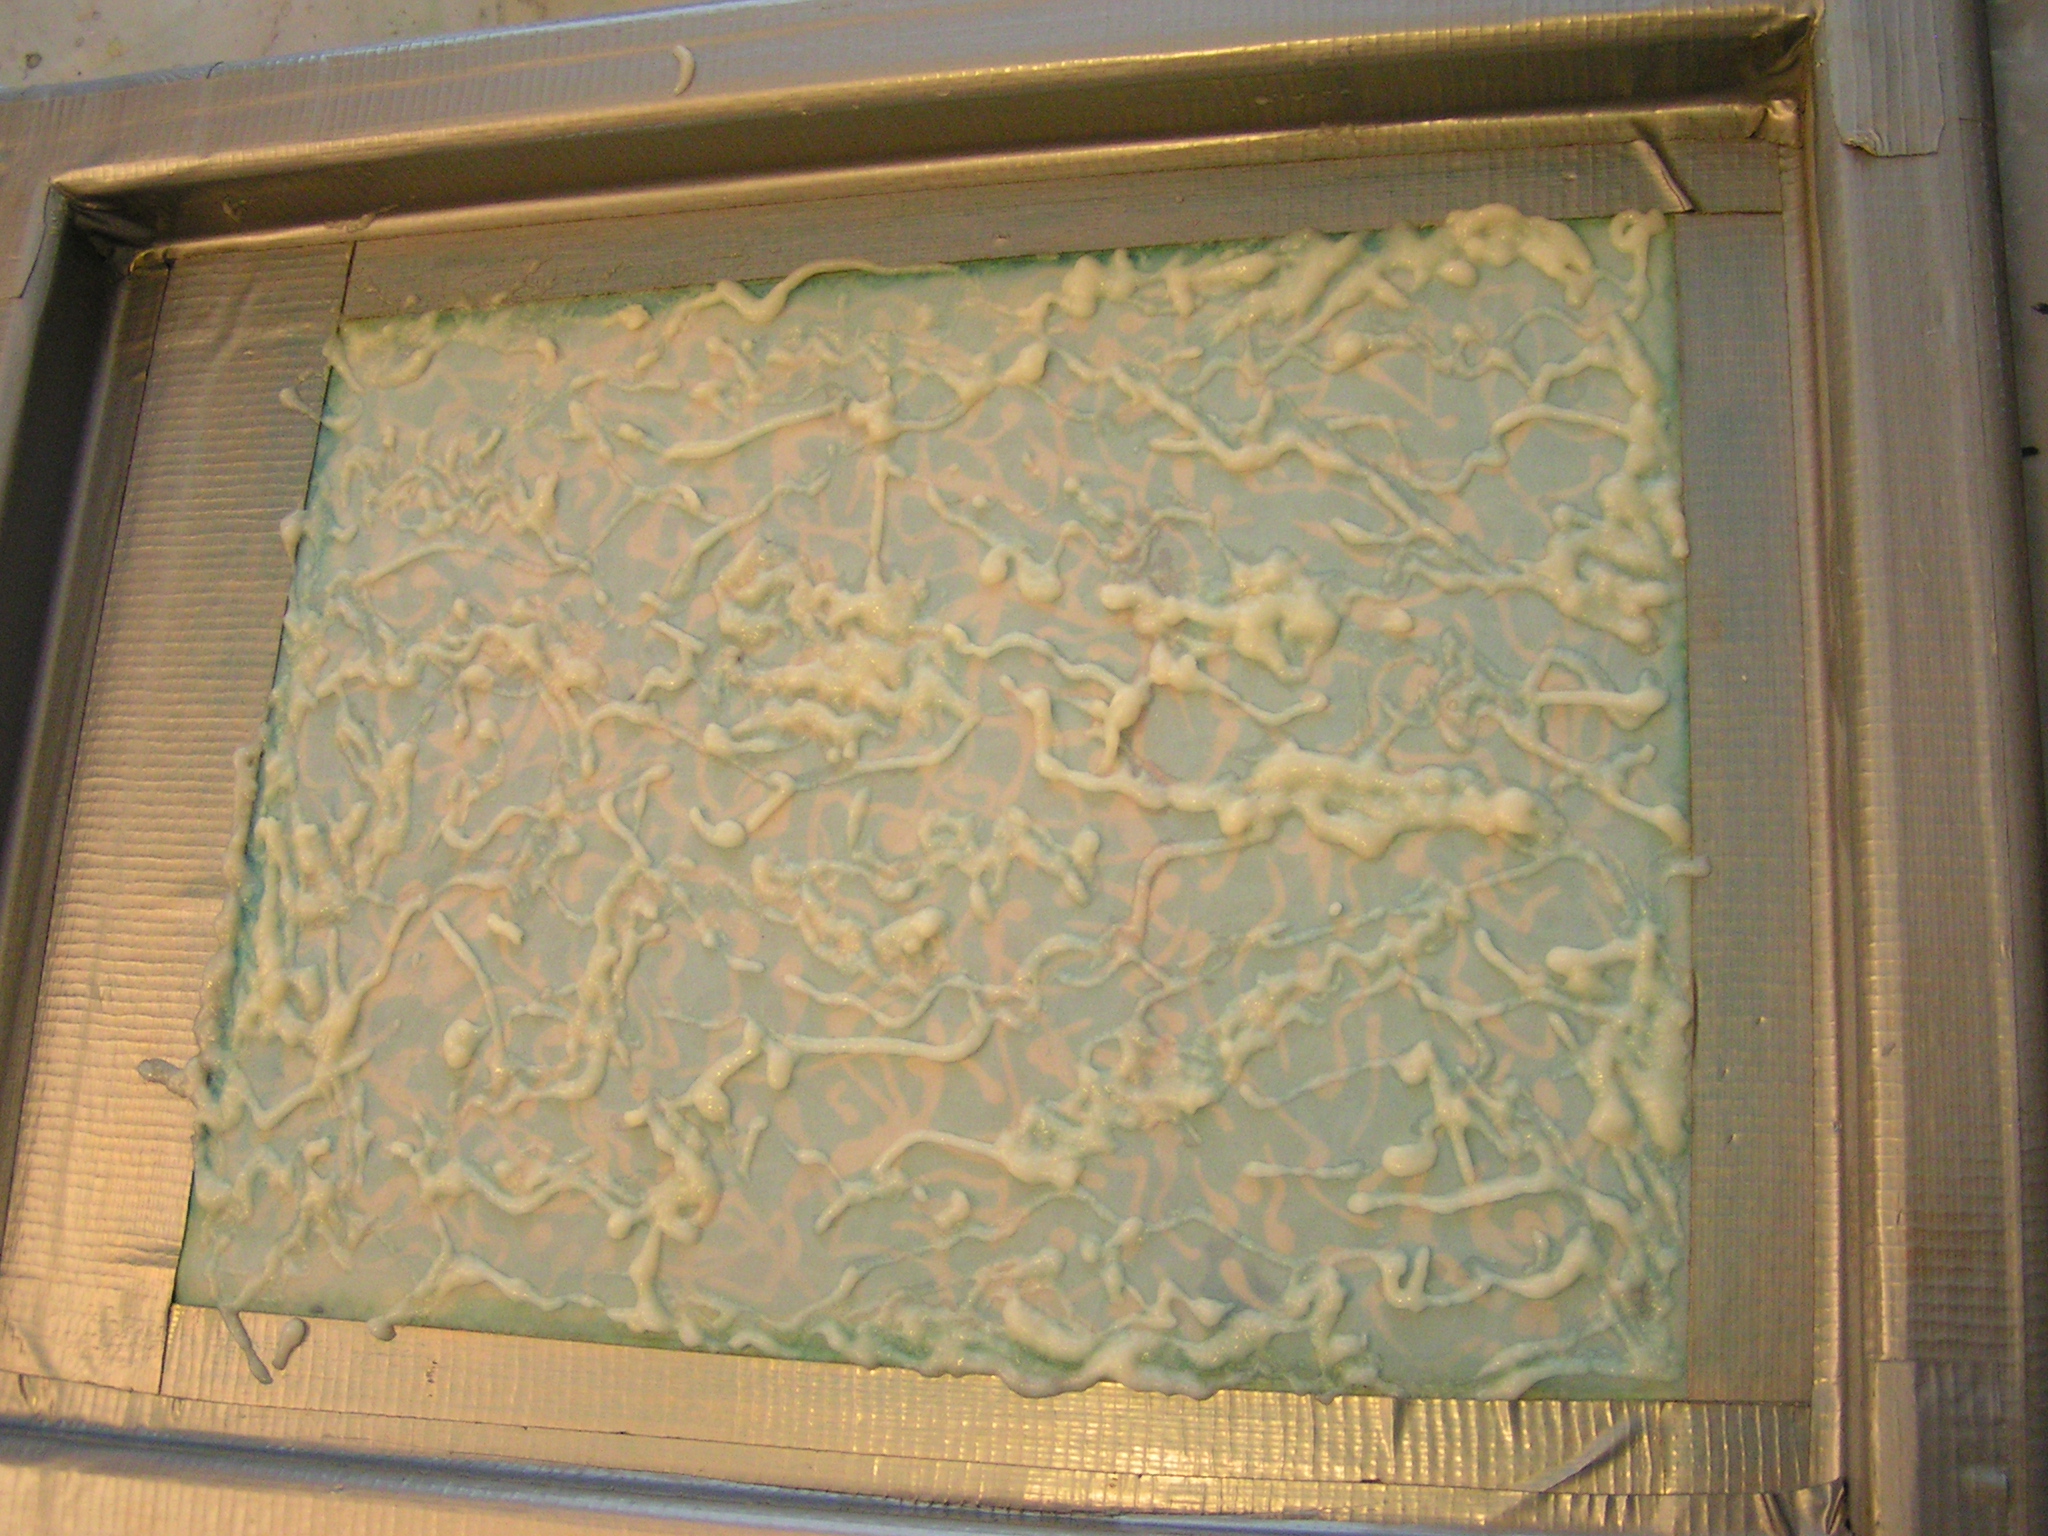
 Next up, I made some print paste and added dye. Then I put the screens on some type of texture, here it is a packing paper. Then I screened the print paste with dye added. And then I have to again, let dry.
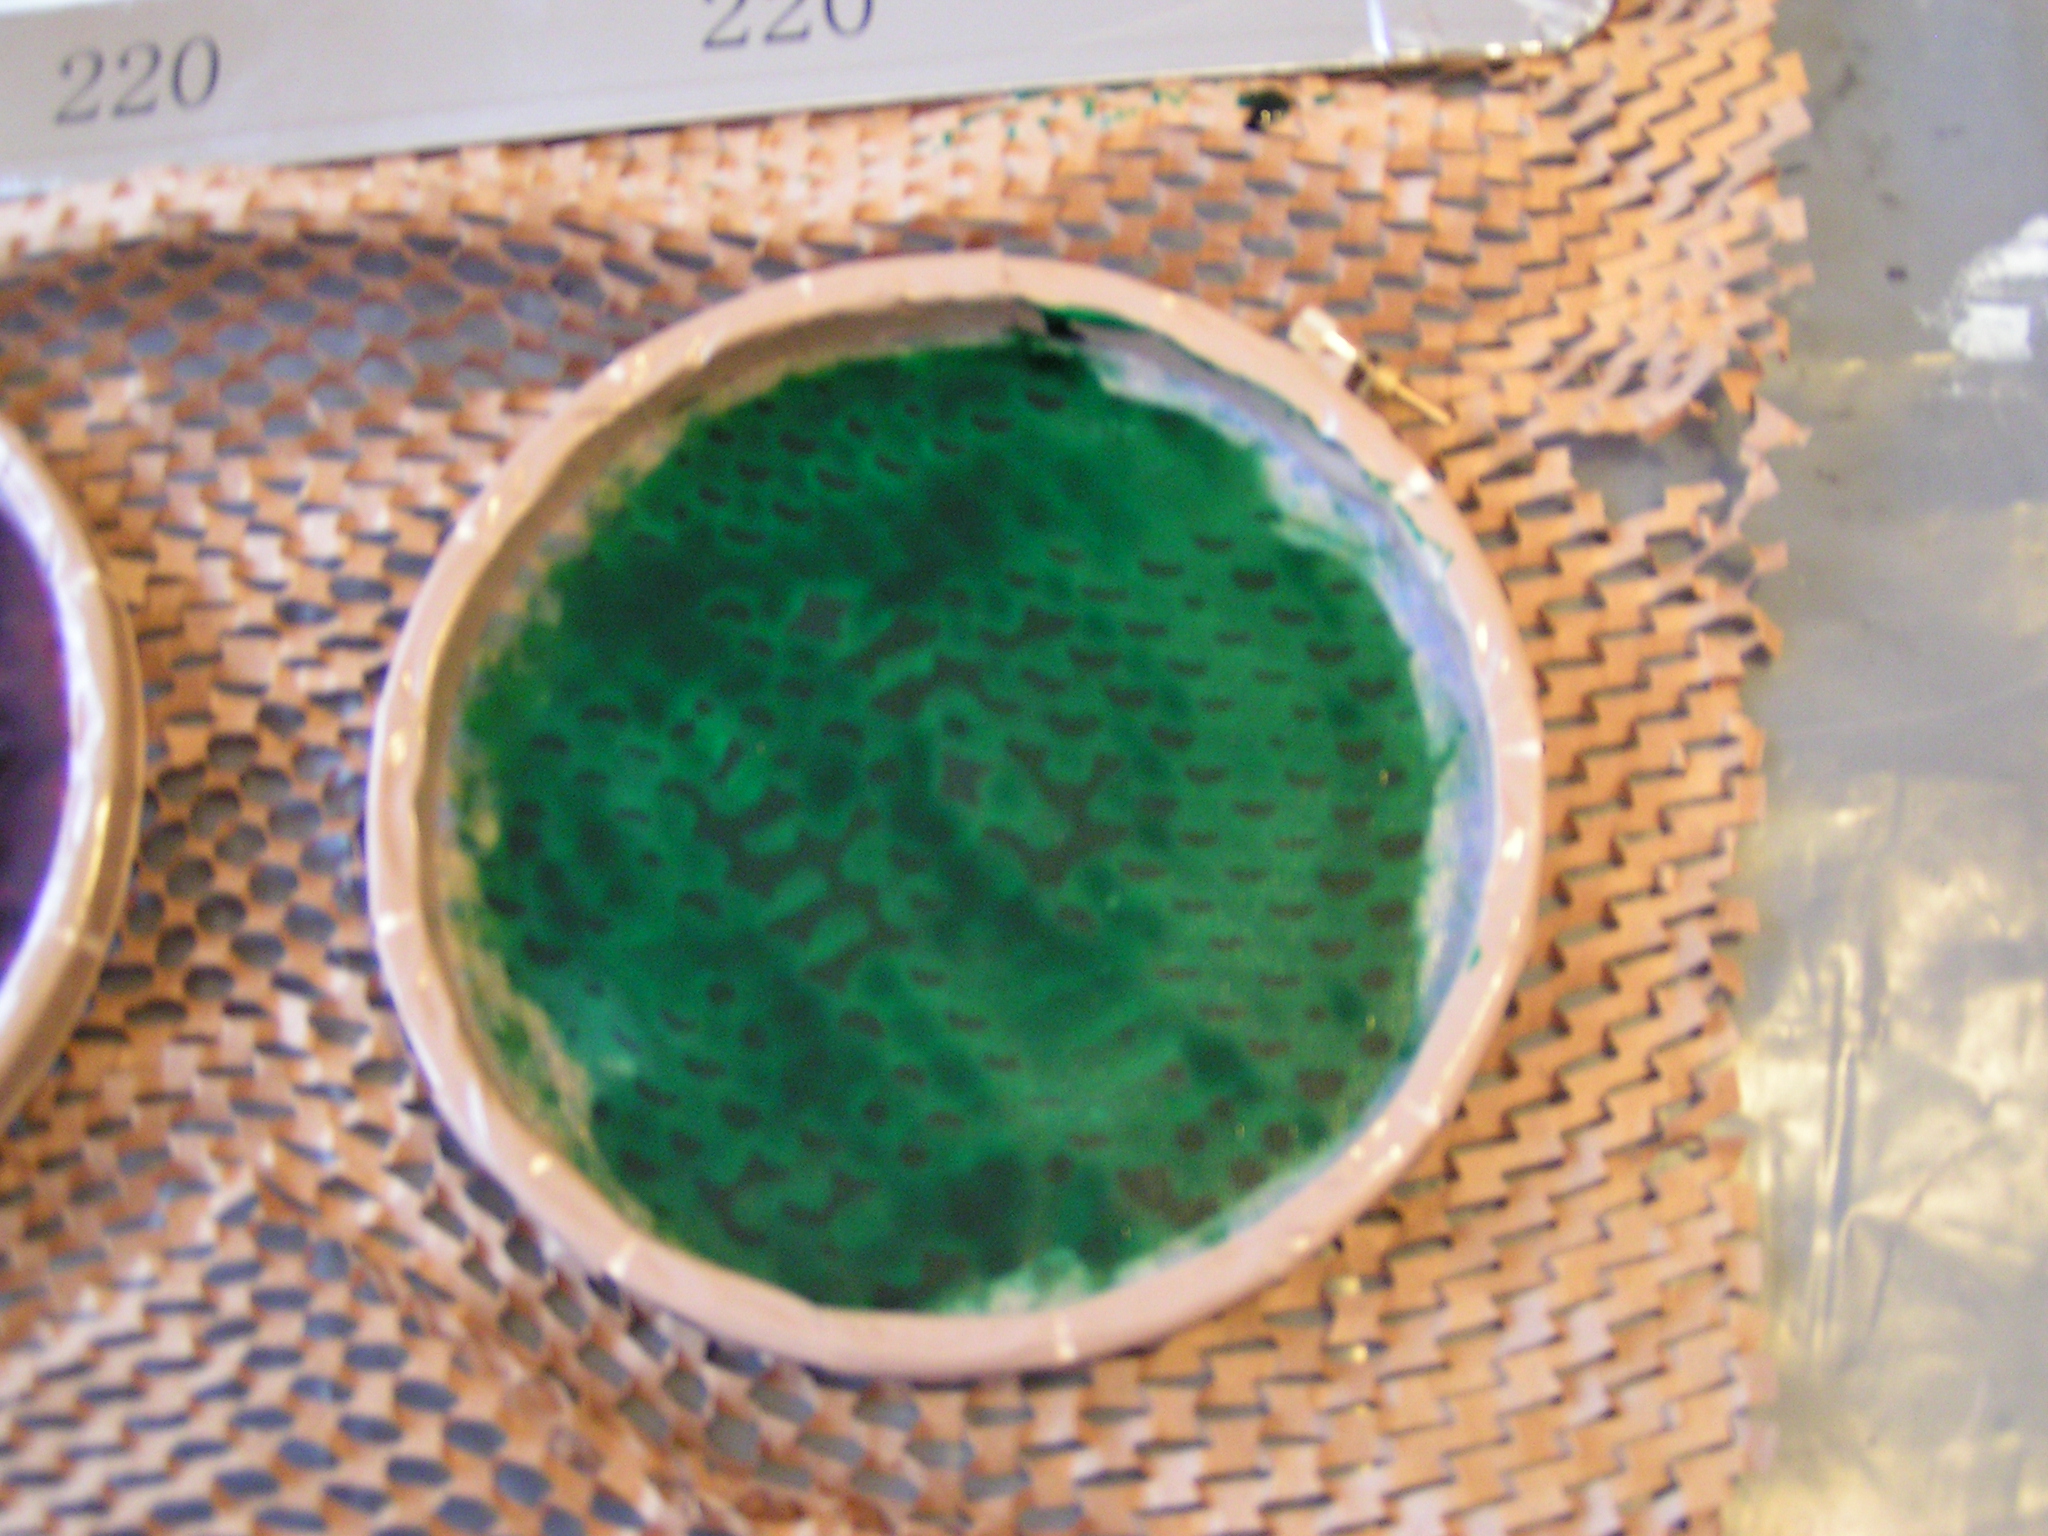 The dry dyes with the texture and then you screen through it with either plain print paste or a different color of thickened dye. The dried dye will break down as you continue to screen through it.
 This one has bubble wrap underneath it.
 This one I used two colors and the texture is polyester curtains.
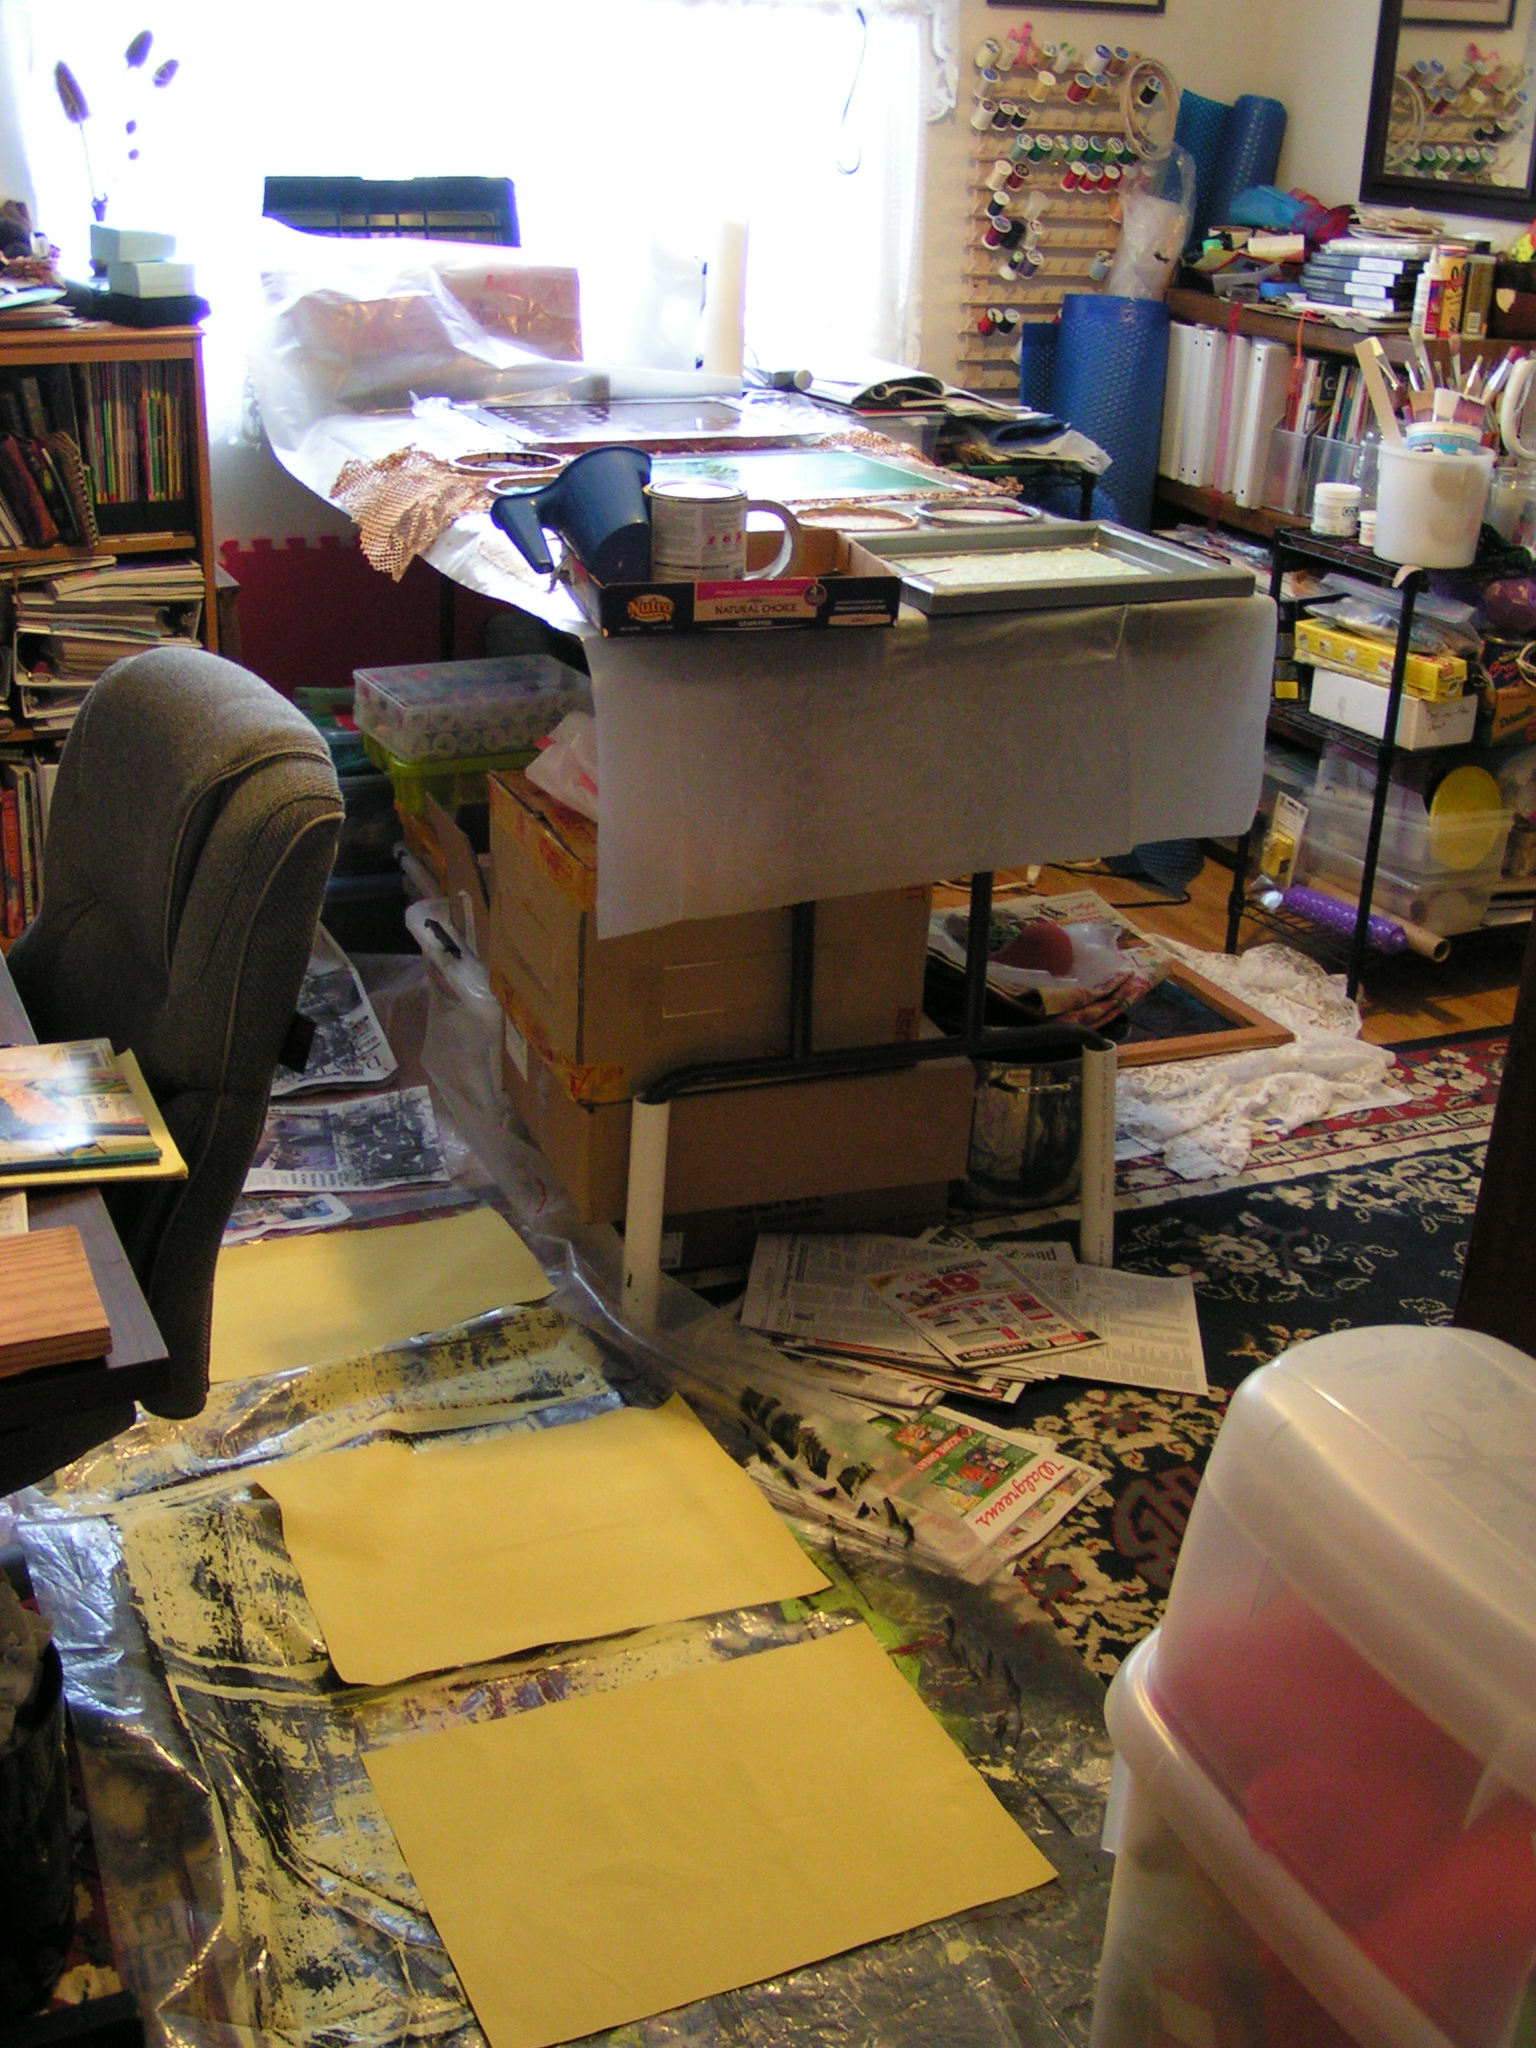 So now, I can’t even hardly walk into my studio. Everything is drying all over the floor, table and wherever else there was space. I’m looking forward to seeing how these screens turn out. I’ll show you next week.
 I did have some time in the evening this week to make some more organza flowers and organza leaves for my ice flower piece. I haven’t stitched anything down yet because I need to have a backing fabric first. I didn’t have a fabric that worked in the right shade of green. So I did some more snow dyeing today to get a dark green. Then I will order some stretcher bars to frame it on. So eventually, I might get this piece done. What have you been up to this week?
