Printing Stripes

I was playing around with foam stamps today and made a stripe roller.

Stripe Roller

Here’s the roller. It’s really simple to make and you can decorate the strips of foam in a variety of ways. You can also make your roller with randomly placed pieces of foam too. But this way you can print a fairly long piece before you run out of ink.

Stripes Printed

I just printed it on a some sketchbook paper that was already colored. Hopefully, next week I will get some felt printed and stenciled to show you. Have a good weekend.

Another Stencil

I’m still working on my next online class and one of the aspects of that class is making stencils. I decided to do a more complex stencil and cut it out with a heat tool. So I used my sketch of a pine cone and developed the stencil from that sketch.

sketchbook pine cone cropped

Here’s the original sketch. I was originally going to try to cut all the pine cone shapes but I decided it would be better with just the outside lines. It would look more like a sketch.

Pine Cone Stencil

The stencil is to the left and then two sketchbook pages that I printed are on the right. I didn’t take a lot of time printing these thus getting ink and paint under the stencil since I was in a hurry. But I think that the pine cone still looks like a pine cone and the “blobby” bits just add more dimension to the stencil. Haven’t tried printing on felt yet with this one, that’s the next step. Have a great weekend.

Layered Paper and New Stencil

I saw a video on Facebook this week using layering of stencils by Mary Beth Shaw of Stencil Girl. I decided to try the process out today. I already had some papers that could be used for backgrounds. I don’t have very many stencils that are just patterns though. So I had to  make do with what I had.

The photo on the left is where I started and the photo on the right is finished. I used my stencil that is based on bark but actually always looks more like an animal print. It’s an easy technique. You just keep using the same stencil and different paint colors. You keep moving the stencil into different positions and layering paint.

The next one used a painted sketchbook page and then using a commercial flower stencil. I didn’t do as much layering on this one. It’s an interesting technique that I think makes some great paper for collage and art journal pages.

Wild Geranium Inspiration Photo

This is a wild geranium that grew in my flower bed. I decided to use this photo to create a stencil.

On the left, I added it to one of my already painted backgrounds. You can see the stencil on the right side of that photo. The photo on the right shows the stencil using ink from stamp pads on to scrap paper, very wrinkled scrap paper. Still working on my online stencil and print class if you couldn’t tell 🙂


Lino Cut Stamps

Still working away on my next online class so I made a few smaller stamps (about 2″ diameter). I started with a geometric one that I forgot to get a photo of because I didn’t really like it all that much. Then I made one that looked more like a dandelion seed head. That got me going on seed pods so I made a different one.

Pod Stamps

Here are the stamps with their prints on paper. I think I will make a few more of these seed related ones.

Pod Stamps on Felt

Here I tested them out on a scrap piece of felt. I printed these with screen printing ink instead of thickened dye since I didn’t have time to get that all set up. I also worked today on some free motion machine stitching on felt which I will post about on Sunday over at The Felting and Fiber Studio.

Lazertran Decals and Transfers

Our local surface design group met today and we played with a product new to us called Lazertran. Bunny took care of ordering all the supplies and figuring out what we needed. Basically this is a transfer process so we all came with photographs to transfer.

Carole did a demo for us. These are the decal type Lazertran sheets. They can be applied to smooth surfaces such as glass, tile or even wood. Once the Lazertran sheet is printed in the computer, it is soaked in plain water and the paper backing is removed. Then it is applied directly to the tile. Once it has dried, the item is baked in the oven at 200 degrees for 10 minutes. Aren’t Carole’s great grand kids cute?

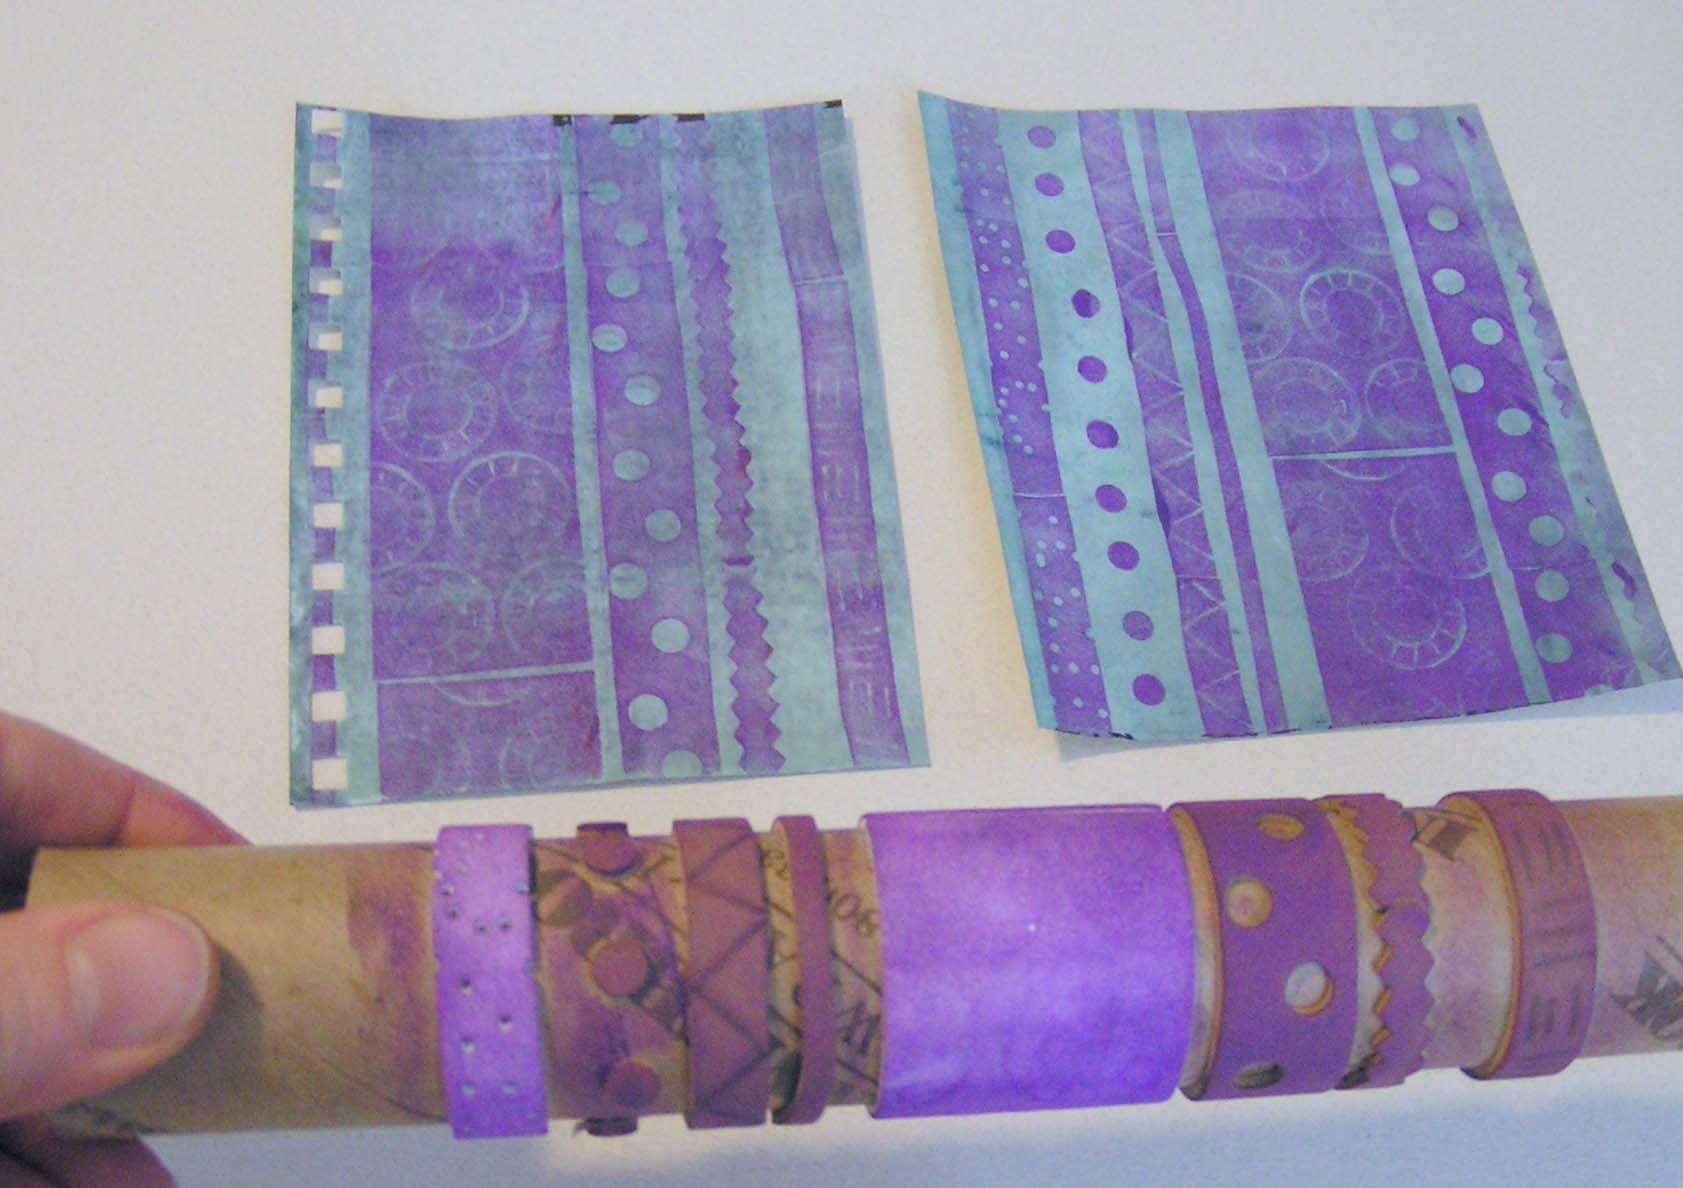
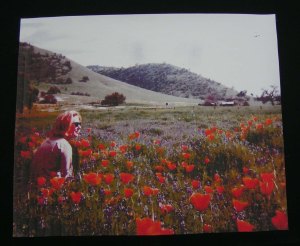
The other process that you can use with Lazertran is to apply it to fabric. There is a specific Lazertran sheet for silk, for white fabric, for black fabric and for decals. The instructions are all different with each kind. So it gets a little confusing. Once the Lazertran sheet is printed, the white borders are cut off. For the silk variety, you iron the Lazertran to the fabric and then soak it in water to remove the paper backing. Here’s Louise showing off her creation. This is a photo of one of her original pieces of artwork.

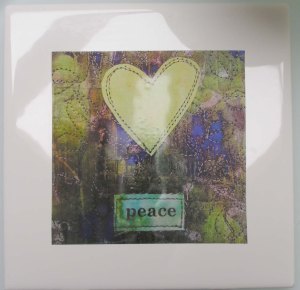
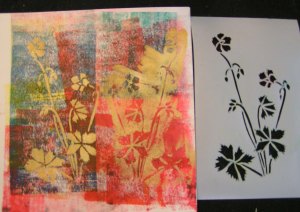
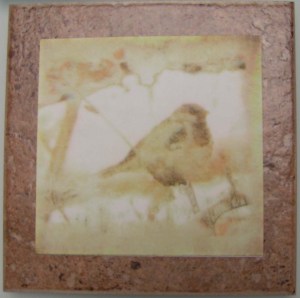
The Lazertran sheets for other fabric has you peel the paper backing off first and then ironing it to the fabric. The left hand photo shows a photo of Paula’s mother and the right hand photo is a decal on a tile of Sally’s original artwork. I only ended up making one piece and I have a couple more that I will probably do here at home. The hand of the fabric is really changed by the decals and they are quite shiny and have the look of plastic. I couldn’t decide what I would do with any of these as they aren’t really my style. But perhaps I can figure out what to put my decal on eventually. Have you used Lazertran before? Did you like it?