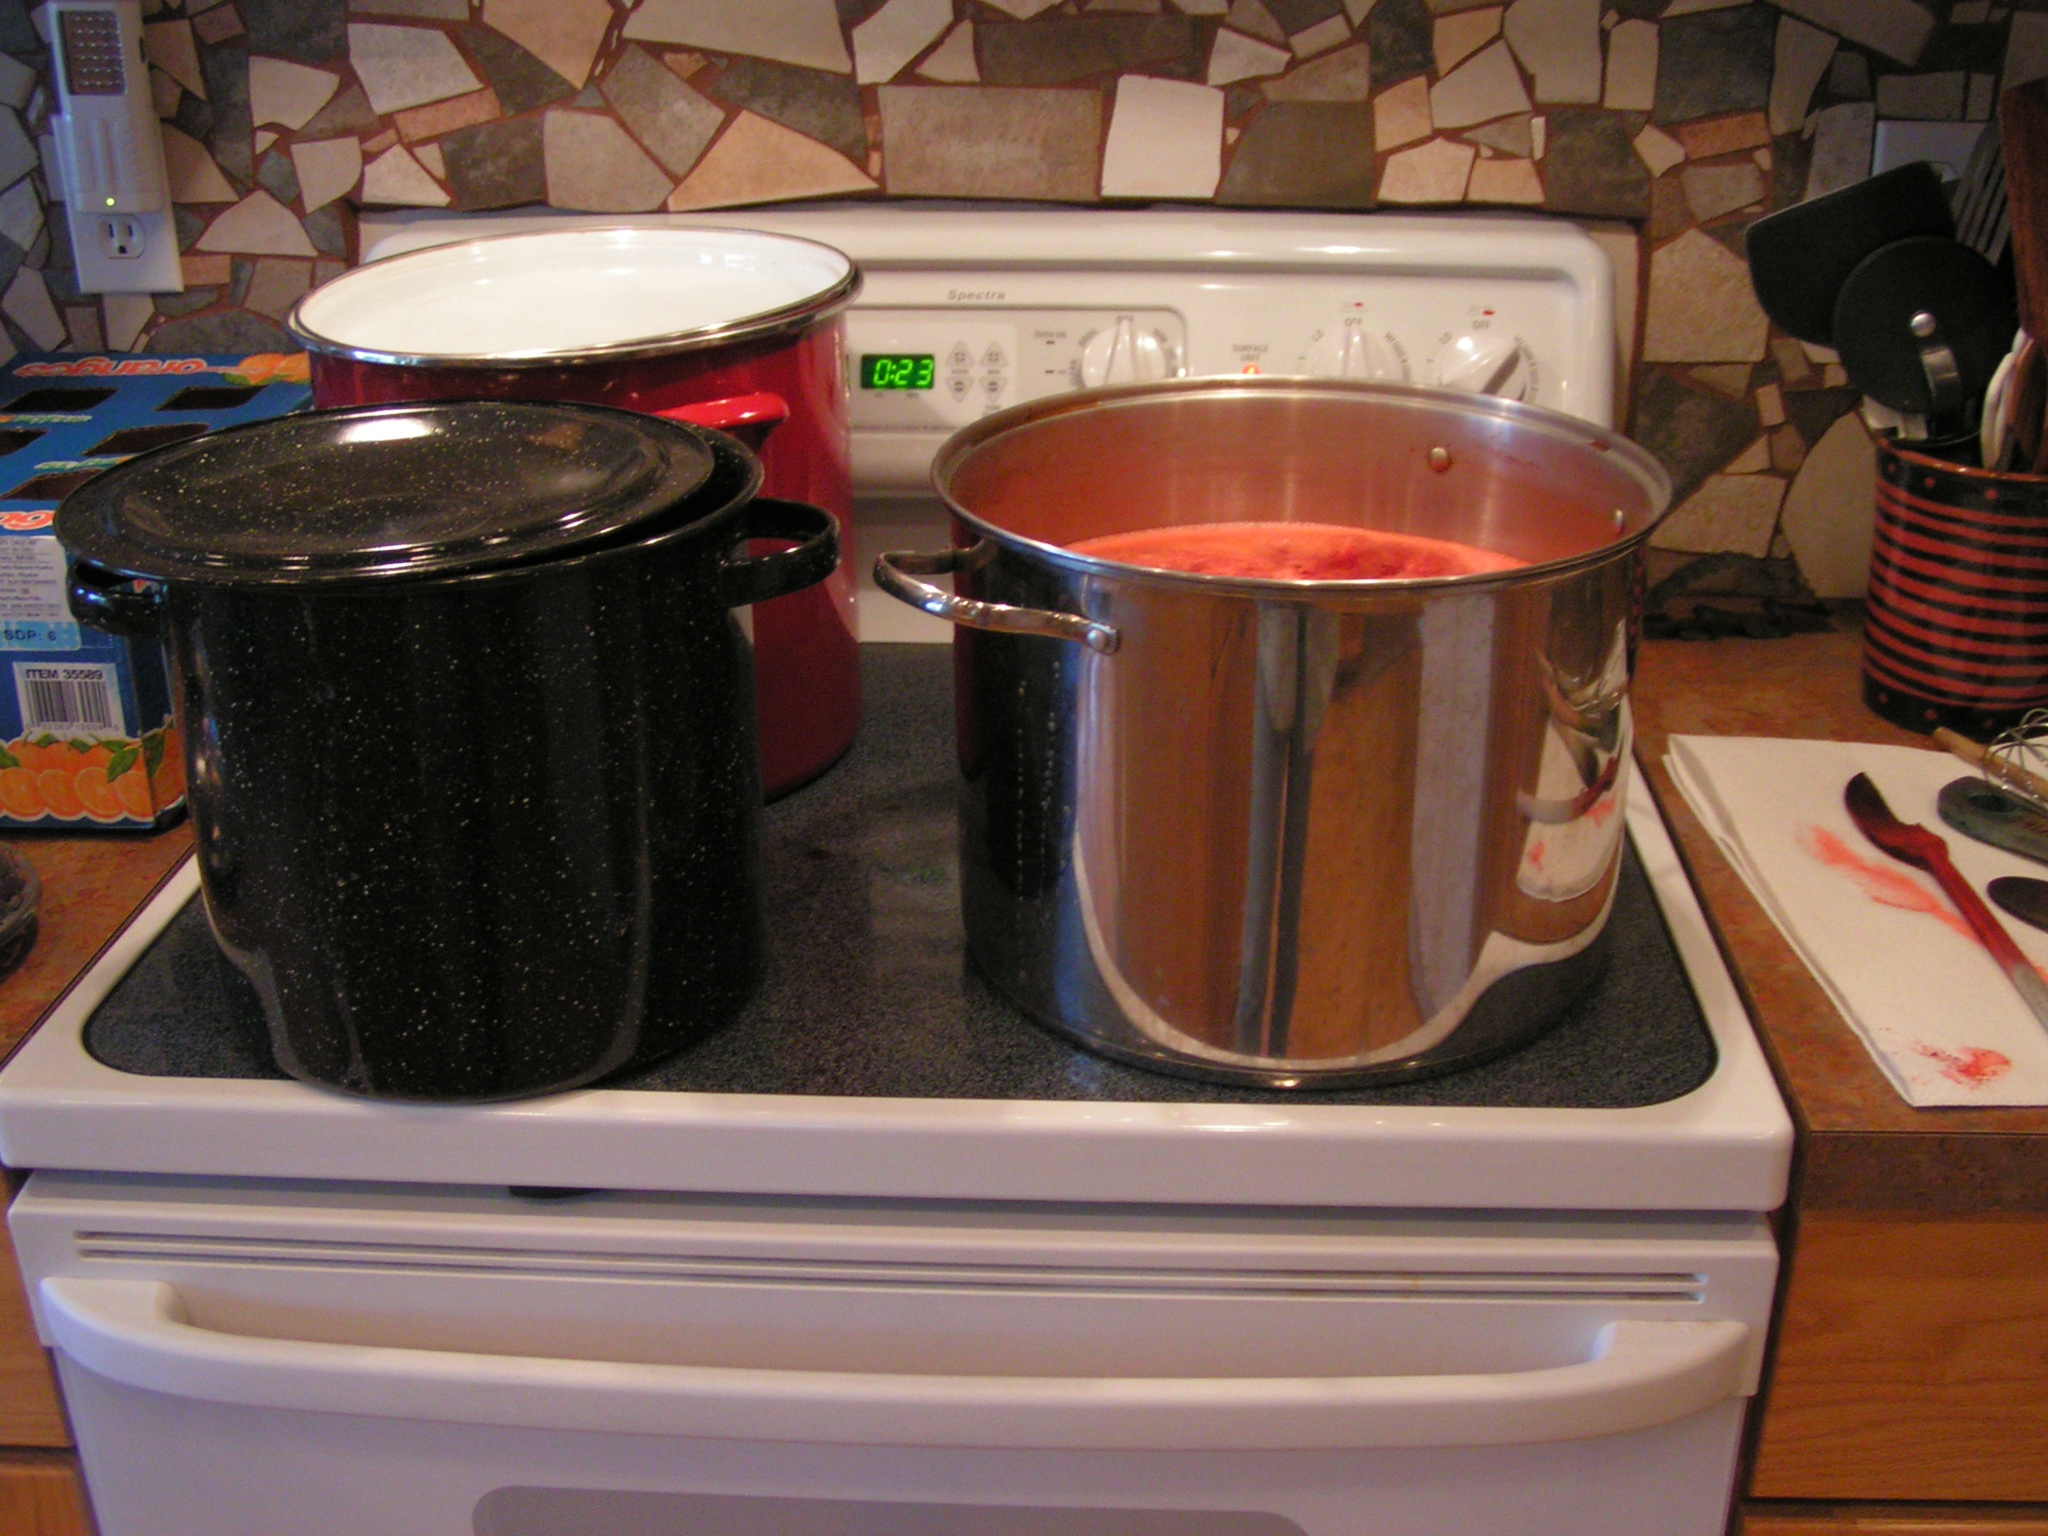
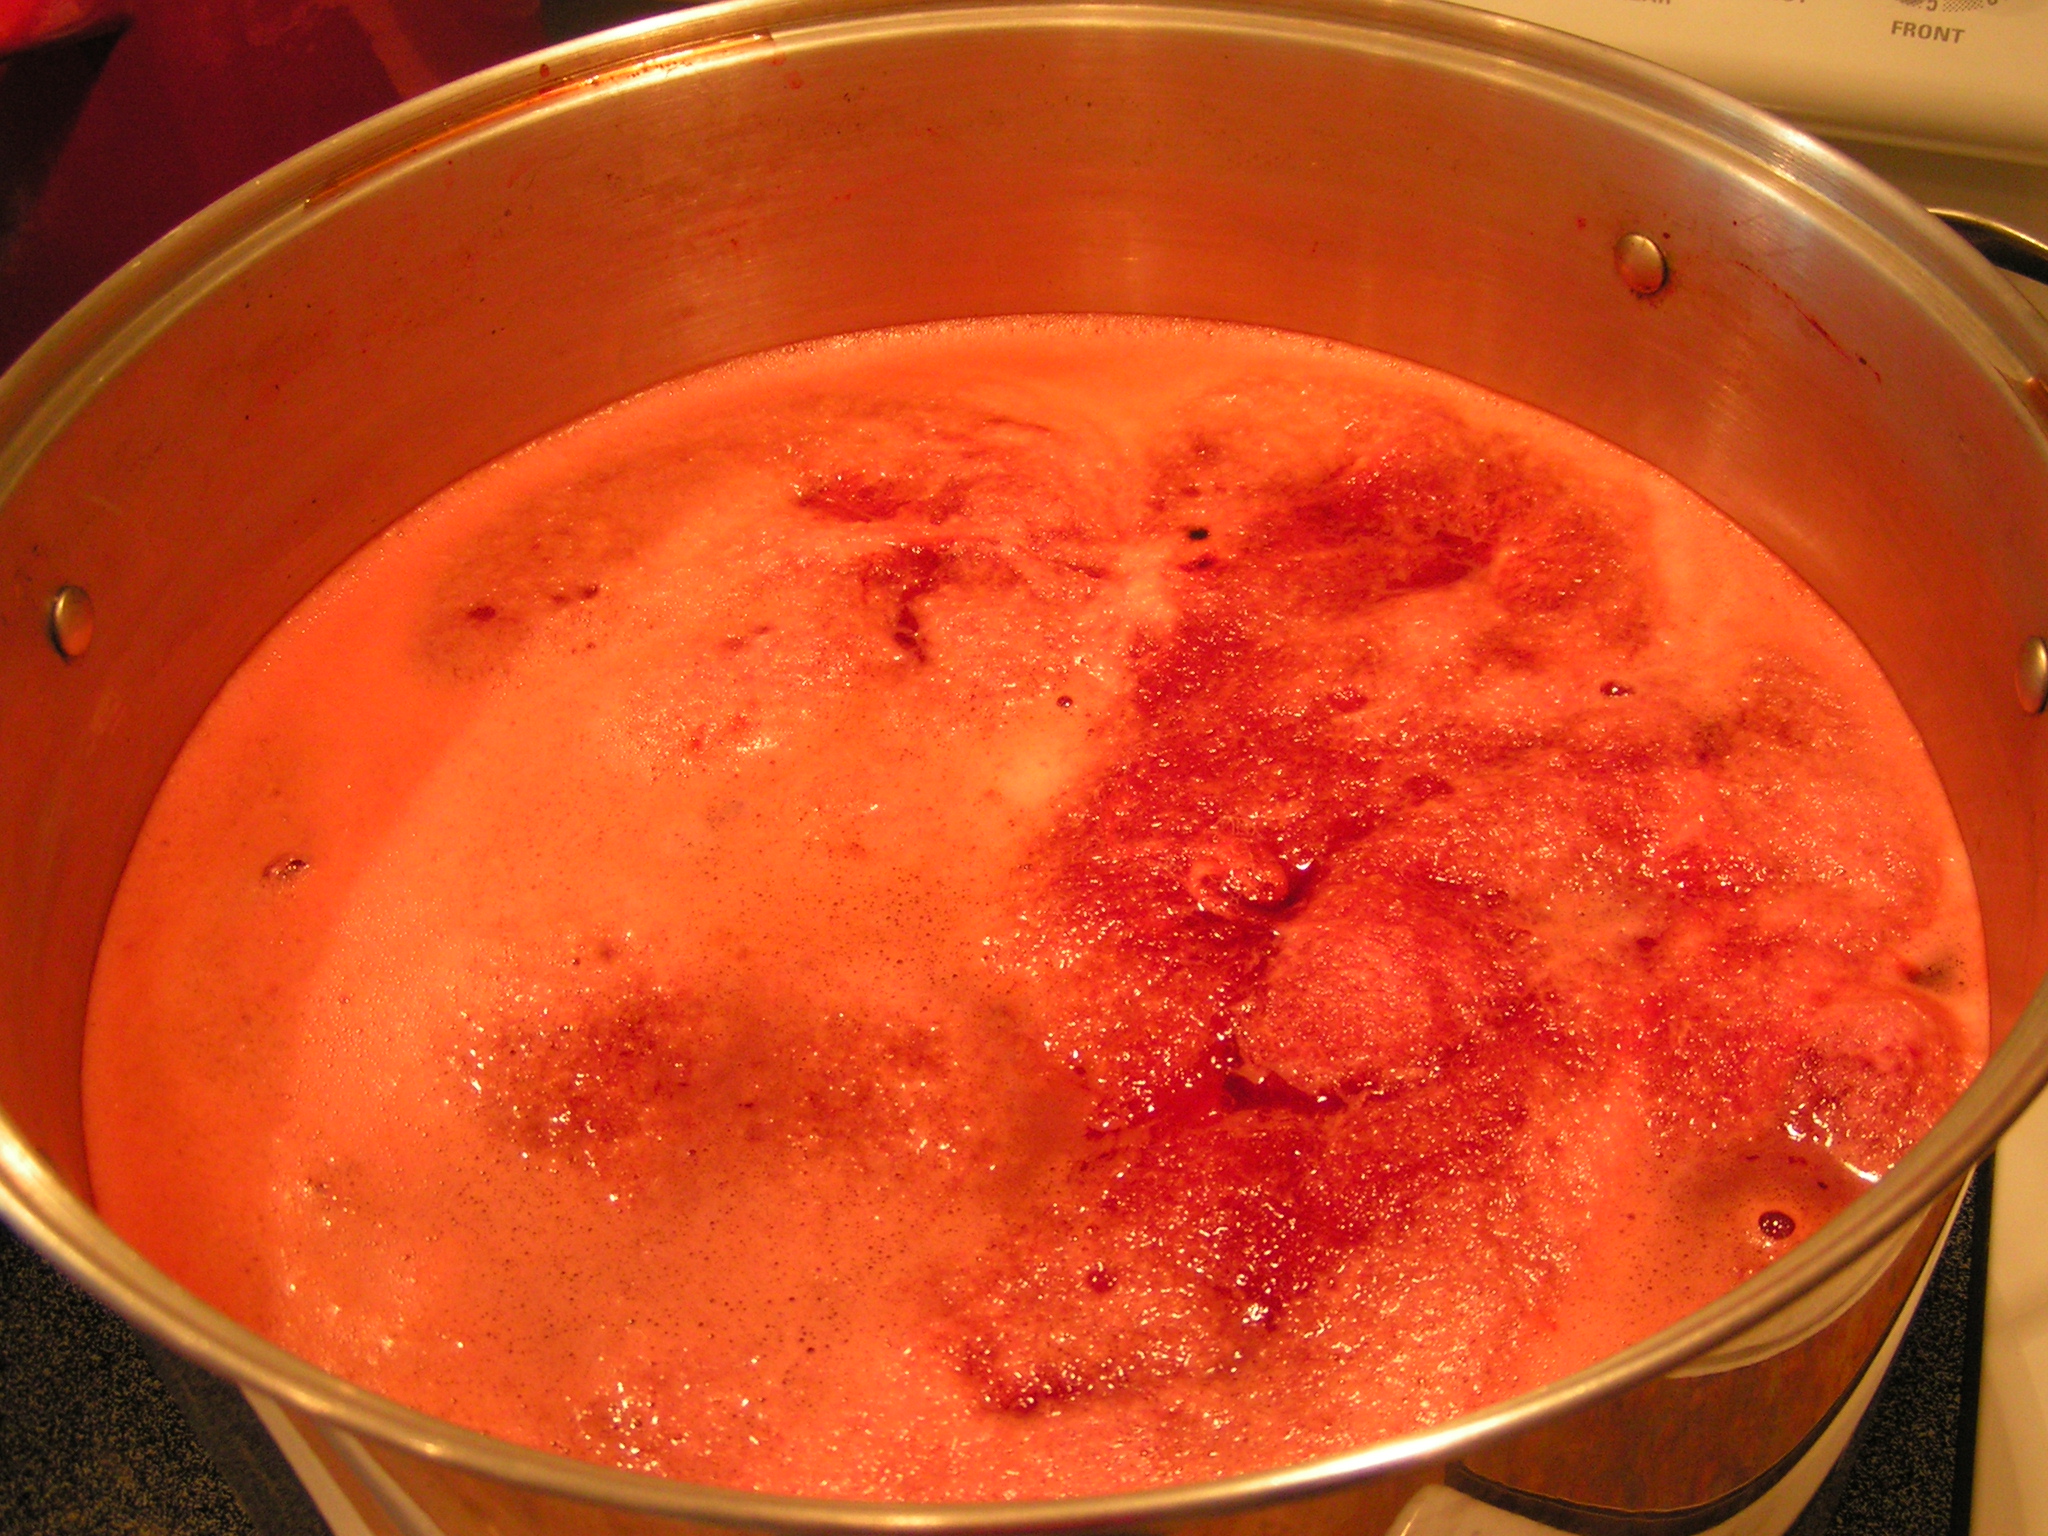
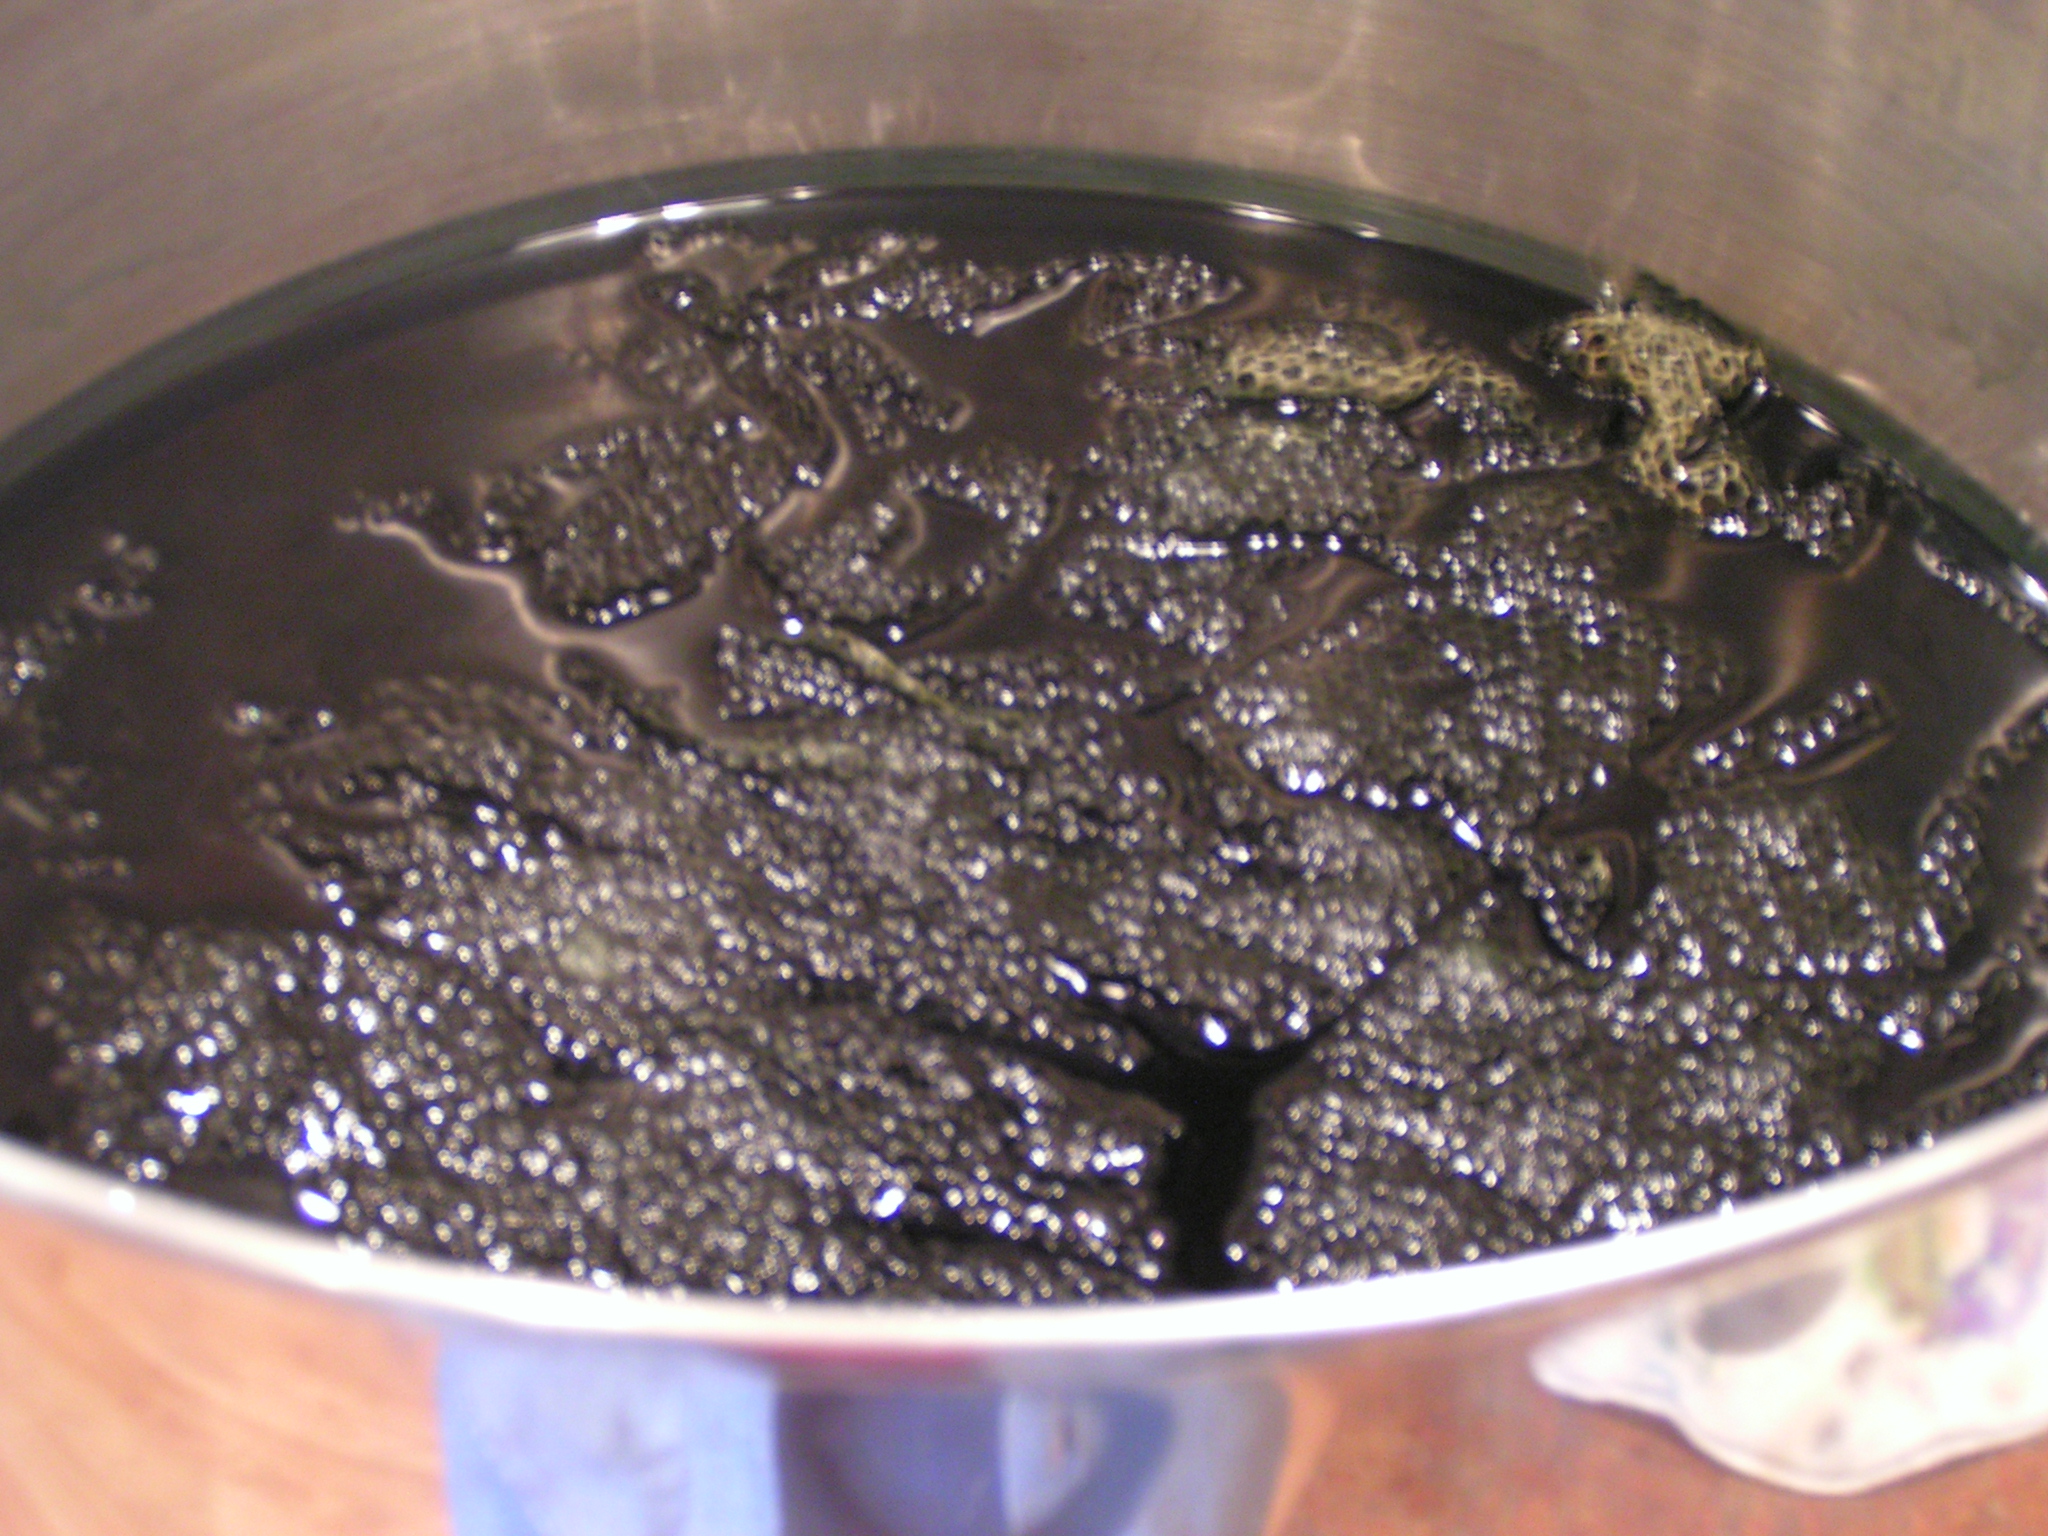
Have you ever had a piece of fabric that you really liked but you couldn’t use it because you were afraid to “ruin” it? This is what happened with this particular piece of snow dyed fabric. It immediately reminded me of flowers and I thought it would be great to machine stitch the flowers. I dyed this piece of fabric nearly a year ago but I still hadn’t done anything with it.

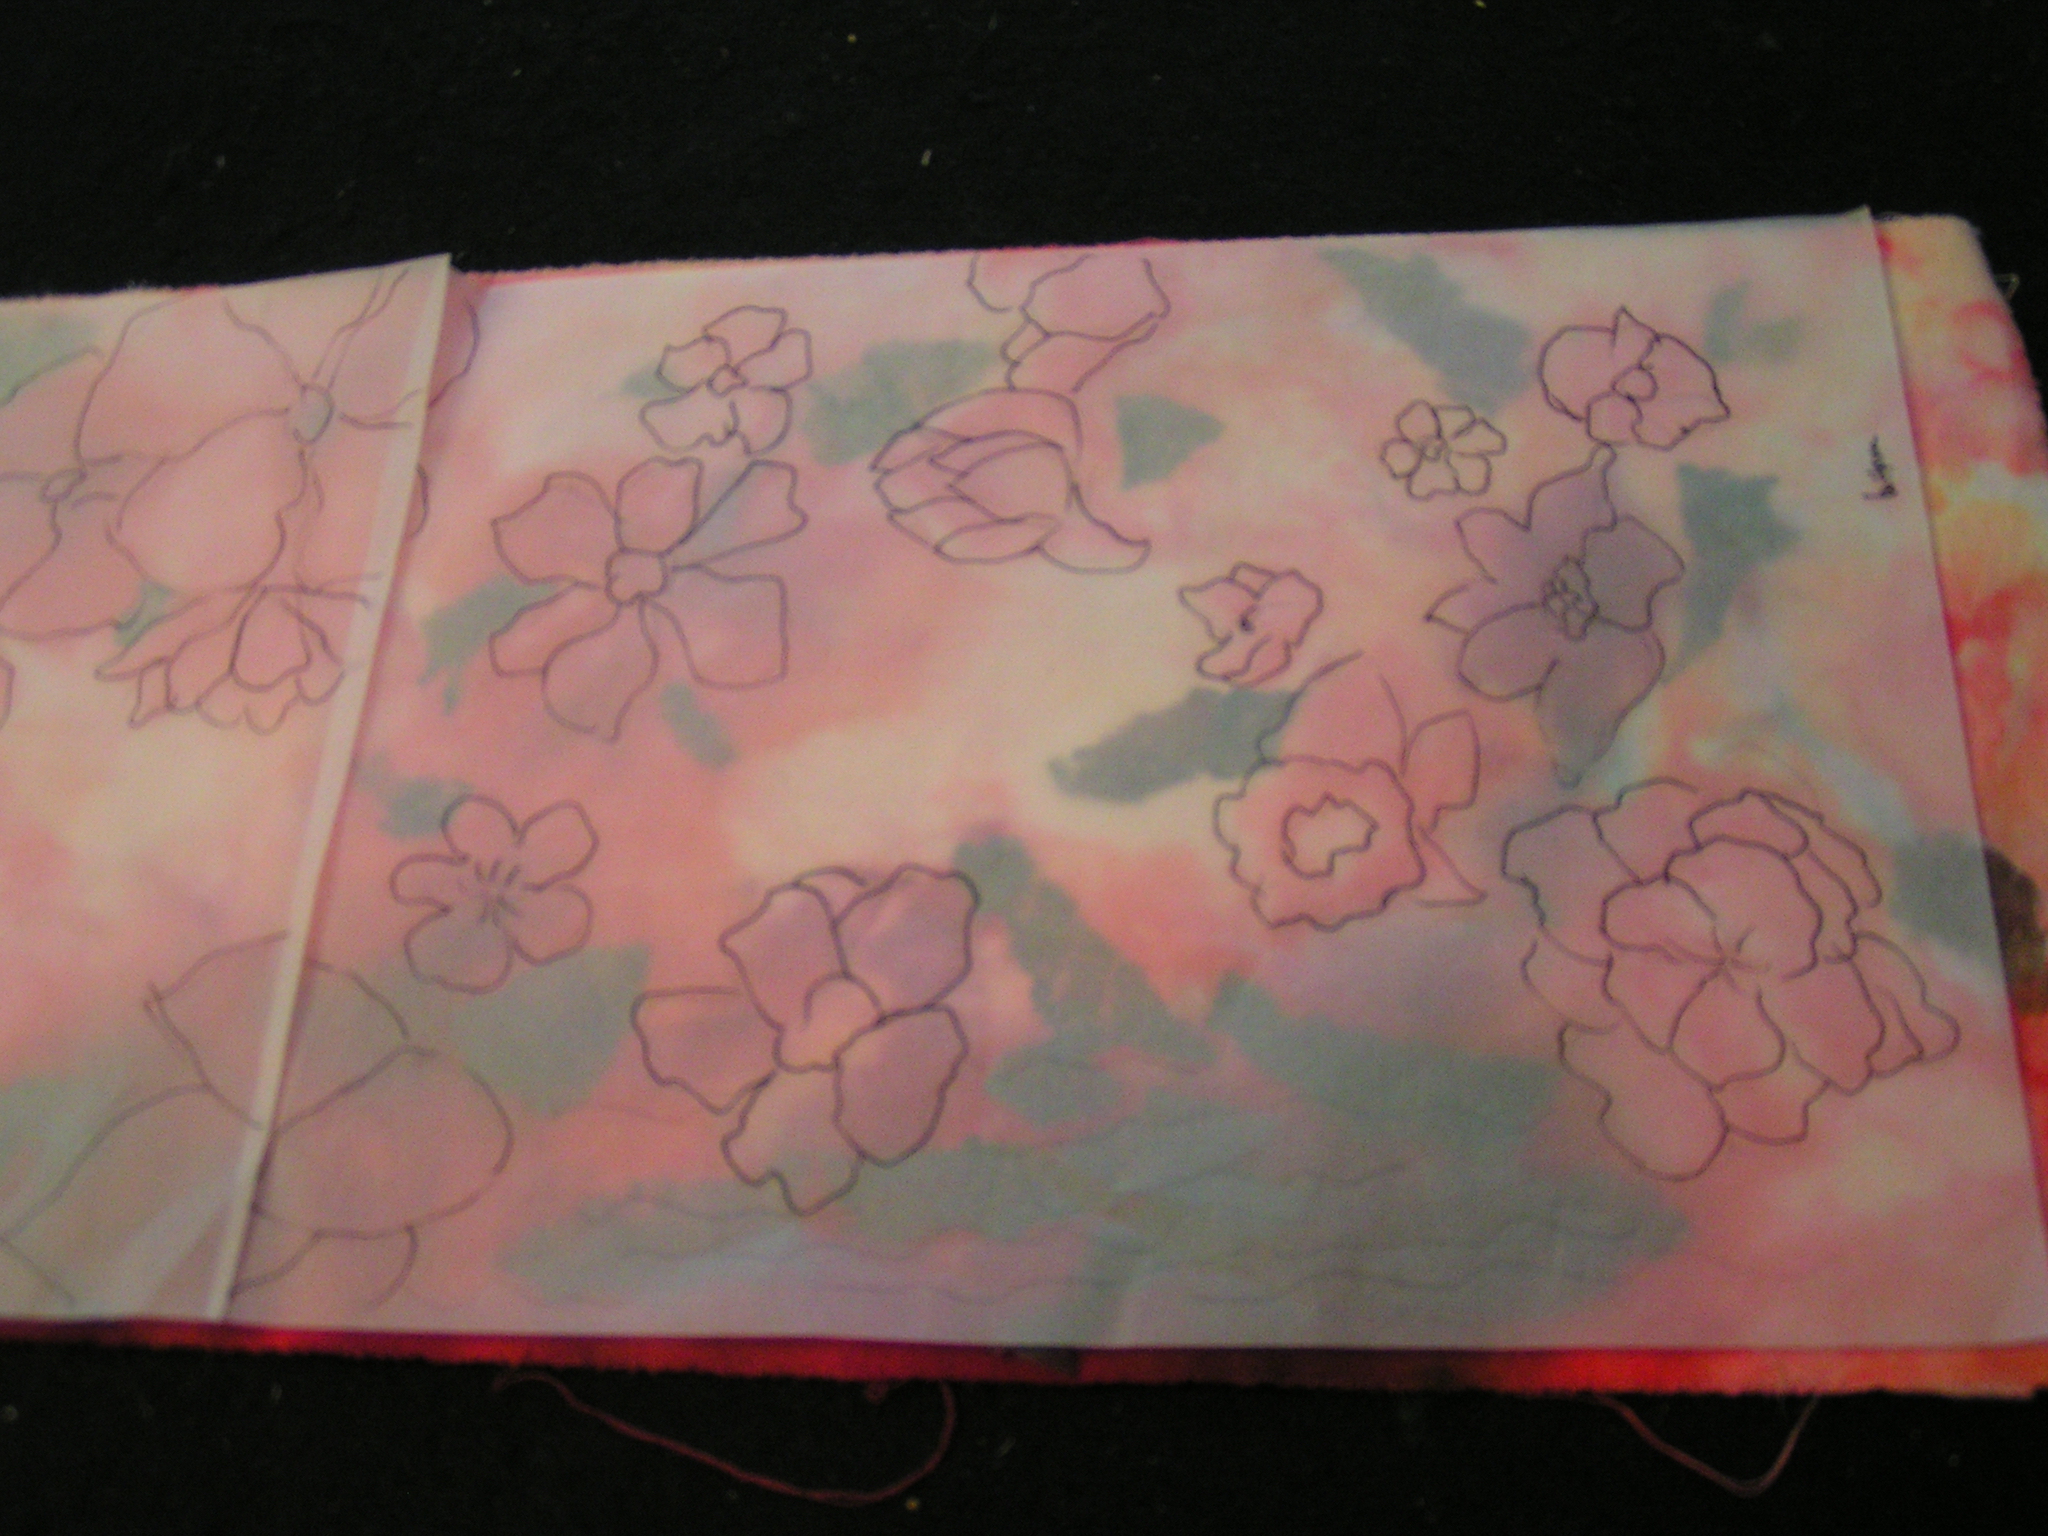
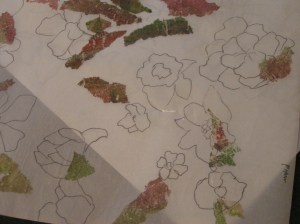
So about 3-4 months ago, I finally got out some tracing paper to figure out where I thought it would be best to stitch.
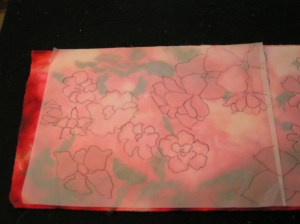
I put the tracing paper over top and then drew in some flower shapes.
 It took two pieces of tracing paper to cover the fabric which will be oriented vertically. Then, I couldn’t seem to go any further with it. I kept hemming and hawing about how I would hang it and how the edges would be done. And didn’t start any stitching. Finally, I decided I would just start stitching. All that back and forth was really because I was afraid to start. I’m not sure why, but I finally just couldn’t stand not doing anything with it and decided I would “just do it”.
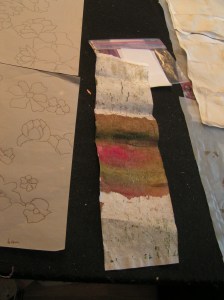
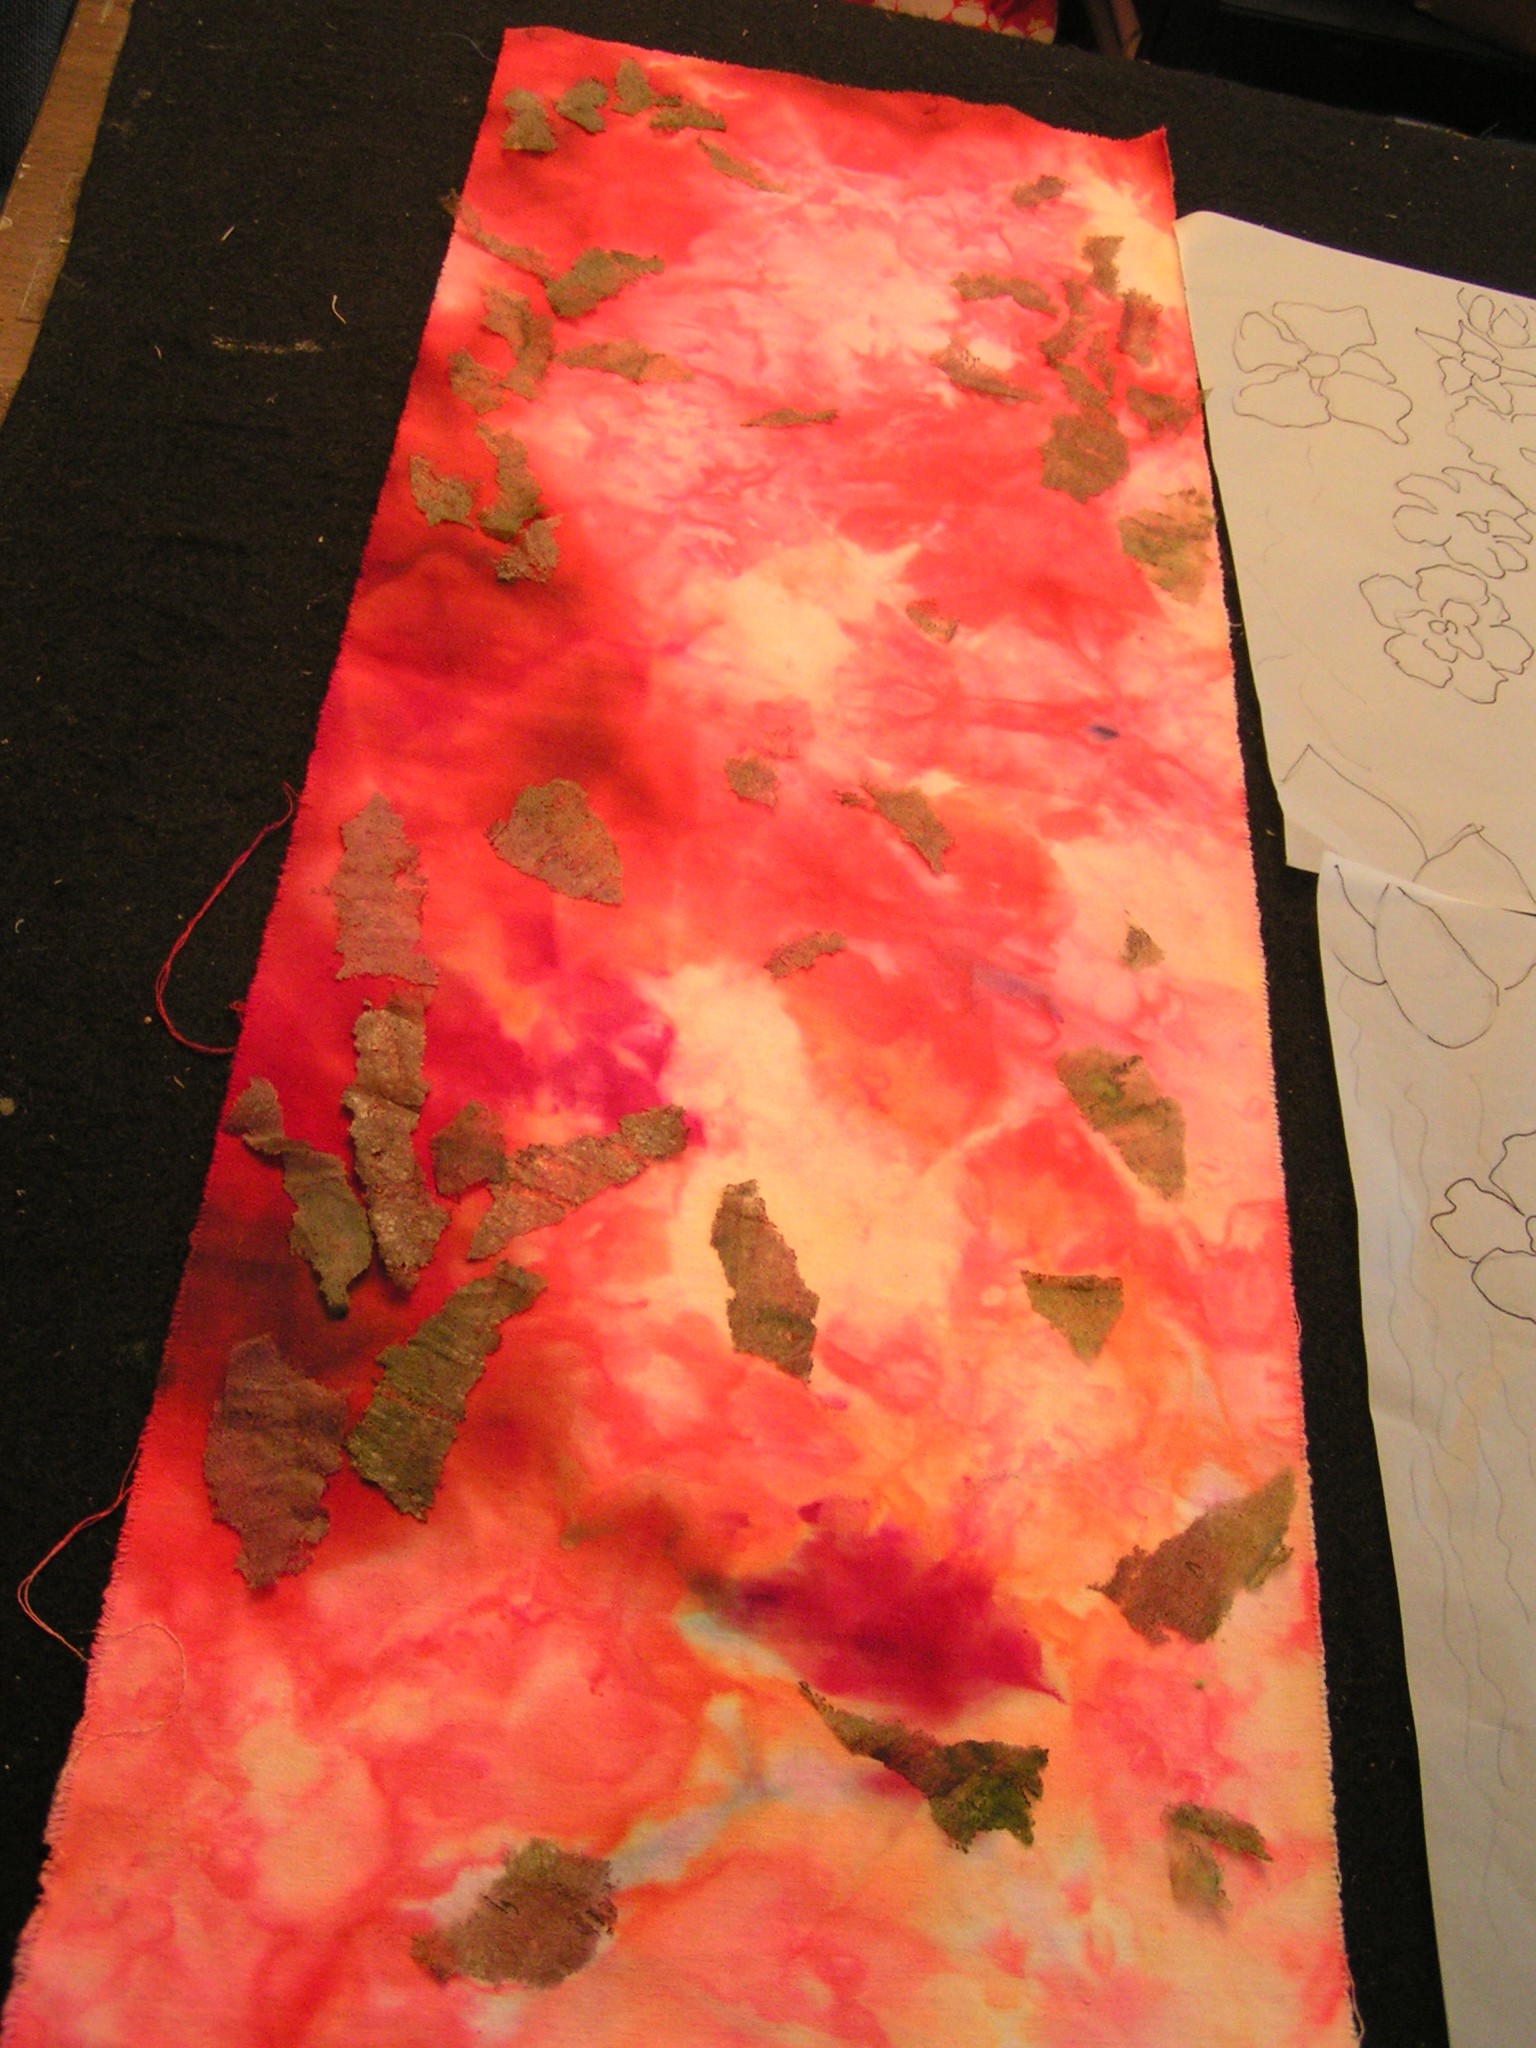
I had some already painted fusible that I thought would work for leaves.
 I tore up the fusible and placed the leaves. I had my flower pattern nearby so I could put the leaves in the appropriate spots without covering where I wanted to stitch flowers.
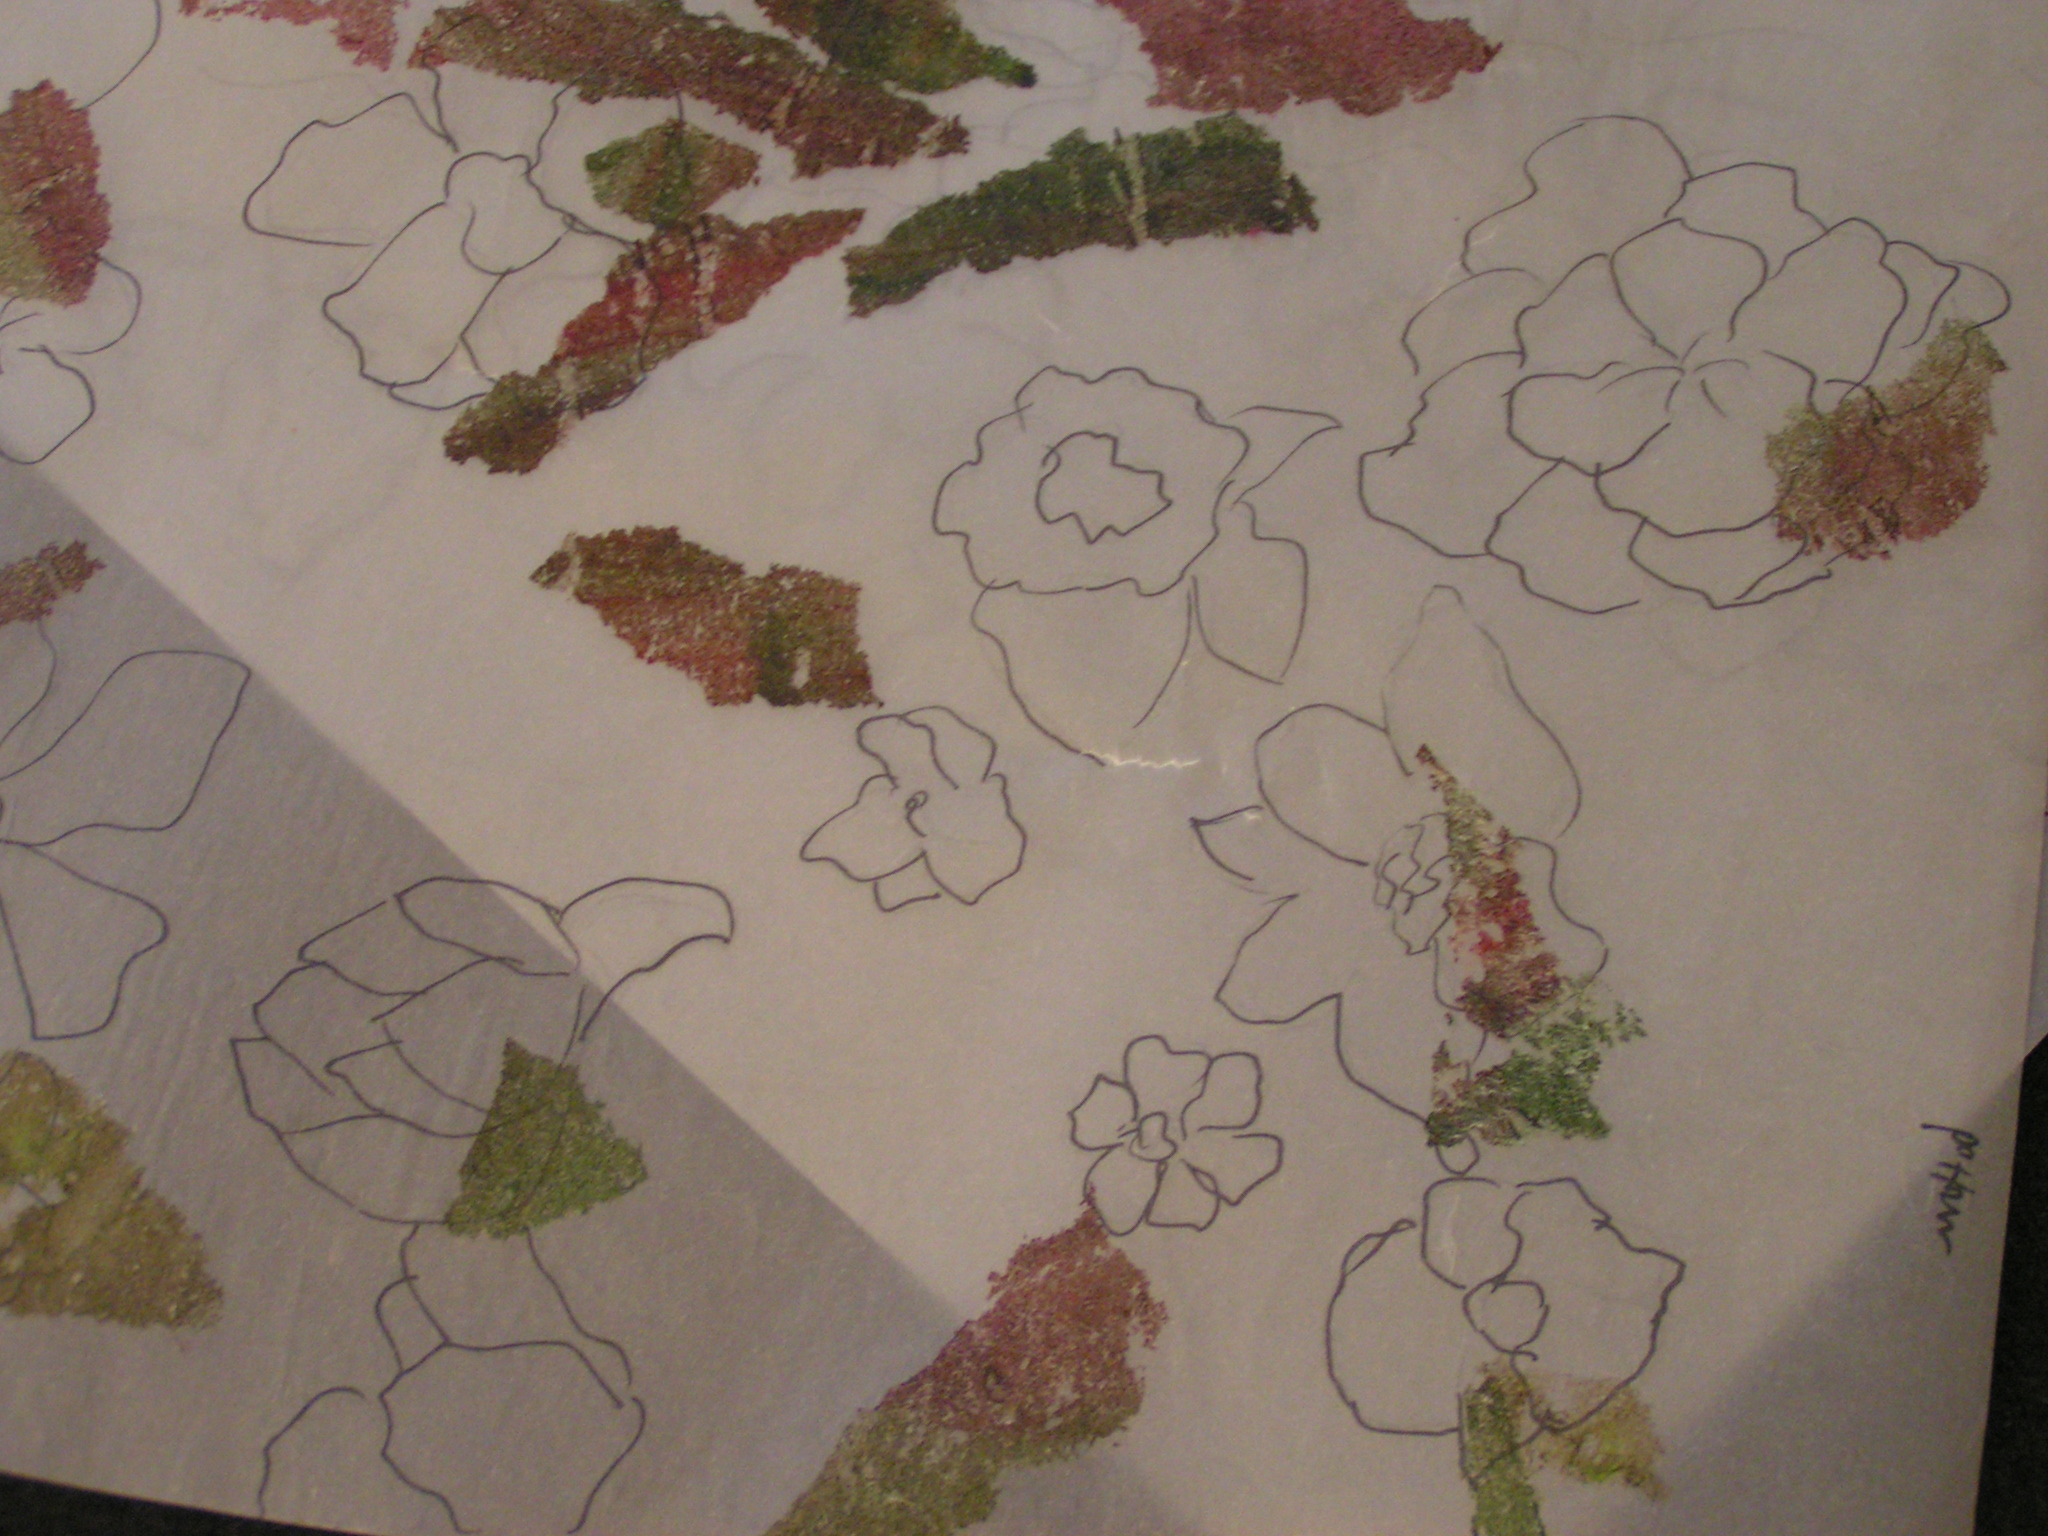
 And then, since I already had the tracing paper right there, I used it to cover the fusible so that I could iron it on. I figured tracing paper was close enough to parchment paper that it would work. NOT! The fusible just glued itself right on to the tracing paper. Luckily, I hadn’t used all the painted fusible so I didn’t have to start all over again. You would think that this would be enough to stop me in my tracks but I just plowed ahead.
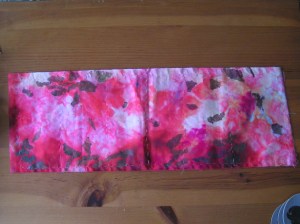
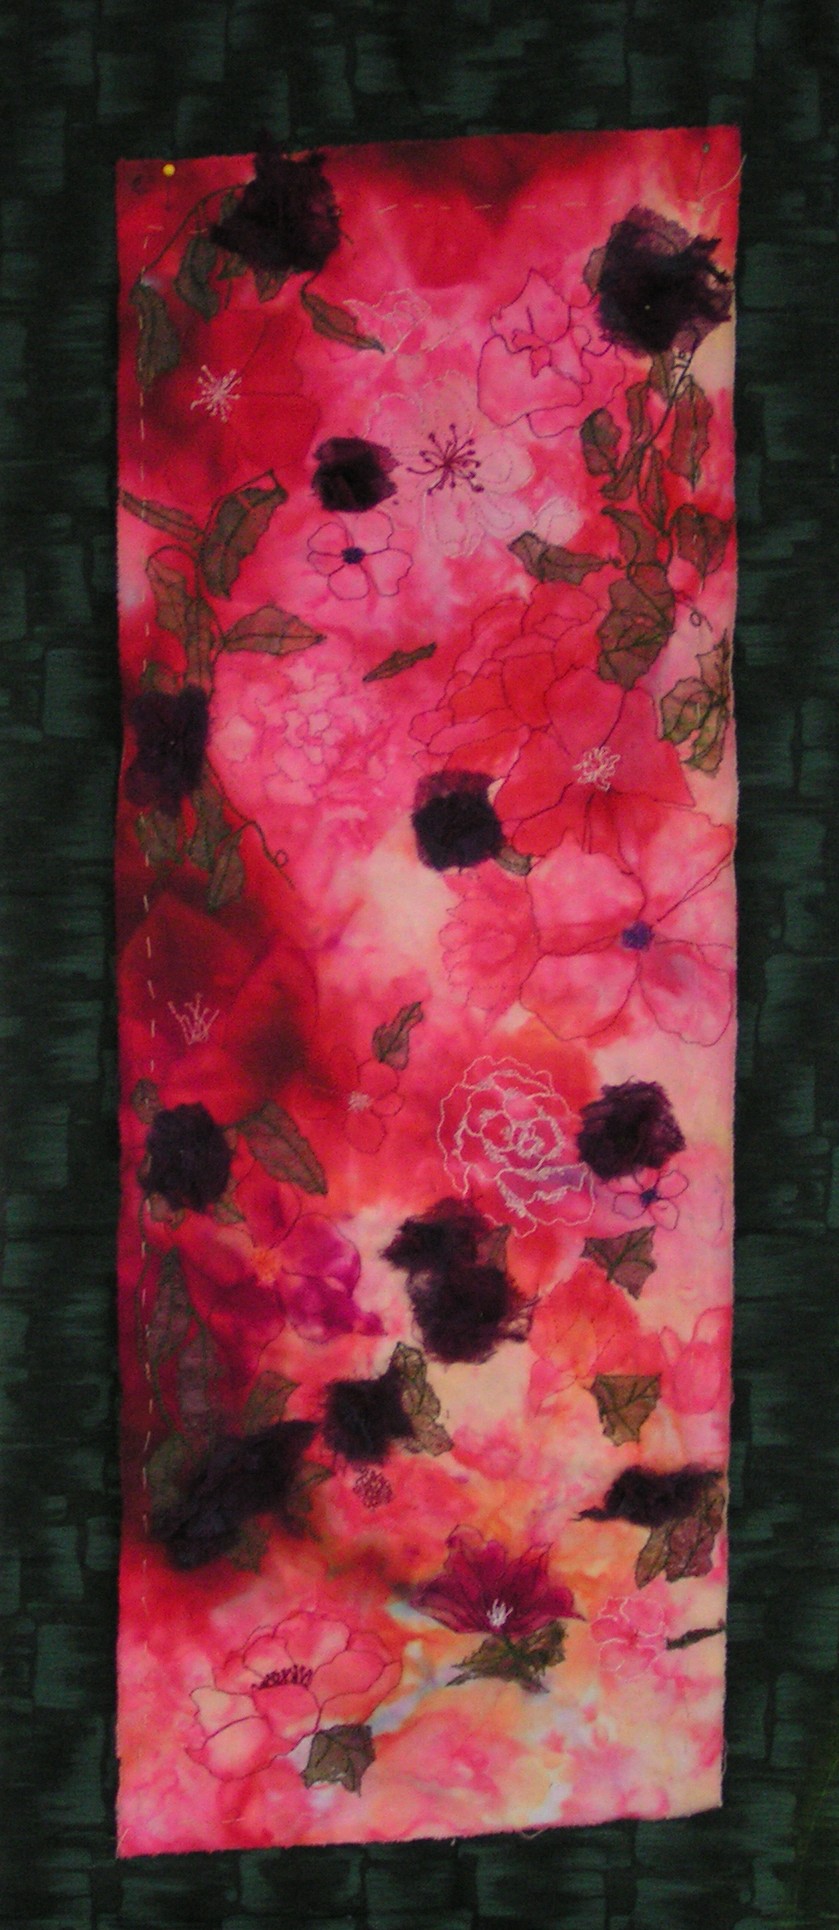
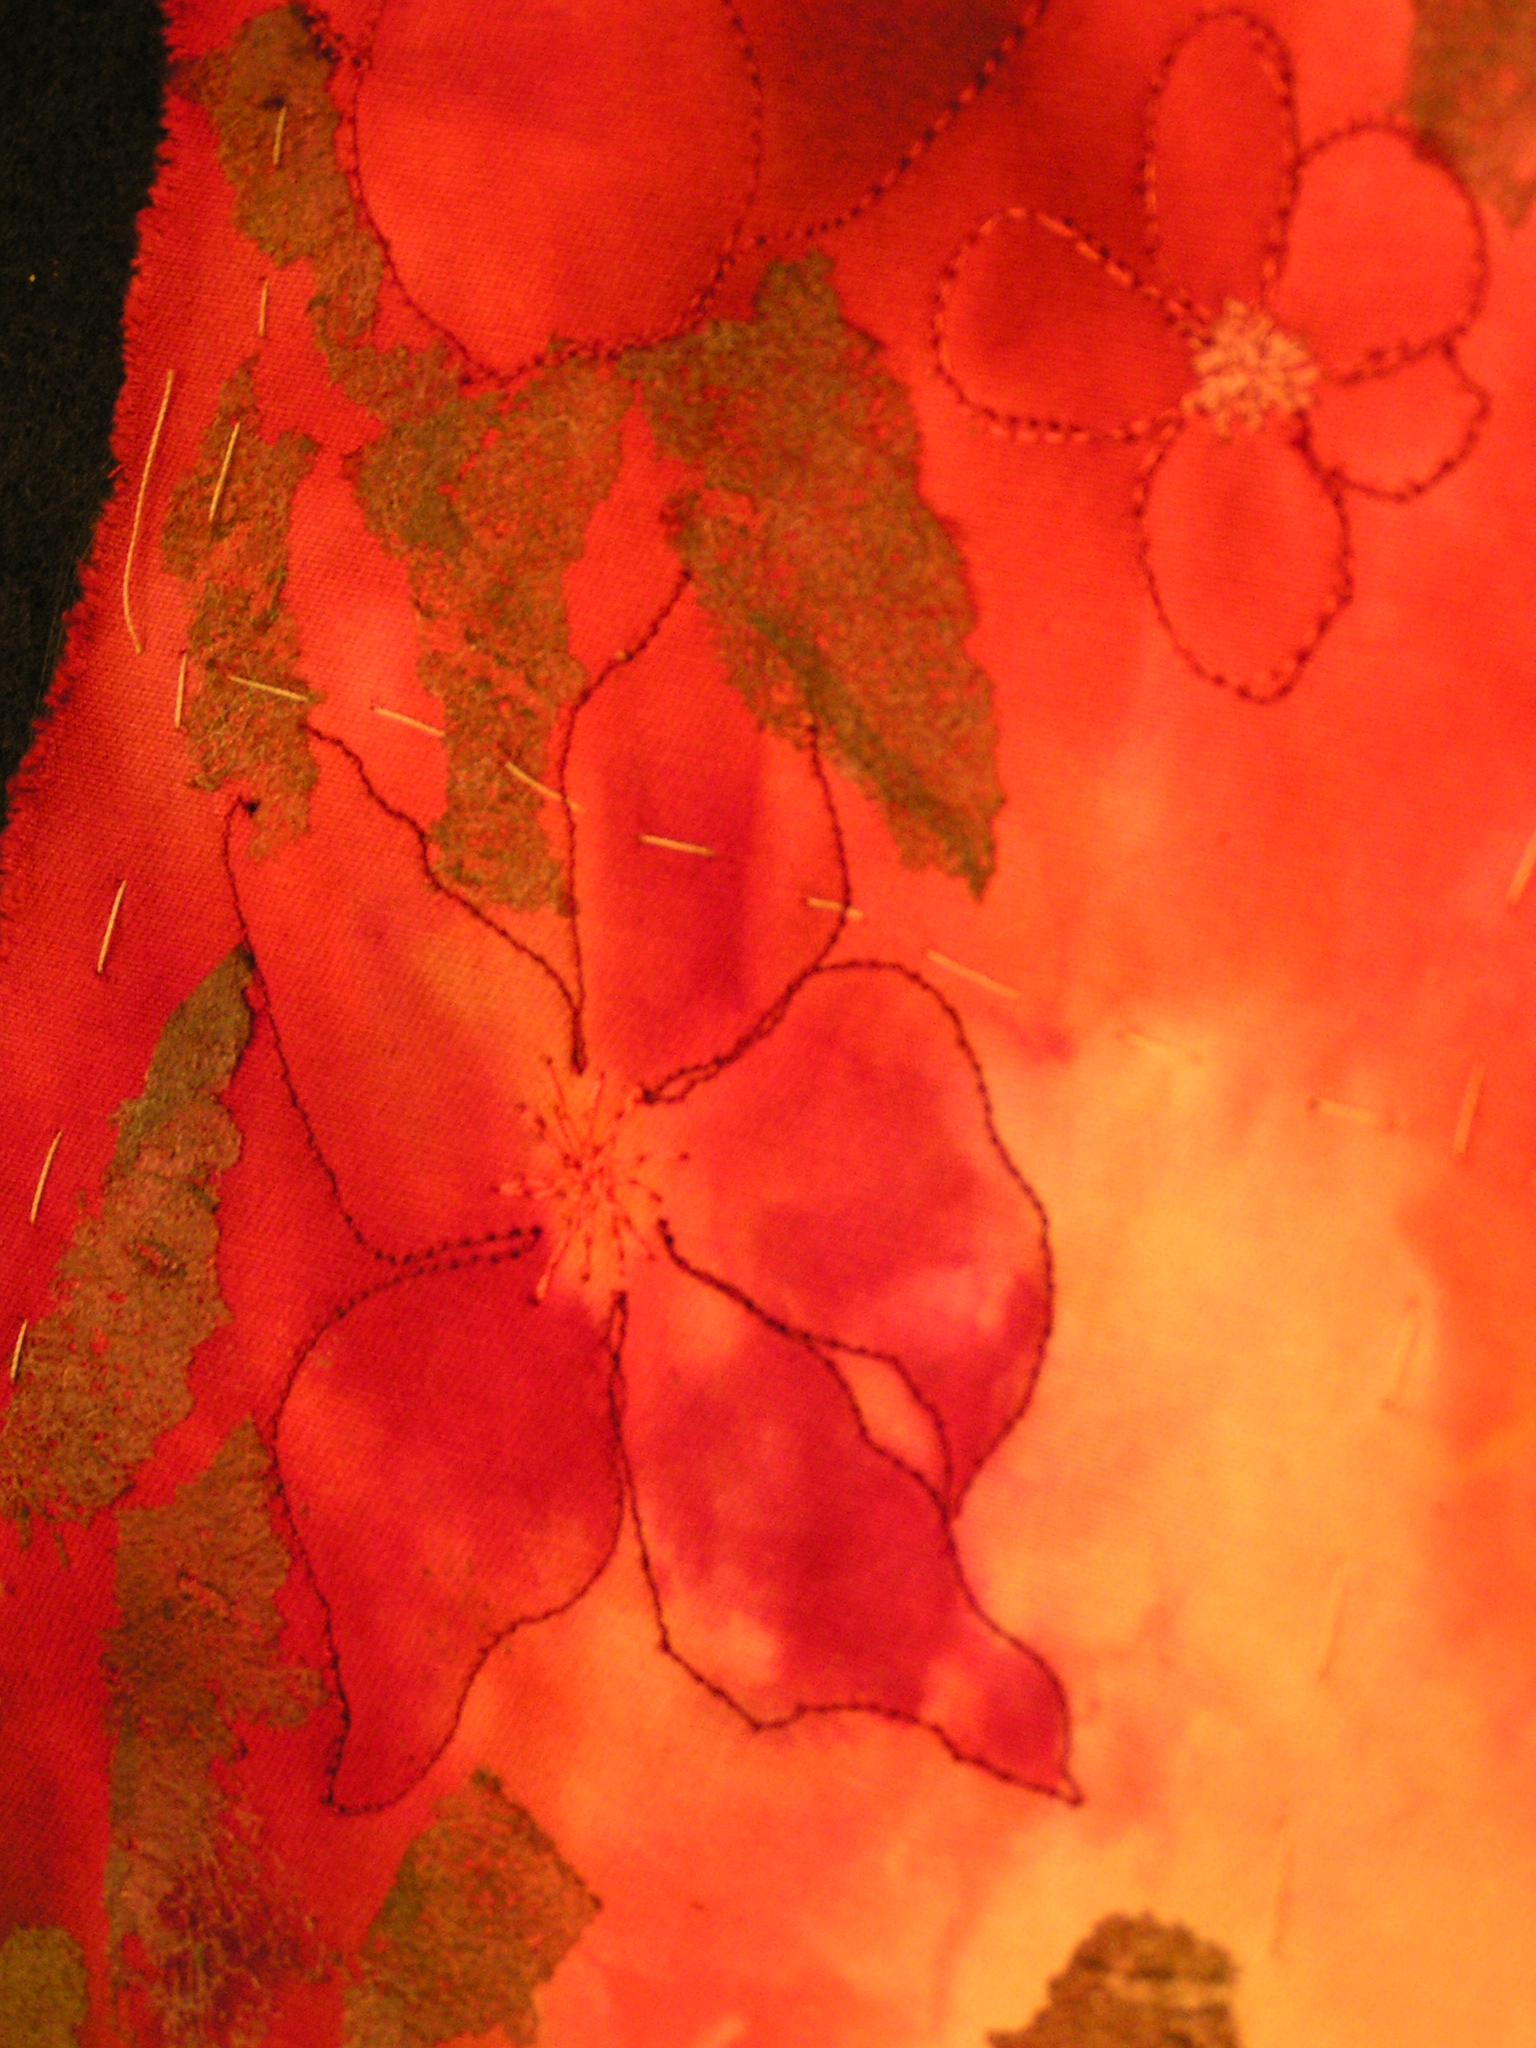
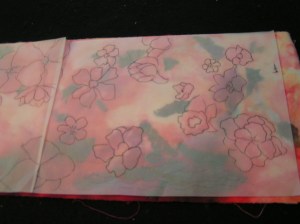
Here’s the entire piece after basting it to stitch and tear. This photo is a little bit more true to color than the ones above.
 You can see the basting a little bit better in this photo.
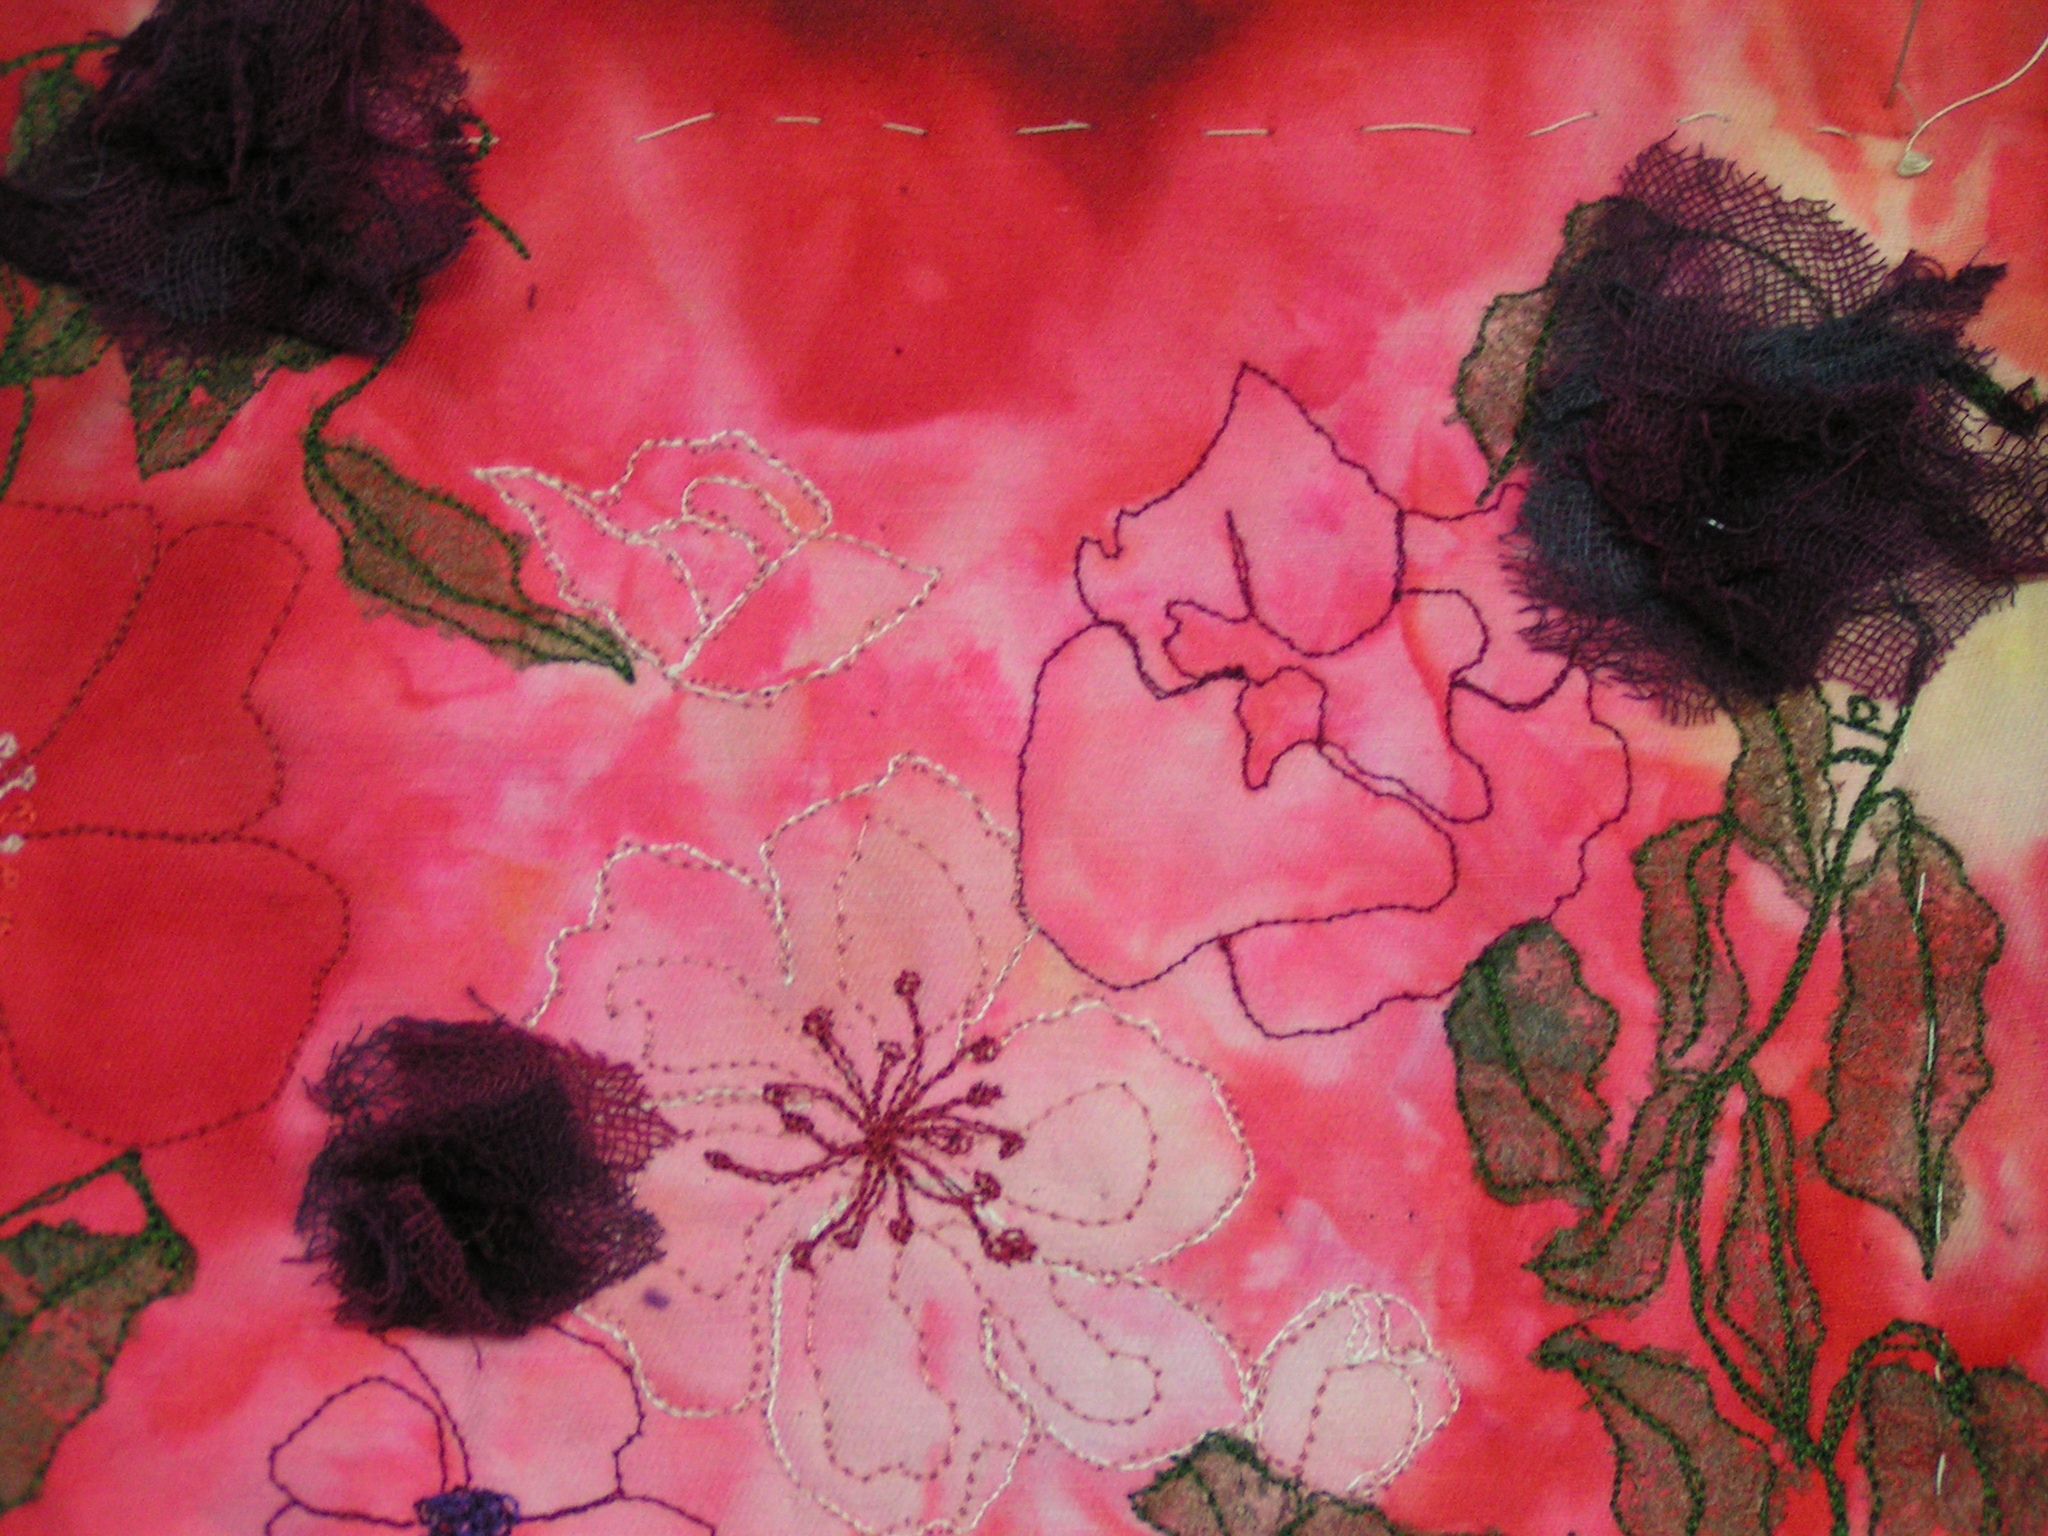
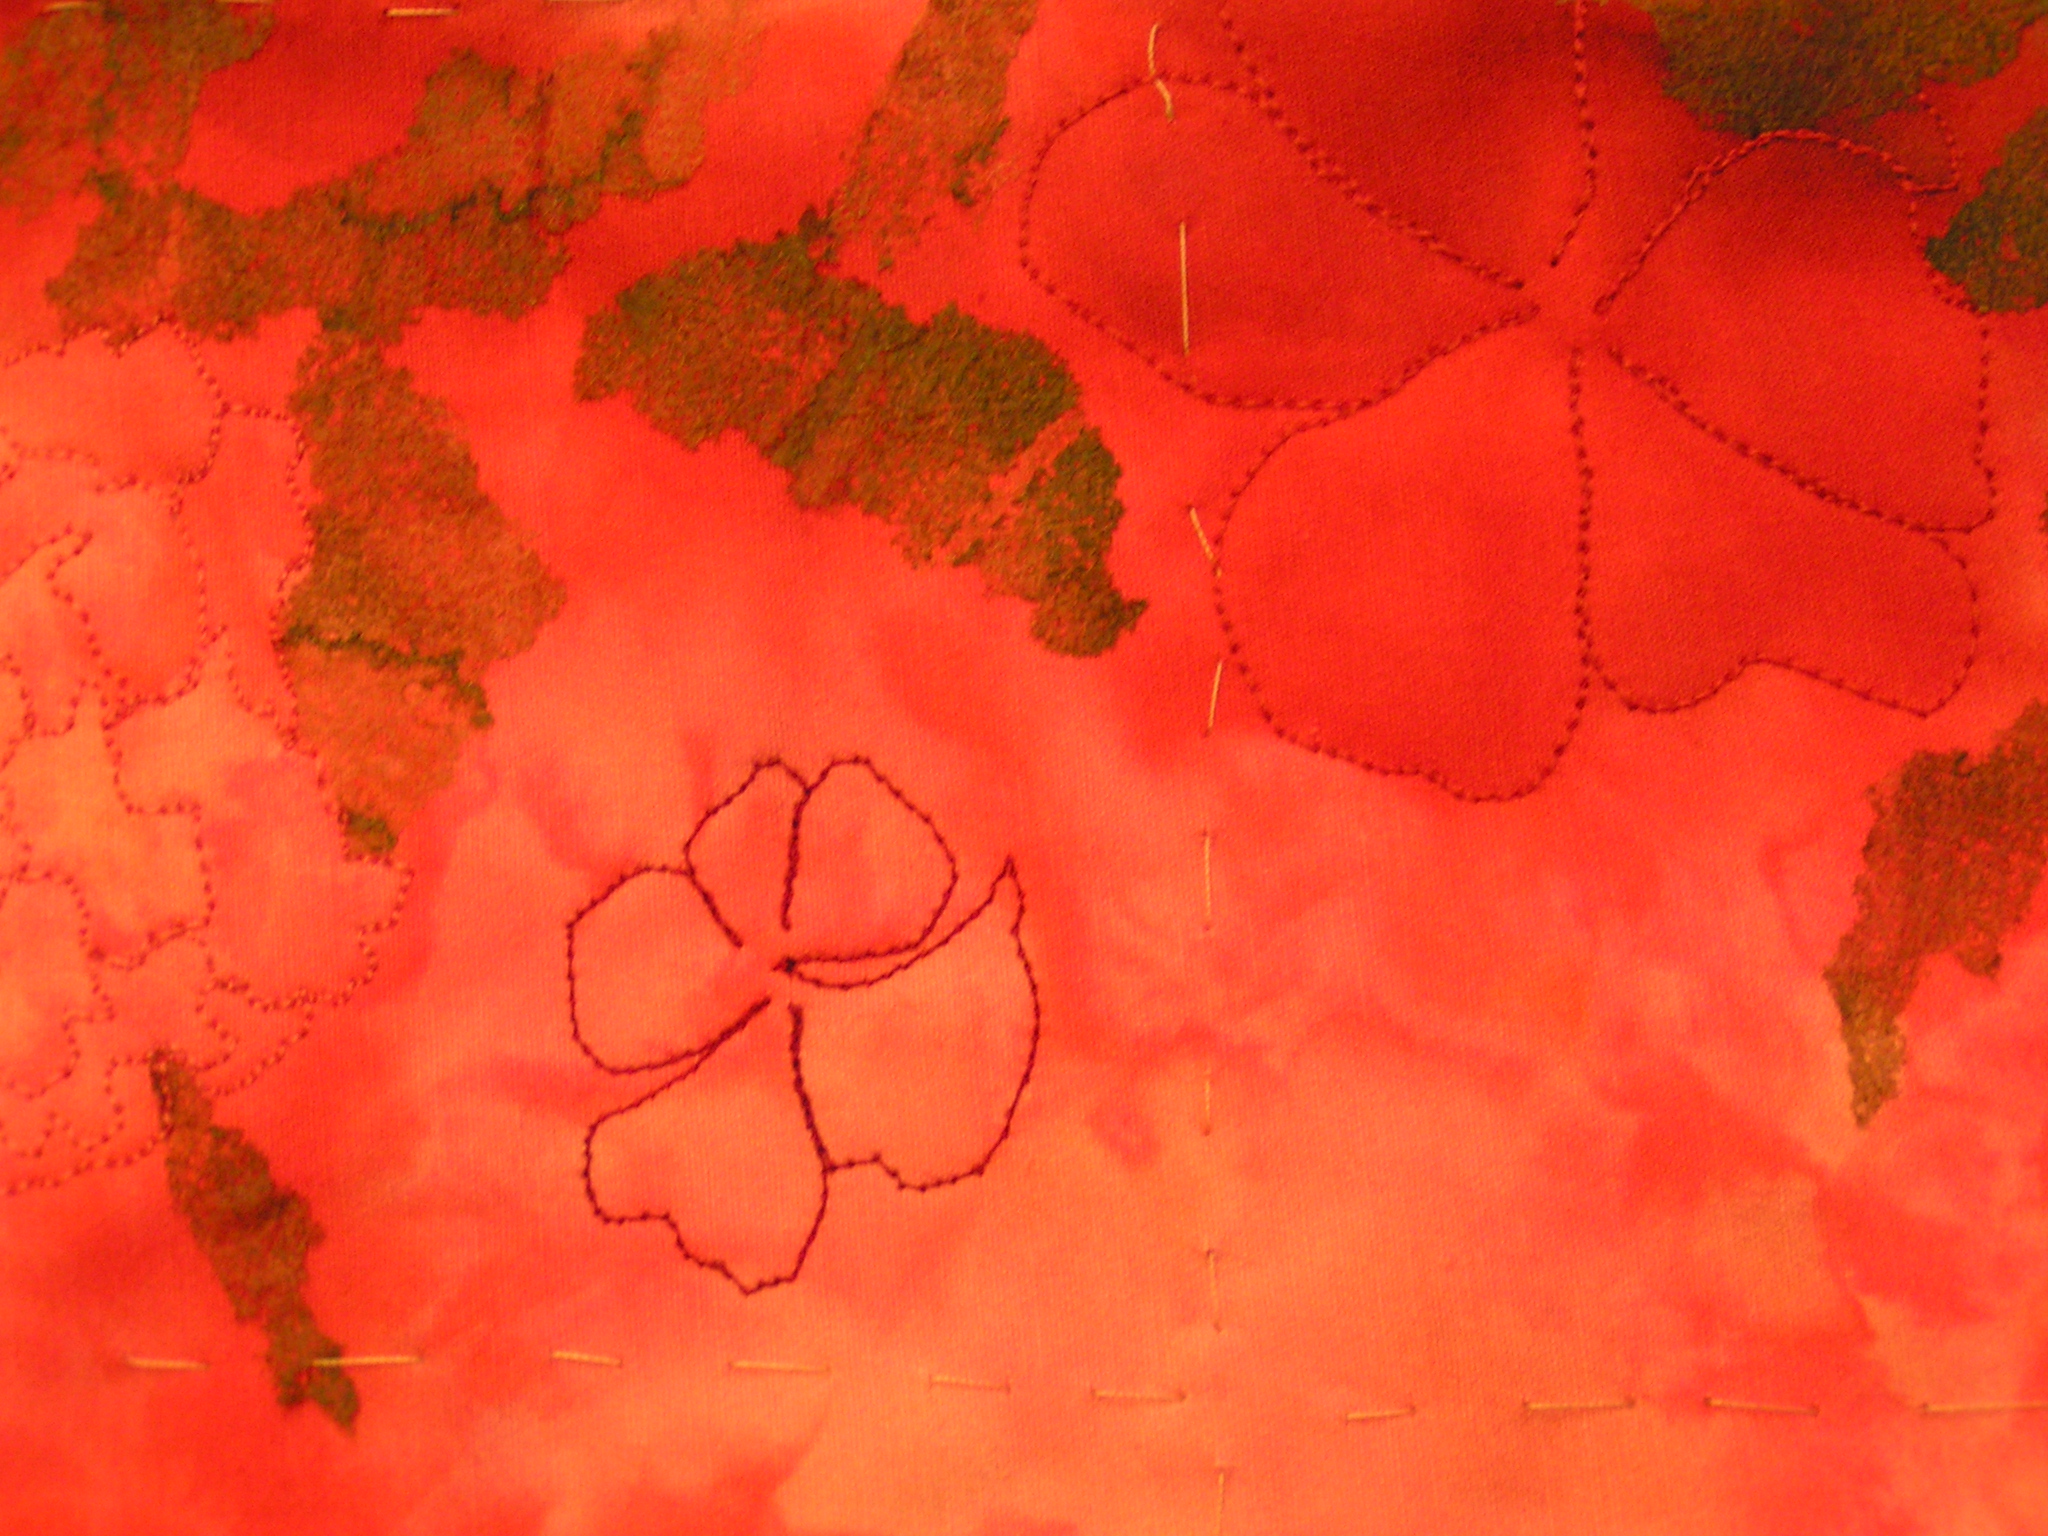
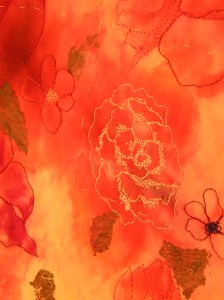
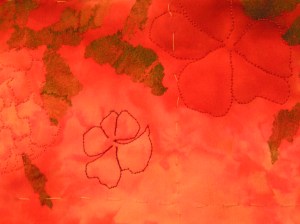 Then I started stitching the flower shapes with free motion embroidery.
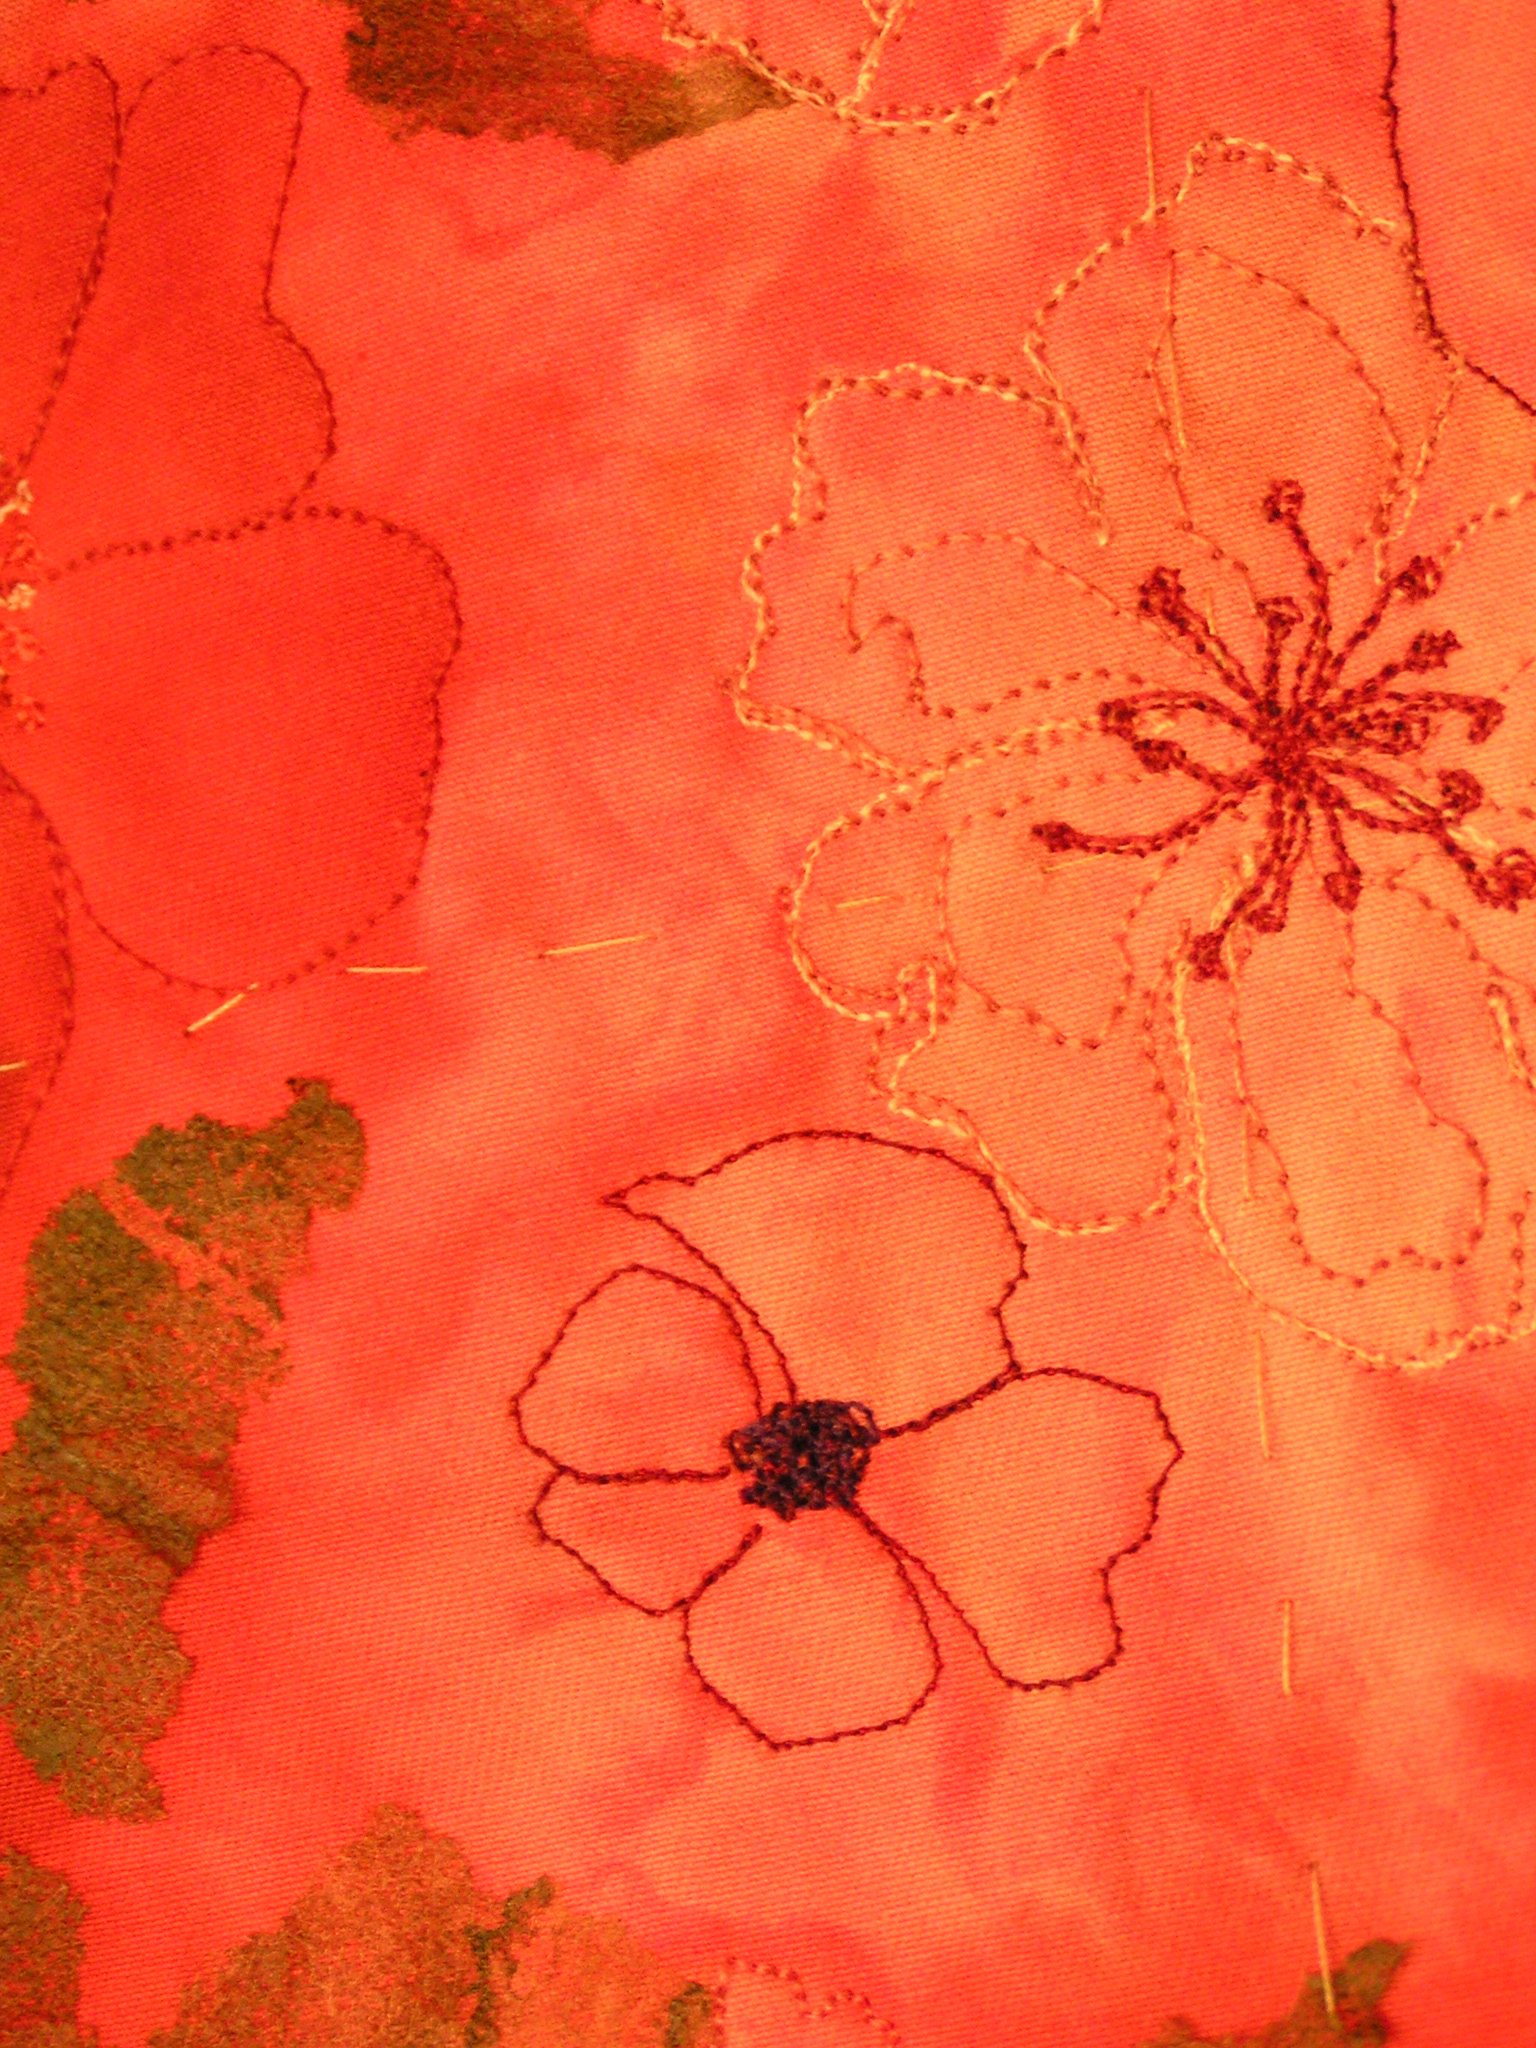
 The flower shapes were not exactly like the traced ones but I just used the dye patterns to decide on the flower shape as I stitched.
 This one I added a bit more stitching to give it a little more shape.
 Then I started adding centers to the flowers.
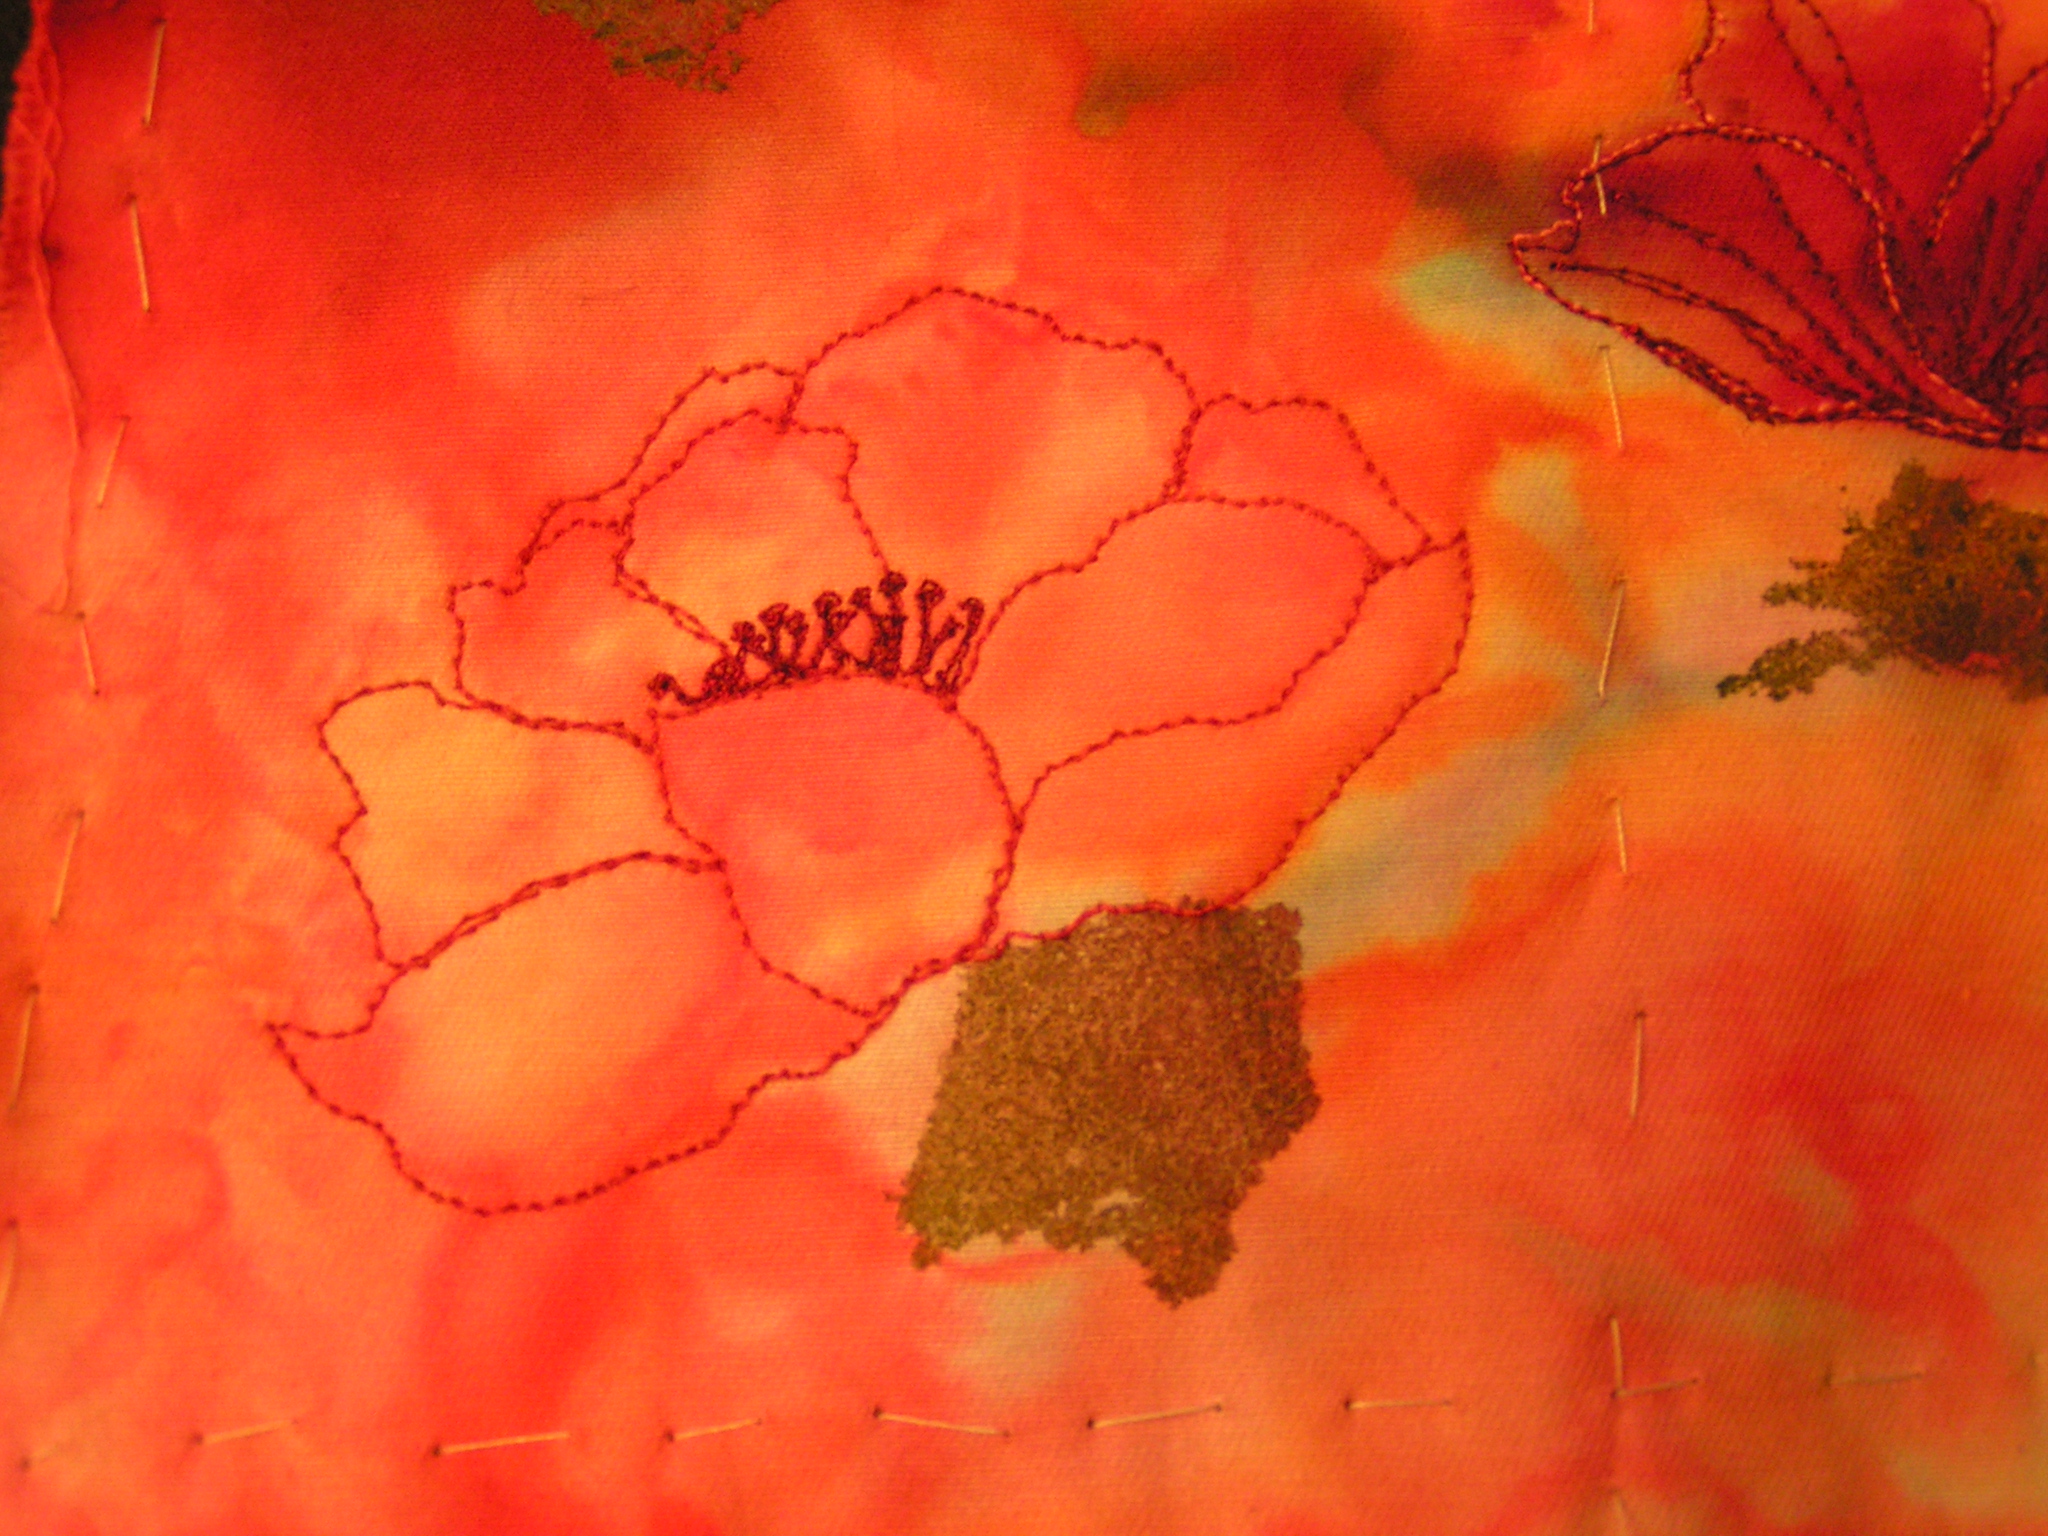
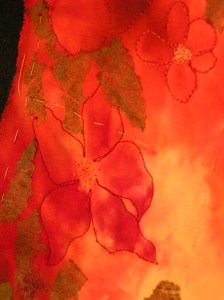
 This is my favorite flower so far. Next up is stitching the leaves. Then I have to decide what else I will add. I am thinking about adding some three-dimensional flowers and leaves, making all of these flowers background. And after that I will have to figure out how I will finish the piece. But at least I overcame my fear and got started.
0.000000
0.000000
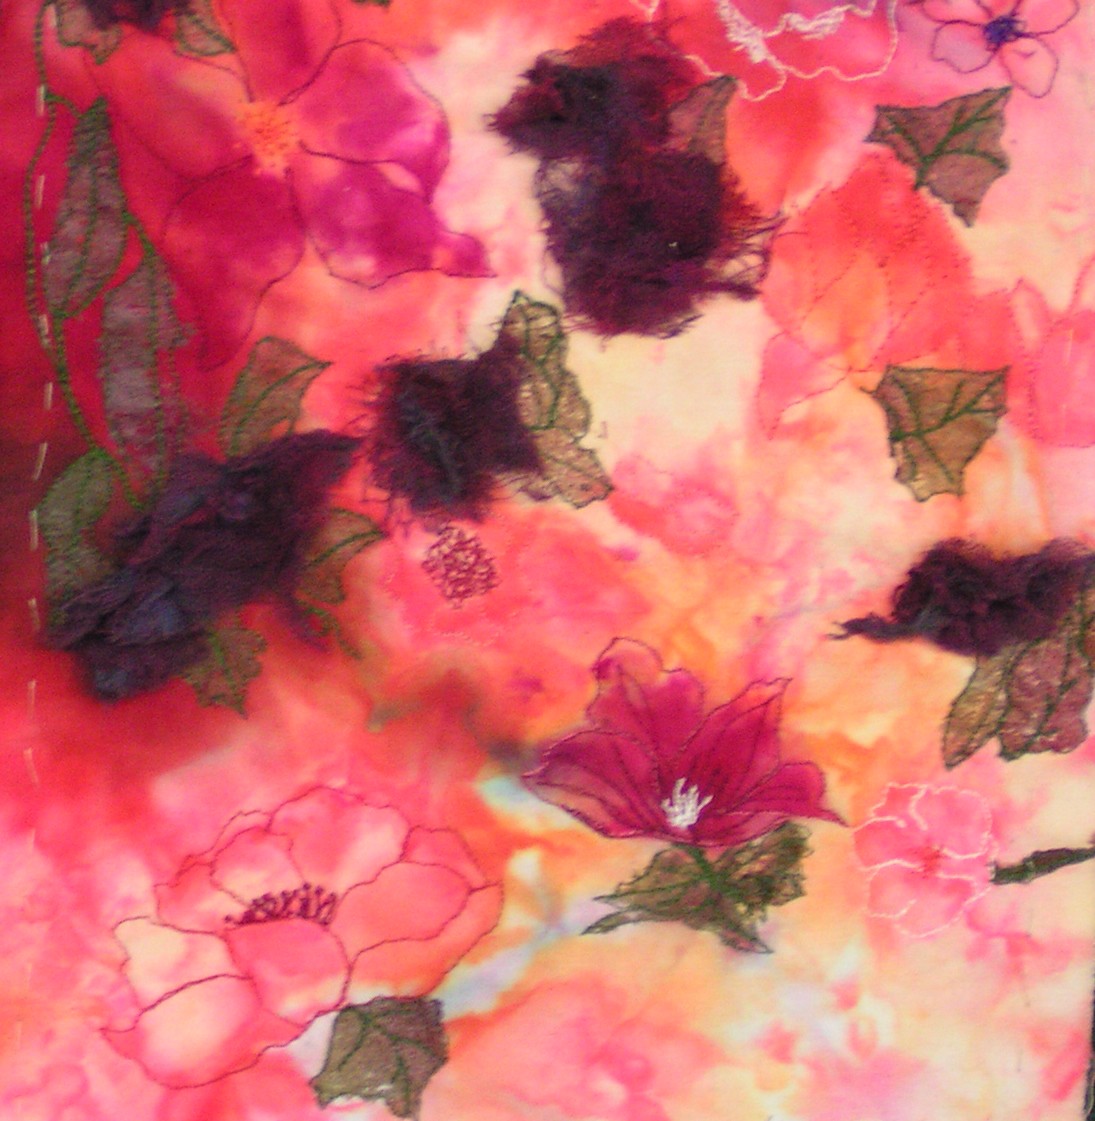
 I think this helps as the darker flowers don’t take over as much.
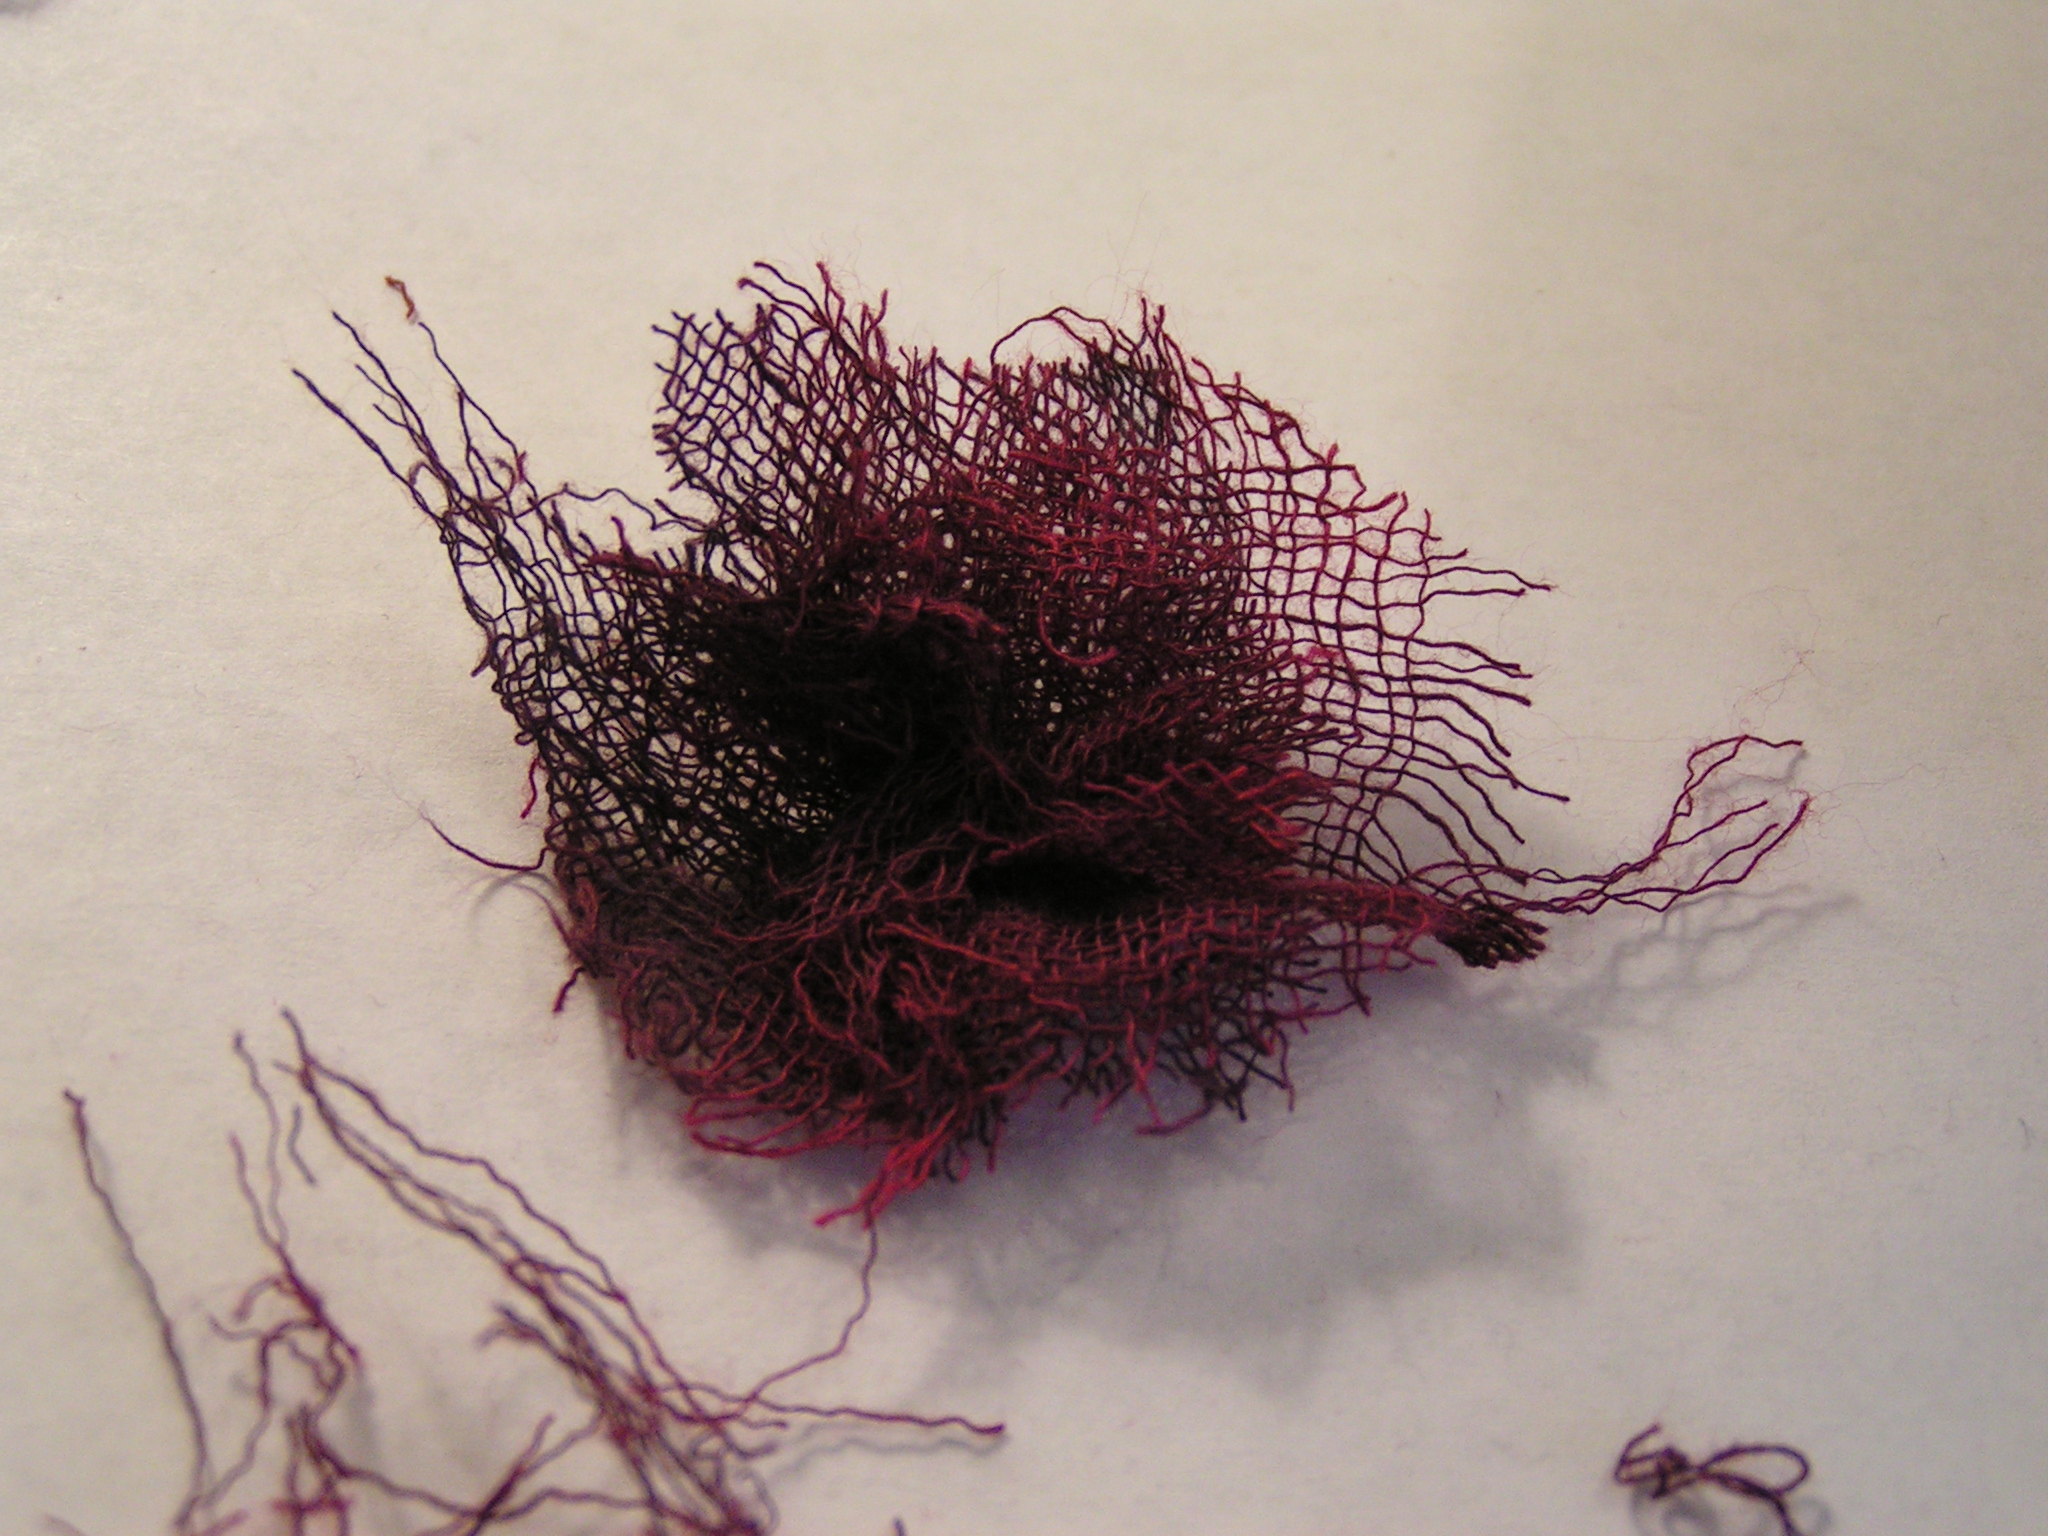
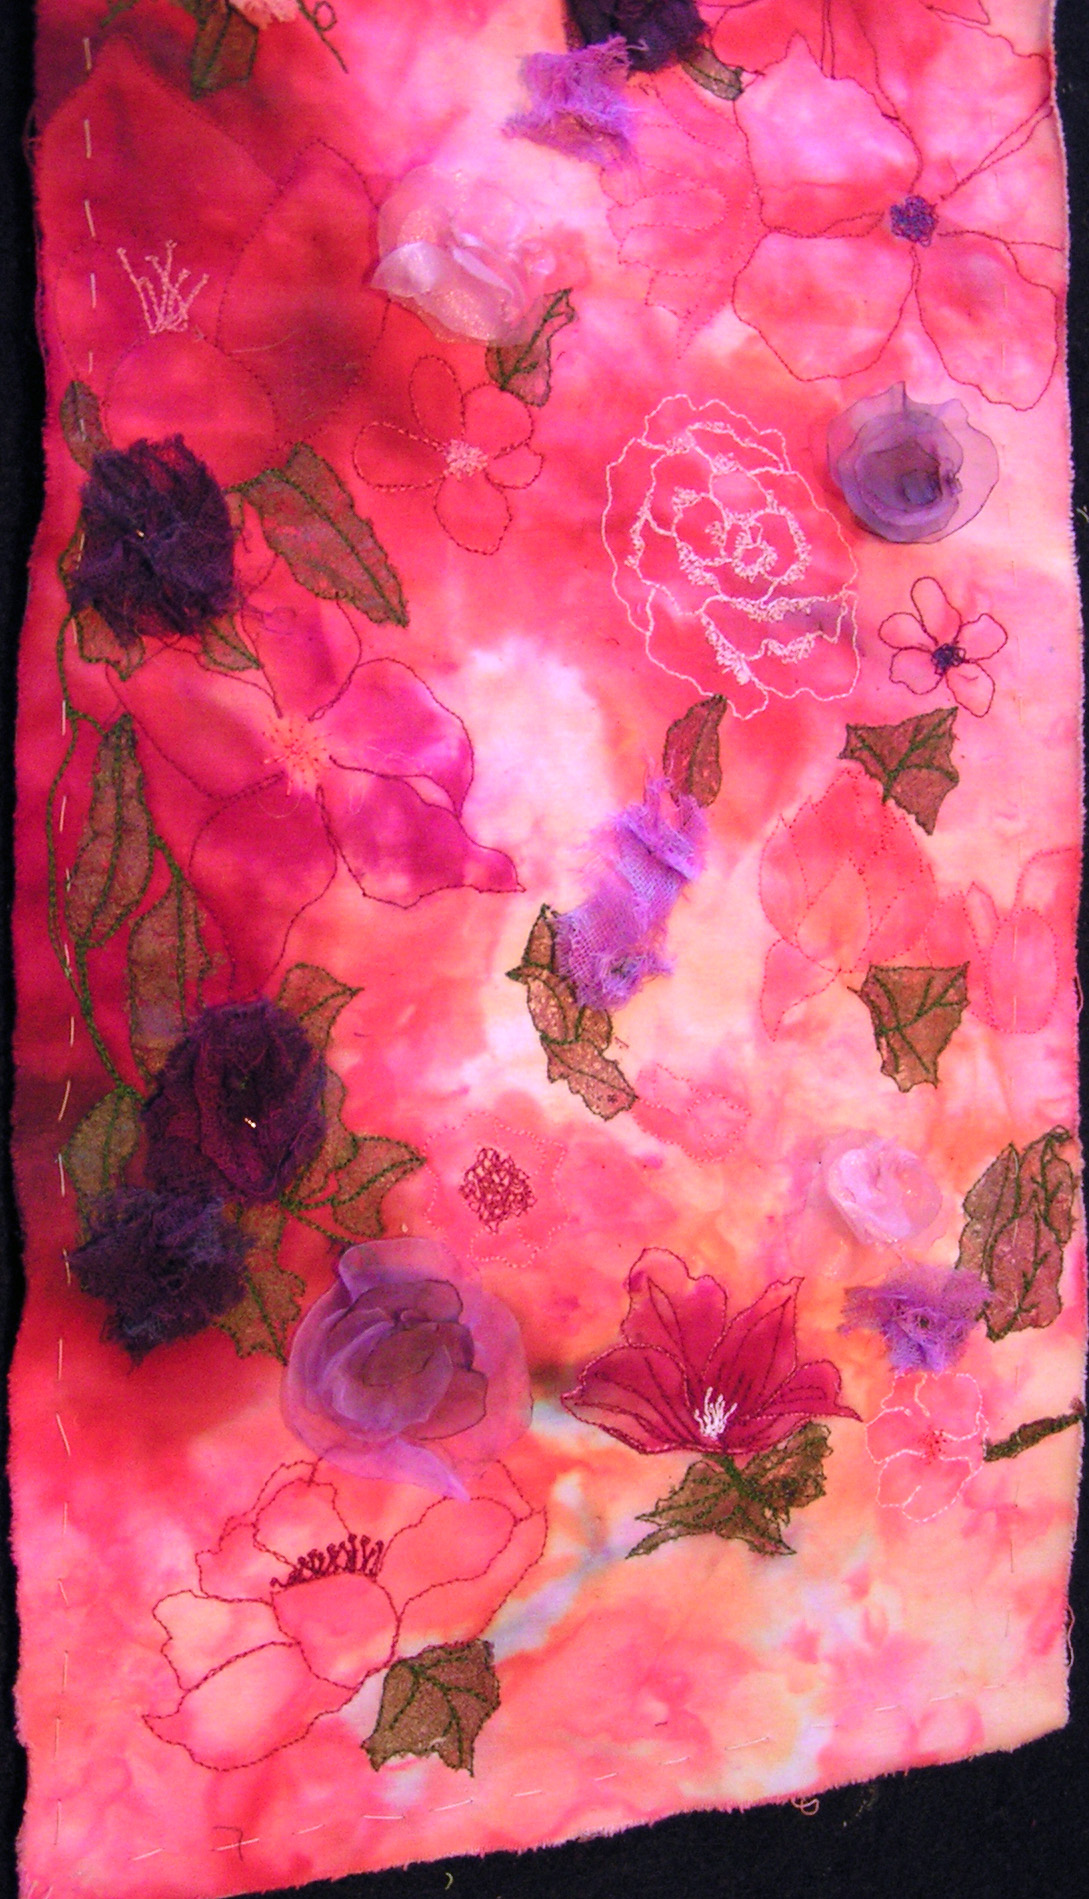 I also started working on some organza flowers. These are burned around the edges but not stitched together yet. You can see one on the bottom left and towards the top right in this photo.
 I made a couple of really light pink organza flowers too but I couldn’t get them to photograph well. You can see them if you click on the photo to enlarge and look carefully. I like the addition of the organza flowers. What do you think? The next step is to sew the organza flowers together. I’m trying to decide if they need beaded centers. If I do add beads it won’t be anything elaborate, just a few beads. Then I plan on making some three-dimensional leaves too. I haven’t decided what material to use yet but I am considering painting some green organza so they would be very light weight and not feel too heavy.