Christmas in La Conner Book

At our art and design class in December, part of our assignment was to “find Christmas in La Conner”. Then we were to sketch a few of the holiday ideas that we found. I did a couple of these in class but finished them up when I got home. Another part of our homework was to make a book with an accordion binding. So I combined the two and made a Christmas in La Conner Book.

Here’s the front cover. I used some little red felt balls for holly berries and covered them with glazing medium.

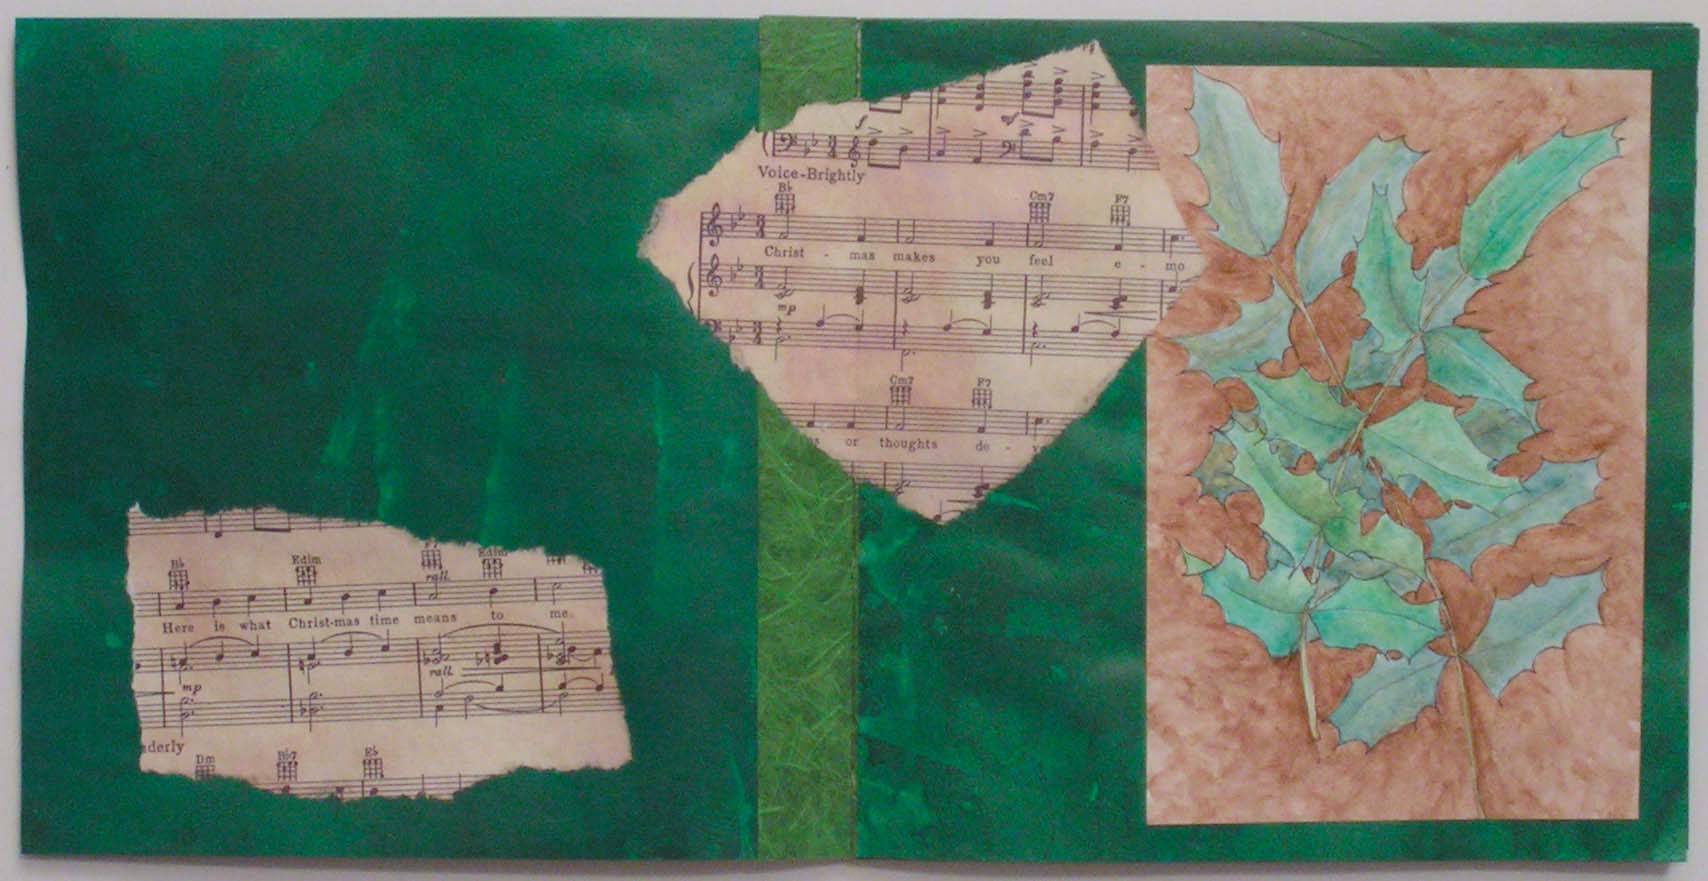
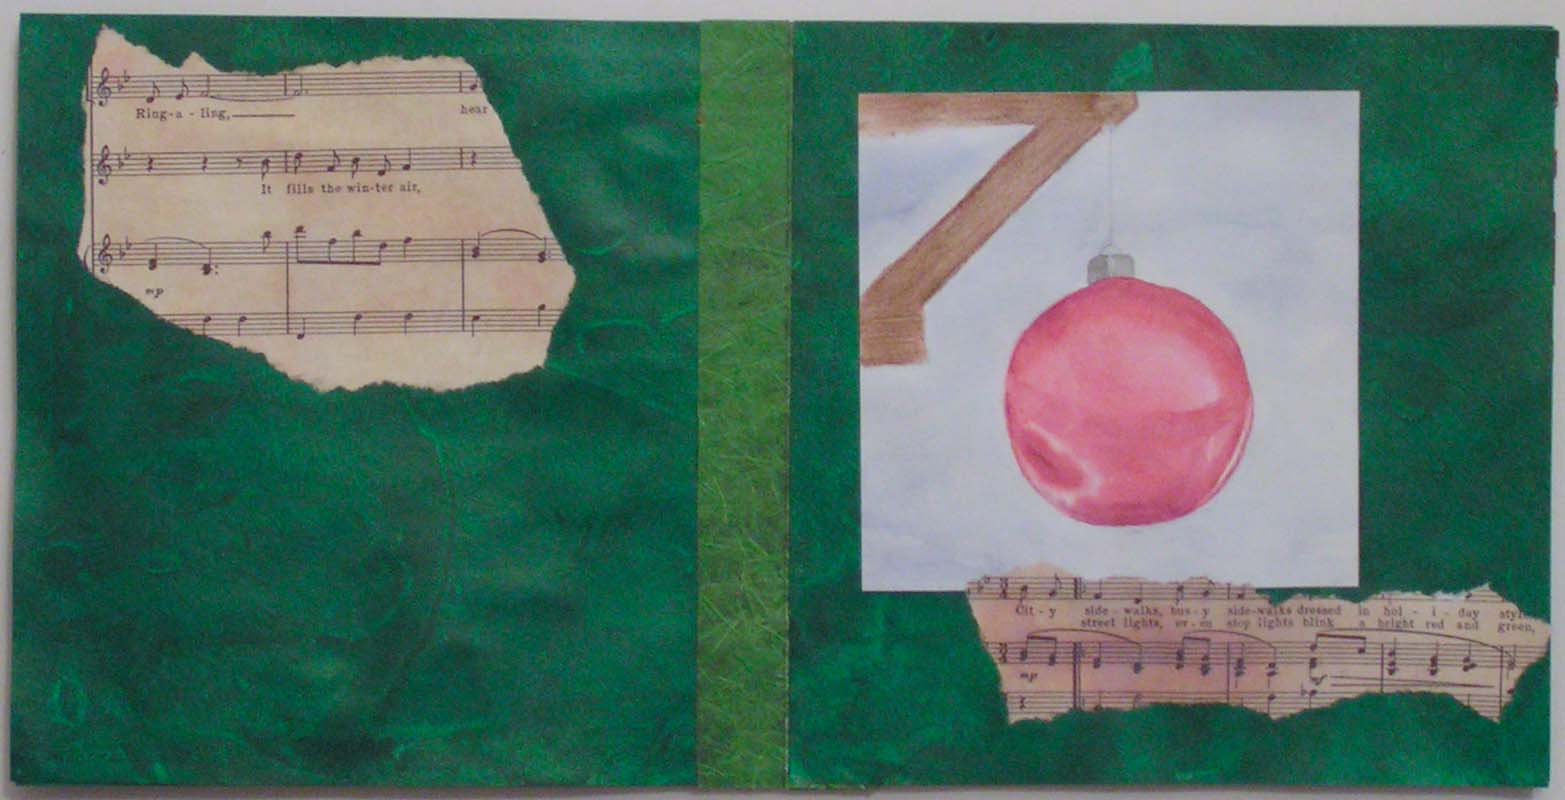
Each page has a sketch of some of the Christmas decorations I saw in downtown La Conner.

You can enlarge the photos to see the sketches a little better.

I used glitter on this one and it is now everywhere. But it looks like the bell I saw on the big Christmas tree that was down by the sound.

I didn’t think it quite had enough on the pages with just the sketches so I photocopied an old piece of sheet music from my Dad. It is Silver Bells and he used to play it on the piano at Christmas time.

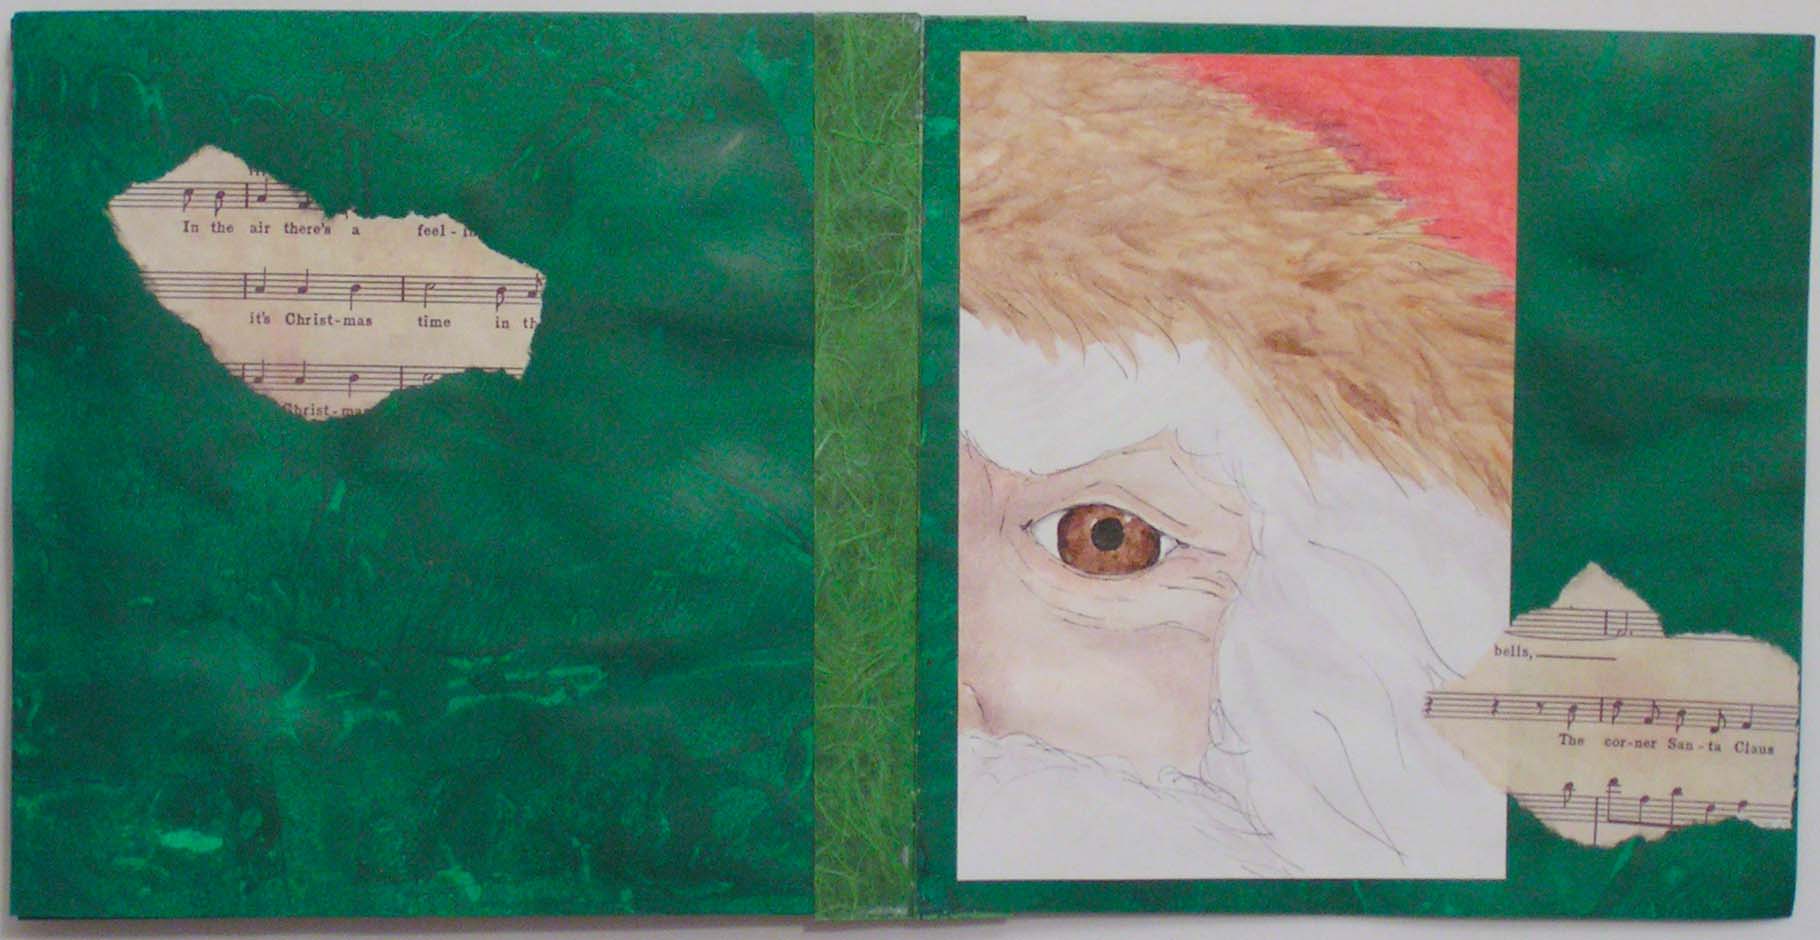
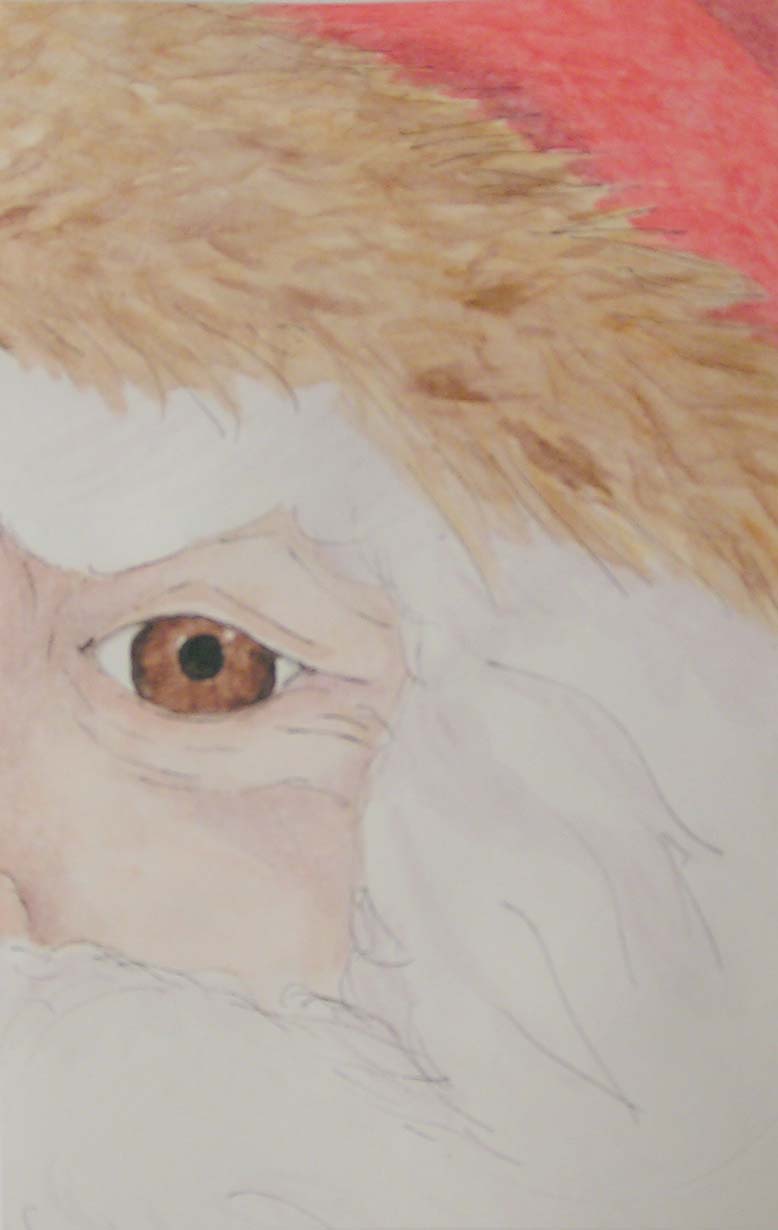
And the last page is Santa peeking at you to see if you are naughty or nice.

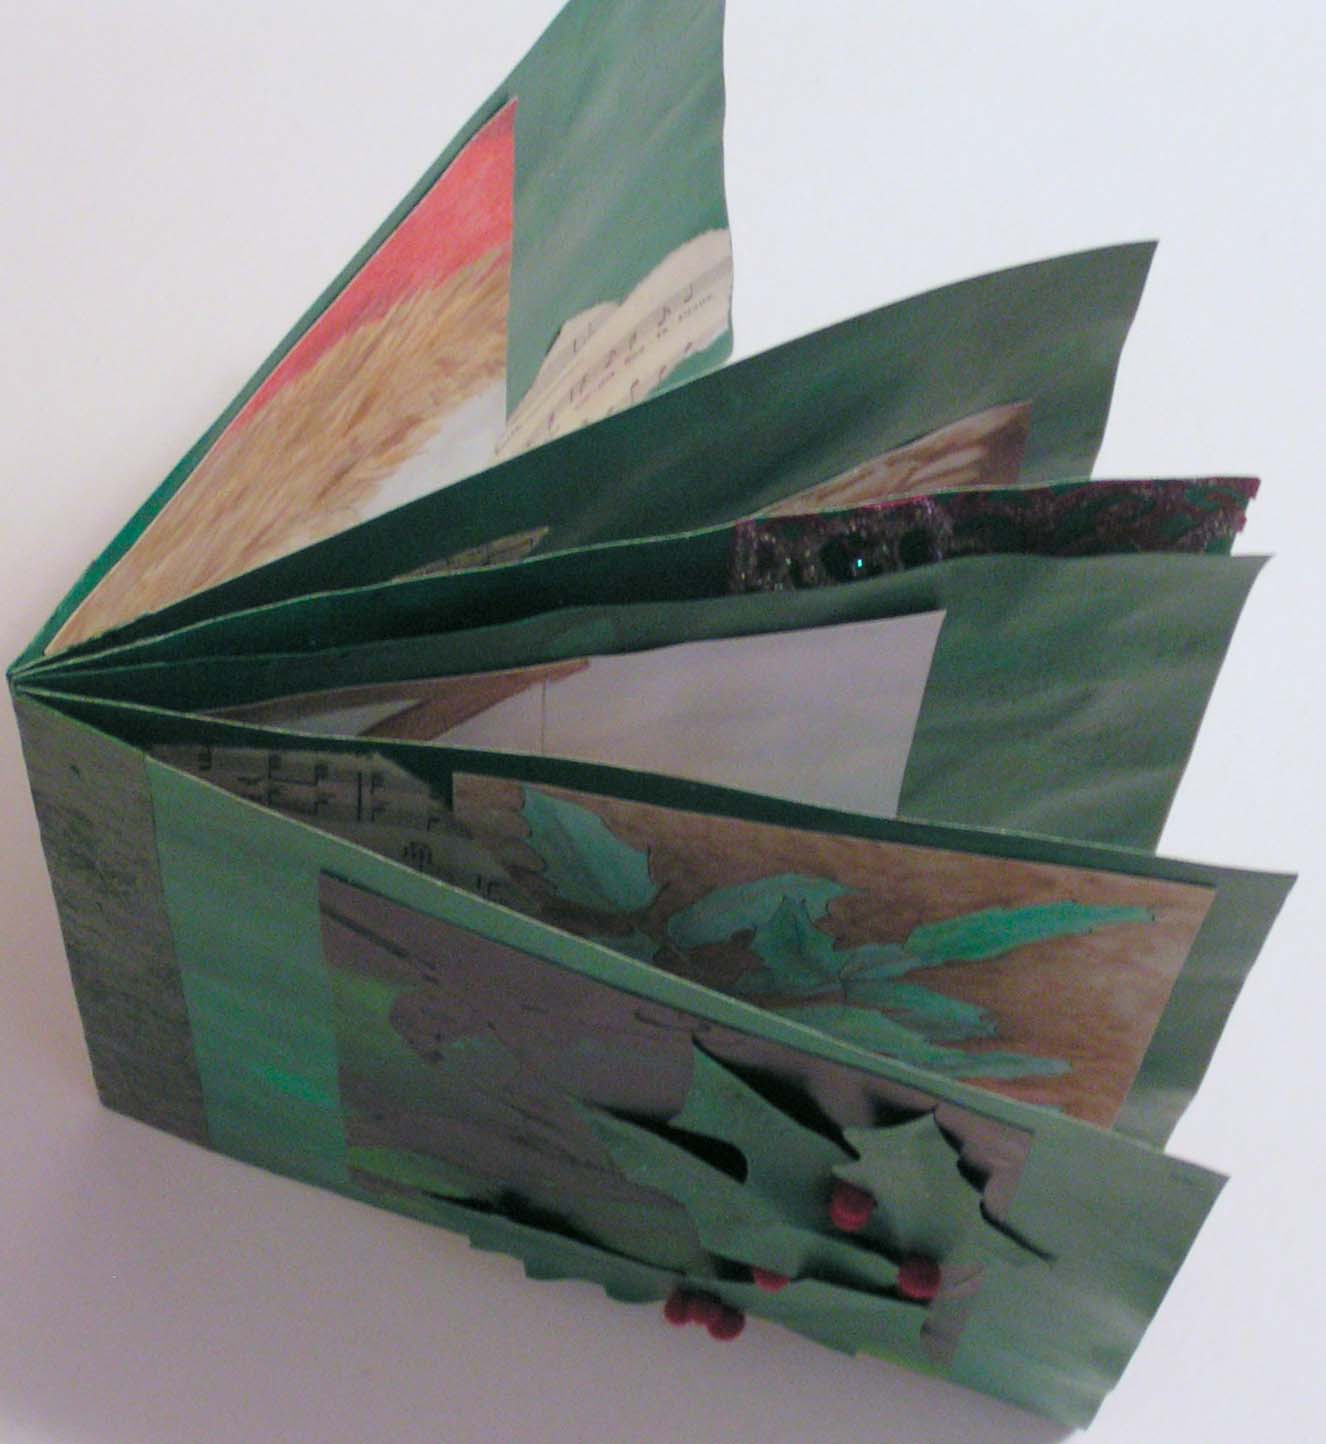
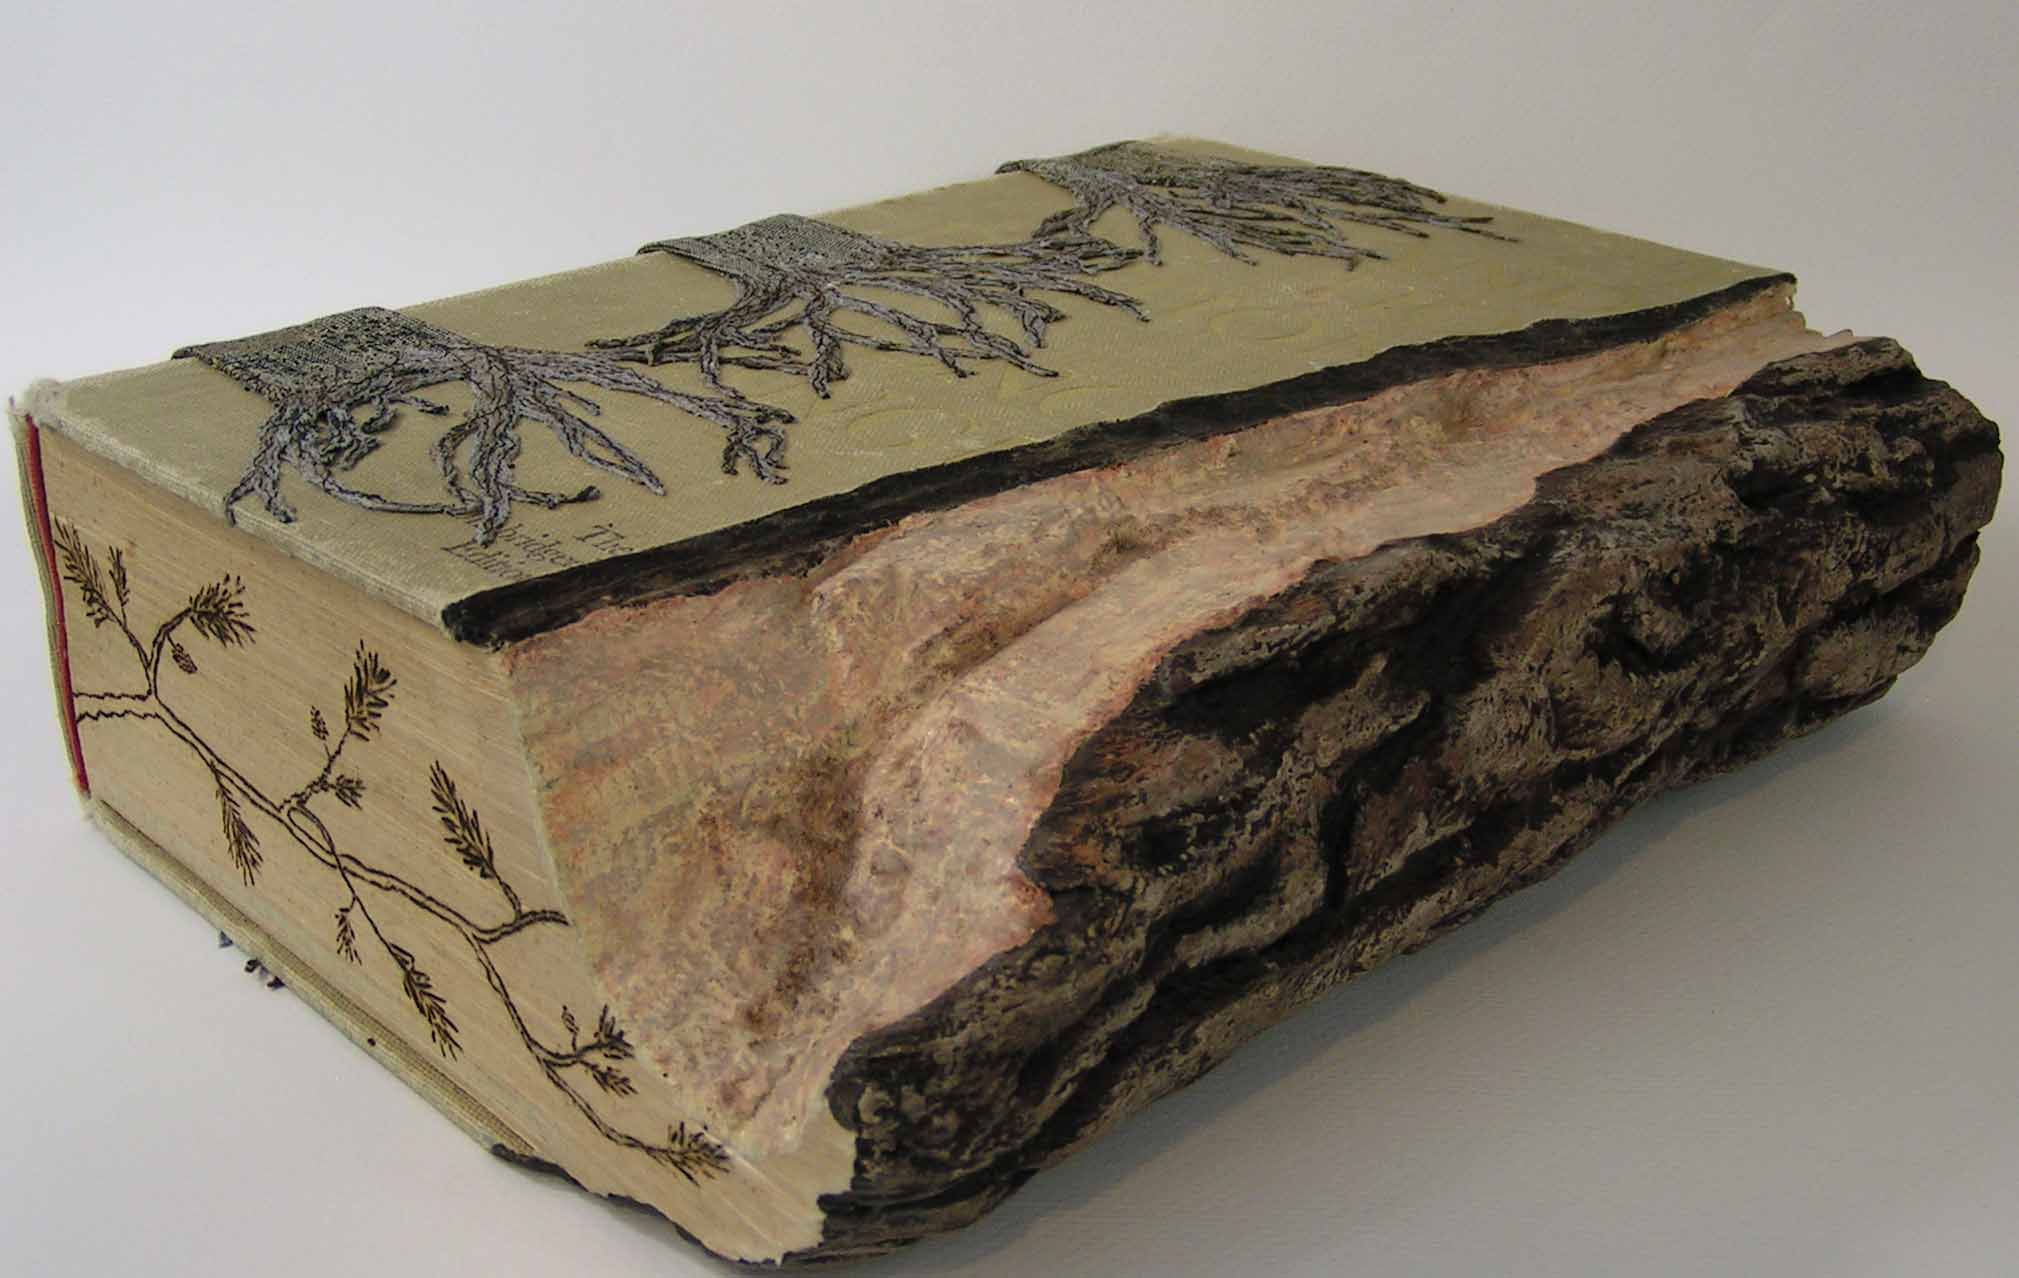
Here’s the full book from the top. The binding was made with Japanese rice paper that had been coated with paint and matte medium. I tried to use fabric but I couldn’t get it to fold correctly and I thought the paper worked much better. I still have some of the fabric folded accordion style and may try it with another book. This is a pretty simple book binding and works well if you can fold straight 🙂

Winter Berries

I’m still playing with negative space painting. This was an experiment on a piece of screen printed paper that I had in my stash. It looked very organic to start with so I added some darkness behind the berries and leaves. It has both acrylic and water color paint and the paper was a “mixed media” paper that I have never really liked. And after working on it again, it has reaffirmed that I should never get this type of paper again. The paper feels almost like plastic and has a raised pattern on the surface that is hard to cover. I guess it should have gesso on it to start but since it was already printed, I just went over top of what was there. It is still going to take more practice to really get used to negative space painting. I feel the need to plan more as I have a tendency to get lost in the more intricate details. I painted a second landscape but it is really hideous at the moment and I have to work on it more to see if it is even salvageable.

And the rest of the day was spent packing up to go to my class soon. I have more stuff every time we go. Luckily, there are only 2 sessions left. Otherwise, we might have to rent a U Haul truck to get everything to class.

Negative Space Painting

I got a book from the library today Watercolor Painting Outside the Lines by Linda Kemp. I did a bit of negative space painting on a recent monotype print and liked the results. So I thought I would do some further investigation and try something a bit more complex. I’m still working on a winter theme so decided to try some frost.

I worked on this all day today. You start with the lightest color and then paint the negative spaces increasing the darkness/value of the colors for each layer. So there are four layers of color here. The paint has to be dry in between so I sped up the process by using a heat gun and iron to dry the paper in between layers of paint. It’s an interesting way to paint and you have to keep thinking “backwards” so you don’t paint the wrong bit. But again, I like the results and I think I will try some more of these. Perhaps a winter landscape next time.

Carved Books

I have been working on these carved books as part of my homework for Level 3 Art & Design. Part of our homework was to study various artists that use “cut paper” in their work. I came across Guy Laramee and was inspired by his work. I bought several large reference books/dictionaries from the thrift store. I thought of it as saving them from the landfill. I have never done any “book art” before. So first I carved the books and then I added a variety of paint, acrylic mediums, oil paint sticks. I then further enhanced them with faux leather, burned with a wood burning tool and added free motion machine stitching.

This is the first one that I created. So many people told me that it looked like burned wood that I decided I should do my next one as a fallen tree trunk.

I needed some practice with the wood burning tool so I used the bottom book to try that out as a sample. It looked OK so I covered it with faux leather as well and will use it as a display for the top book.

Here’s my tree trunk book. These were definitely something that I hadn’t tried before and I really enjoyed embellishing them. The carving part, not so much. So these are probably the last carved books I will create. These are some of the photos that I took a couple of weeks ago. I finally got through most of them and edited etc. Nice to have that chore done 🙂

Thanks for stopping by and enjoy the rest of your weekend.