Finished Crazy Quilt Pillow

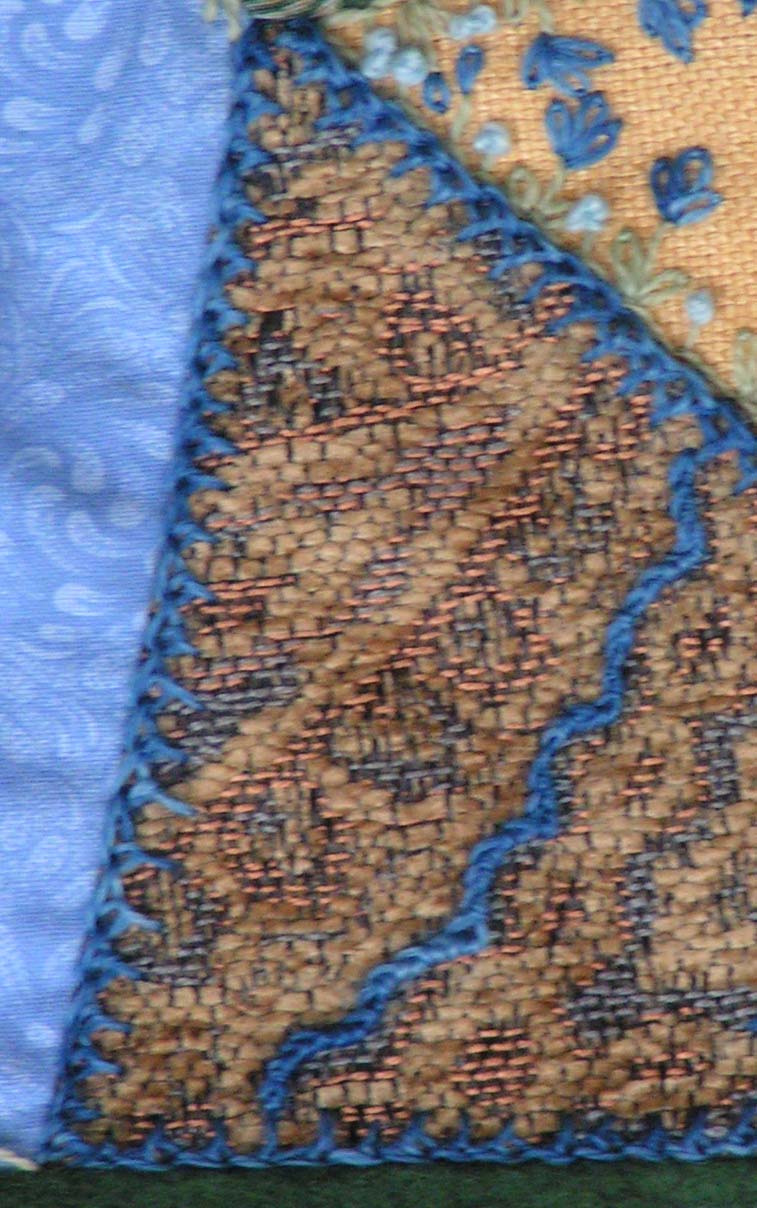
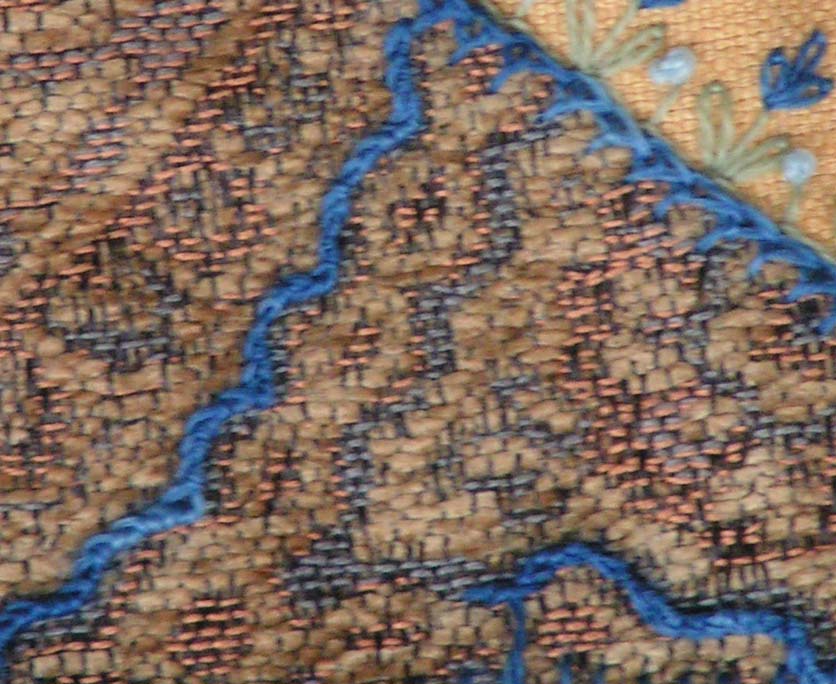
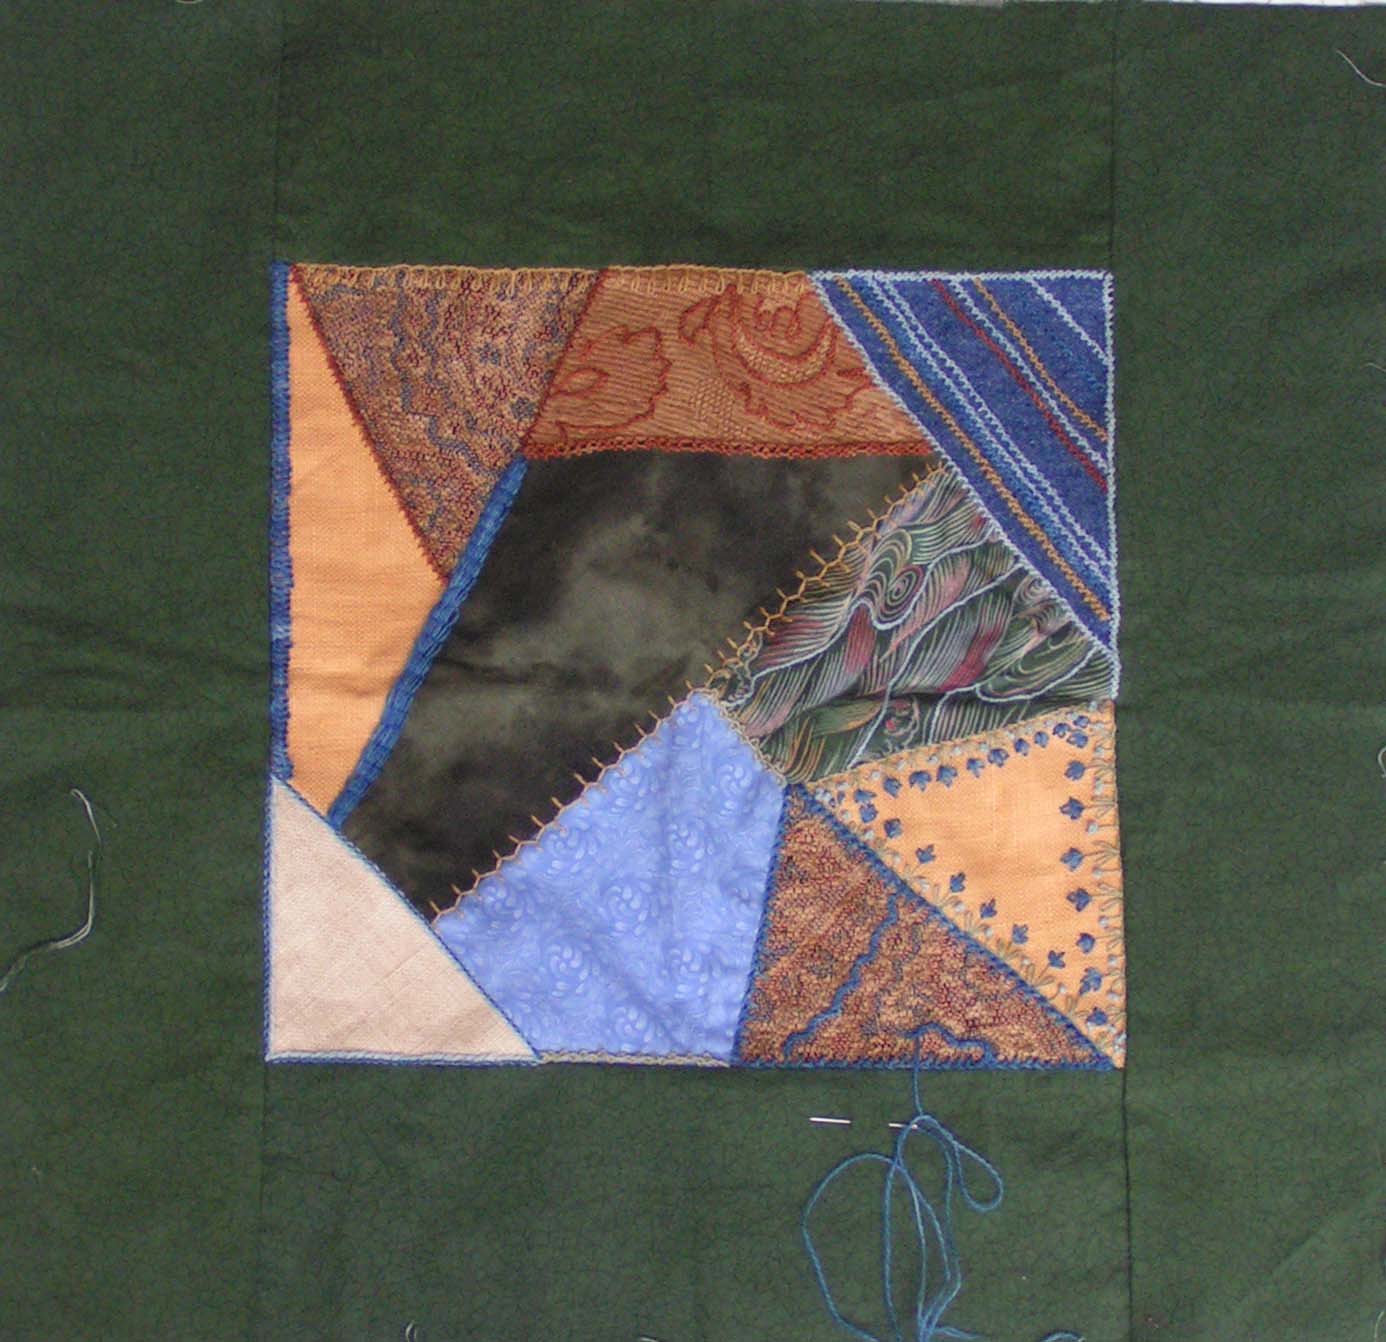
I finished the crazy quilt pillow. I added more stitching covering more of the center portion of the pieced sections. I even added a spider.

Finished Crazy Quilt Pillow

I found some coordinating fabric for the back and made an envelope style back so a pillow can be slipped easily in and out.

Crazy Quilt Pillow Close Up

Here’s a little closer view of the center. This was a great way to learn some new stitches and finish a UFO.

Back of the Crazy Quilt Pillow

Here’s the back. Right now the pillow inside is one of our couch cushions so I need to get a pillow insert but otherwise it is finished. I am happy to have finished this project that has been sitting around for several years now. Mark one off my list.

Soy Wax Batik Results

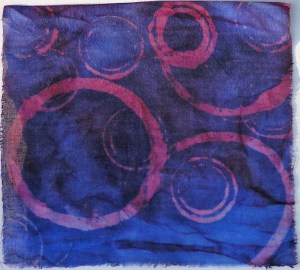
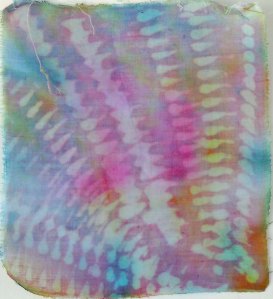
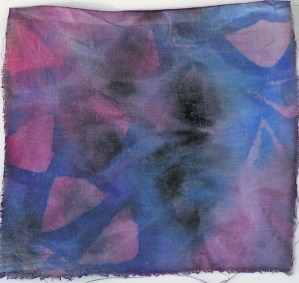
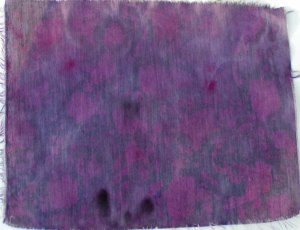
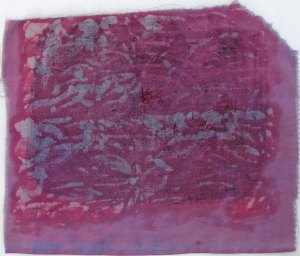
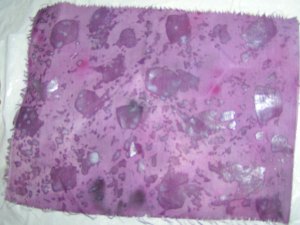
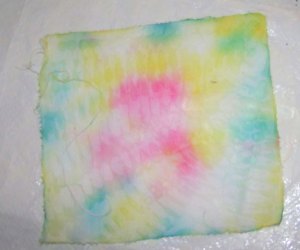
I promised I would show you my results from the afternoon of playing with soy wax batik techniques. After the pieces had dried, I ironed the fabric between newspapers to remove the wax and then I washed the fabric in the washing machine. There were a couple of pieces of fabric that lost all their color after washing but most came out pretty well. Remember that many of these pieces of fabric were previously painted, dyed or stamped and were in the “ugly” category.

Most of these fabrics were stamped or painted with soy wax and then over dyed. I think they are much more usable even though most are just small squares about 6″ x 6″. A few are a bit bigger than that. I’m think about combining them with some other fabric to make notebook covers.
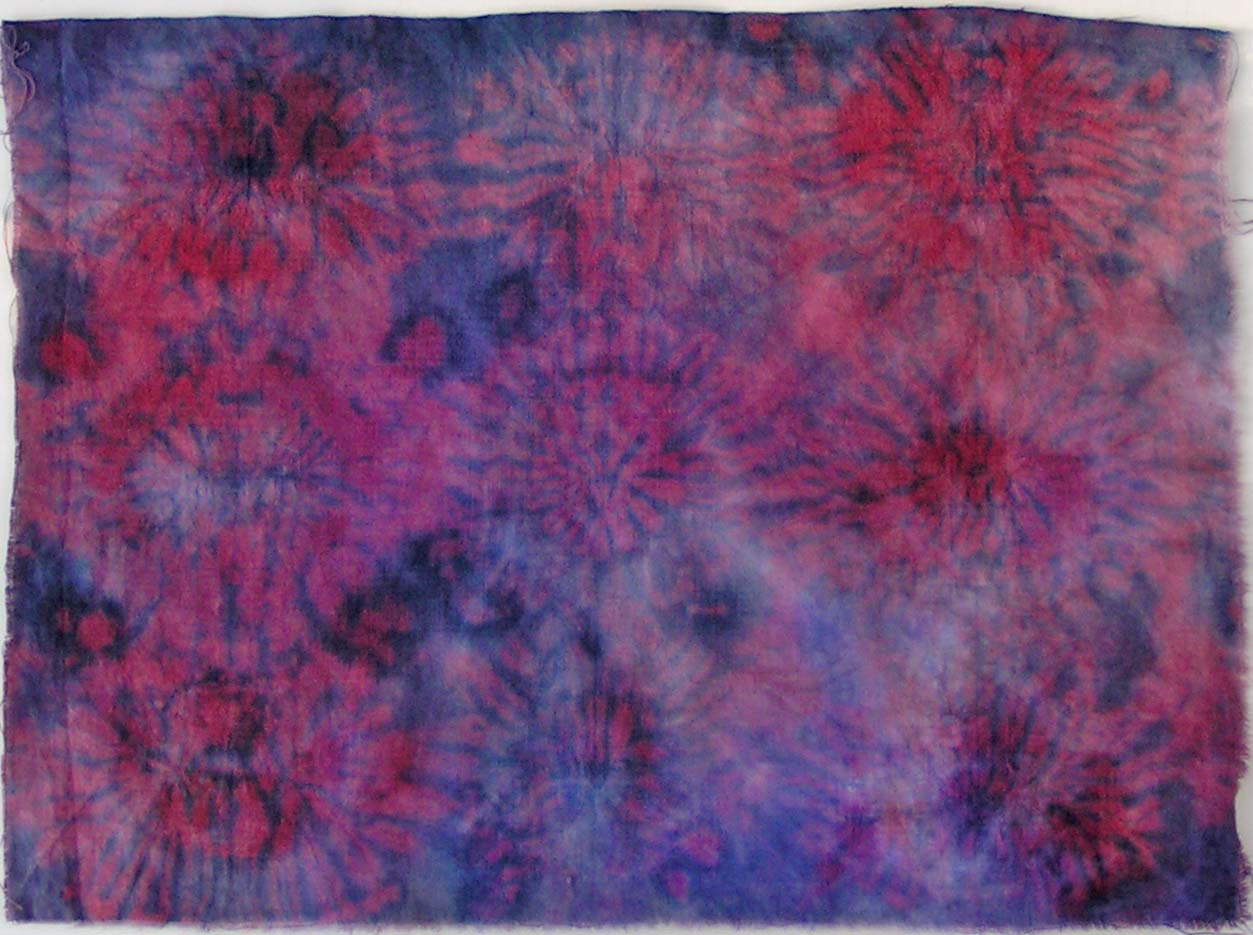
Stitched Soy Wax Shibori Circles

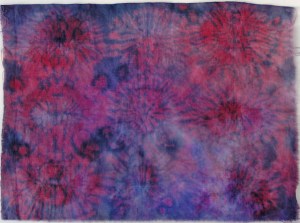
This is one of the stitched shibori pieces that I did. I’m not sure how the soy wax affected the design on this one but I like it.
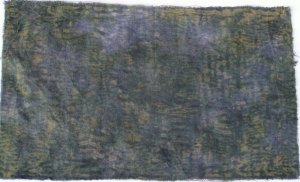
Stitched Mokume Soy Wax Shibori

And this piece was stitched with the Mokume pattern or wood grain. It was originally yellow and I painted it with black dye. Now it’s green. But I think it would make a really nice background for something. Not sure what yet.

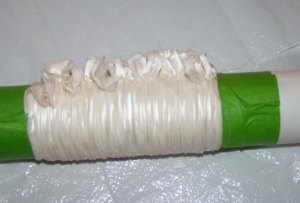
Pole Wrapped Soy Wax Shibori

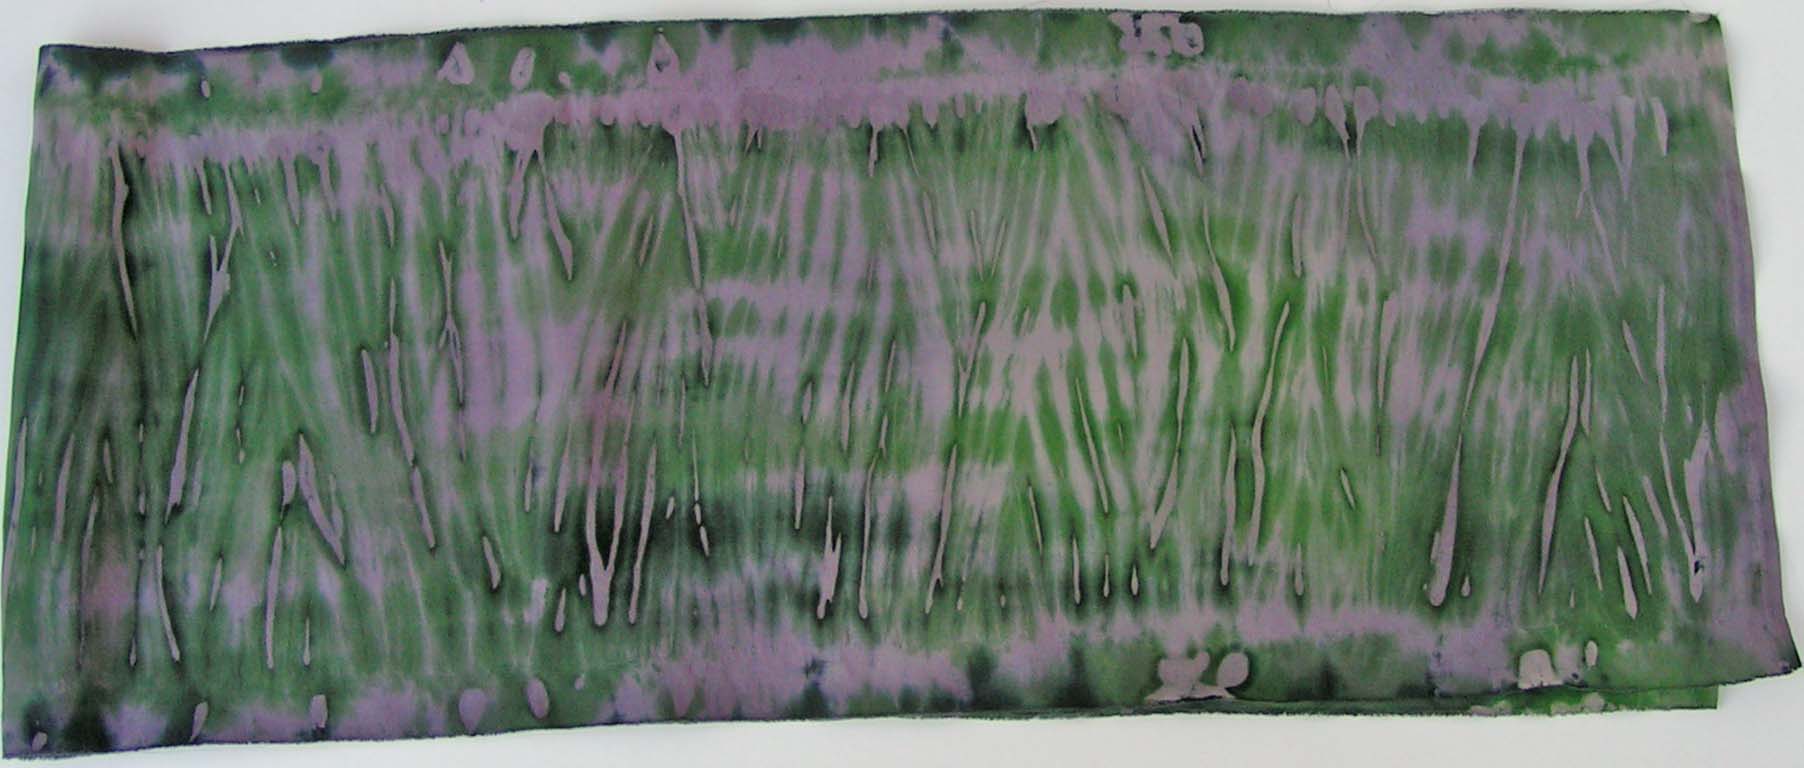
This is the piece of silk that Bunny had wrapped around a pole for us before we got there. You can really see where the wax was in the shibori pattern. I painted this with black and green dye. It was originally white where the resist of the scrunching and soy wax was. But I put this in the washing machine with the fabric shown above and the purple part came from the other fabric. I don’t think I could have done this if I tried. I really like it.

Soy Wax Shibori Silk

Here’s a closer look at one end.

Soy Wax Shibori Silk Other Side

And here’s the other. You can click on any photo to see an enlarged view. This piece of silk isn’t really long enough for a scarf and it is a heavier weight silk so it won’t work for nuno felting. Again, I am not sure what I’ll do with it but I’m sure I will think of something eventually. I do think that adding soy wax to the shibori process is worth the effort, especially if you are using silk.
 

Soy Wax and Shibori

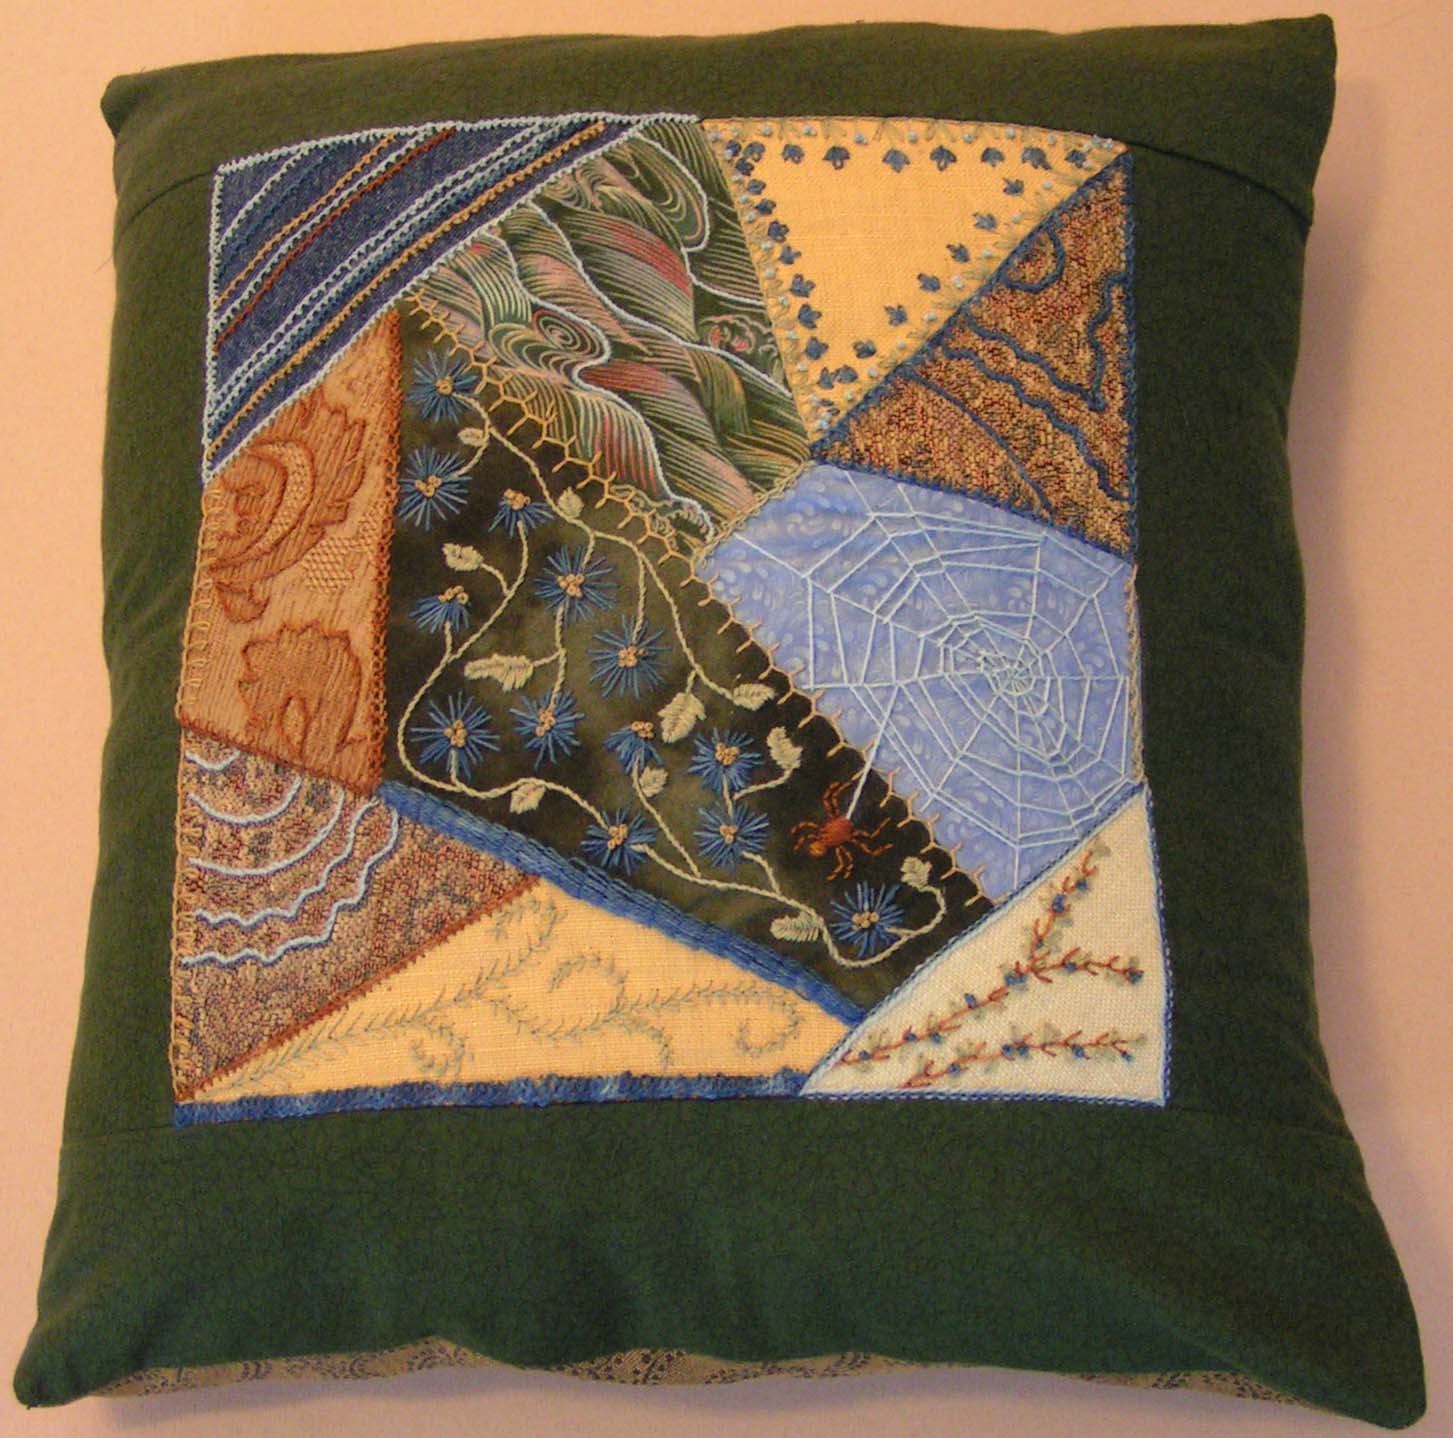
My local surface design group met today and we played with soy wax and shibori. We have done both of these techniques separately but haven’t combined the two before.

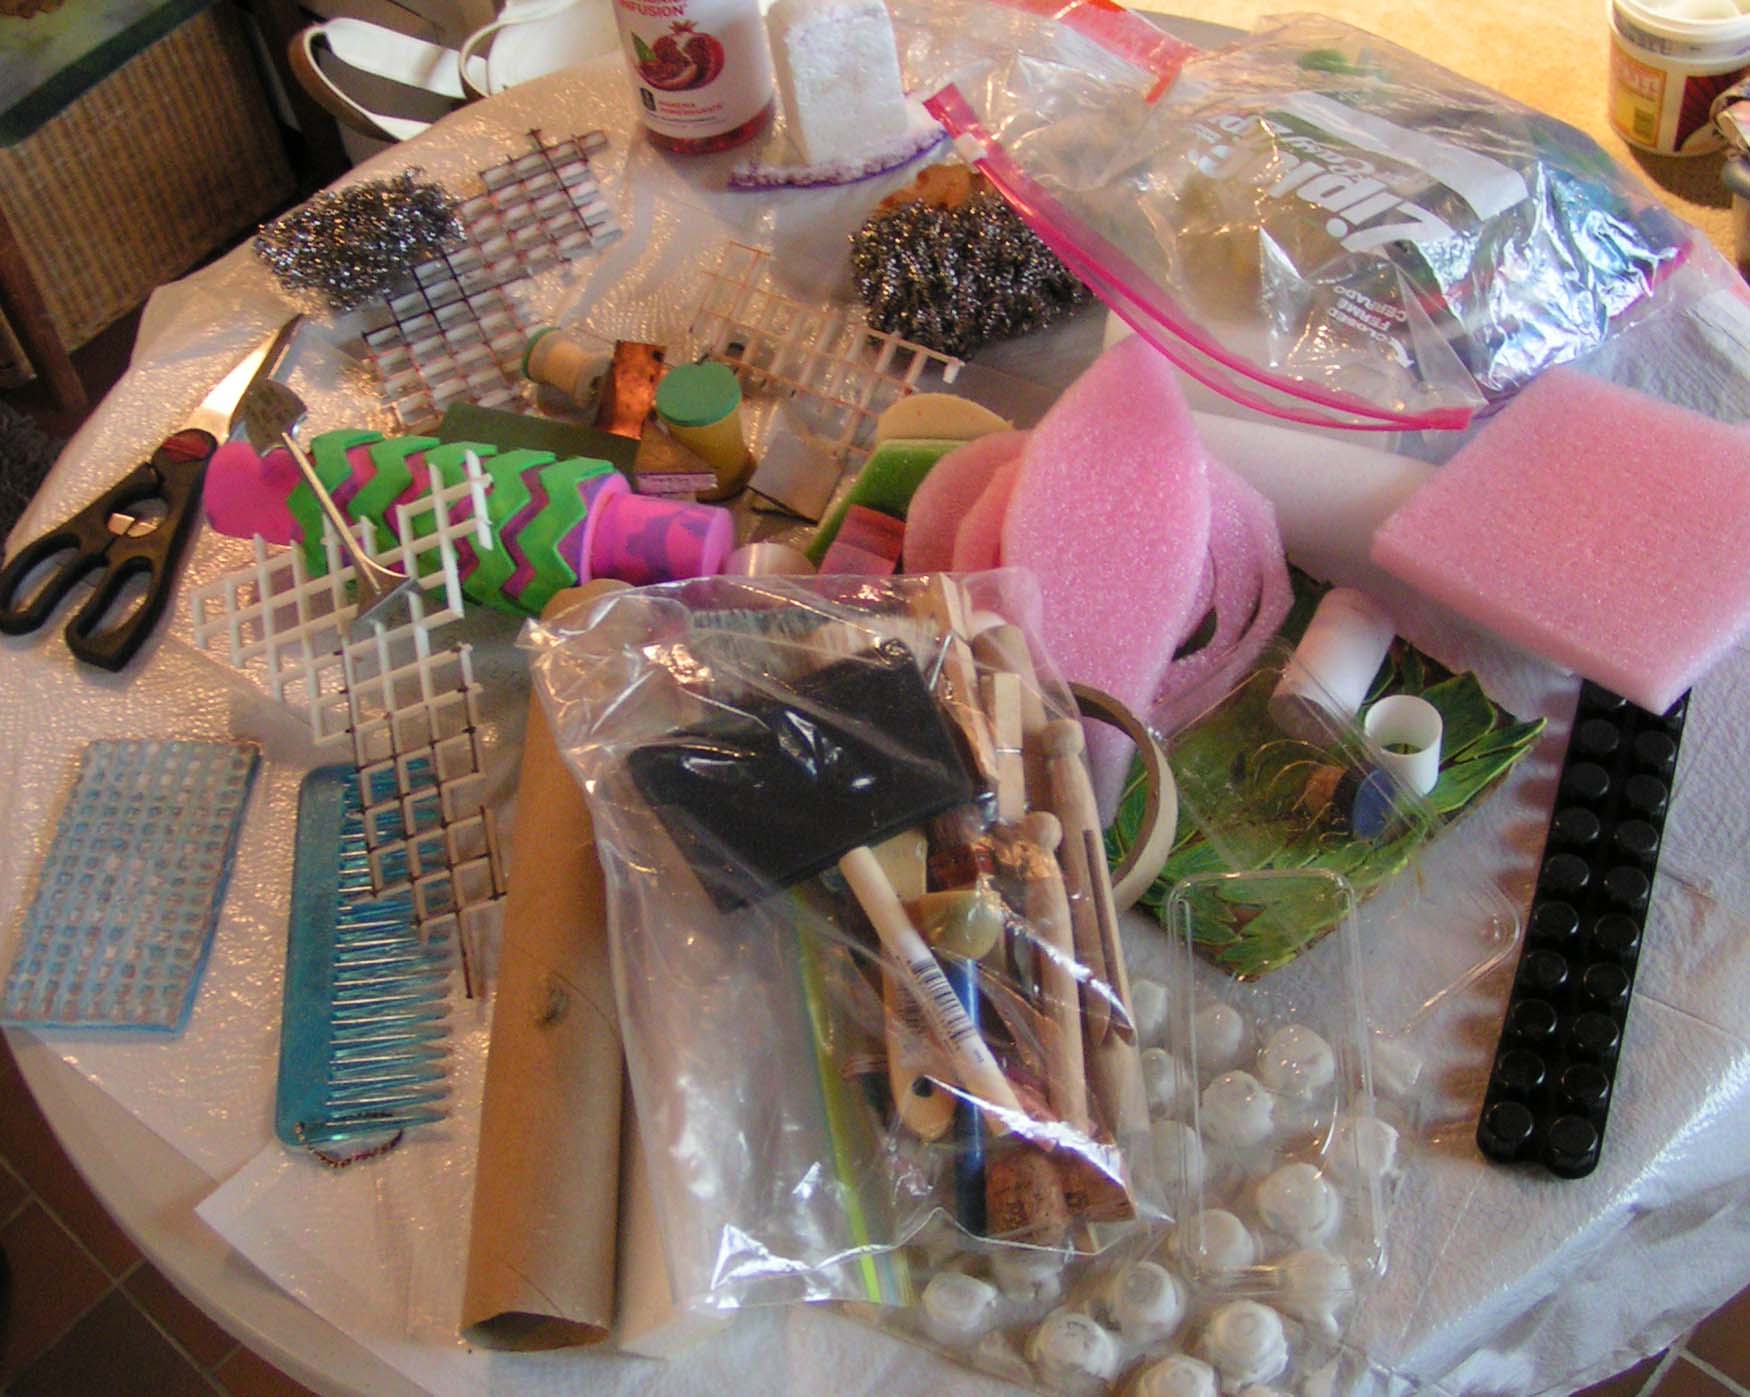
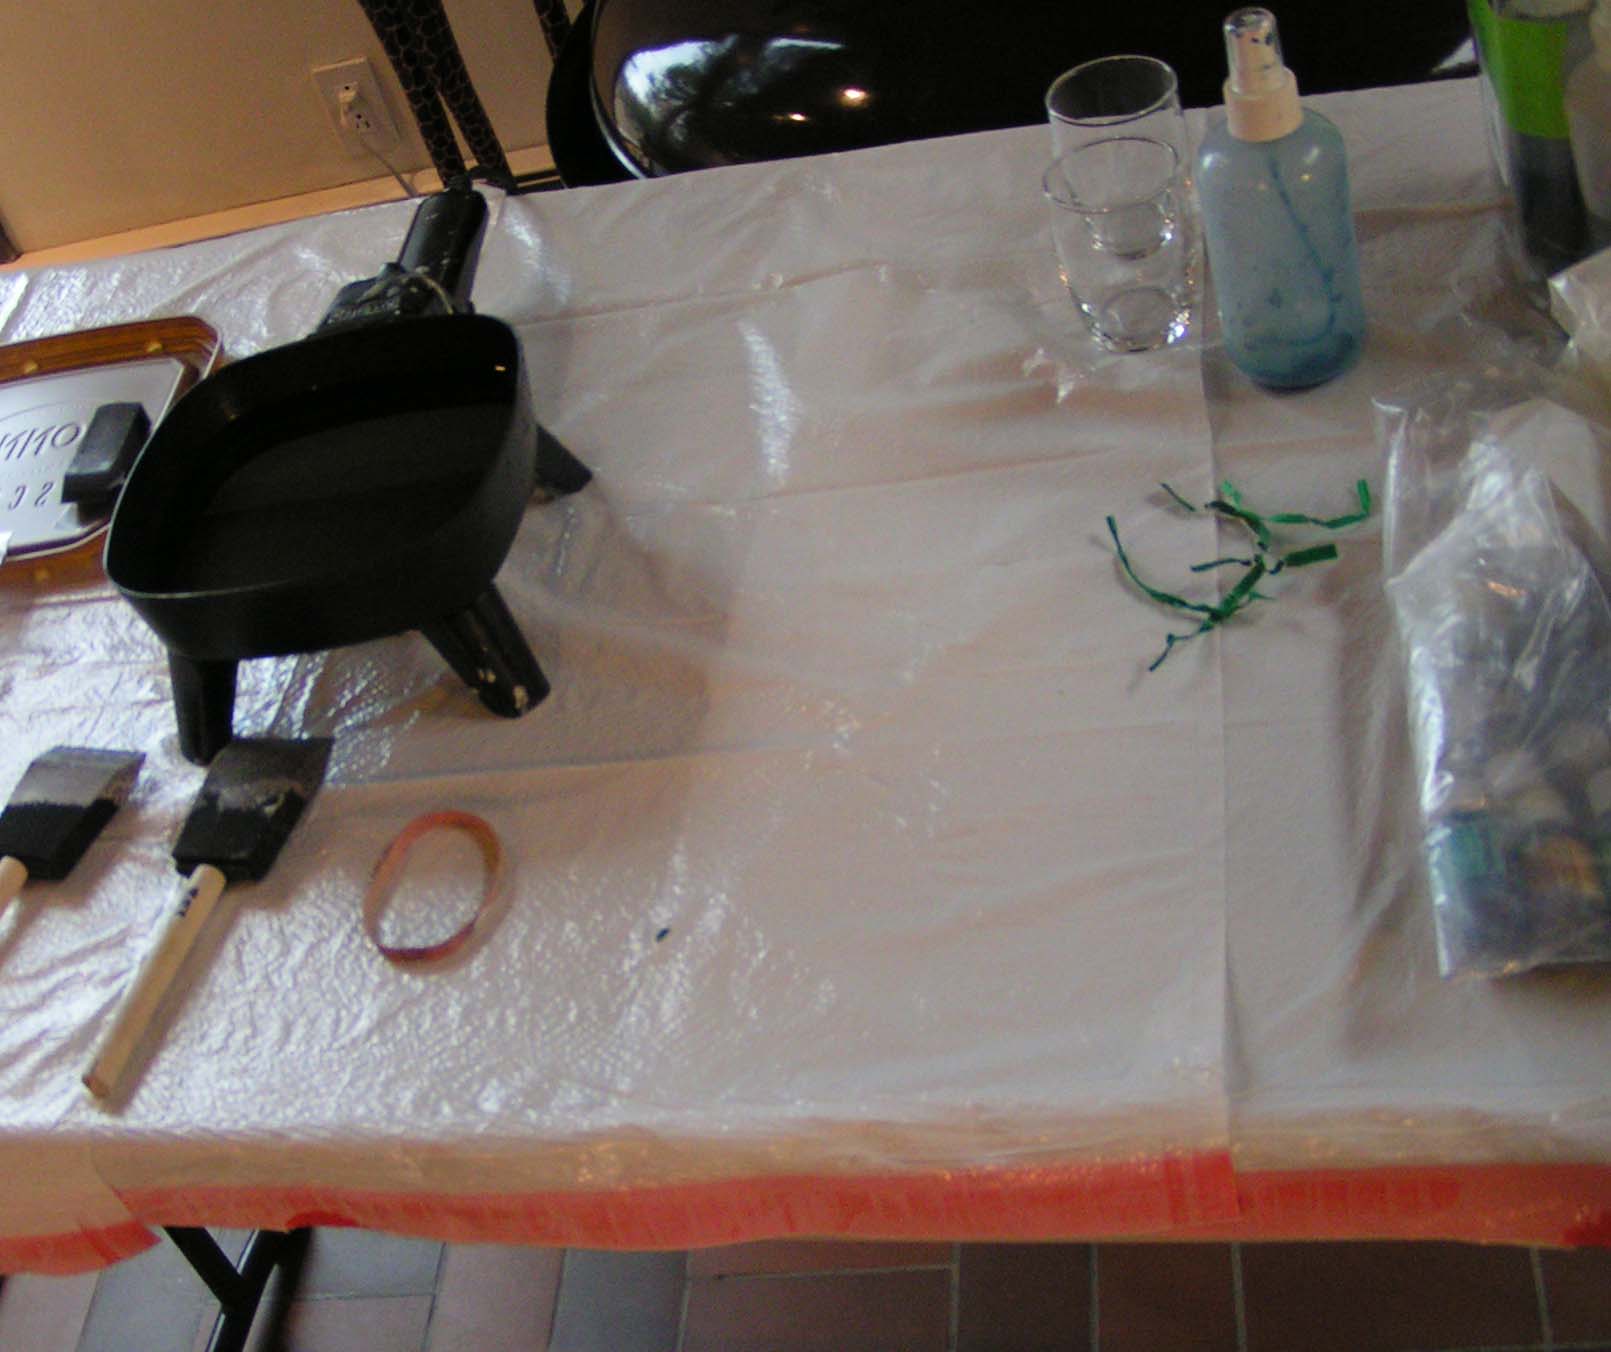
Soy Wax Tools

We brought a bunch of different items to apply the soy wax to fabric and paper.

Soy Wax Set Up

Bunny had everything set up for us, we turned on the electric skillet with the soy wax and it melted very quickly. So we were ready to go.

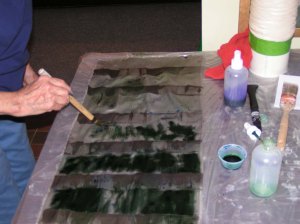
I had previously stitched a few pieces to shibori and Bunny had wrapped some pieces of silk on a pole ready to go. We applied soy wax to the shibori pieces and then added dye afterwards. We used Color Hue dyes which don’t require any sort of pre-treatment to the fabric and set almost immediately.

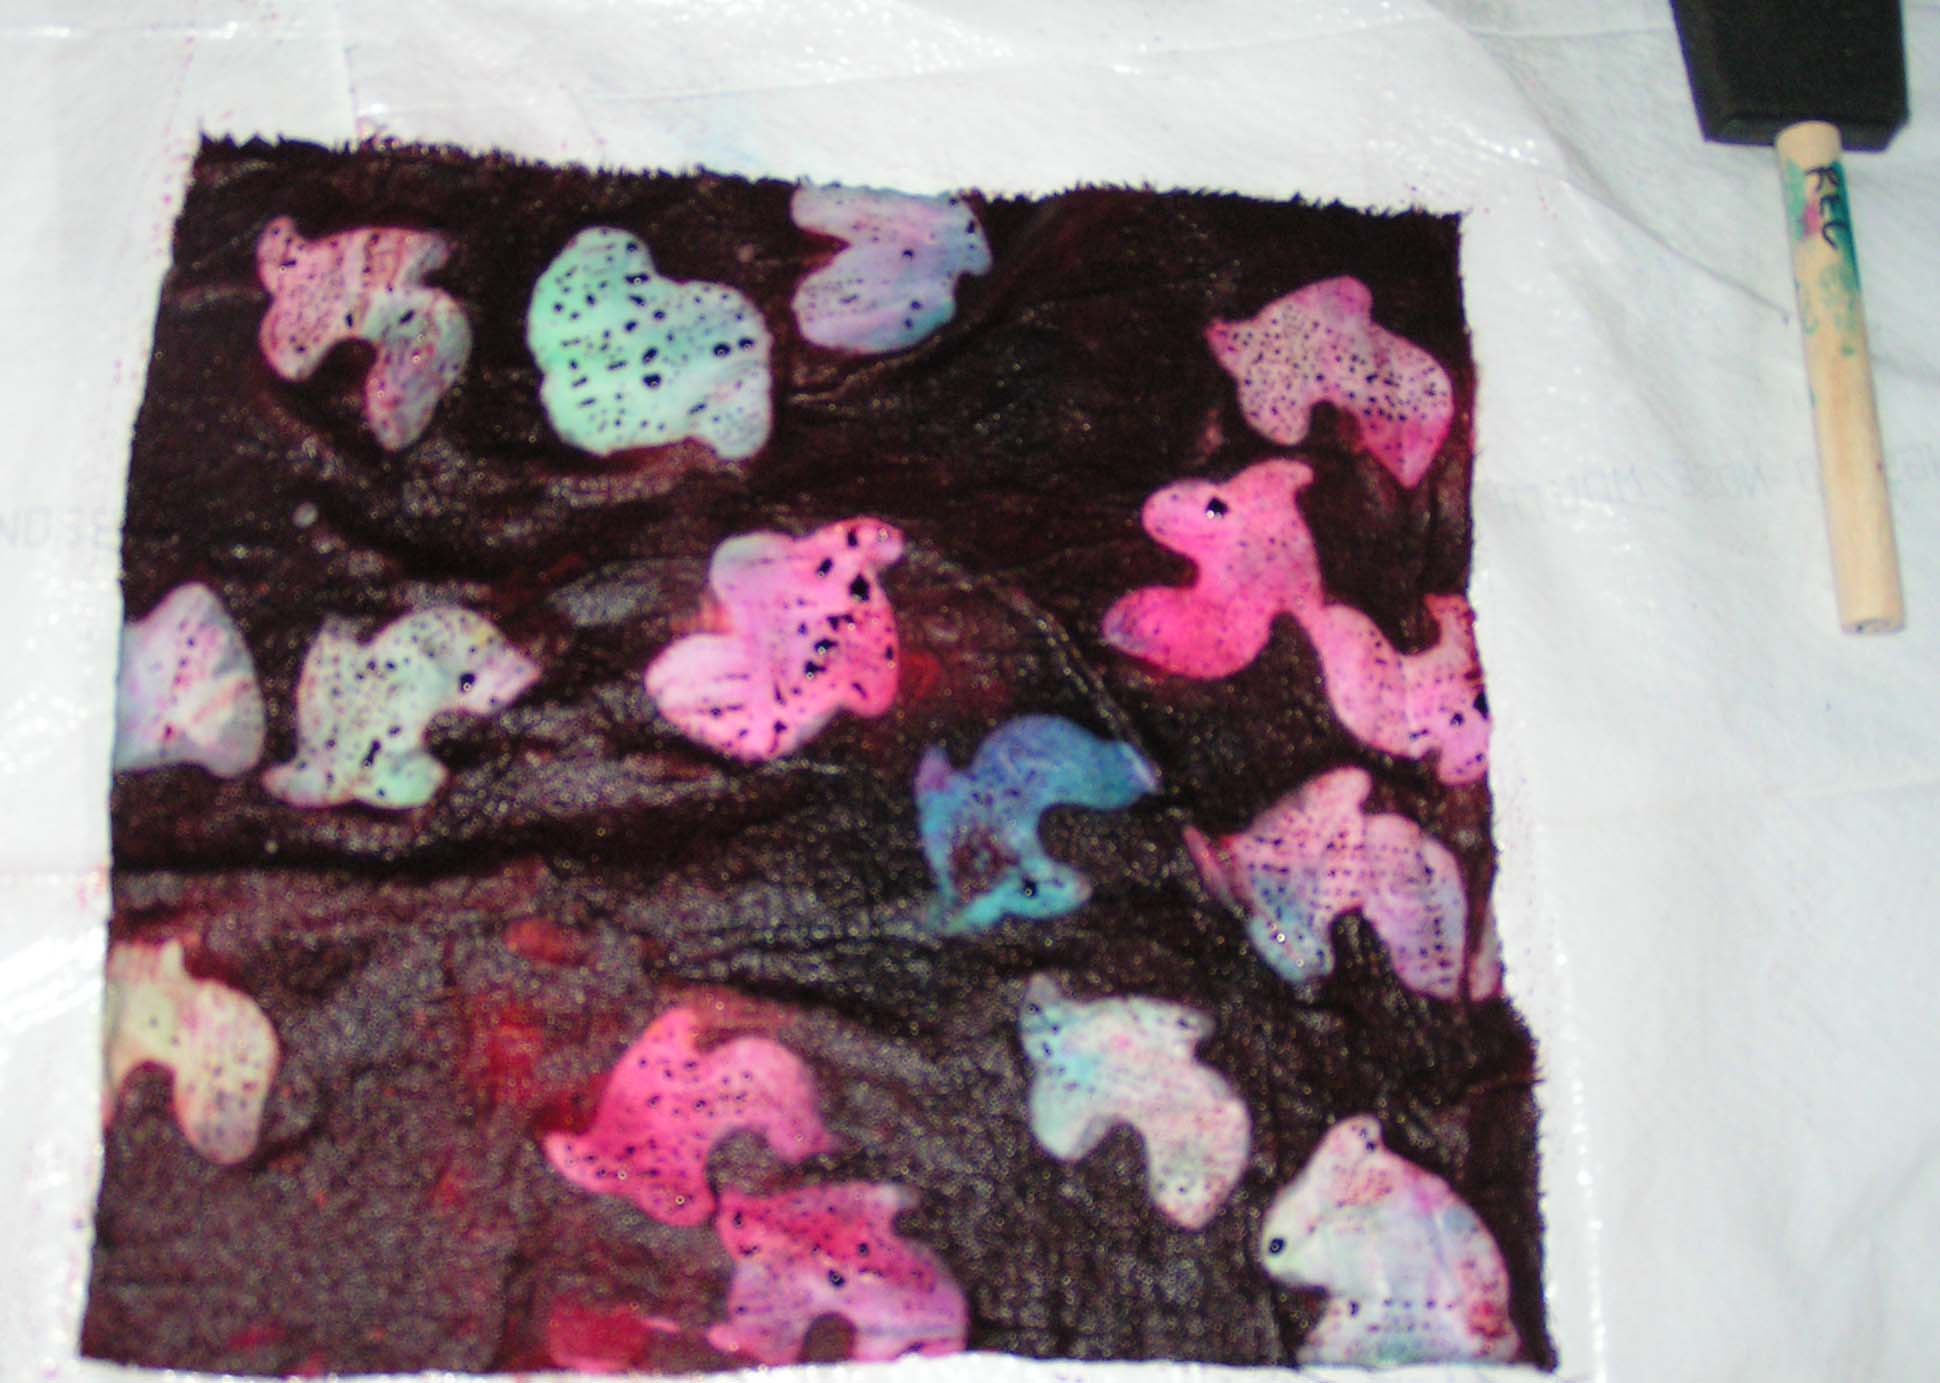
I had a bunch of pieces of fabric that had either been painted or dyed before. I added soy wax with a variety of tools.

Soy Wax and Dye Applied to Multi Color Fabric

And then added the Color Hue dyes.

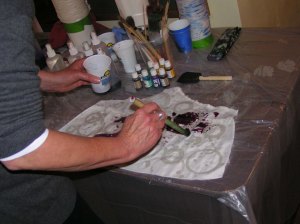
Here you can see Bunny and Louise adding dye to their fabric that had already had the soy wax applied. I am now waiting for the fabric to dry and then I have to iron the wax out of all the pieces. So I will have to show you the results later. We had a good time and I think I made some pretty ugly fabric somewhat better. But I guess we’ll see!

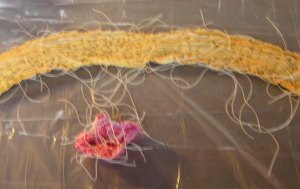
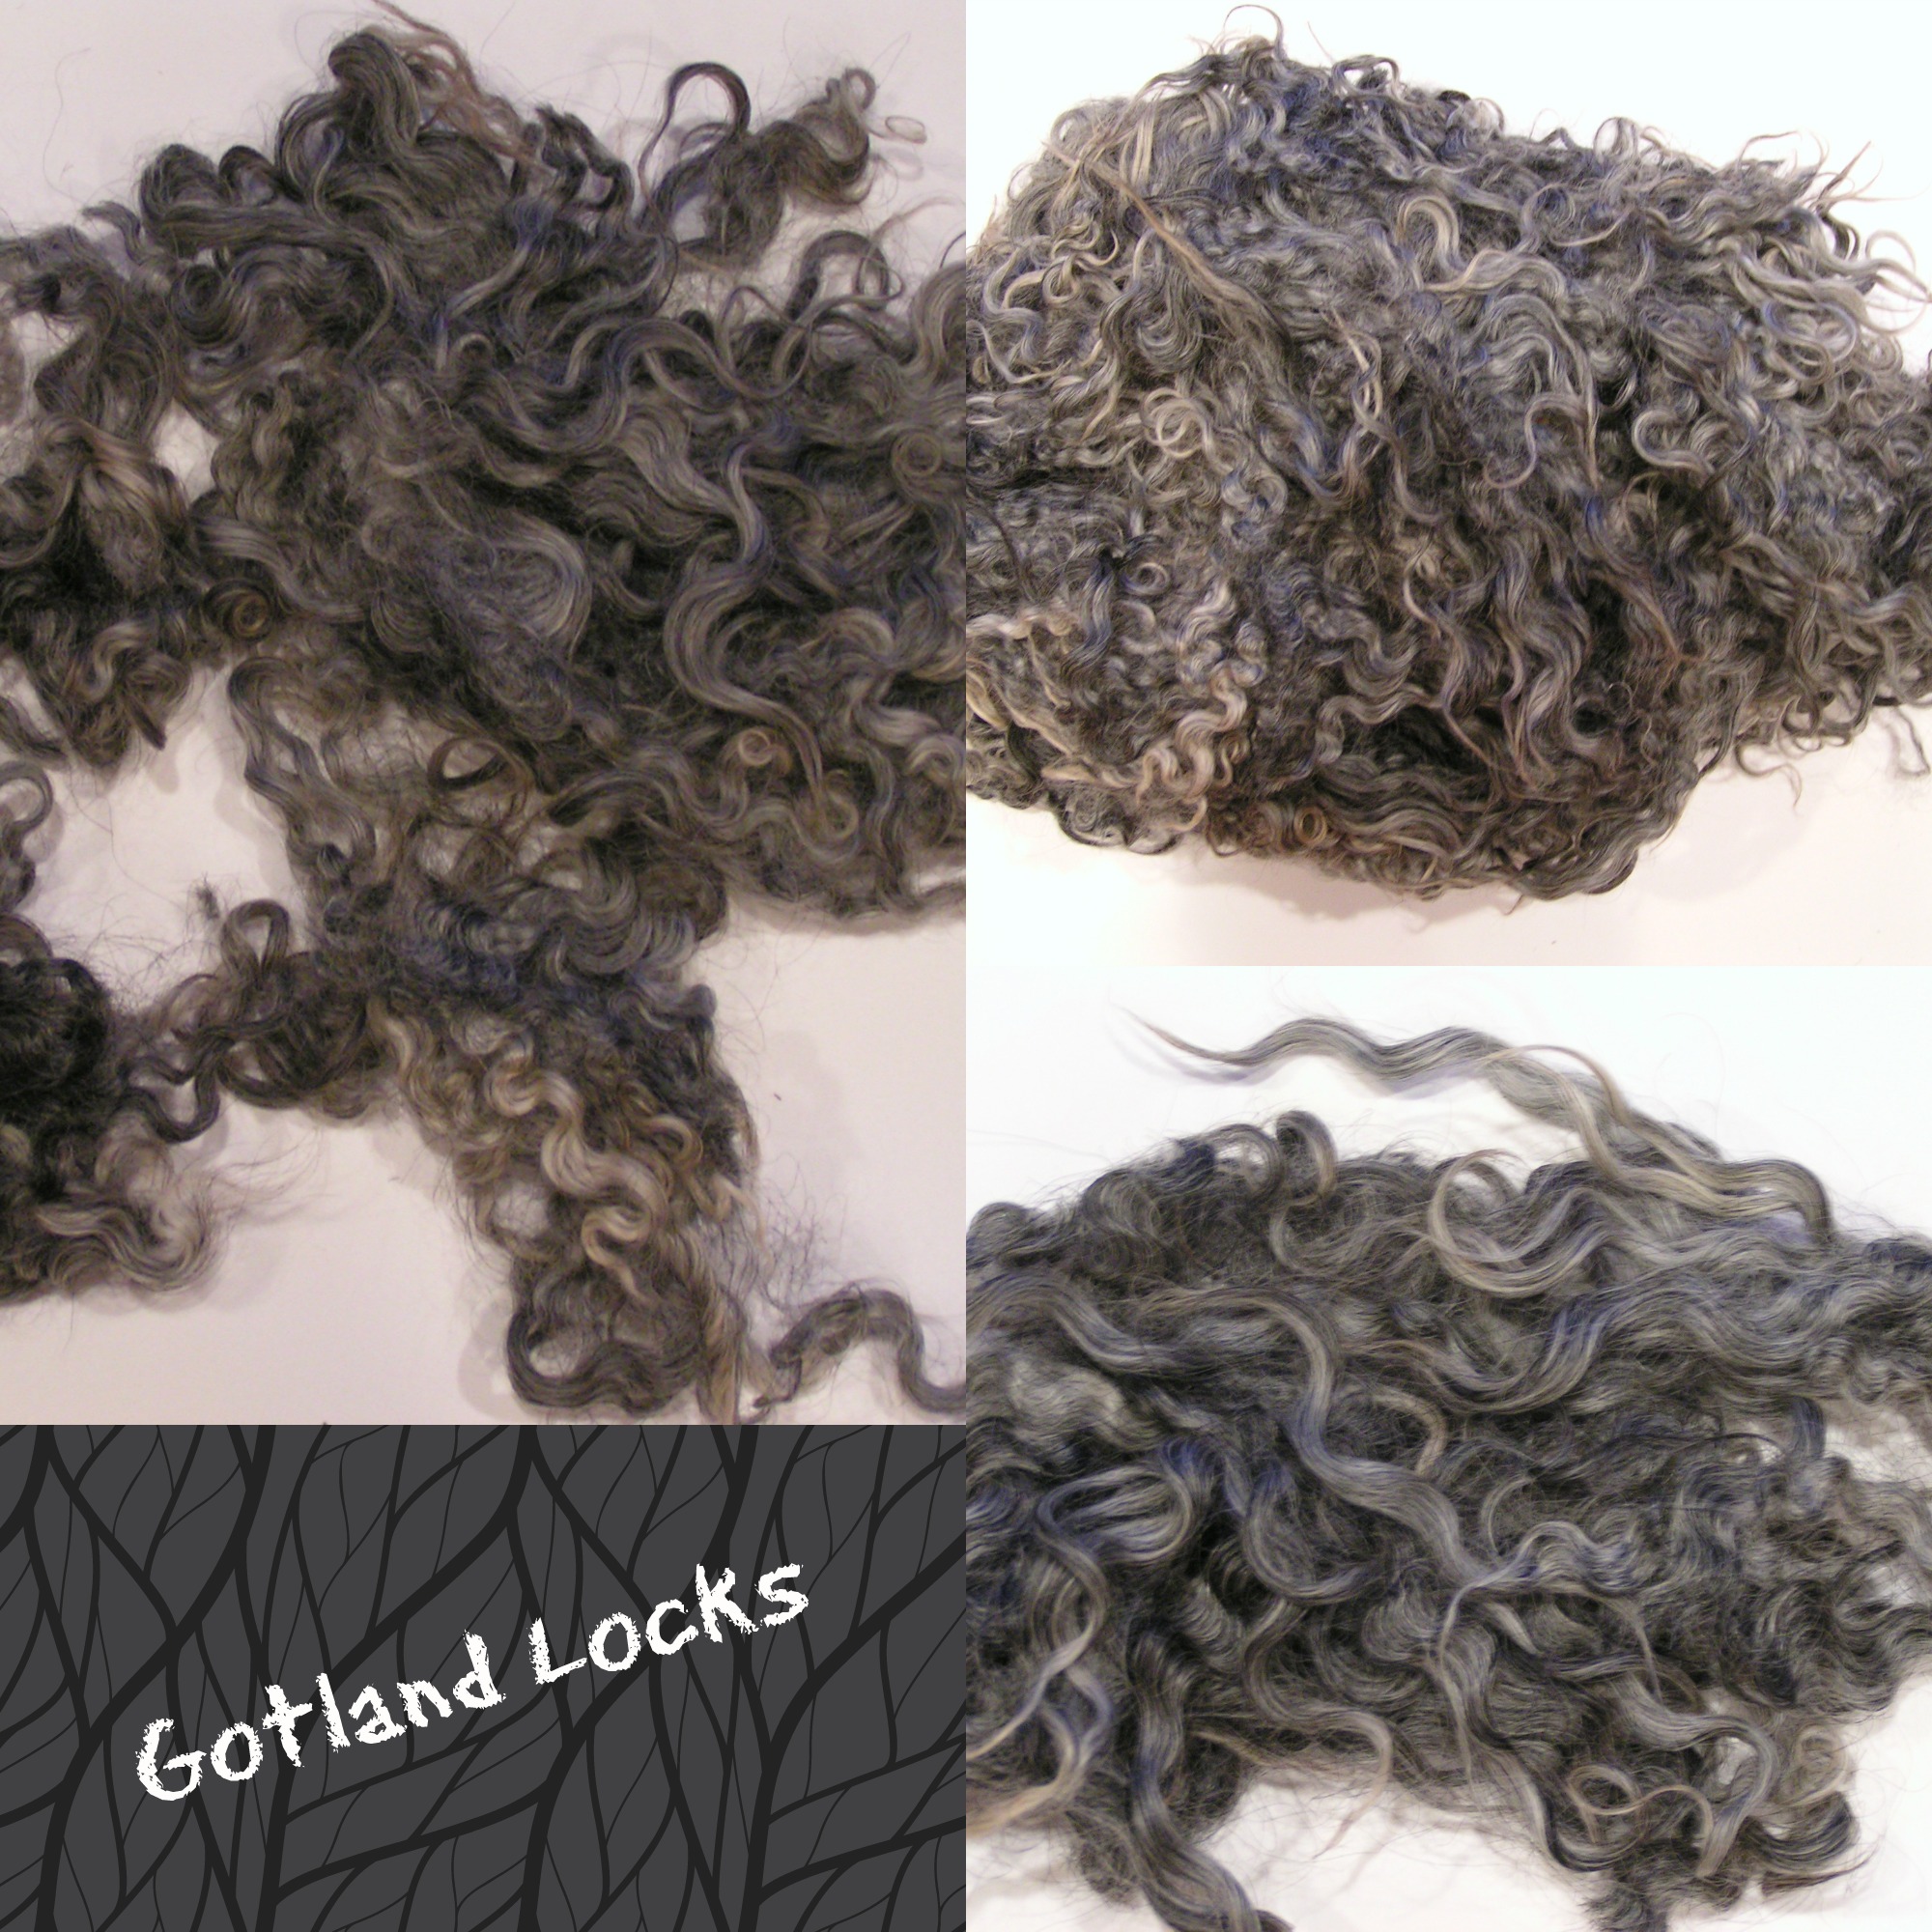
Gotland Locks from Sweden

Look what came in the mail yesterday. They left Sweden on October 28th and arrived in Montana on November 2nd. Amazing!

Gotland Collage

These are gorgeous Gotland Locks from Zara in Sweden. I got a box full of locks which I shared with my friend Paula. Not sure what I am making with these yet but maybe the fourth quarter challenge needs some locks!

If you would like to get some of these lovely locks, check out this post on the forum.

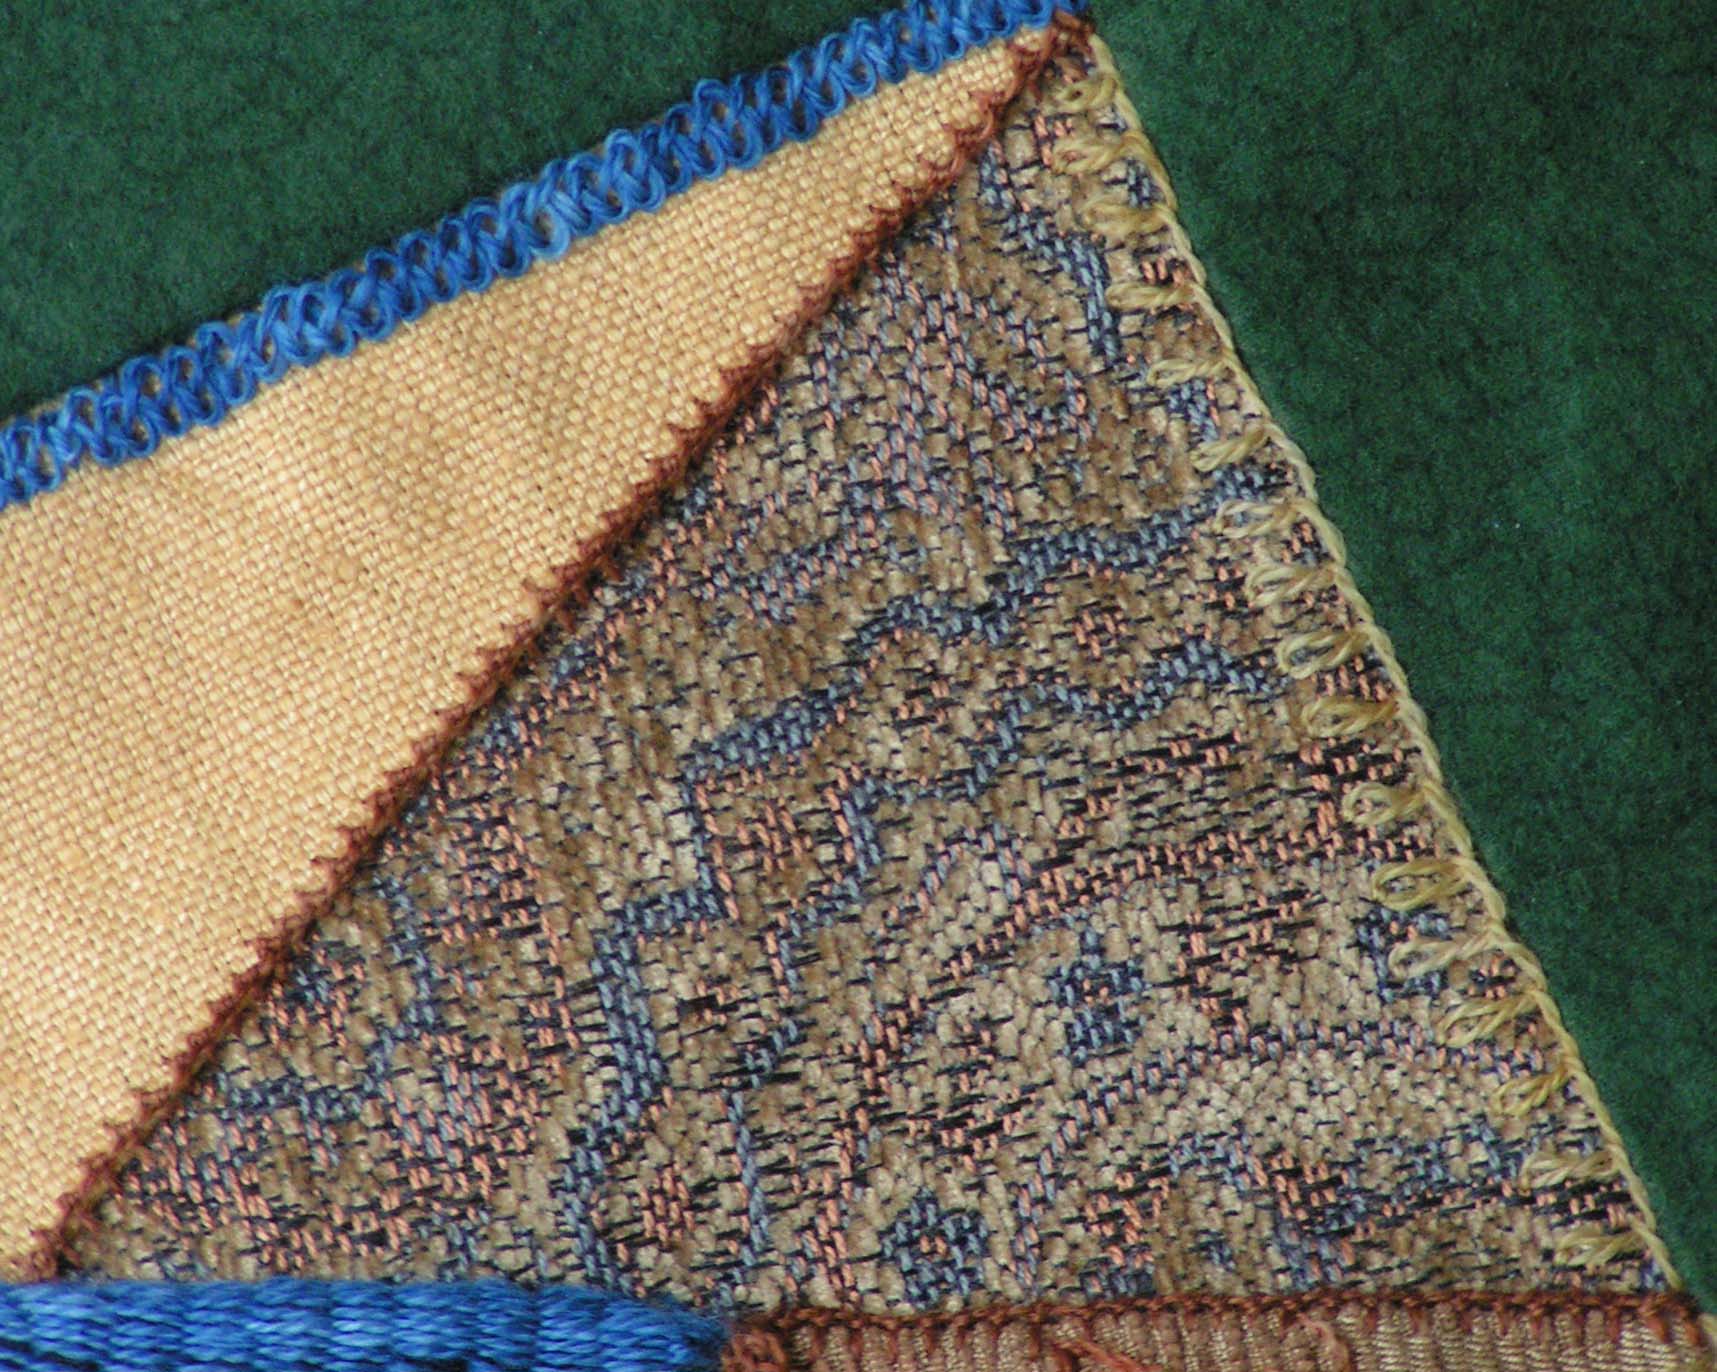
Still Stitching Crazy

I’m still working on the crazy quilt square that I showed you last week but I have all the seams finished. I decided I would add a bit more to the centers of the pieces too as they looked kind of bare. I did try seven new stitches though. Here is what I have learned.

Basque Stitch

This is the Basque stitch. It is a combination of buttonhole with a twisted chain.

Braid or Cable Plait Stitch

This dark blue line is the Braid or Cable Plait stitch.

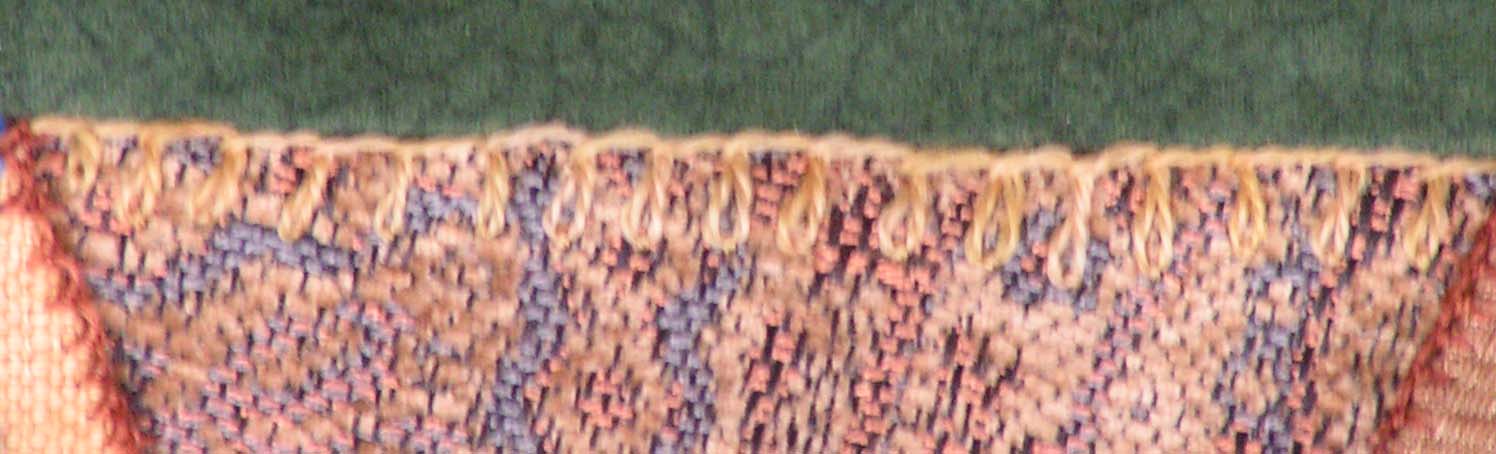
Knotted Pearl Stitch

The brown stitch on two sides of the triangle is the Knotted Pearl Stitch.

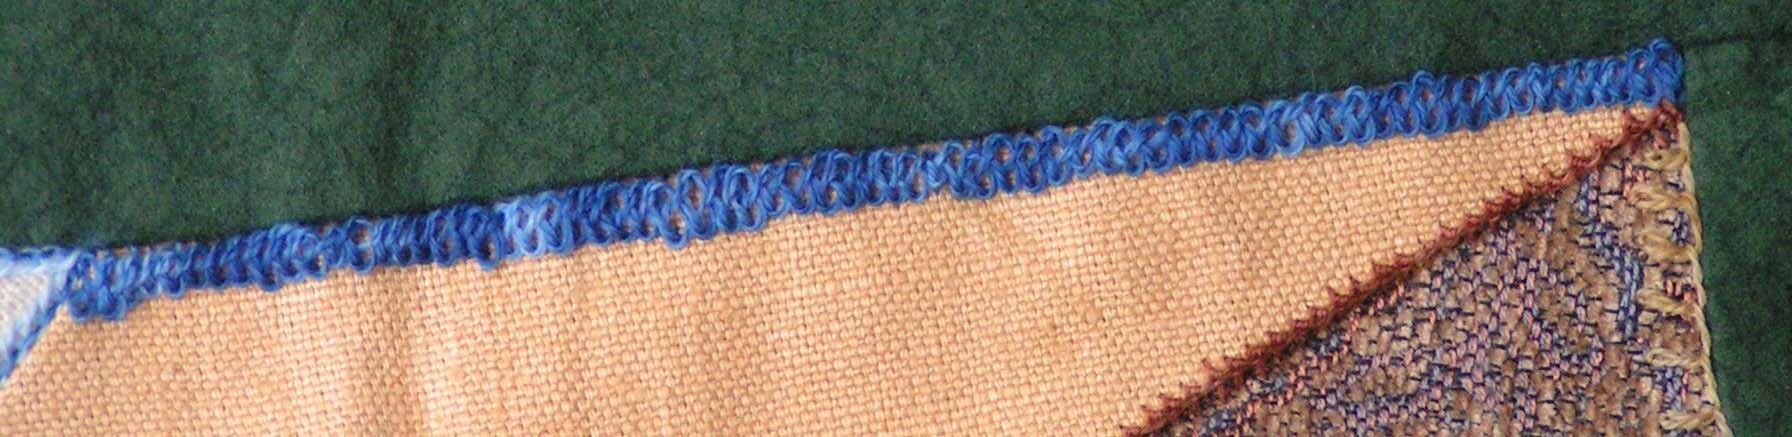
Mountmellick Stitch

The seam stitches in blue are the Mountmellick stitch. Kind of looks like a row of little triangles.

Finished Palestrina Stitch

I went around the edge of the Palestrina triangle to finish that up.

Portuguese Knotted Stem Stitch

The wavy line in blue is the Portuguese Knotted Stem stitch.

Raised Stem Stitch

And this really thick blue line is raised stem stitch.

Full Crazy Quilt Square

And here is the full square as it is currently. I plan on adding a bit more and then I will make it into a pillow. And that will be one UFO completed!