Sketchbook Update

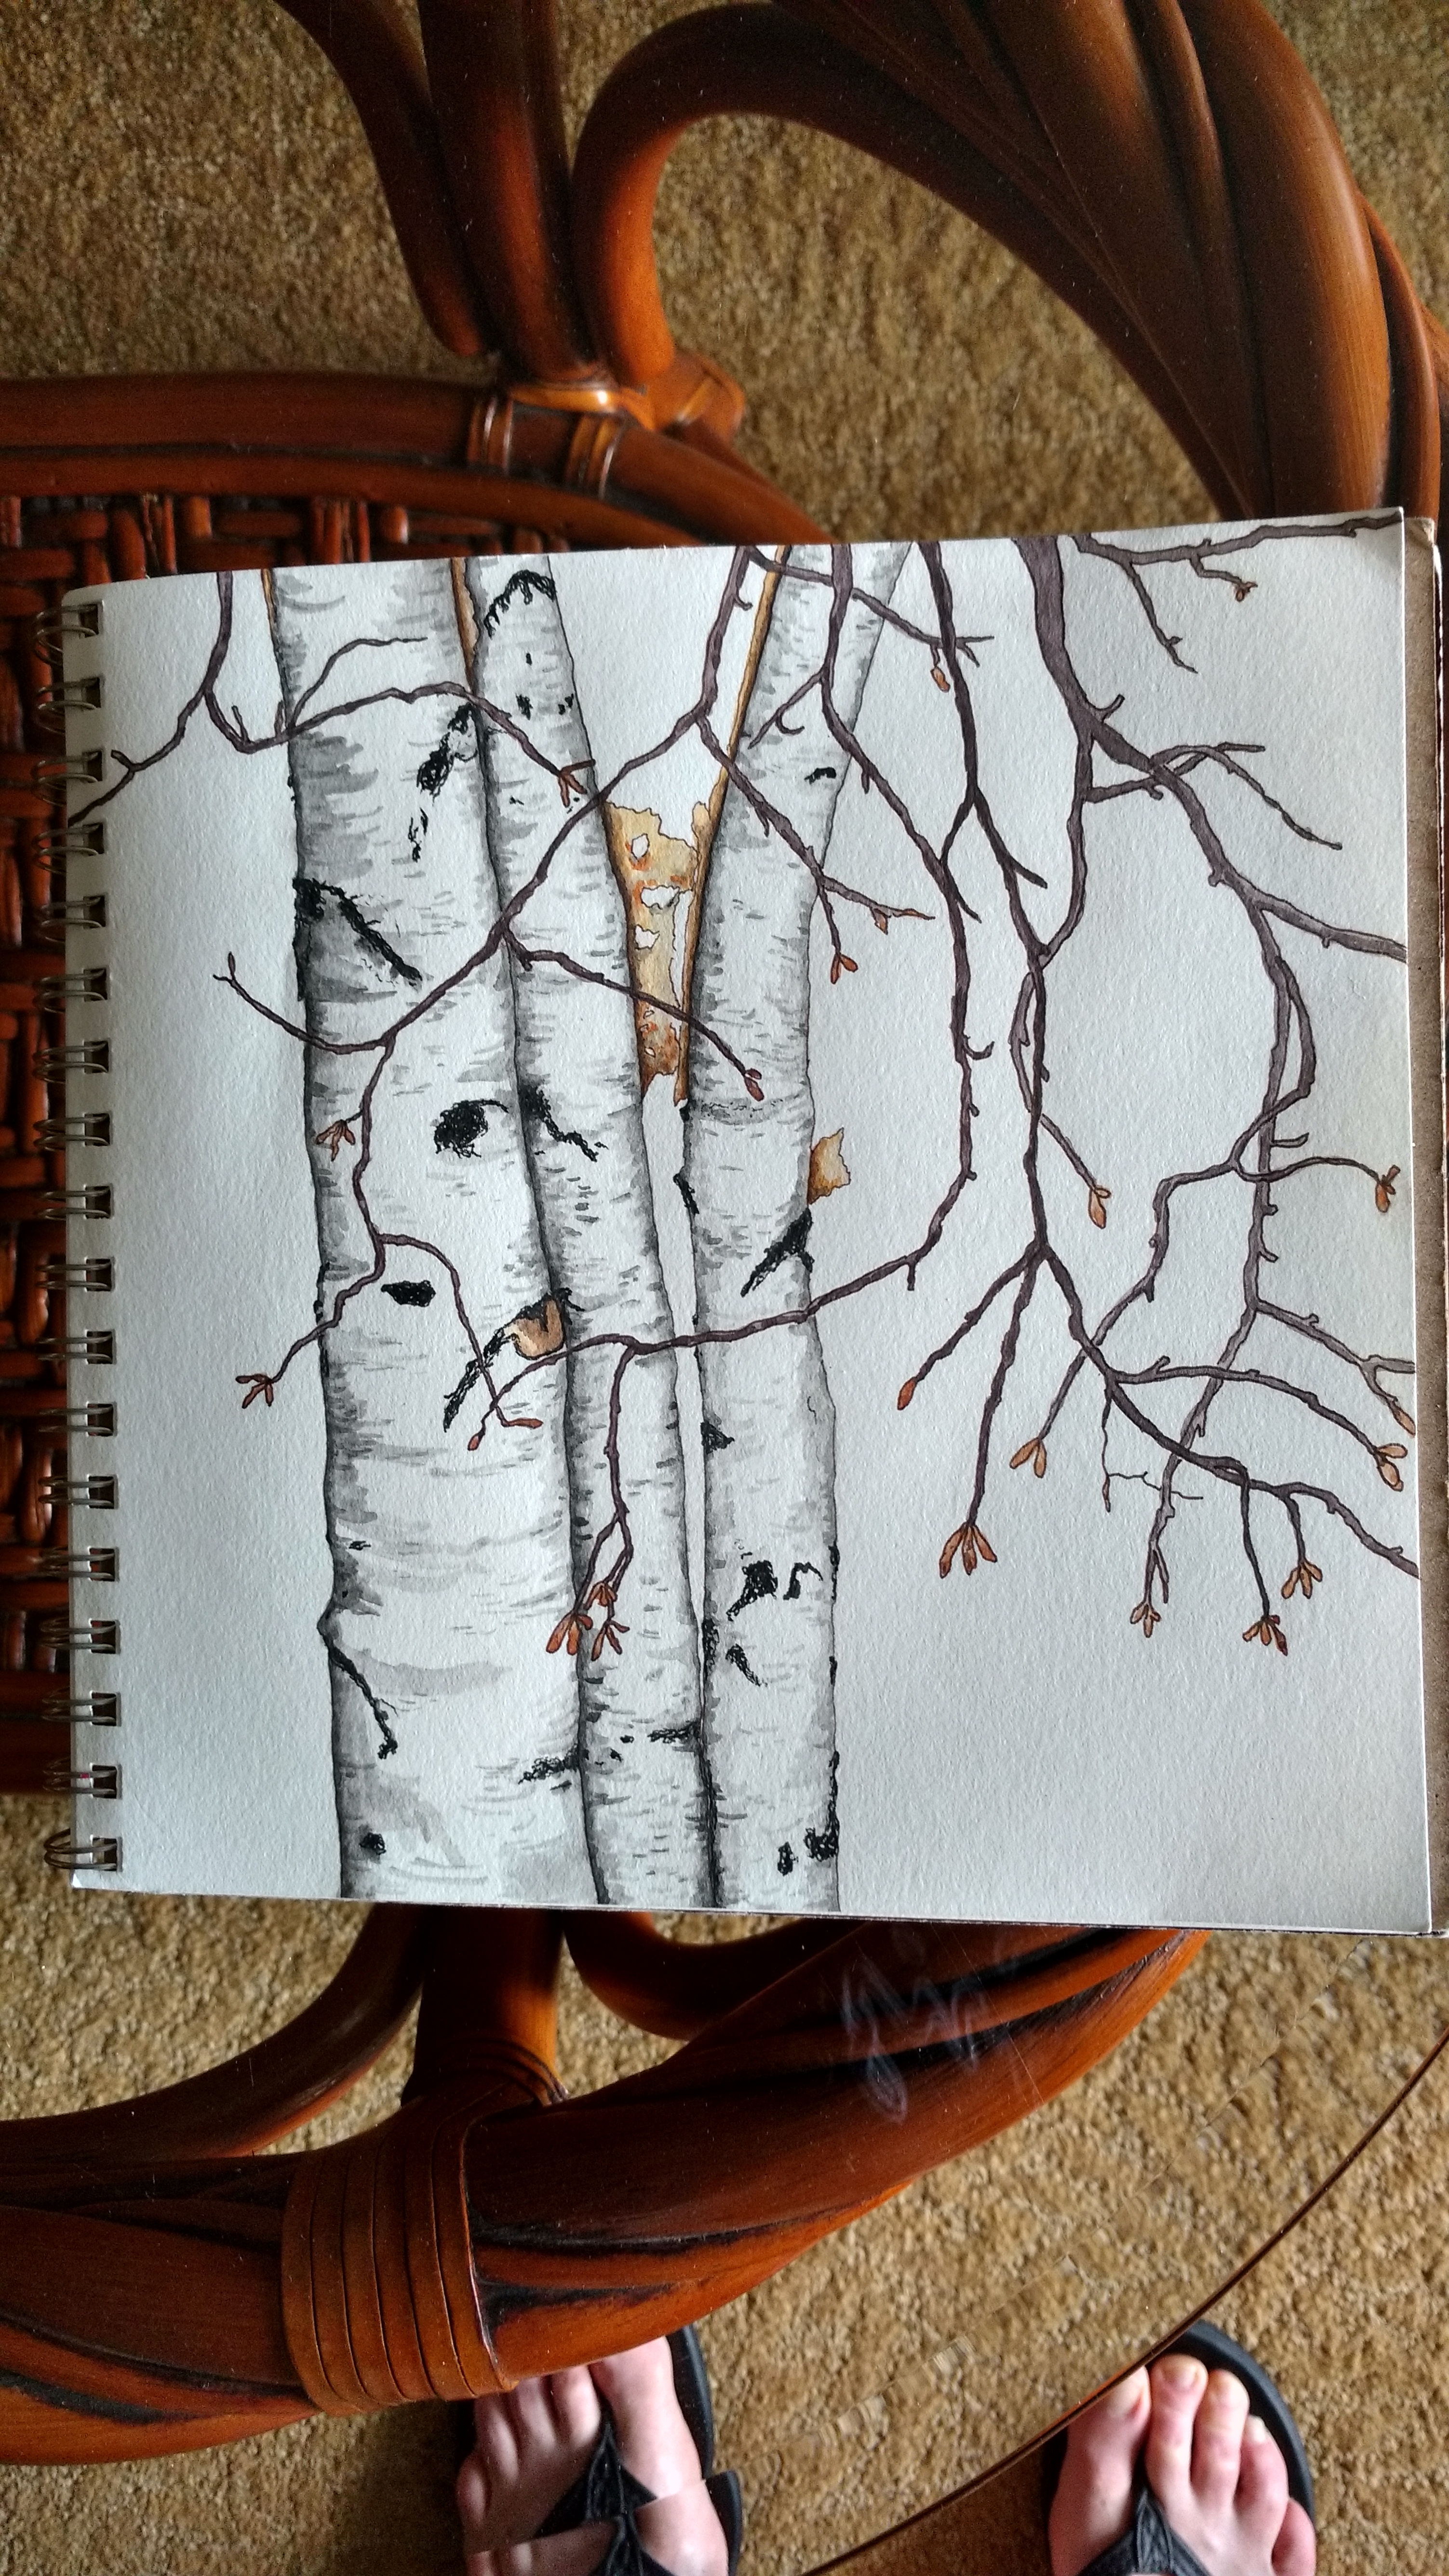
I have been working in my sketchbook intermittently. I showed you the weeping birch sketch but thought I would play around with it in Photoshop to see if I could color the background. But I couldn’t figure out how to do that easily. I always forget how to use all the features and the complexity of the program always discourages me from trying much. But I can add filters to see the different effects.

Sketchbook - Weeping Birch cropped

Here’s the original.

Sketchbook - Weeping Birch bas relief

This is the bas relief filter. So it does give the effect of a colored background somewhat.

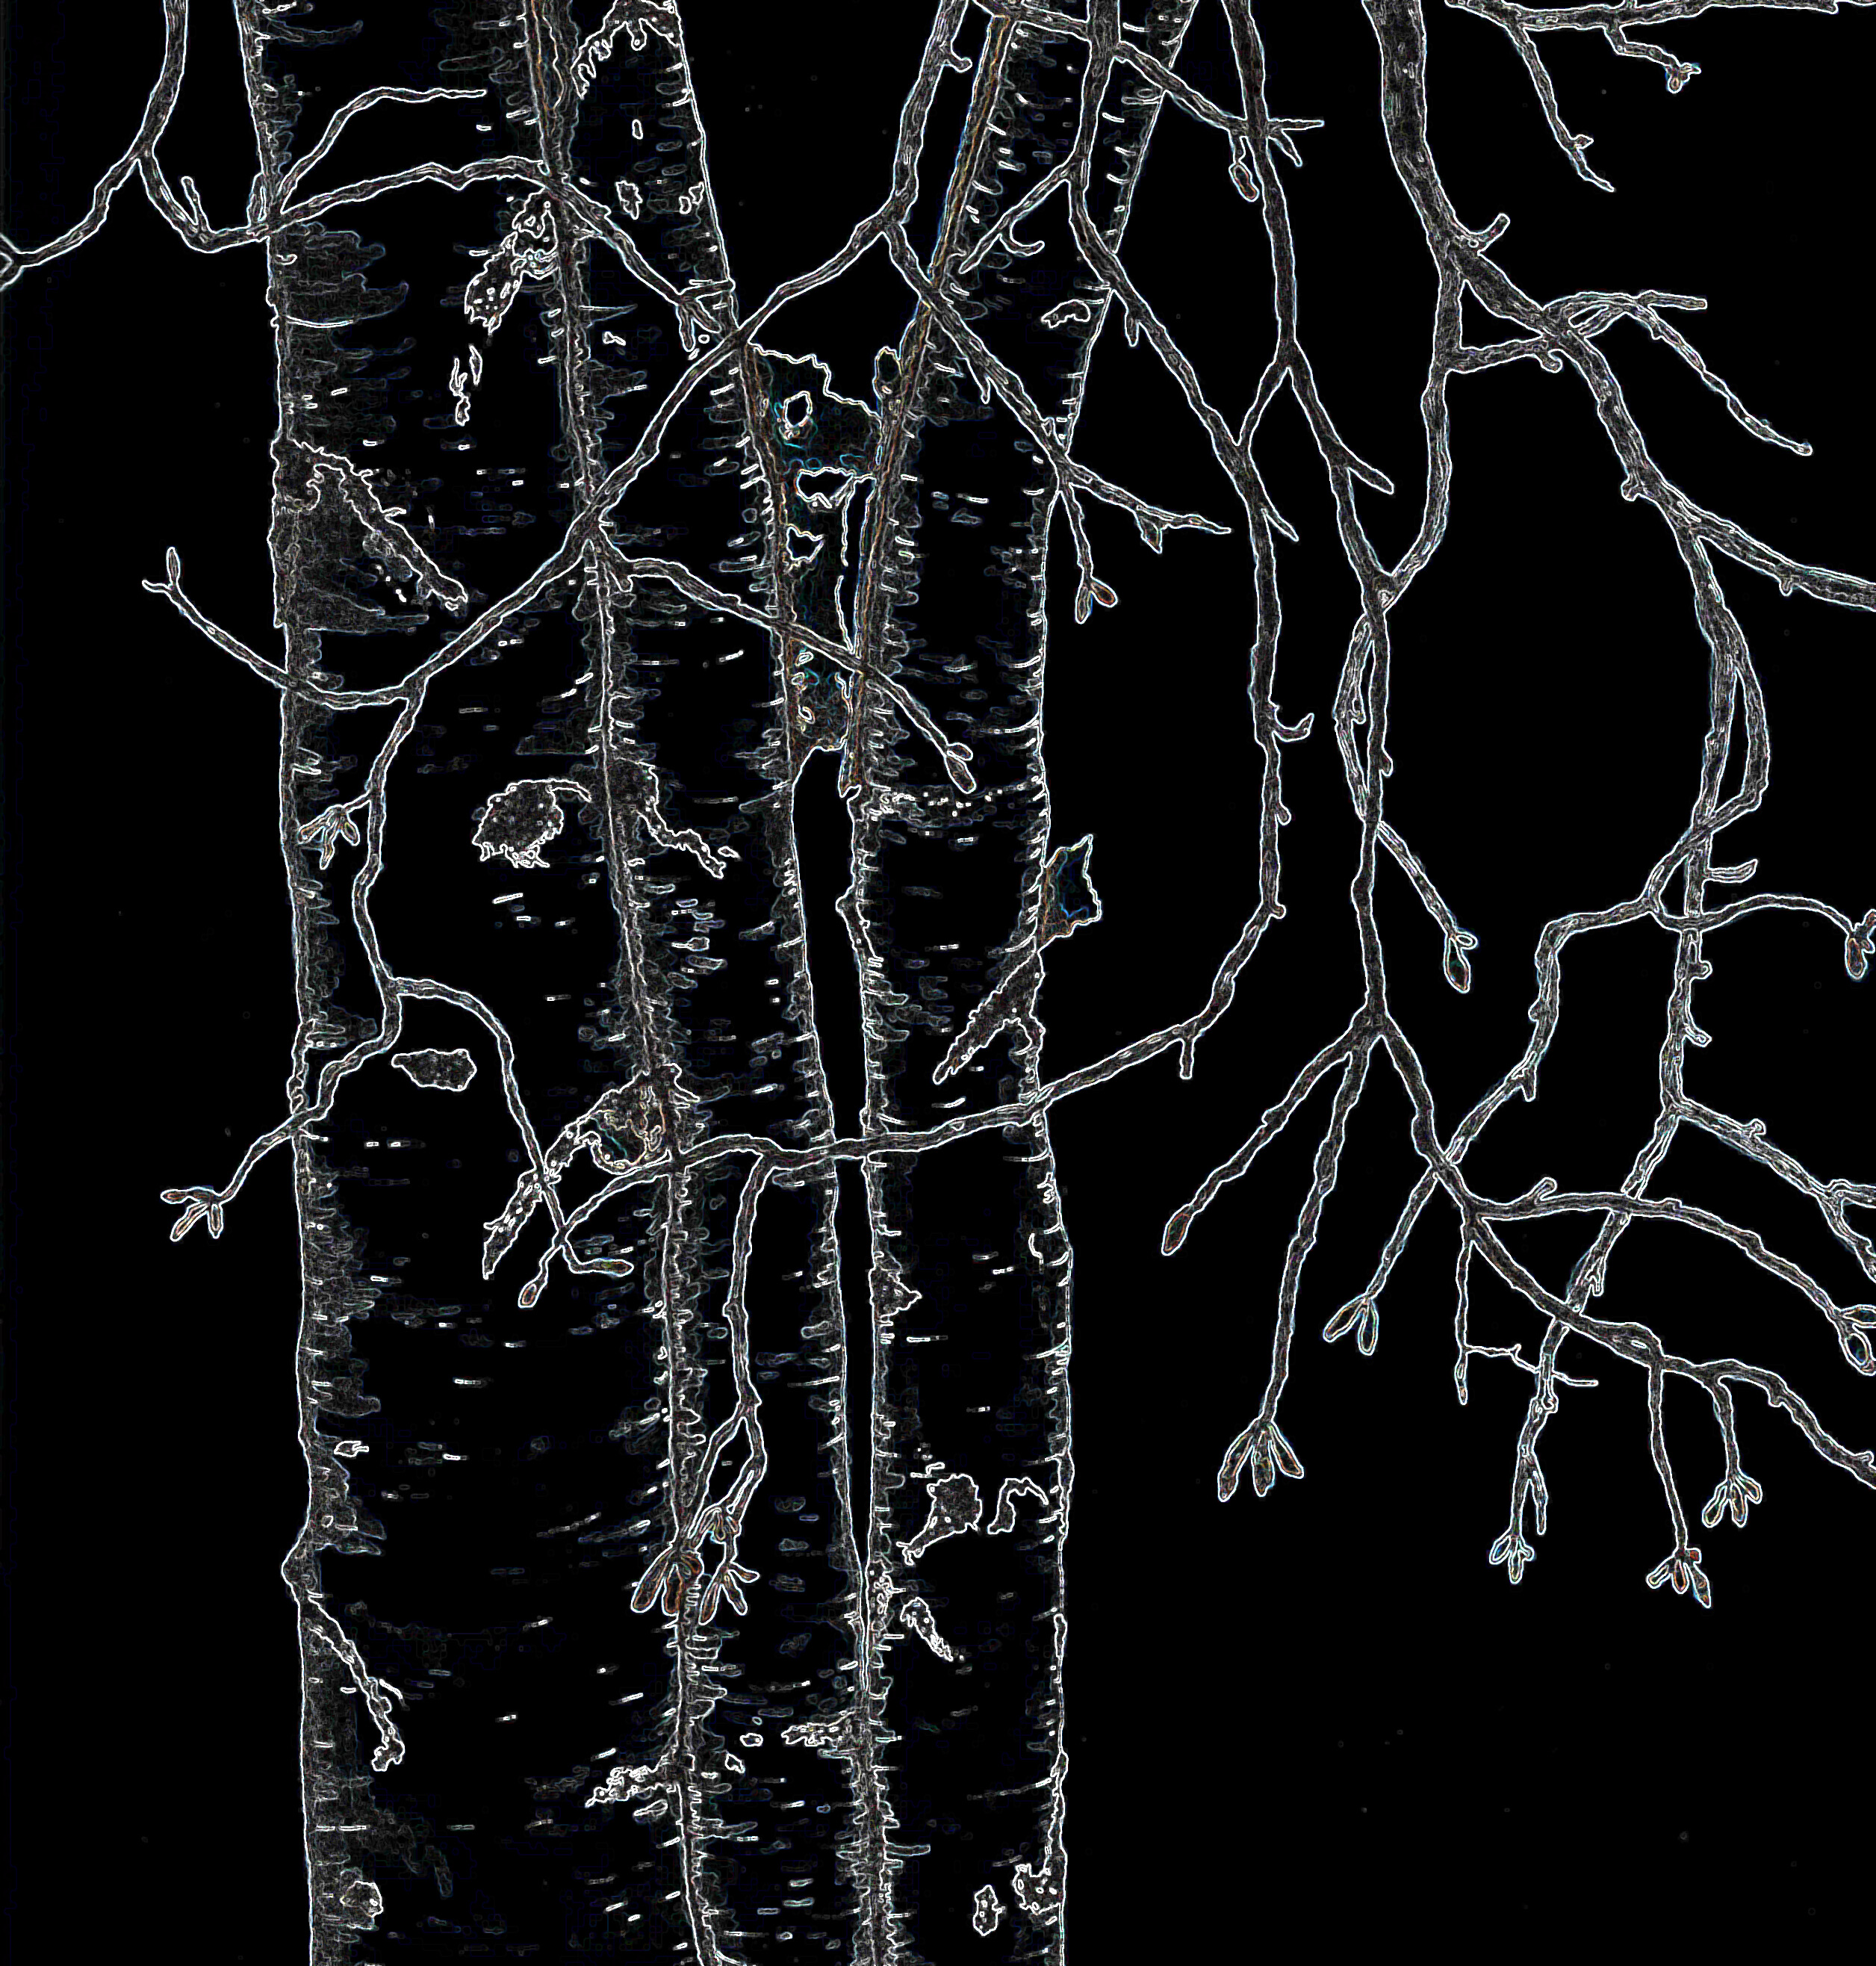
Sketchbook - Weeping Birch glowing edge

This filter is called glowing edge. Essentially just reverses the colors in this sketch.

Sketchbook - Weeping Birch palette knife

And this one is called palette knife. I think I could use this to carve a lino cut stamp. I might give it a try if I can get it transferred clearly enough.

Sketchbook - Yellow Hibiscus web

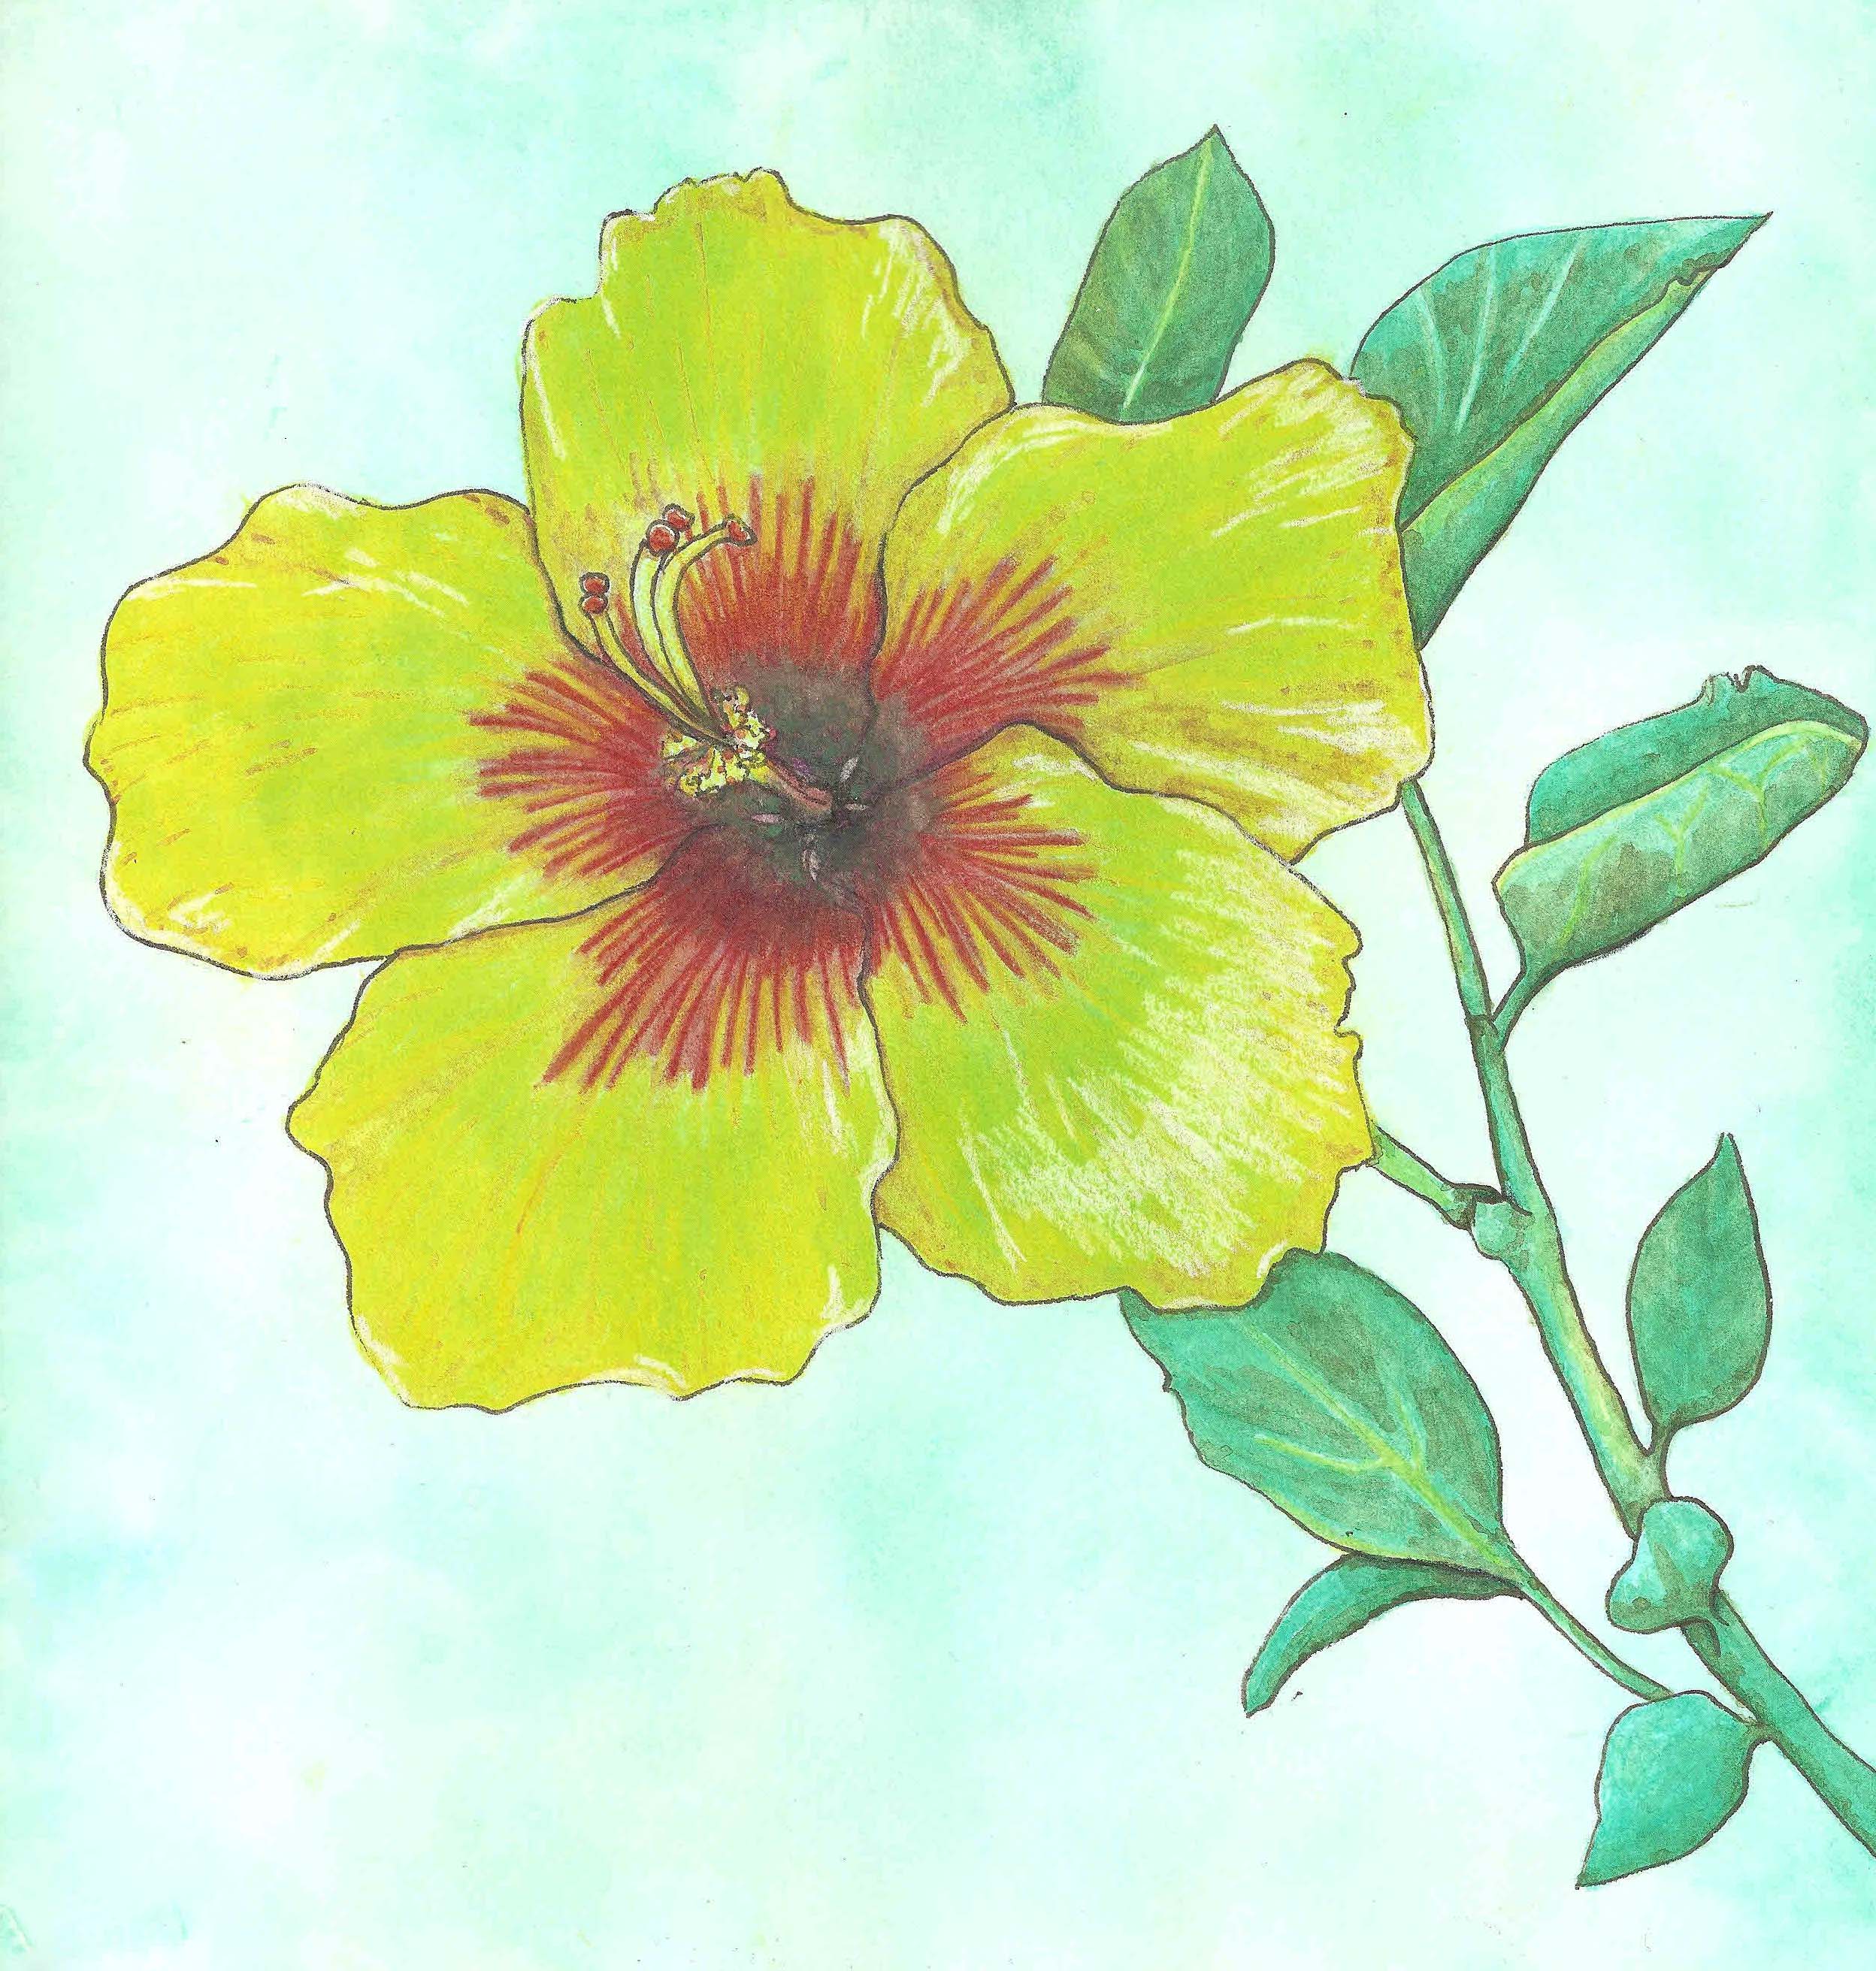
This is a recent sketch that I drew from a photo from my Hawaii trip. The scanner just didn’t pick up the shadows and the highlights on the flower very well. Maybe a photo of it would work better. Hope you have a good weekend. Thanks for stopping by.


Lazertran Decals and Transfers

Our local surface design group met today and we played with a product new to us called Lazertran. Bunny took care of ordering all the supplies and figuring out what we needed. Basically this is a transfer process so we all came with photographs to transfer.

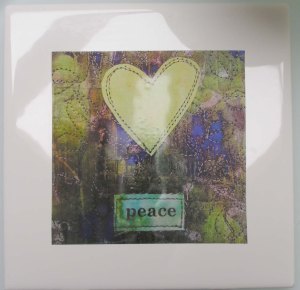
Carole did a demo for us. These are the decal type Lazertran sheets. They can be applied to smooth surfaces such as glass, tile or even wood. Once the Lazertran sheet is printed in the computer, it is soaked in plain water and the paper backing is removed. Then it is applied directly to the tile. Once it has dried, the item is baked in the oven at 200 degrees for 10 minutes. Aren’t Carole’s great grand kids cute?

The other process that you can use with Lazertran is to apply it to fabric. There is a specific Lazertran sheet for silk, for white fabric, for black fabric and for decals. The instructions are all different with each kind. So it gets a little confusing. Once the Lazertran sheet is printed, the white borders are cut off. For the silk variety, you iron the Lazertran to the fabric and then soak it in water to remove the paper backing. Here’s Louise showing off her creation. This is a photo of one of her original pieces of artwork.

The Lazertran sheets for other fabric has you peel the paper backing off first and then ironing it to the fabric. The left hand photo shows a photo of Paula’s mother and the right hand photo is a decal on a tile of Sally’s original artwork. I only ended up making one piece and I have a couple more that I will probably do here at home. The hand of the fabric is really changed by the decals and they are quite shiny and have the look of plastic. I couldn’t decide what I would do with any of these as they aren’t really my style. But perhaps I can figure out what to put my decal on eventually. Have you used Lazertran before? Did you like it?

Shop Open and Monoprinting with Thickened Dye

I finally got my shop open over at The Felting and Fiber Studio. I have two PDF tutorials and my book for sale. I hope you’ll check it out. I will be putting more PDF tutorials on the page as I finish them. When you get to the page, if you click on the Buy Now button, another page will pop up with further information about the tutorials.

Monoprinting with Thickened Dye

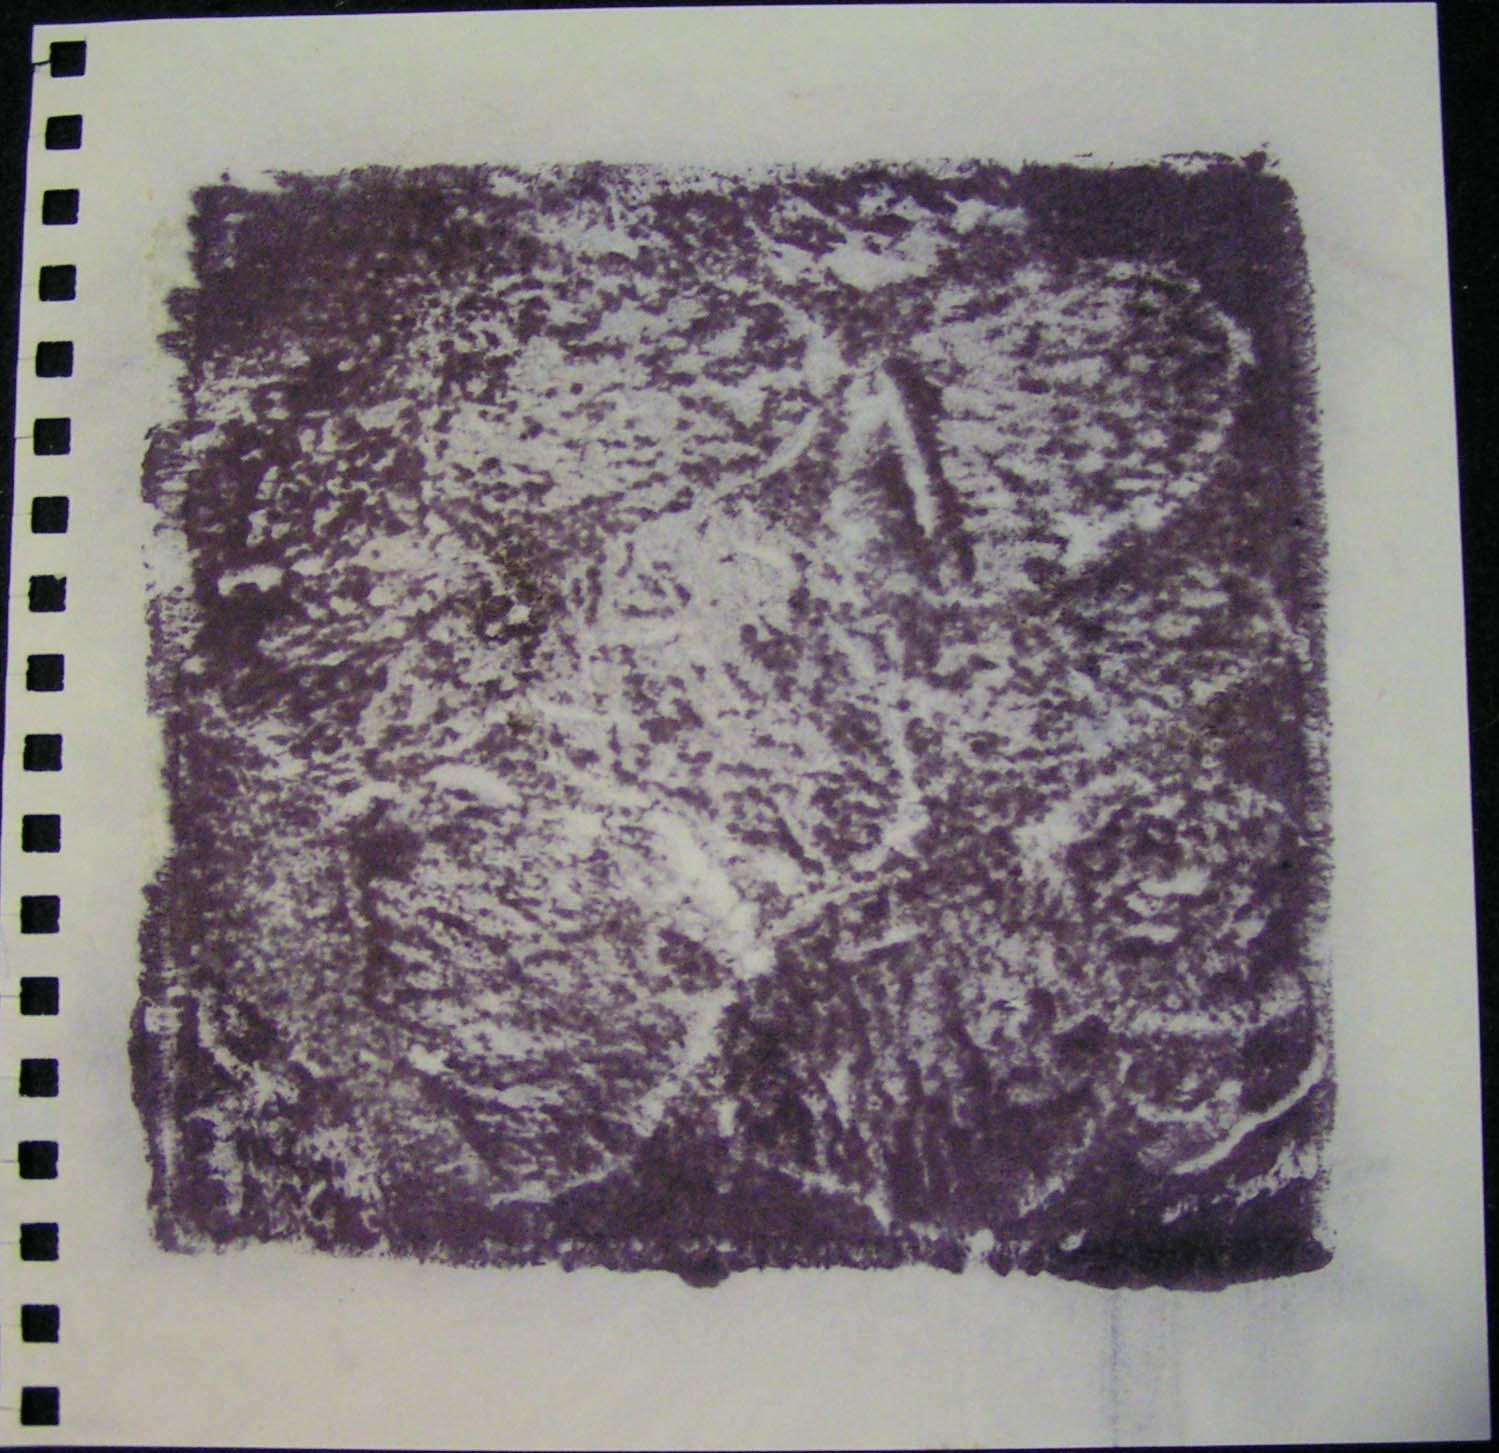
I am also working on my next online class. The third part of the series of Surface Design on Felt. This class will be about playing with thickened dye on felt including making and using a variety of stencils, creating your own stamps and stamping on felt as well as other printing techniques. So I was busy making some samples today and starting the writing process. It always takes me a while but I hope to have the course ready by fall. The photo above is a “ghost” print on paper after I printed on a piece of wool. Have a great weekend!

Using Up More Felt Scraps

I wrote a post about my first felt scrap landscape over on The Felting and Fiber Studio blog. I still had lots of scraps left over and some were pretty bright orange and pink. We visited Hawaii last week and those colors reminded me of sunsets.
Background Layout

Here’s the layout I started with for the sunset background. It’s a combination of screen printed, felted and dyed commercial felt.

Layout with Leaves

Then to add some lush greenery. I also wanted to include some fiddle head ferns still all curled up. I started with a light taupe green for these but midway through stitching I changed my mind. I felt the piece needed some darker values. You will see the change from this photo to the end but this was just a basic idea of how it would end up.

Painted Background

This time I decided that instead of using a white background of light weight interfacing that I would paint the interfacing. This is a terrible photo but you get the idea. Then there wouldn’t be any white spots showing through between the scraps.
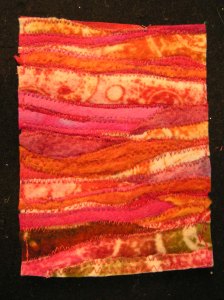
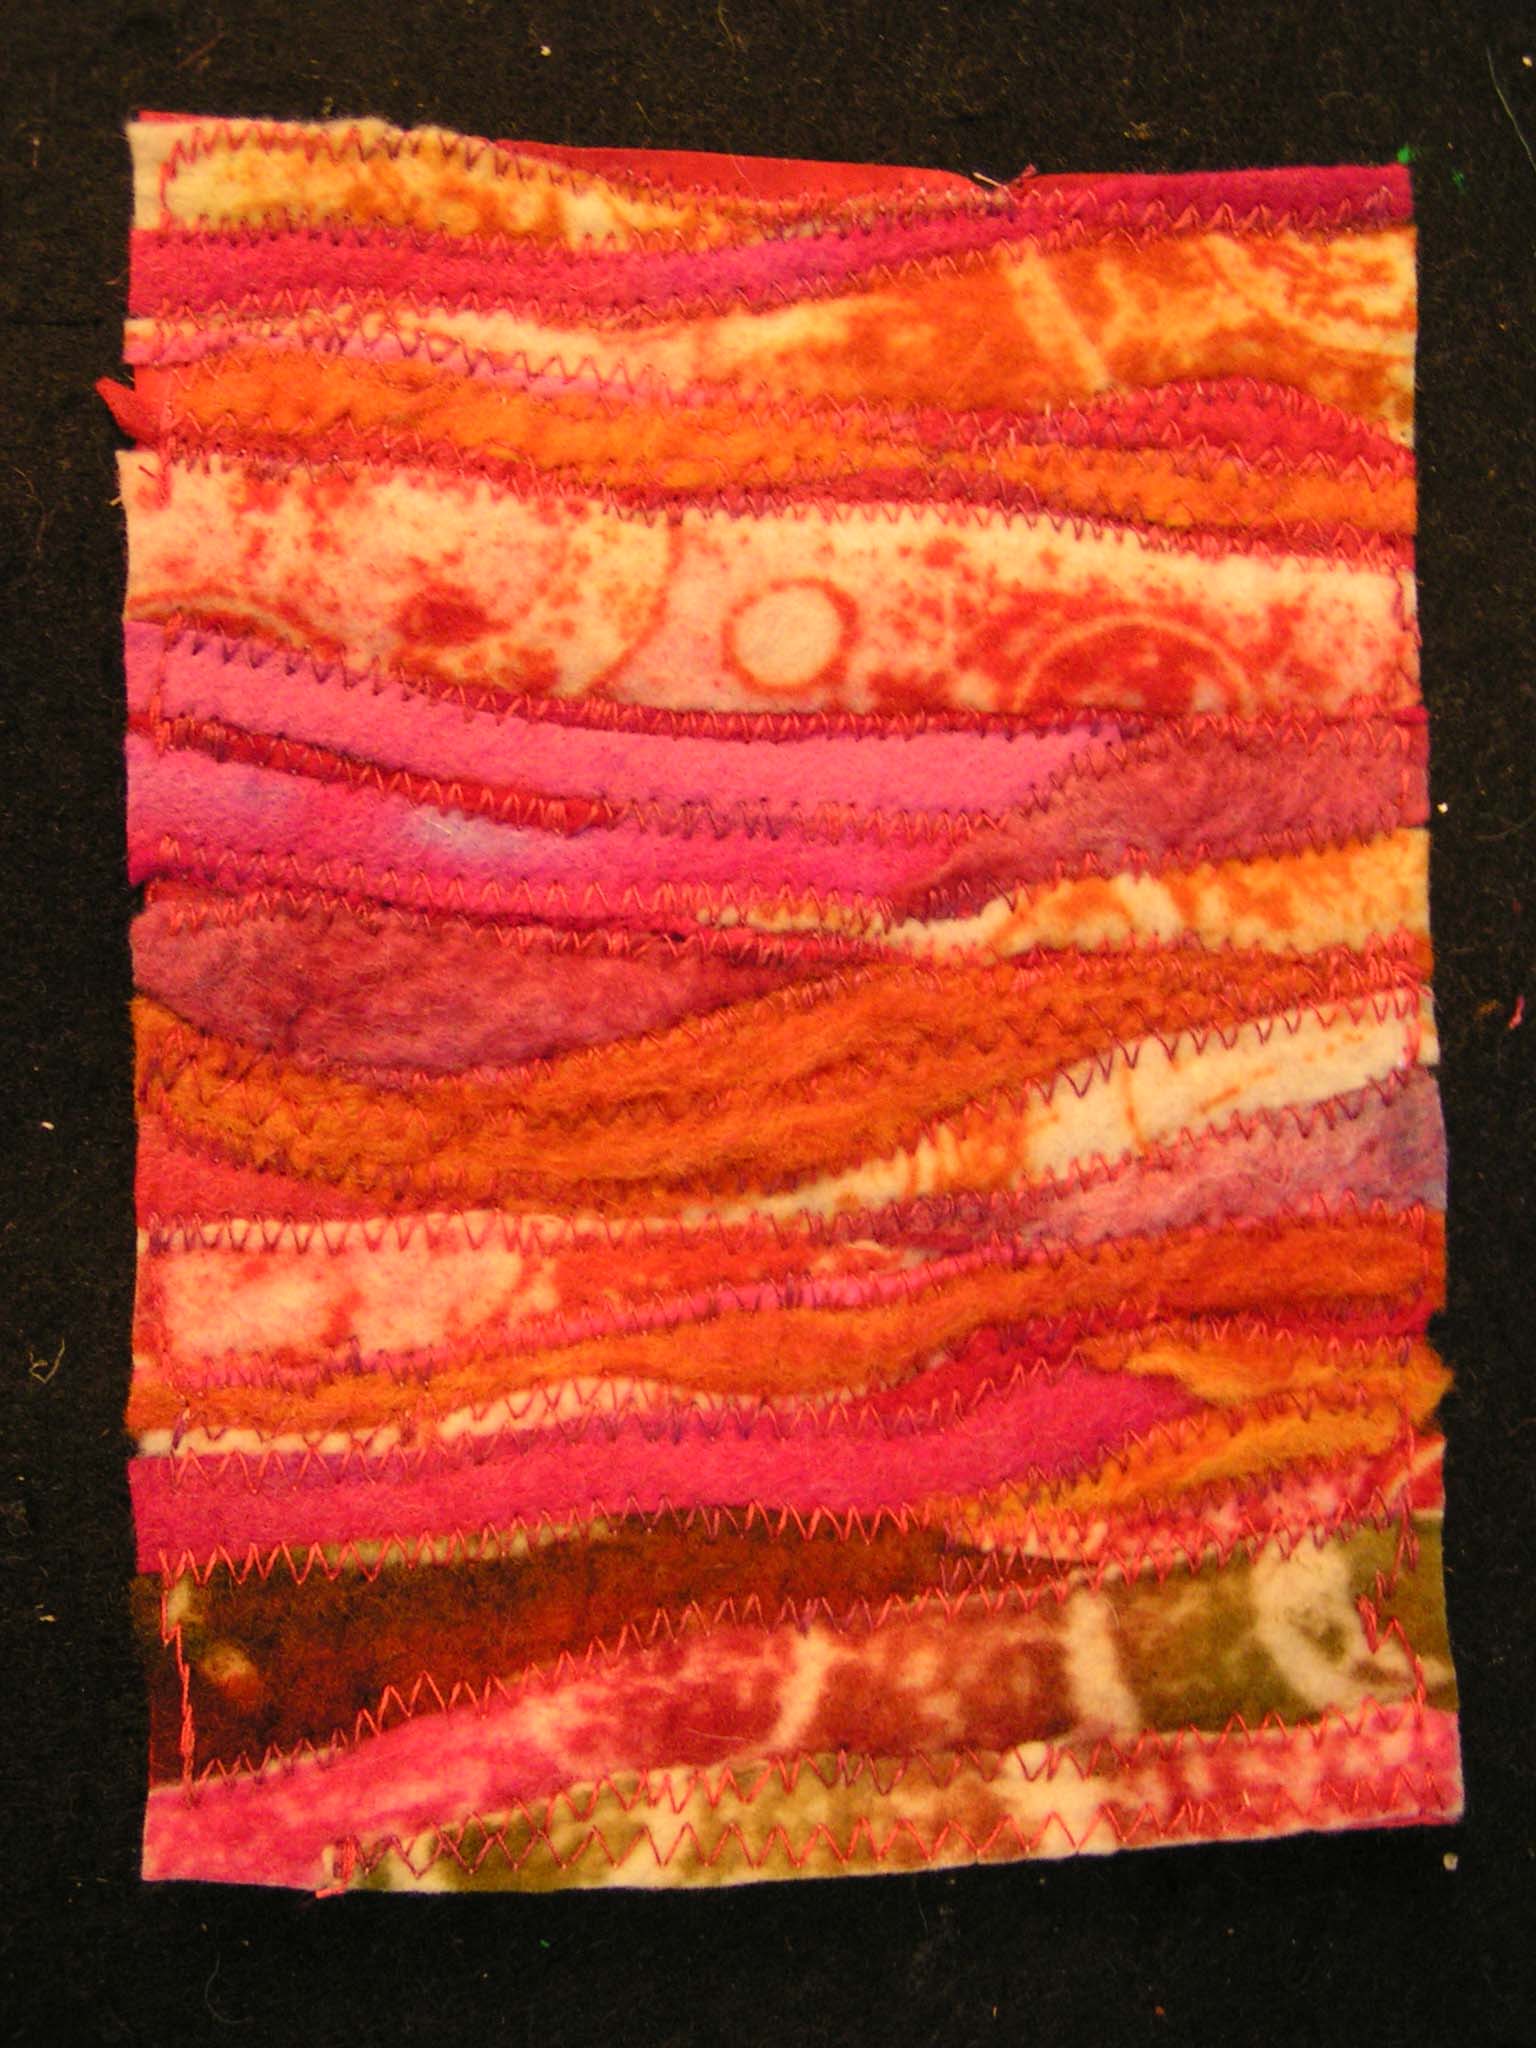
Background Stitched

I used a zigzag free motion stitch on the machine to hold all the background scraps down. I used a variegated pink, red and orange thread.
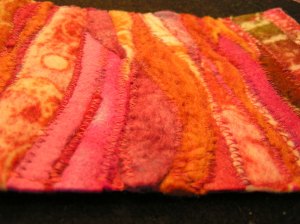
Texture

You can see a little of the texture in this photo. The orange bits in the middle were not very well felted but the stitching holds it all together.

Hand Stitching Greenery

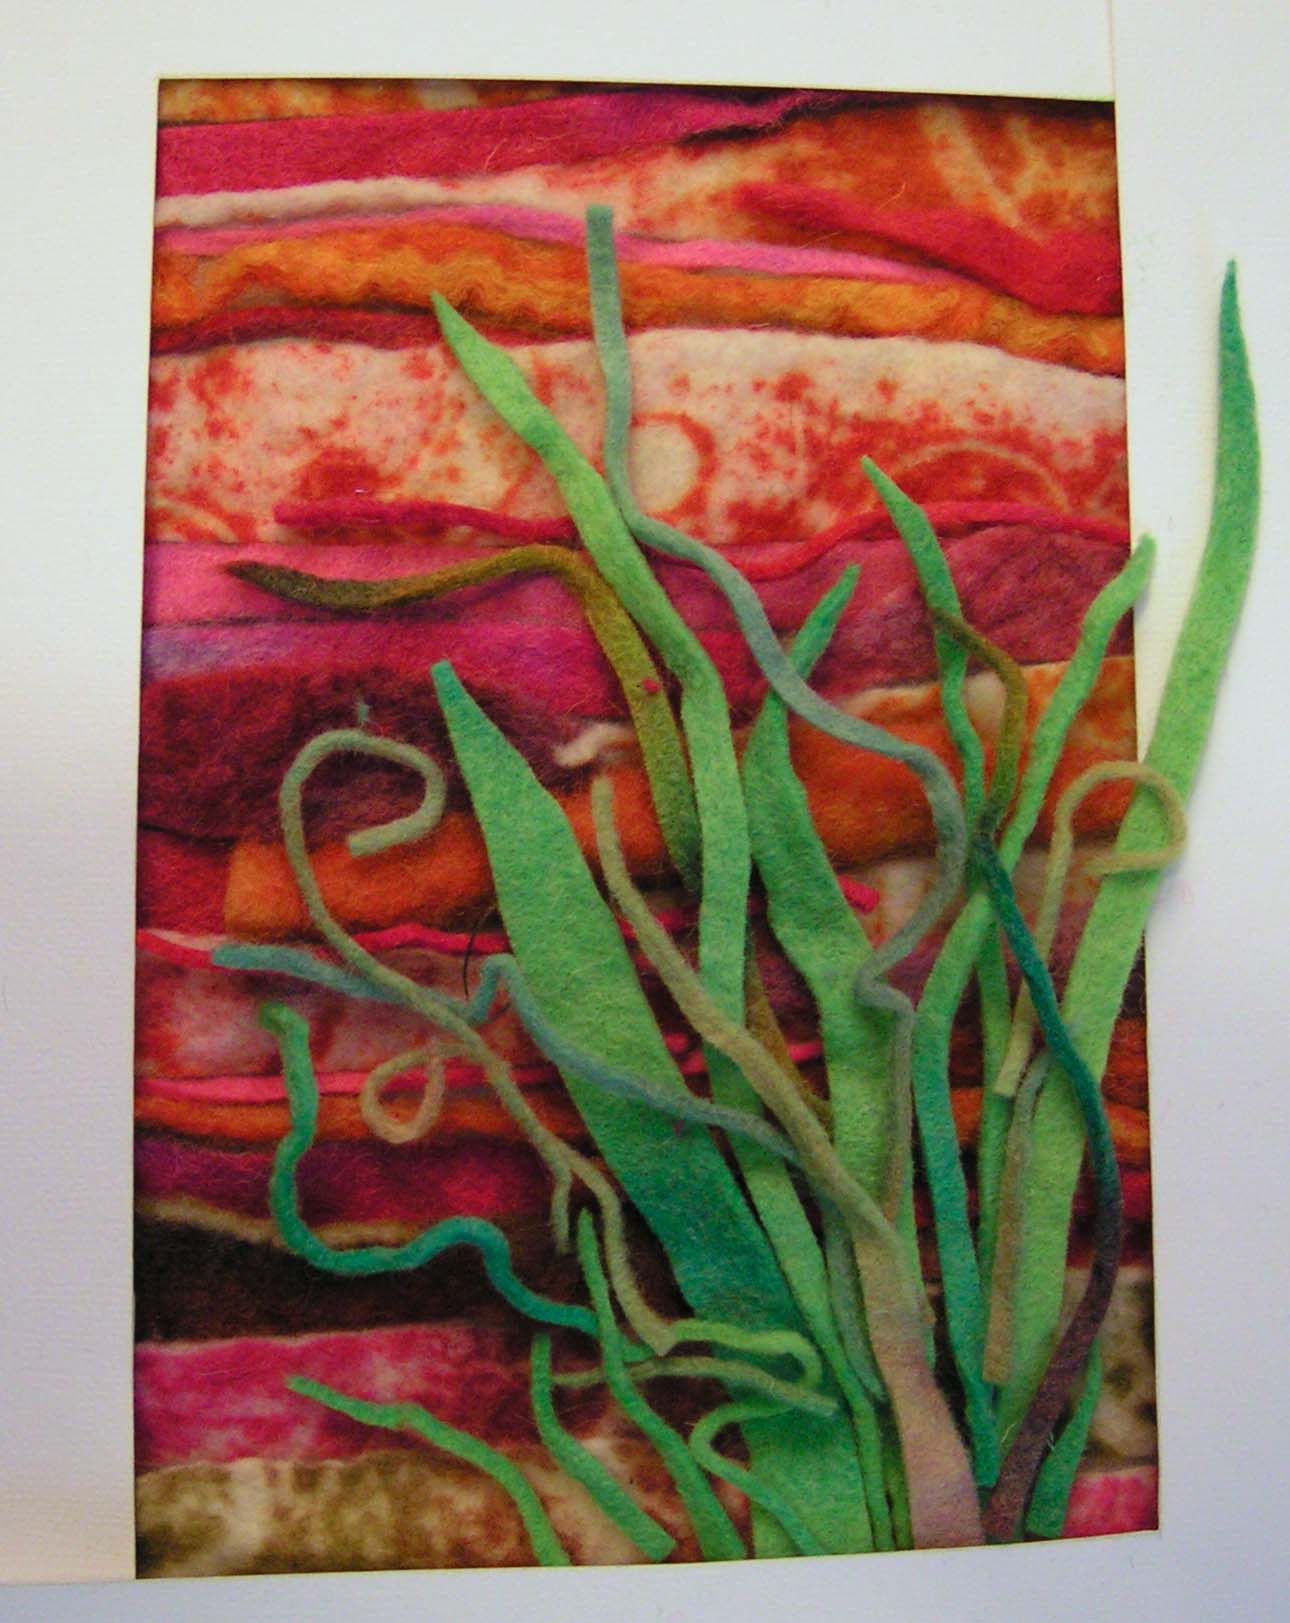
I then started to hand applique the leaves in place. At first I was planning on stitching them all flat to the background but decided I liked the way it looked with parts of the felt loose or just stitched on one edge.

Matted Finished Piece

And here it is with the matt around it. I definitely will not use the inside blue matt with this but that’s all I had at the moment. You can see the fiddle head ferns got darker in the end. I just cut some thin pieces from some darker felt scraps and then curled the end into a spiral. It was all a bit fiddly with the stitching but didn’t take all that long.
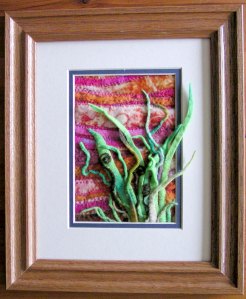
Finished Hawaii Landscape

And here it is framed. Again, not the best photo but you get the idea. It definitely reminds me of Hawaii. Great tropical colors which I don’t use a lot but obviously if I had scraps, then I had used these colors before. Perhaps I just don’t usually use them together? These scrap landscapes are a lot of fun. I still have plenty of more scraps so I think I’ll just keep going. Have a great weekend.