More Stamps and a Drawing

I have been traveling over the last week so haven’t gotten much done. But before I left, I did carve a few more stamps. I finished up the birch one today but haven’t gotten to print with any of these yet.
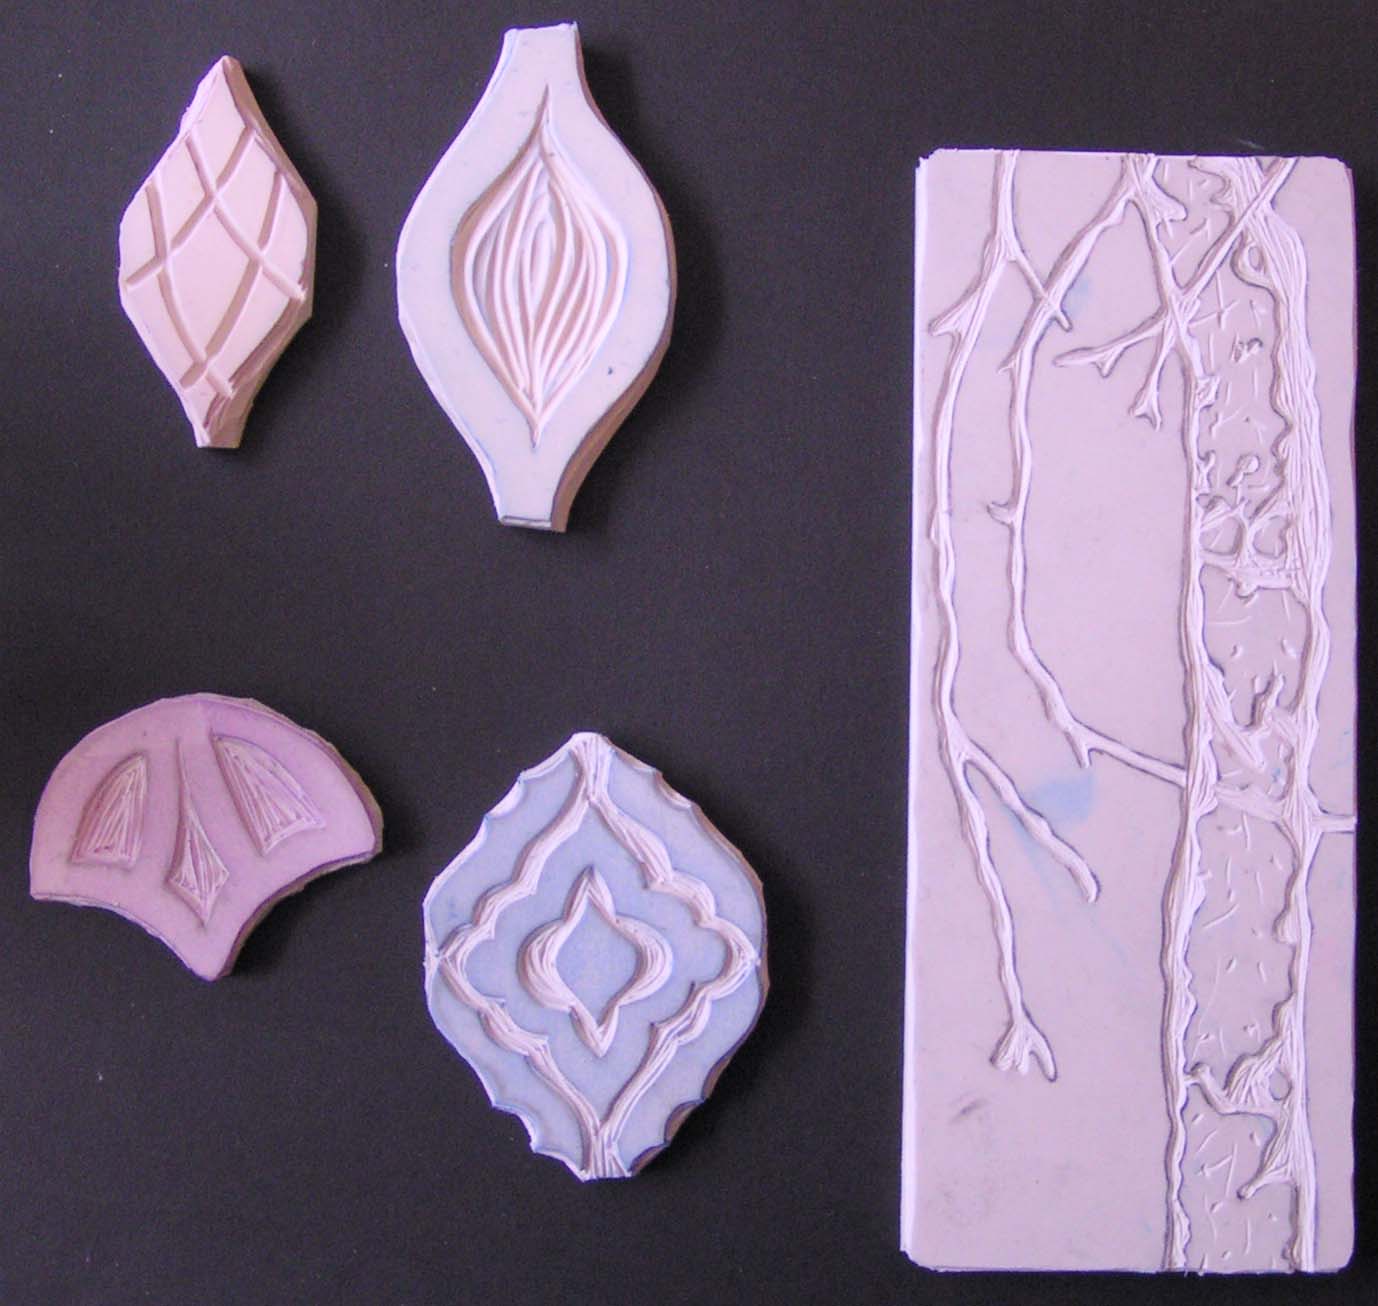
Here’s the stamps. The ones on the left are ogee shaped. The are meant to be a repeating pattern that fit together. The one on the right is a birch tree from a sketch I did several years ago.

I tested the ogee stamps with an ink pad in my sketch book. the two on the bottom are actually a stencil I created. I didn’t have time to test the birch one yet.

While I was riding in the car to Philadelphia, I did a small sketch in my travel sketchbook. I used markers first for the background colors of the leaf and then I added in the details with colored pencils. I really like this method because the markers cover the white of the paper and you don’t have to do so many layers with the colored pencil to cover the white background. I don’t care for how the shadow turned out but since it was an experiment, I am not going to spend much time worrying about that. I will definitely being trying this technique again.

Thanks for stopping by and I hope you have a wonderful weekend!

Books Full of Prints

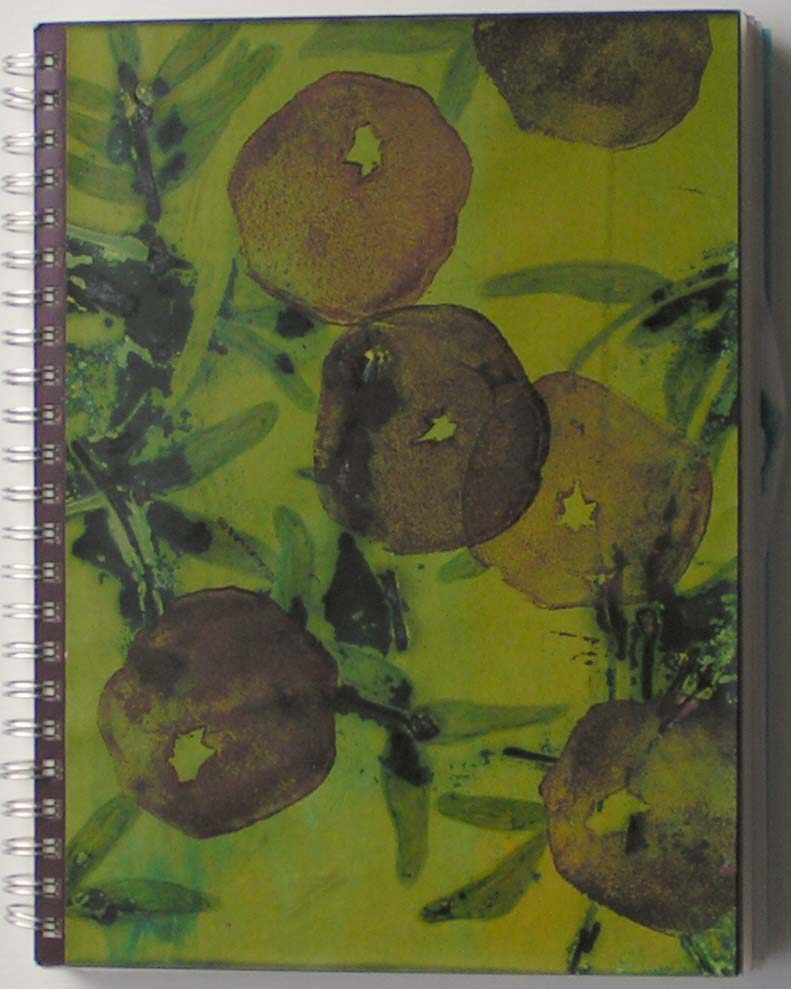
I used up most of the pages I painted last week by filling this notebook with extended prints and collages. I was planning on using the cover I had made a few months ago but the holes were off.  So it ended up being the plain cover on the left. If I have time, I will cover that notebook too. Just have to decide with what. I would like to do a bit of paint pouring on a cover but not sure I have time.

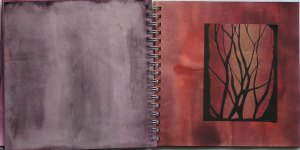
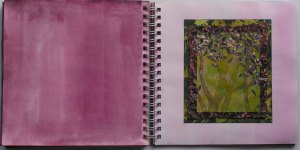
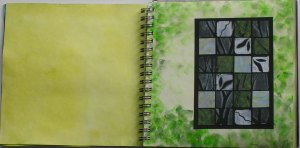
Here are a few of the page spreads. The hardest part is putting them in an order that works with the color on the back of the previous page. I just realized that all of these are tree related but I promise there are other collages and prints that aren’t about trees.

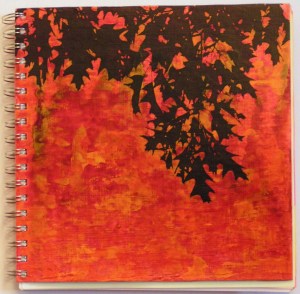
And this is the cover of my larger notebook. This page actually started as a 12″ x 12″ sheet and it needed trimming. I just trimmed where I liked the composition. Then when I was finished with it, I realized it was the exact size to fit correctly on this notebook. I like it when a plan comes together 😉

Painting Pages

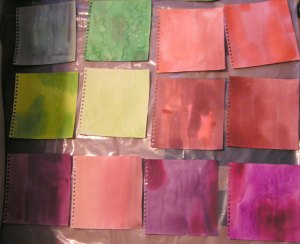
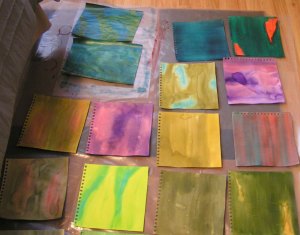
I have created quite a few collages and extended prints. Now I need to put them into a notebook for presentation. I thought I had a 9″ x 9″ notebook that was new but I couldn’t find it anywhere. I searched and searched. I thought I might have lost my mind. But no, I put it with a pile of other notebooks but there are so many piles of stuff in my studio room that it took a while to remember which pile it was in. But thank goodness, I had one. Yay! So today I spent most of the day painting background pages. I had a bunch already painted but the holes are off and don’t fit into the same size notebook. That really irritates me but I don’t like the unevenness that it creates. So I figured out what colors I needed and then painted pages. Hopefully, the pages will work with the collages. It’s harder to paint the exact color that you need. It’s easier to choose from a selection of already painted papers.

Here’s some of the ones that I painted today. There are a bunch more but the photo was blurry. I paint both sides of the paper so it takes a while for these to dry.

Here’s one of my collages. What do you think? Do you like the purple background or the yellow and orange background? I usually try out 3-4 different color backgrounds for each collage before I choose.

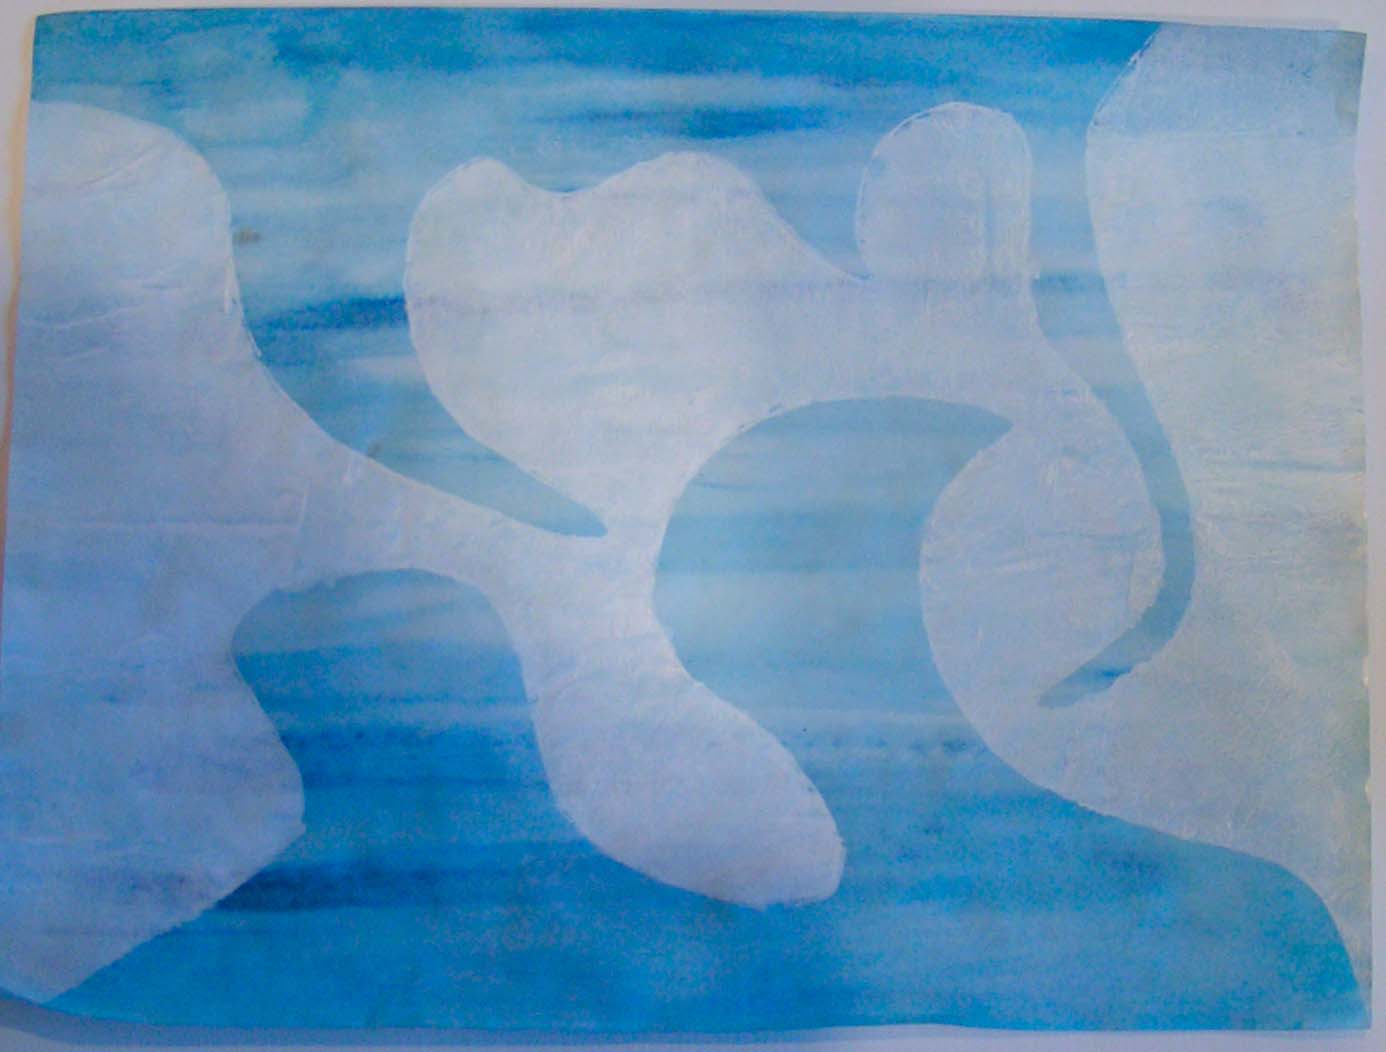
And last but not least, here is the Picasso head from last week. I decided to stick with monochromatic so did different values of blue. I’m sure that the orange or multi color would have been more exciting. I still might add some more color.

Thanks for stopping by and have a nice weekend.


Freezer Paper Resists and Stencils

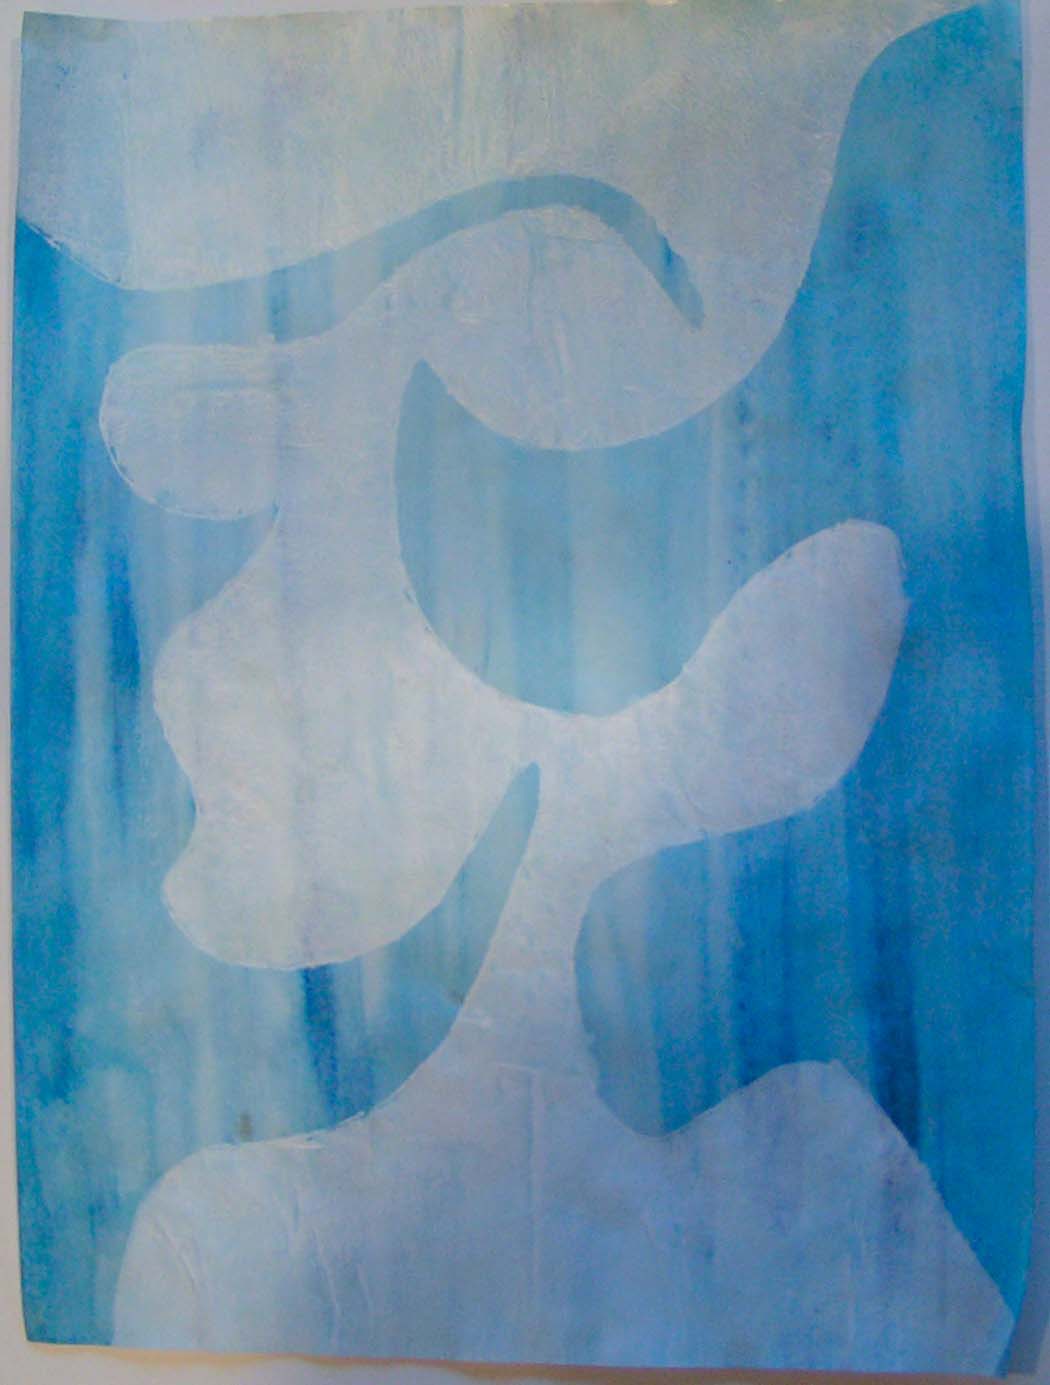
Part of my homework is to use freezer paper to make resists and stencils and then create a piece on paper with them. I have done several and this one I was thinking of waves when I cut out the design.

I applied the resist to blue paper and then painted white over the top. But then when it was dry, I could only see one thing in it and it wasn’t waves.

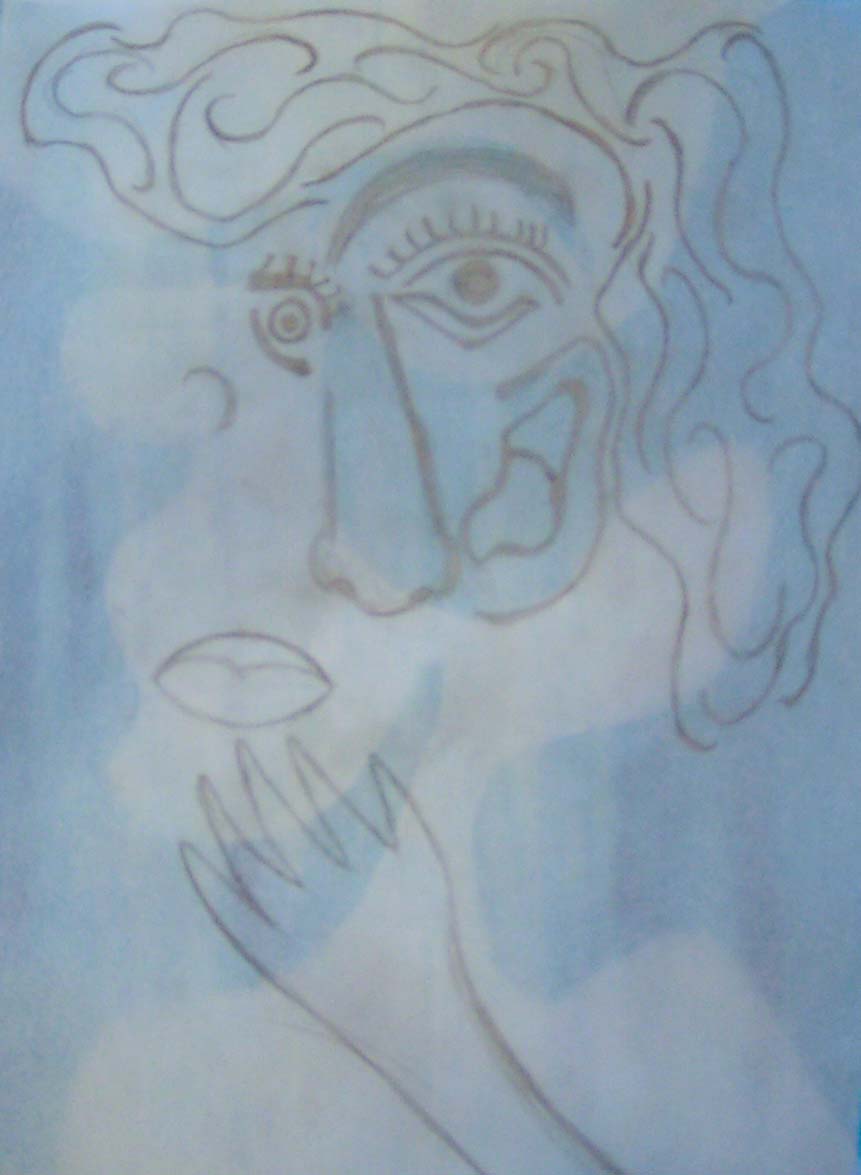
It was a “Picasso” head. Left side with a nose and the right side with a big open mouth. Hair on top, shoulders on the bottom. I think this might have been because I was doing some research on lino cut prints and I had looked at several by Picasso. So I decided to do a take on a Picasso lino cut. But I didn’t want to cut the stamp as I was only planning on using it once. So I decided I would make freezer paper stencils to achieve a similar effect.

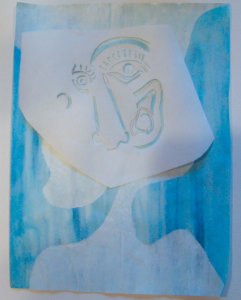
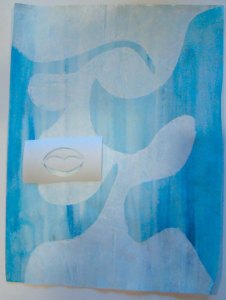
Here’s the design I came up with. You can see the head underneath the pencil drawing. Now to cut the stencil. Because I have had some issues with bigger freezer paper stencils either tearing or getting wrinkled up as I ironed them to the surface, I decided to make this in several stencils instead of just one.

So I made four separate stencils which I could apply one at a time and hopefully it would create a cleaner print. Now I am deciding what paint colors to stencil. I had originally thought I would use dark blue for all the stencils. But then I thought maybe orange hair would be fun. But then I can’t decide if other parts should be different colors too. I think I need to go back and take a further look at the colors in Picasso’s lino cut prints. How many colors did he use? What color combinations? What would you suggest?


More Collage

I’m still working on collages, prints, stencils and combining all of them together.

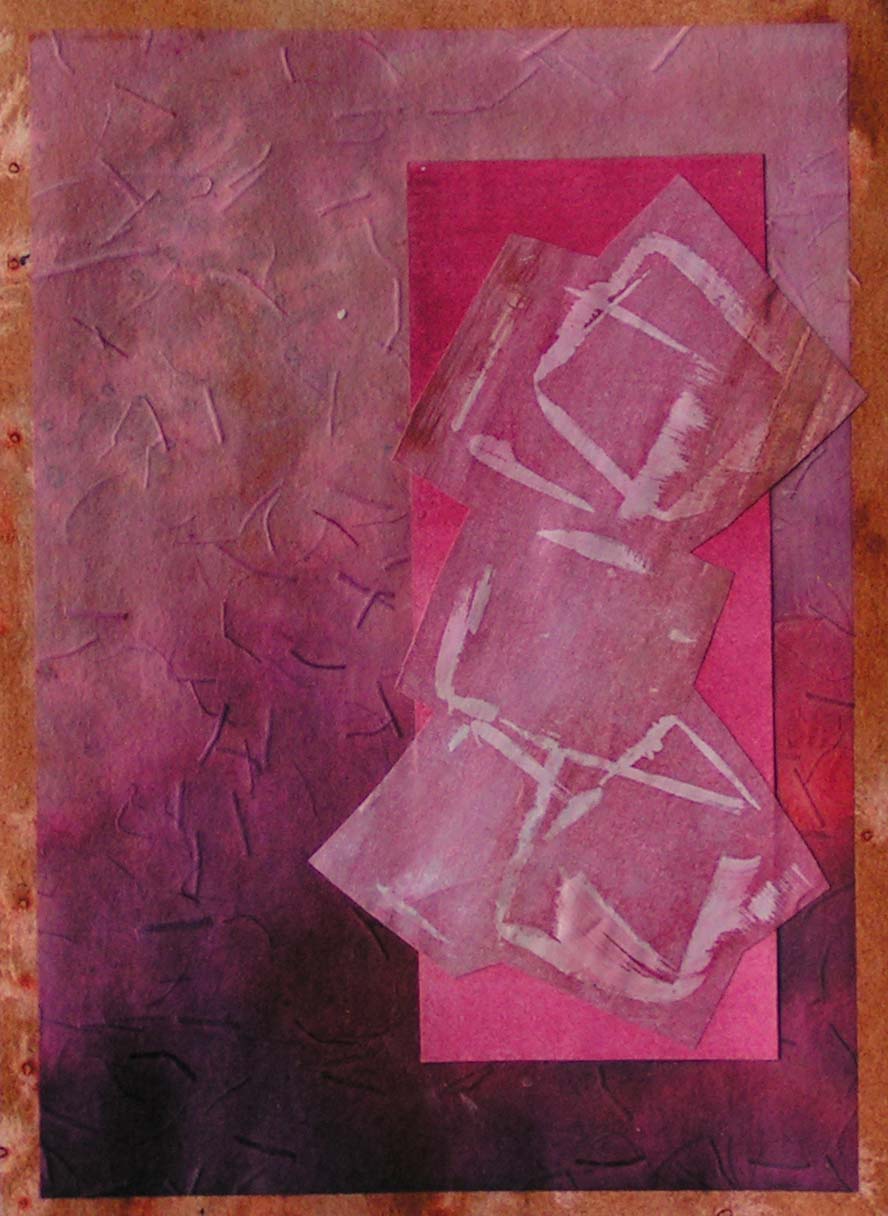
Here’s one that I did today. I am calling it Falling Squares.

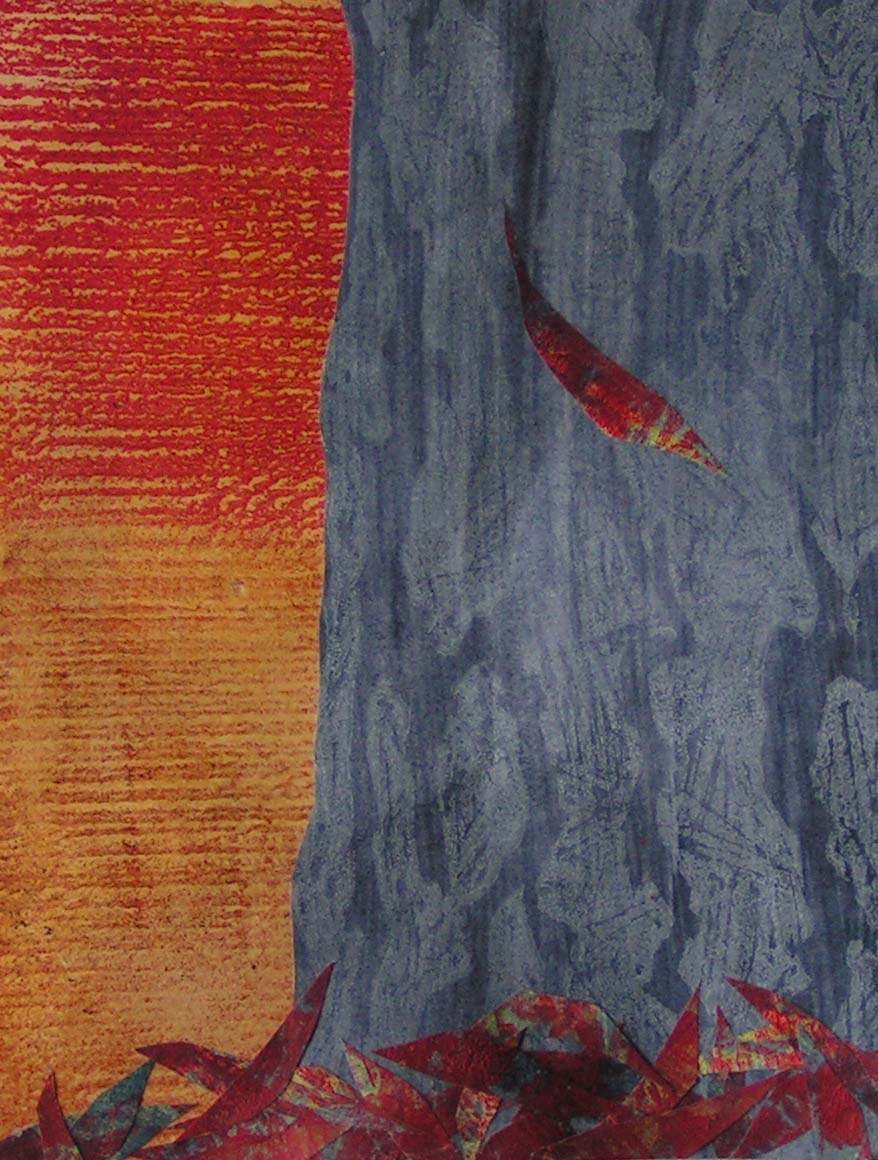
Here’s the last leaf. It’s created from all stamped papers.

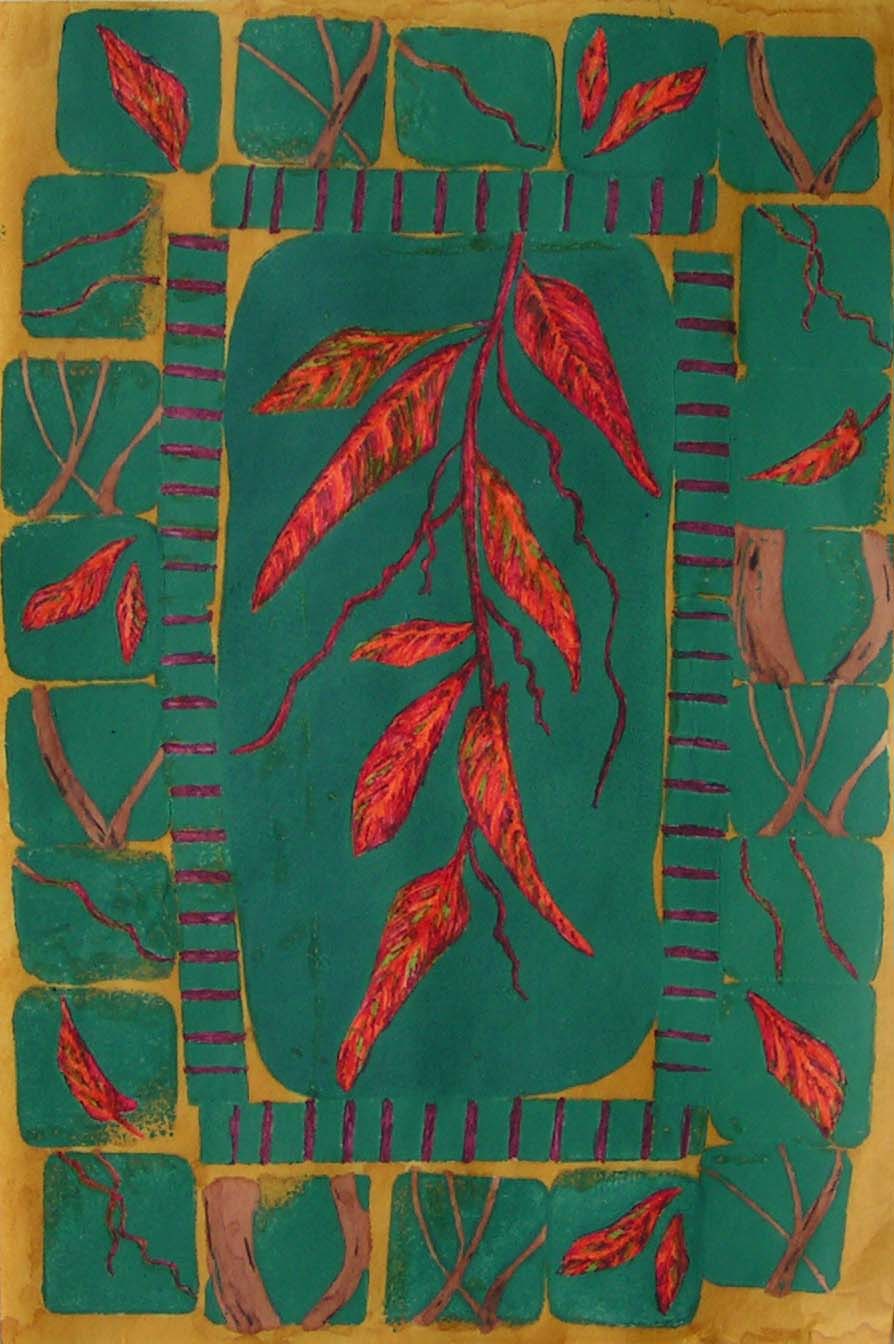
This one is Tree Mosaic.

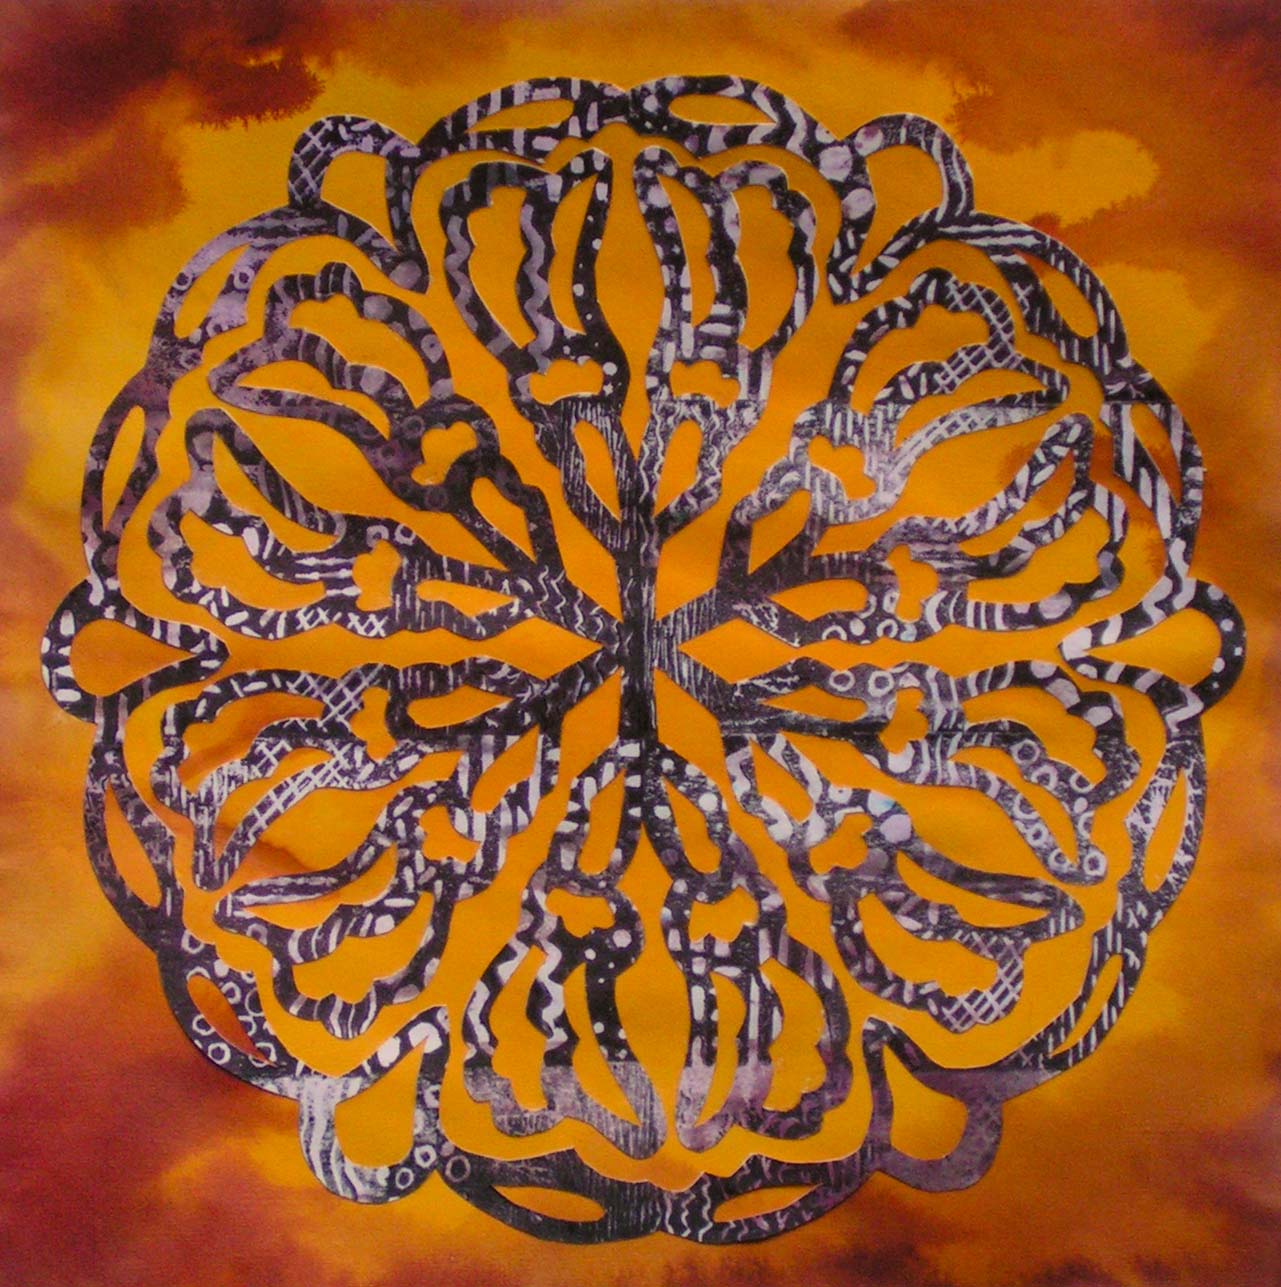
You might remember that I made this design for one of our Felting and Fiber Studio challenges based on the Japanese Edo period.

And this is a print embellished with markers. I have to start working on how these will be presented in a notebook. I need to get some sketchbook pages painted to go with these.