Birthday Gifts

For my birthday this year I asked for stencils and art supplies. I got the stencils from Stencil Girl Products. They have some great stencils there. I decided to get ones that were really complex and mainly repeating type patterns that I wouldn’t cut myself.

Small Commercial Stencils - Corrugated Lines, Tide Pool, Ripples, Nested Squares Full, Mixed GridThese are the 6″x 6″ ones that I got.

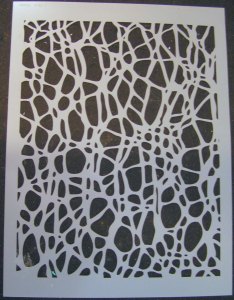
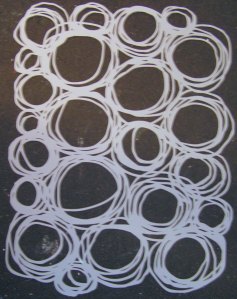
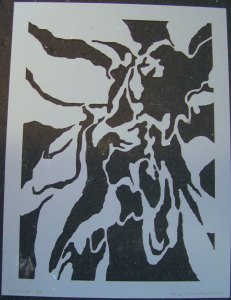
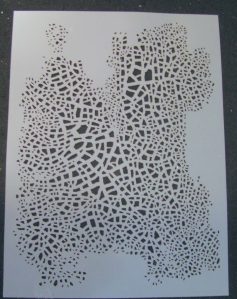
And these are the 9″x 12″ ones.

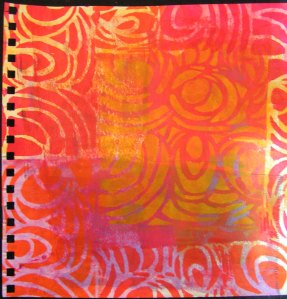
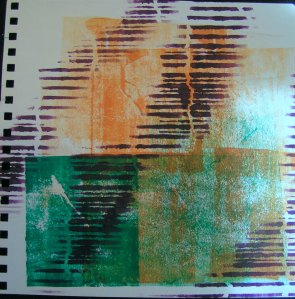
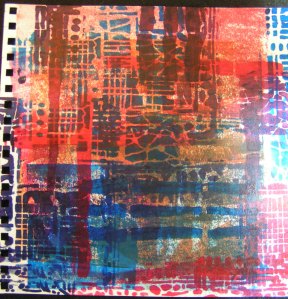
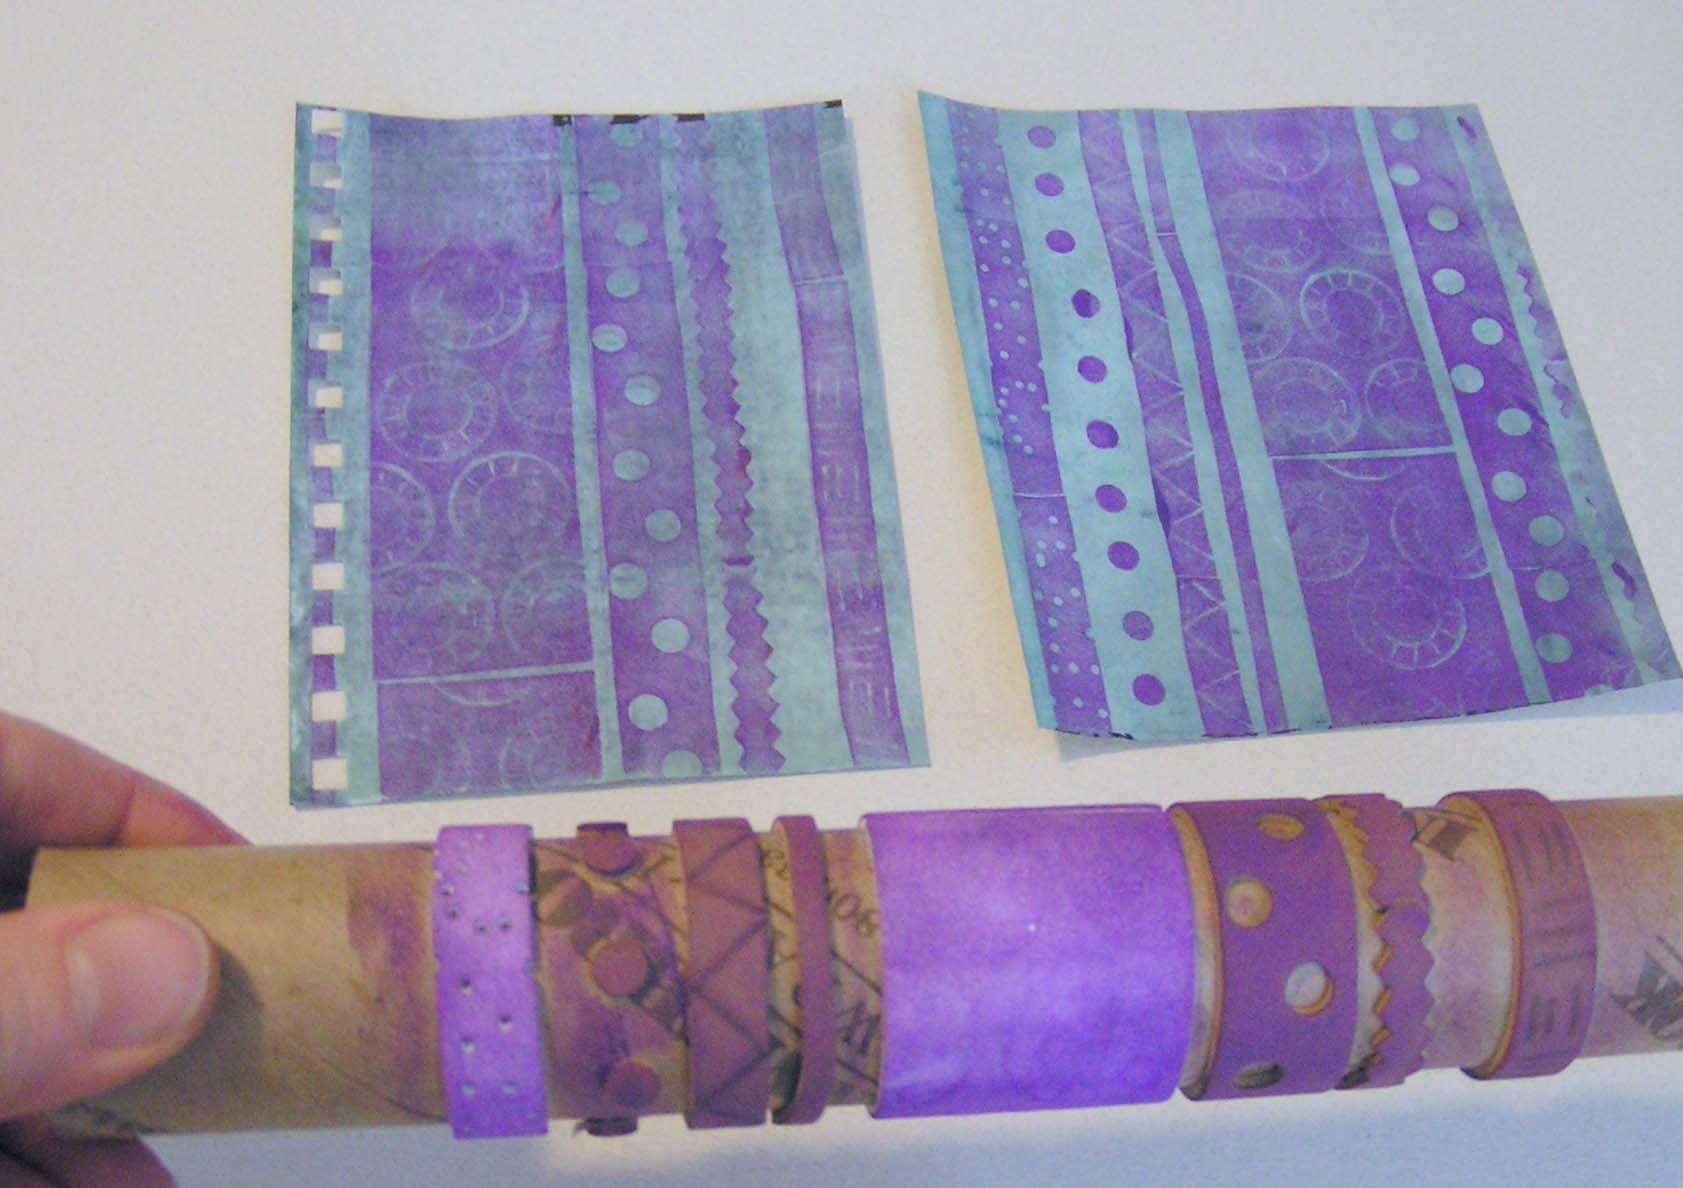
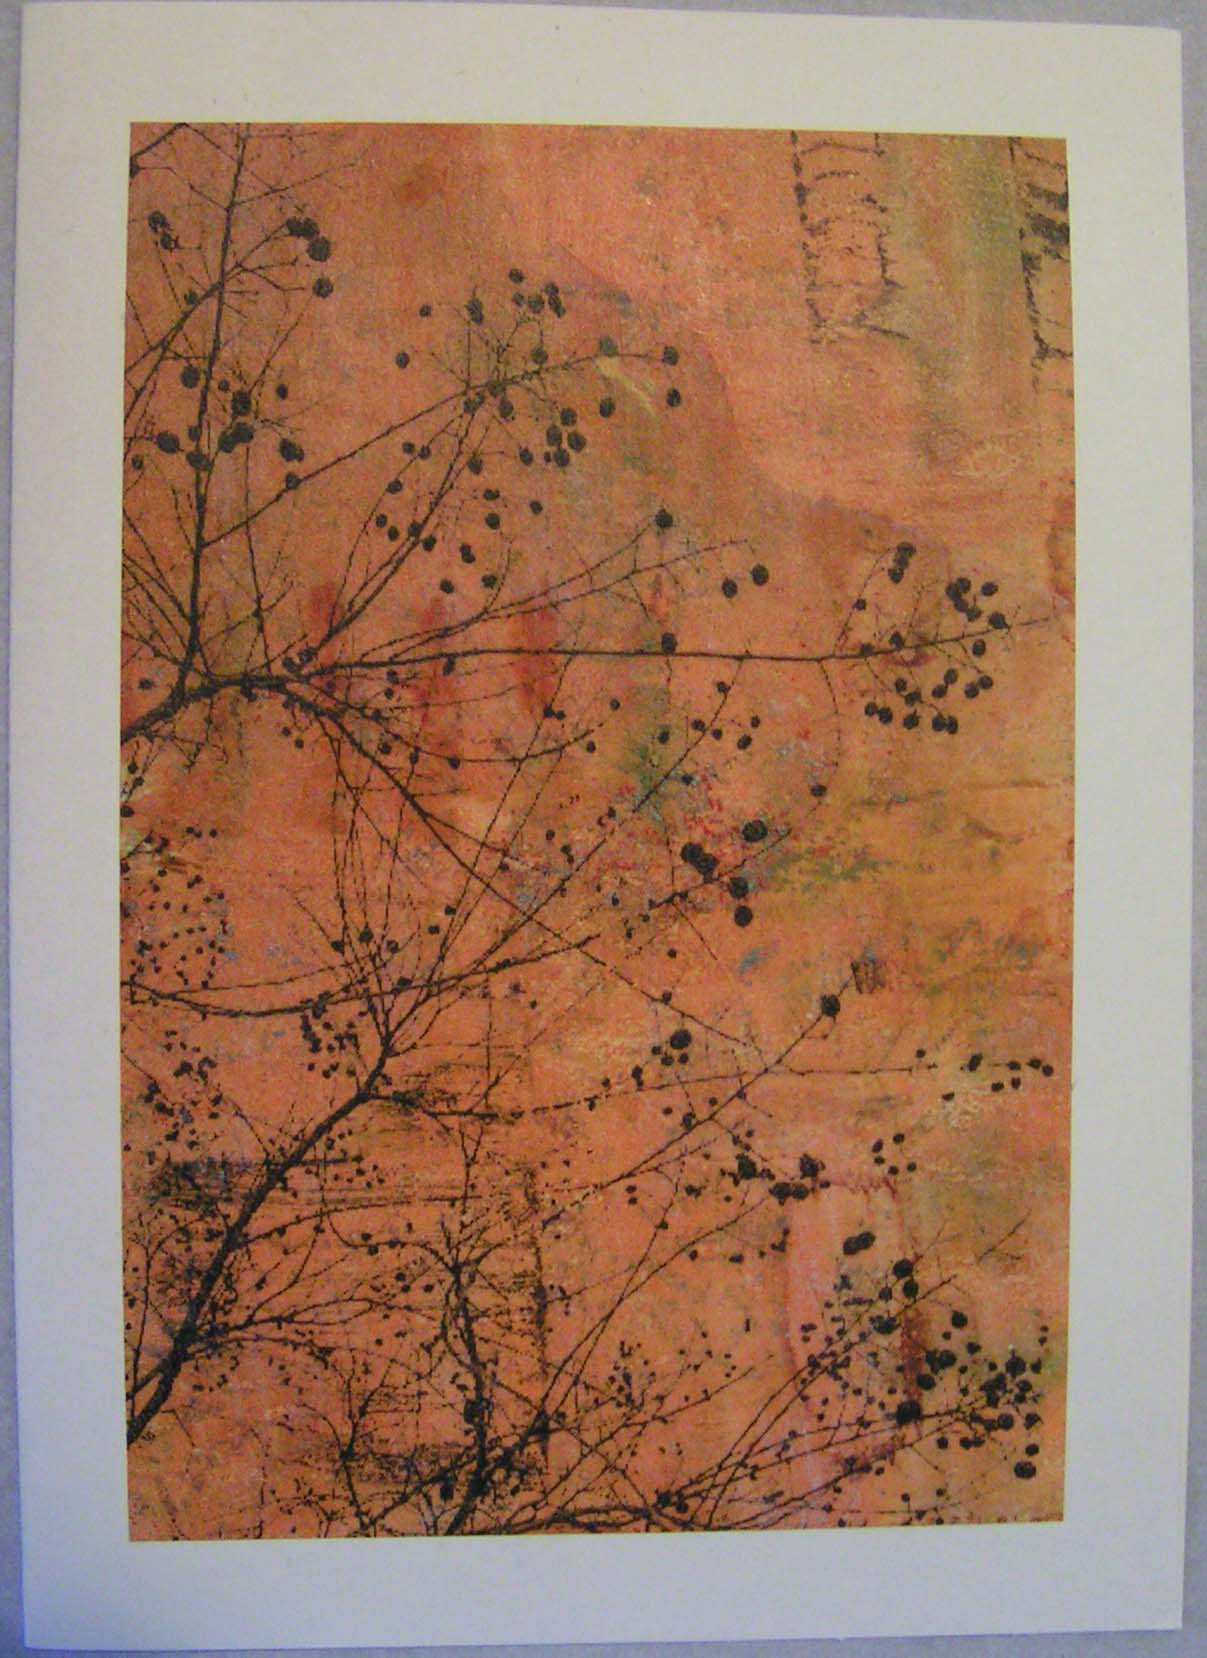
And here are the results of printing on sketchbook pages that already had color on them.

Commercial Stencil Sponges

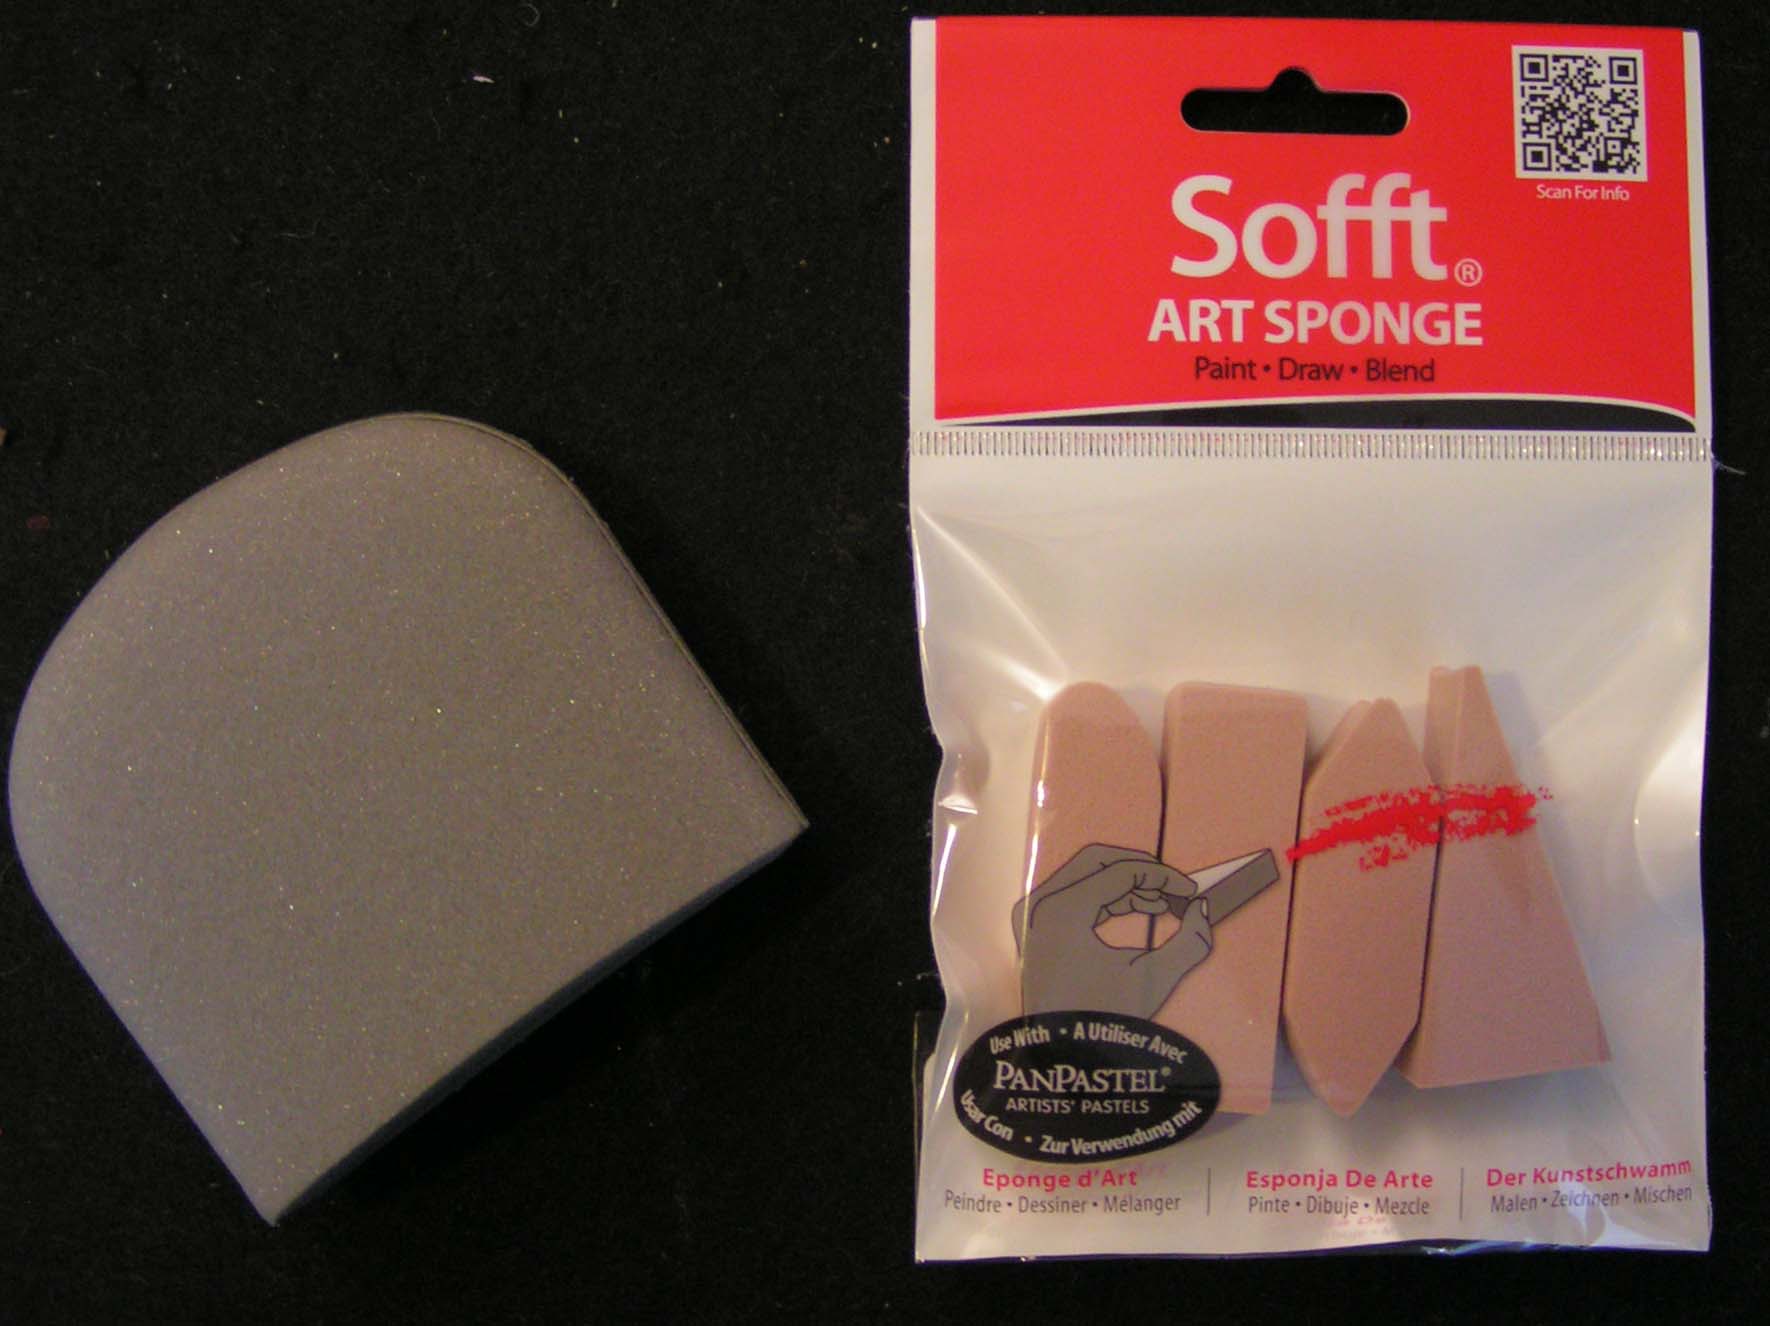
I also purchased these sponges and a “Smudgee” with the stencils. And they worked great for application on paper. Now to try them with thickened dye on fabric/wool.

Chem Pro Order

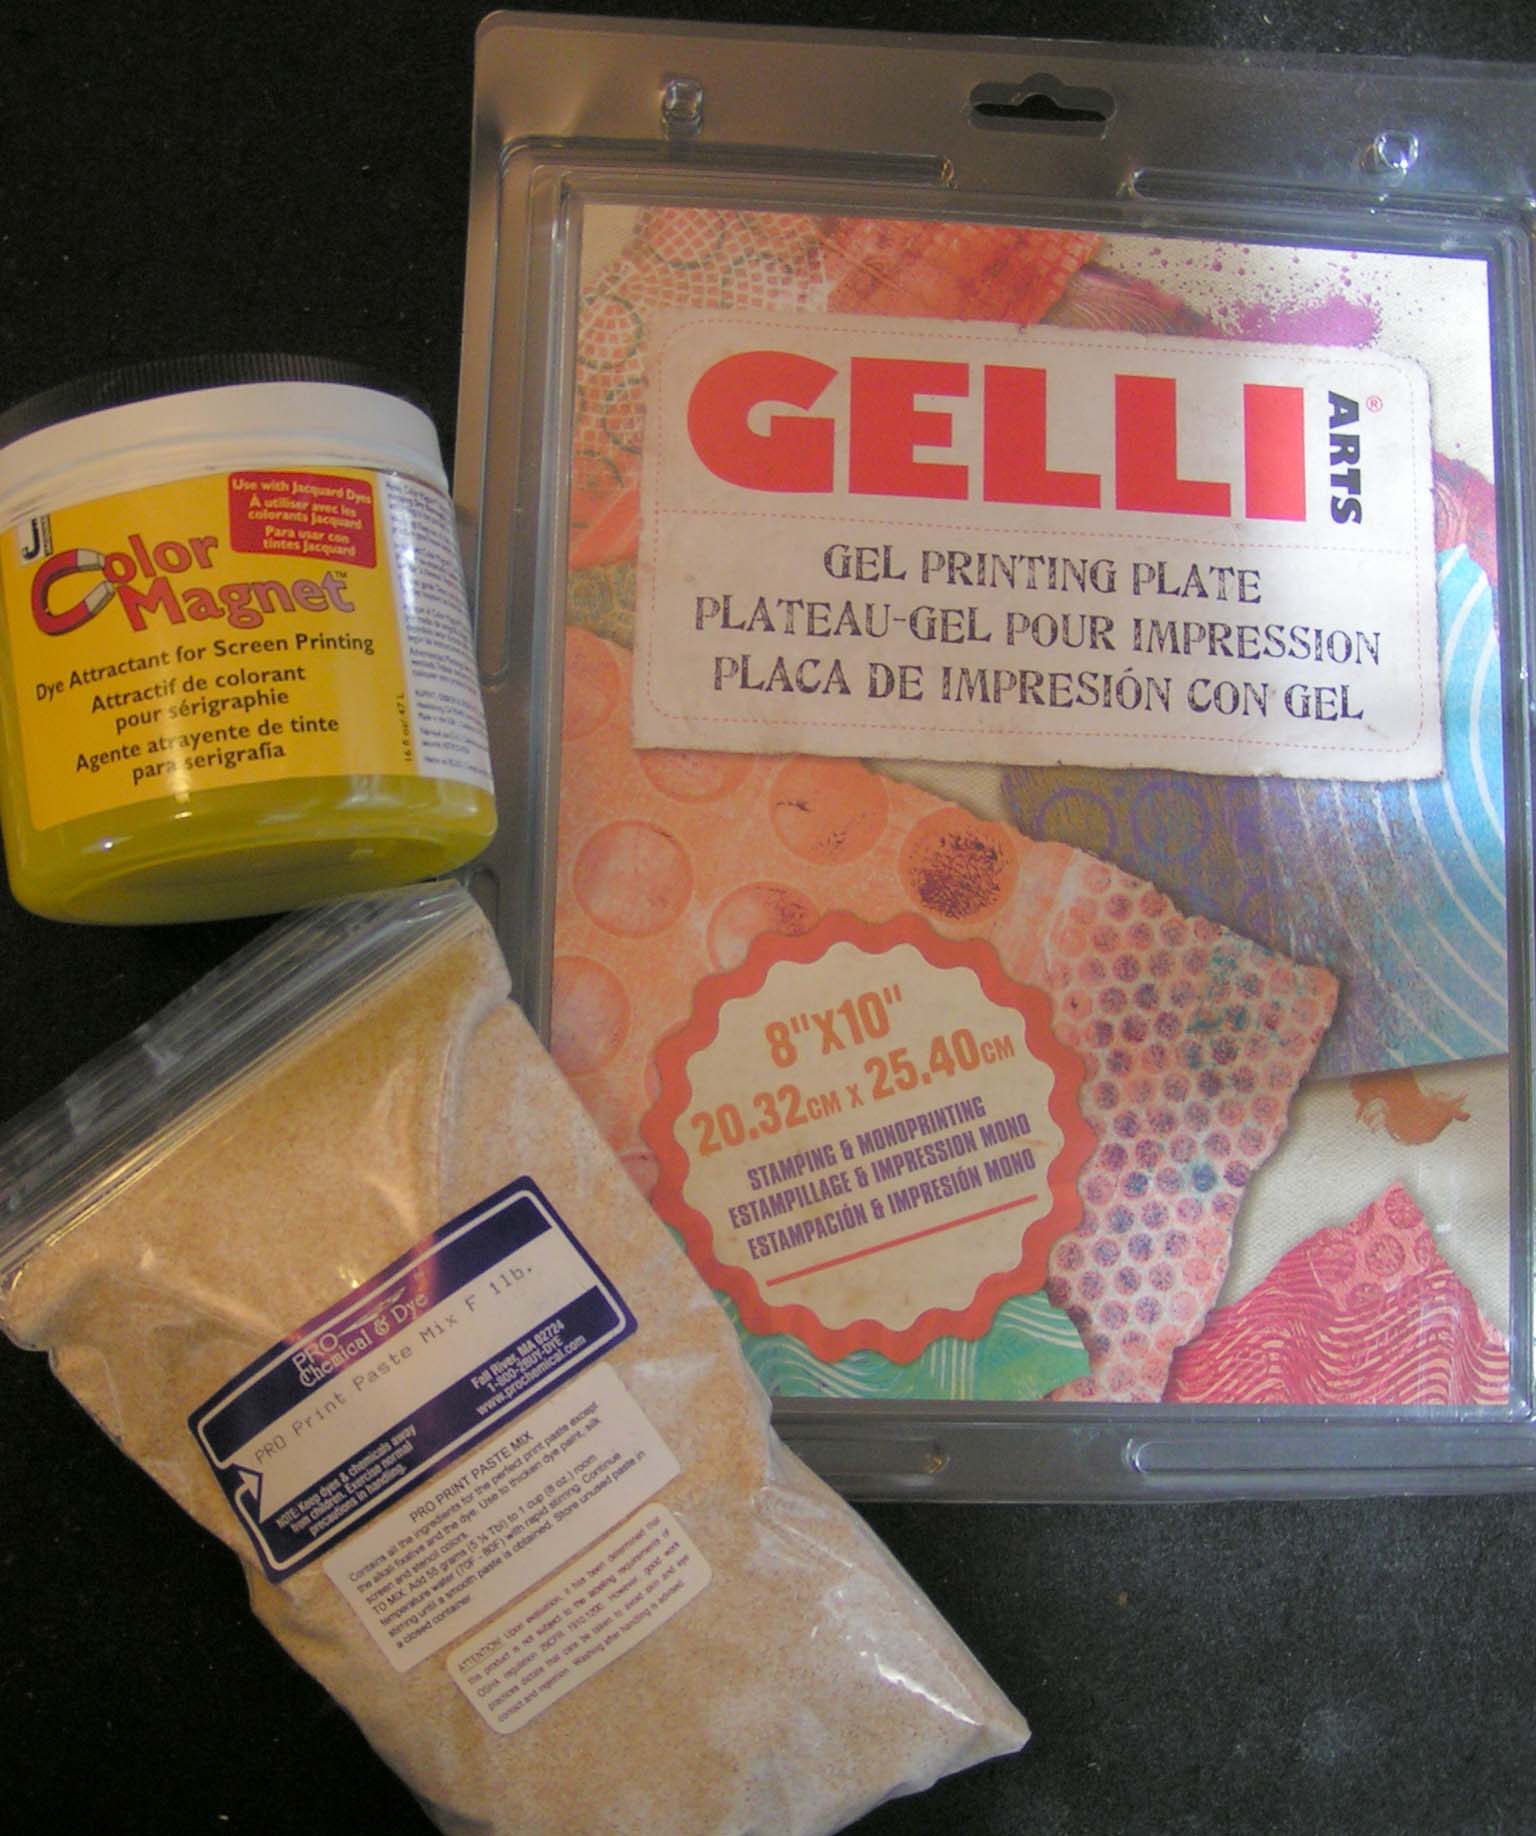
I also got an order from Pro Chem. I had made my own gel plate but it just wasn’t as sturdy and didn’t work as well as the Gelli Arts plates. Plus this is a big one at 8″ x 12″. I also got more print paste as I have found that this mixture works better than just sodium alginate. It definitely keeps the color in wool better from printed dye. The last item is Color Magnet. You print or screen it on white fabric and then dye the fabric. The places that have been printed attract more color. I wanted to see if this will work on felt. I’ll let you know how it goes.

Water Lily Felt

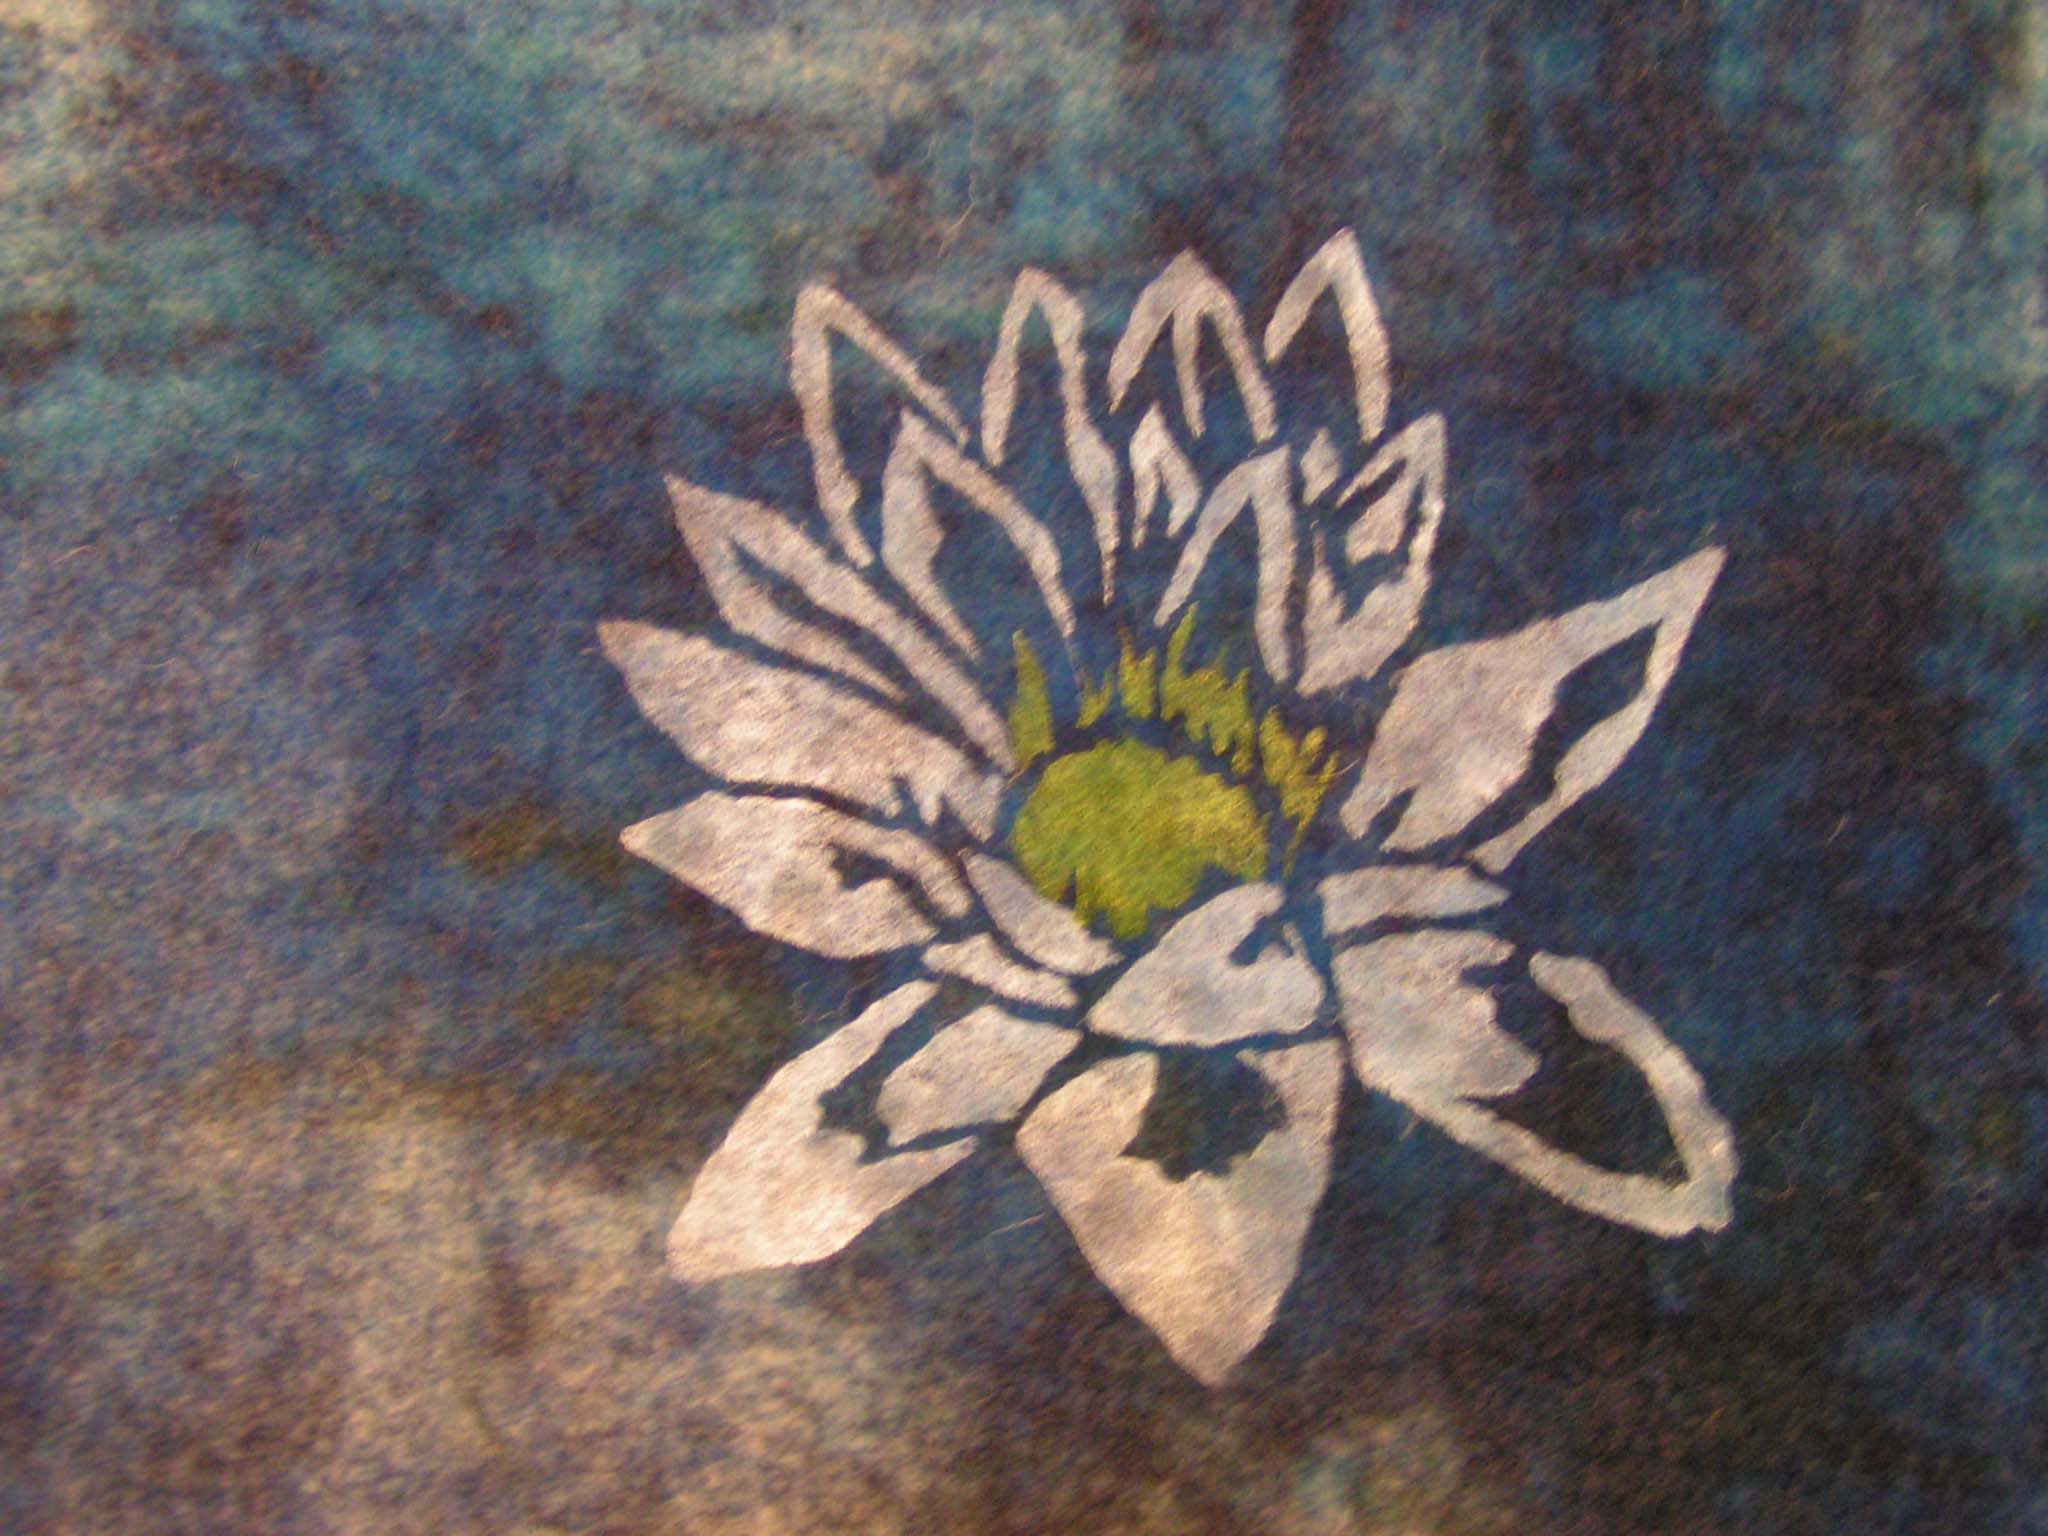
And I did print the water lily stencil on felt. The background felt is a deconstructed screen printed piece. I stenciled with my new Smudgee and screen printing ink which worked great. You just put it over your fingers and dip it into the ink, then stencil with it. I will probably add a little stitching to this and then frame it. So lots of new toys to play with and I’ll be making print paste soon so more printed felt coming up soon.

Printing Stripes

I was playing around with foam stamps today and made a stripe roller.

Stripe Roller

Here’s the roller. It’s really simple to make and you can decorate the strips of foam in a variety of ways. You can also make your roller with randomly placed pieces of foam too. But this way you can print a fairly long piece before you run out of ink.

Stripes Printed

I just printed it on a some sketchbook paper that was already colored. Hopefully, next week I will get some felt printed and stenciled to show you. Have a good weekend.

Water Lily Stencils

I made another stencil today. This one is of a water lily. I got the design from a photo I took at the Botanical Gardens in NYC. I turned the photo into a black and white rendition and played around a bit with it in Photoshop. Then I used it to design this stencil.

Water Lilly Stencils

I made the stencil in two parts so it would be easier to use two different colors. I had some previously screen printed paper from a session of deconstructed screen printing. So I used that for the background.

Water Lily Stencil in My Sketch Book

And here’s my rendition of a water lily. I liked how it came out on the background as the blue tended to affect the white paint and give it more depth. So I cut it to fit into my sketch book and added it to a page that was already colored in my sketch book. It’s like I planned it 🙂

Another Stencil

I’m still working on my next online class and one of the aspects of that class is making stencils. I decided to do a more complex stencil and cut it out with a heat tool. So I used my sketch of a pine cone and developed the stencil from that sketch.

sketchbook pine cone cropped

Here’s the original sketch. I was originally going to try to cut all the pine cone shapes but I decided it would be better with just the outside lines. It would look more like a sketch.

Pine Cone Stencil

The stencil is to the left and then two sketchbook pages that I printed are on the right. I didn’t take a lot of time printing these thus getting ink and paint under the stencil since I was in a hurry. But I think that the pine cone still looks like a pine cone and the “blobby” bits just add more dimension to the stencil. Haven’t tried printing on felt yet with this one, that’s the next step. Have a great weekend.

Trying a Photo Transfer on a Gelli Plate Print

I saw a video about doing photo transfers on to previously printed colored paper from the Gelli plate prints. So I thought I would give it a try. The video showed transferring photos of people’s faces but I decided to try a photo of branches against a winter sky. I did have to fiddle around with the photo to get it more black and white and then I printed it on regular computer paper. I then put matte medium on the photo and on to the printed gelli print. After messing around with getting rid of the extra computer paper with water and rubbing, I finally got it to work. Here’s the card I made.

Gelli Print Card with Photo Transfer

I really like the photo so I think I will try making a few more of these. Hopefully, the process will get better with a little practice. Have a good weekend!