The Big Ski Chair Affair

I can’t remember if I have talked about this project here or if I said something about it over at The Felting and Fiber Studio. But one of the non-profit organizations where I am a volunteer was looking for a new fund-raiser. The idea came up to have artists “decorate” a ski lift chair and then auction them off. The organization provides transportation to and from the ski hill so it seemed like a good fit. Guess who’s in charge of the fund-raiser? Not sure why I say yes to these things but I just need one more thing to do!

finsihed-chair-web

This is what the chairs look like now and they are big, over seven feet long. And because yes, I need to do more than just be the head of the fund-raising event, our group decided to decorate a chair. So we are working on a proposal for the chair and yesterday, we started making some elements for the chair.

big-ski-chair-affair-proposal-sketch

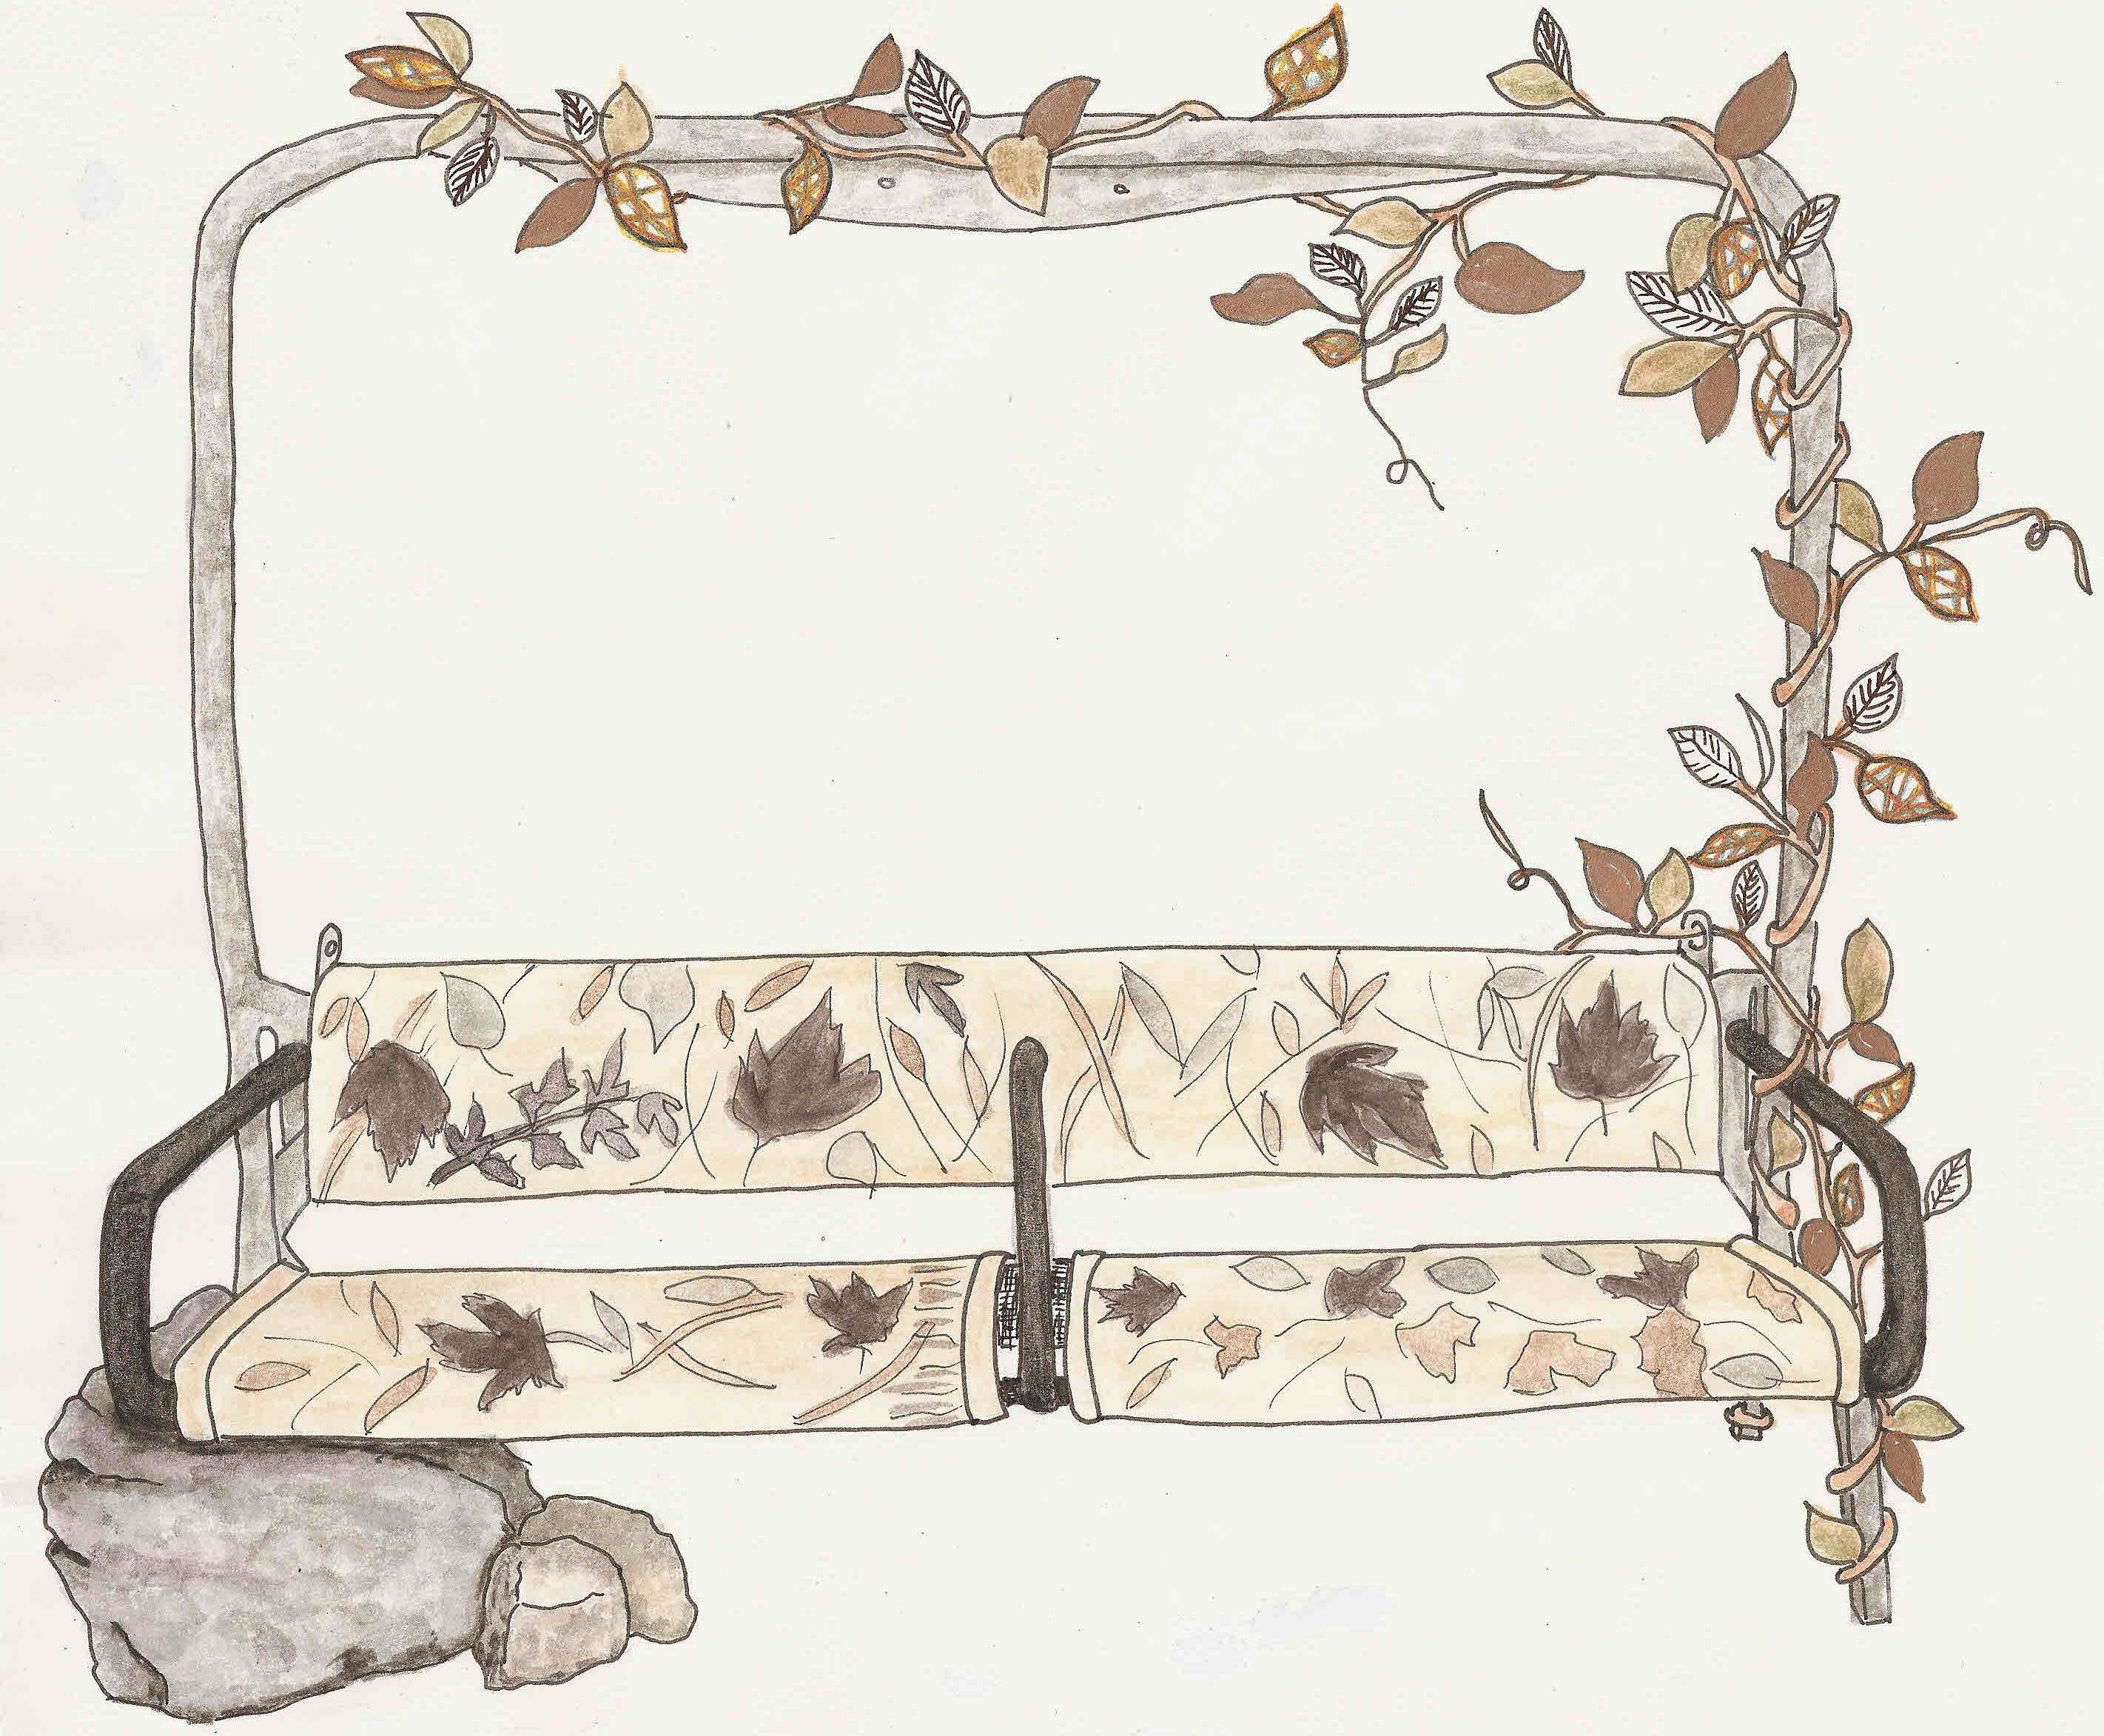
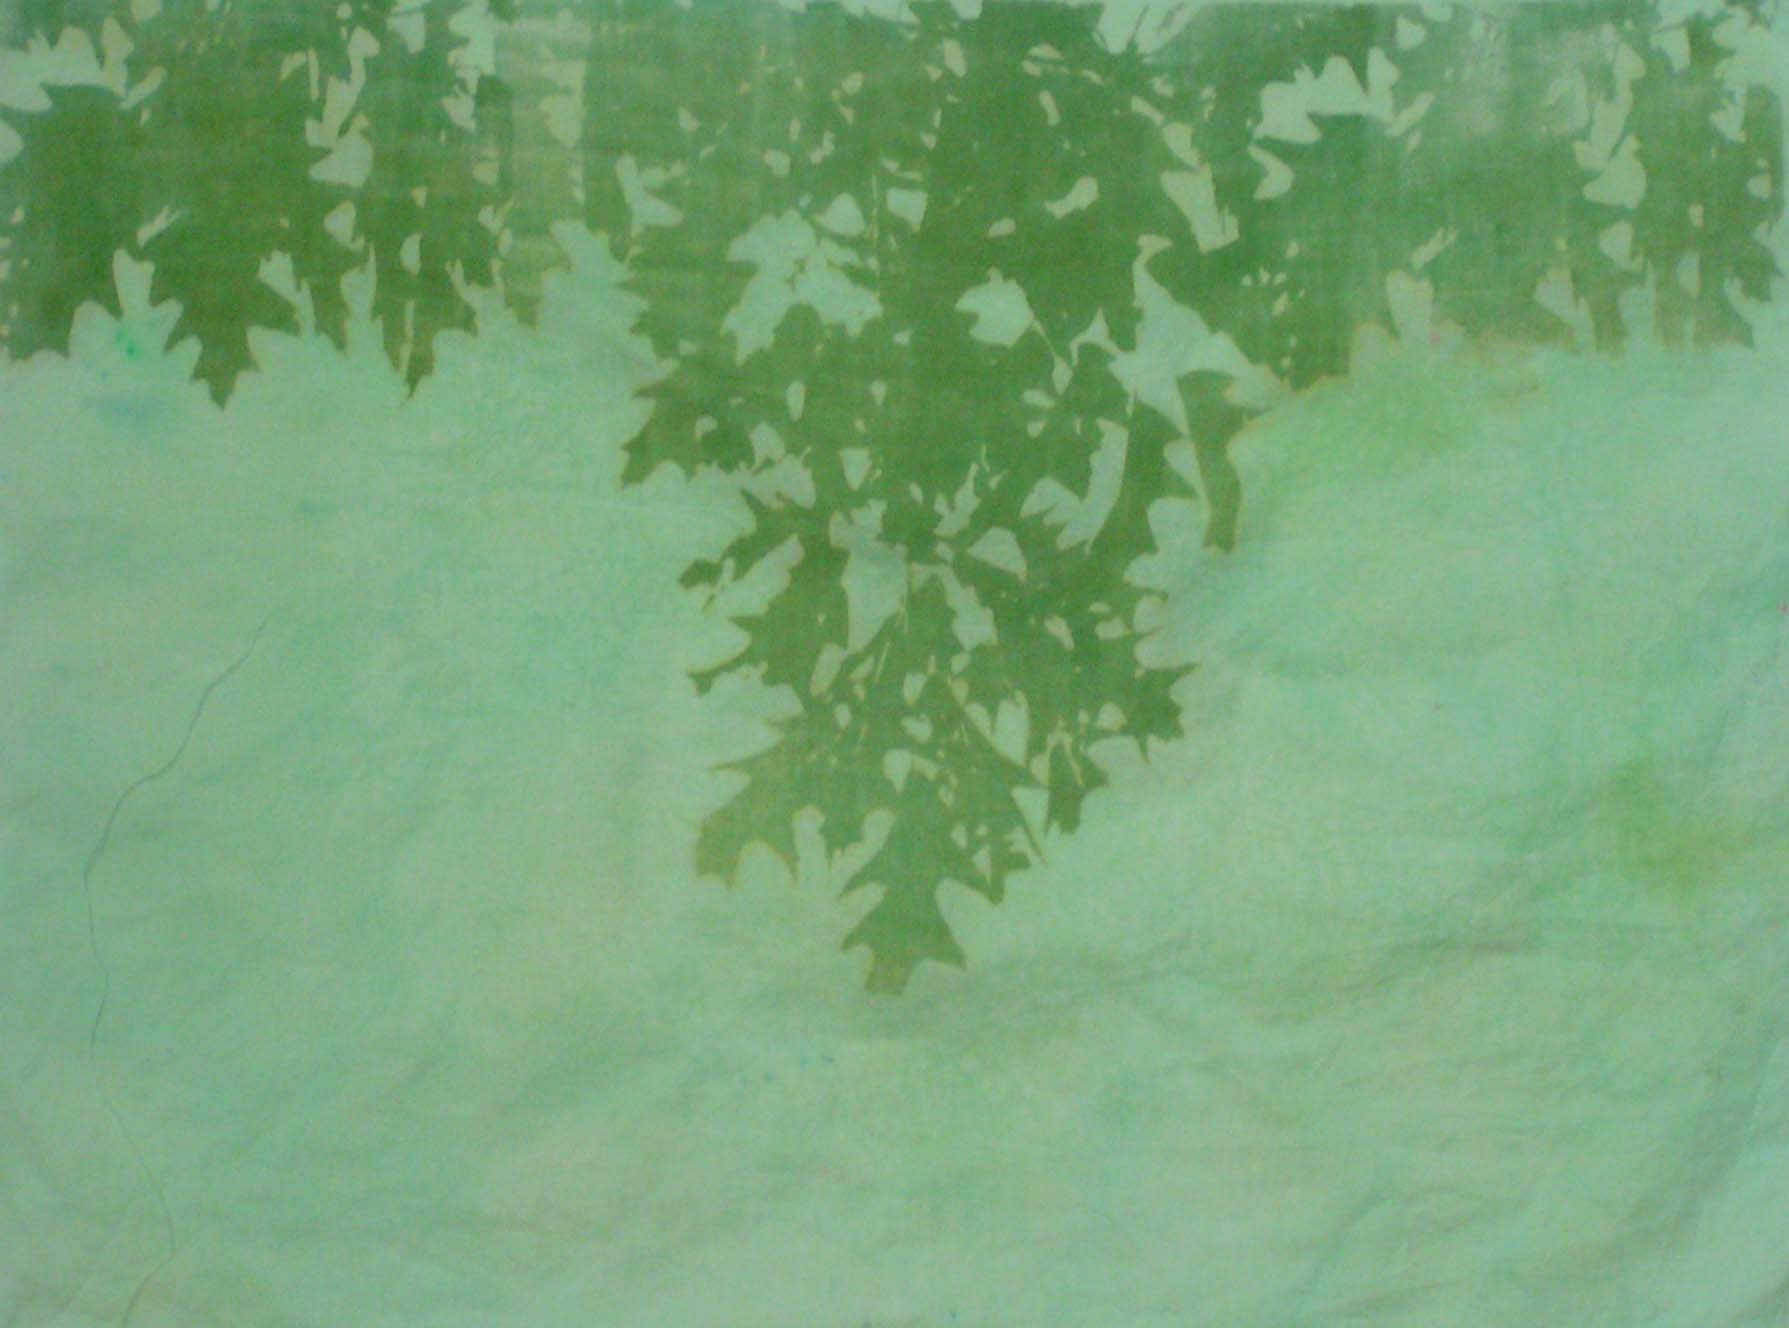
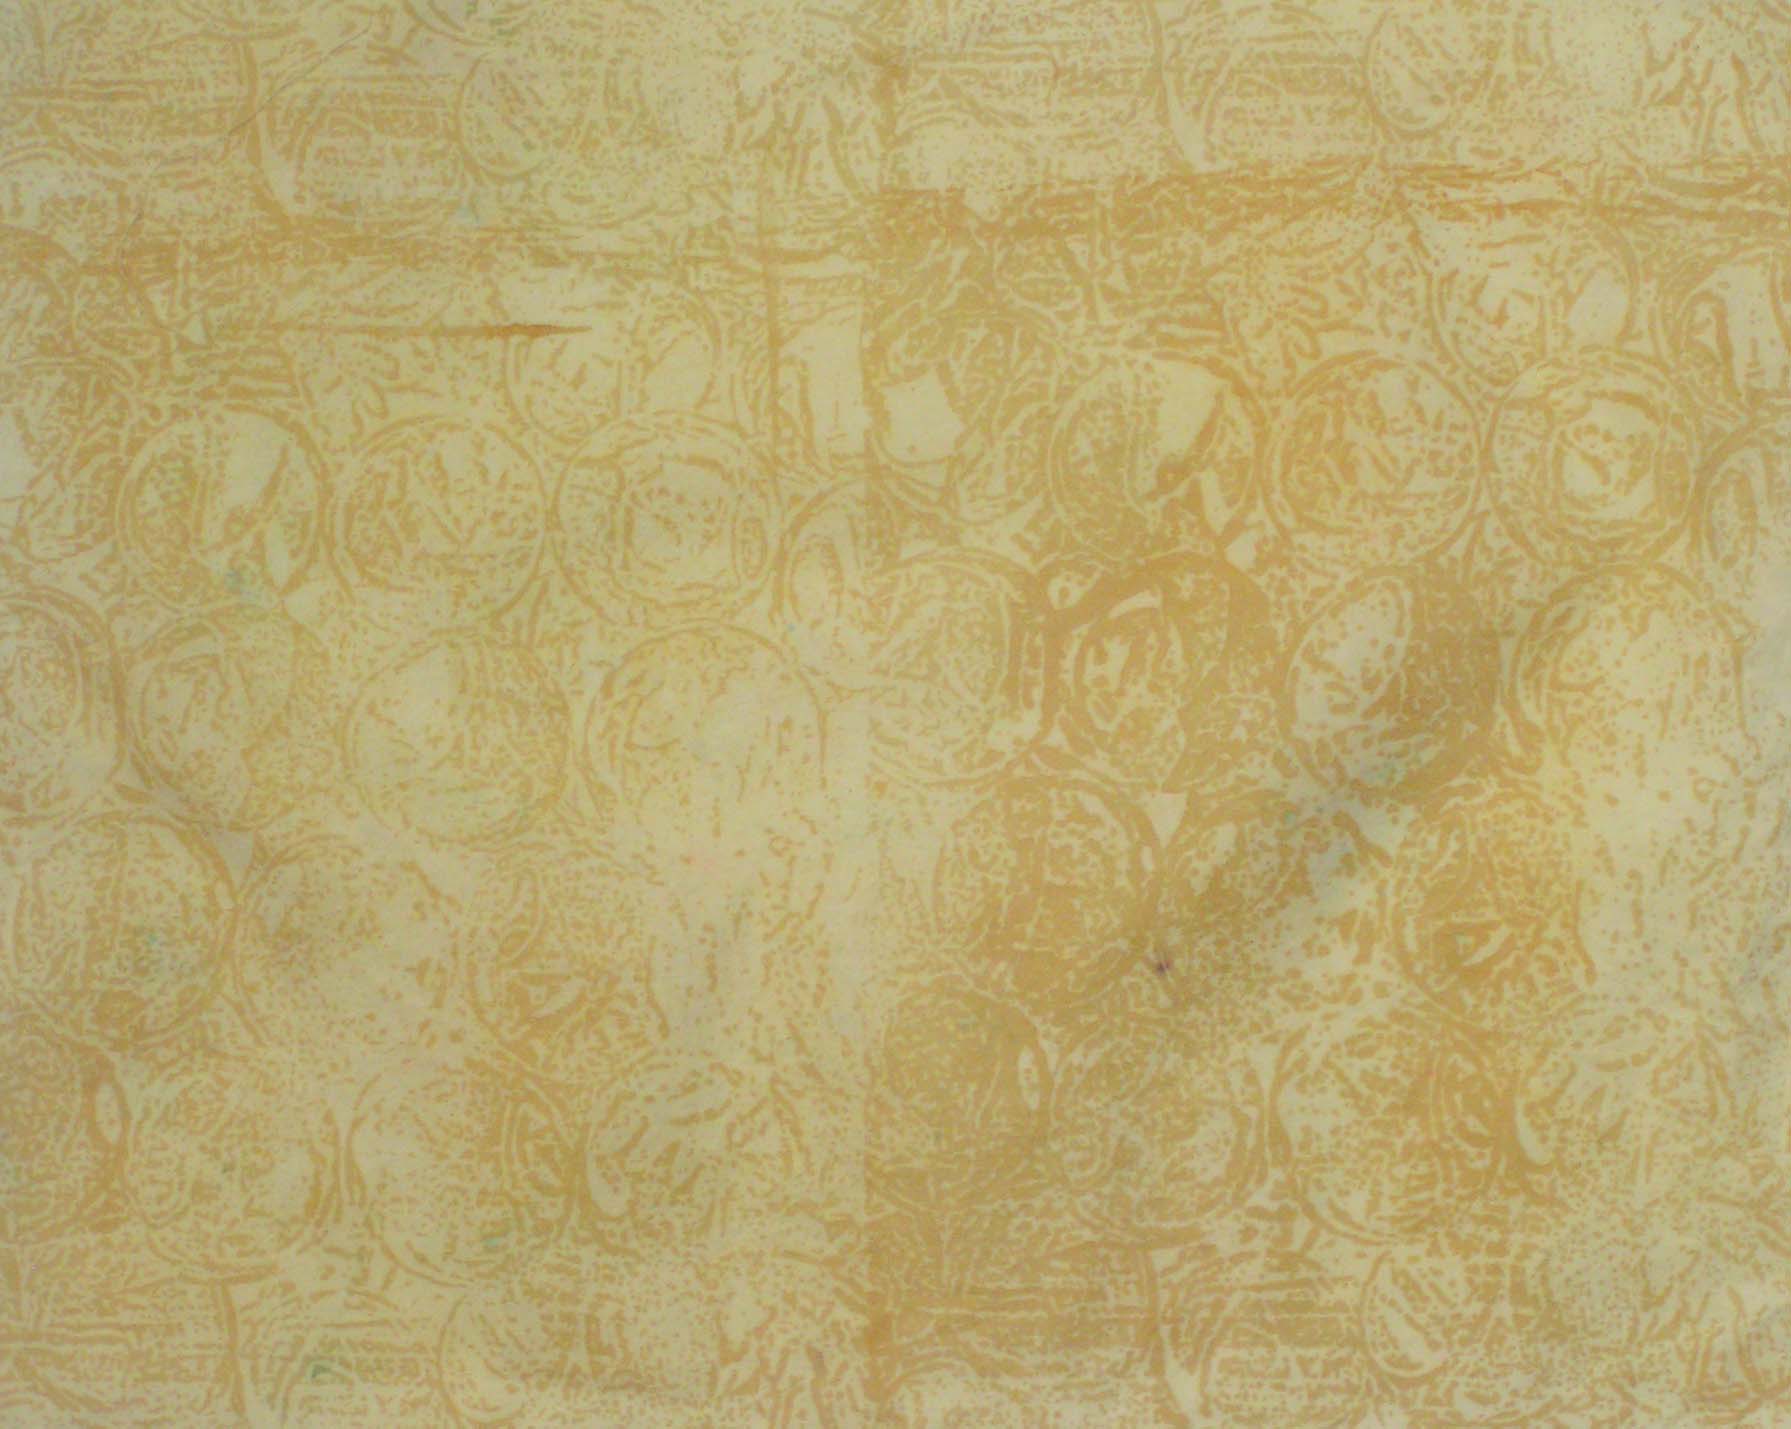
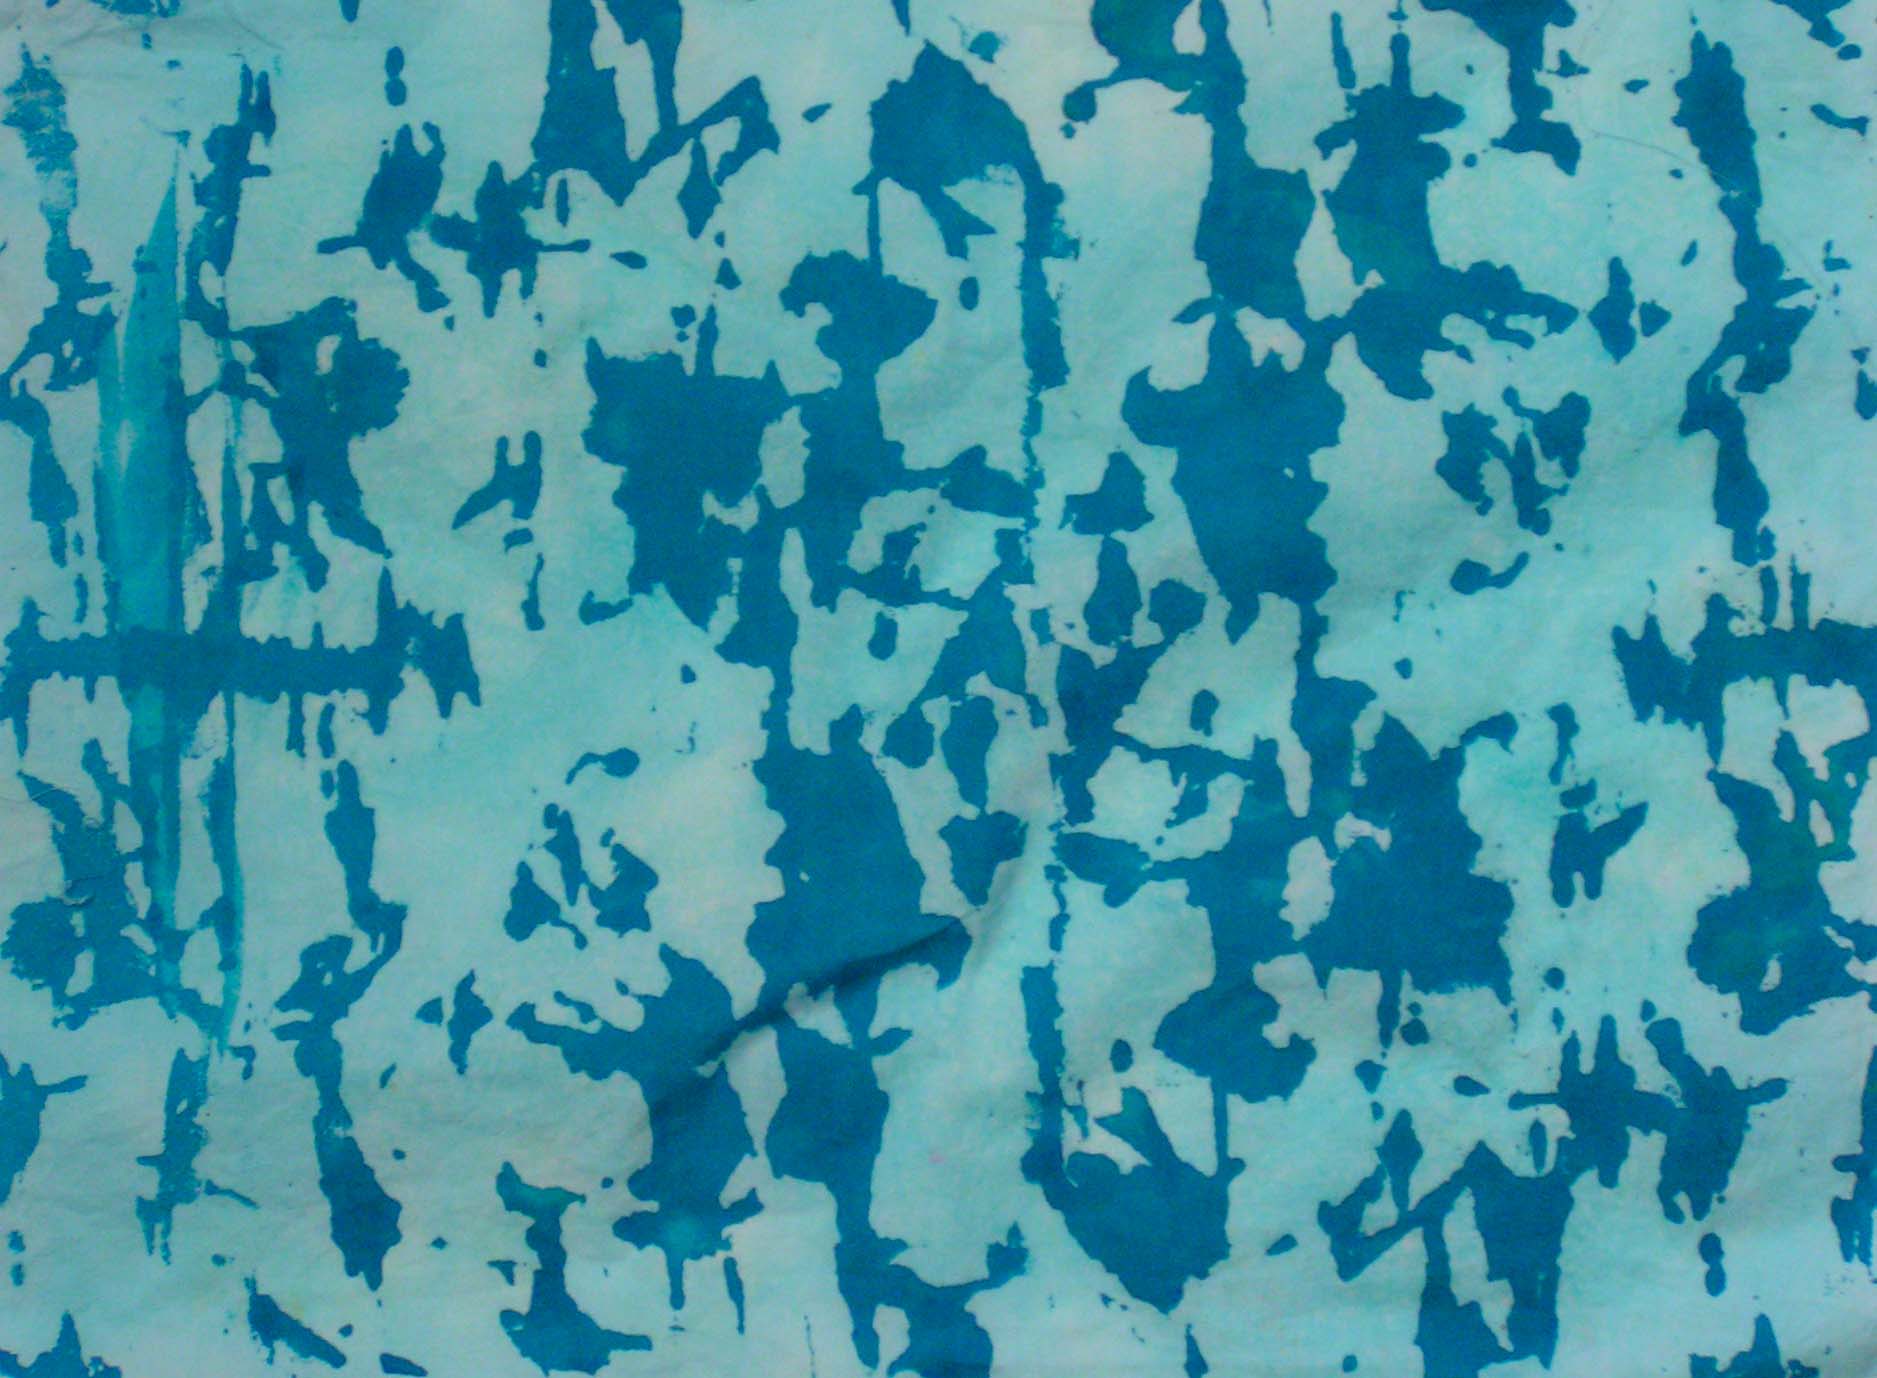
Here’s a sketch of our proposal. The seat benches will be covered with eco printed felt, there will be felt rocks under one side and a bower of leaves climbing up the overhead support. We started working on the leaves. Some are made from copper wire, some from flat copper, some from felt and some with machine stitched threads.

Here we are working away at Louise’s house. Louise already has all the metal smithing tools so she showed us how to use them and off we went.

big-ski-chair-5-web

It was fun pounding, stringing beads and shaping our leaves.

big-ski-chair-6-web

Here’s all the leaves we created. There are a couple of thread leaves and one felt leaf in there too.

Here’s a little closer view of what the leaves will look like. The wire ones without anything in them aren’t done. Some will turn into felt or thread stitched leaves, others will get beaded wires wrapped around them. Deb pointed out to us partway through that we needed some larger leaves since the chair is so big and the smaller ones would be really disproportionate. So we made a few bigger ones. We have lots more to go so I’m sure we’ll have all kinds of sizes by the time we’re finished. I’ll keep you updated on how the project is going. I have never worked on a project this big or collaboratively so it is going to be fun and I’m sure I will learn a lot.

We have to turn in a proposal and get it accepted but we are kind of getting ahead of ourselves. But I’m sure it will work out in the end. I have made a Facebook page for the fund-raiser. I would appreciate it if you’d go and like the page and spread the word. We are still looking for other artists in the Flathead Valley of northwest Montana to participate.

Free Motion Stitching on Felt

I’m still busy working on my next online class, Free Motion Stitching on Felt. I’m getting closer and I’m fairly certain that I will be able to have a class start date in March.

Poppy Stitched on Felt

This is one of the samples that I stitched today. The background is deconstructed screen printing and then I stitched the poppy. It’s an examples of thread sketching. I can’t decide if I like it or not. I have a notion to add some color in the flower and stem with paint. Or should I just leave it? What do you think?

Happy New Year!

Here we are at the end of 2016 and looking forward to 2017. It’s hard to believe how quickly the years zip by. I am really looking forward to 2017 as I have finally signed up for Level 3 Art and Design with Gail Harker. I have wanted to take this class for years and it has finally worked out so that I can. It starts in February and I’m excited to get started.

I am working hard to get my last online class completed so I edited photos, put them in the right places in PDF’s and edited videos today. So I’ve only got a bit more to go and then machine stitching on felt will be ready to go. I think that I will probably hold the first class in March.

stacked-stones-sketch-web

Here’s a sketch I did this week of a pile of rocks. This stack of rocks is on the path that I follow in the summer time when I walk every morning. And the rocks are really different colors. I think the top two in the sketch look like they are a bit off balance as I got the angles slightly off but I did like the way the sketch turned out.

Happy New Year and all the best for a creative 2017!

Playing in the Sketchbook

I have been playing around with some previously screen printed sketchbook pages. The first couple I added watercolor backgrounds.

This screen was one that Louise made up for deconstructed screen printing. She used a hairy yarn and it gave an interesting result.

herrringbone-fill-web

This one I added some patterns with colored pencils. I haven’t used colored pencils all that much and I’m usually not happy with the result.

blue-spiral-web

I figured out that the problem was I just needed to add at least two layers of colored pencil over white. The page on the right has only one layer but the page on the left had a different blue colored over the same blue used on the right. I like that result much better. It completely covers the white of the sketch page.

So that’s how I did these last three page spreads. So I have been playing with coloring books this week!

captured-photos-00145

Thought you all might like this old photo from Christmas past. I’m the one with her hand always in her mouth. I think I’m about three and half in this photo. Merry Christmas and Happy New Year!


More Color Magnet Fabric

I was in a bit of a hurry yesterday when I posted and obviously wrote a very poor explanation of Color Magnet. You can read more about it on Dharma Trading, they have a few videos too. The Color Magnet is this really gooey stuff that you can apply to undyed fabric through a silk screen, stencil or stamp. I used silk screens. The fish I posted about yesterday was screened on and then dry dye powder was added to the wet Color Magnet.

Color Magnet Leaves

All of these were screened on. The cotton fabric was then dyed with fiber reactive dyes and soda ash. So the leaves above were where the Color Magnet was screened on and let dry. Then I put the fabric in a baggie with green dye and the color magnet attracts more dye than the regular cotton so the leaves are a darker green than the background. Kind of neat.

Color Magnet Marbles

This was a screen that was originally a photo of marbles. It’s a little hard to see due to the lighter gold color.

Color Magnet Peeling Paint

This last piece of cotton was dyed with turquoise. It worked really well. This screen was a paper laminated screen that I made several years ago.

Color Magnet Wool

And of course I needed to try the product out on wool. The Color Magnet says that it works with all types of dye so I thought it would work the same with the acid dyes. I screen printed the Color Magnet on a piece of white commercial wool and let it dry. Then I put the wool in a “Cabernet” colored dye pot and let it simmer for 30 minutes. The lighter areas are where the Color Magnet was applied. So it worked more like a resist instead of attracting more dye. I think the areas that are mid value were where the Color Magnet was applied but not as thick. Needless to say, it didn’t work as advertised but I really like the results. The varying values give the piece a lot of depth.

So I hope that gives a little bit better explanation of using Color Magnet. It seems to work best on cotton fabric with fiber reactive dyes. Let me know if you give it a try!