Mama Grizzly for Gayle

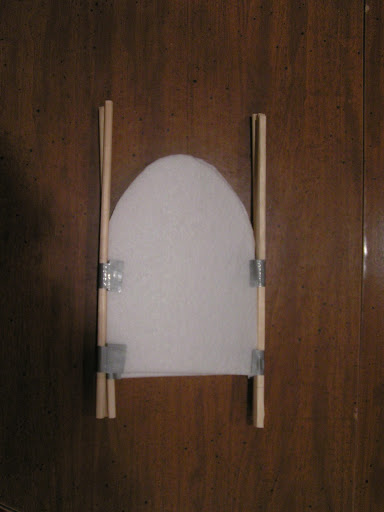
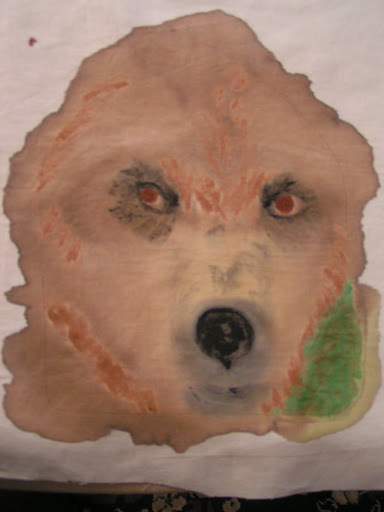
 This is the beginnings of the page I made for Gayle. Her theme is All Creatures Great and Small. I wanted to do an animal that is native to Montana so I chose the grizzly bear. I had a photo from a calendar that I used as inspiration. I thought just the face coming out of the page would give a bigger impact and give a sense of the size of grizzlies. I painted this with a combination of walnut ink and Jacquard paint.

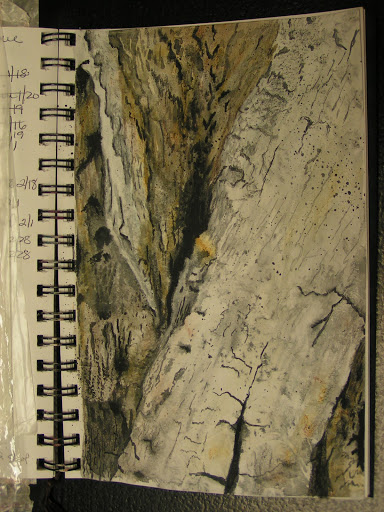
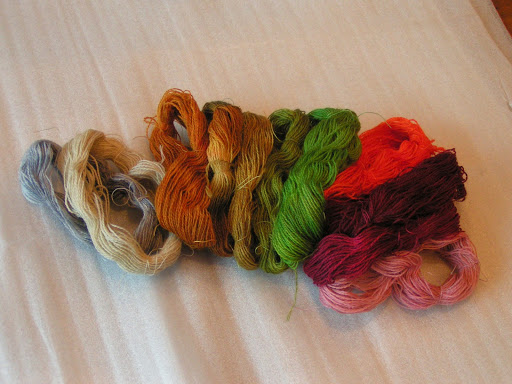
 Then I thread sketched the bear. I used about ten different shades of brown for this. Even with two stitch and tear sheets behind the page, it still distorted quite a bit. But except for a few wrinkles here and there, I got it flattened back out again. The shape of the page makes her look a little like a cone head, don’t you think?

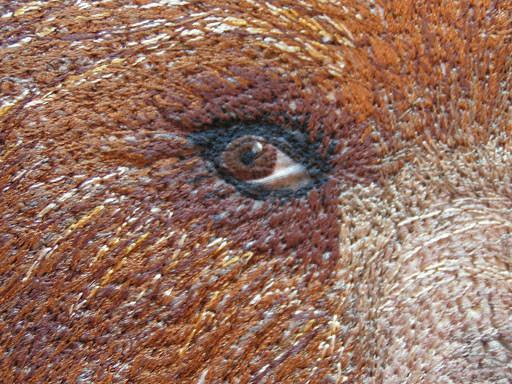
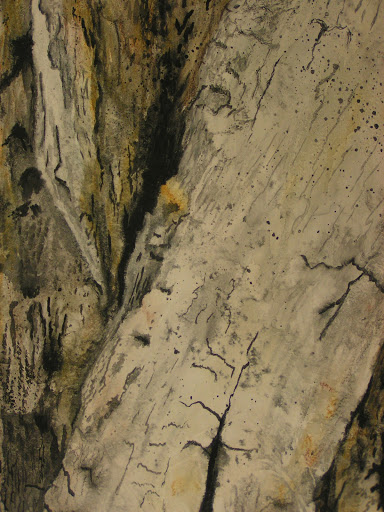
 Here’s a close up of the eye. I left the white part of the eye unstitched so that caused a bit of distortion.

 Here’s another close up.

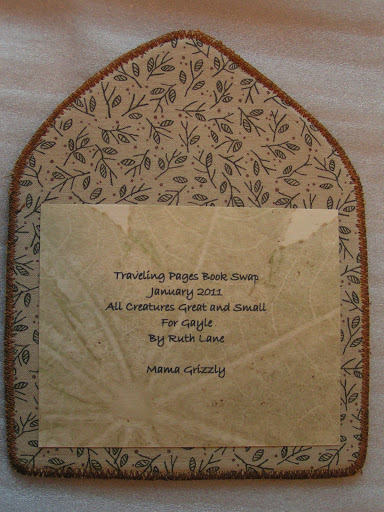
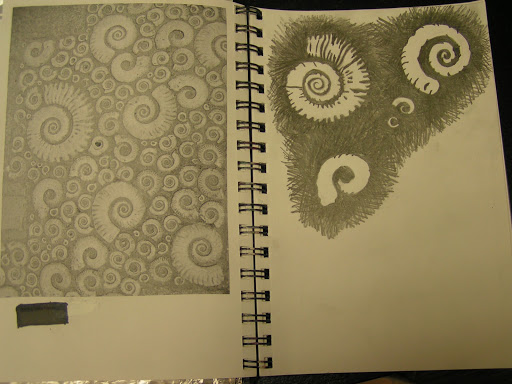
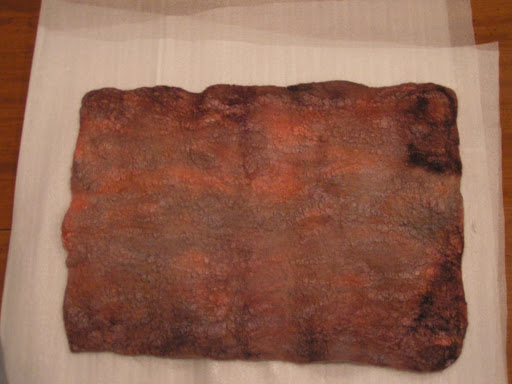
And here’s the back. I hope you like it, Gayle. This is the last page I have to do for this swap. Next, after I get my last two pages, I’ll be putting the book together.

Design Focus Friday – Form

 Last week we talked about form as it relates to a two dimensional work and how to imply form on your picture plane. Usually, I work in 2D more than 3D but I would like to do more 3D work. The sketch above shows what I plan to do with my Traveling Pages to make all 13 pages into a book form. As my theme is trees, the covers will resemble bark and the “posts” on the book will be red twig dogwood branches.

 When you’re thinking about form in three dimensional work, sometimes it helps to make a model. I used some leftover heavy interfacing, chopsticks and duct tape. All things I had around the house. The model is about half the size of the actual pages. The photo above shows how the book will look when closed. I’ll have to make sure that the red twig dogwood branches aren’t too “bushy” on top or it won’t close well. Although I will probably always display it open. I won’t be using duct tape to secure the real book together (although it has a certain chic). I plan on using a heavy thread (like button thread) to attach all the pages to the posts as shown in my sketch in the first photo.

 Here is it standing up. All the front side of the pages will be on one side and then when you turn the book around, all the back pages will be on the opposite side.

Here’s a view from the top. I think this form will be perfect for my pages. I still have two pages to receive and I need to finish up my covers but I plan on finishing the book by the end of February. This model is so cute that I want to cover the pages and make a smaller book too. Hopefully, I’ll have time to do that.

Have you worked in 3D? What have you made? How did you determine your pattern and if it would work? Did you have to think about stability? How did you merge the need for stability and structure with the aesthetic? Leave me a comment and let me know, as I’d love to hear how you are using form in your work.

Another Watercolor and Rice Paper Collage

 Here’s another rice paper collage with watercolor similar to last Friday’s post. But this time I pasted down the rice paper first with no paint underneath. I then just added watercolor on top with my Neocolor II crayons and then added water. I really love the textures that develop with the base of rice paper. This one is much more subtle as I used less rice paper. This is based on a photo I took, can’t remember when I took it but it was probably at Glacier National Park. Another one of my favorite surfaces – bark (again, I know!).

Here’s a close up. I could keep adding more to this painting as there are so many little details when you look closely at bark. But I decided I like it the way it is so I stopped. I love the organic lines and the diagonals of the various bark pieces on the tree. I am doing a series of these surfaces in paint first as inspirations for embroideries after my hand embroidery class. What are your inspirations? Do leave a comment and let me know.

Studio Journal Work


Do you have a sketchbook or studio journal? I prefer to call mine a studio journal as I keep everything that relates to fiber in it. It has lists of things to do, inspirational photos, sketches, collages etc. Here’s a piece that I started with line and I showed you the background before. It didn’t seem finished so I added some flowers and a quote. This is really not my usual style or color combination but I am trying to play with more colors some of which I rarely use in my work. It’s good to try to “paint outside the lines” and try something different.

 This is a sketch that I am working on to develop stencils and screen prints of fossils. These are ammonites. I do have one stencil of an ammonite but it is a bit precise and straight edged for me. I like the more natural look in this sketch.

And more fossils. This page is just barely started. I want to fill the entire page and then make a screen for screen printing. It will be more of a background texture than anything I think.
Have you been following the Sketchbook Challenge? It is a great resource if you want to try and work in your sketchbook or journal more often. Or if you just want to see what everyone else is doing, check out the Flickr page.

Hand Dyed Wool Embroidery Floss and Dyed Felt

 I’ve been working on getting all my embroidery supplies ready for my Level 1 Hand Embroidery class in February. This is lace weight wool that I made into skeins and dyed. I was trying for some earth tones, greens and a variety of rusty reds. Except for the reds, I got what I intended. I did make one bright orange for some lichen that I’m planning on embroidering. I have also ordered some supplies that I will show you after they arrive.

I also dyed the piece that I made in the sander tutorial. It is going to be used for the book covers for my Traveling Pages. I’m going to work this week on the mechanics of how I’m putting the book together. So more on that later in the week. I have finished my last page to be sent off to Gayle. I’ll show you that as soon as she receives it.

Thanks for all your comments on the sander tutorial. I’m glad you enjoyed it.