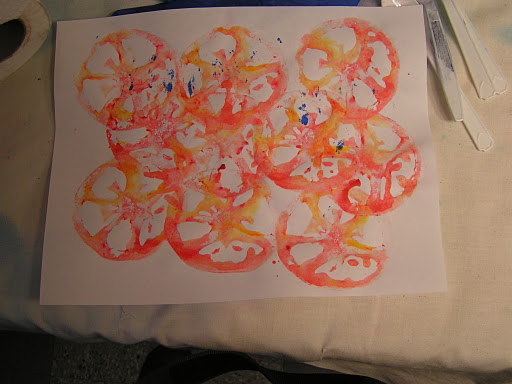
Our local surface design group met today and we printed with veggies and fruit on to fabric and paper. We used mainly textile paints. This first one is a tomato print by Jan.
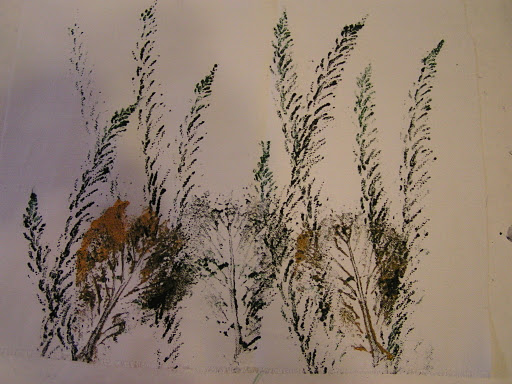
This is by Louise and I think is spinach leaves and some type of frond that Jan brought from a flower arrangement she was going to throw away.
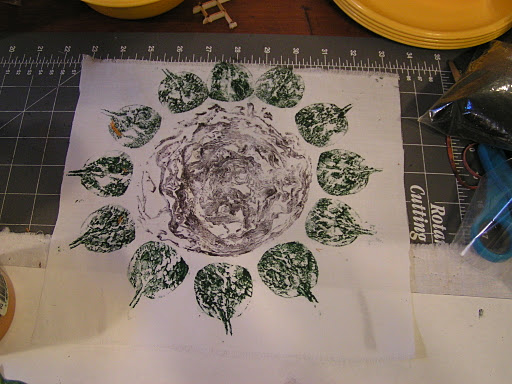
This is also Louise’s and is a cabbage print surrounded by spinach leaves.
Here is the cabbage with paint on it. This was one of our favorite veggies to use as a stamp.
Here Carole used the cabbage to print a silk scarf. She is going to over dye this and then may do more printing on top of that.
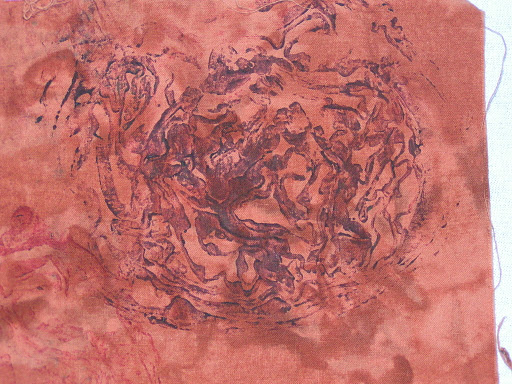
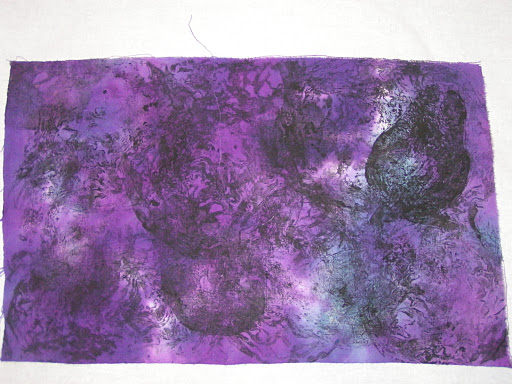
This is a pear print that Carole did on a piece of rusted paper.
Here is a cabbage print that I did. I hope to add some hand stitch to all of my pieces if I have time.
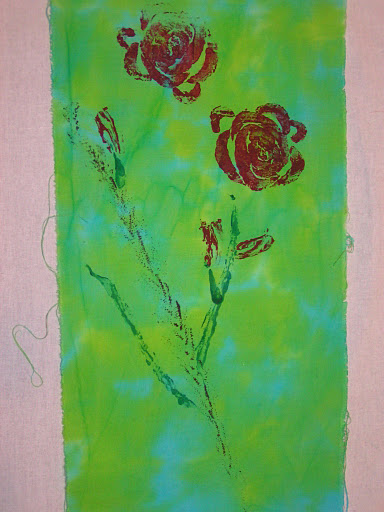
This is a celery rose. The rose buds are printed with dates and the stalk with green beans!
This piece has cabbage, pepper, plum, apple, pomegranate and onion prints.
This one is pear prints covered with cabbage prints. We had a great time!
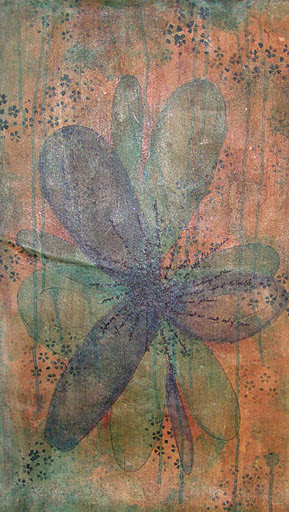
These next photos are of a round robin project we have been working on for the last 4-5 months. Each of us took a piece of canvas and painted the background. Then it was passed on to the next person and each member added to the piece. This was supposed to be the last go round but mine didn’t get finished. This one is Bunny’s. She started with a yellow ochre background and then drew the flower shape on with a Sharpie. Louise used Dye-na-Flow paint and painted the flower. I added all the rest. Carole didn’t work on this but did the “other half” which you’ll see later. I added many layers of thinned acrylic paints, a poem to make the stamens on the flower and lots of alcohol ink.
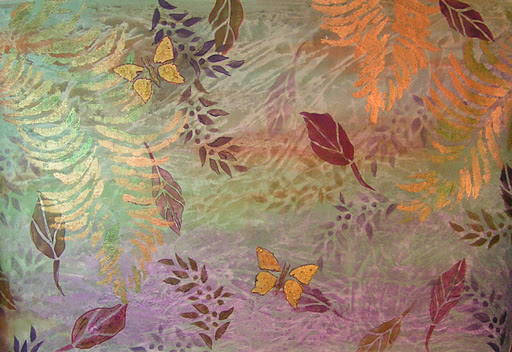
This one is Carole’s piece. She painted the purple and green background. Louise added the gold fern leaves with a stencil. I added the other leaves with alcohol ink and Bunny added the butterflies.
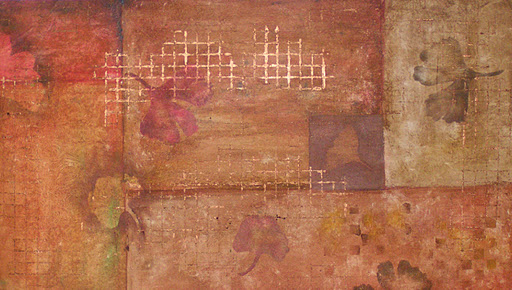
This is the other half of Bunny’s. Carole did the background and then Louise added stenciled leaves and the gold grid.
This is Louise’s piece. She did the grey background. I added the rust and black color in swirls. Bunny added the leaves with oil paint sticks and Carole added the branches. Doesn’t it look like a windy fall day?
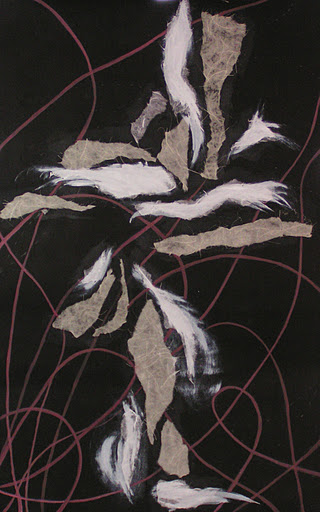
This is my piece. I used black gesso and then added hand made paper scraps with a bit of white paint over some of them. Carole added the swirly lines. Louise said she could figure out what to do with it and Bunny skipped a month so didn’t do anything on mine. I told Louise to add color so she is going to work on it and then give it to Bunny. I’ll show you the finished piece when it gets completed.
The round robin was really fun and I think the finished pieces turned out well. It was hard to work on someone elses piece of “art” but it certainly was a learning experience!