With or Without?

Yesterday I showed you gold leafing on the back of my Stewart Stephenson challenge piece. I put that photo into Photoshop and made a “brush tool” out of the gold leaf bits. I then added that in several layers over the challenge piece photo so I could see what the gold leaf might look like on the front. The gold wouldn’t be in the exact same places or shapes but it would still have the same feel.

So what do you think? With or without? I’m not sure why the gold leaf photo is bigger – it’s from the same original photo. Weird.

Mixed Media Finish and Gold Leaf Experiment

I have still been busy making samples and writing my online class. But in between, I did manage to finish two of my mixed media pieces. The first one I already showed you but I did add a coat of Dorland’s wax medium. I’m not sure you can see in the photos but it gives it a richer finish.

Amorphous Circle

Here it is completely finished. Now I have to work out how I’m going to frame it. The edges are uneven and I don’t think I’ll find a commercial frame that fits.

Close Up Amorphous Circle

Here’s a closer view. It has a lot of texture on the surface.

Red Twig

This is the second one. It has a photo of aspen and red twig dogwood printed on silk. I covered the edges with tea bags, used several different colors of paint and added a branch of red twig dogwood. Again, not sure on the framing possibilities.

Gold Leaf on Felt

This is the back of my Stephenson challenge felt piece. I still think it needs just a bit more ‘oomph’ so I was considering adding some gold leaf. The process worked well so now I just have to decide if I want to add it or not. It would be organic shapes and would probably be in 3 places  or so. I need to decide where to place the gold though.

To remind you what the piece looks like, here it is. What do you think? I think I will put the photo into Photoshop and try applying the gold bits from the photo above to see if I like it. Hope you have a nice weekend and thanks for stopping by.


A Few Odds and Ends

I have been working on my online class making samples and writing up the course. But I do have a few things that I can show you.

Mixed Media Painting, Ruth Lane

Mixed Media Painting “Fragments”

I have nearly finished a couple of the mixed media paintings that I started quite a while ago. This is one of the ones that was plaster on burlap, cracked and then painted. I glued it to a wooden “canvas” and covered it with Dorland’s wax medium.

Mixed Media Painting, Ruth Lane

Mixed Media Painting “Amorphous Circle”

This one I had thought was finished and then decided I should sand it to take off some of the paint. I didn’t like the result at all. So I added some oil paint (from paint sticks) in darker blue. It still needs a few coats of wax medium after the oil paint dries for a few days.

Stitched Felt Cord, Ruth Lane

Stitched Felt Cord

I had seen on Facebook that Lisa Klakulak of Strongfelt was machine stitching on felt cords so I thought I’d give it a go. I had an orange felt cord that I made a couple of years ago. There was already blue thread in the sewing machine so I started free motion stitching. It was a bit of a pain and I should have stitched more but I wasn’t really enjoying the process.

Machine Stitched Felt Cord, Ruth Lane

Machine stitching on felt cord

This photo shows you the rest of the cord and the stitched cord below it. The stitching flattens the cord right out and really stiffens it.

Stitched Felt Cord, Ruth Lane

Bracelet from felted cord that has been machine stitched.

I put a bit of velcro on each end and made it into a bracelet. It’s unlikely I’ll wear it but it was an interesting experiment.


Dyeing Results and More Screen Printing

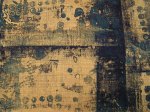
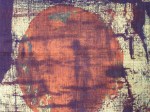
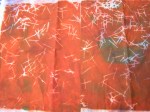
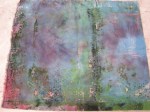
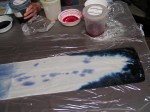
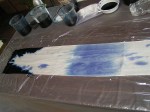
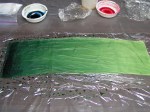
I worked today on samples for my mixed media/felt online course that I’m working up. It was lots of fun and I’m looking forward to sharing the processes. I also completed my 2nd quarter challenge for the Felting and Fiber Studio which I’ll post there soon. I thought you’d like to see a few of the dyed pieces from last week’s dyeing session.

This slideshow requires JavaScript.

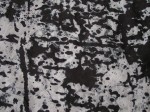
I like how most of them turned out and I’m not sure what they’ll be used for yet but I’m sure they’ll get more layering, especially the two scarves which are pretty boring.

This slideshow requires JavaScript.

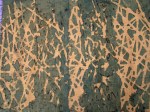
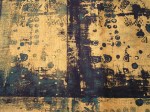
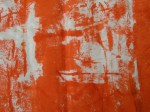
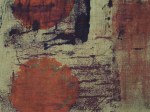
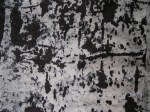
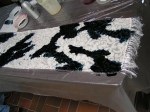
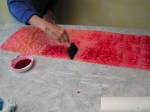
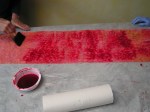
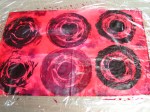
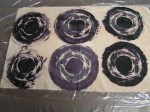
Because I had a bunch of thickened dye left over from my 2nd quarter challenge piece, I decided to do some screen printing and stenciling on paper. Most of the stencils were ones I had cut a long time ago. There were several that I had never even used. The little blue flowers are a commercial stencil that I won from a blog give away. I had fun playing with these today.

MINOLTA DIGITAL CAMERA

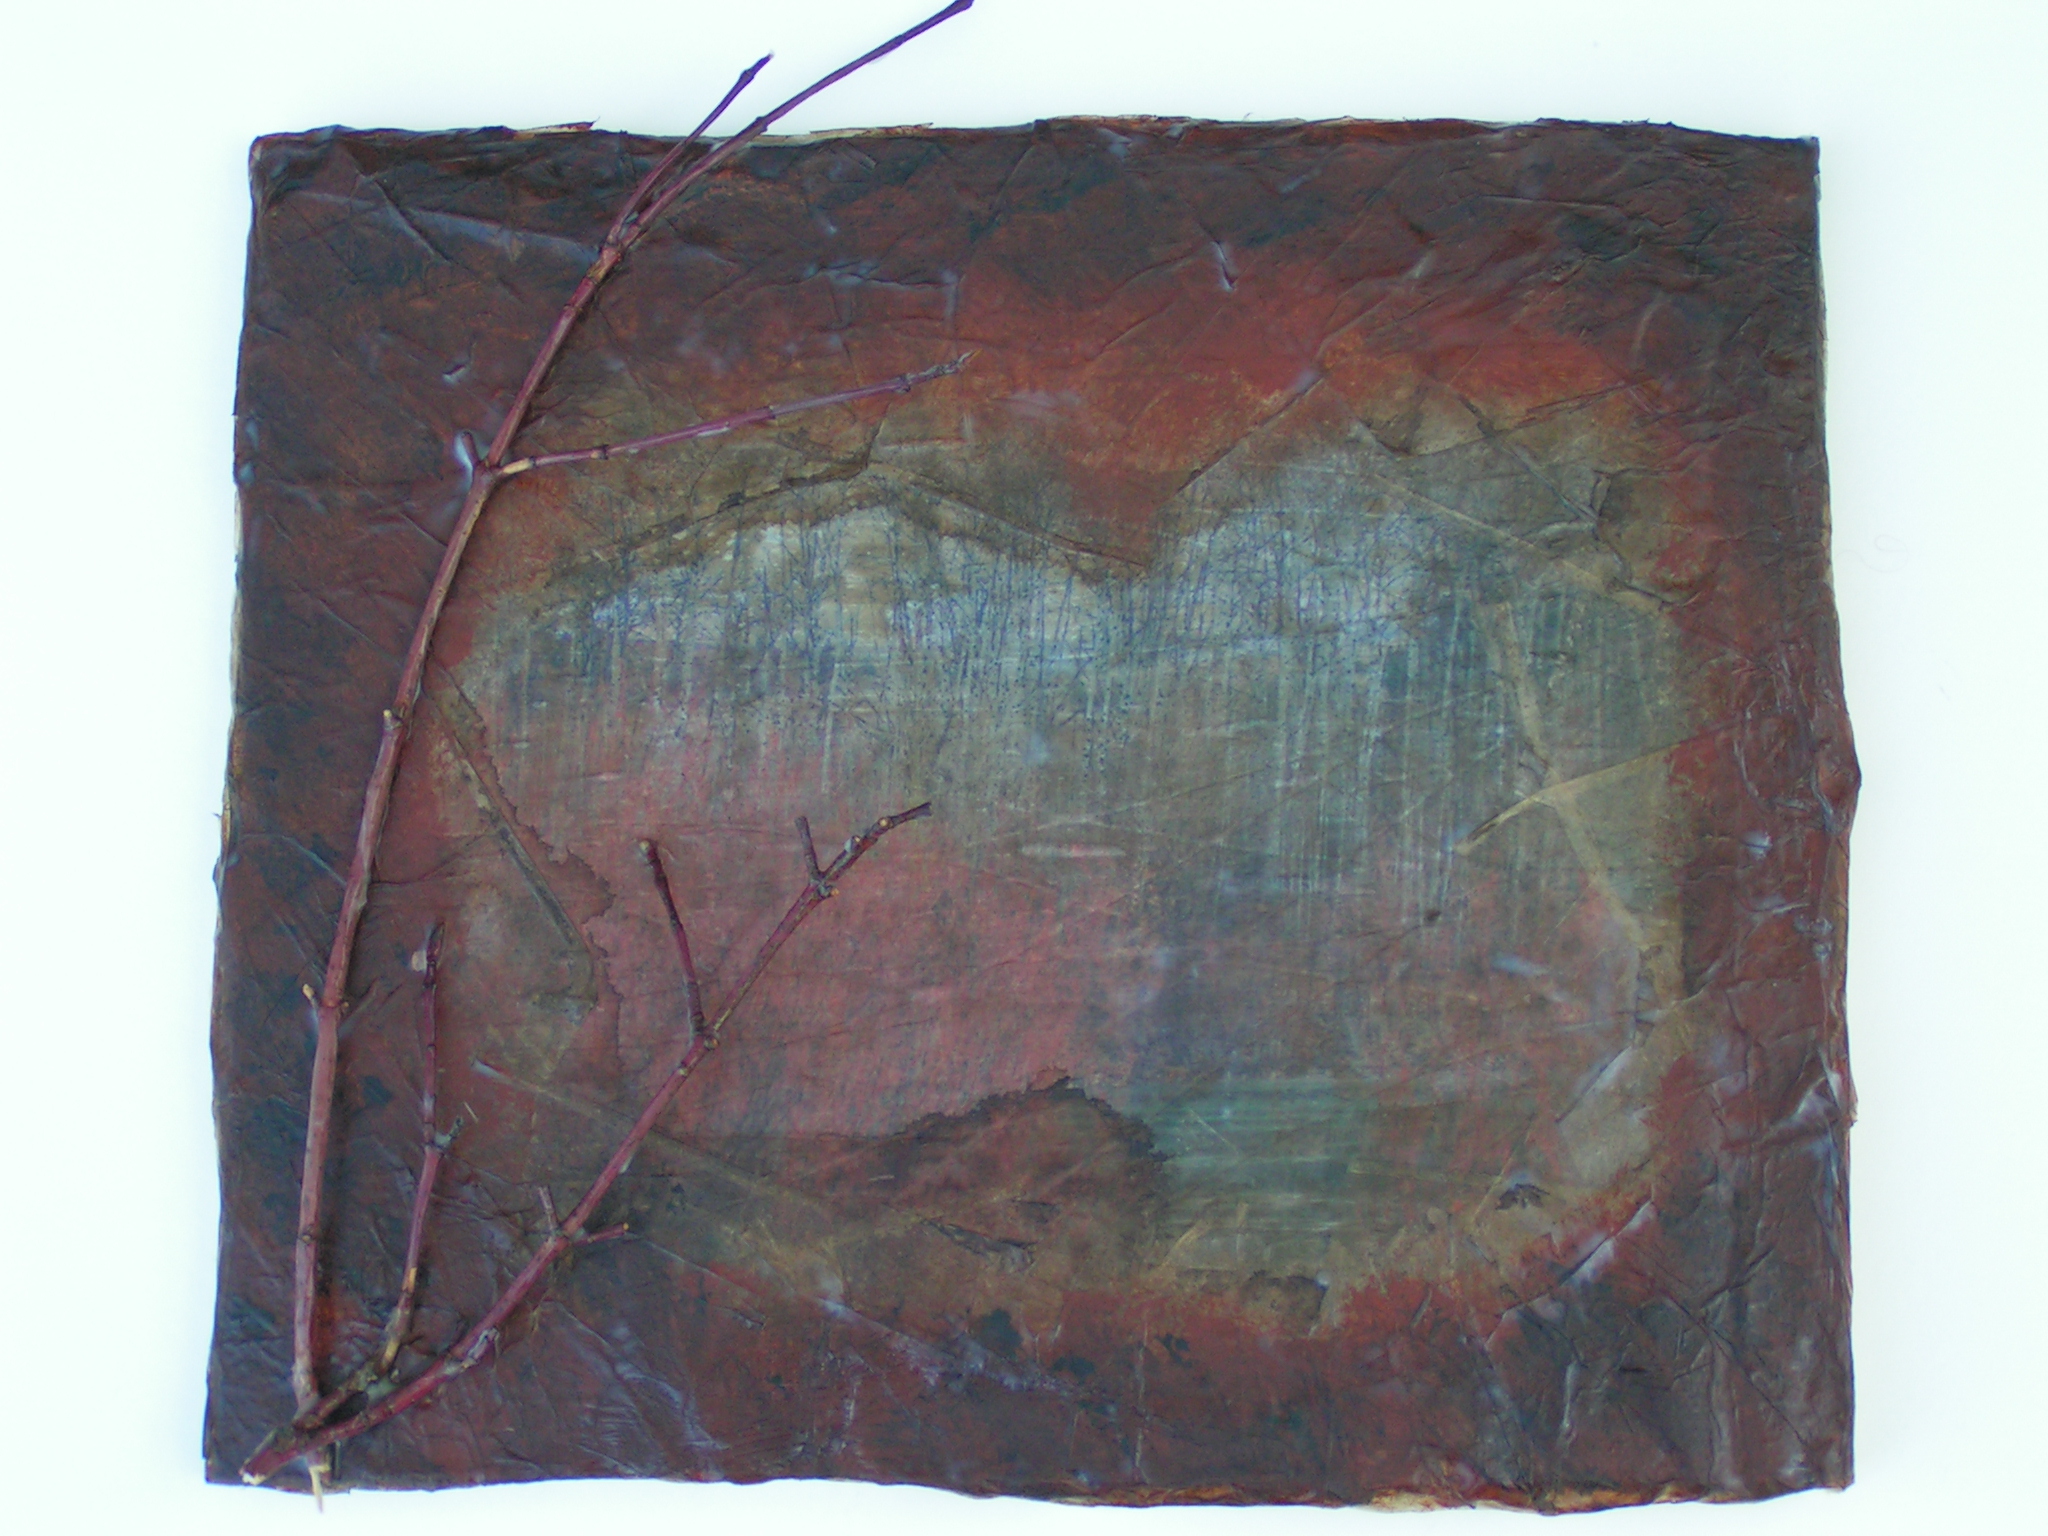
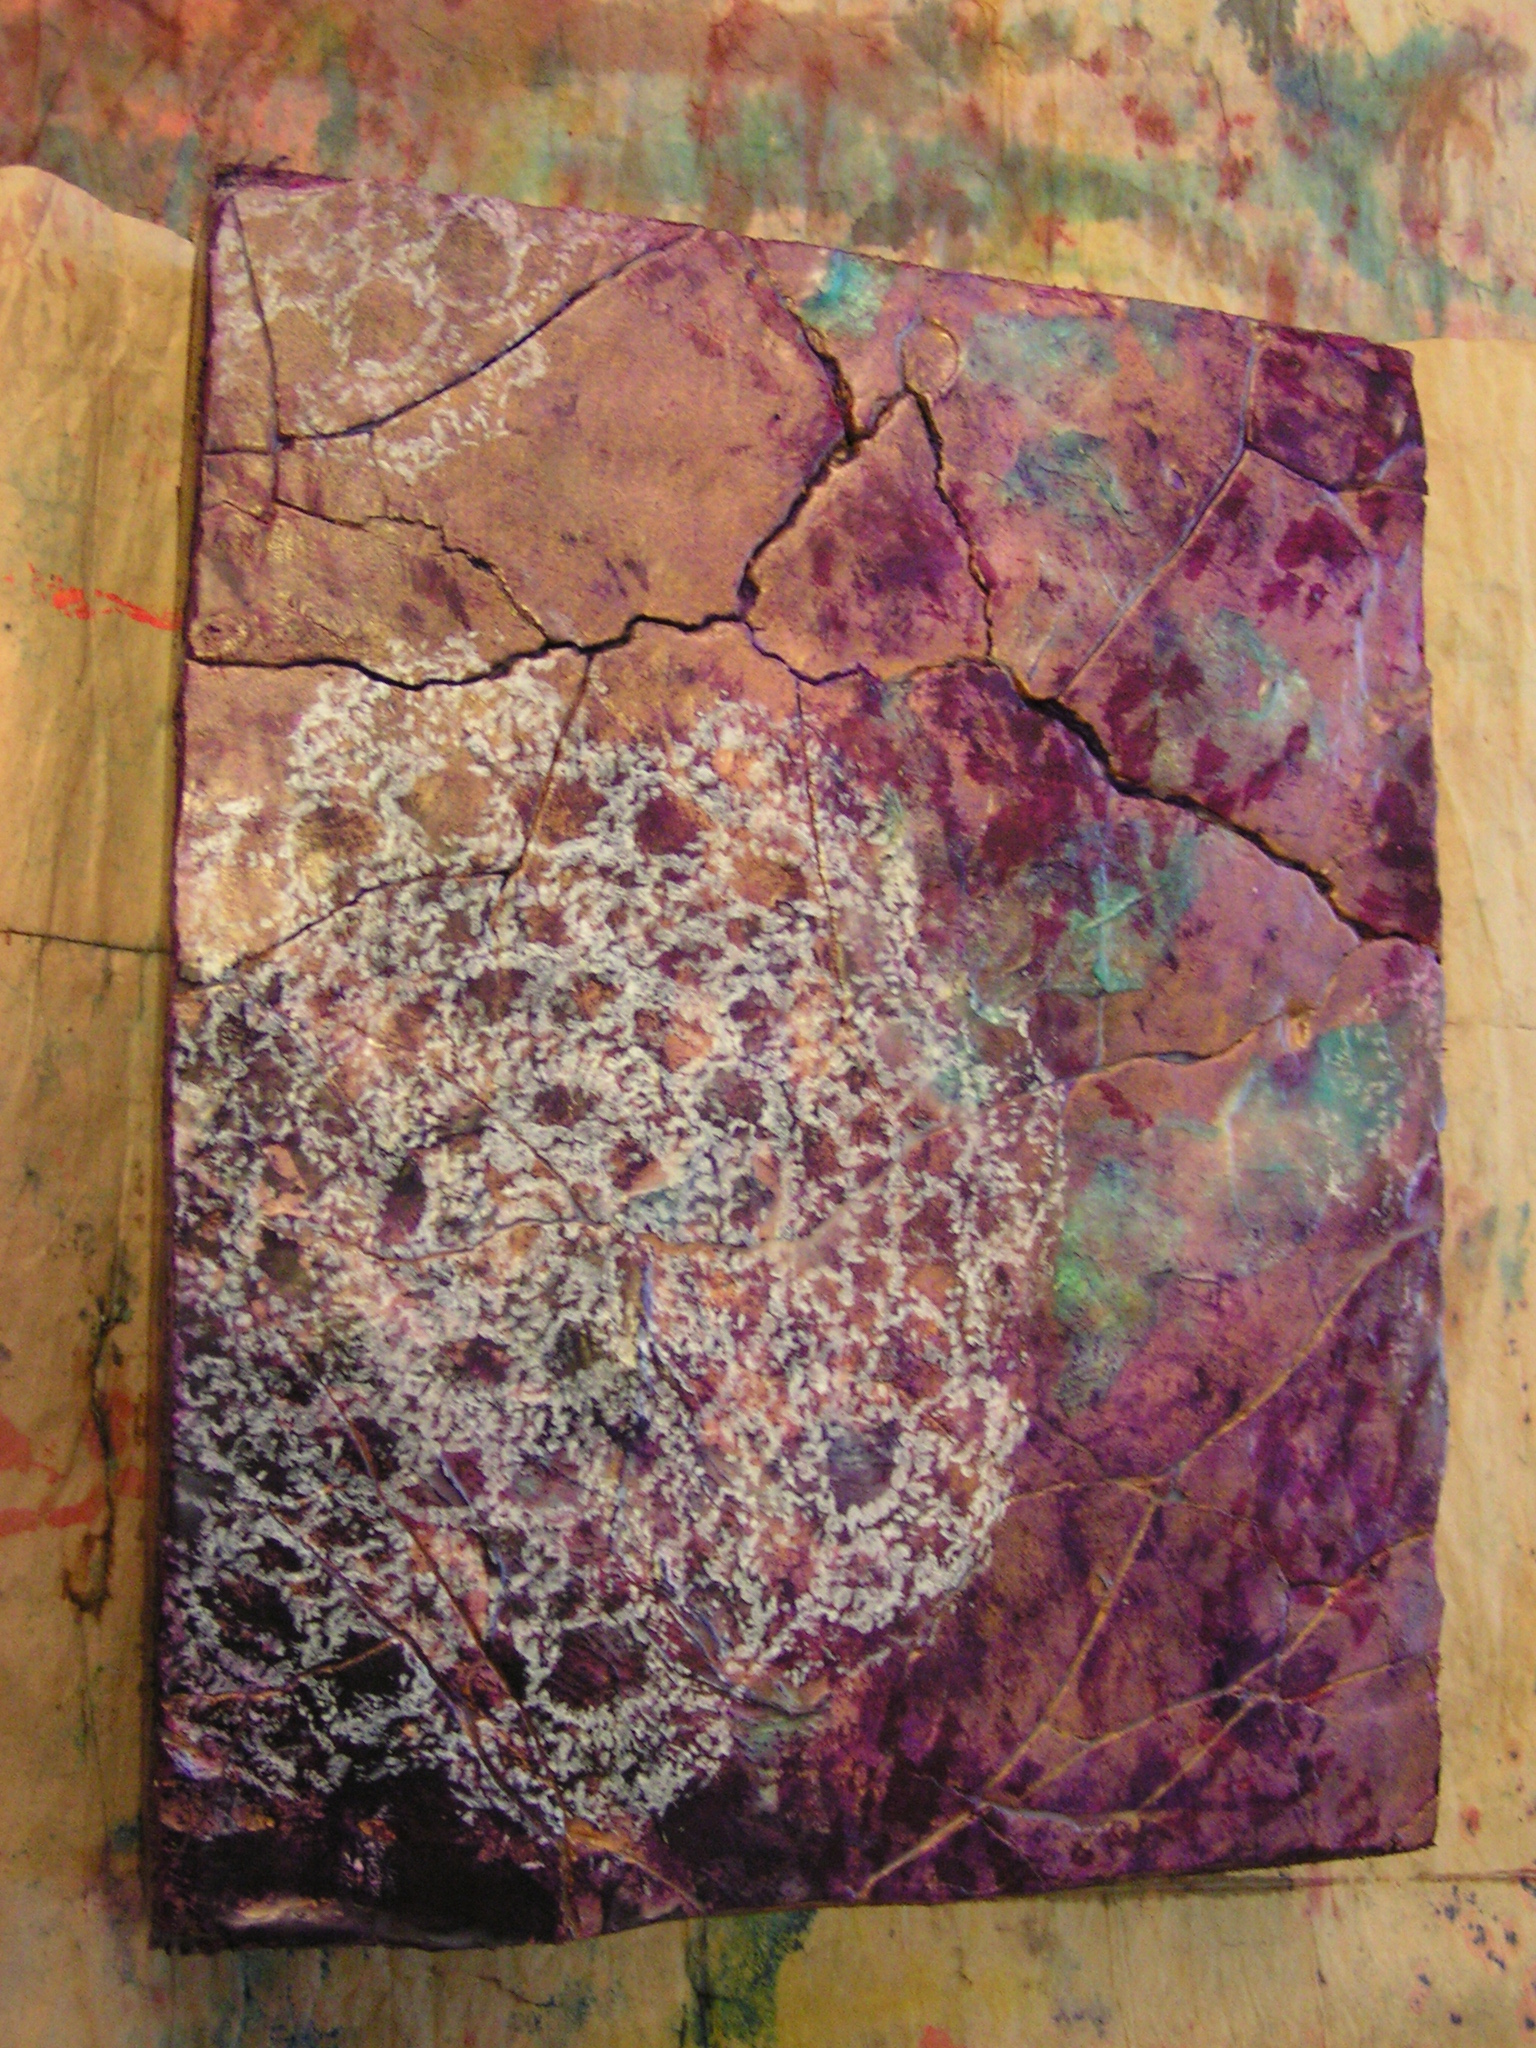
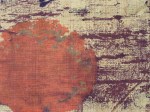
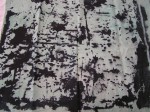
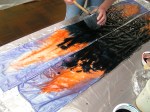
Last, but not least, I got my sewing machine back. So I added some stitching to the fossil paper lamination piece. I really like how it turned out. I will be making many more samples of paper lamination nuno felt as I work up the online class. Fun, fun, fun!

Results of Experimental Screen Printing Plus a Little Dyeing

My local group met this afternoon for some gradation dyeing. I remembered to take some photos of the fabric from our last session of experimental screen printing.

These are pieces that Bunny and Carole did. I really like the unpredictability of this process. You never know what you’re going to get.

The rest of the afternoon we spent doing some dyeing. We were supposed to be doing gradation and ombre dyeing but we ended up just painting dye on to different fabric and scarves. I overdyed some of my previously screen printed fabric. All of the fabric is batching at the moment, then I need to rinse it out and iron it. So I’ll have to show you the results later. Have a nice weekend and thanks for stopping by.