A Couple of Cards

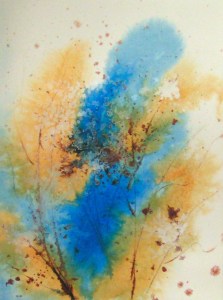
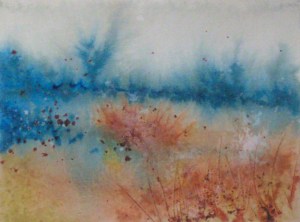
I have been cropping most of my watercolor experiments and making them into one of a kind cards. Here are a couple that I completed today.

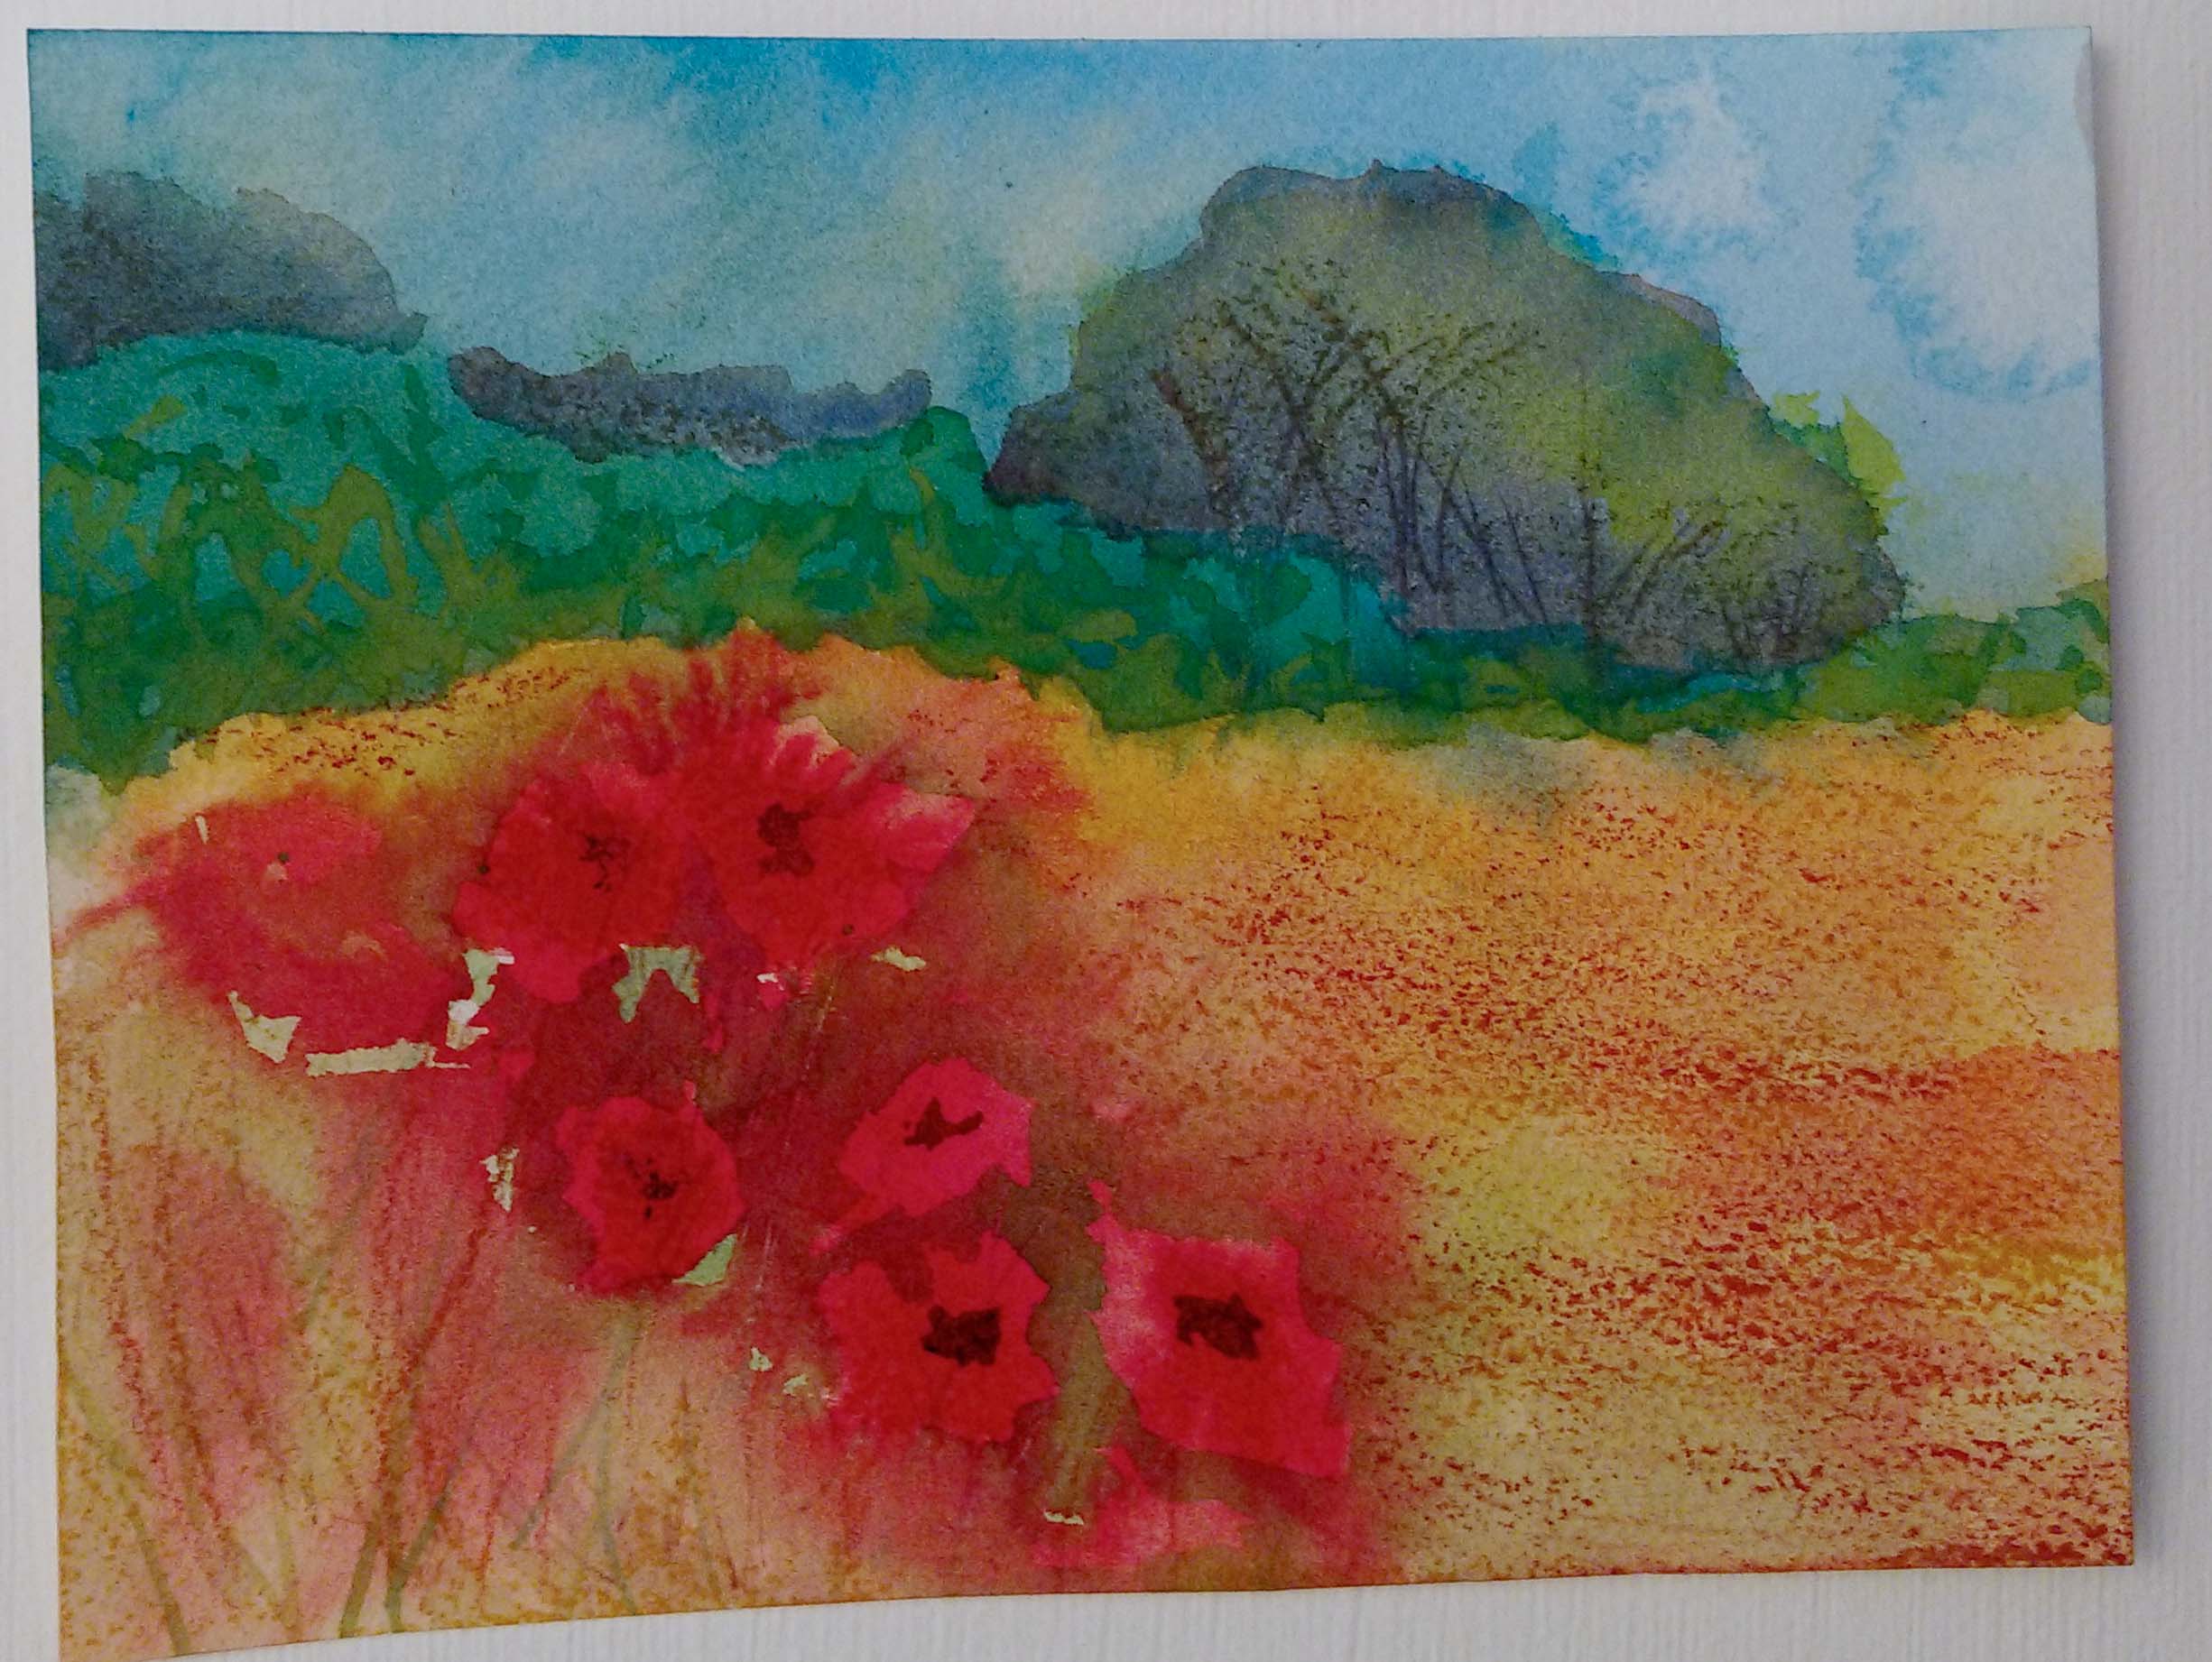
If you look carefully at the centers of the daisies, you will see little circles. That was done by adding a little bit of dish soap to blue watercolor paint and blowing bubbles in the paint. Then the bubbles are put onto the card. They shrink down into little circles of bubbles and as they dry, they leave a cool pattern. It reminded me of the centers of flowers so I turned them into daisies. I painted the background or negative space around the flowers in several layers.

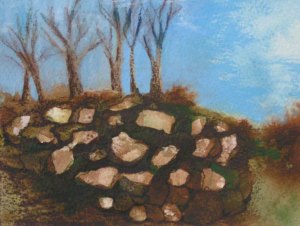
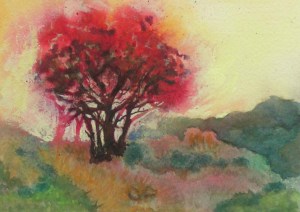
This started out as a bigger painting that was 9″ x 12″. It wasn’t very good so I cut out the best bit, toned down the colors slightly and it looks better in a small format. I was experimenting with various ways to paint pine trees. I used different bits of fabric in the paint and then pulled them off after the paint dried. I will have to try this again on a sky that isn’t so over the top and vibrant.

Thanks for stopping by and have a great weekend.

Watercolor Experiments Continue

I am still experimenting with watercolors and seeing if I can create more abstract landscapes. I am still working small and about half of the experiments end up being acceptable. Some are still pretty ugly but I am learning. Definitely, less is more. And I have to learn when to stop. Less is more.

Here are three that were not as I had envisioned. But they’re OK.

These three are better. The one in the middle is an eco print that has been enhanced with watercolor and acrylics.

These two are my favorite ones from today. These are more abstract and not as overworked. I will be turning most of these into greeting cards as they are all small (5″ x 7″ range). Thanks for stopping by and have a good weekend.

Paint Party

Our group got together last week and did some of the experimental painting techniques that I have been trying out.

Everybody got right to work and created some “master pieces”.

These are the pieces as they are drying. Everybody, even with experimental kind of methods, has a different look to their work. Next time we meet, we are going to work further into some of these pieces to finish them. It will be interesting to see how they turn out.

Here is one of mine after I worked into it. The piece on the left is what I started with after letting the watercolors dry. The piece on the left is after working into the painting to give it a bit more definition in places. It’s fun to figure out what needs to be added and when to stop. That’s probably the hardest part for me 🙂

Experimental Watercolor Practice

I have been working through some of the exercises in Ann Blockley’s book Watercolour Workshop. I finally purchased watercolor paints in tubes. I got a set of QOR watercolors by Golden. It has definitely been a learning experience. The wetness of the watercolors makes a huge difference in the results and how dry or wet they are on the paper.

Here is one of the first ones I tried. I keep getting the sky blotchy by dropping water or other paint on it before it’s dried. I added a bit of oil pastels to the foreground of this one. I am trying out different techniques that she suggests in the book. All of these pieces are a quarter of a sheet of 9″ x 12″ watercolor paper. I am trying some new paper as well, cold press and rough.

This one was not an exercise in Ann Blockley’s book but a warm up with different colors. It has at least three layers of paint. I have a hard time leaving any white when I’m painting.

I liked the leaf technique for this one. The flower is a bit wonky looking but this one turned out OK.

This one is only partially completed. I have done the first layer and have let it dry. Now I need to work into it a bit to give it a few more details. I should have left white areas in the tree foliage but again, didn’t manage to do that. At least I have a few lighter areas. I need a lot more practice but I do feel that I’m learning something with each one.

Hope you’re having a great day!

River Rock Painting

I had another experimental painting that I used textured gesso and then applied paint.

It looks pretty boring here for sure. But some of the textures looked like rocks. So I sketched in the rock shapes with pencil.

I then added water colors to create the rock shapes. So far so good. The gesso textures really helped to give the rocks some character. But now I decided I needed to add water and make it look like a river bed with water flowing over and around the rocks. Uh oh, now I would need to figure out how to paint water. I watched several Youtube videos and printed out some photos of river beds in Montana. The rock colors are similar to what we have here.

I photocopied my rocks and then worked out how I wanted the water to flow over the rocks. So far so good. But I needed some underwater rocks. These needed to look more hazy and not as defined as the surface rocks.

So here are the added underwater rocks. I just made them sort of fuzzy shapes with indistinct edges. Since this is all in water color over a base of acrylic paint, the watercolor comes right off if you get it wet. So I needed to spray it with a fixative so that I could continue to work over the top and add the water flowing. Of course, I don’t have any spray fixative. I tried to find it in four local stores and no luck. So I ordered it off of Amazon. Now I have to wait until next week to finish this piece. I guess that gives me more time to study flowing water and how to paint it!

Thanks for stopping by and have a good weekend.