Soy Wax Batik

My local surface design group met yesterday and we played with soy wax. I took fabrics that were previously dyed either naturally or with Procion dyes. I did have some white fabric but didn’t use much of it.

Soy WaxHere’s our wax set up and we used stamps, brushes and stencils to apply the wax. You can use almost anything to apply the wax so cardboard tubes, plastic bits from packaging, foam tubes and kitchen utensils were also used to apply the wax to the fabric.

Bunny Stamping with Soy WaxHere’s Bunny using a stamp to apply wax to her fabric.

This slideshow requires JavaScript.

These are a few of my fabrics after they were stamped with wax. You can see that the fabrics are not very exciting. Most were ones that I had dyed naturally and weren’t very exciting. After the wax hardens, then you paint fabric paint over the surface. I used Dye-na-Flow paint. I did try walnut ink but it didn’t hold after washing so that piece didn’t work out.

Pieces DryingThis is a shot of some of our work drying. Carole”s pieces are on the left. I also tried a few sketchbook pages which are on the far right.

Bunny's Silk Piece

This is a piece that Bunny did on silk. It reacted quite strangely to the wax so it will be interesting to see what the end result may be.

This slideshow requires JavaScript.

This slide show is of my finished pieces. After the paint is dry, I ironed the pieces between pieces of newspaper to melt most of the soy was away. Then I put them all in the washing machine with a hot water wash and laundry detergent. I then ironed the pieces again. This process is easier than traditional batik because the soy wax melts at a lower temperature and comes out of the fabric more easily. It was a fun afternoon and now I just need to decide what to do with my new batik fabric.

Botanical Series

I finished the last three of my botanical series mixed media pieces. I may make a few more of these, I haven’t decided yet. I guess if they sell quickly, I’ll make more!

Botanical Series - Mountain PinkThis is the Mountain Pink.

Botanical Series - Mountain Pink - Close UpAnd a closer view. I didn’t have any more of the plain rusty wire so I used barbed wire instead. I stitched it down to the top layer and then glued everything down with gel medium.

Botanical Series - BerriesHere’s Berries.

Botanical Series - Berries - Close UpAnd a close up.

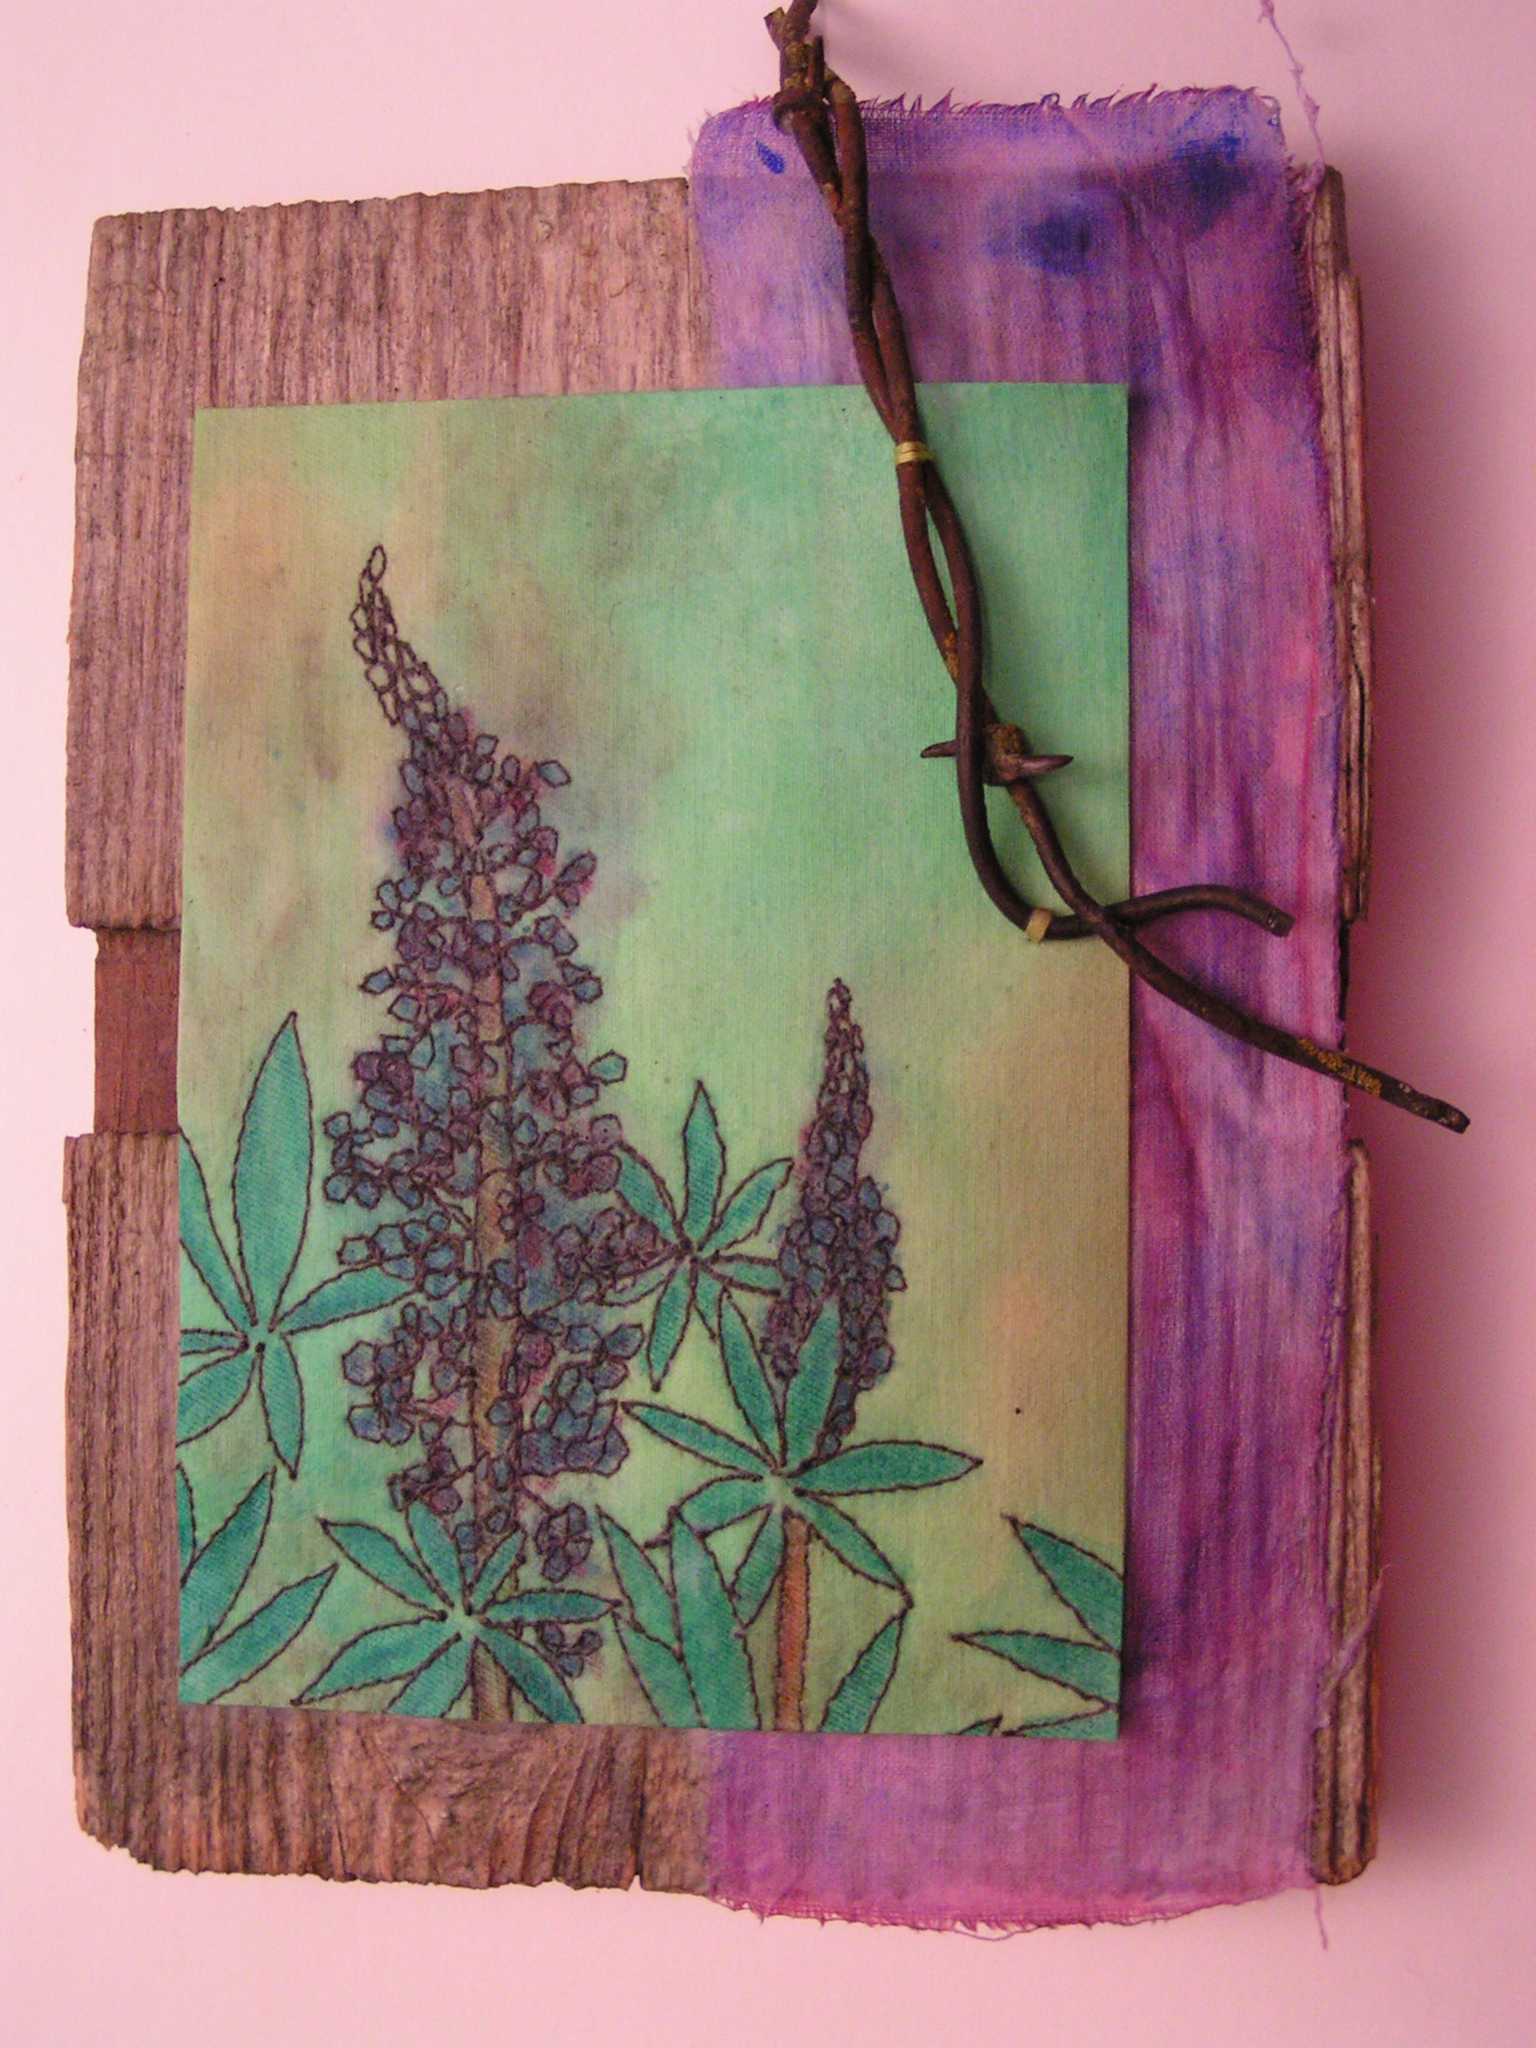
Botanical Series - Lupine And the final one is Lupine.

Botanical Series - Lupine - Close UpA bit closer.

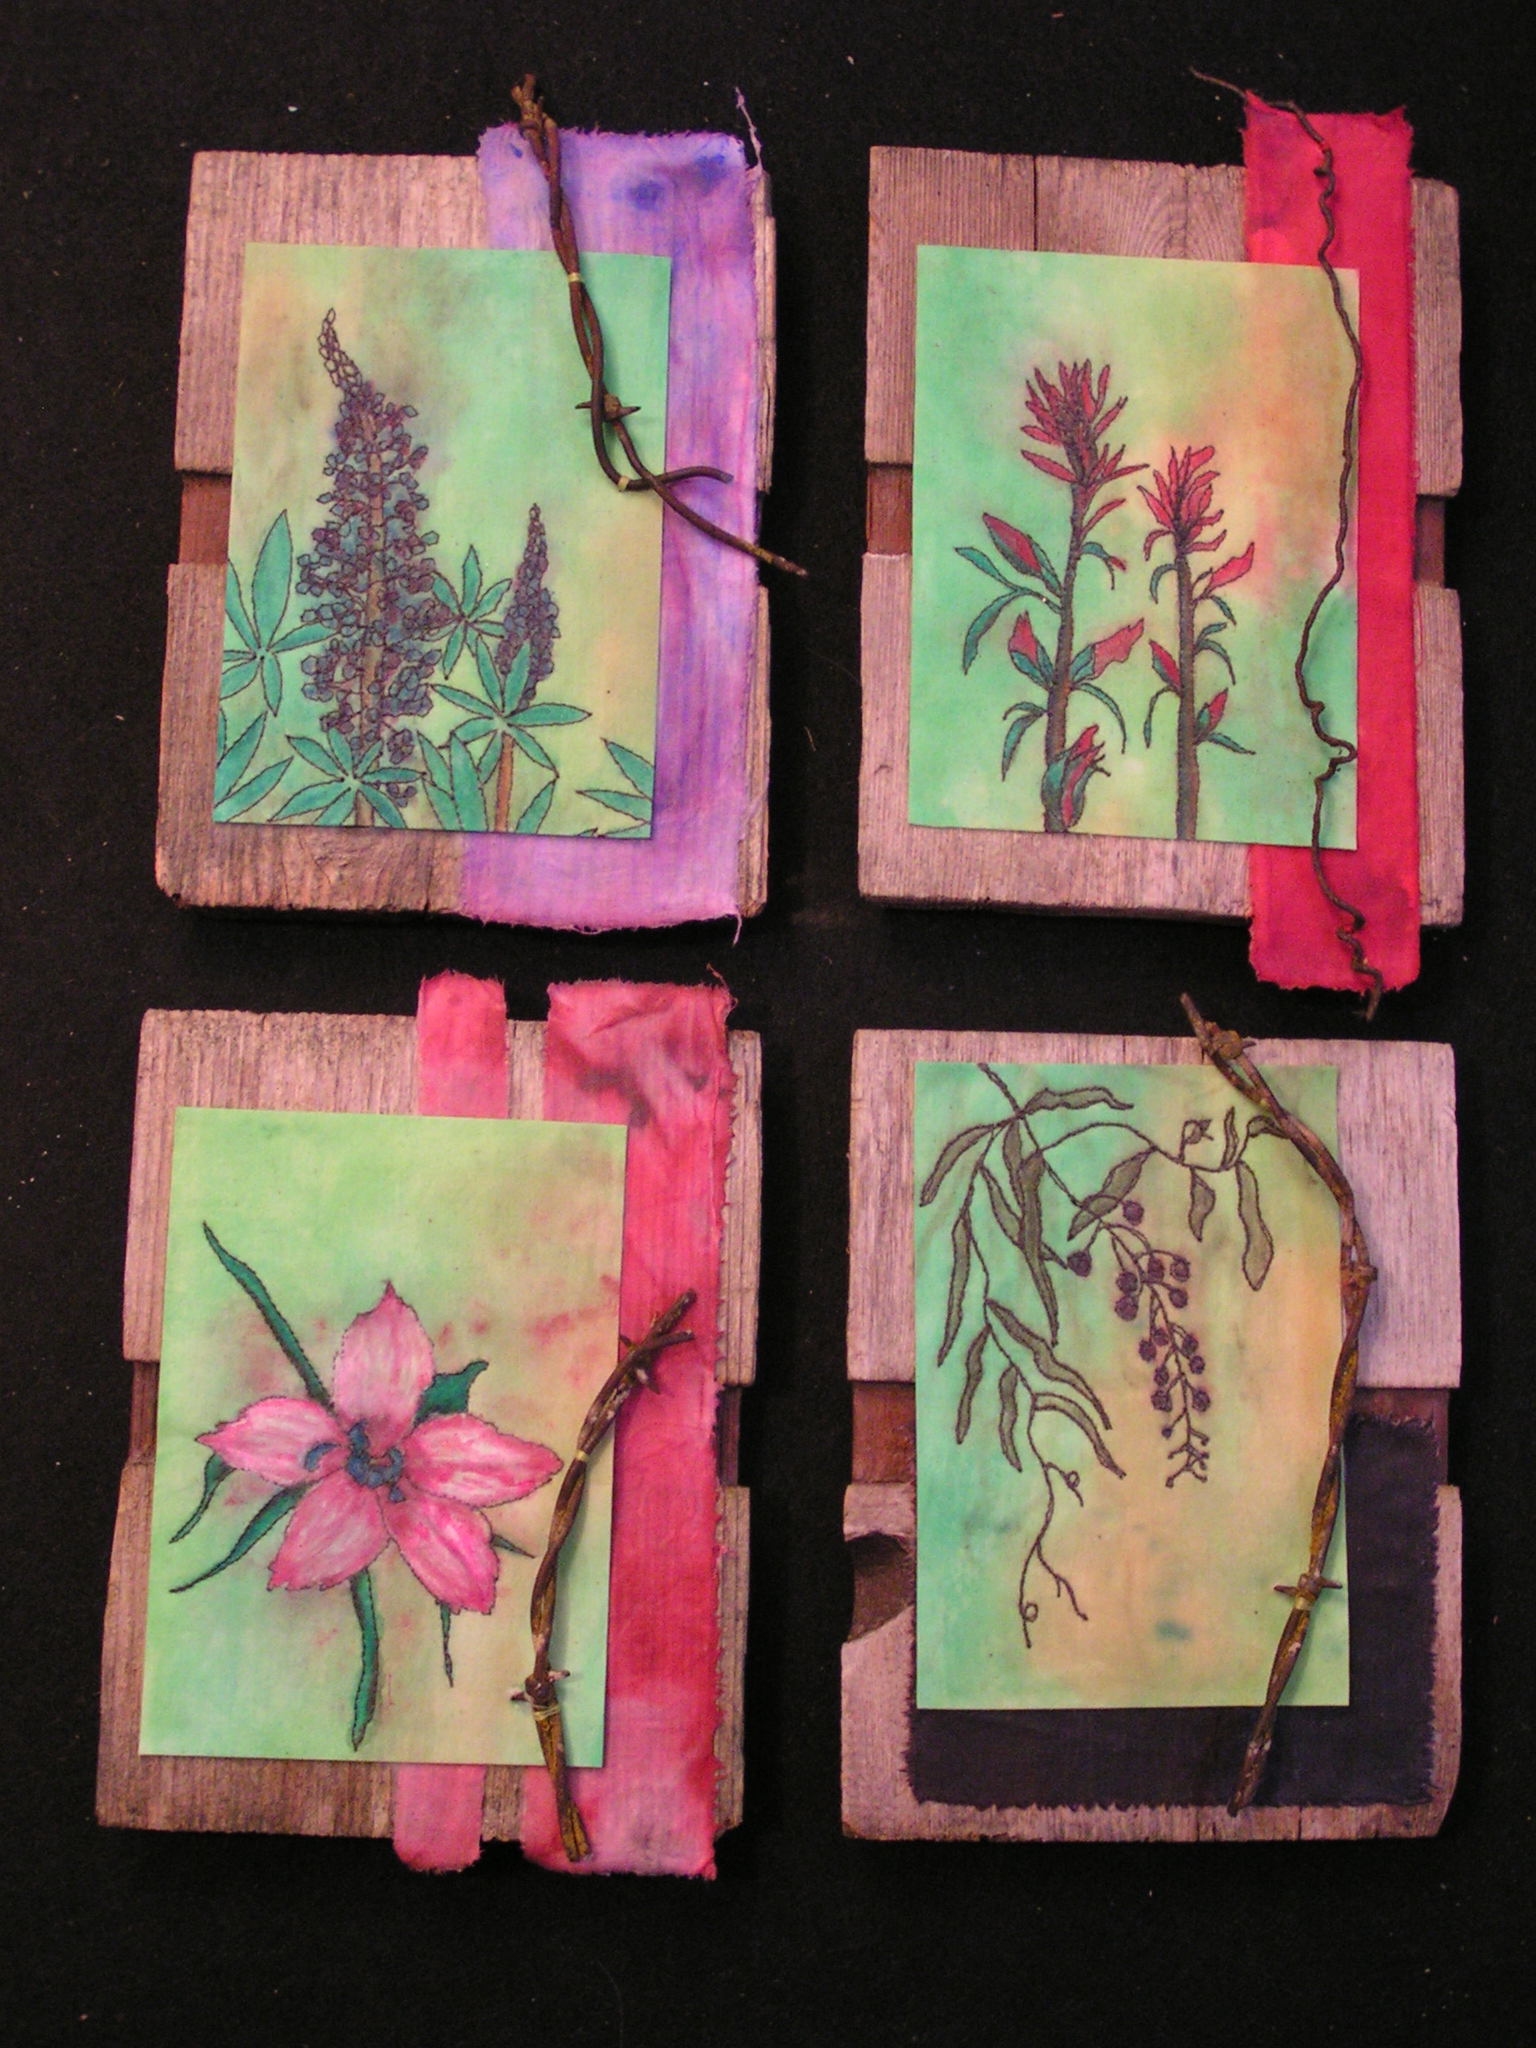
Botanical Series Here is the entire set together. I guess I’ll have to find some flowers that aren’t purple or red for the next set. These will be going into the store next week.

Smelling the Roses

Last quarter, Karen had challenged us at the Felting and Fiber Studio to make a mixed media piece. I showed you my first piece a while back but I just finished the second piece today.

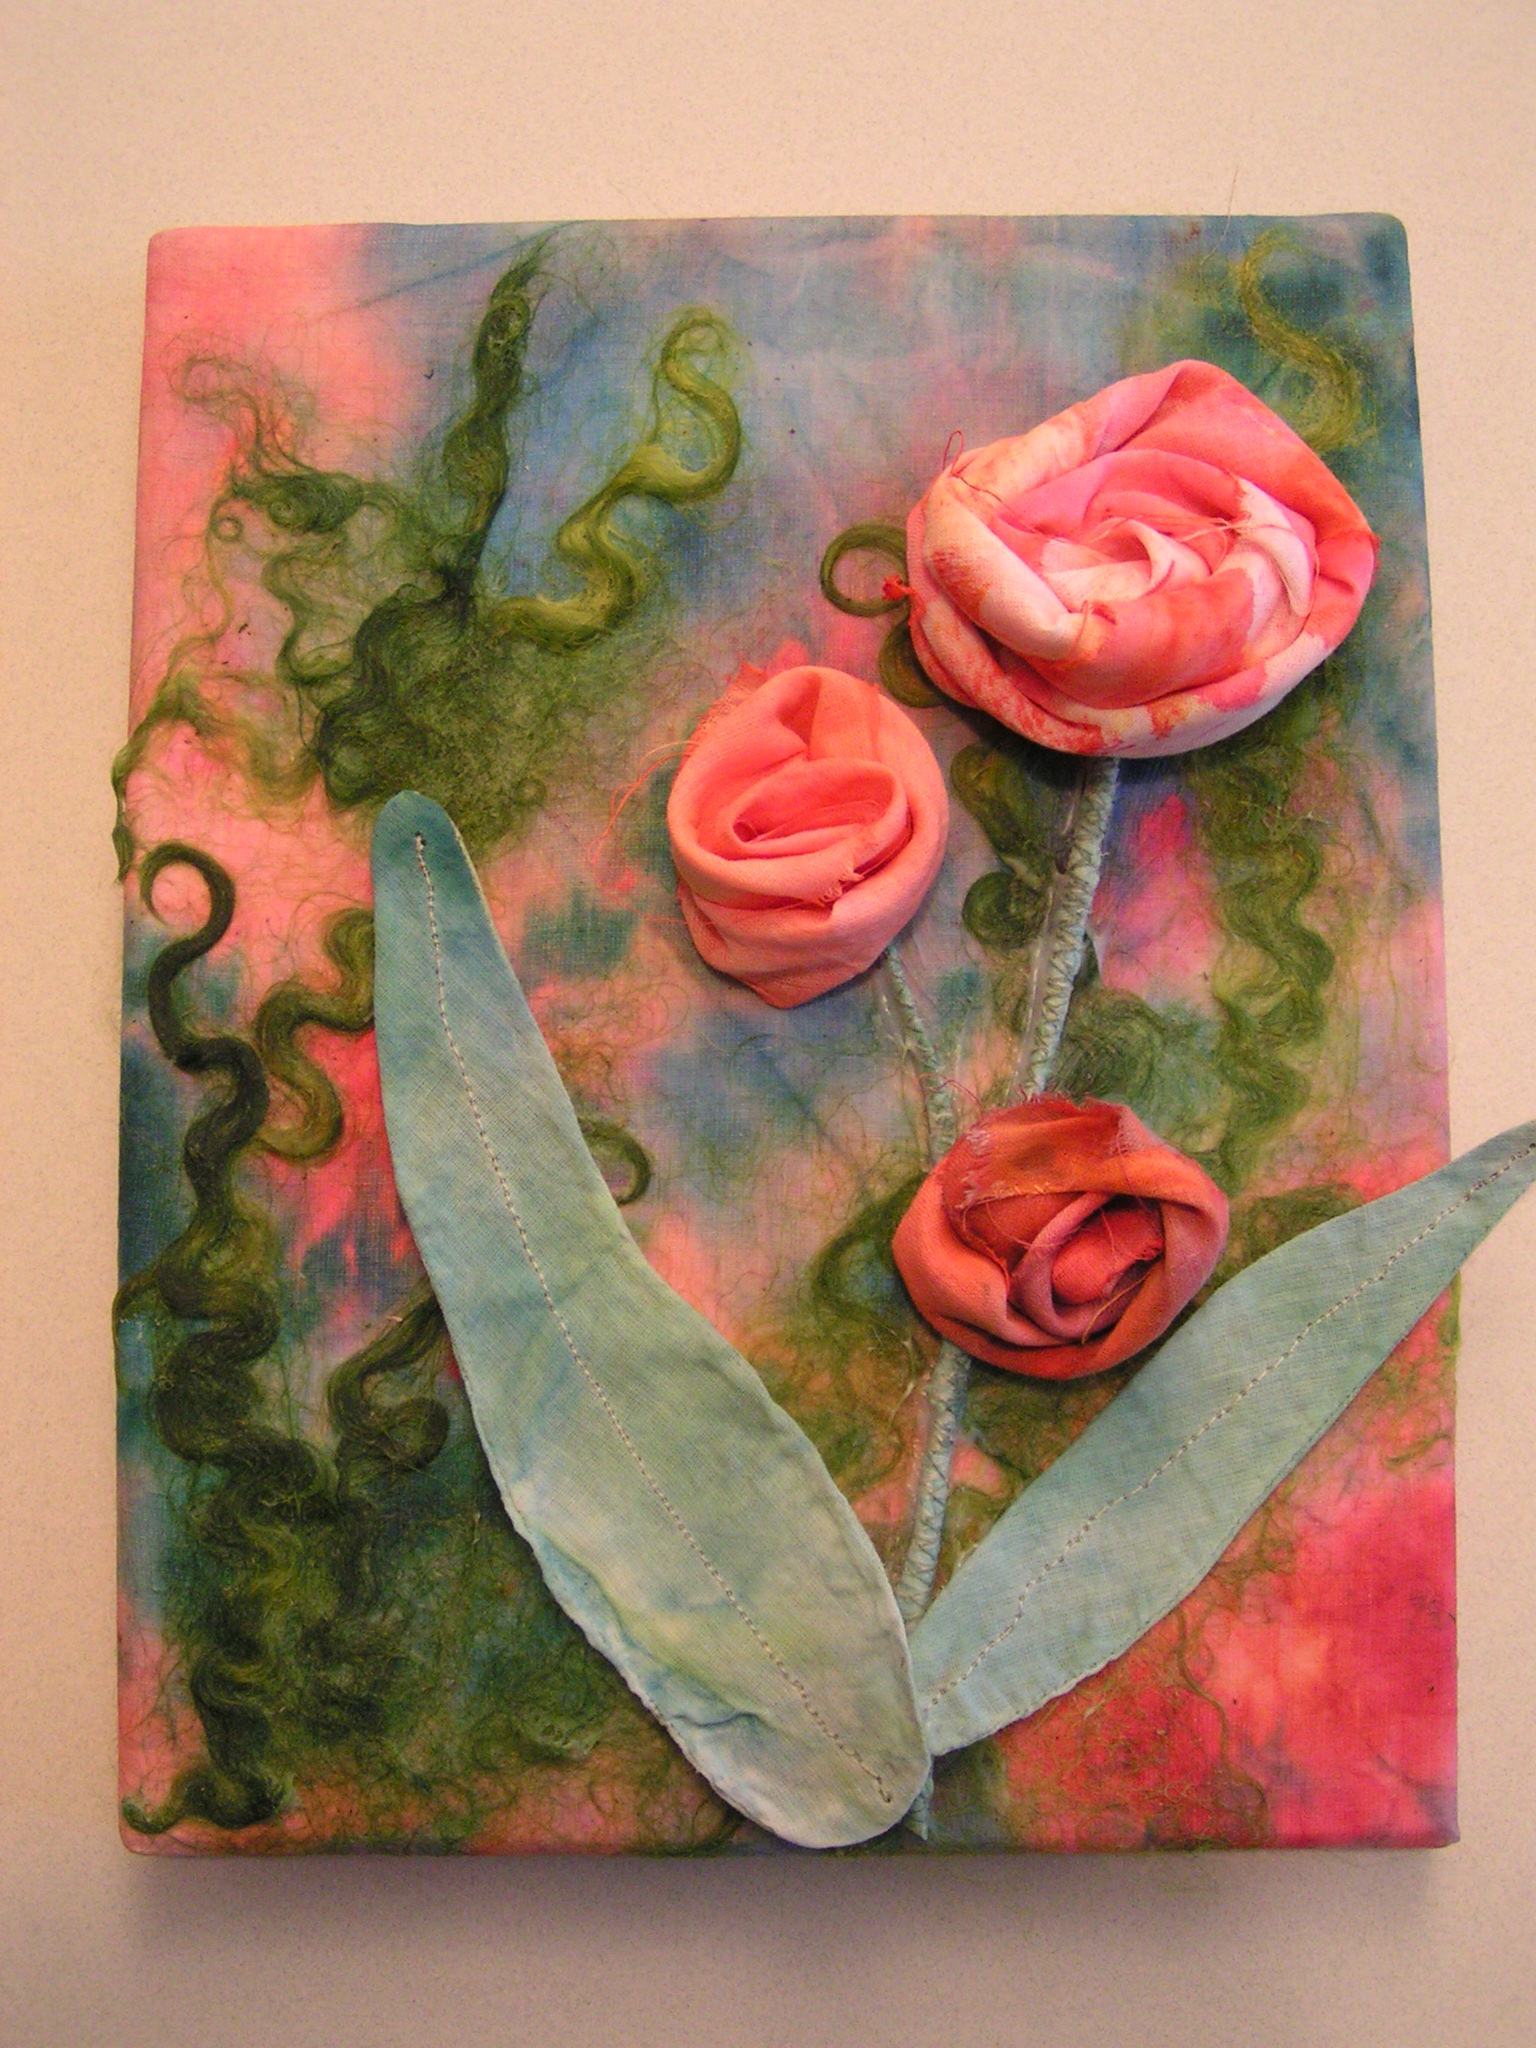
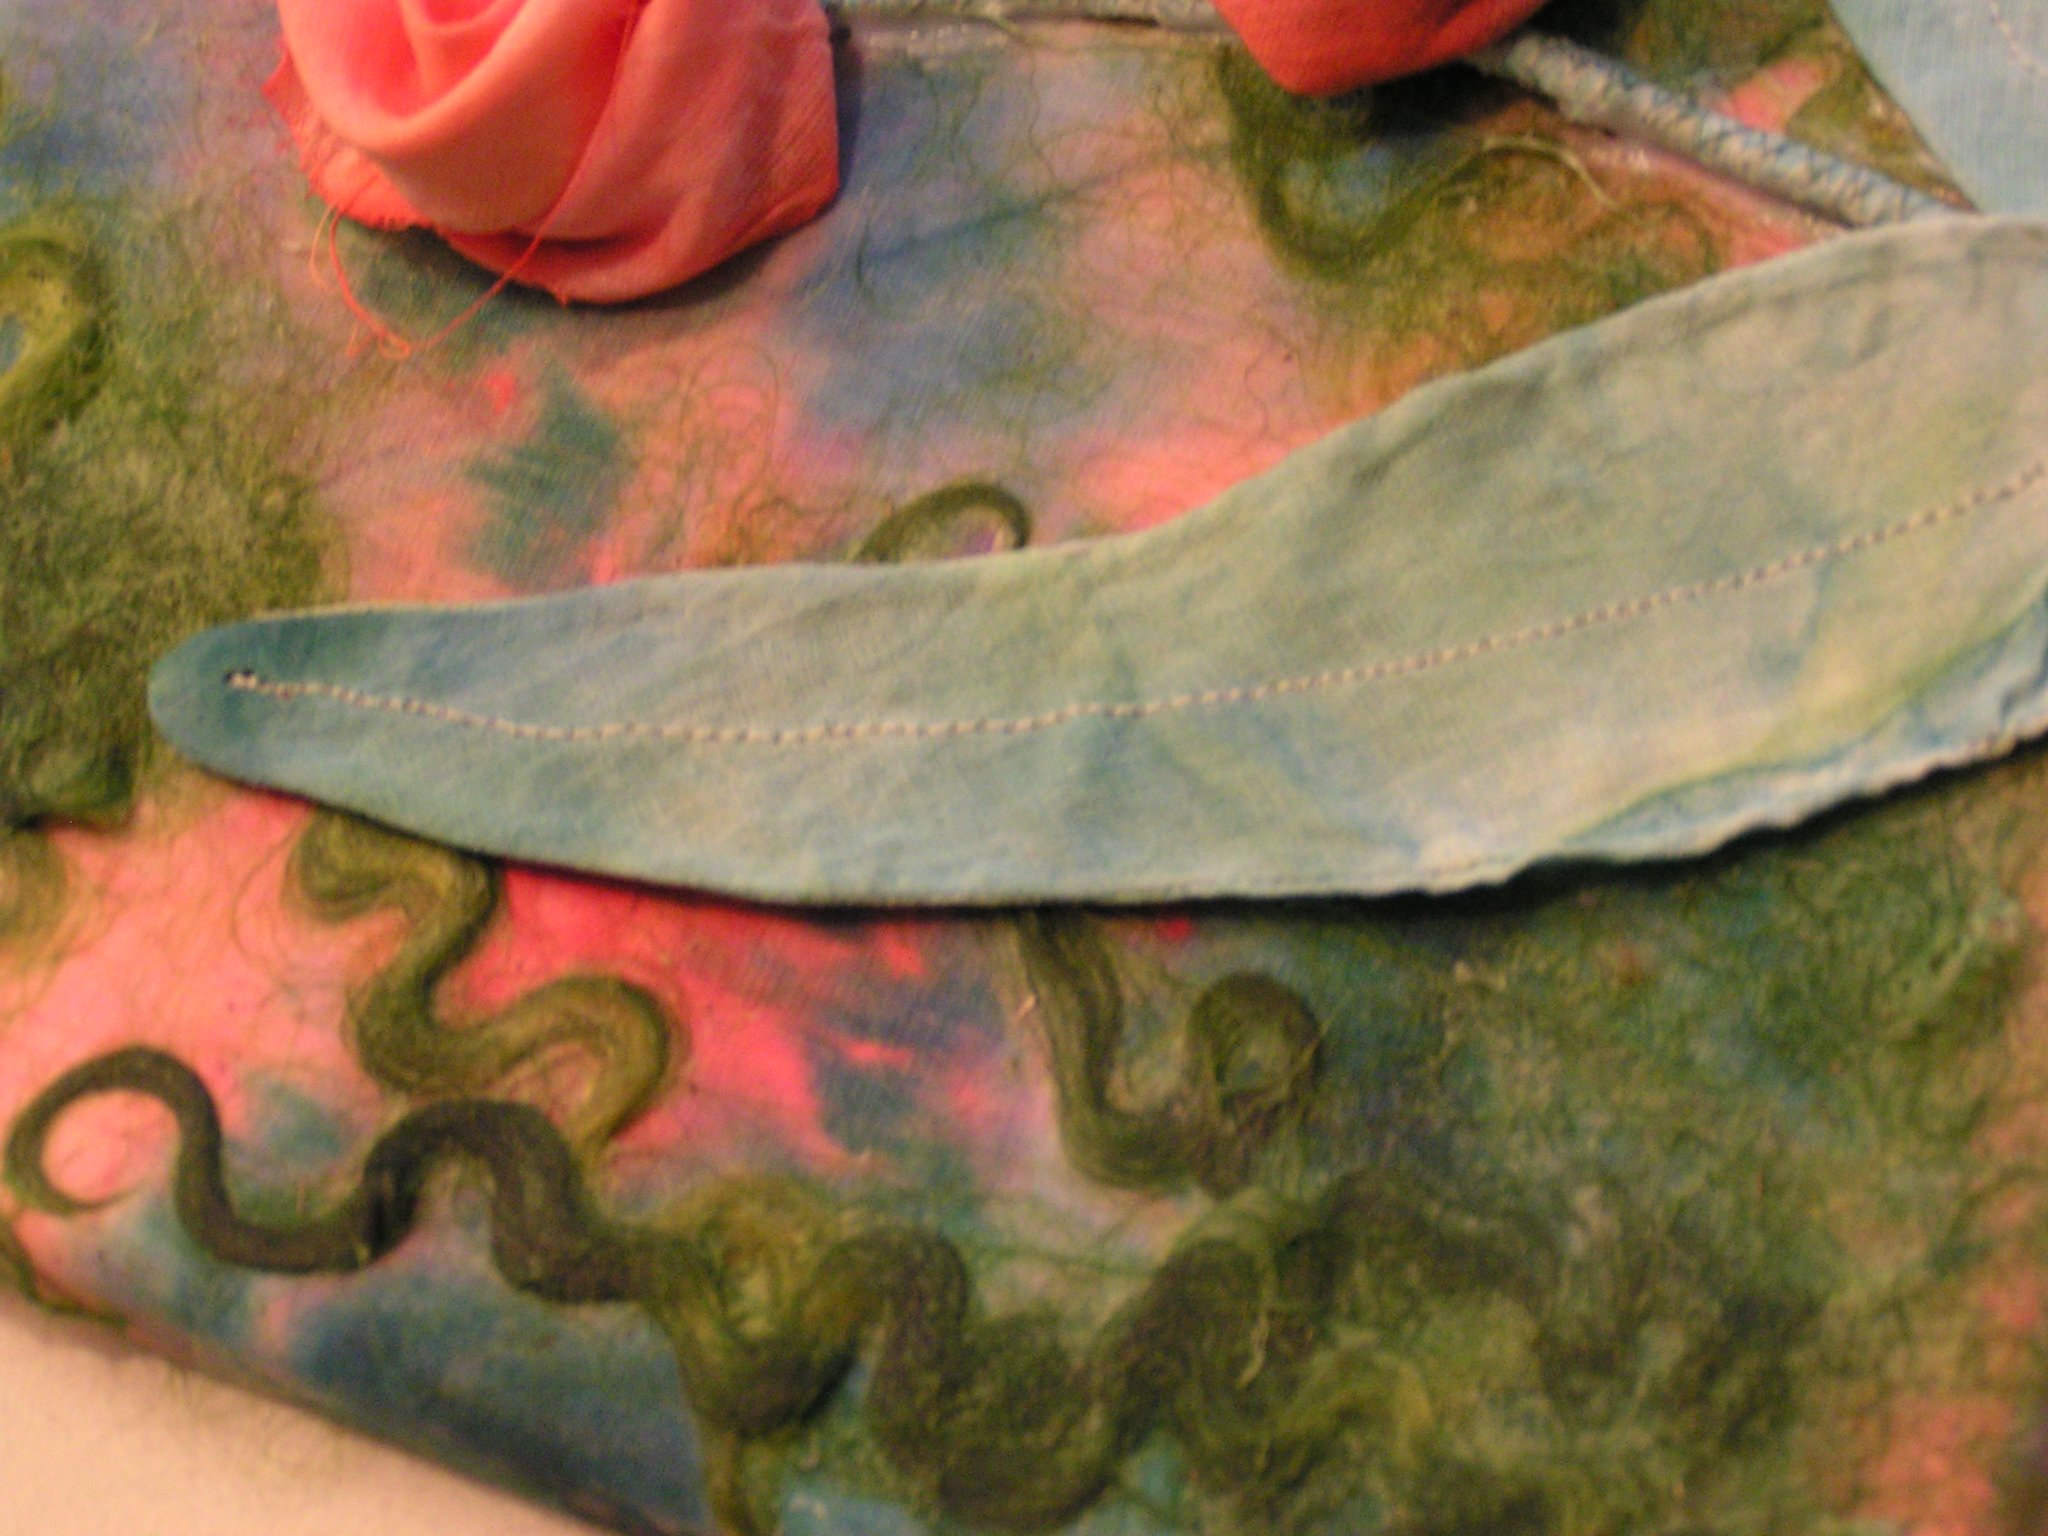
MINOLTA DIGITAL CAMERAI started this piece with a hand dyed piece of fabric that I stapled to a canvas frame. I had planned on using it for encaustic painting but then realized that the wax would crack on the canvas. Instead, I added some Wensleydale locks to the fabric with gel medium.

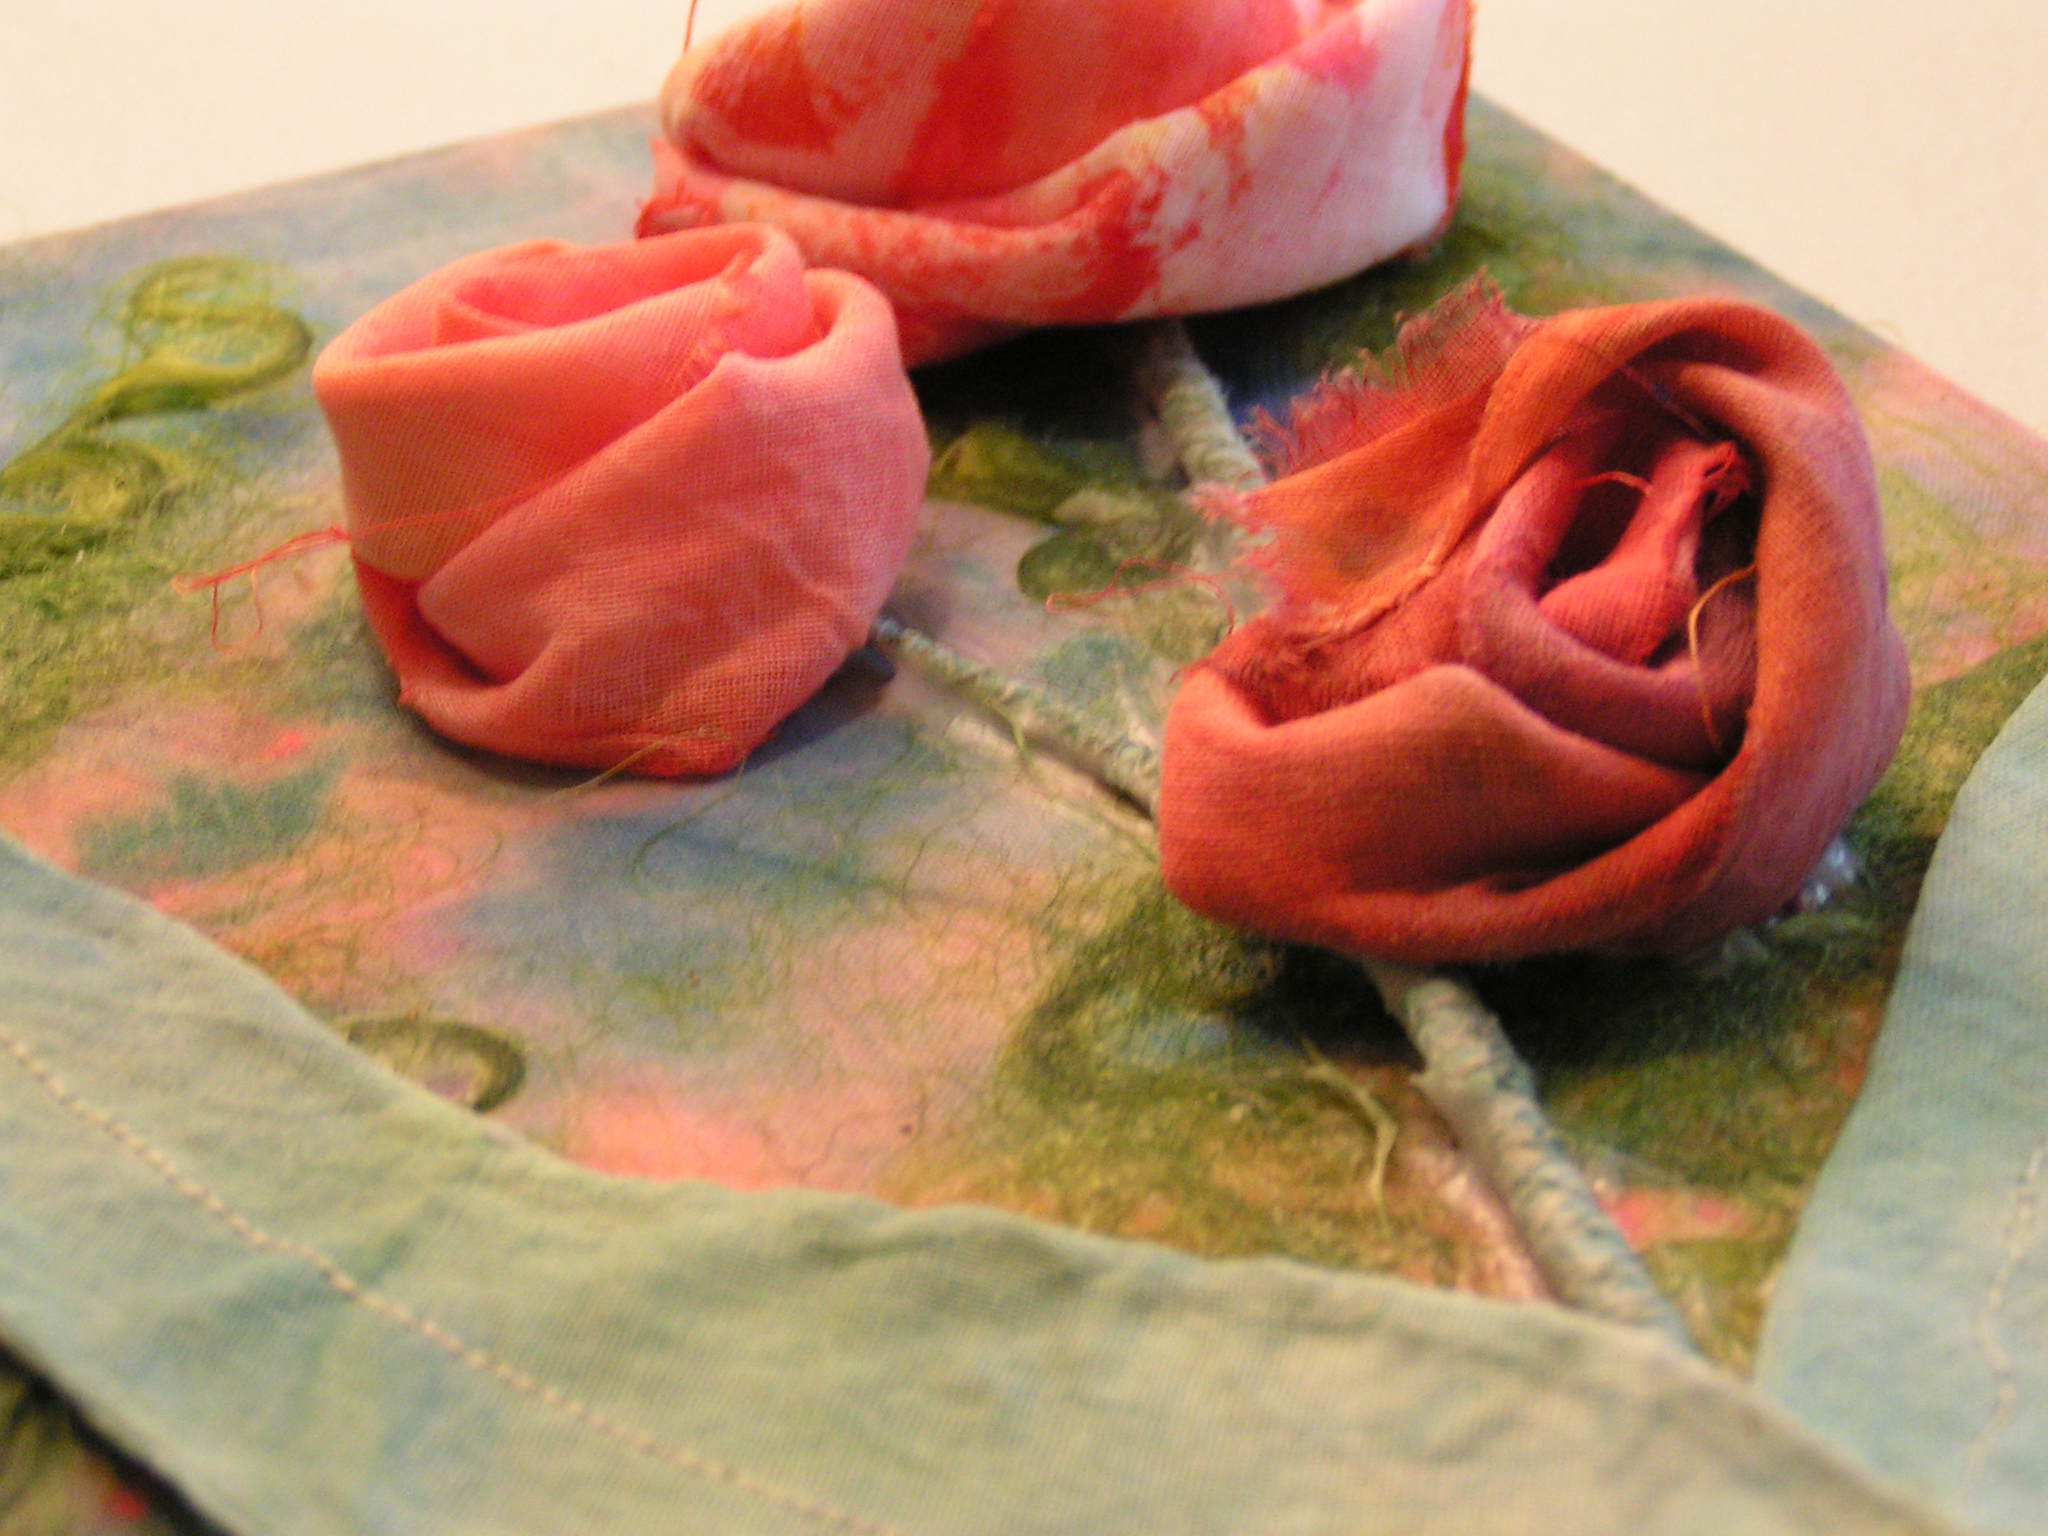
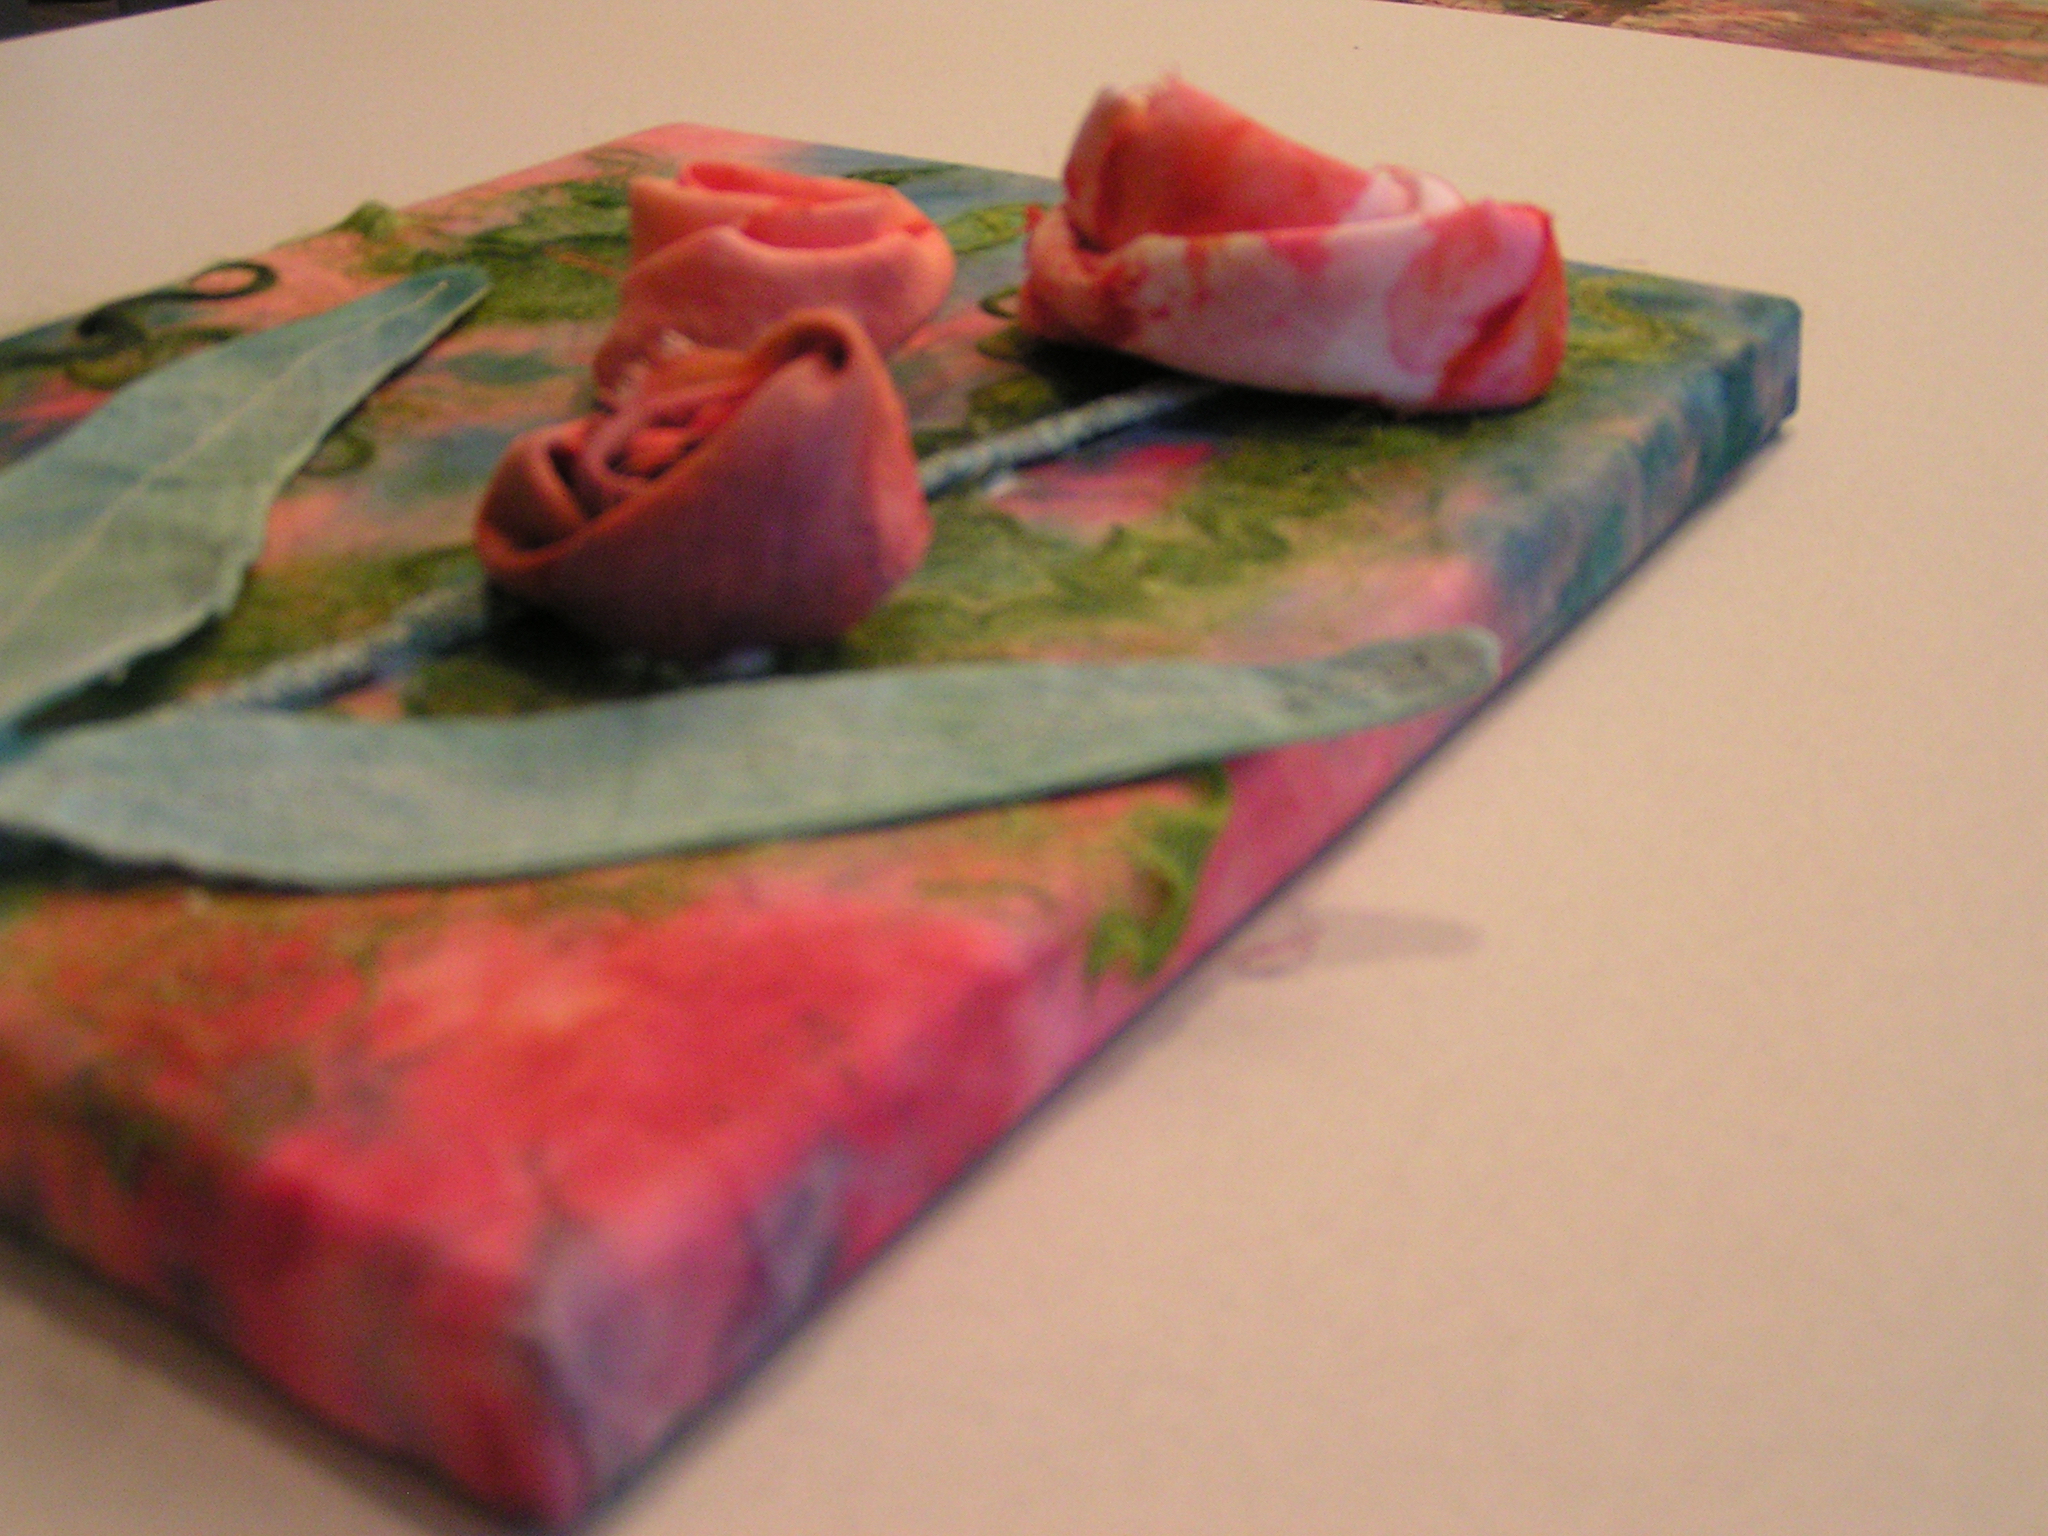
MINOLTA DIGITAL CAMERAI then took painted fabric and made a few rolled roses. These are simple to make, just wind up the fabric and then stitch through the back to hold them together.

MINOLTA DIGITAL CAMERAI stitched the leaves, turned them right side out and stitched a vein down the center of the leaf.

MINOLTA DIGITAL CAMERAI painted the leaves with gel medium to stiffen them. The stem is a machined stitched cord.

MINOLTA DIGITAL CAMERAAll of the parts were glued down with gel medium. It was a fun piece and I think I’m going to try a few more on a bit larger scale.

MINOLTA DIGITAL CAMERACan you smell the roses?

Mixed Media Piece for Third Quarter Challenge

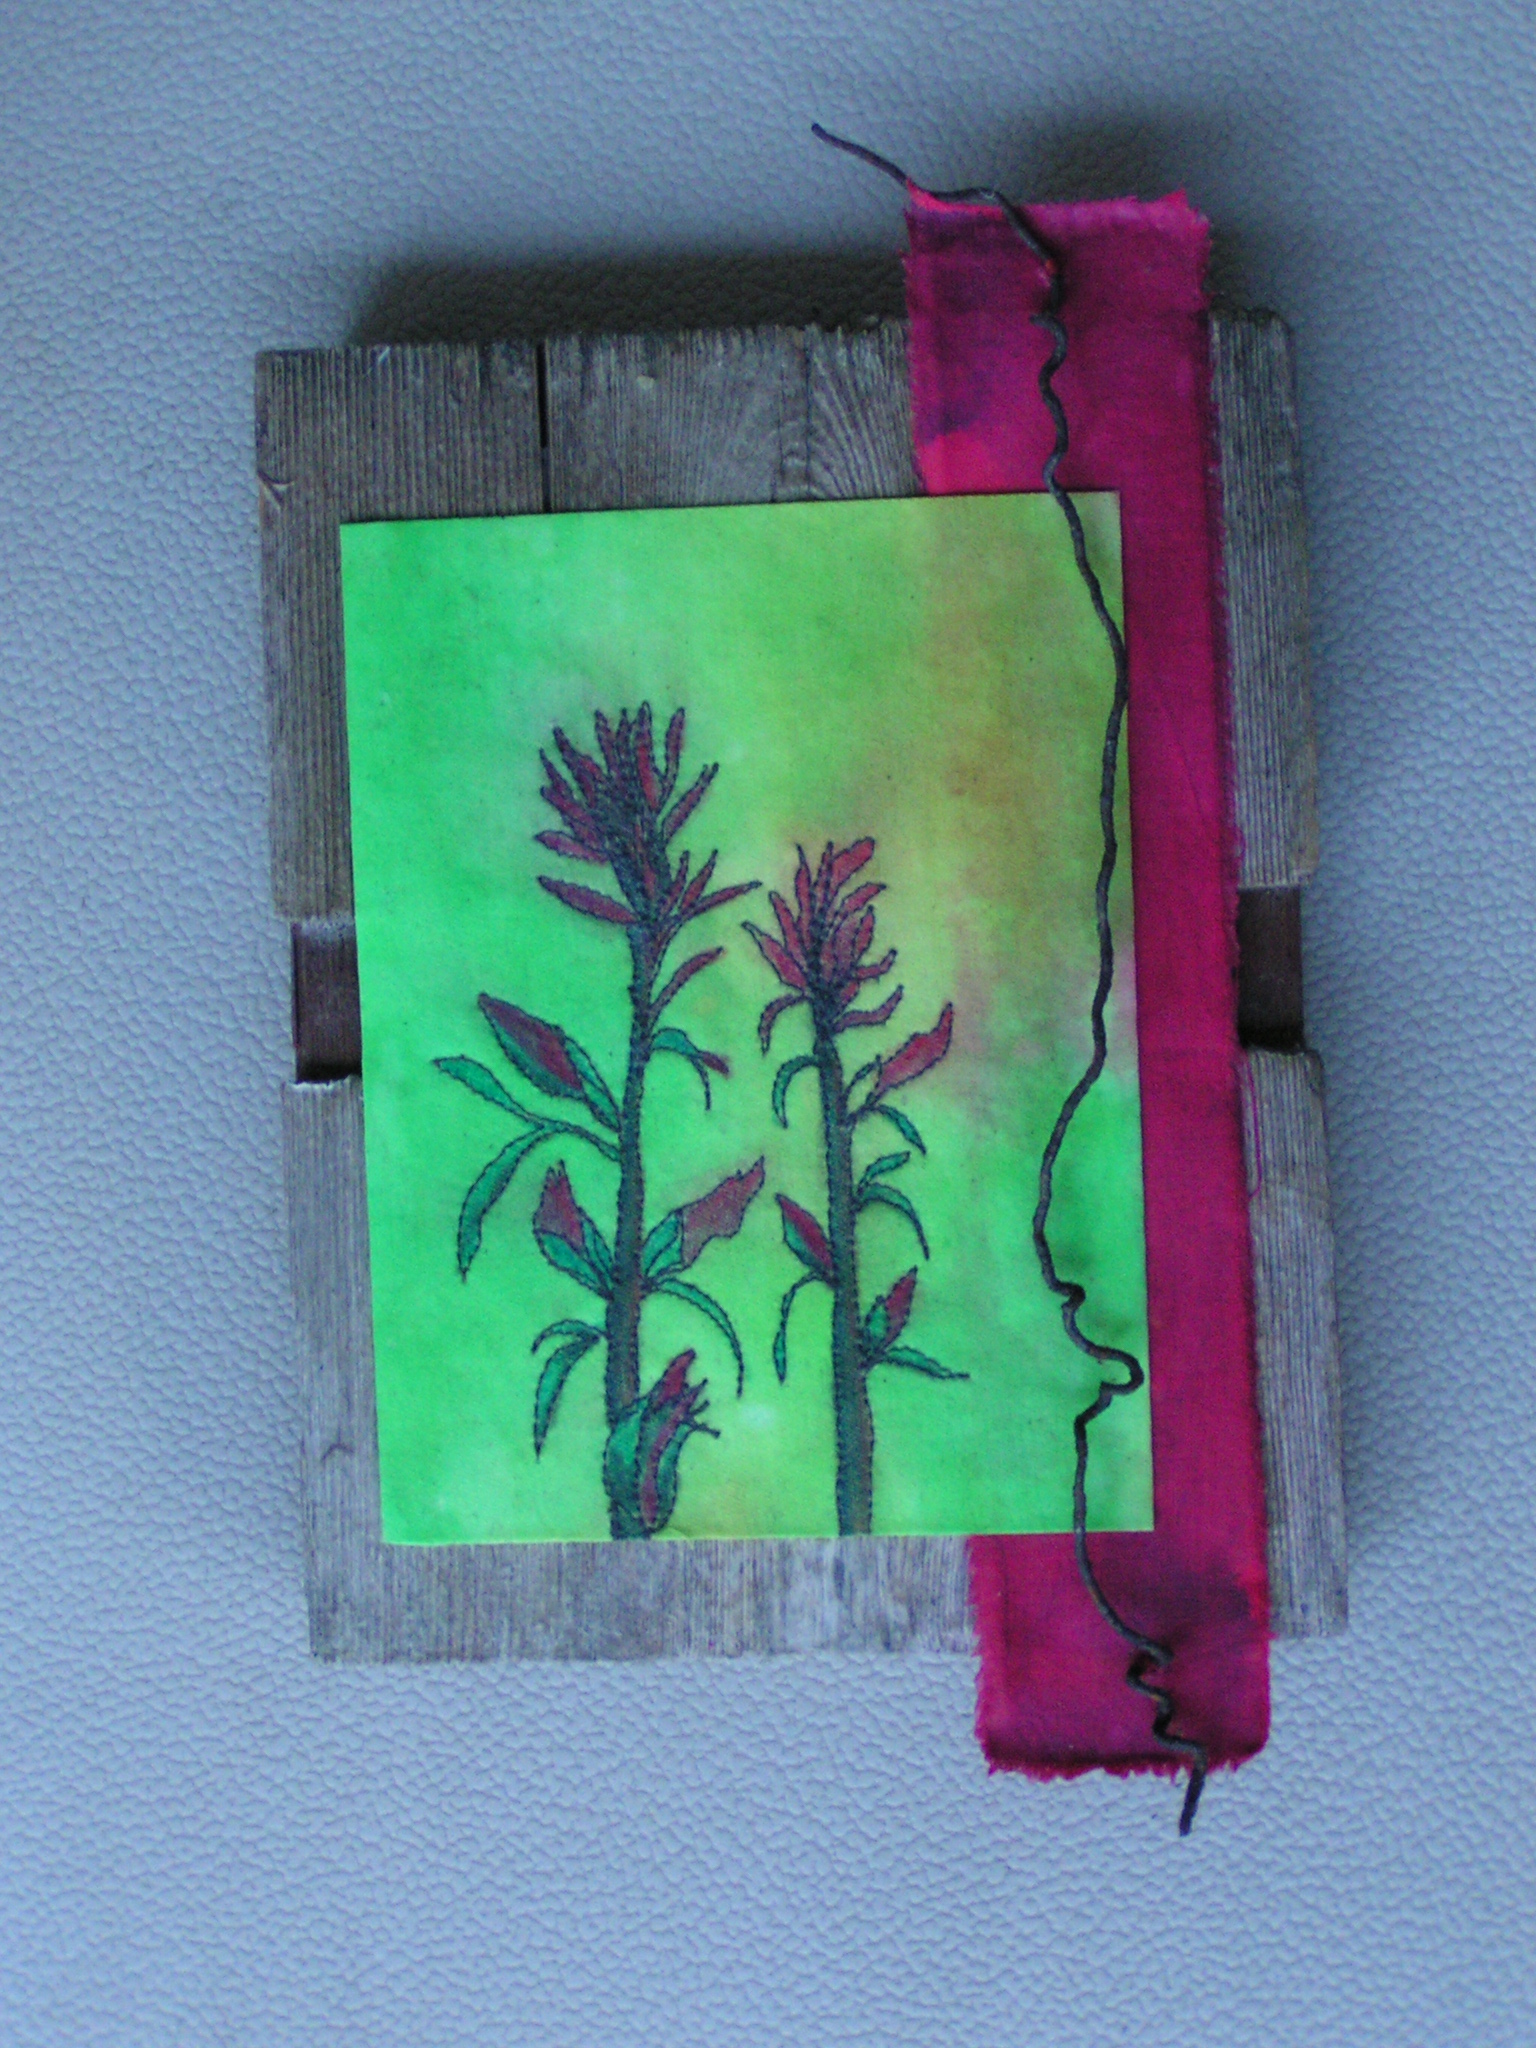
Over at the Felting and Fiber Studio, Karen had challenged us to make a mixed media piece that included something fiber, something metal and something in the paint variety. This is definitely not the way I usually work but I had started a stitched piece that I thought would work. I showed you the stitched part last week. It was free motion machine stitched on to a painted fabric background. After it was stitched, I colored in the flowers with Inktense pencils and then wet them down with a water brush to simulate water colors.

Trying WashersThen I started working out how I would add metal. I tried a variety of rusty metal washers but I didn’t really like how they looked. It just looked like I was sticking them on there because I had to add metal.

Adding Rusty WireI liked the addition of this rusty metal wire better. I guess it had a more organic feel to it.

Third Quarter Mixed Media Challenge PieceThen I painted the fabric with a slightly watered down Golden gel medium. I also painted a couple of layers of the gel medium on the wood too. Once that had dried. I use the gel medium straight from the jar (no water added) to glue the fabric to the wood. You can see that the red fabric bled a little bit onto the green background but that didn’t bother me. It took a couple of days to completely dry,

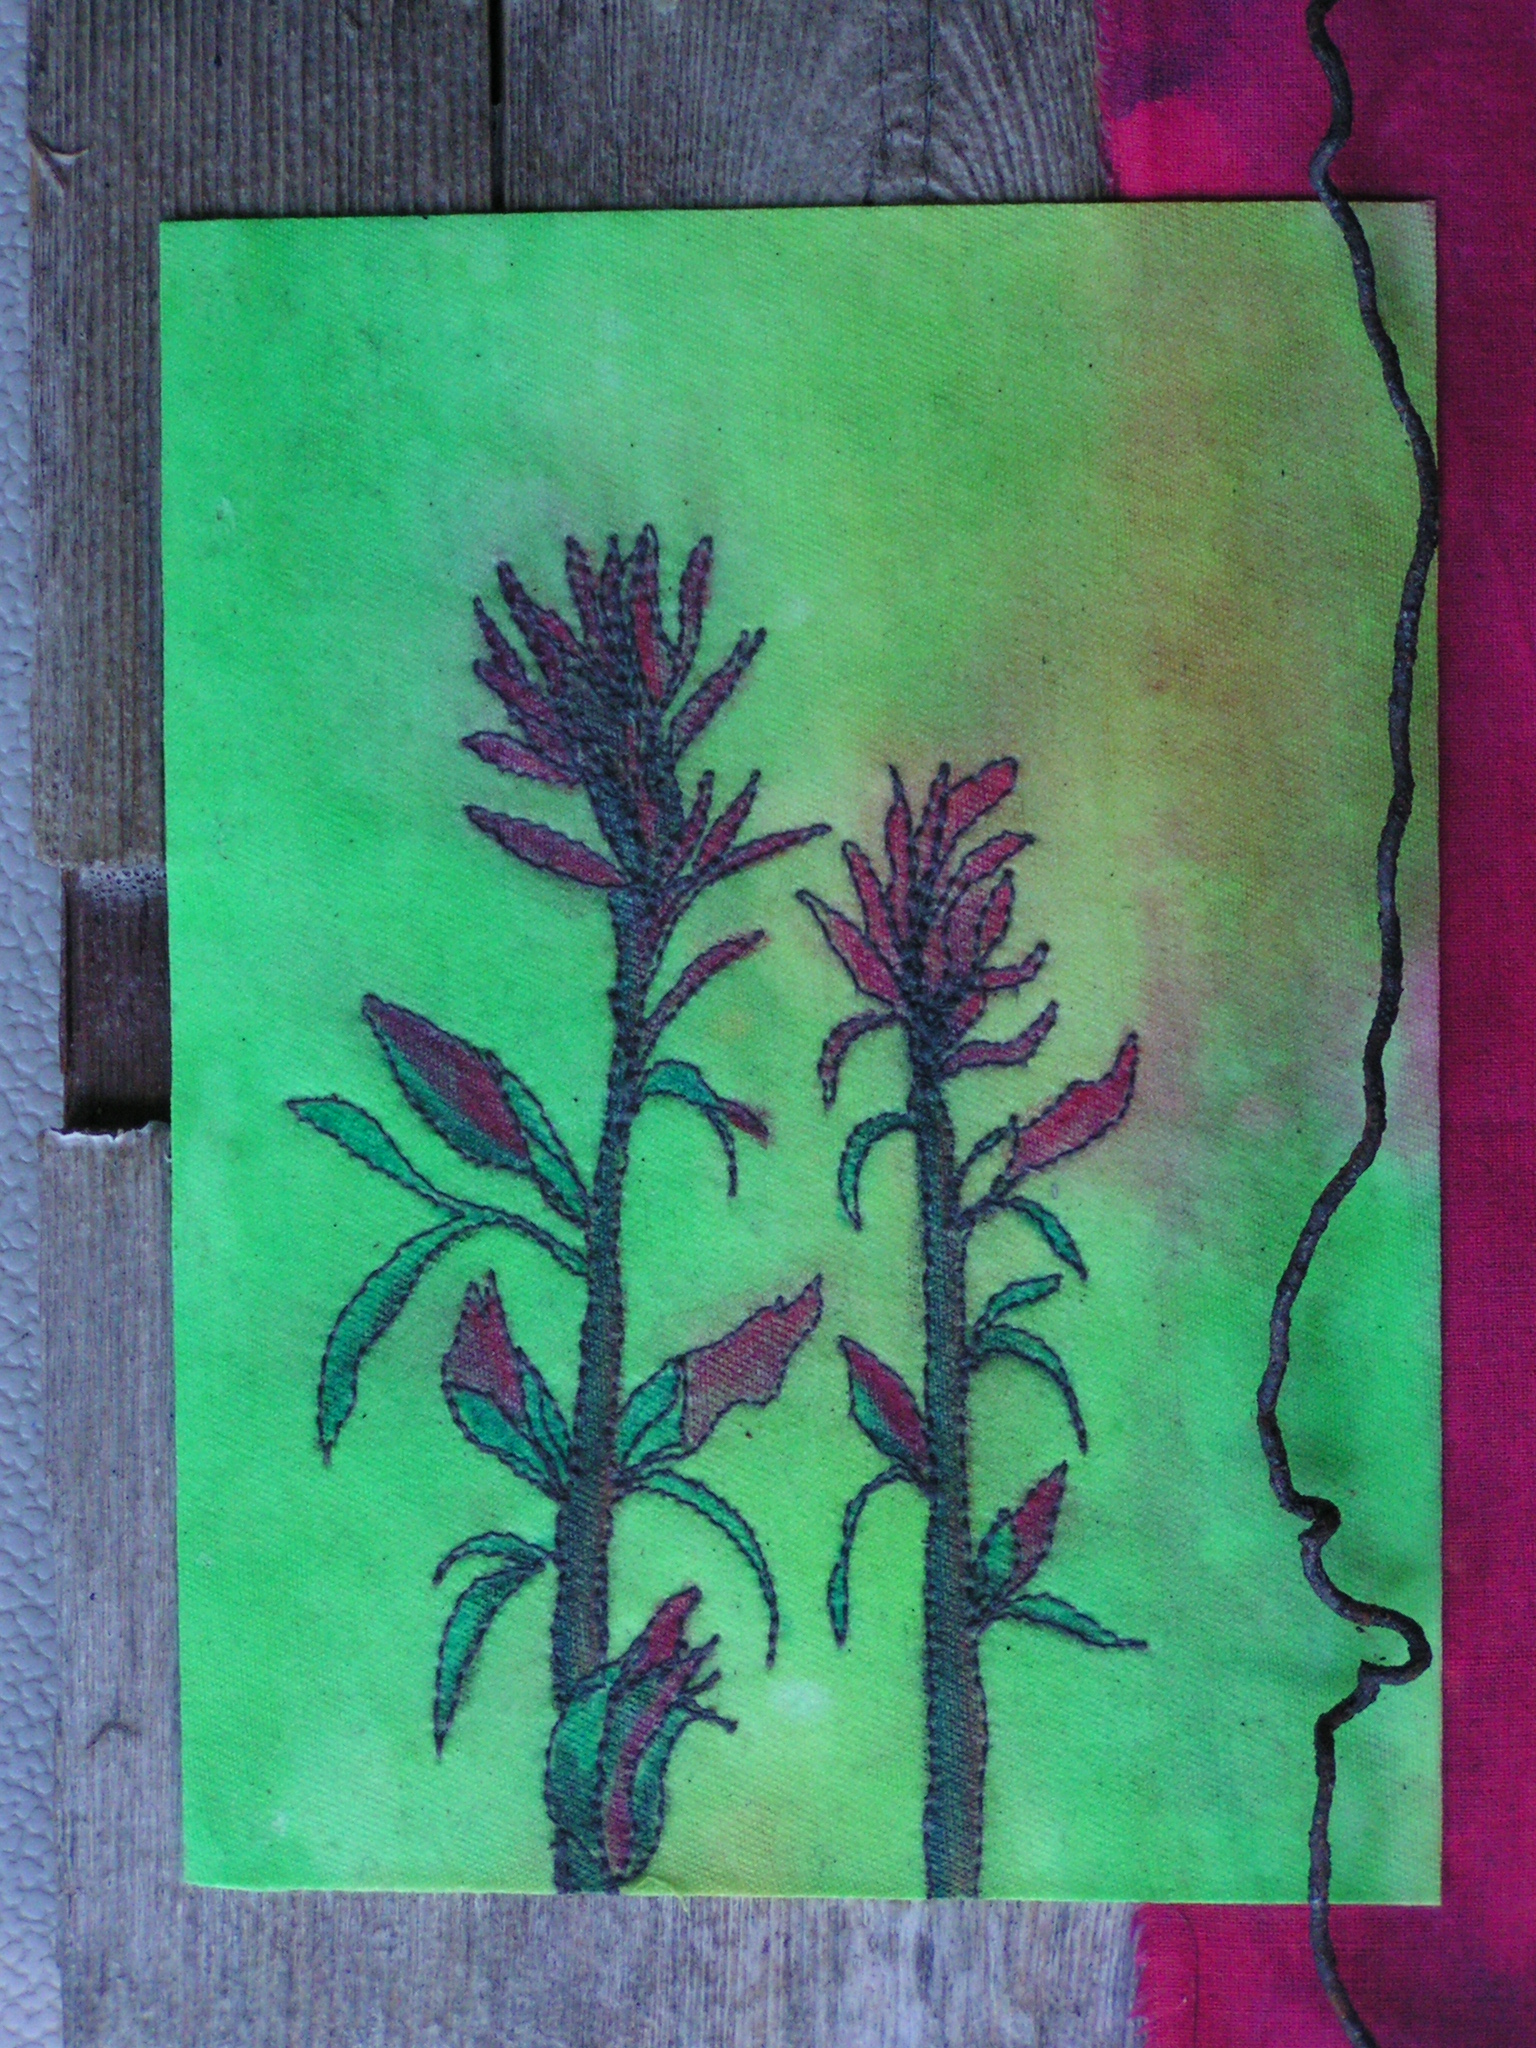
Close up Indian PaintbrushI then stitched the metal piece down to the fabric to hold it in place. I’m happy with the results and I am planning on doing a series of Montana wildflowers like this piece. I also started a second mixed media piece which I’ll show you soon. Thanks Karen – this was a fun challenge!