Yesterday, my local surface design group, met for the first time after our summer break. We went to Carole’s house and played with encaustics. We also did a bit of hand stitching with Jan leading us in a couple of simple hand stitches. I didn’t get any photos of that but we plan on doing a short session of hand stitching each time we meet.
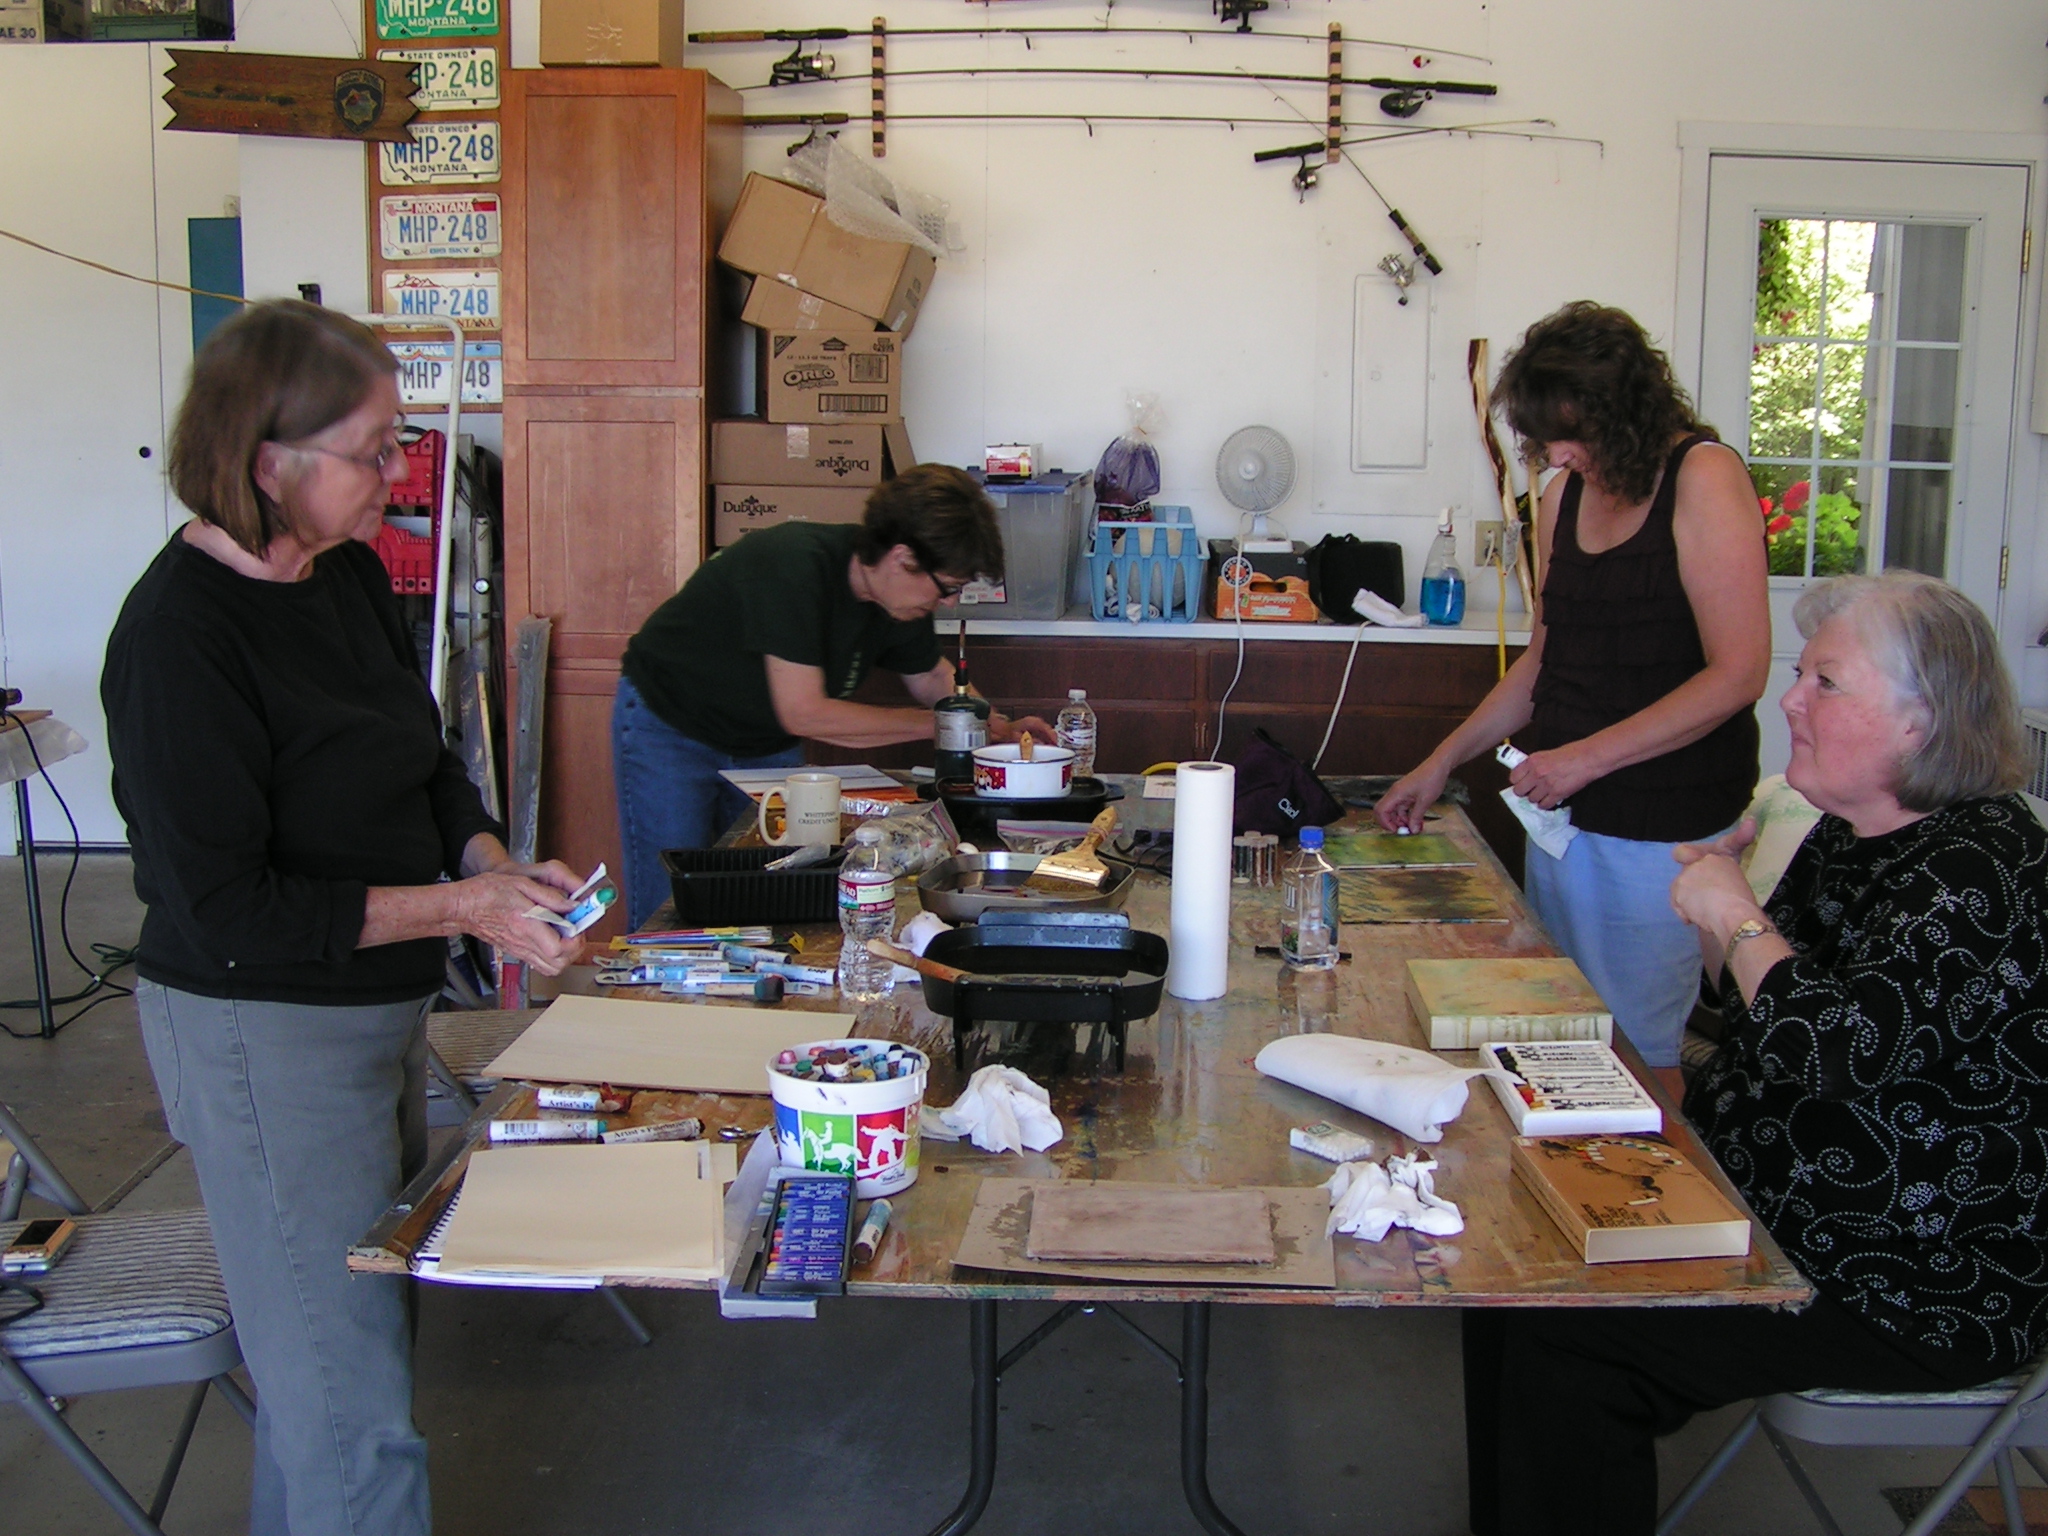 Here is everyone getting started on their encaustic pieces. We had done a little bit of this last year so we all just were mainly working on our own.
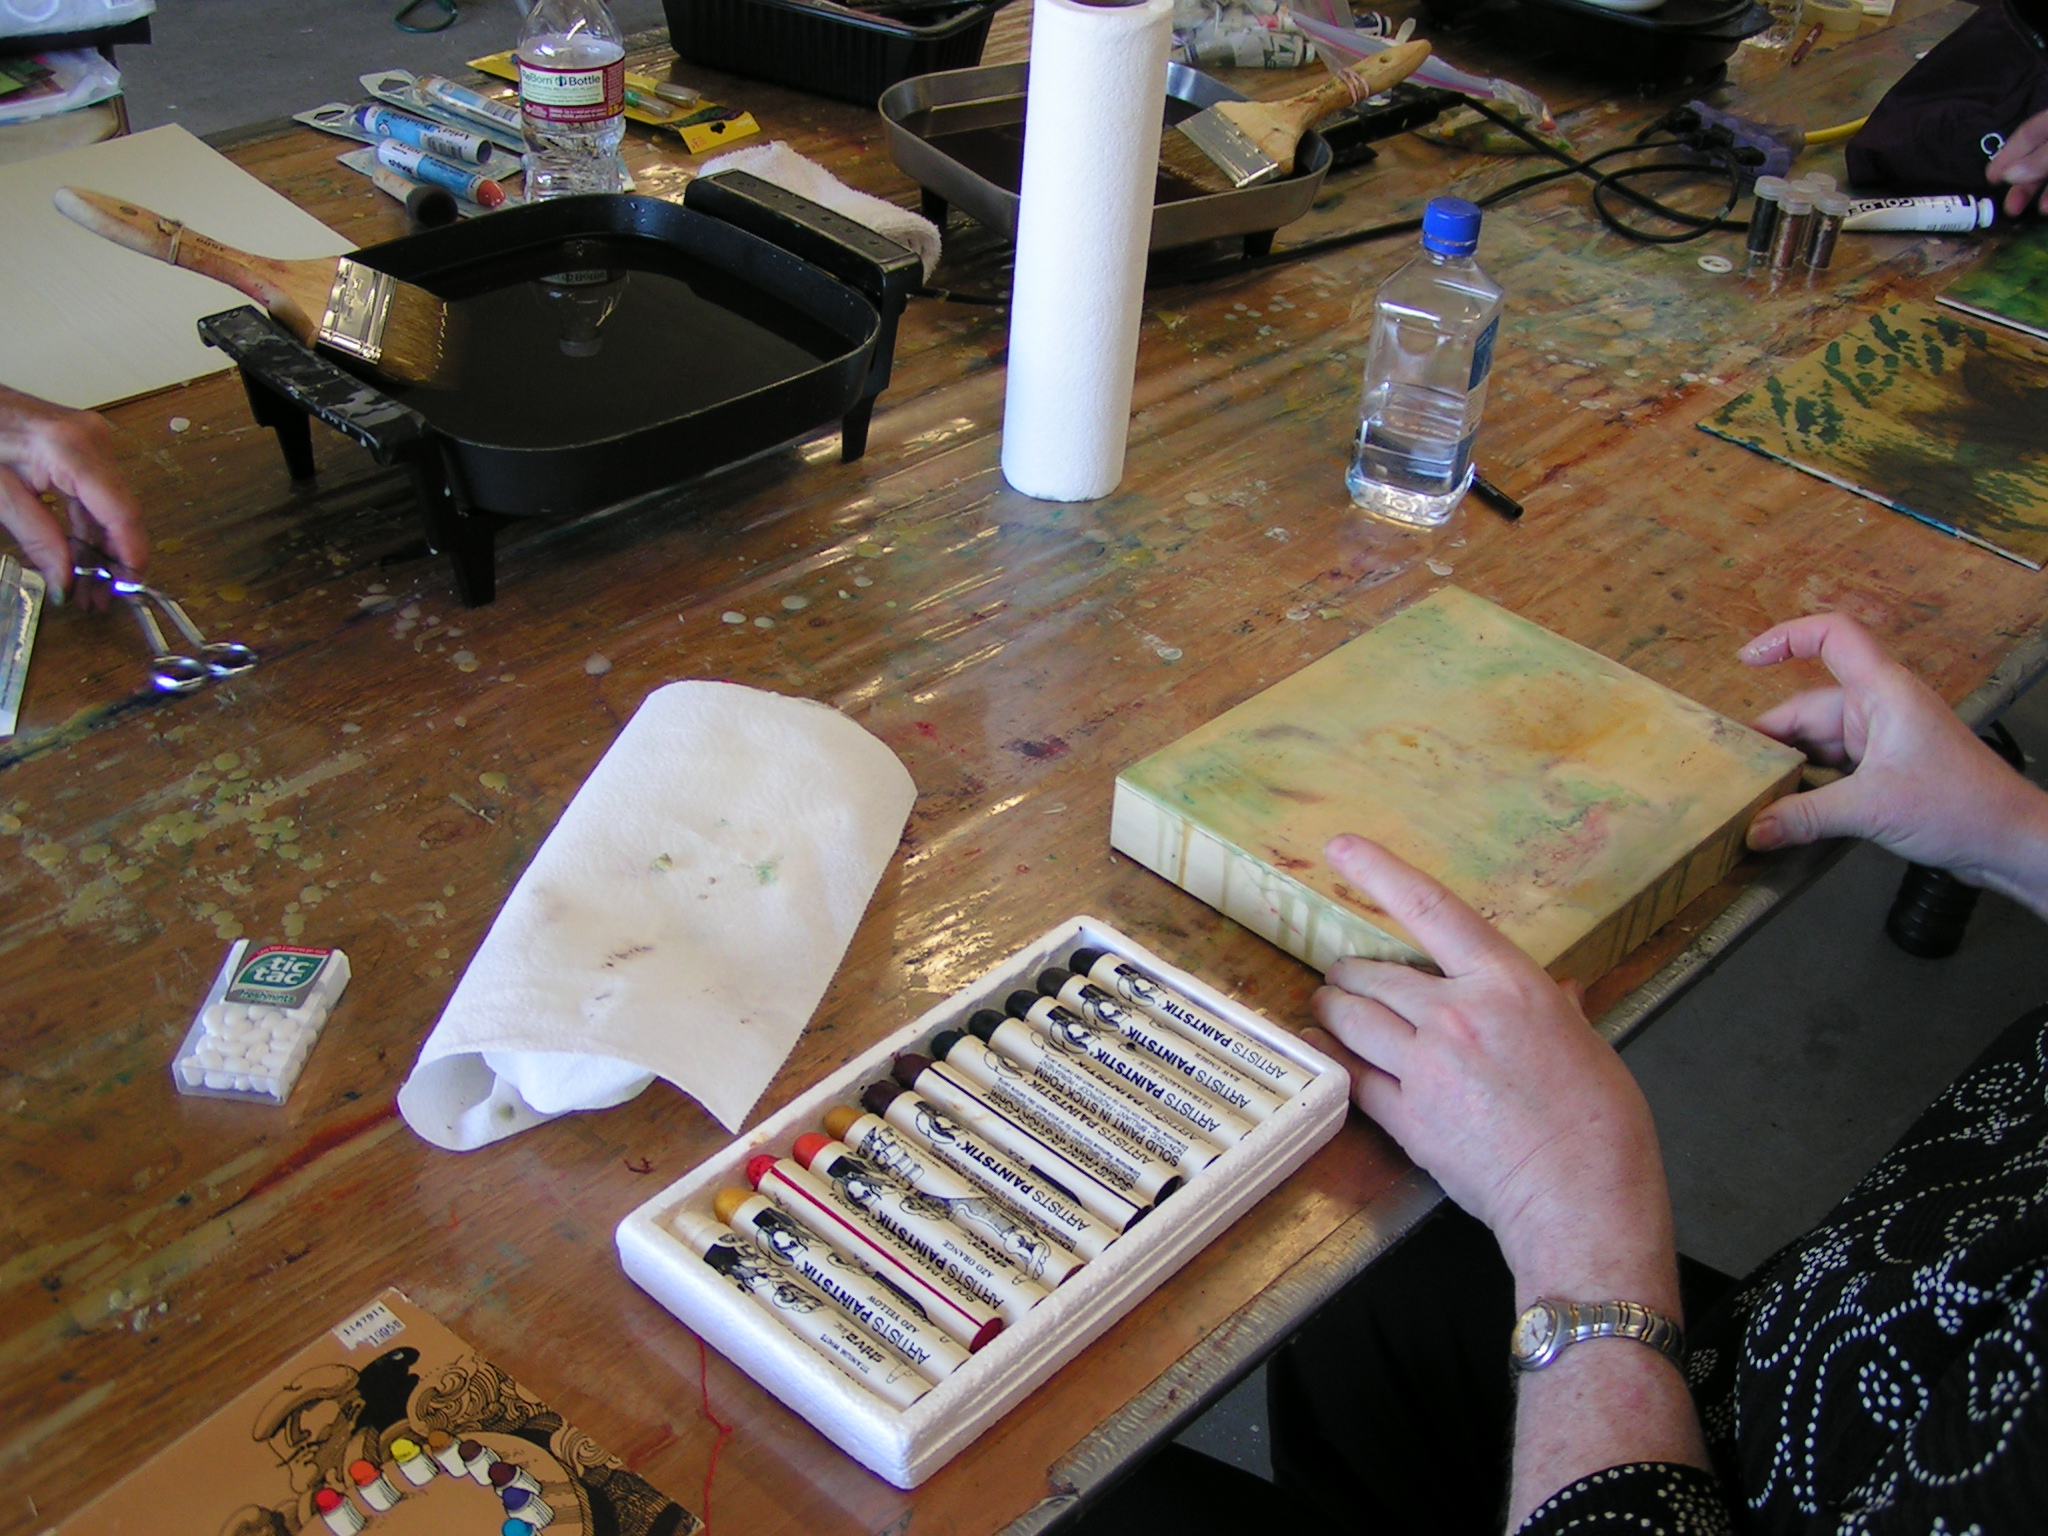 This is the start of Jan’s piece.
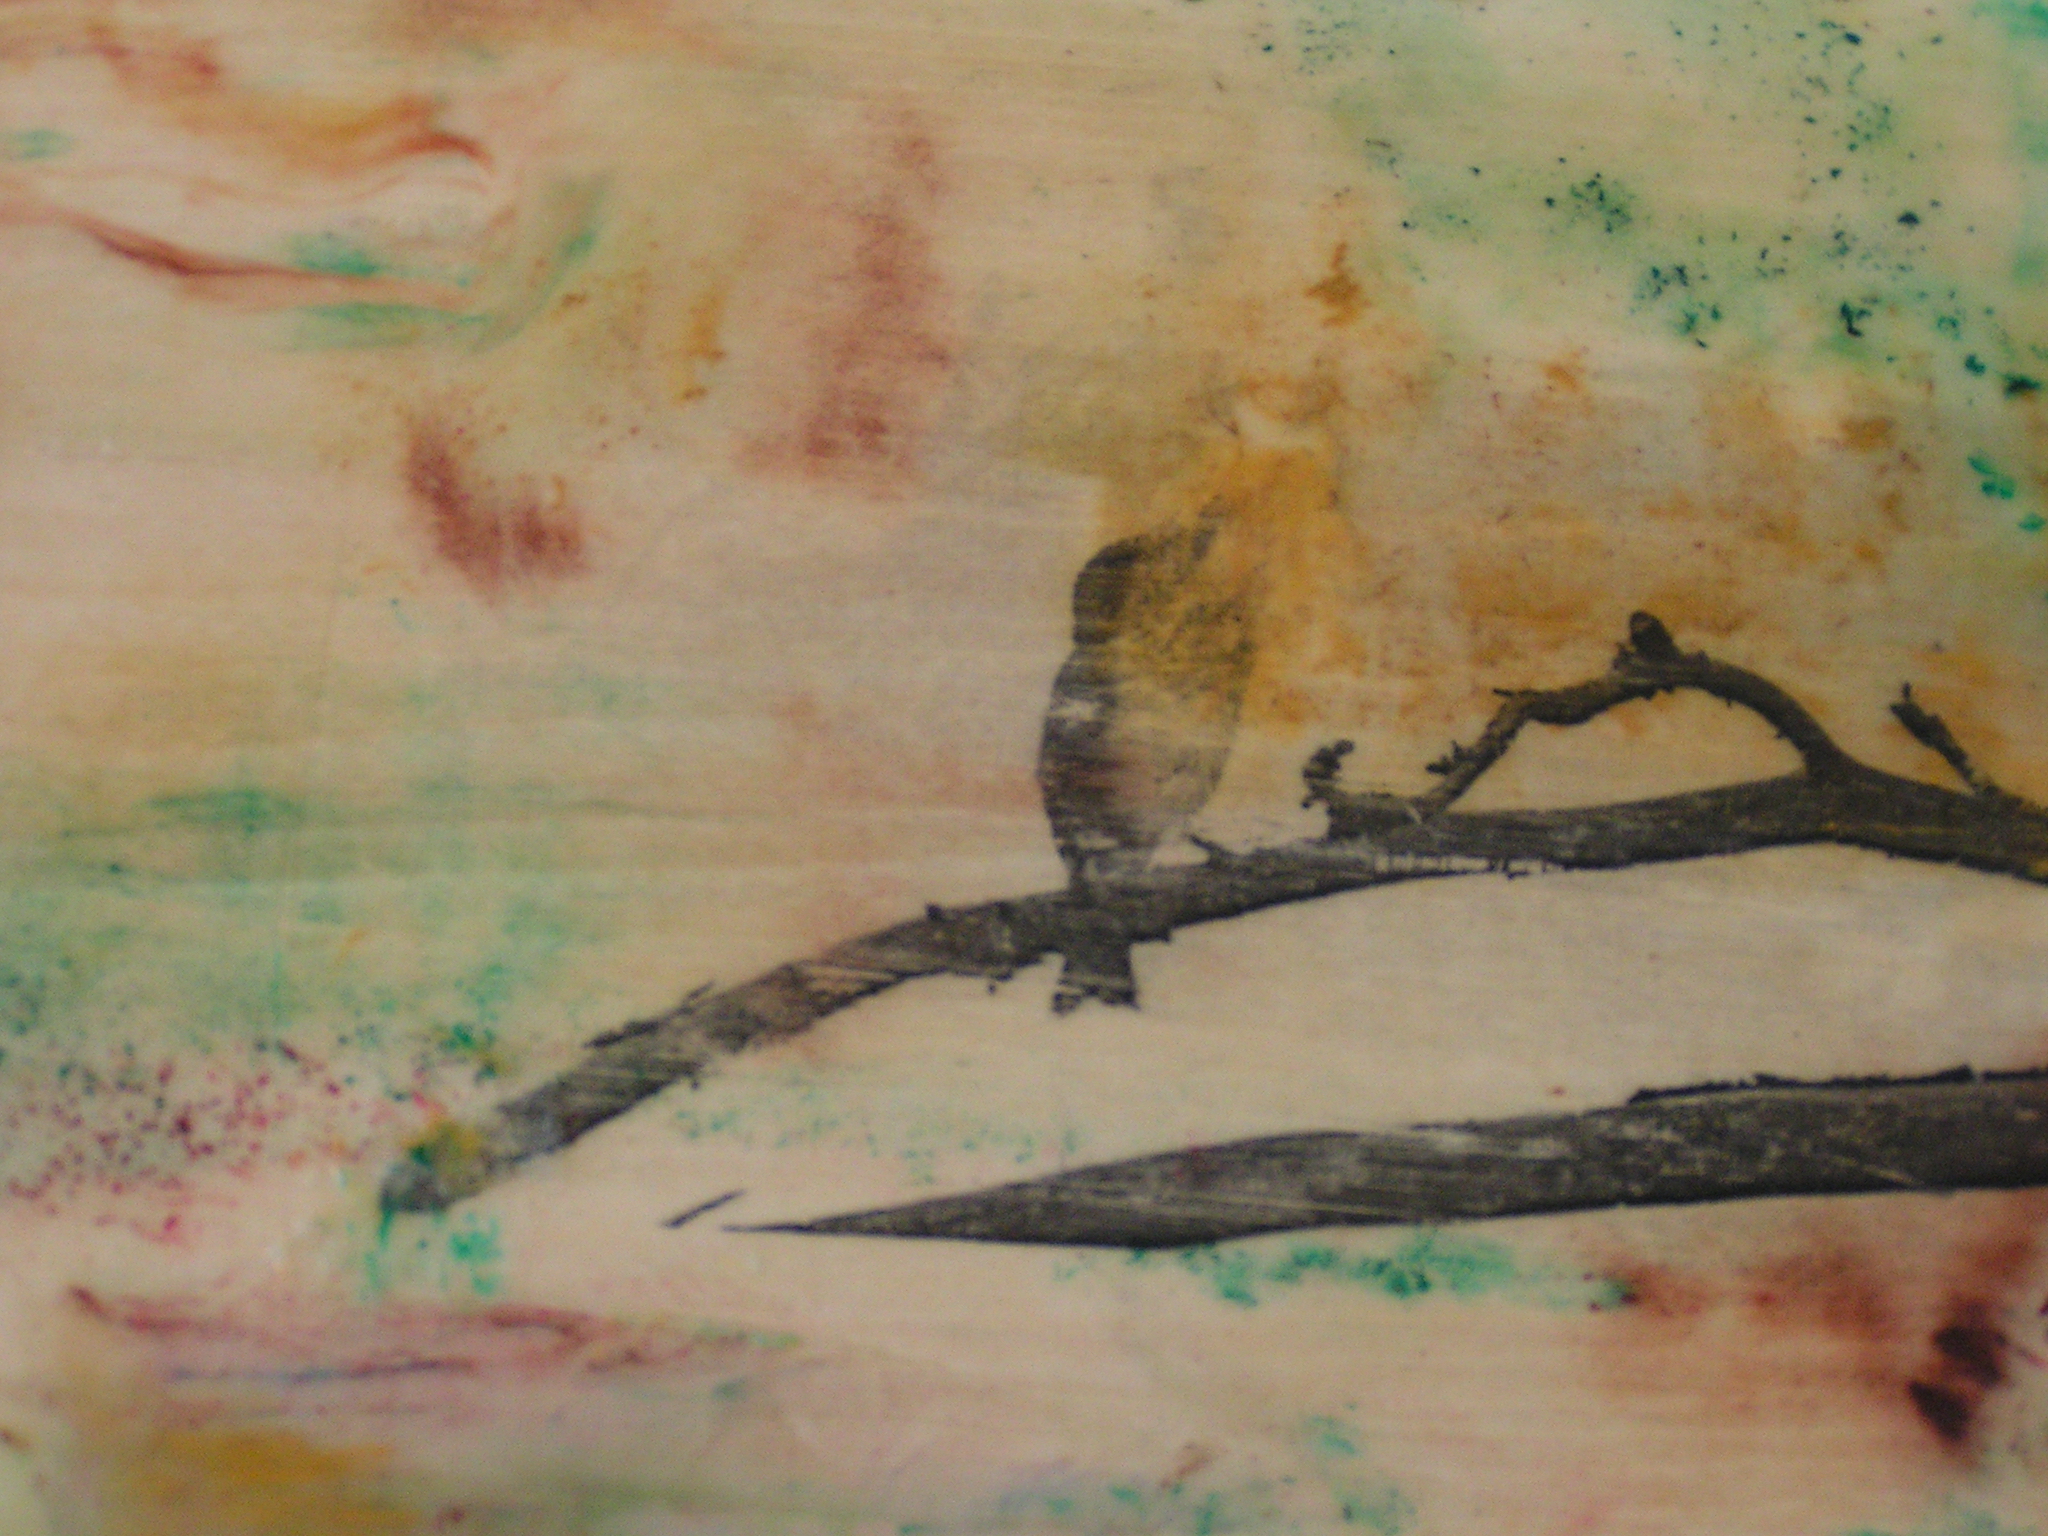 Here is Jan’s piece after she added a transfer off of a piece of parchment paper. I had printed four different black and white photos/designs ahead of time on to parchment paper. This technique was very easy as the laser printer ink just comes right off the parchment paper on to the wax. You do have to be careful to allow the wax to cool quite a bit beforehand or the wax will collapse when you’re rubbing the back of the parchment paper.
 this is one of Louise’s pieces at the beginning. I love how you can keep adding different layers and if something doesn’t work, you can cover it up or scrape it off.
 Here is that same piece at the end of the afternoon.
 This is Carole’s start. You can see the torch to the left of the piece that Carole was using to apply heat after each layer.
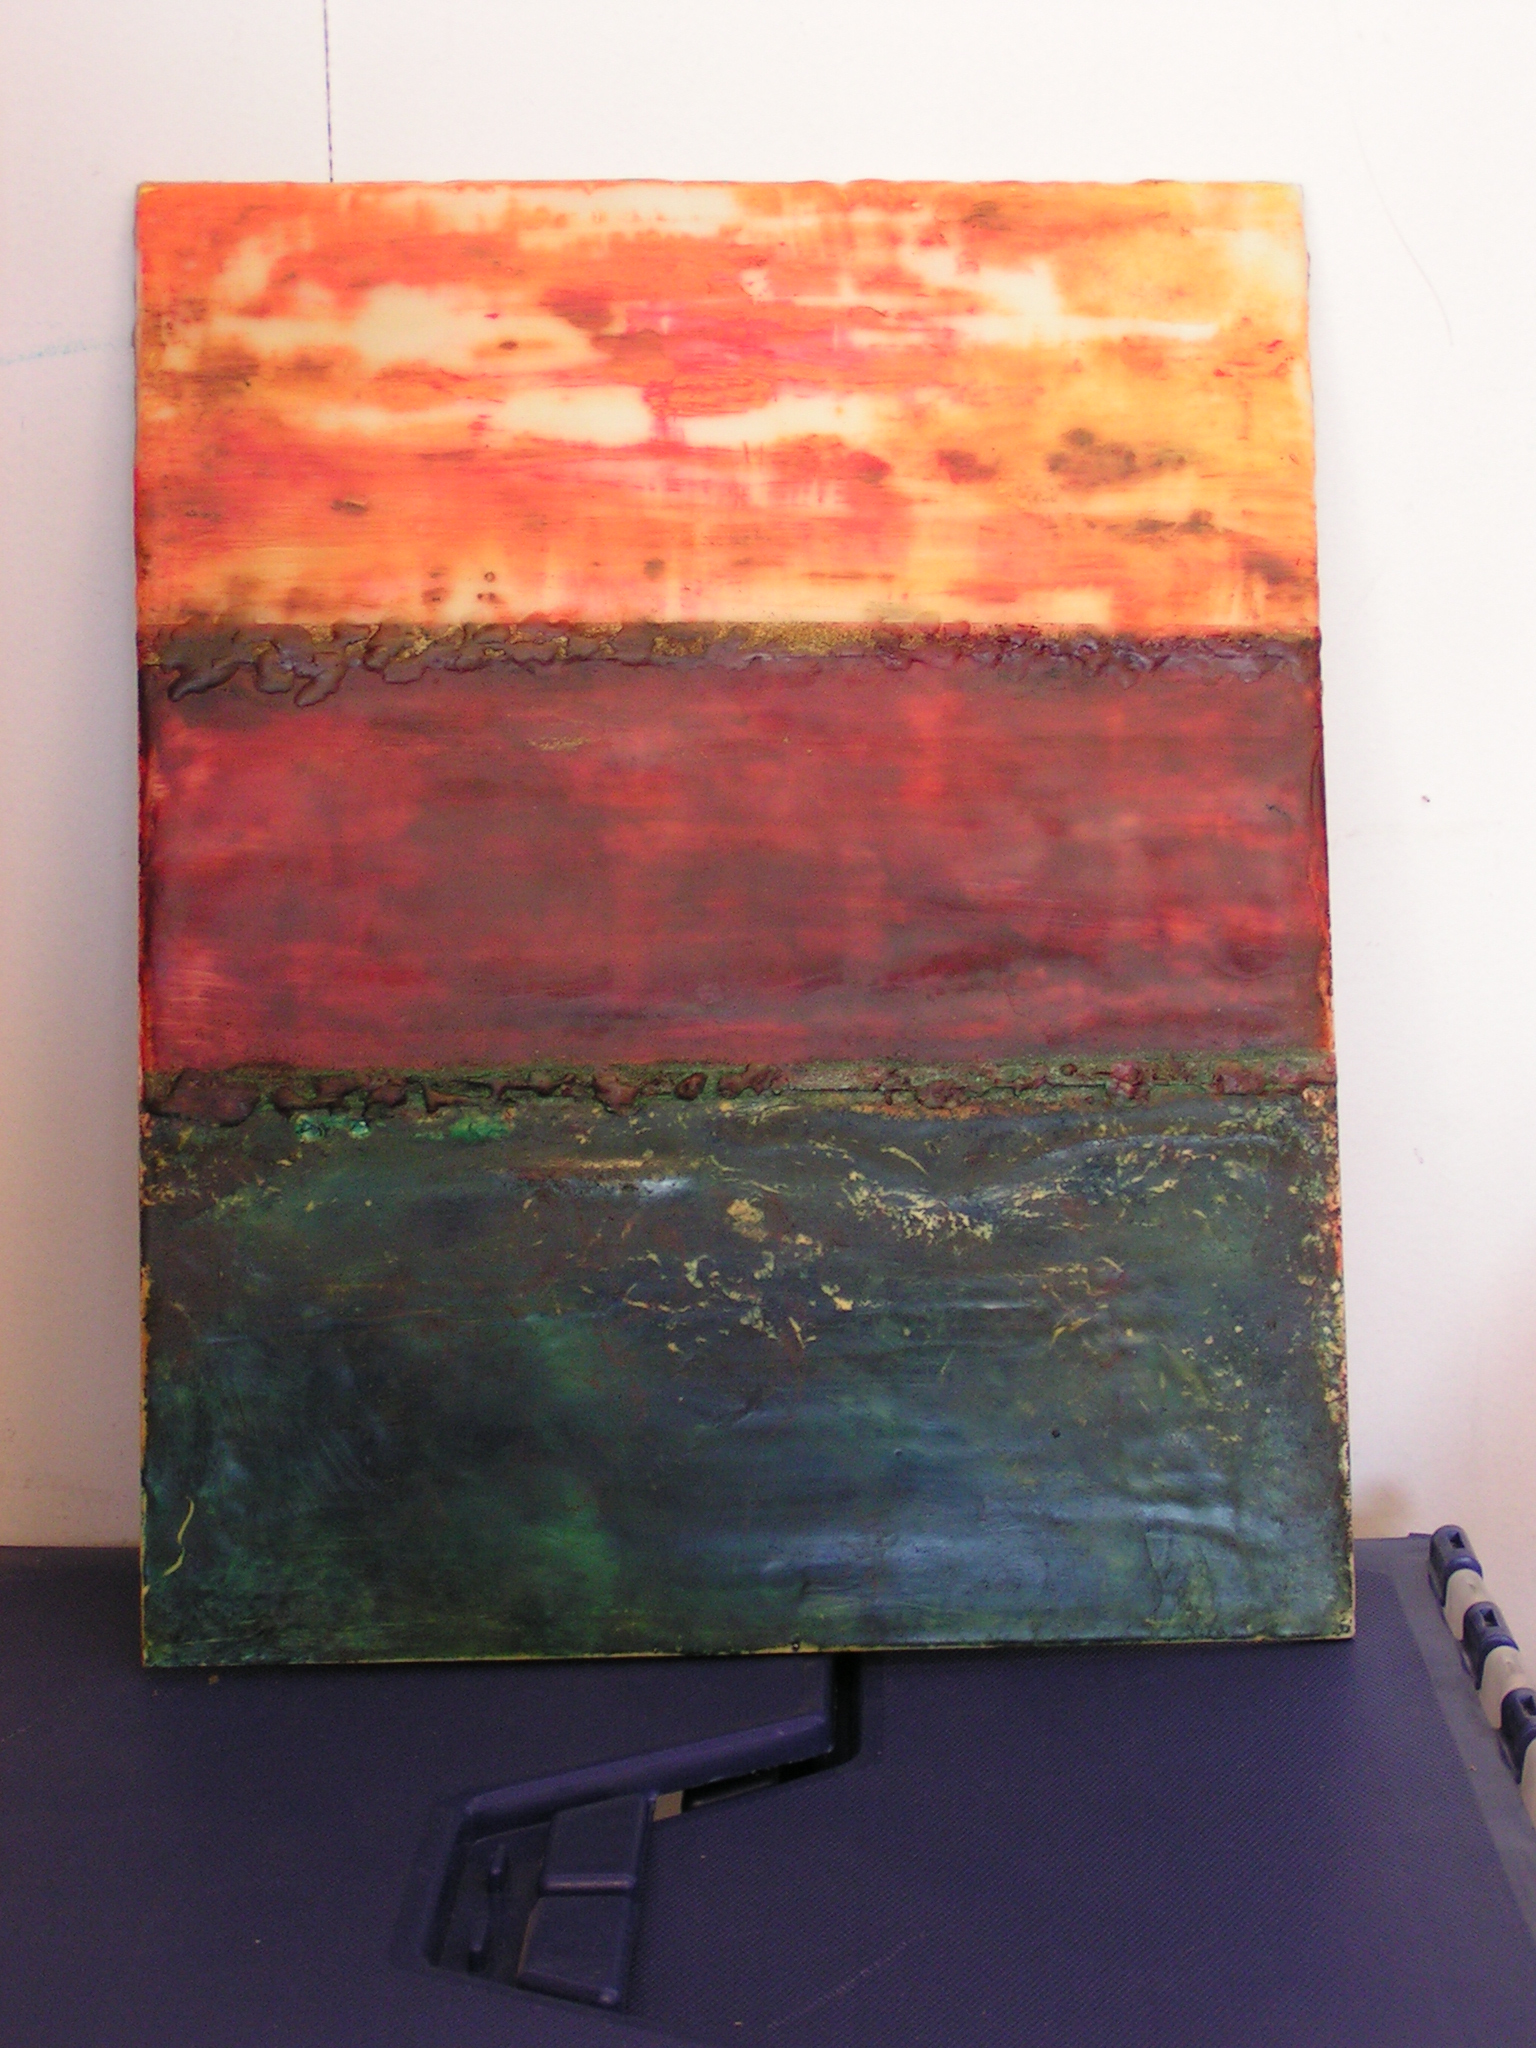 And here is the end result. I love the depth of color that she got in each of her layers.
 This is a beginning layer of one of Bunny’s pieces.
 And here it is after she finished.
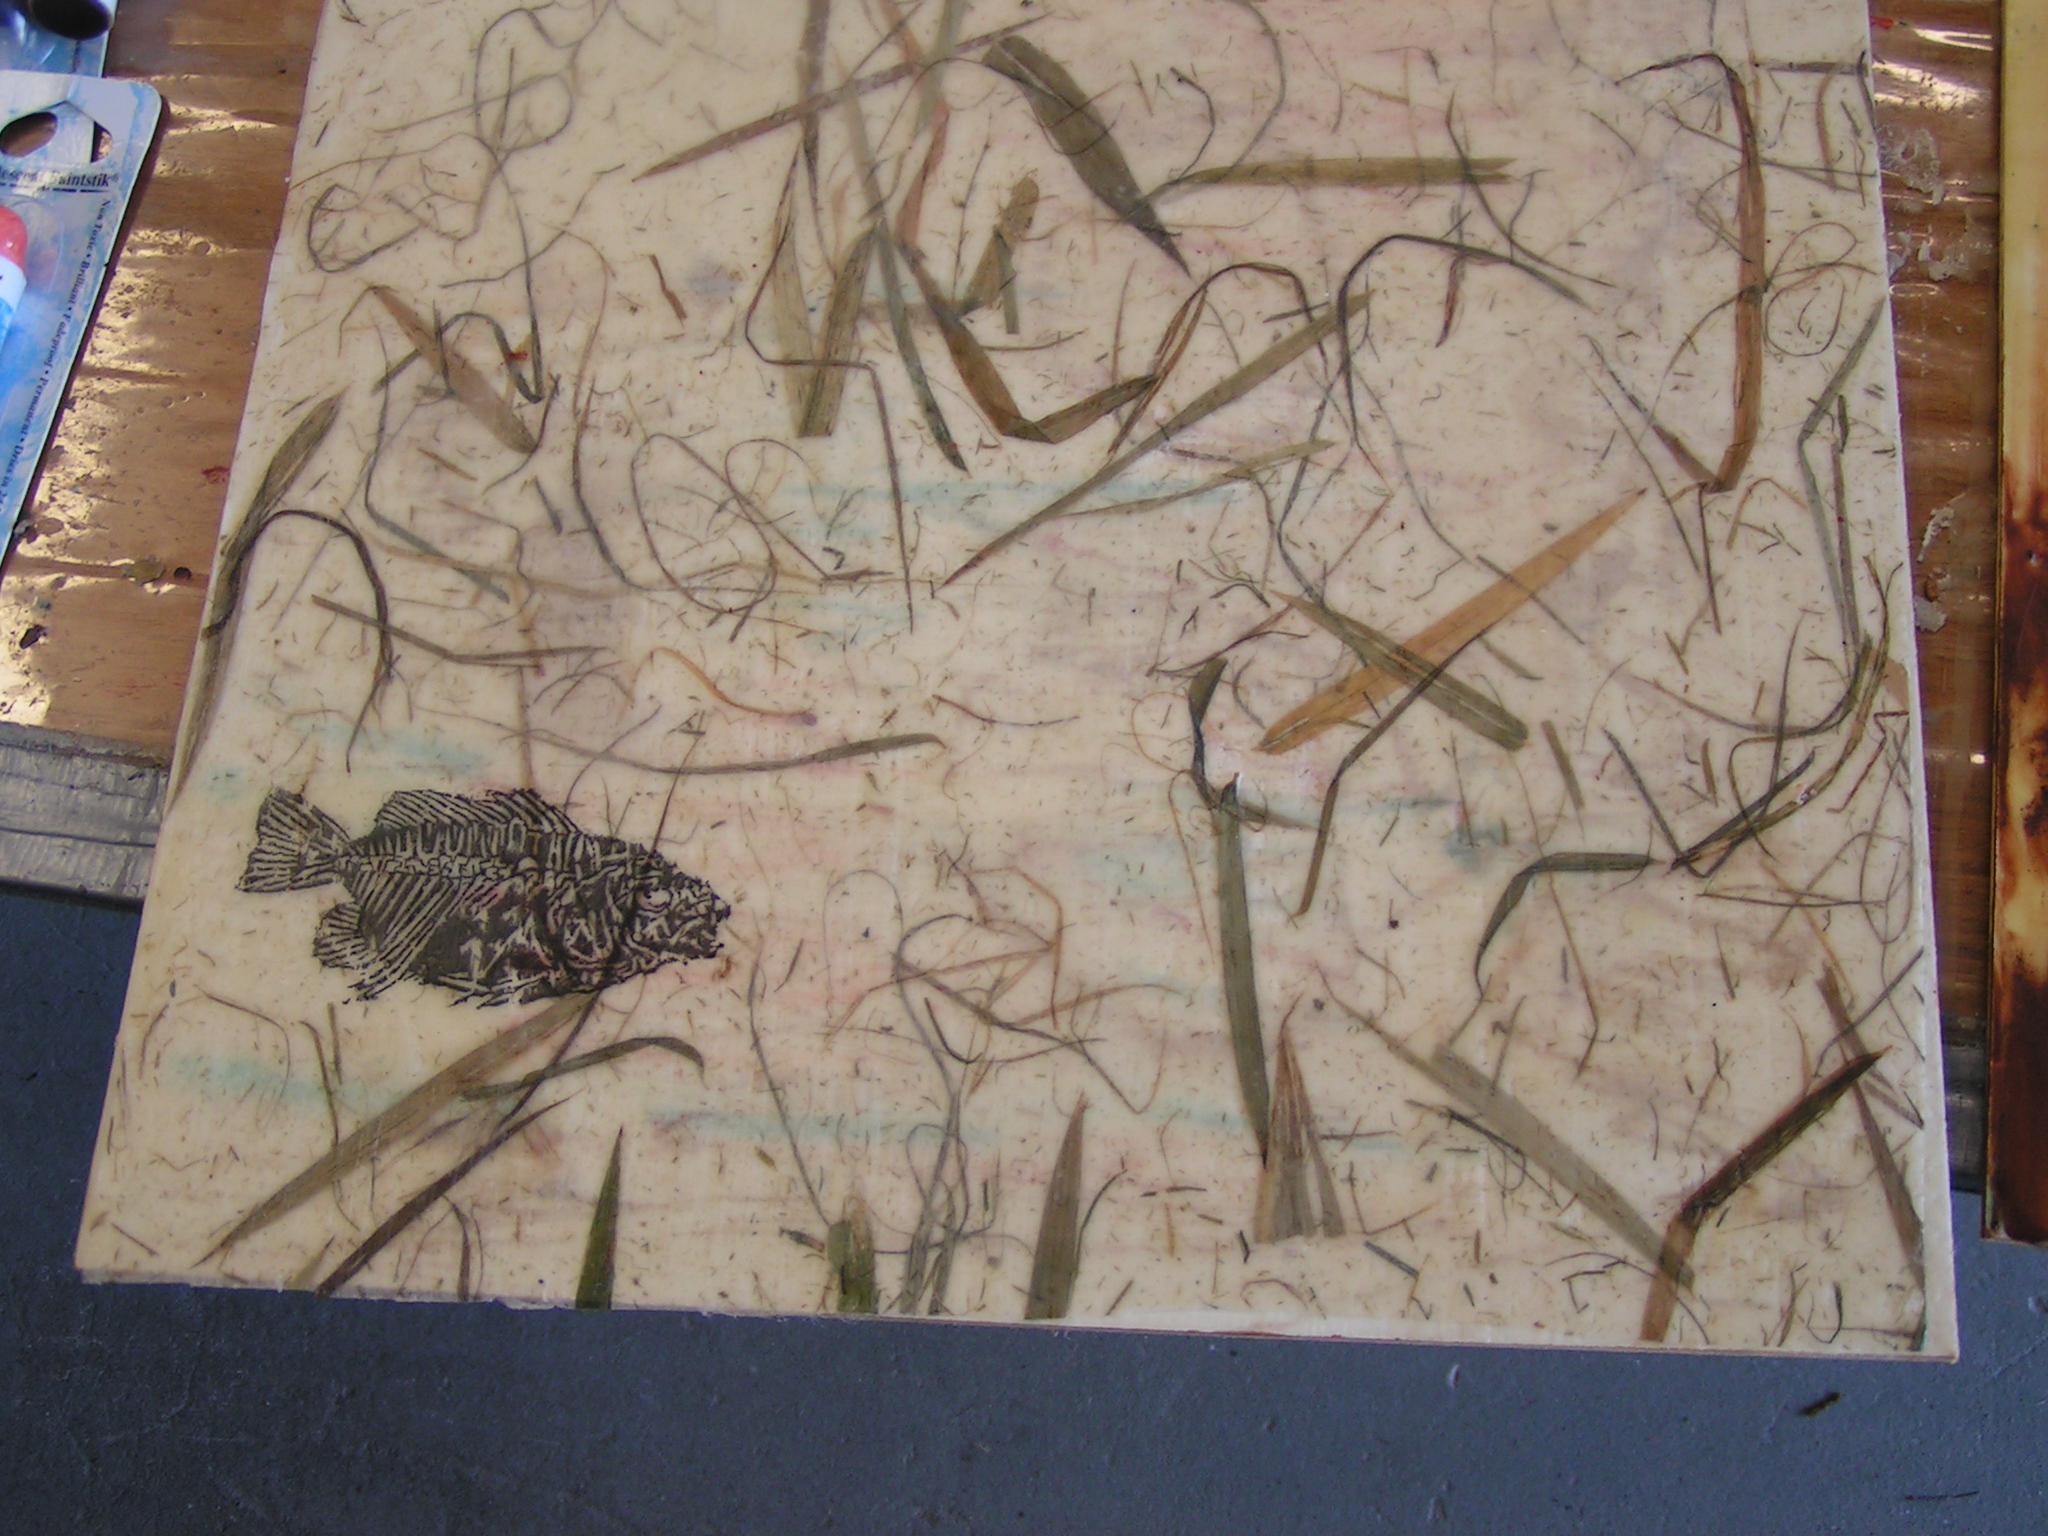 This is another one of Bunny’s pieces. She used my fish design transfer which worked very well. The grassy looking bits are part of a piece of handmade paper that she added to the background and sealed with wax.
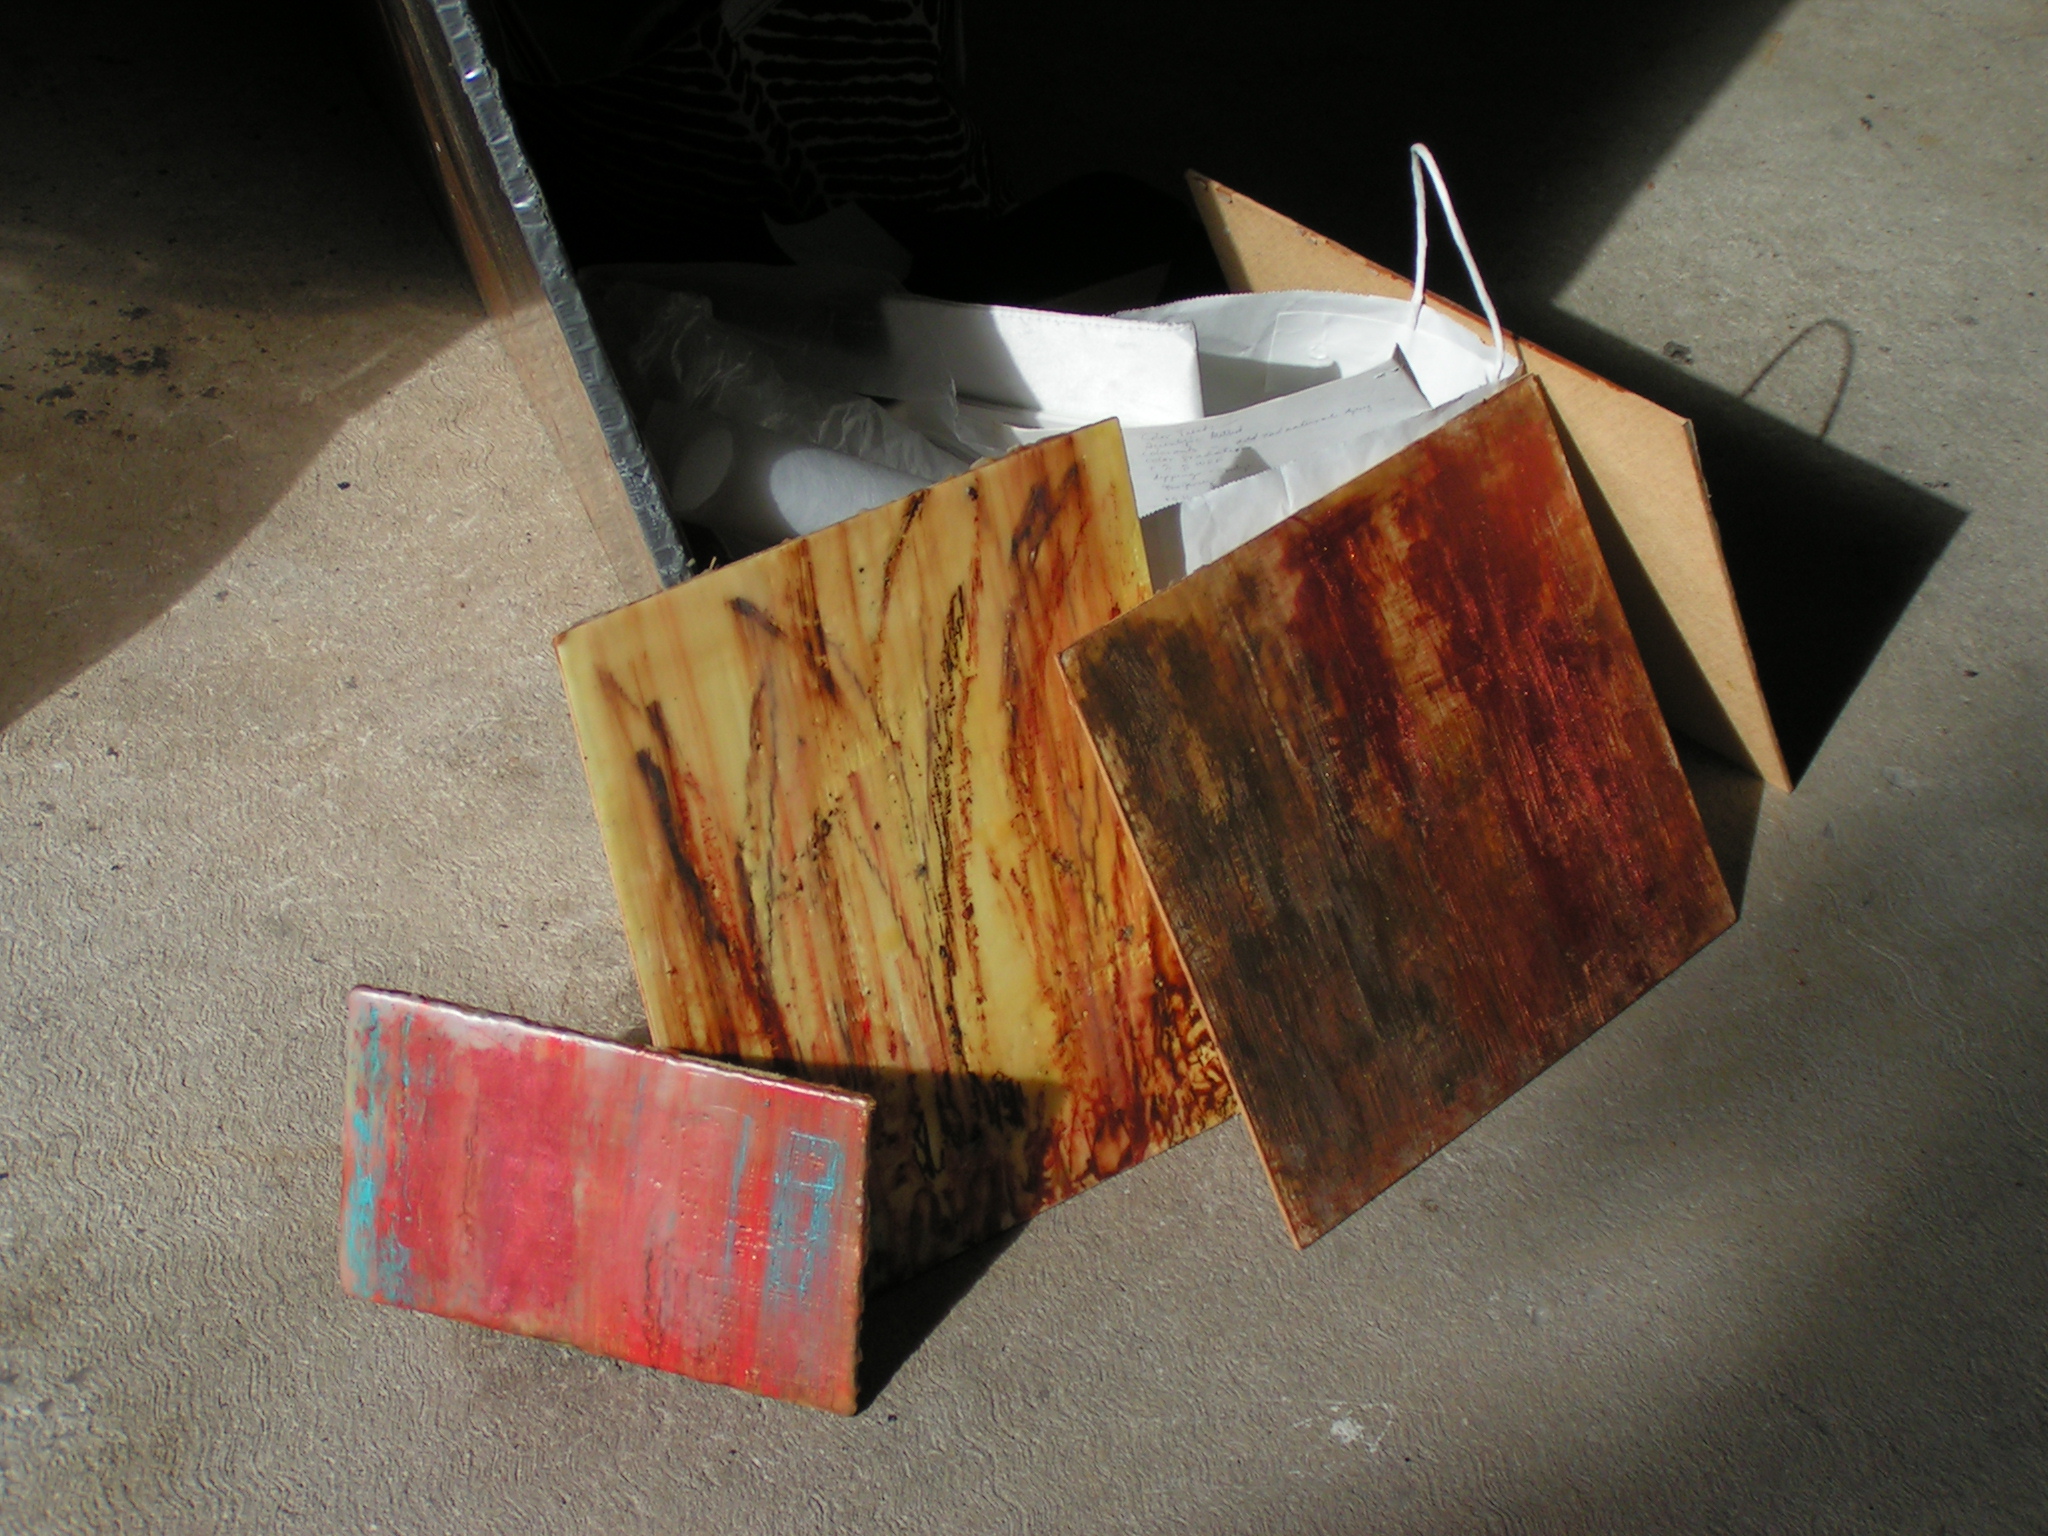 Here’s a shot of Bunny’s pieces cooling off.
 This is a piece of burned back Lutradur that Louise had made.
 Here it is after being added to the wax. Louise was waiting for this piece to cool off. I’m not sure what else the plans were for this piece but it wasn’t finished. But it looks really cool.
 this is another piece of Louise’s. She did a final layer of shellac burn but you can’t really see it well in this photo. If you haven’t seen how a shellac burn works, look it up on YouTube. There are several cool videos to watch.
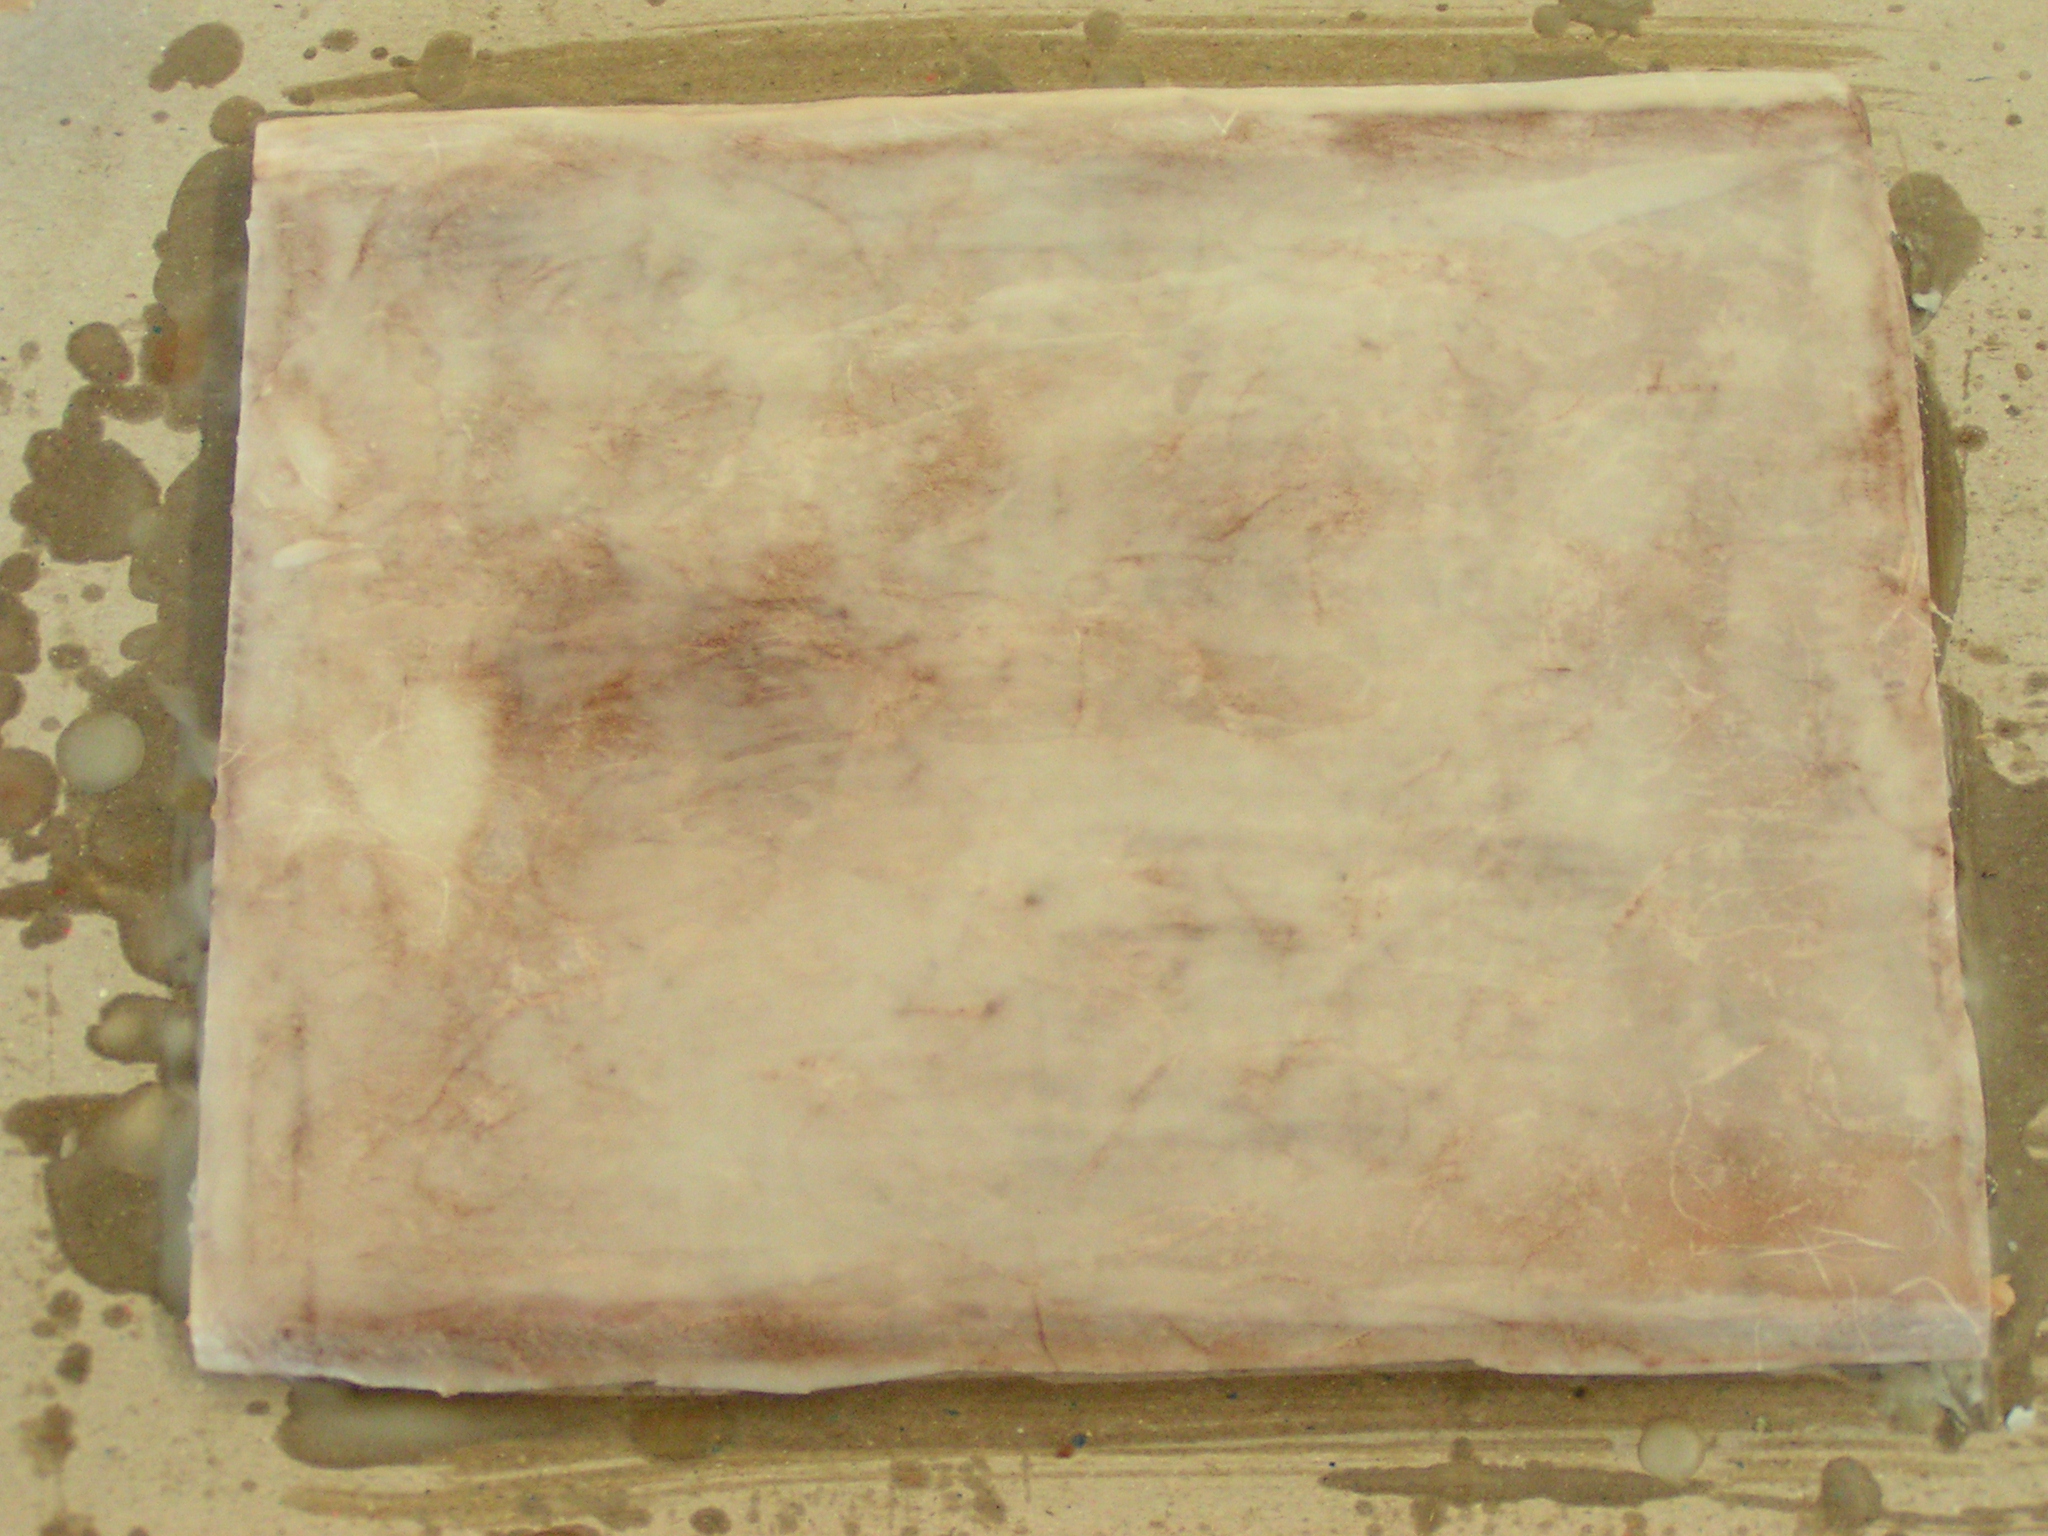 This is one of my pieces. i did some background first and then added a piece of rice paper.
 Then I added some red encaustic paint and heated it up to move the paint around.
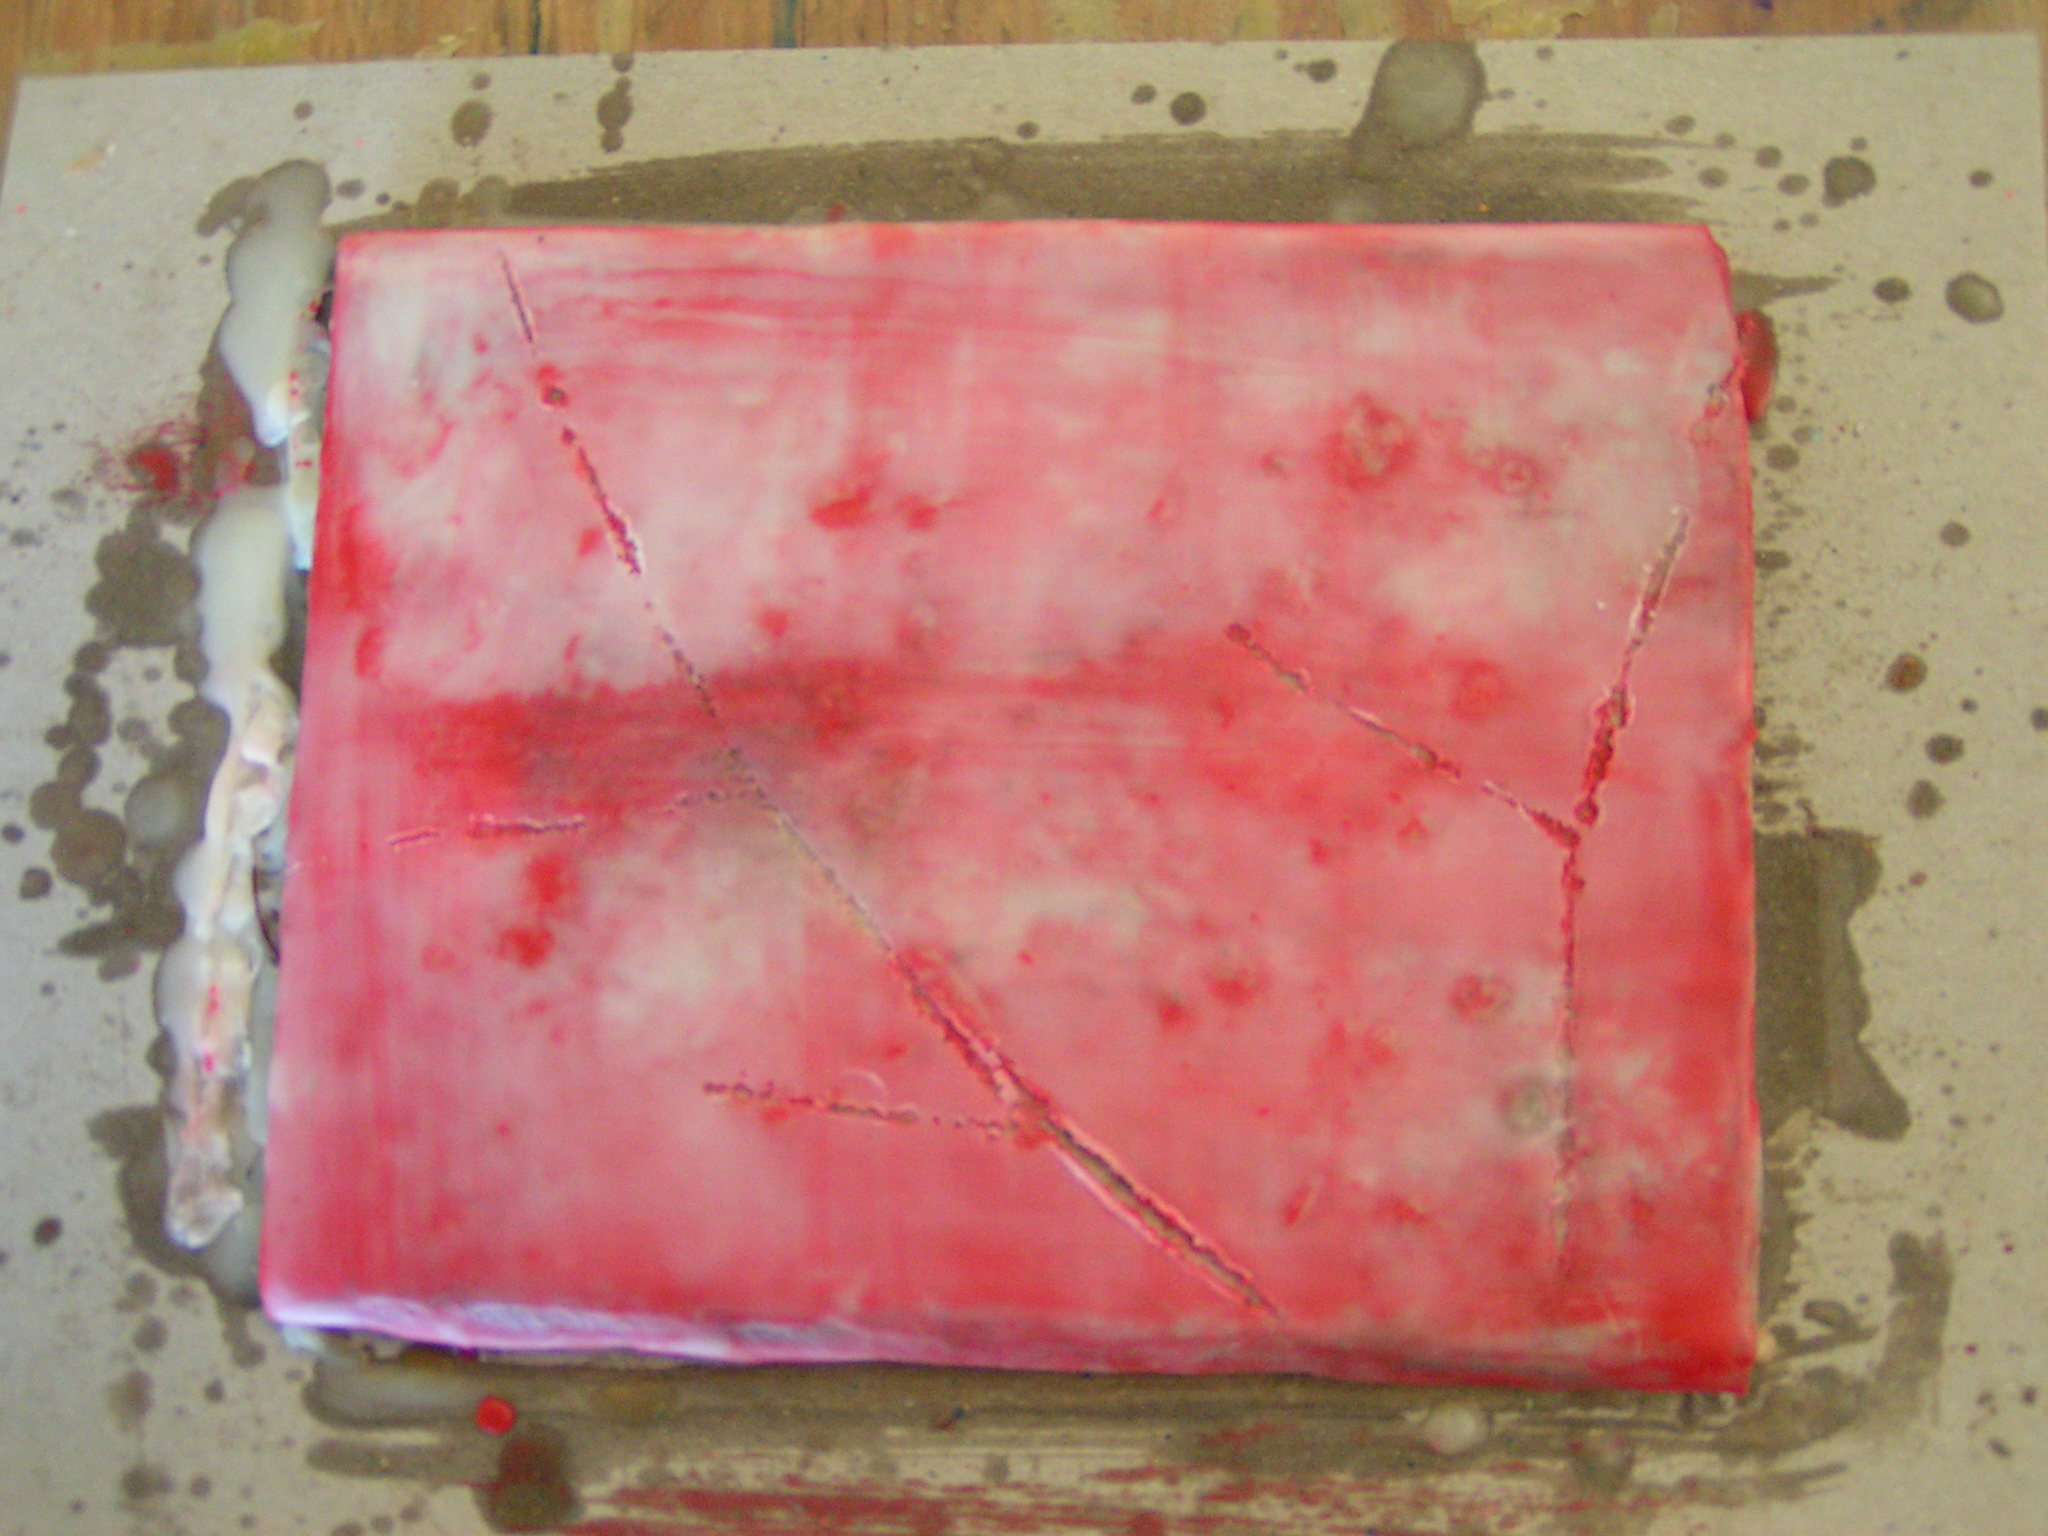 Next, I pushed a couple of branches into the soft wax.
 And added dark brown oil paint into the depression made. I coated that with several more layers of wax. I don’t seem to have taken any photos of all my finished pieces so I’ll show you those next time after I get them all shined up. We had a great time. You could spend a lifetime trying to perfect the art of encaustic painting. But at least my pieces turned out better than the first attempt! 🙂