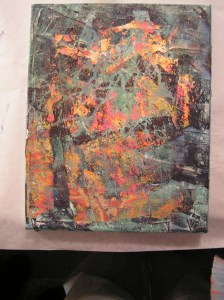
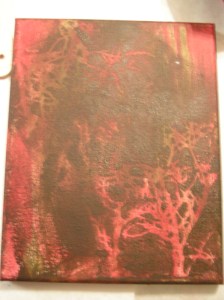
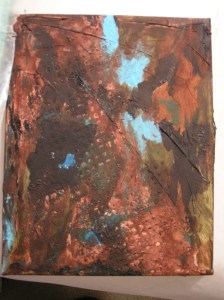
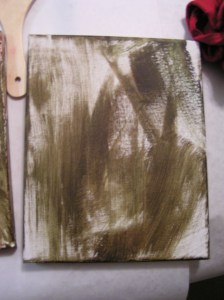
Mixed Media Paintings

I seemed to have missed a post last week. I had company, it snowed two feet and somehow I forgot all about posting. But hopefully, I will get back on to a regular schedule soon. Today we had our surface design meeting and we worked on mixed media paintings.

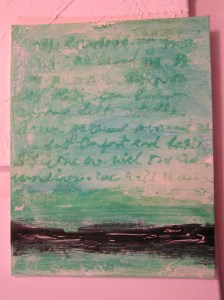
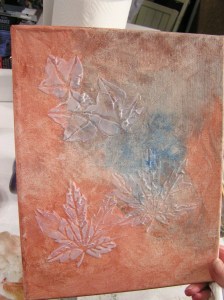
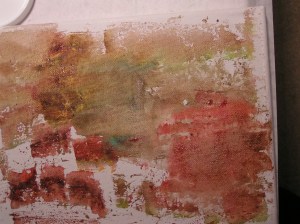
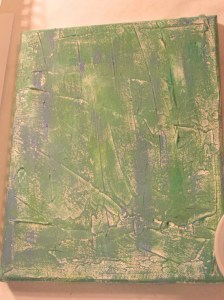
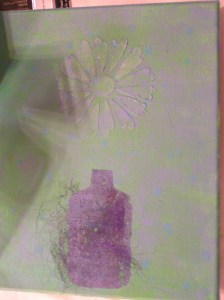
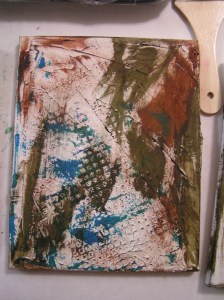
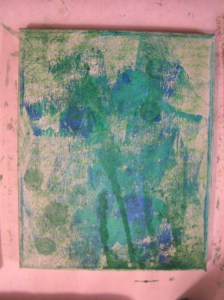
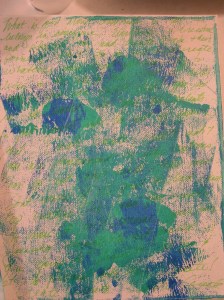
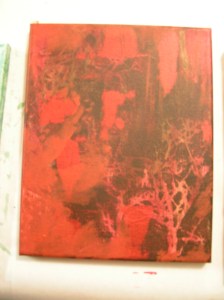
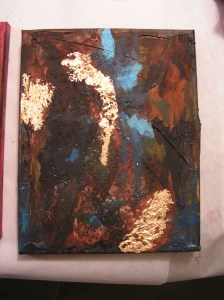
The photos above are the examples that Louise made for us. She used a variety of techniques and layers of paint, fabric, glue, acrylic mediums and gold leaf.

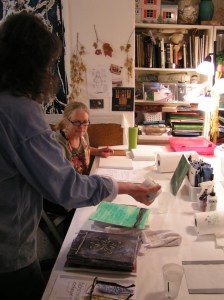
She had the table all set up for us with three canvases to work on. It was easiest to work on multiple canvases so that there was drying time for some of the processes.
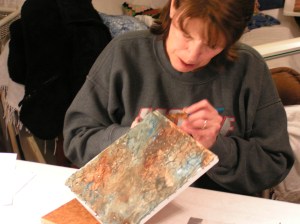
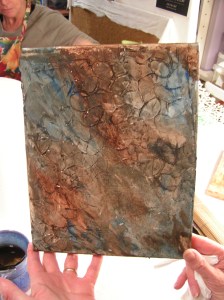
Here are some of Carole’s pieces. None of us finished but we just kept adding layers and textures with a variety of tools.
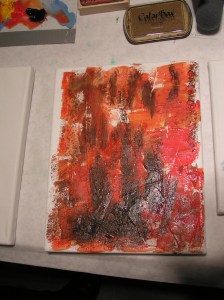
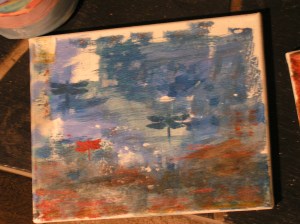
Here are Bunny’s pieces in various stages of development.

These are Sally’s canvases. She also used her extra paint on paper. The only one that might be finished is the far right one in the middle row.

These are my canvases in various stages of development. I have a bit left to do on all three of them. The last photo on the left is the closest to being finished. One of the hardest things I have to work out with these is when to stop. Sometimes I go too far with that one extra layer.

I also used my extra paint on paper. I didn’t take photos of everything so I’ll have to show those later. Hope you all are having a good start to 2015. We’re doing a color challenge over at the Felting and Fiber Studio so please stop by and join in the fun. I will be posting about making a color wheel on Sunday.

A Felted Rock

After I made my felted rocks for the  Land Art Challenge, I got a shipment at work with sprayed foam in it. It is really a mess to unpack things that are surrounded by spray foam. It breaks into pieces and sticks to everything and it can’t be recycled. Usually we just throw it all away. But this time when I saw a larger piece of it, I decided I wanted to see if I could cover it with felt to make a rock. Generally, when I have felted an odd shaped object, I just apply the wool and felt it right to the piece. I thought I would try a different method by using a resist and then fitting the felt to the piece after removing the resist.

Foam for Rock

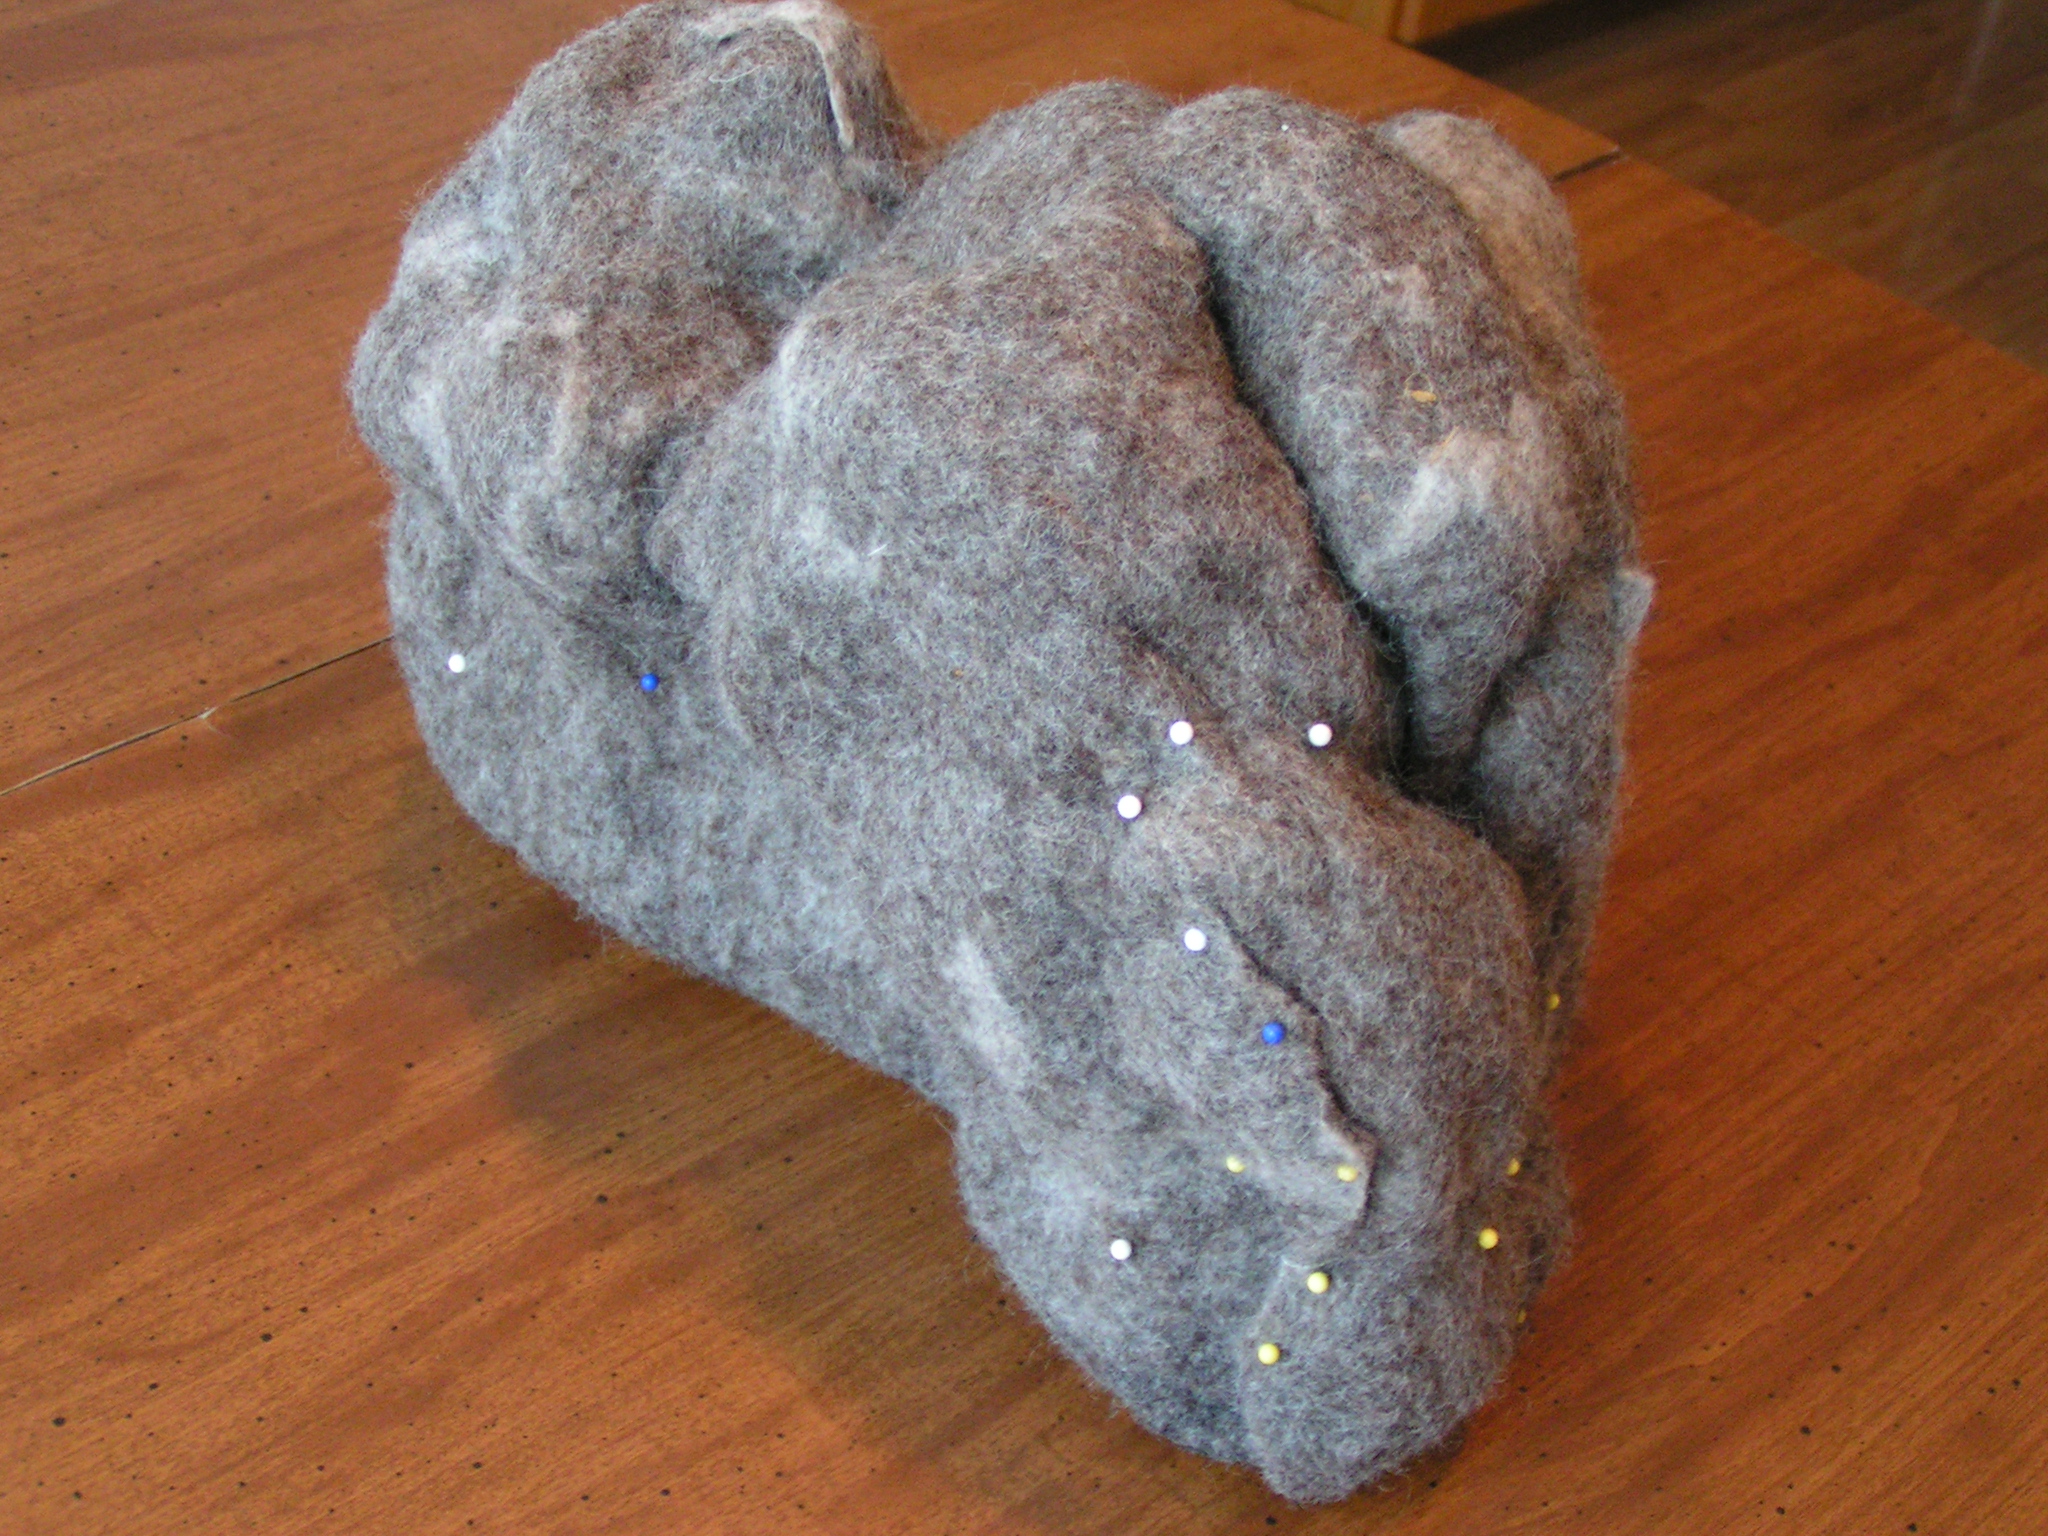
Here’s my foam “rock” sitting on the resist I used which is on the first layer of wool. I used the wool batts that Louise gave me. I don’t know what kind of wool it is but is felts easily. I went ahead and covered the resist, felted until it was holding together and then removed the resist. I put the foam piece inside and realized I had way too much felt. It didn’t shrink as much as I thought it would and the holes in the foam didn’t take up as much wool as I thought either. So I cut out quite a bit of felt to make it fit.

Felted Rock

Here it is drying. The pins are there to hold everything in place while it dries.

Felted Rock Drying

I will needle felt the cut edges together once it is dried so they should not show much at all. I was pleased with the rock but I think it is easier to just apply the wool over an irregular object and felt directly to the object. But it’s always good to try a different method to see how it works.

Snow in Montana

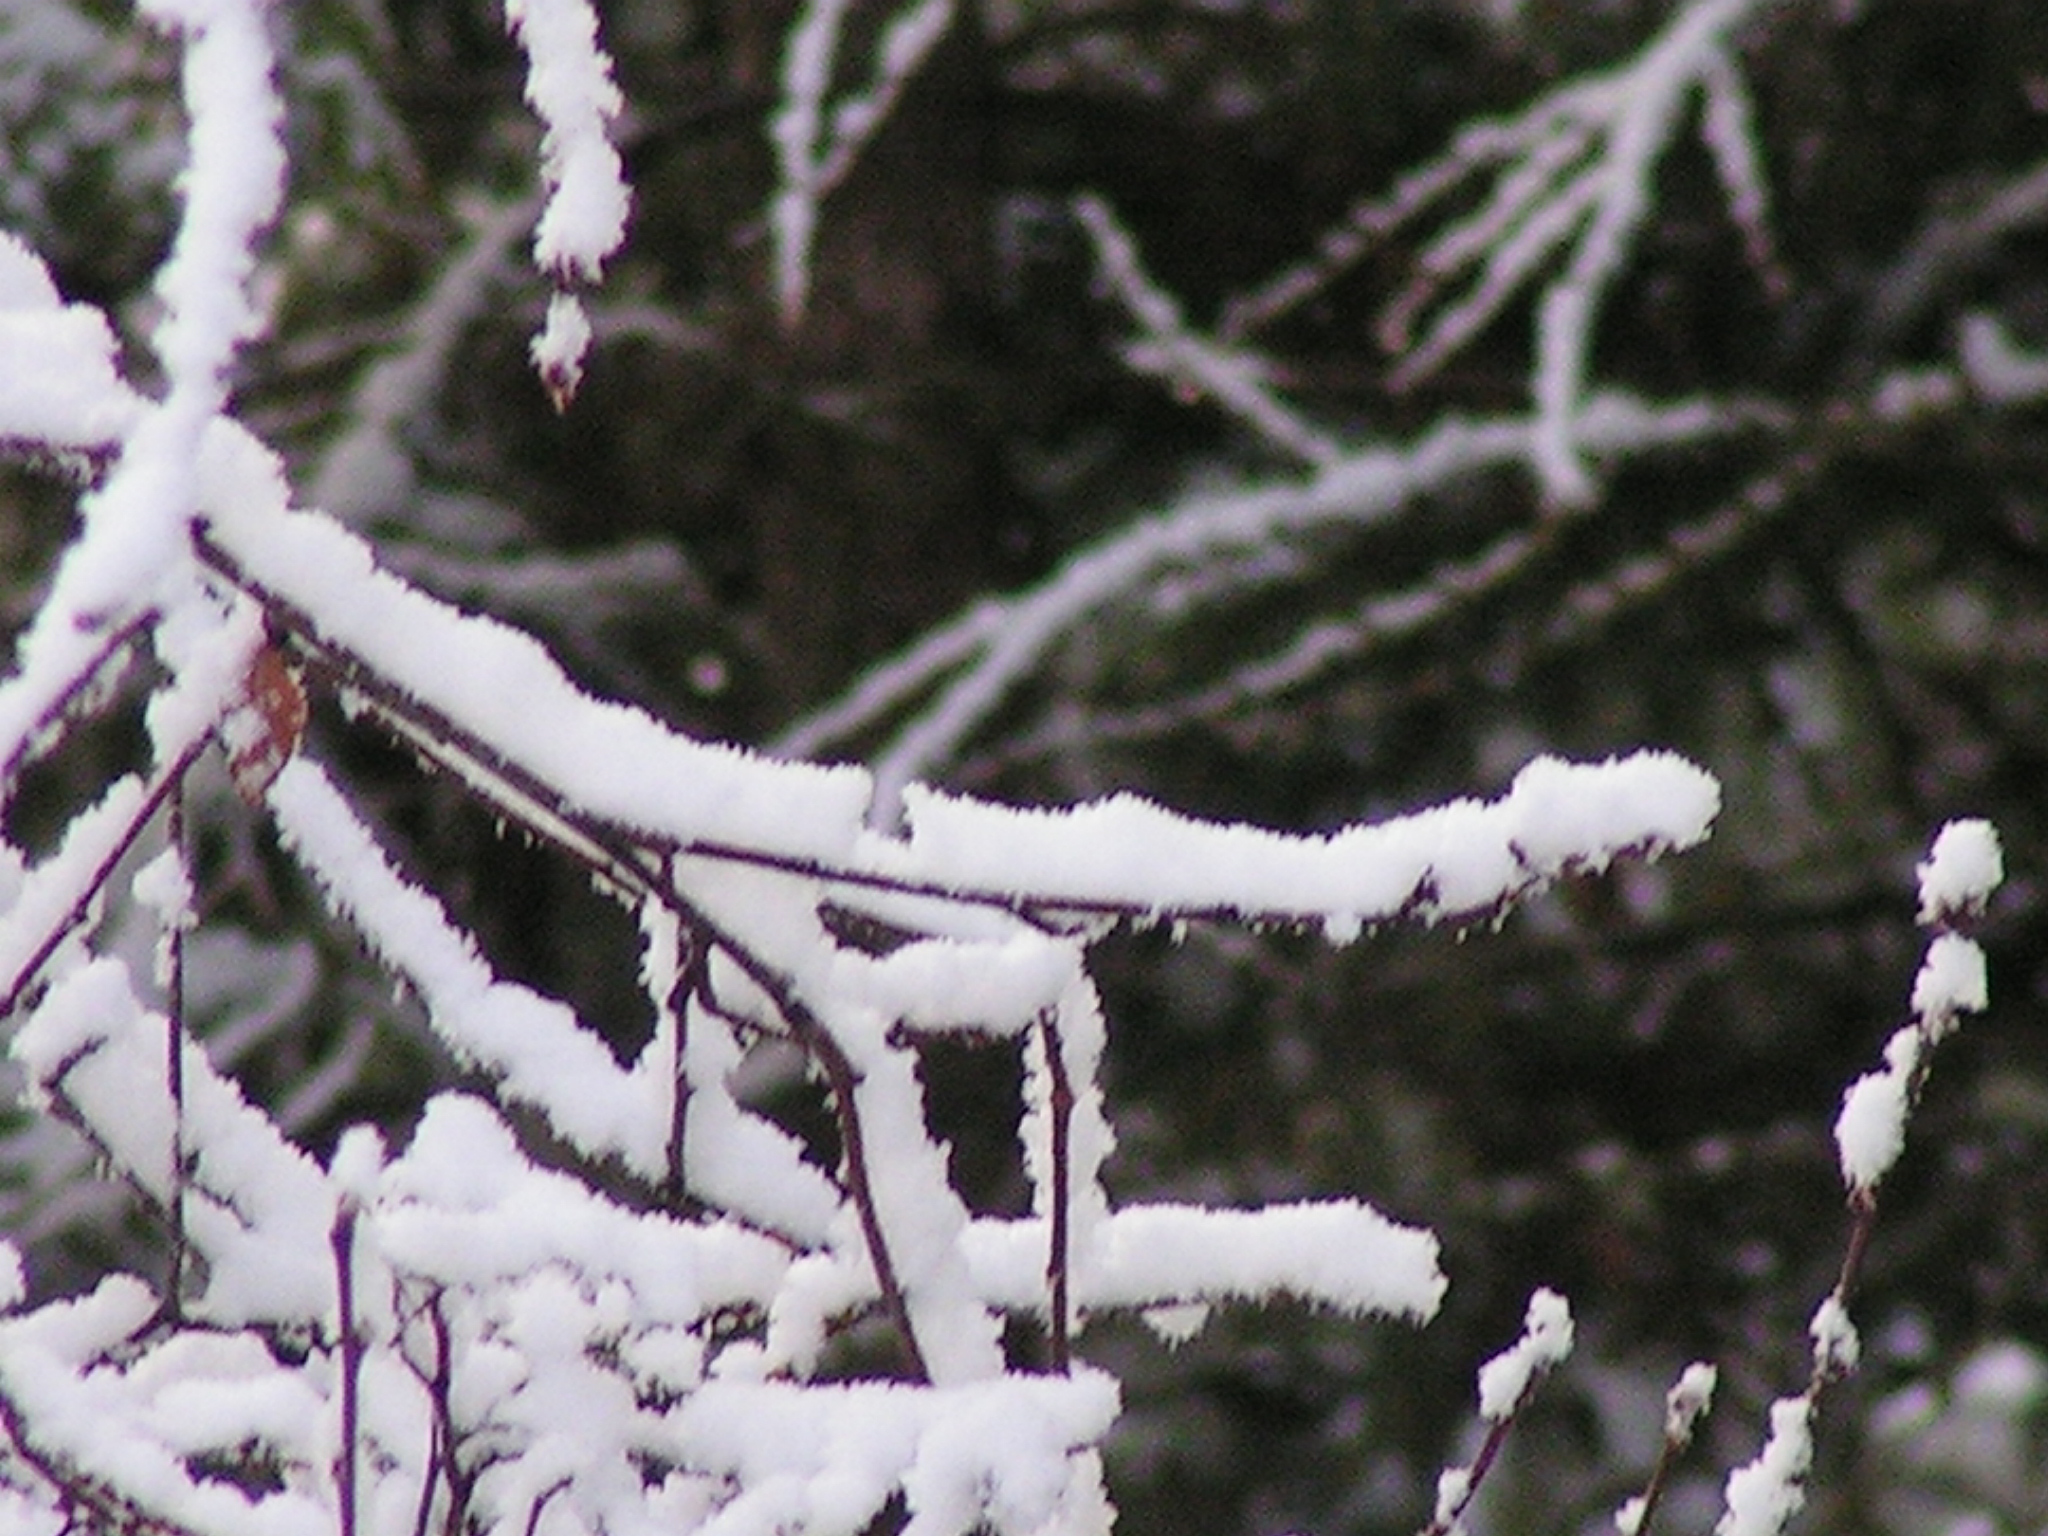
We’ve had quite a bit of snow here over the last week so I leave you with one of the photos that I took while out walking and admiring the winter beauty.

Playing with Paint

I decided to make some snowflake stamps and stencils today. I wanted to finish up a page in my sketchbook that I had started that had a winter poem on it.

Sticky Foam Snowflake Stamps

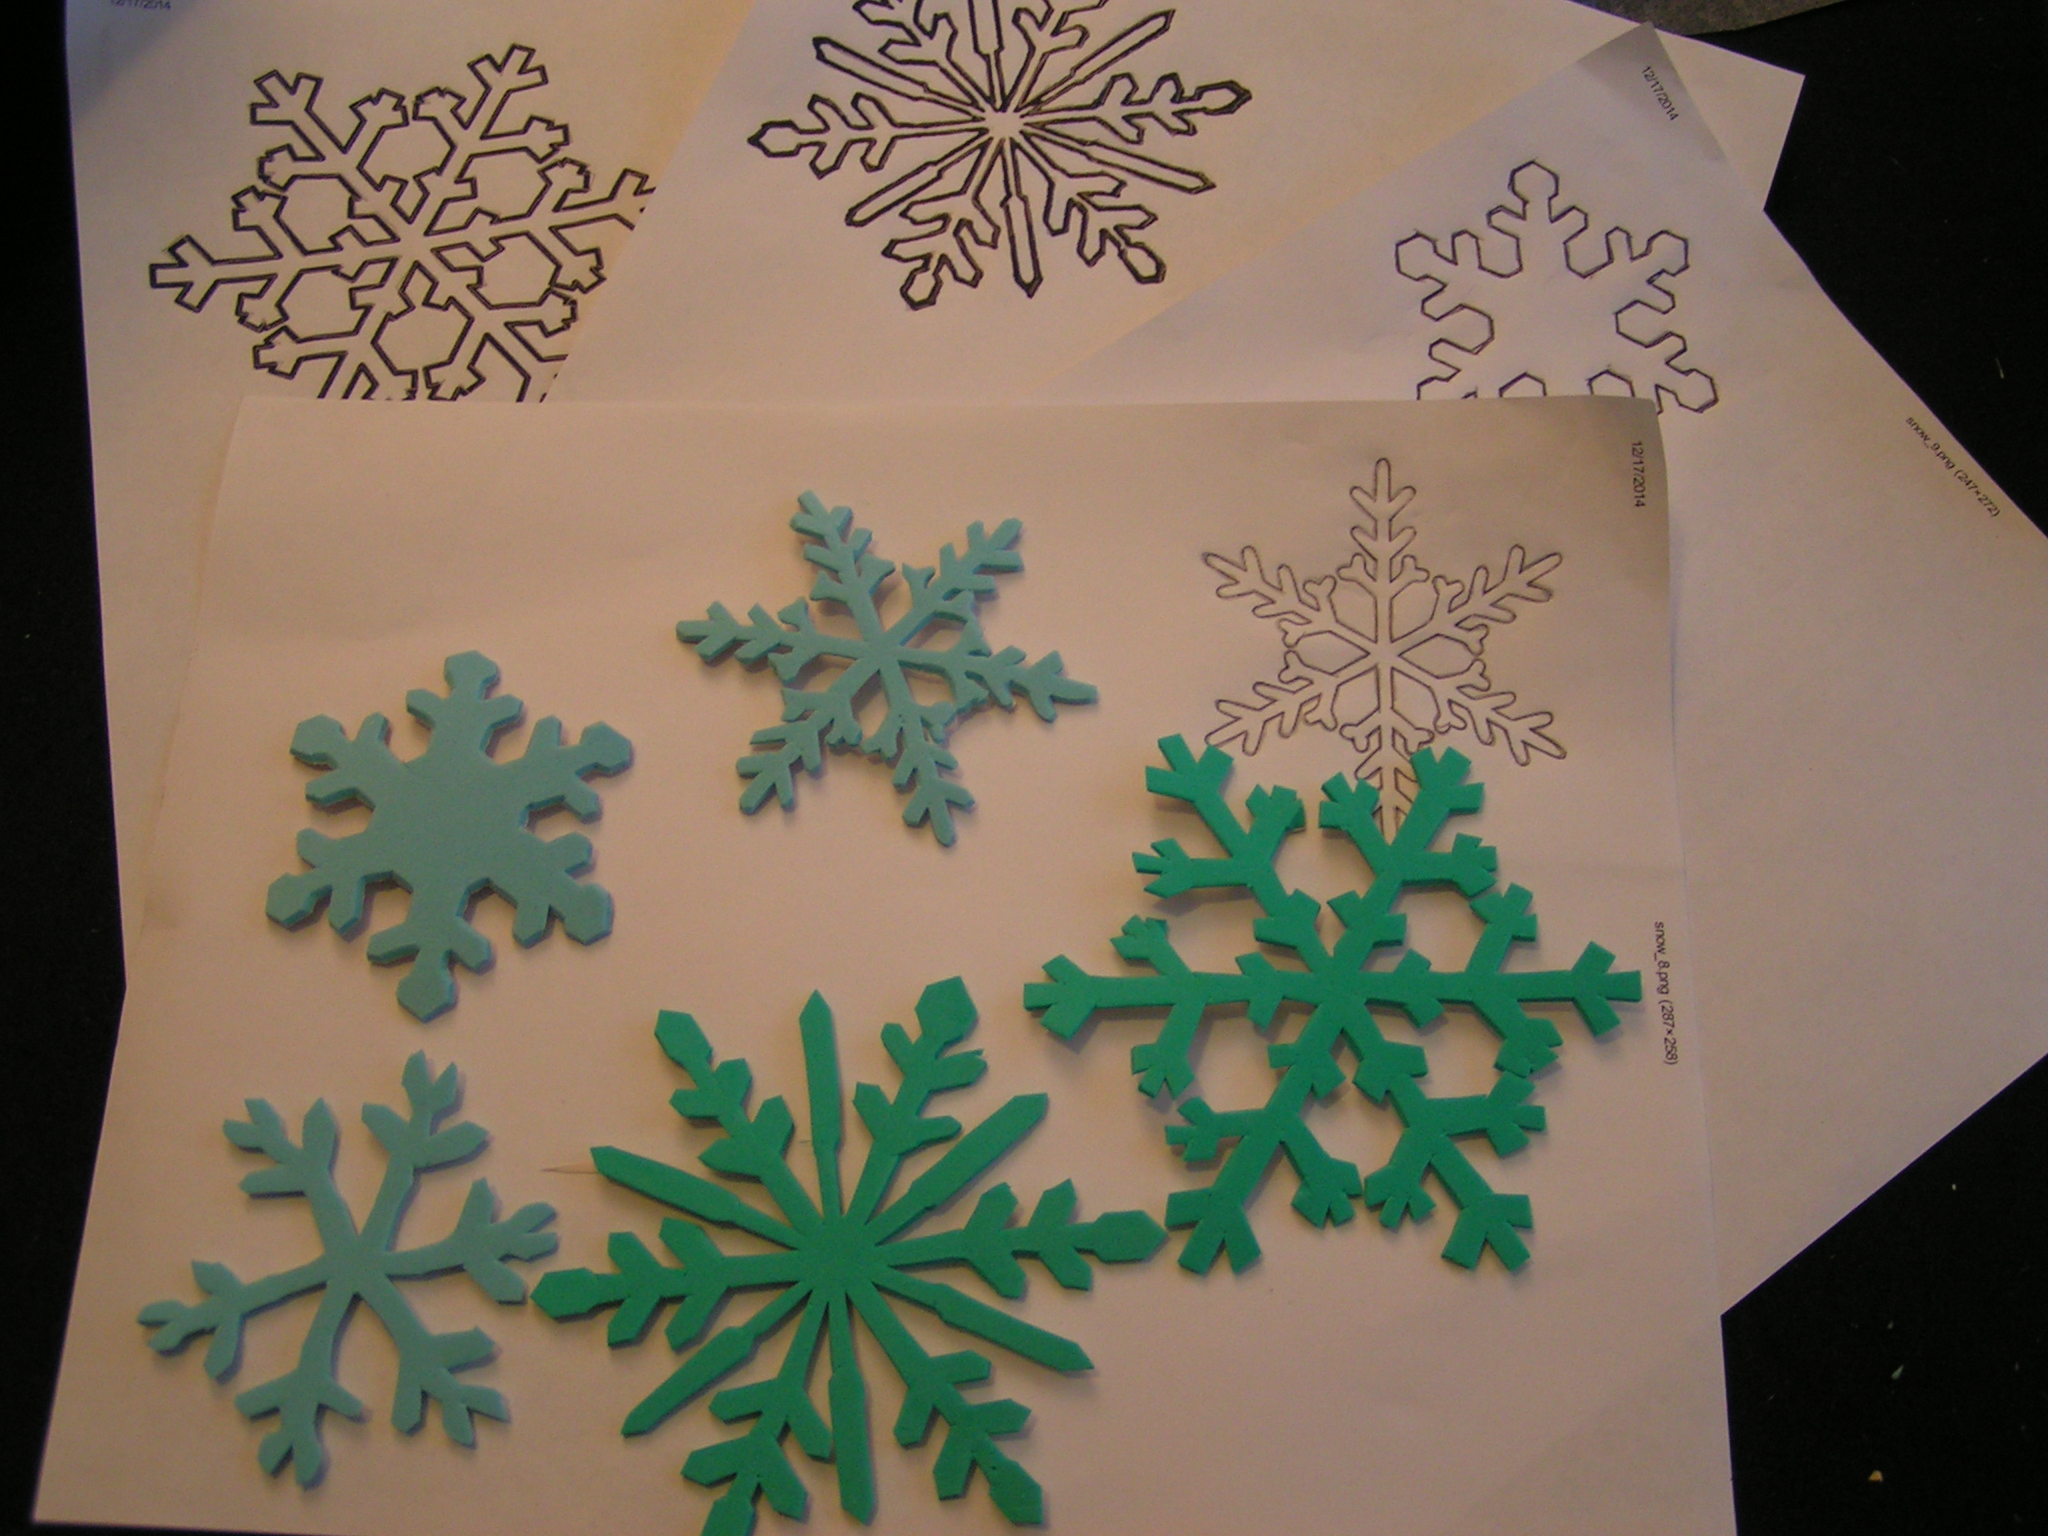
I transferred the designs on to paper backed sticky foam and started cutting. These were a bit intricate and took a while to cut out.

Stamps and Designs

Here’s the five stamps I made. I used copyright free clip art I found online for the designs.

Snowflake Stencil Design

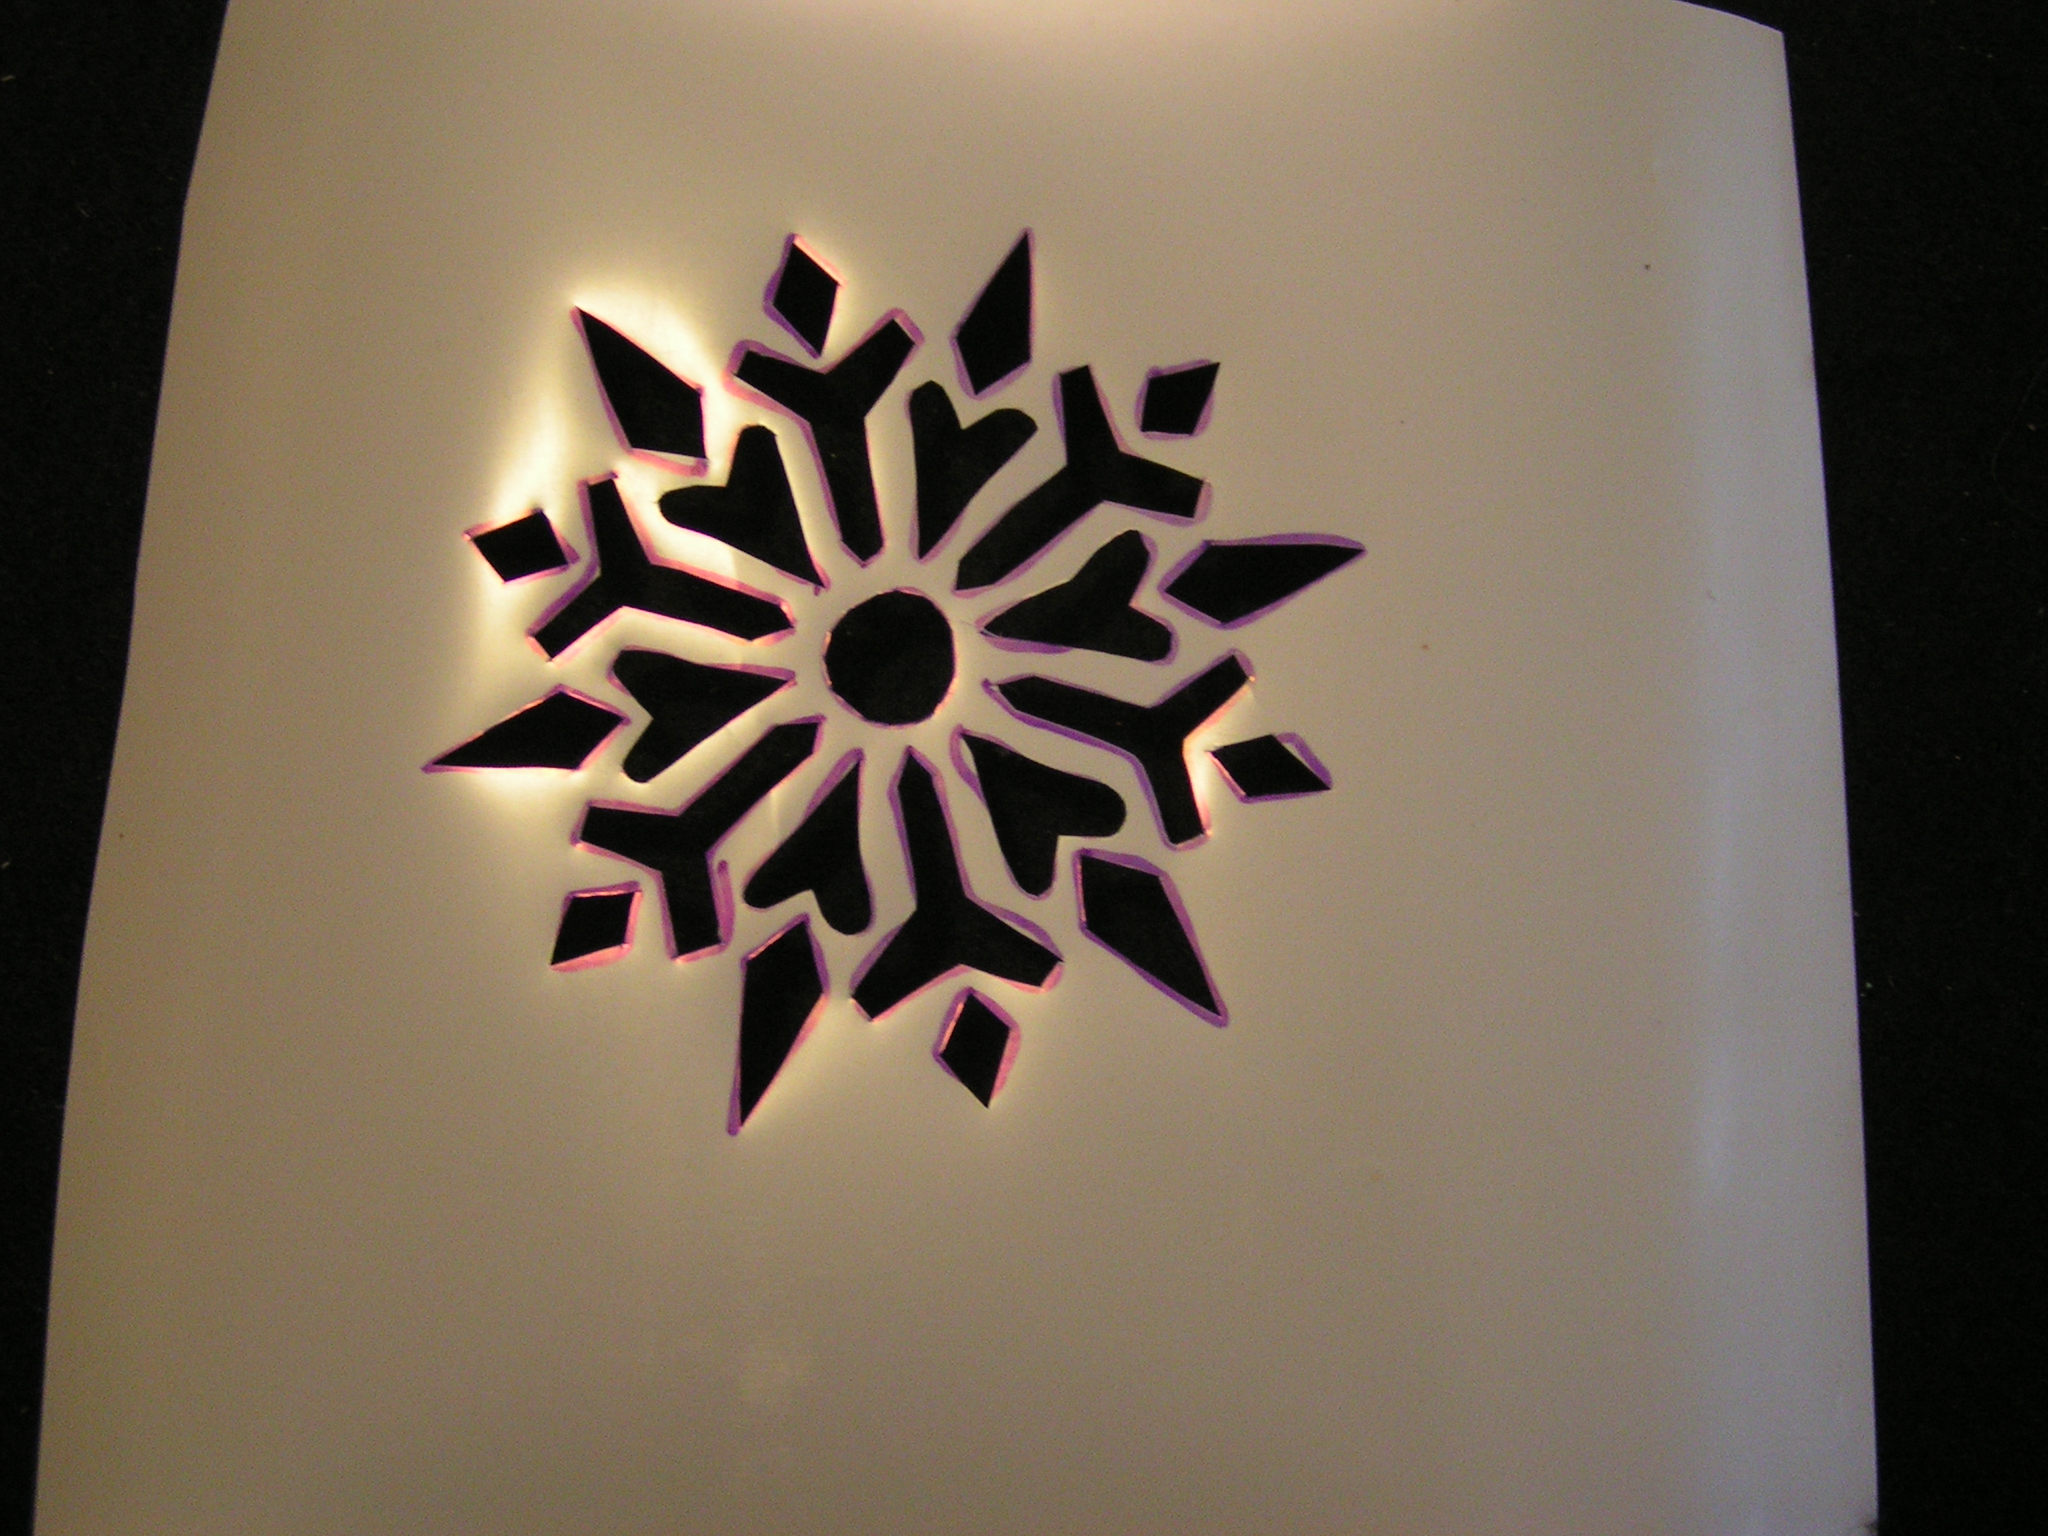
I had planned on using this design as a stamp but then I decided it would work much better as a stencil.

Stencil Design Drawn

I traced it on to the stencil plastic.

Stencil Cut

And cut it out with my trusty X-acto knife.

Peel Off Paper Backing

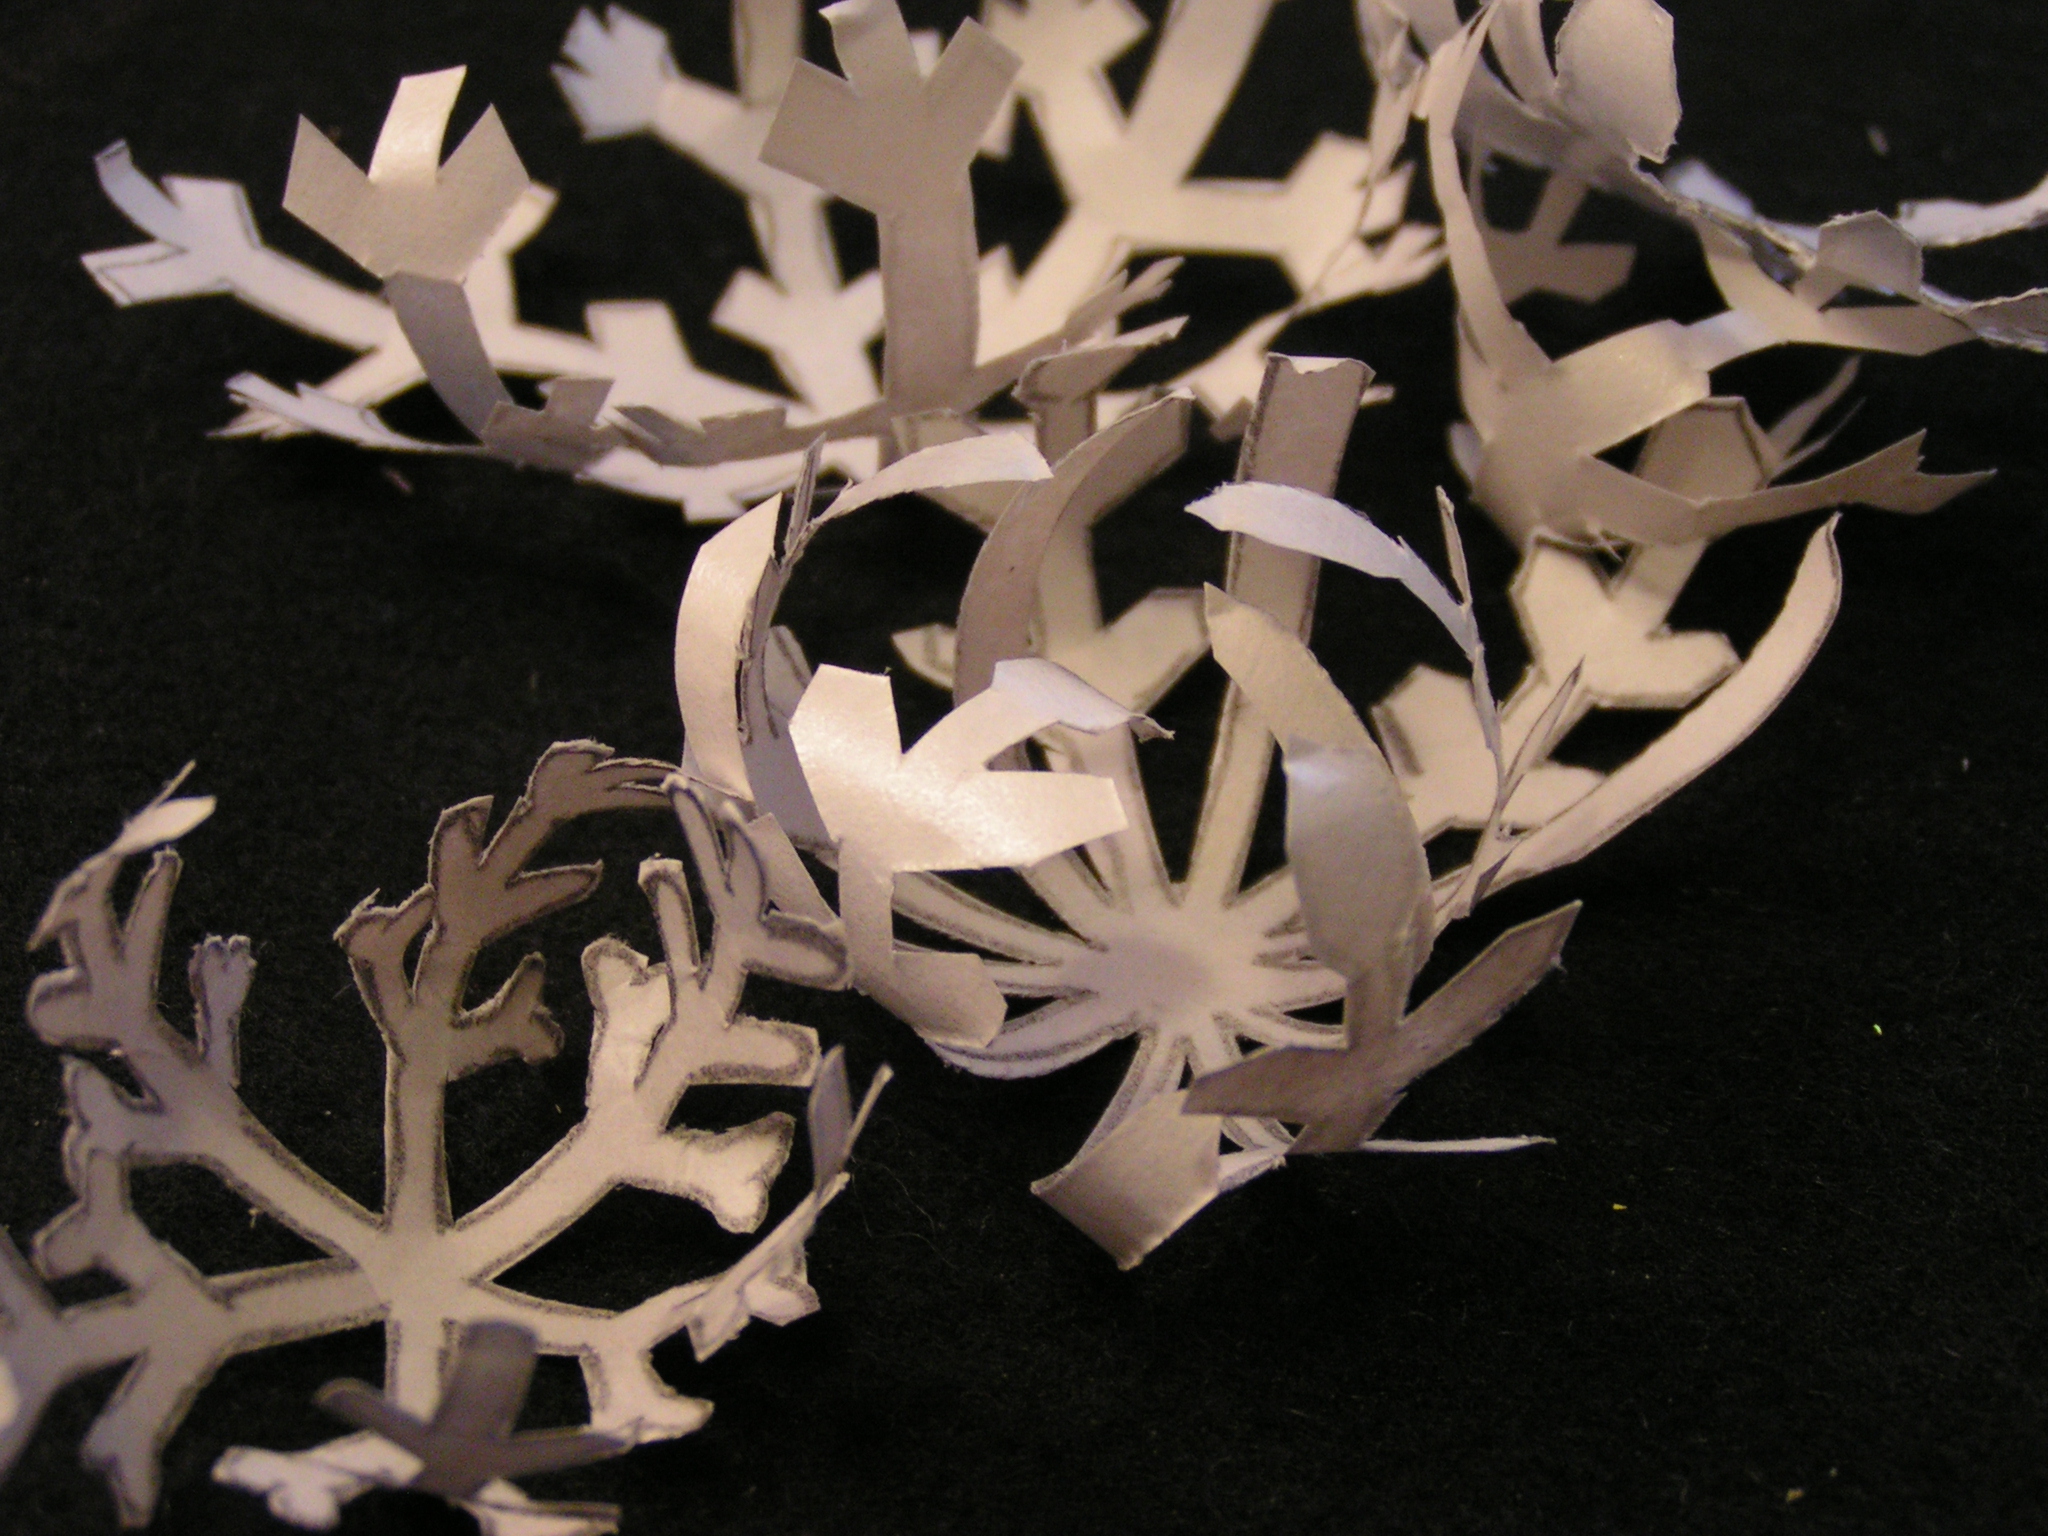
I peeled the paper off the back of the stamps and put them down on clear plastic.

Paper Backing

I liked how the paper looked all curled up after peeling it off the stamps.

Painted Page

I decided to paint some papers blue first and then I would work from there. I didn’t take a photo of the paper just blue but while the paint was still wet, I put the stamp down on to the wet paint. I didn’t add any extra paint, just the dry stamp. And the photo above shows what happened. The stamp caused the paint to darken where the stamp was placed.

Back of Page

And the stamps even showed through to the back side of the paper. I really like this effect and will definitely try this again with other stamps.

Snowflakes 3

Here’s one of the pages after drying.

Snowflakes 1

I then added some white paint and some light blue paint with the stamps and stencils.

Snowflakes 2

It snowed most of the day here today so I’m sure that must have influenced how these pages turned out.

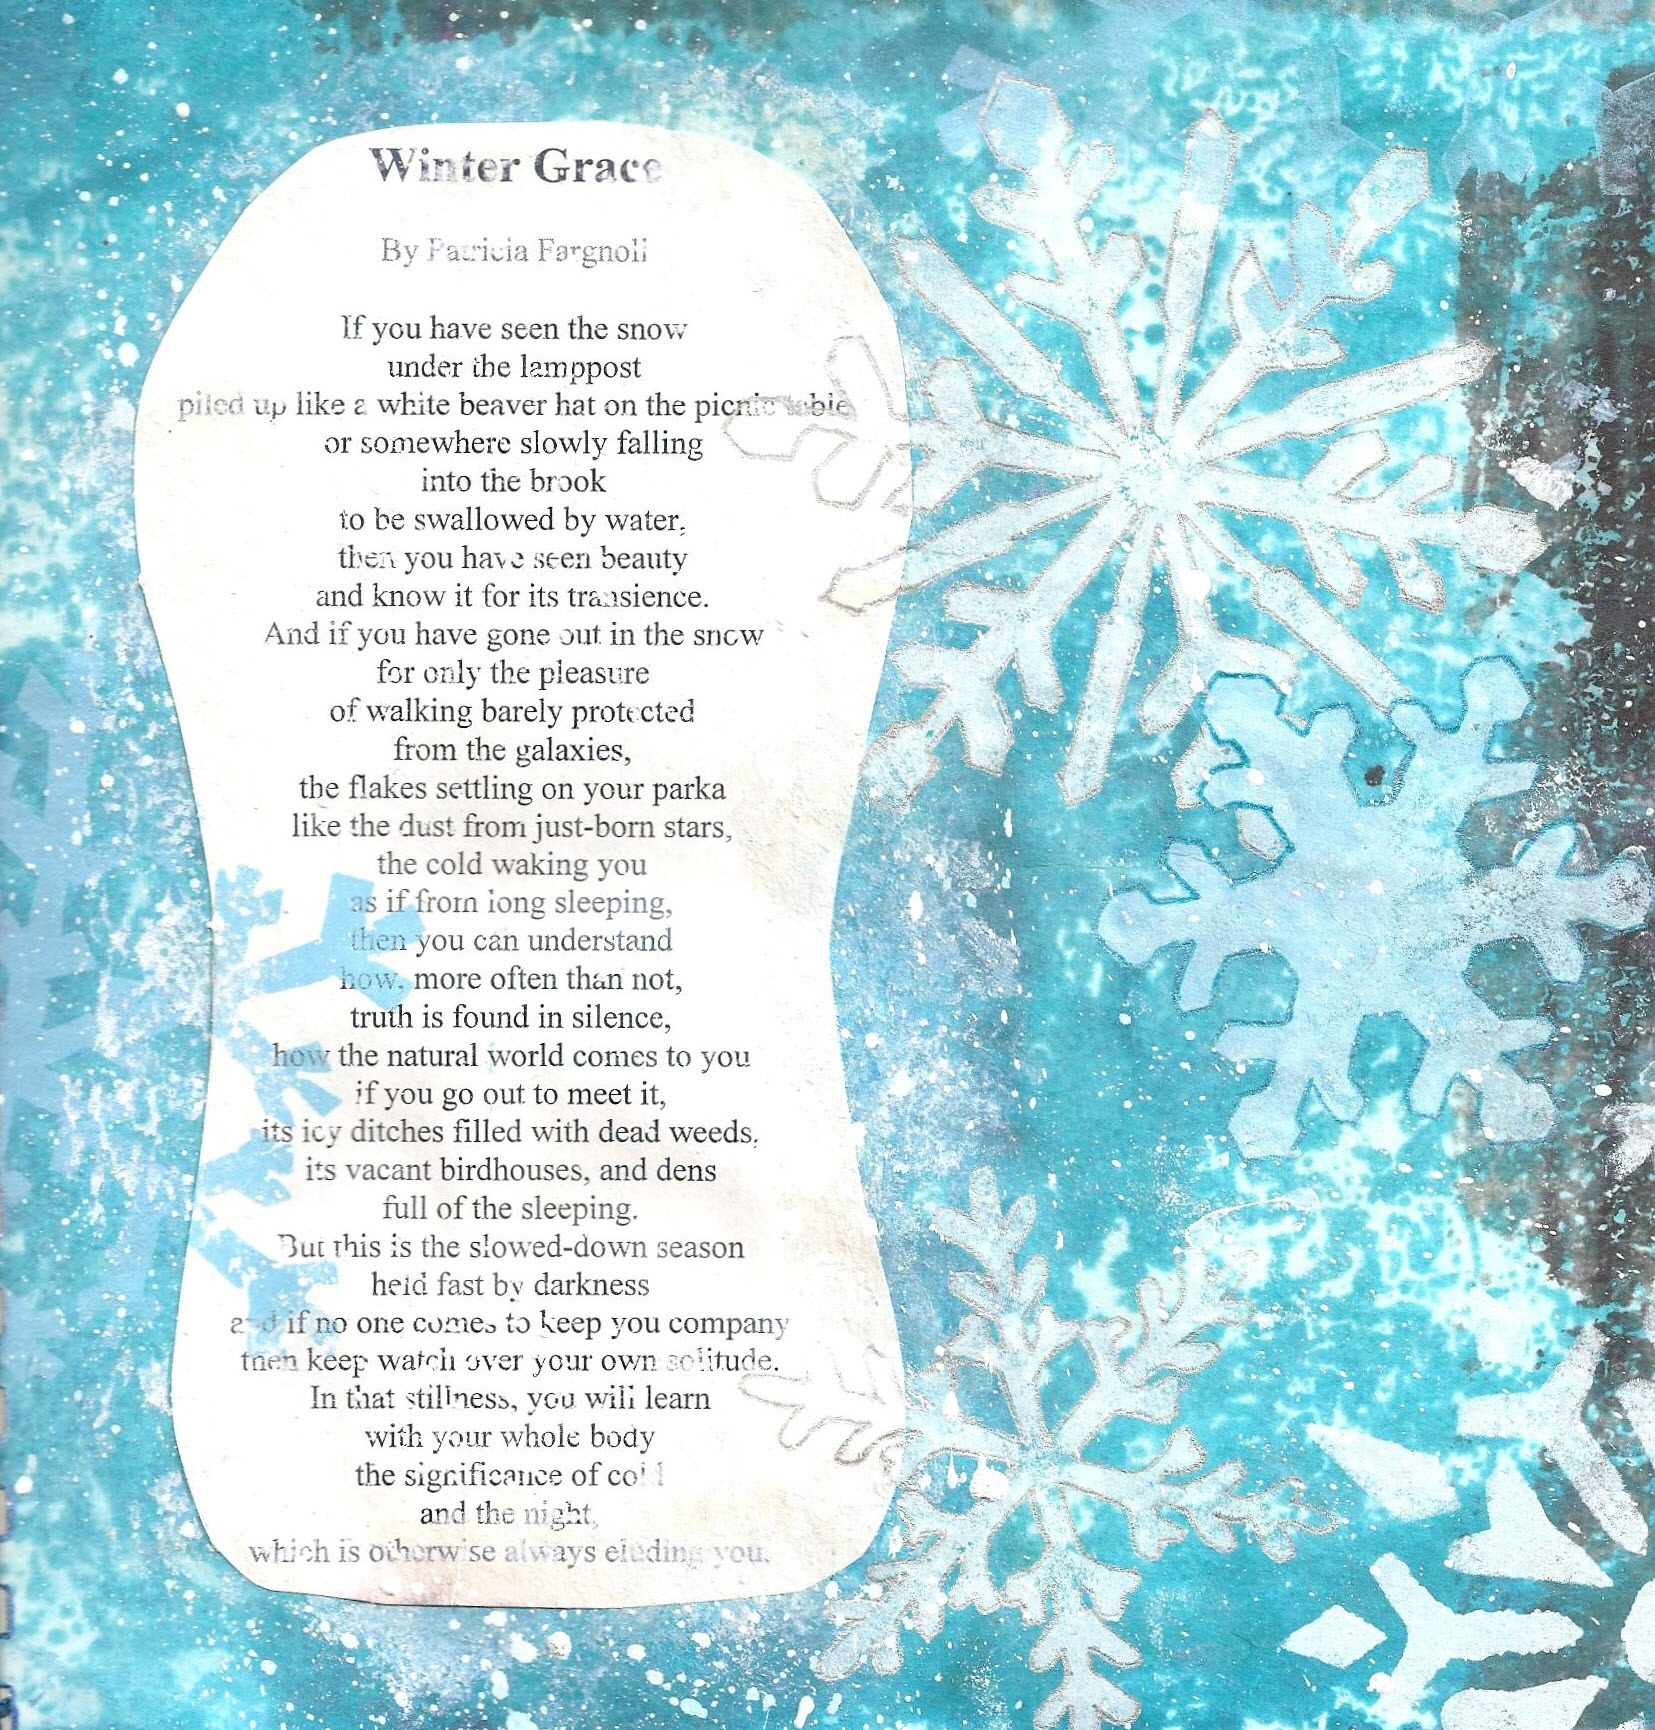
Winter Grace

Here’s the page that I originally planned to work on. The poem is called Winter Grace by Patricia Fargnoli. You should be able to read it if you click on the photo to enlarge it.

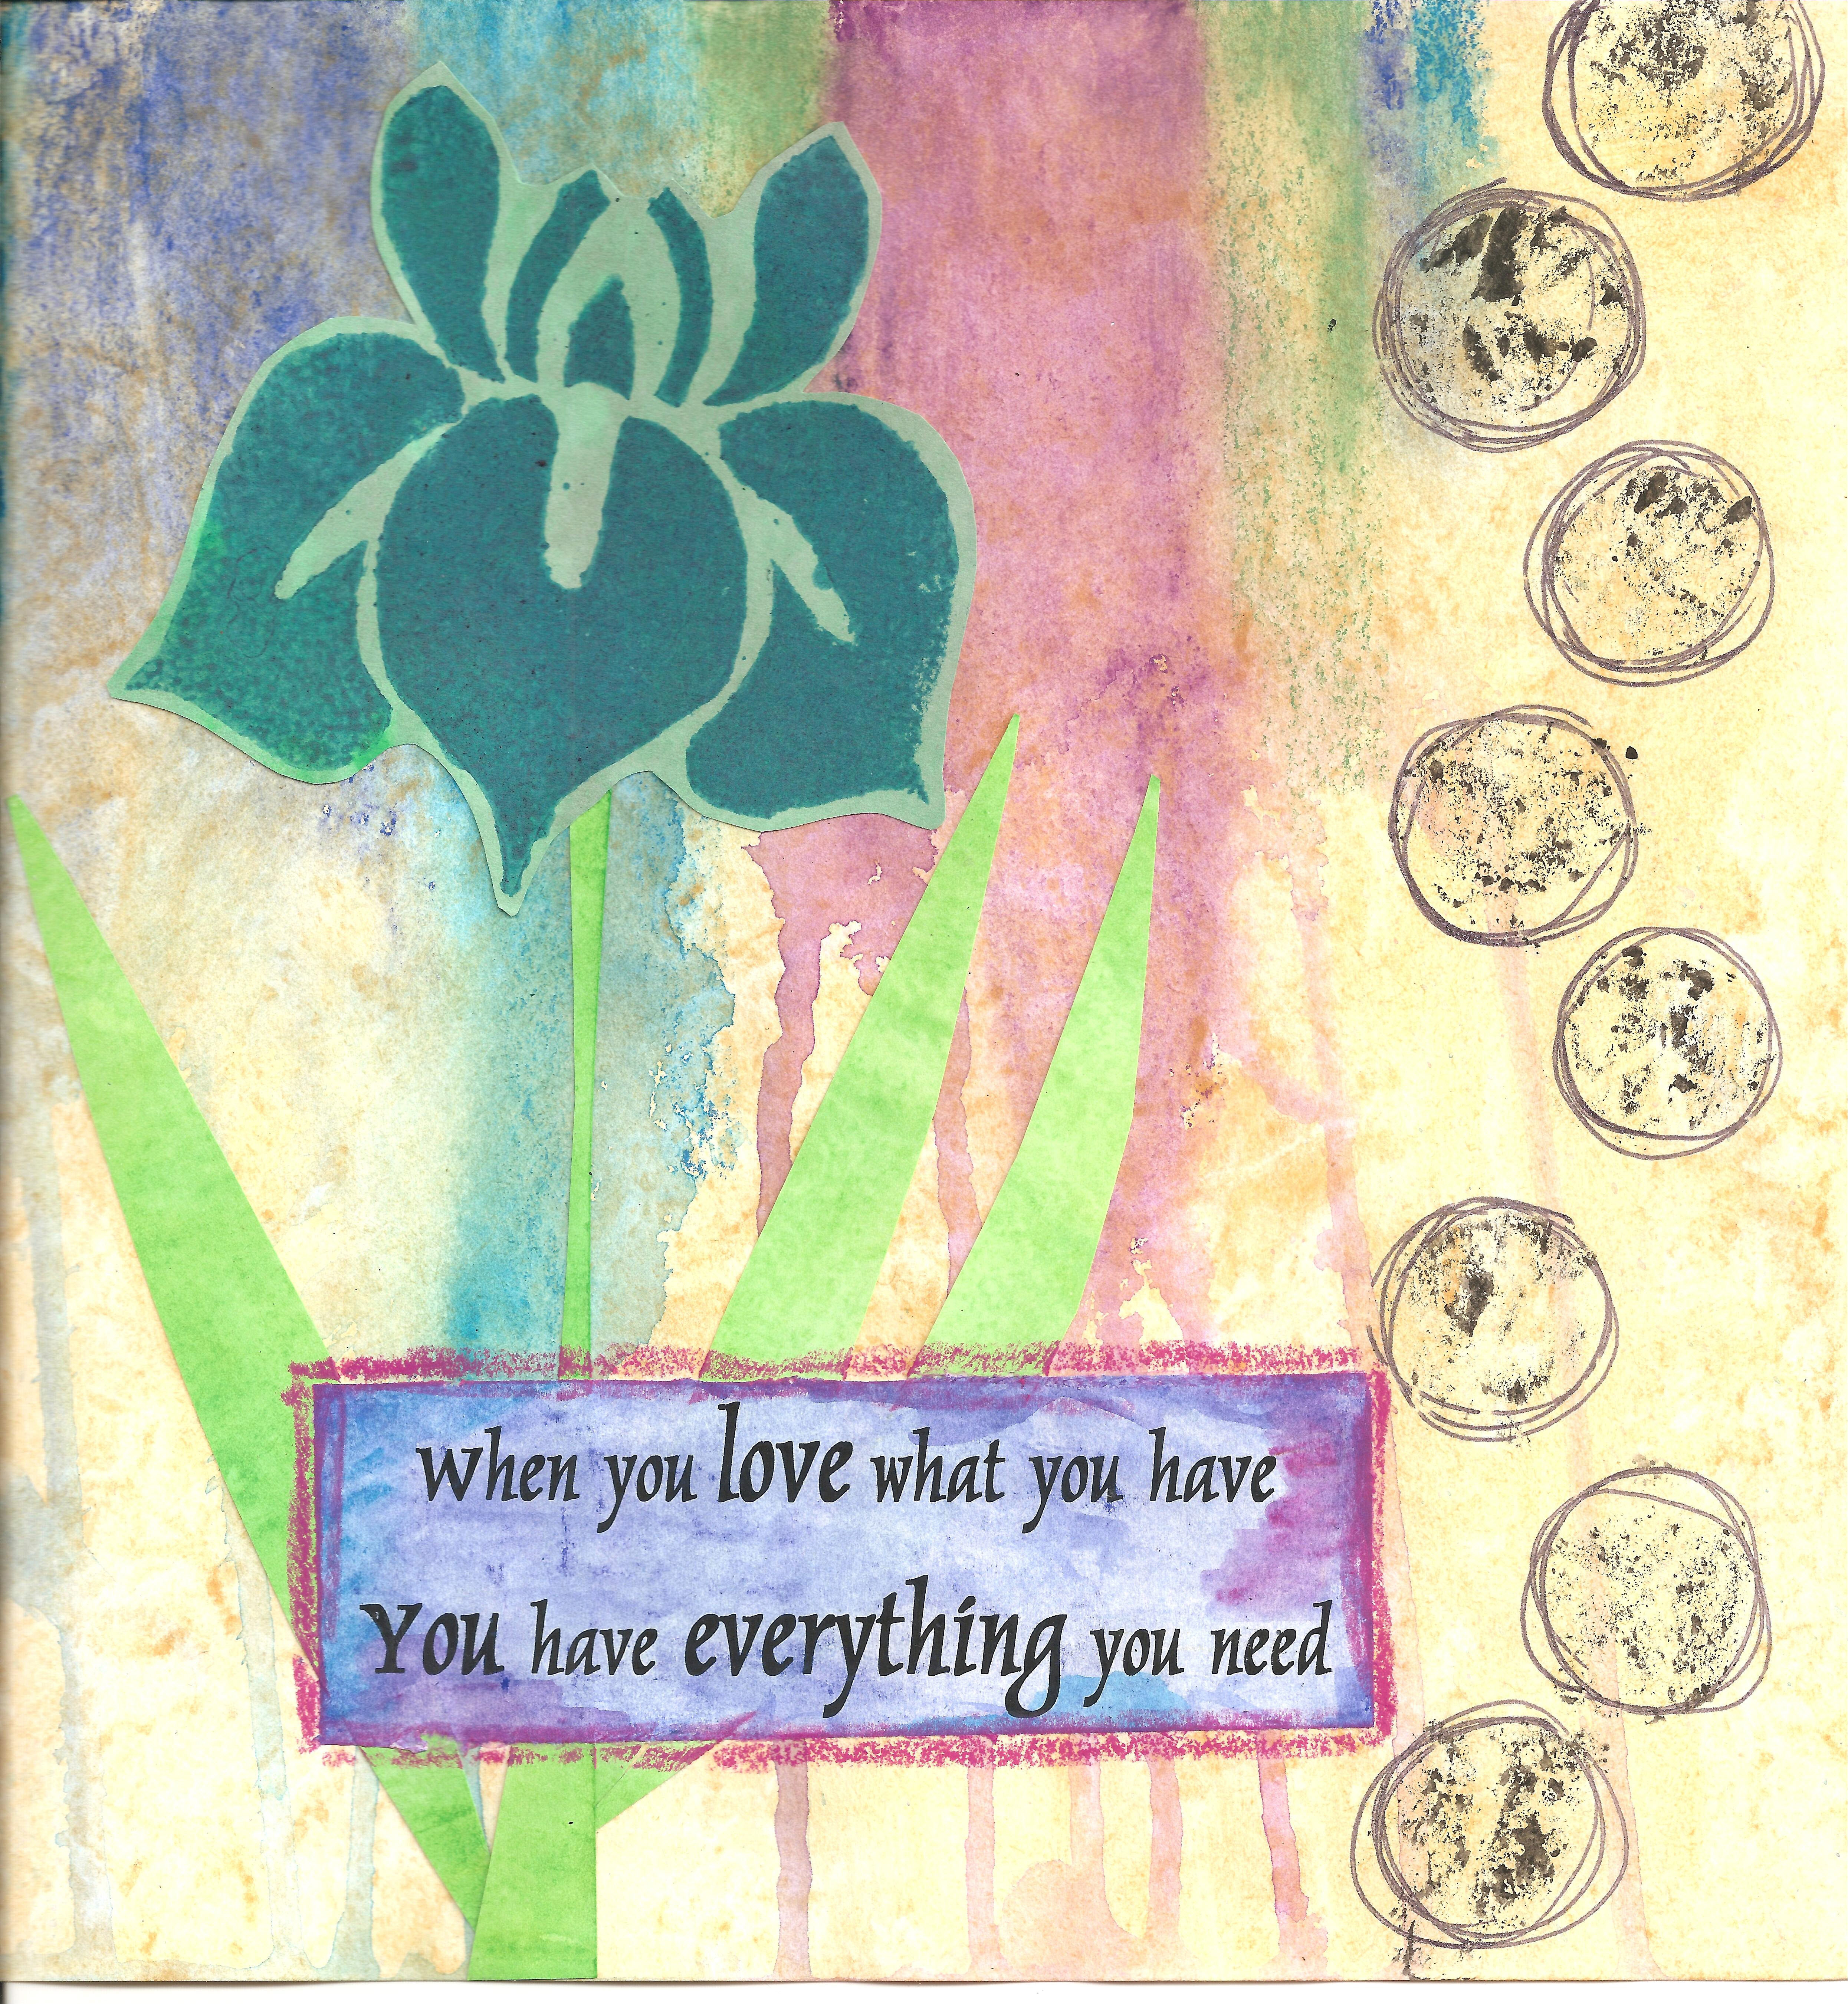
Iris

And I finished up a few of the pages that I had started before. I added a quote to the iris page.

Roses with Leaves

Added some leaves to my roses.

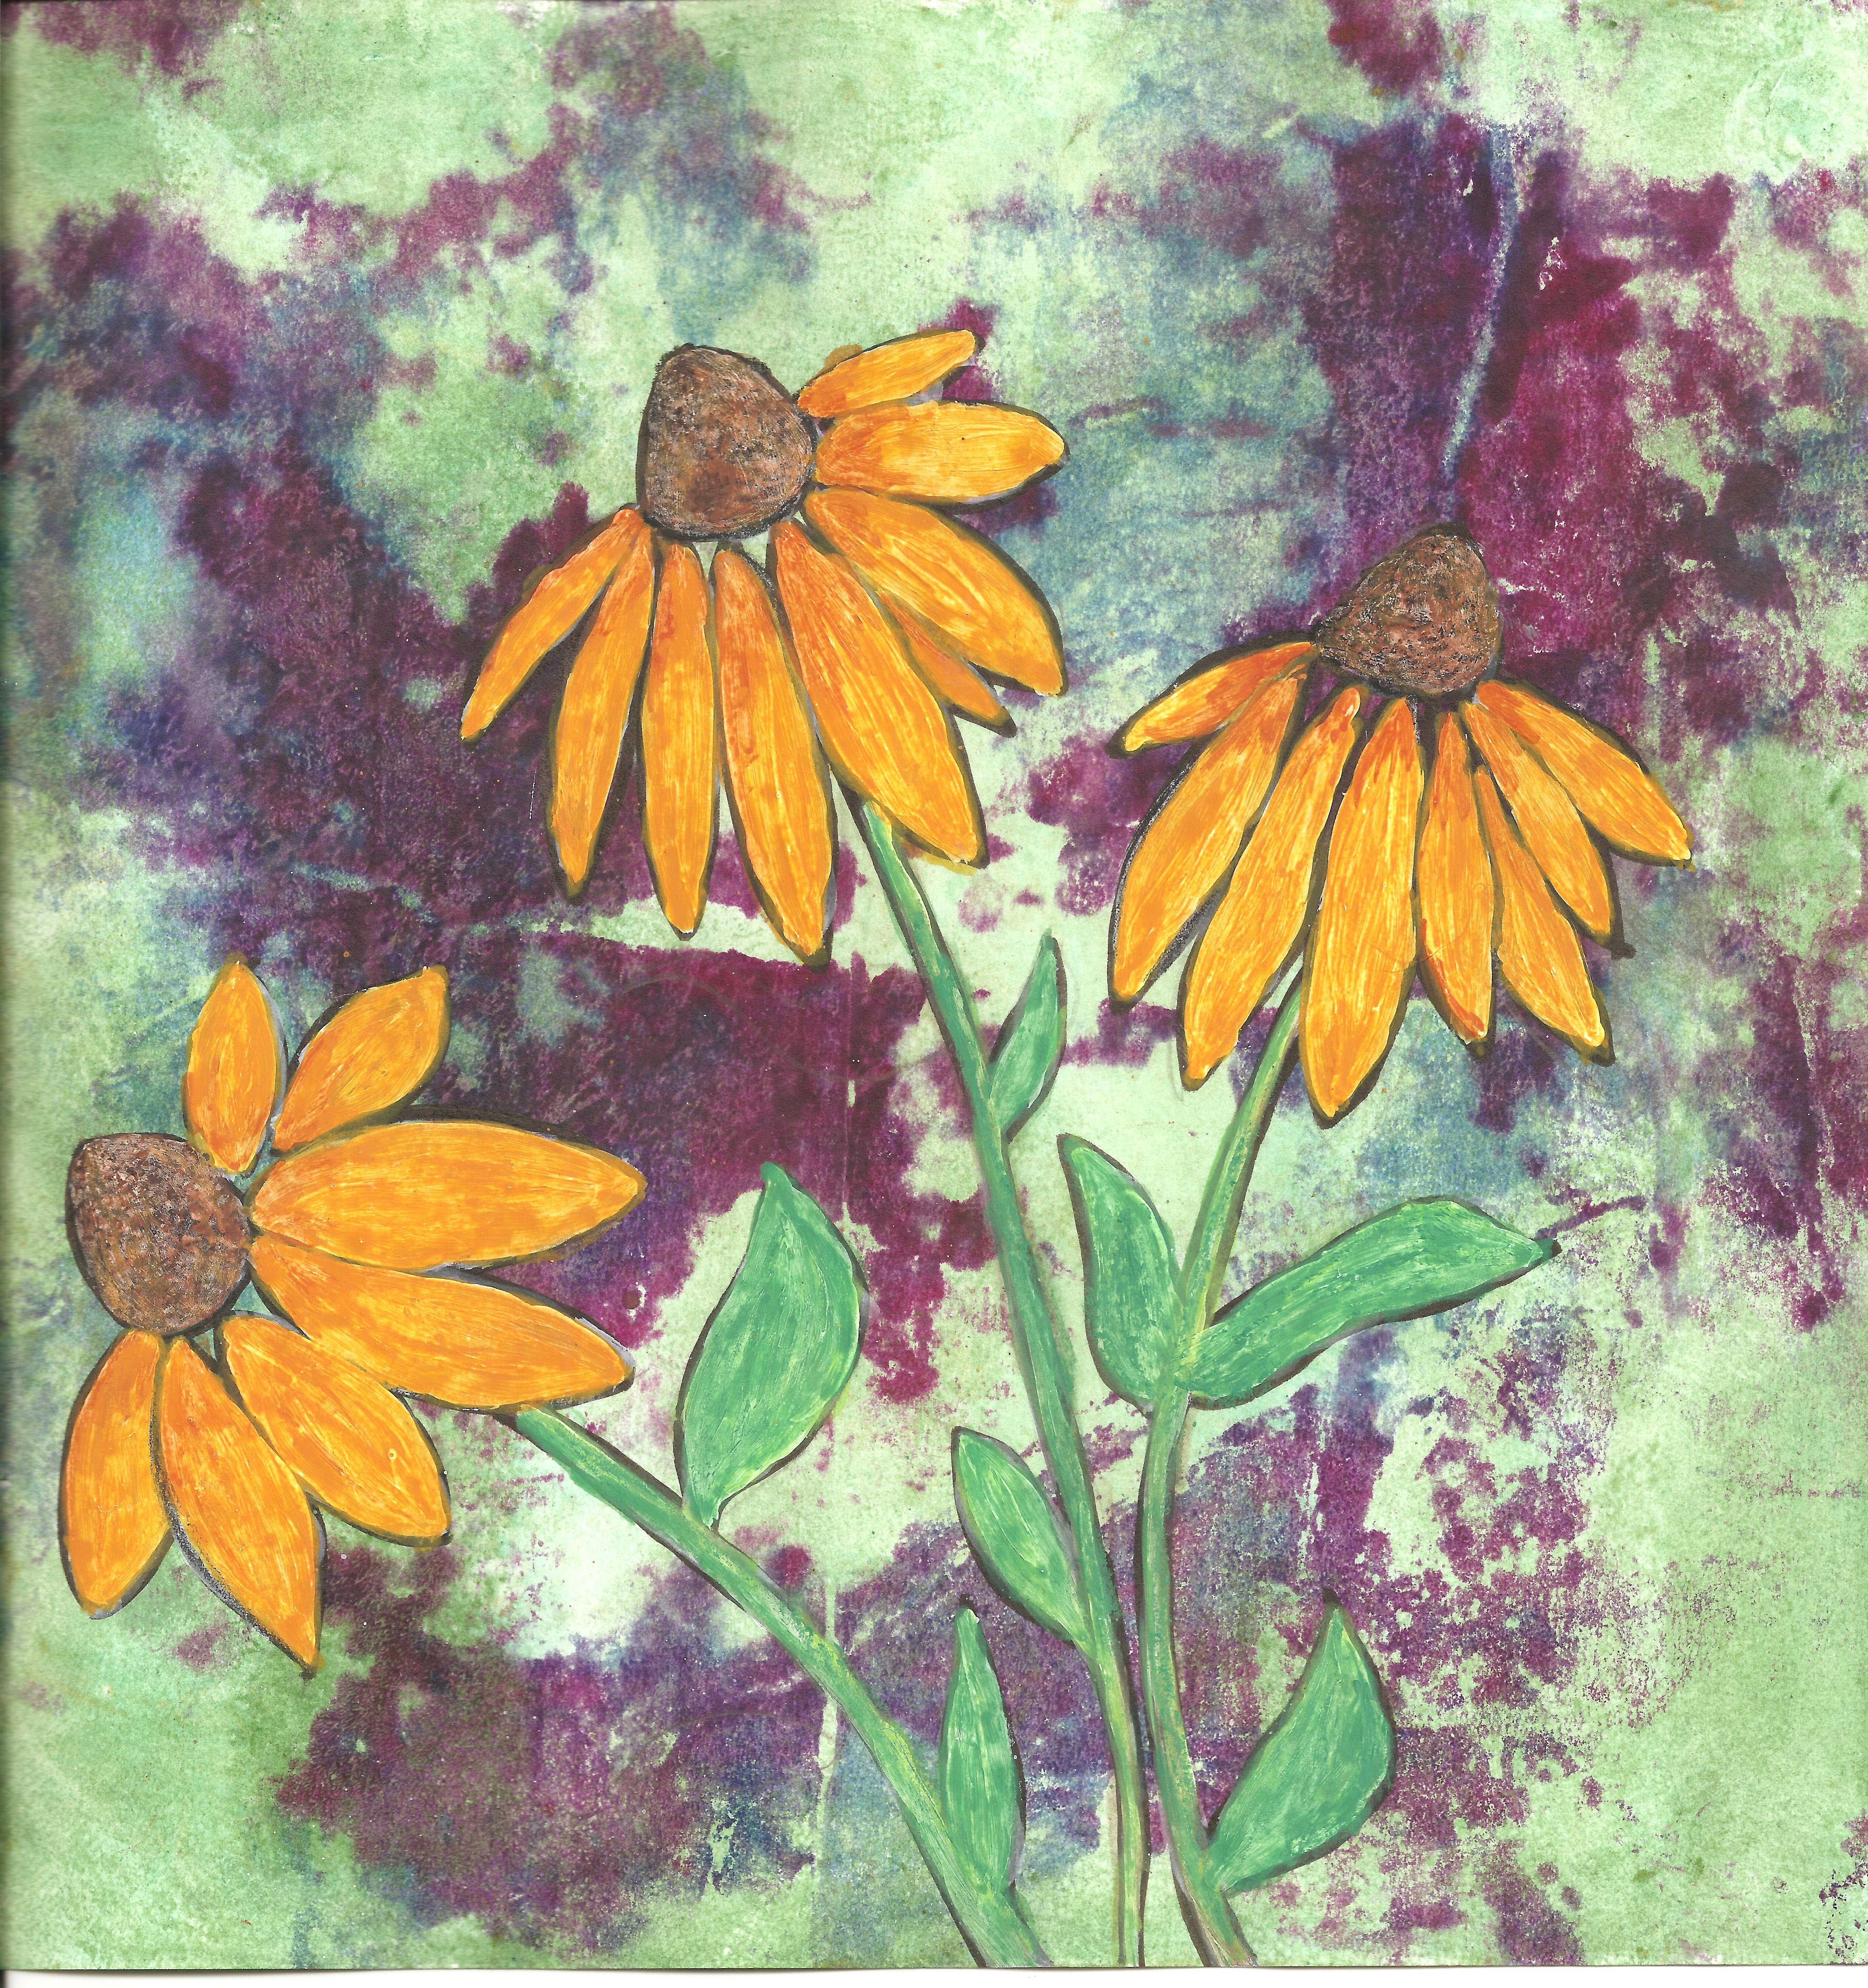
Ecchinacia

And colored in my ghost flowers. I hope you have a wonderful weekend and a Merry Christmas. Thanks for stopping by and I appreciate all your comments and support.


Ukrainian Eggs – Pysanky

Ukrainian eggs are usually associated with Easter, but my local surface design group met today and we decorated some eggs for Christmas ornaments. We had a lot of fun and even though we were not very experienced the results weren’t bad. I don’t have much time this afternoon for a post since I have Christmas Stroll at the store tonight so I’ll leave you with a slide show that has photos of our morning decorating eggs.

This slideshow requires JavaScript.