Jellyfish and a Leaf

This is another sample that I started in class and then added more layers of paint when I got home.
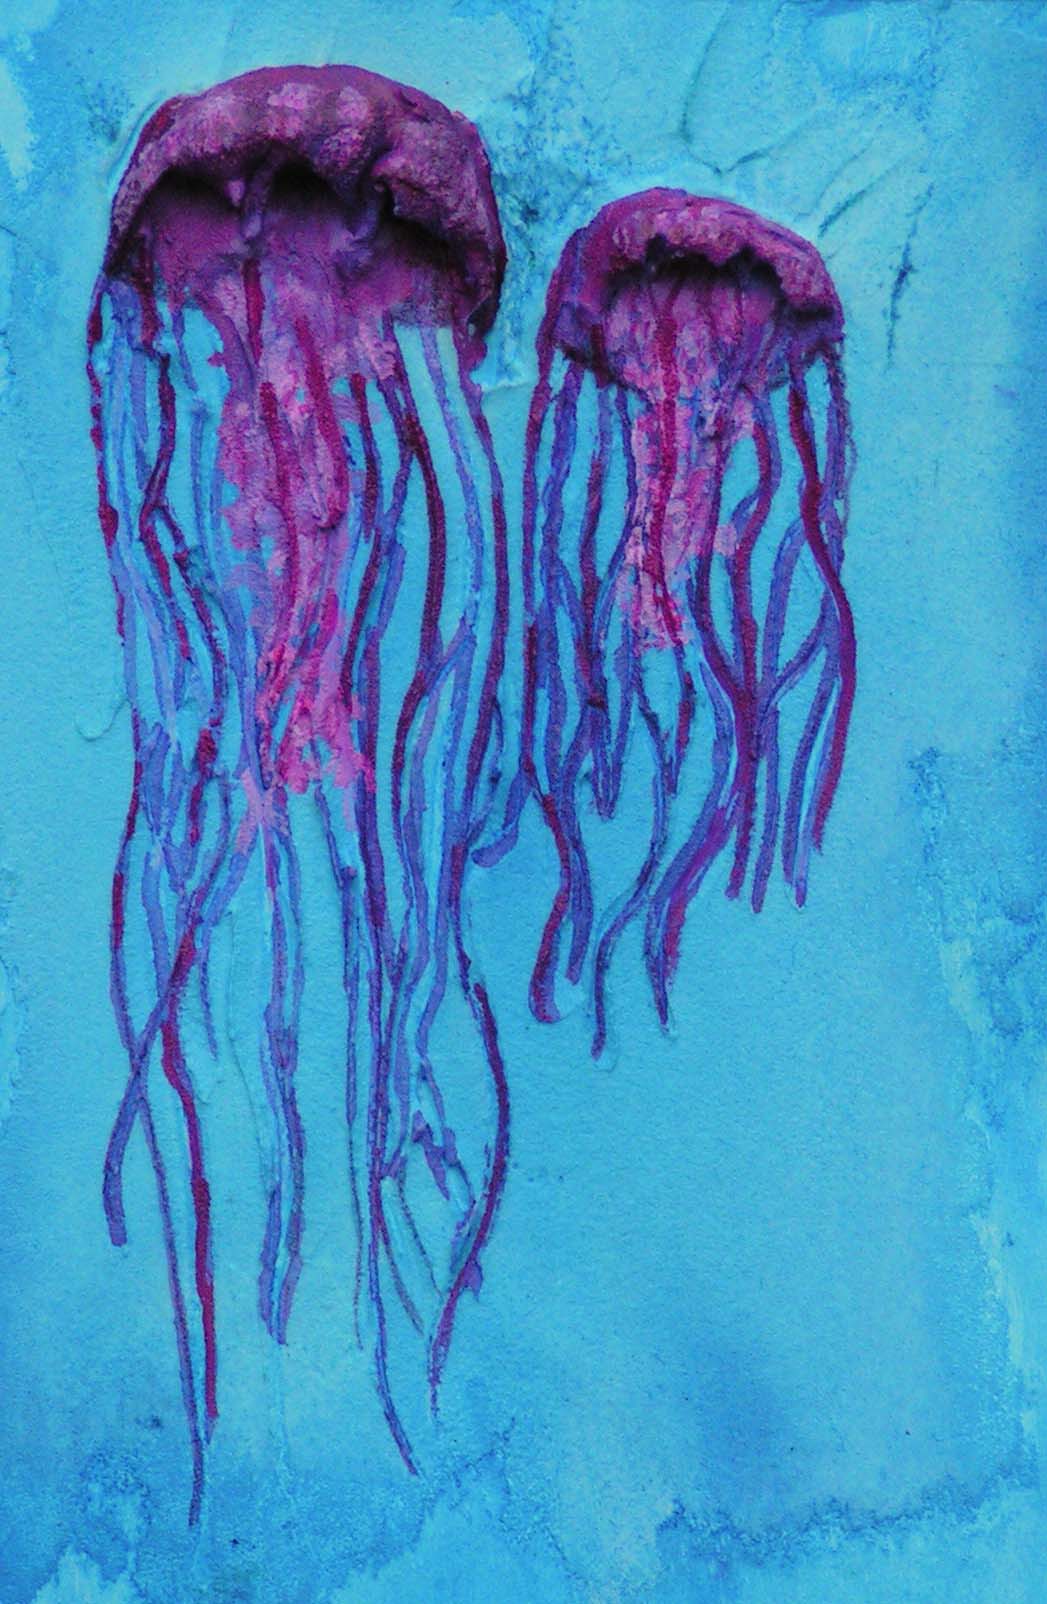
This is done with one of the thicker mediums so you can mound it up and give really big texture. I decided after I took the photo that I need to add another coat of a gloss medium on top to make it look more like water.

And I wanted to show you this gorgeous leaf that I found while I was in Washington state at my class. It is a huge leaf, bigger than my head. And the colors and details are just gorgeous, aren’t they? I am definitely going to do a color study of this leaf. Have you found anything spectacular lately in nature? It seems I can always find something that catches my eye!

 

Samples, Samples, Samples

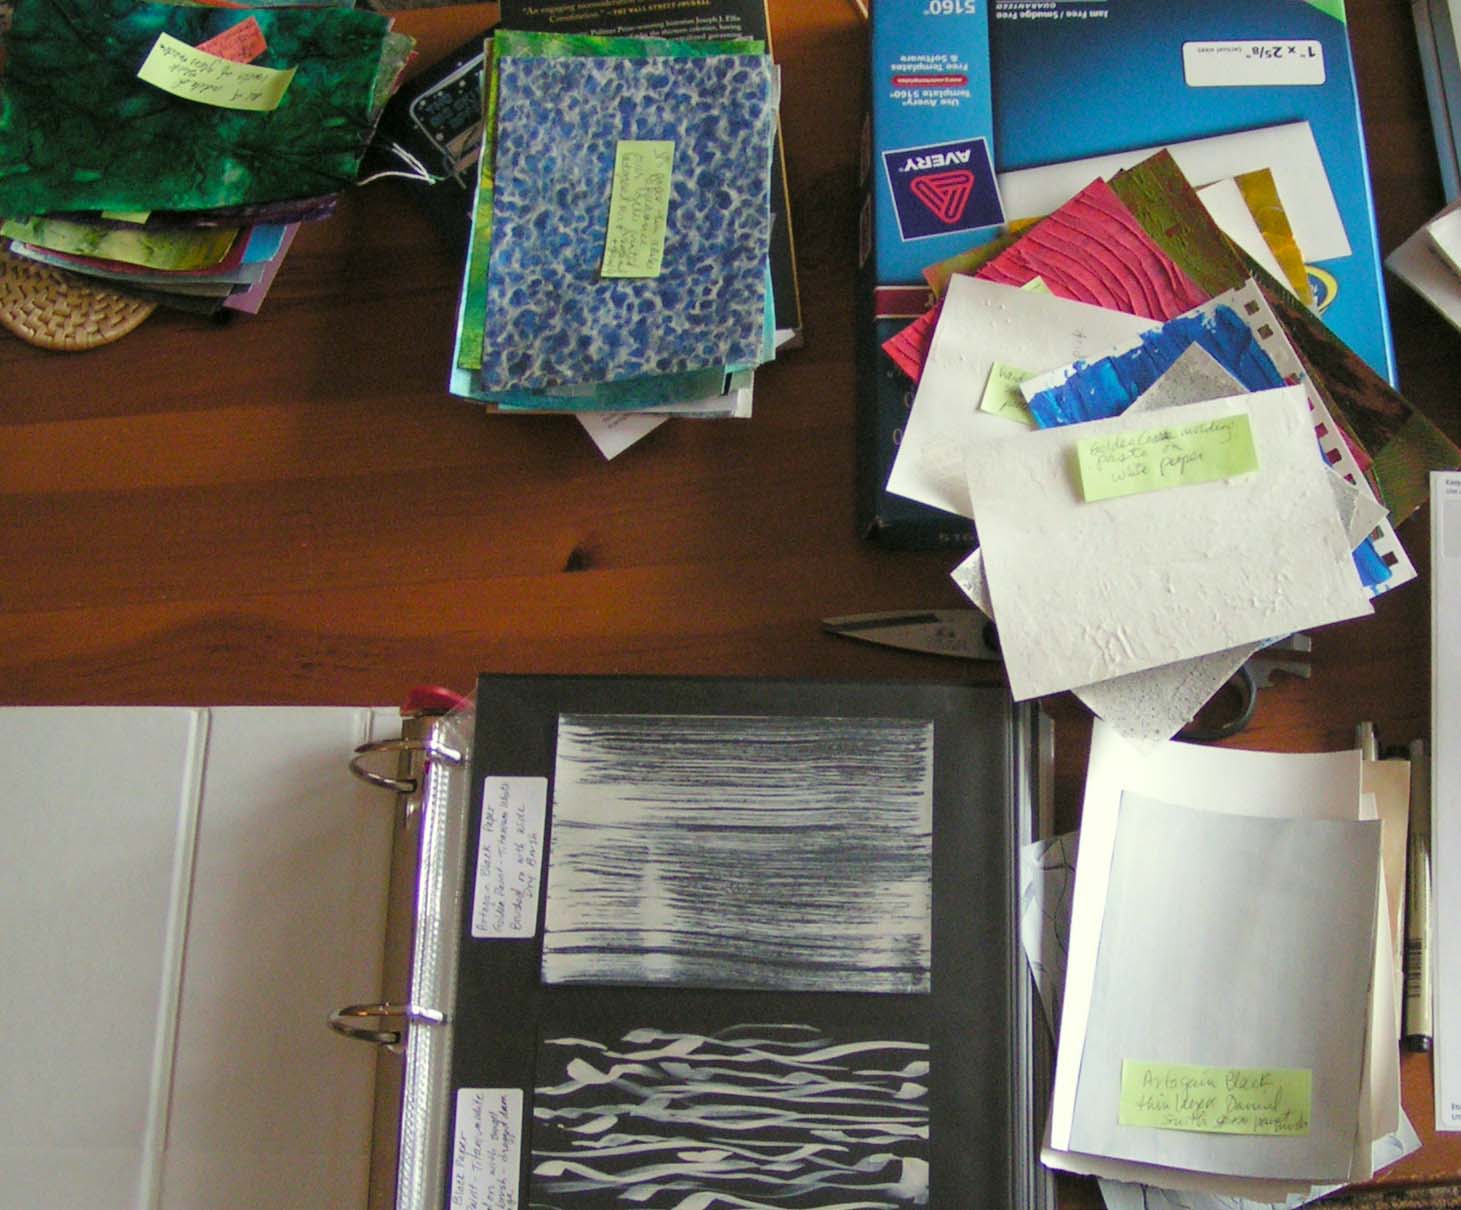
In my recent Art & Design class, we started creating a sample library. We used lots of different acrylic mediums on a variety of papers with different application techniques. The documentation is the hardest part because you need to remember what you did so it could be replicated if you wanted.

I’m doing more samples since I got home and adding more layers to some of the original samples done in class. The samples are all about 5″ x 7″.

I have started putting my “library” together into a 2″ ring binder. I’m not sure I am going to have enough room. All the little green sticky notes have my notes about what the sample is, what medium and paper was used and how it was applied. Hopefully, none of these will disappear between now and when I get these into the book.

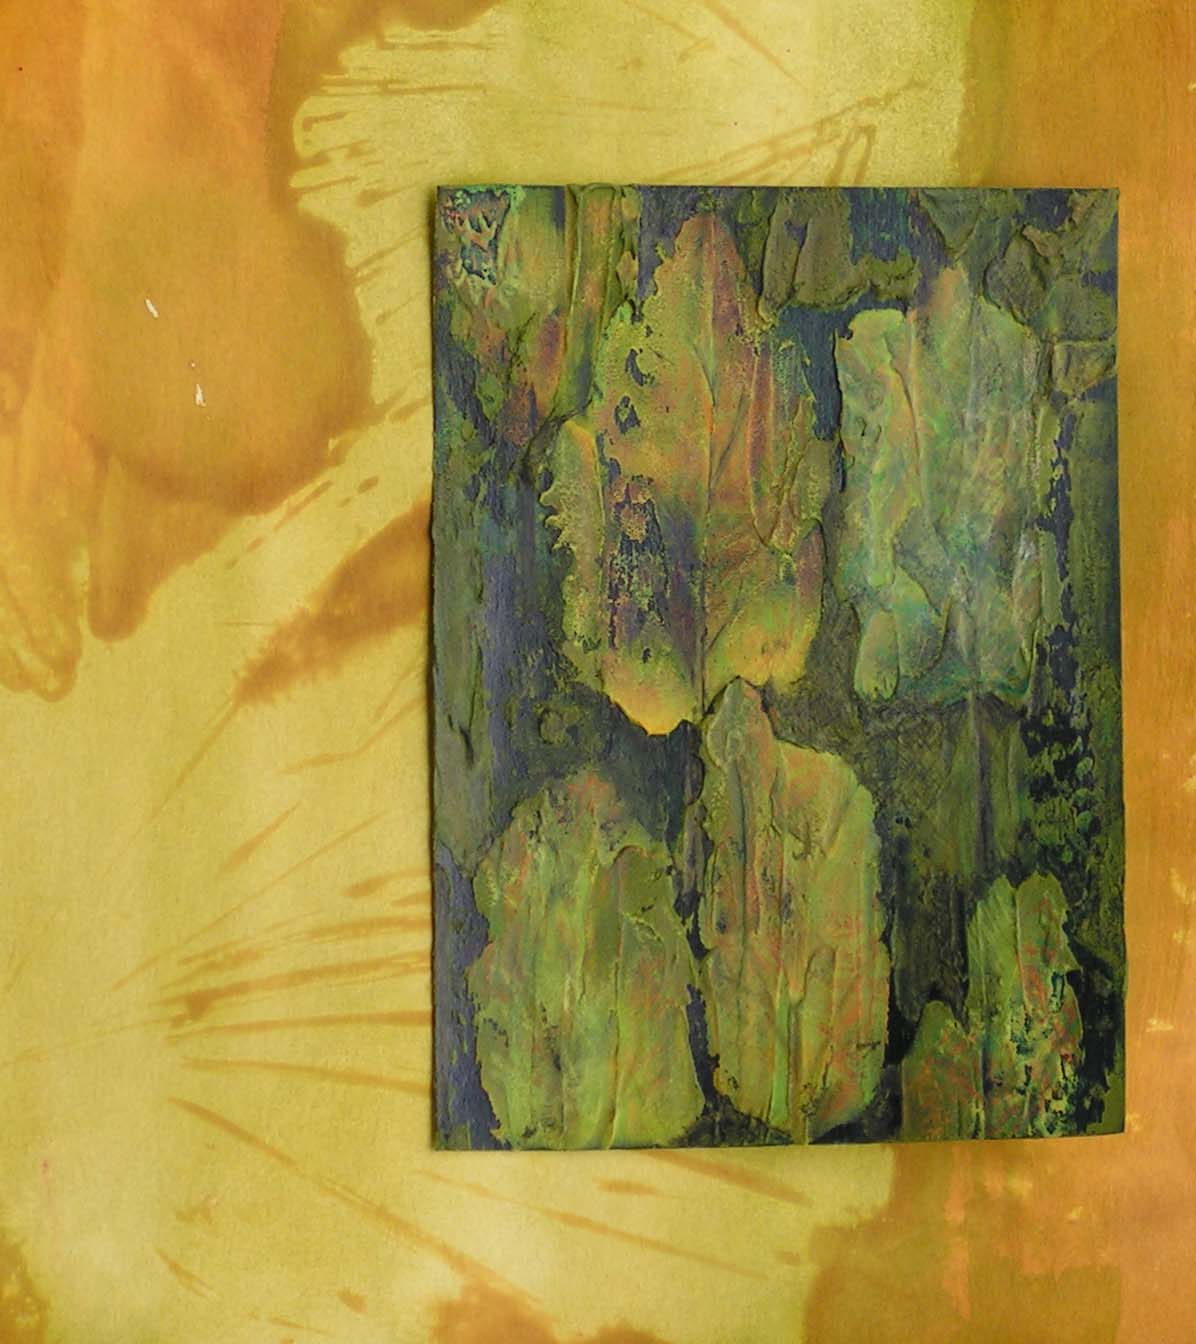
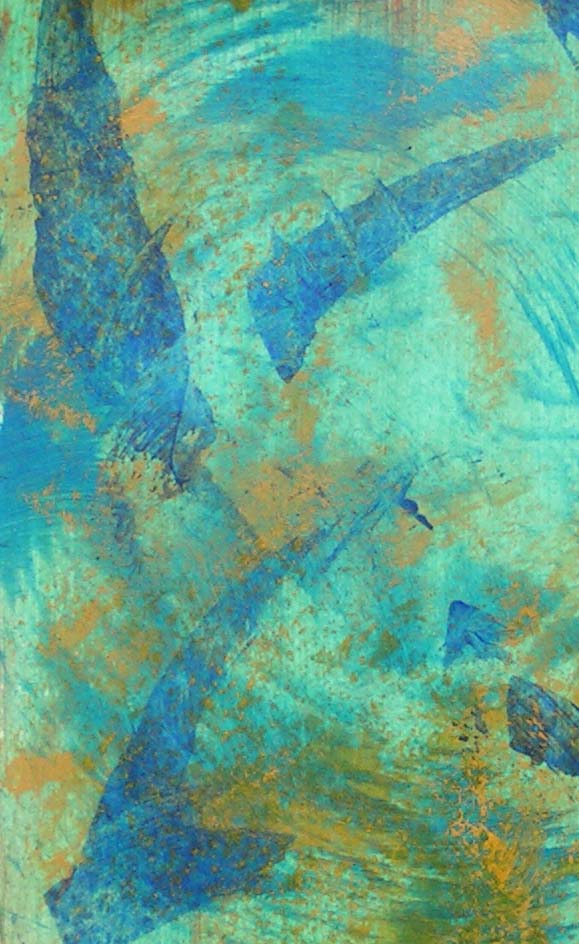
Here’s one of the original samples that I did in class. I have picked up a leaf on my way to the store and when I brought it home, it really matched this sample. We are supposed to add more color with colored pencils and other media to some of our samples. So I thought maybe the leaf would give me some inspiration.

Here is the piece after I added more color and details. I’m trying it out on different backgrounds to see which I might like.

I love this red background but I think it is a bit too much for the sample piece. What do you think? Click on any photo to enlarge.

Back to Regularly Scheduled Programming Soon

I have been pretty busy over the last several weeks and haven’t been able to post like I would like to. But I am back in town, back from class, no longer have company or big parties scheduled so I can breathe a little and post a bit more regularly.

Here’s a small sketch that I did over the last several days. I found these pods on a tree in Idaho while we were traveling to my recent Art and Design class. Not sure what they are called but they are really light and fall apart easily.

Class was fun. We created bunches of samples using a variety of mediums to create textures. And I have lots of homework. So more soon! Off to the football game in Missoula tomorrow, Go Griz!

Last of the Circles

I have finished all the circles I am going to get completed before returning to class. The notebook is full!

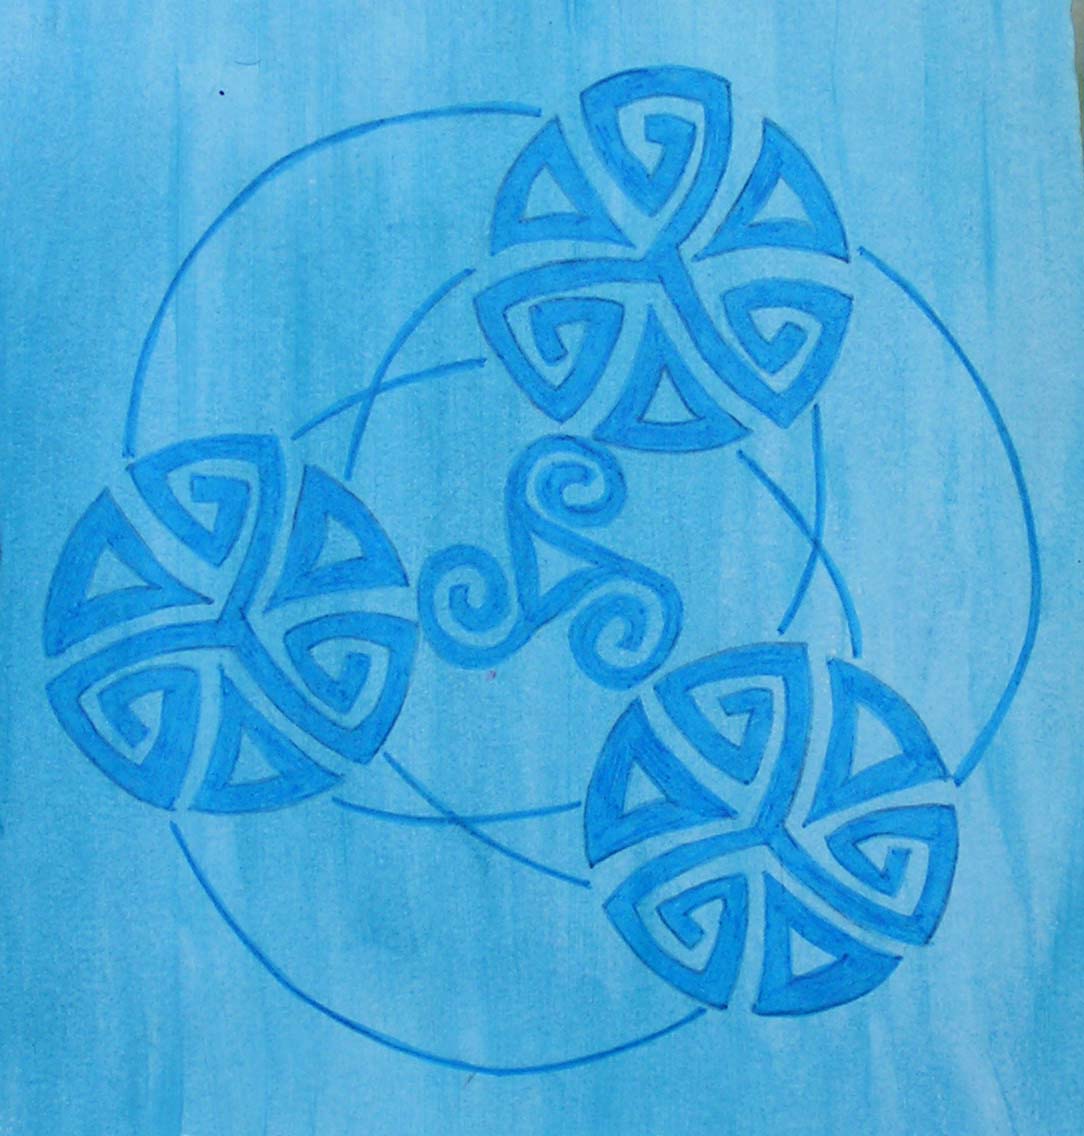
This one is circles within circles and uses several Celtic design that I found online.

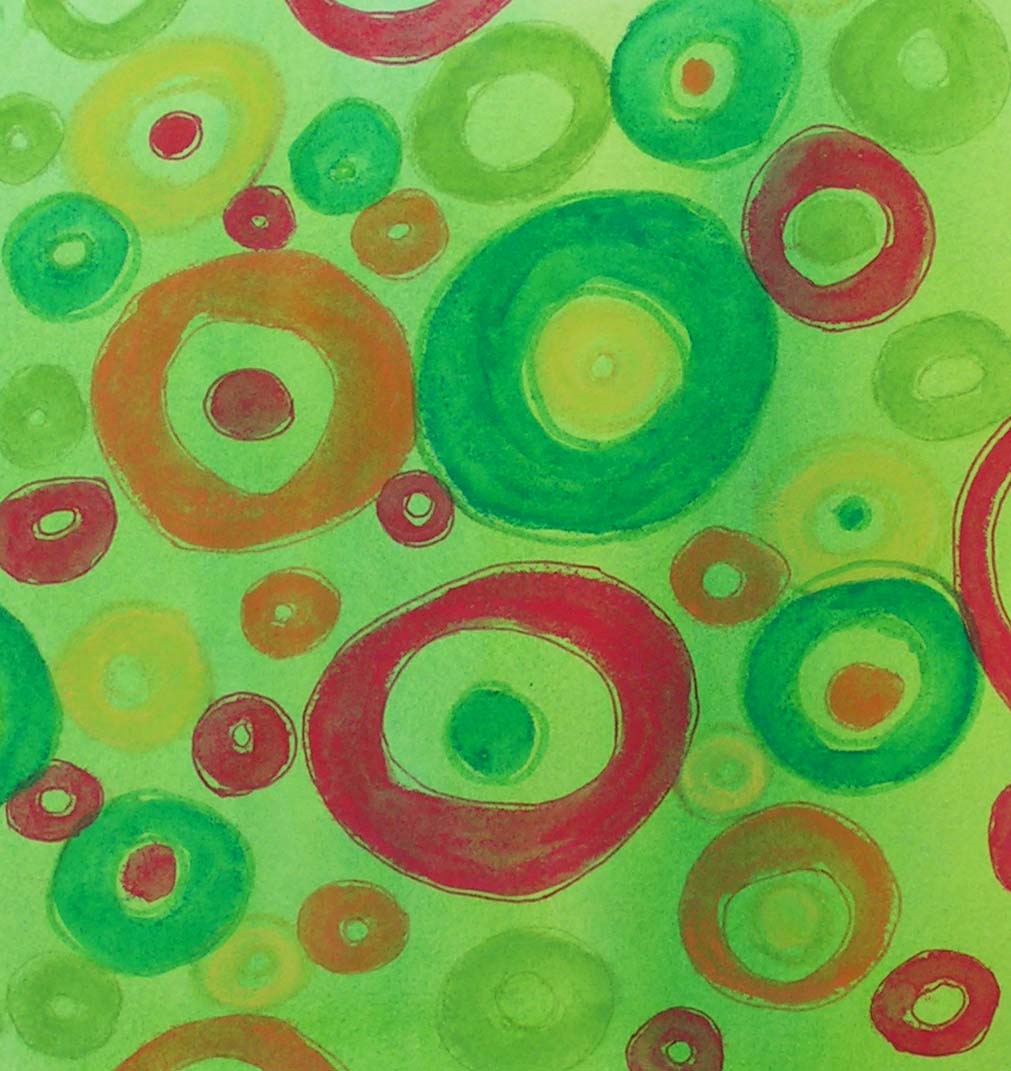
This one reminds me of candy. I used some new Stabilo 3 in 1 pencils that I got to see how they worked. They are like a cross between a crayon and a pencil and you can wet them down to get a watercolor effect.

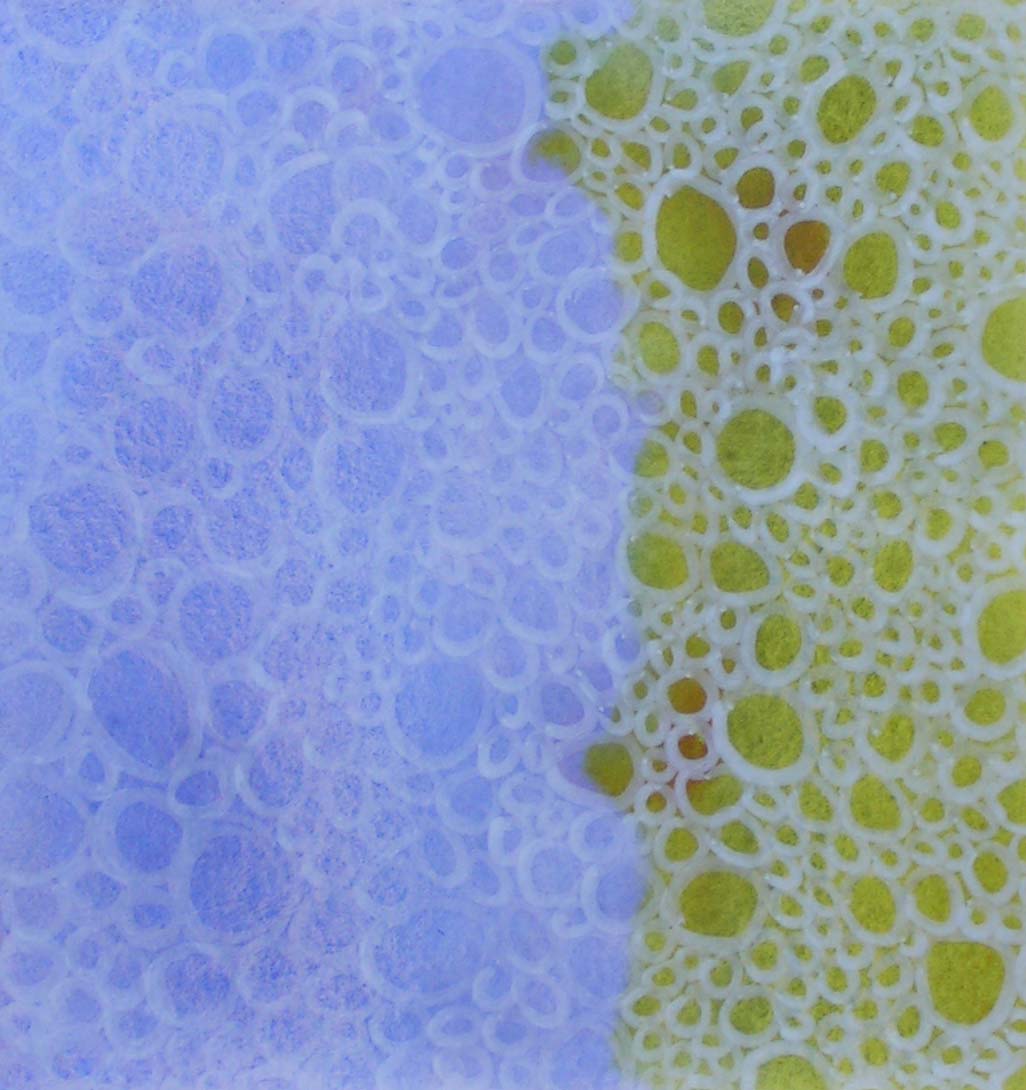
This one reminds me of bubbles. I used a white pen over a colored piece of paper.

This is a card I made today for my friend’s birthday. I had already created the eco print and then used permanent pens and water color to create a bit more depth. I just cut it down and attached it to a card today.

Thanks for stopping by and I hope you have a wonderful weekend.

Color

Today I painted some paper using a layering technique with paint brushes, dry brushes and sponges to get some texture for backgrounds. I used a combination of water color and acrylic paint.

Some of these are a bit spotty but they should still work OK for backgrounds.

Some of the paper was wet first and then painted. Others were painted on to dry paper.

This one I painted by dragging a sponge across dry paper. It was painted in two different layers.

This one has multiple layers starting with yellow and adding blues and greens.

This one was done with a small cosmetic sponge so doesn’t have as much texture as the bigger sponges.

The lines are from a dry brush technique just dragging the brush across the paper.

We’re supposed to be working on getting a feeling of movement.

It was fun just to play with paint and be a little looser.

Not sure what all these will turn into but now I have a variety of painted papers to play with. Have a good weekend.