I decided I needed a few different stencils to use with paper fabric lamination. I remembered that I had made a couple of voided shape designs in my Level 2 Stitch class that would be easy to convert to a stencil.
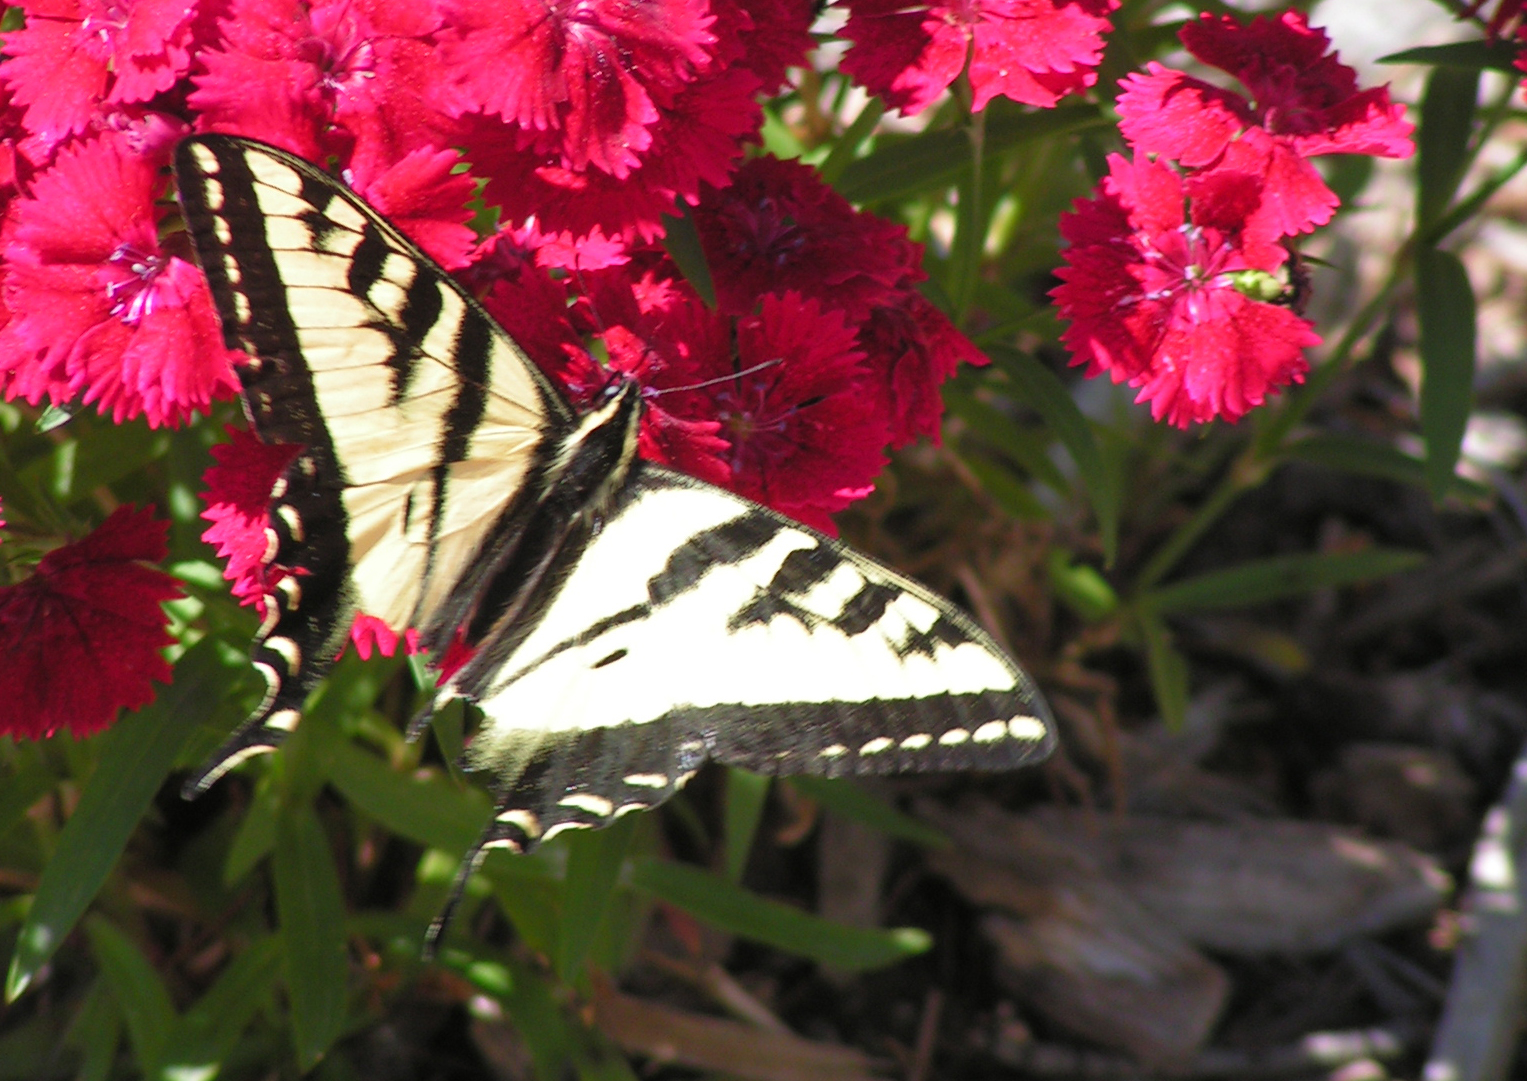
I used this photo of a butterfly to develop a design by “voiding” the shape. You really have to simplify the original image to do this.
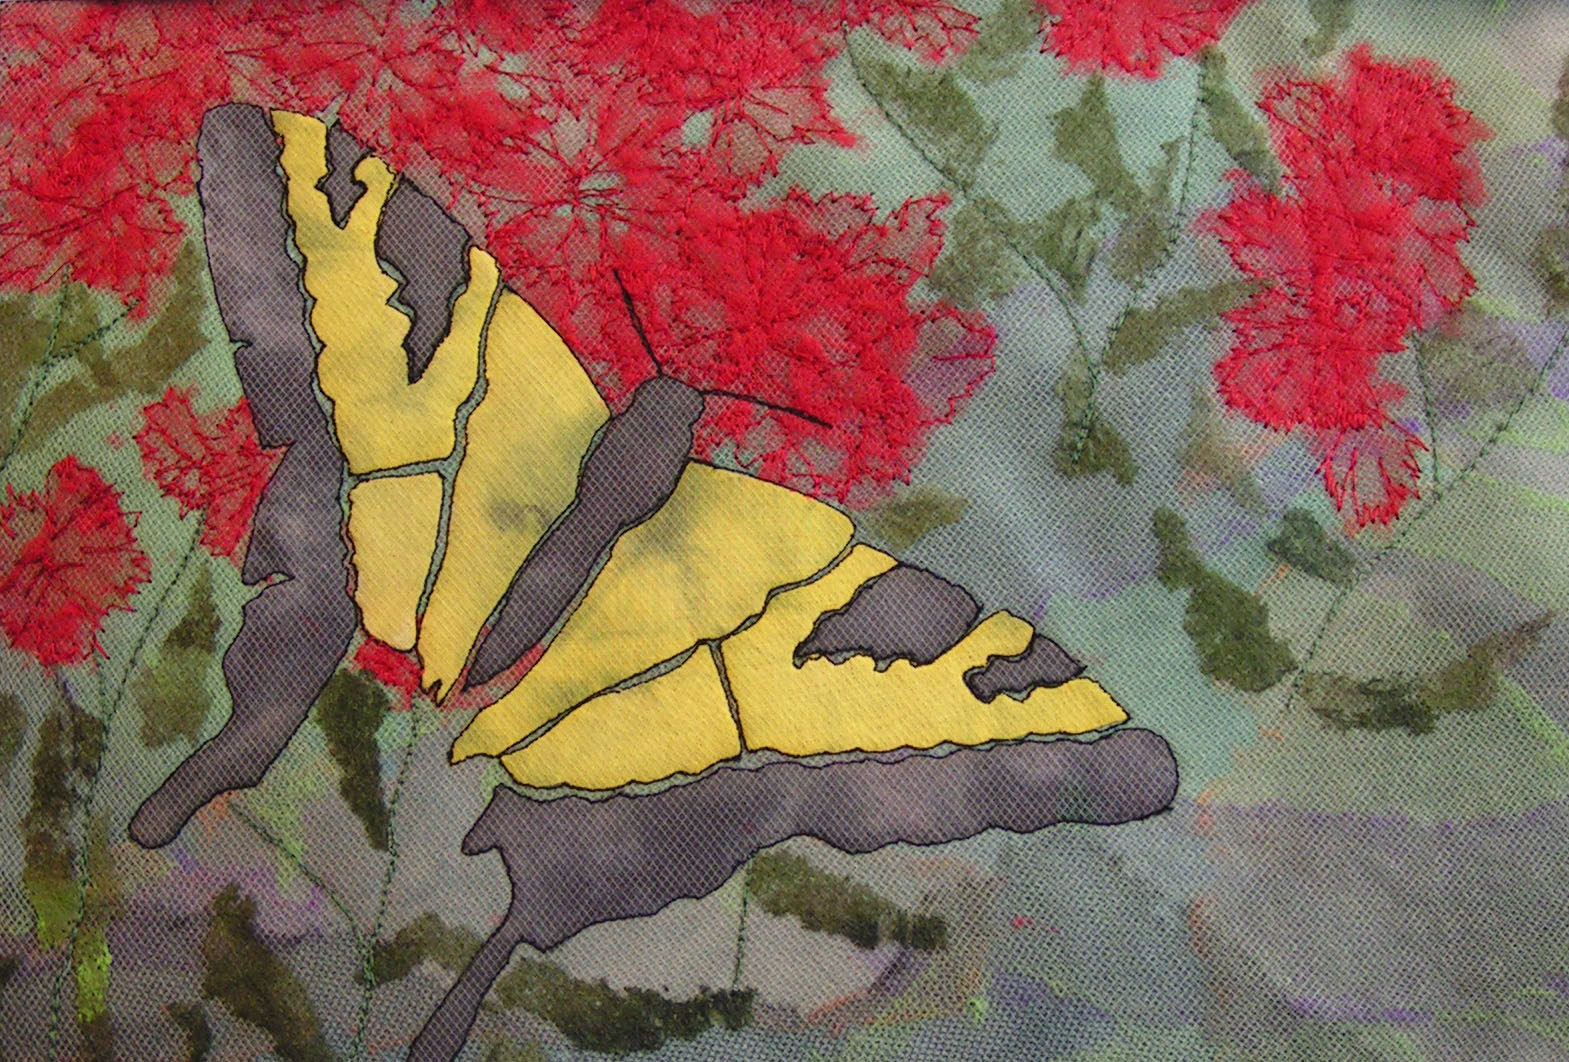
This is the the piece that I made in my stitch class.
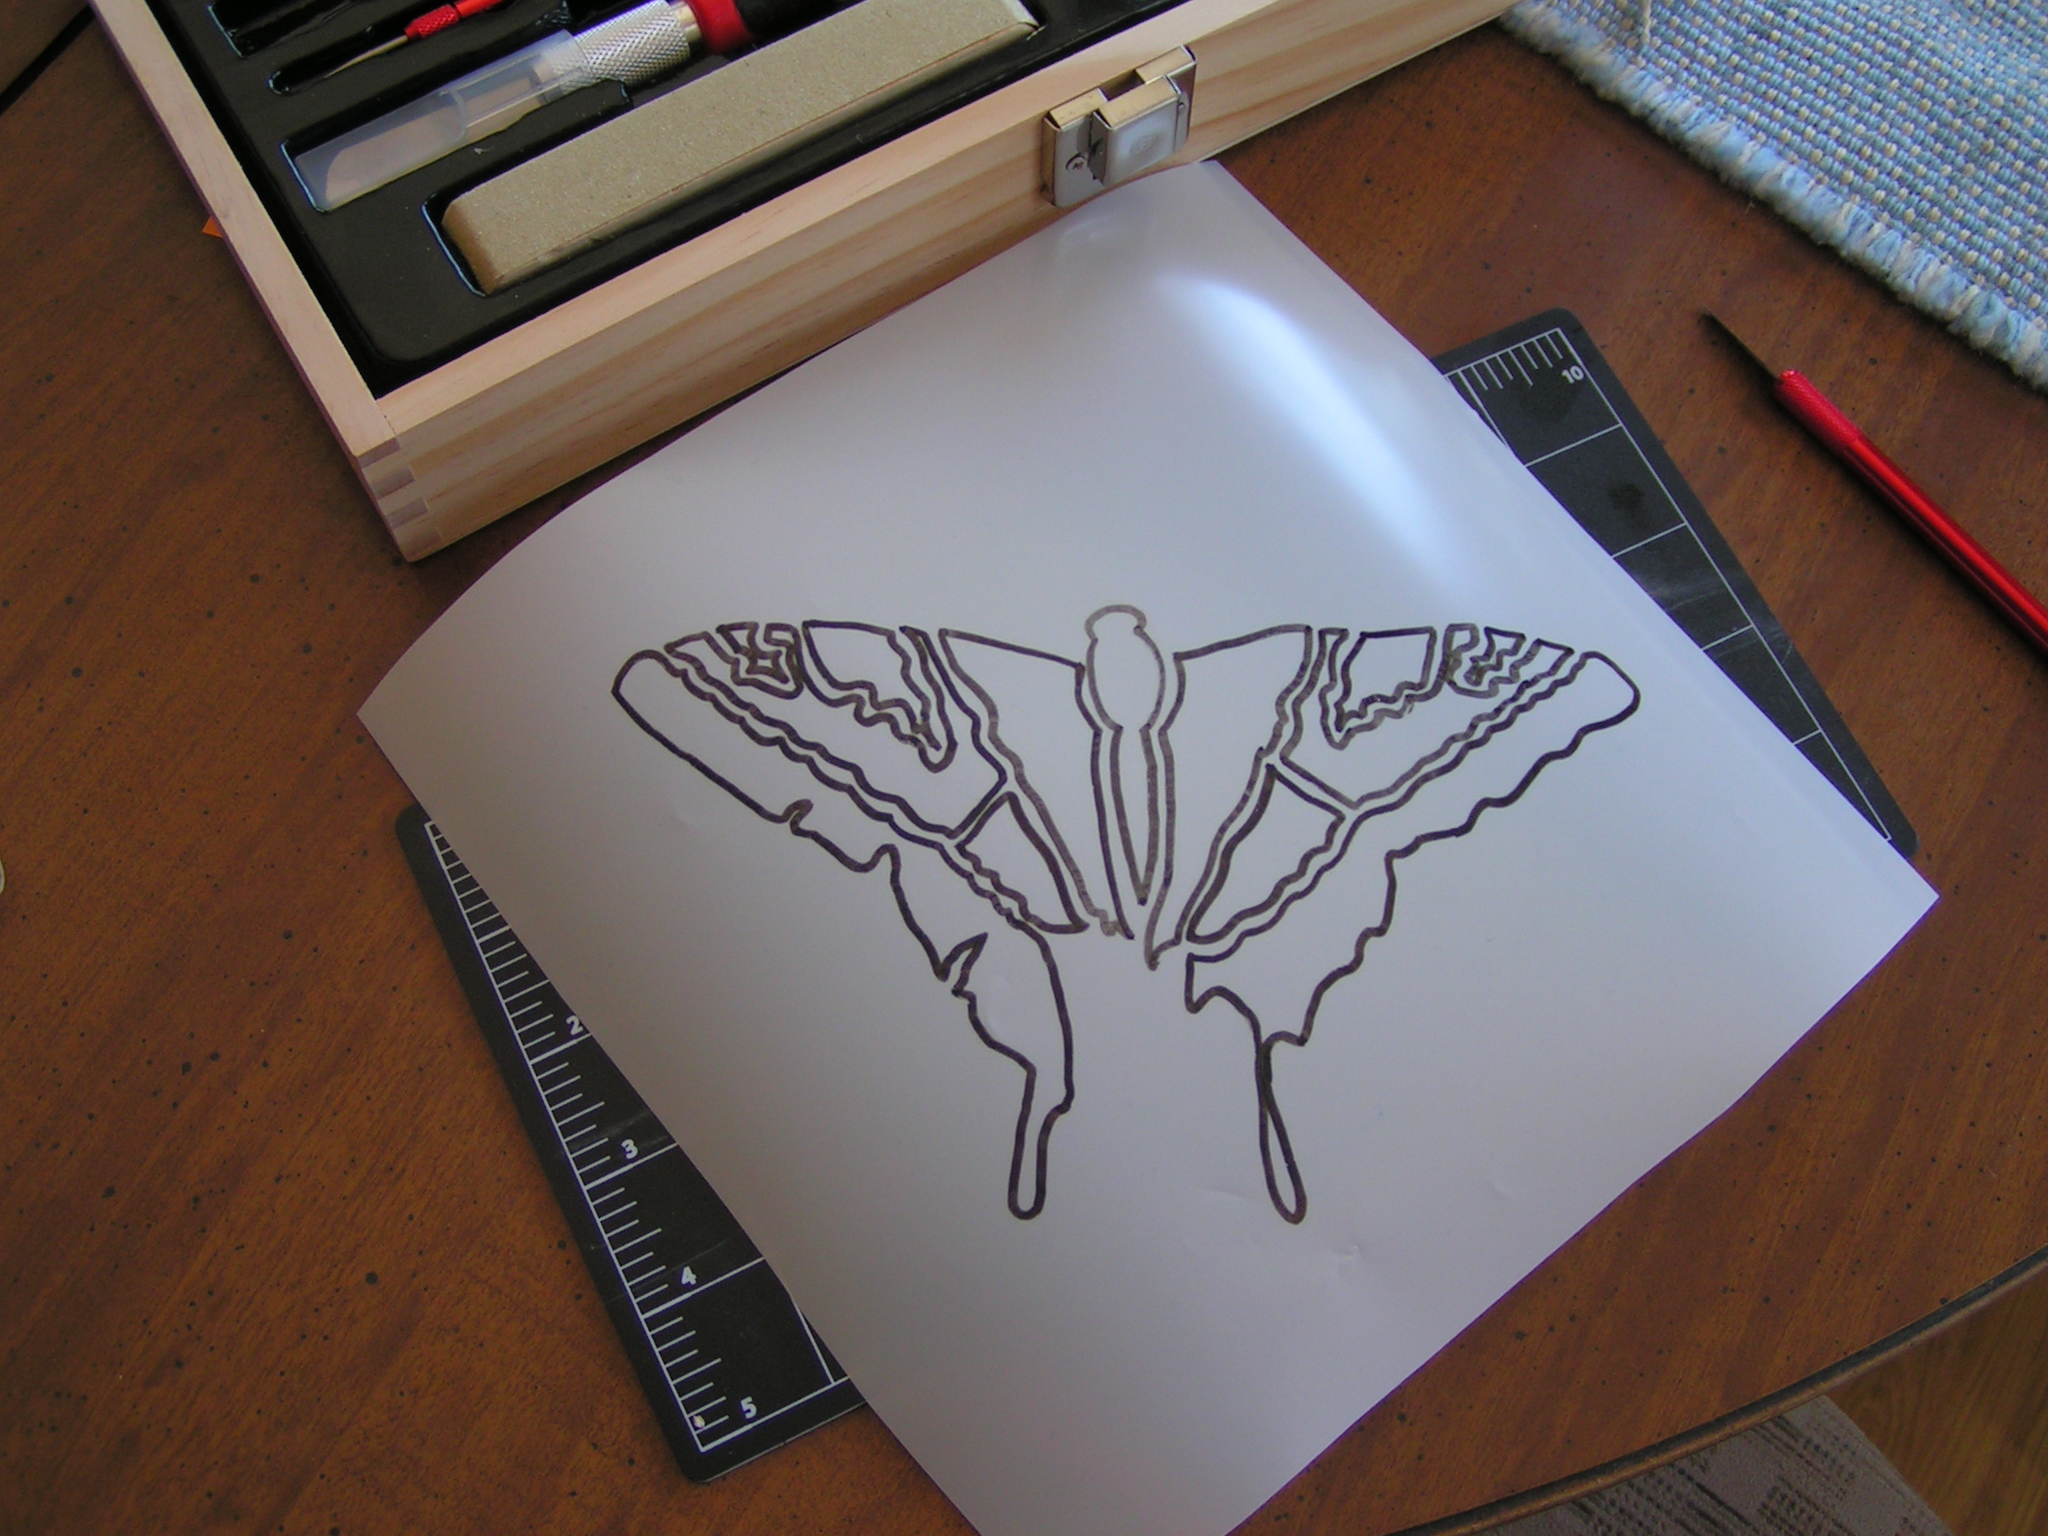
I have this thin plastic that Carole gave me. I”m not sure what it is. But it works great for stencils. I traced my butterfly design.
And then started cutting it out with a craft knife.
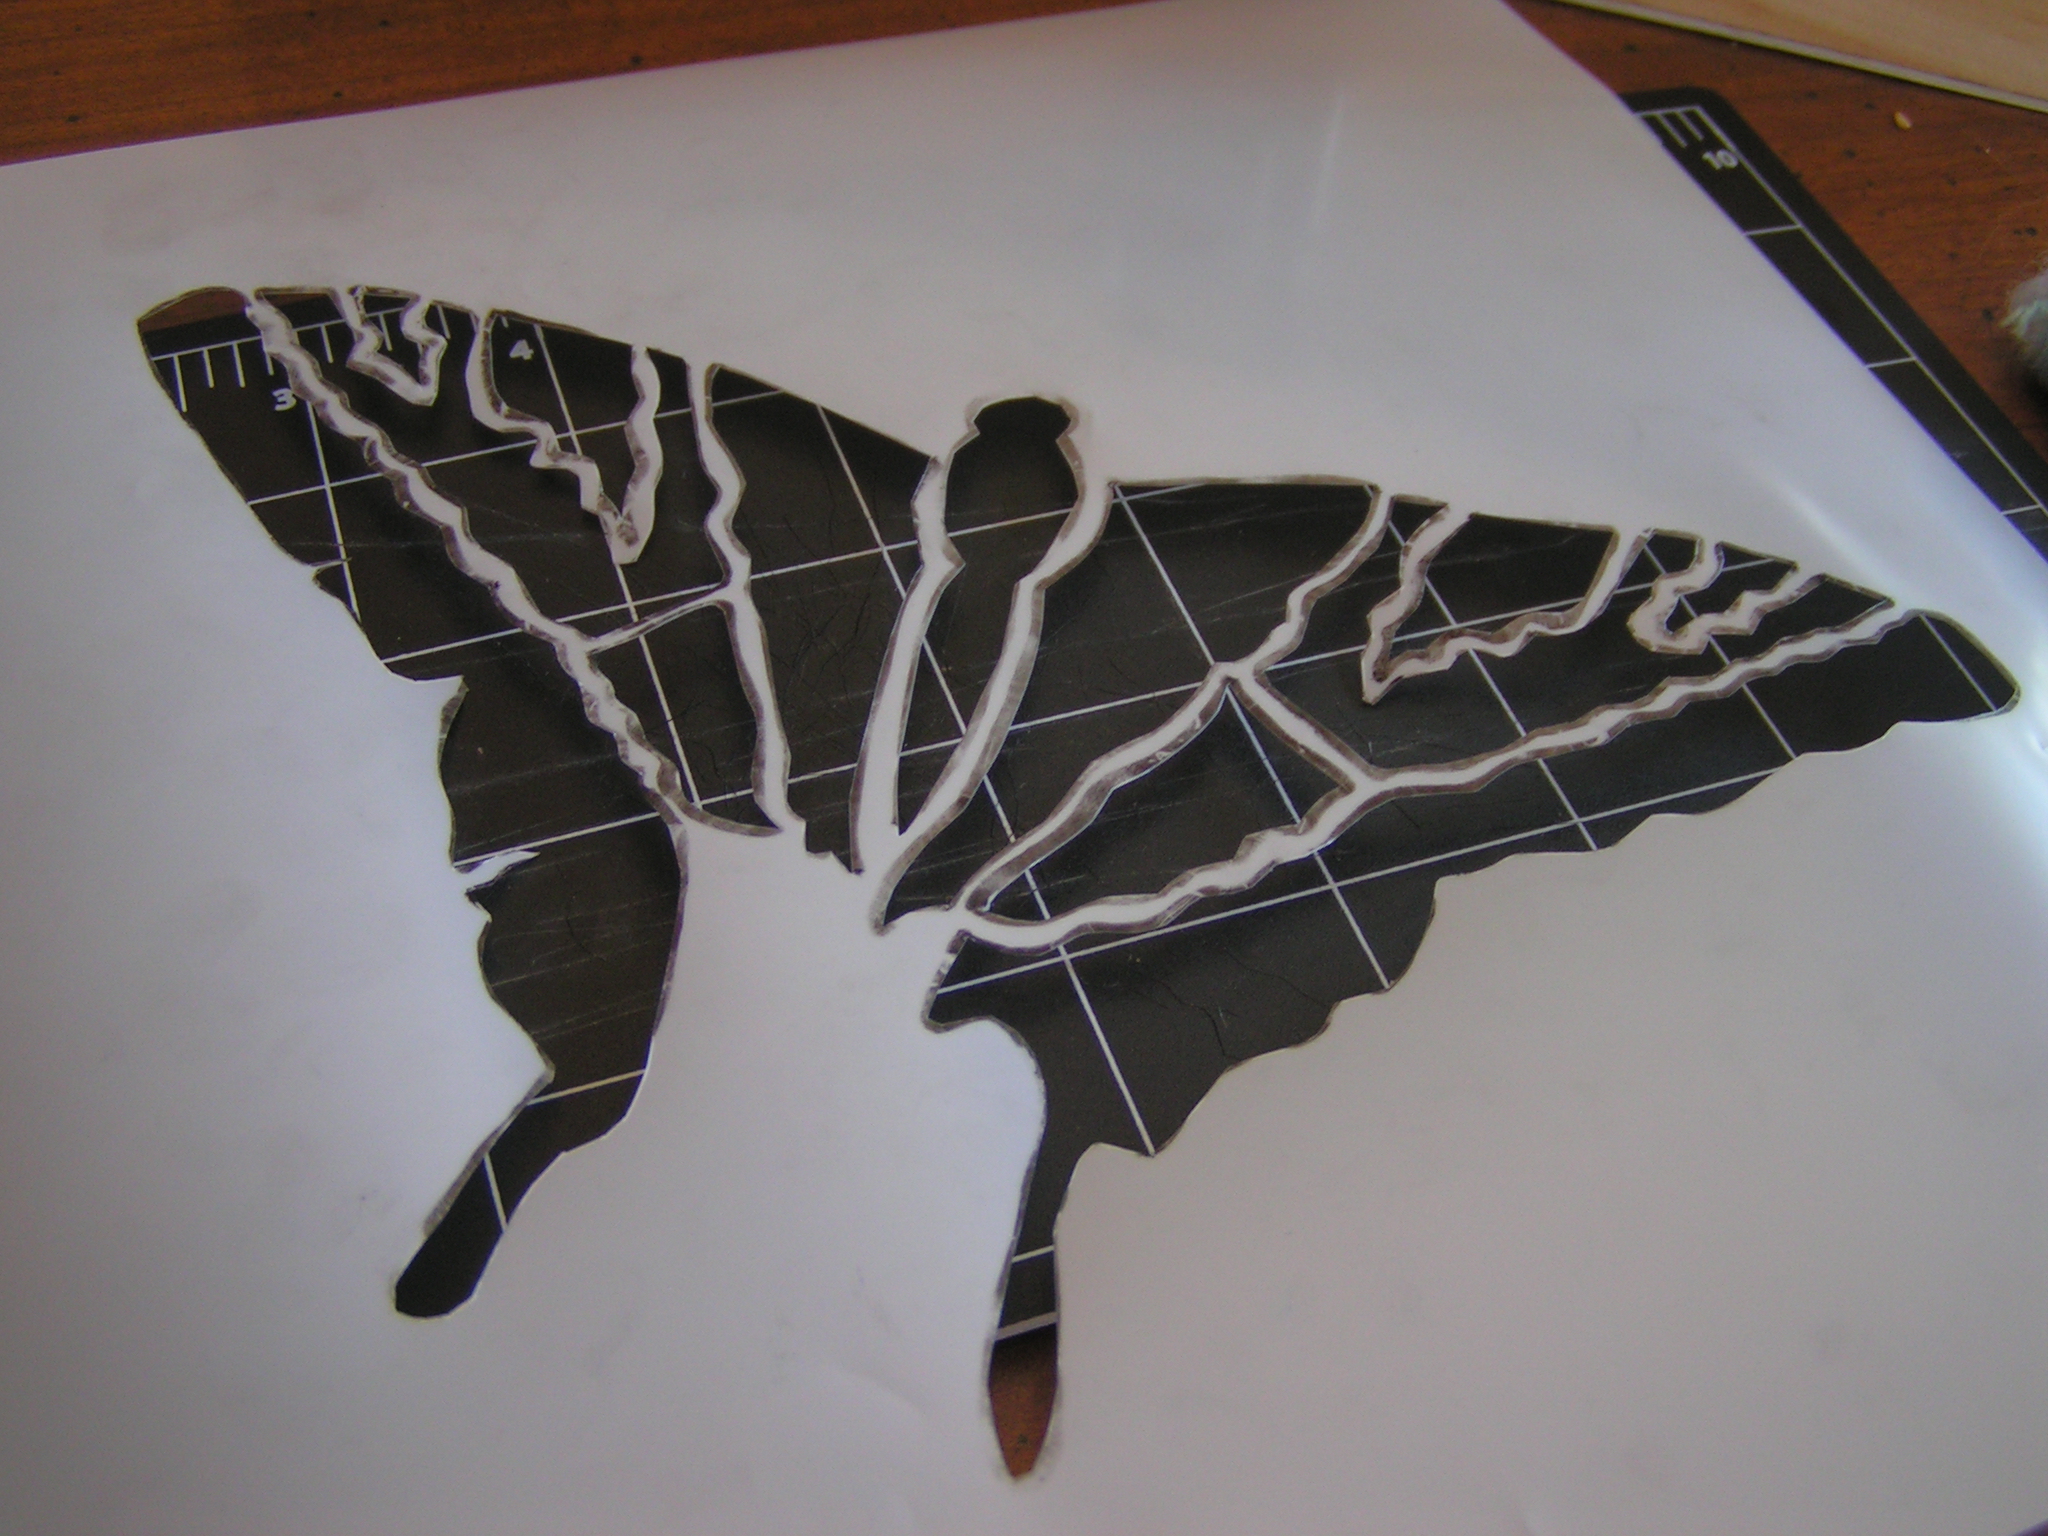
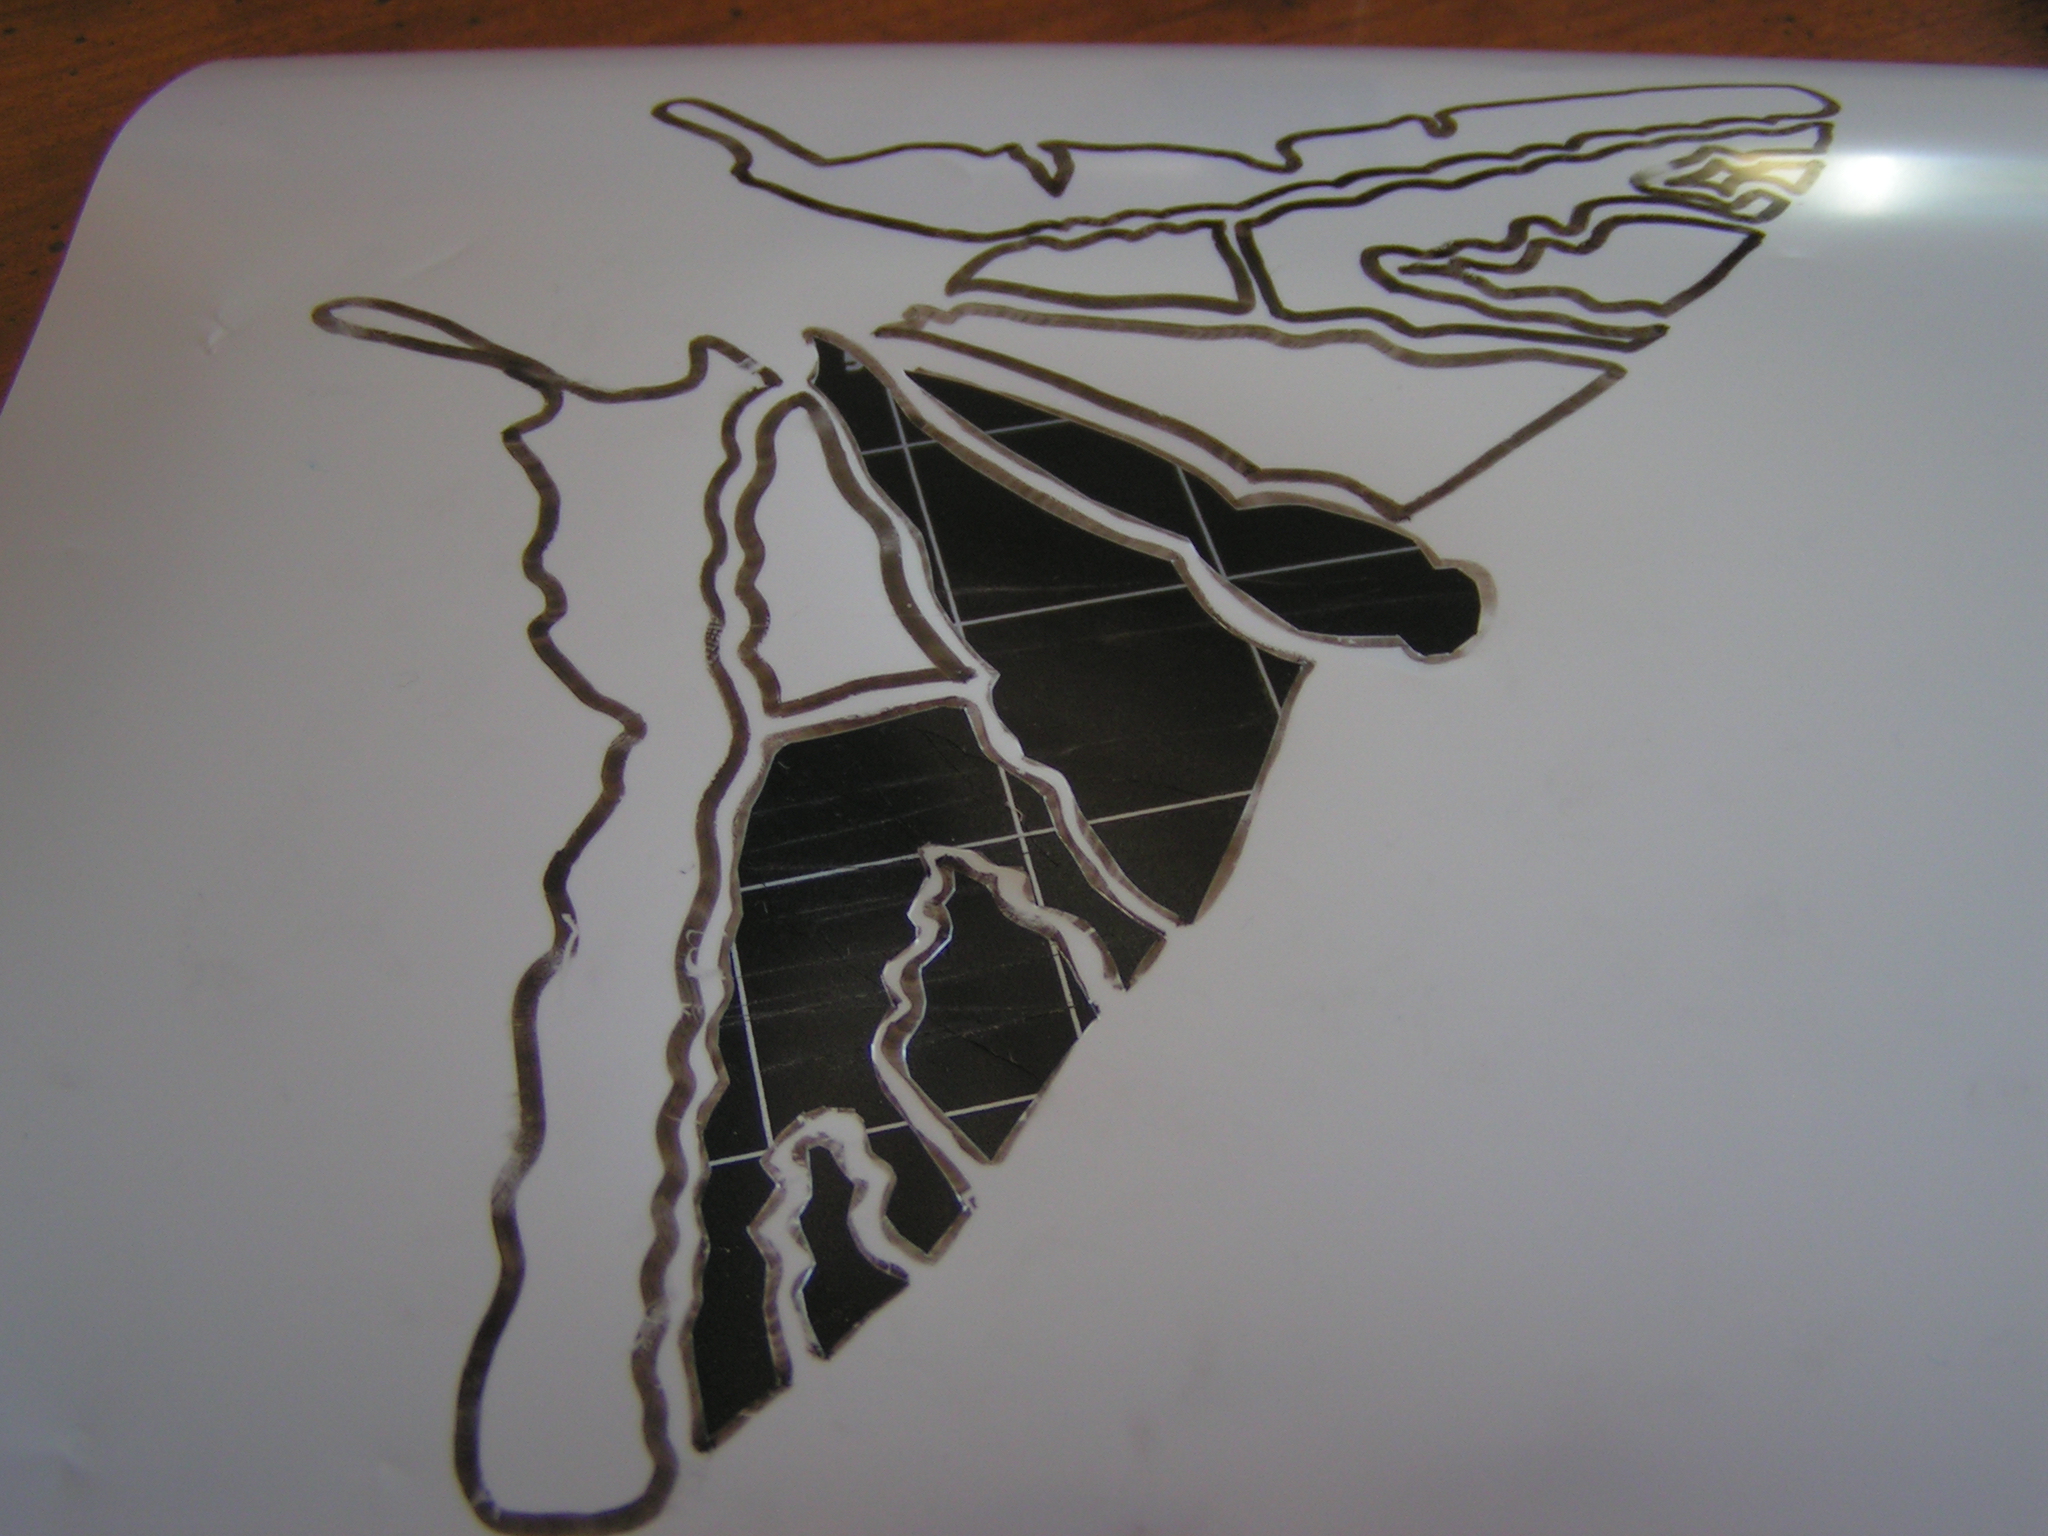
Here’s the finished stencil.
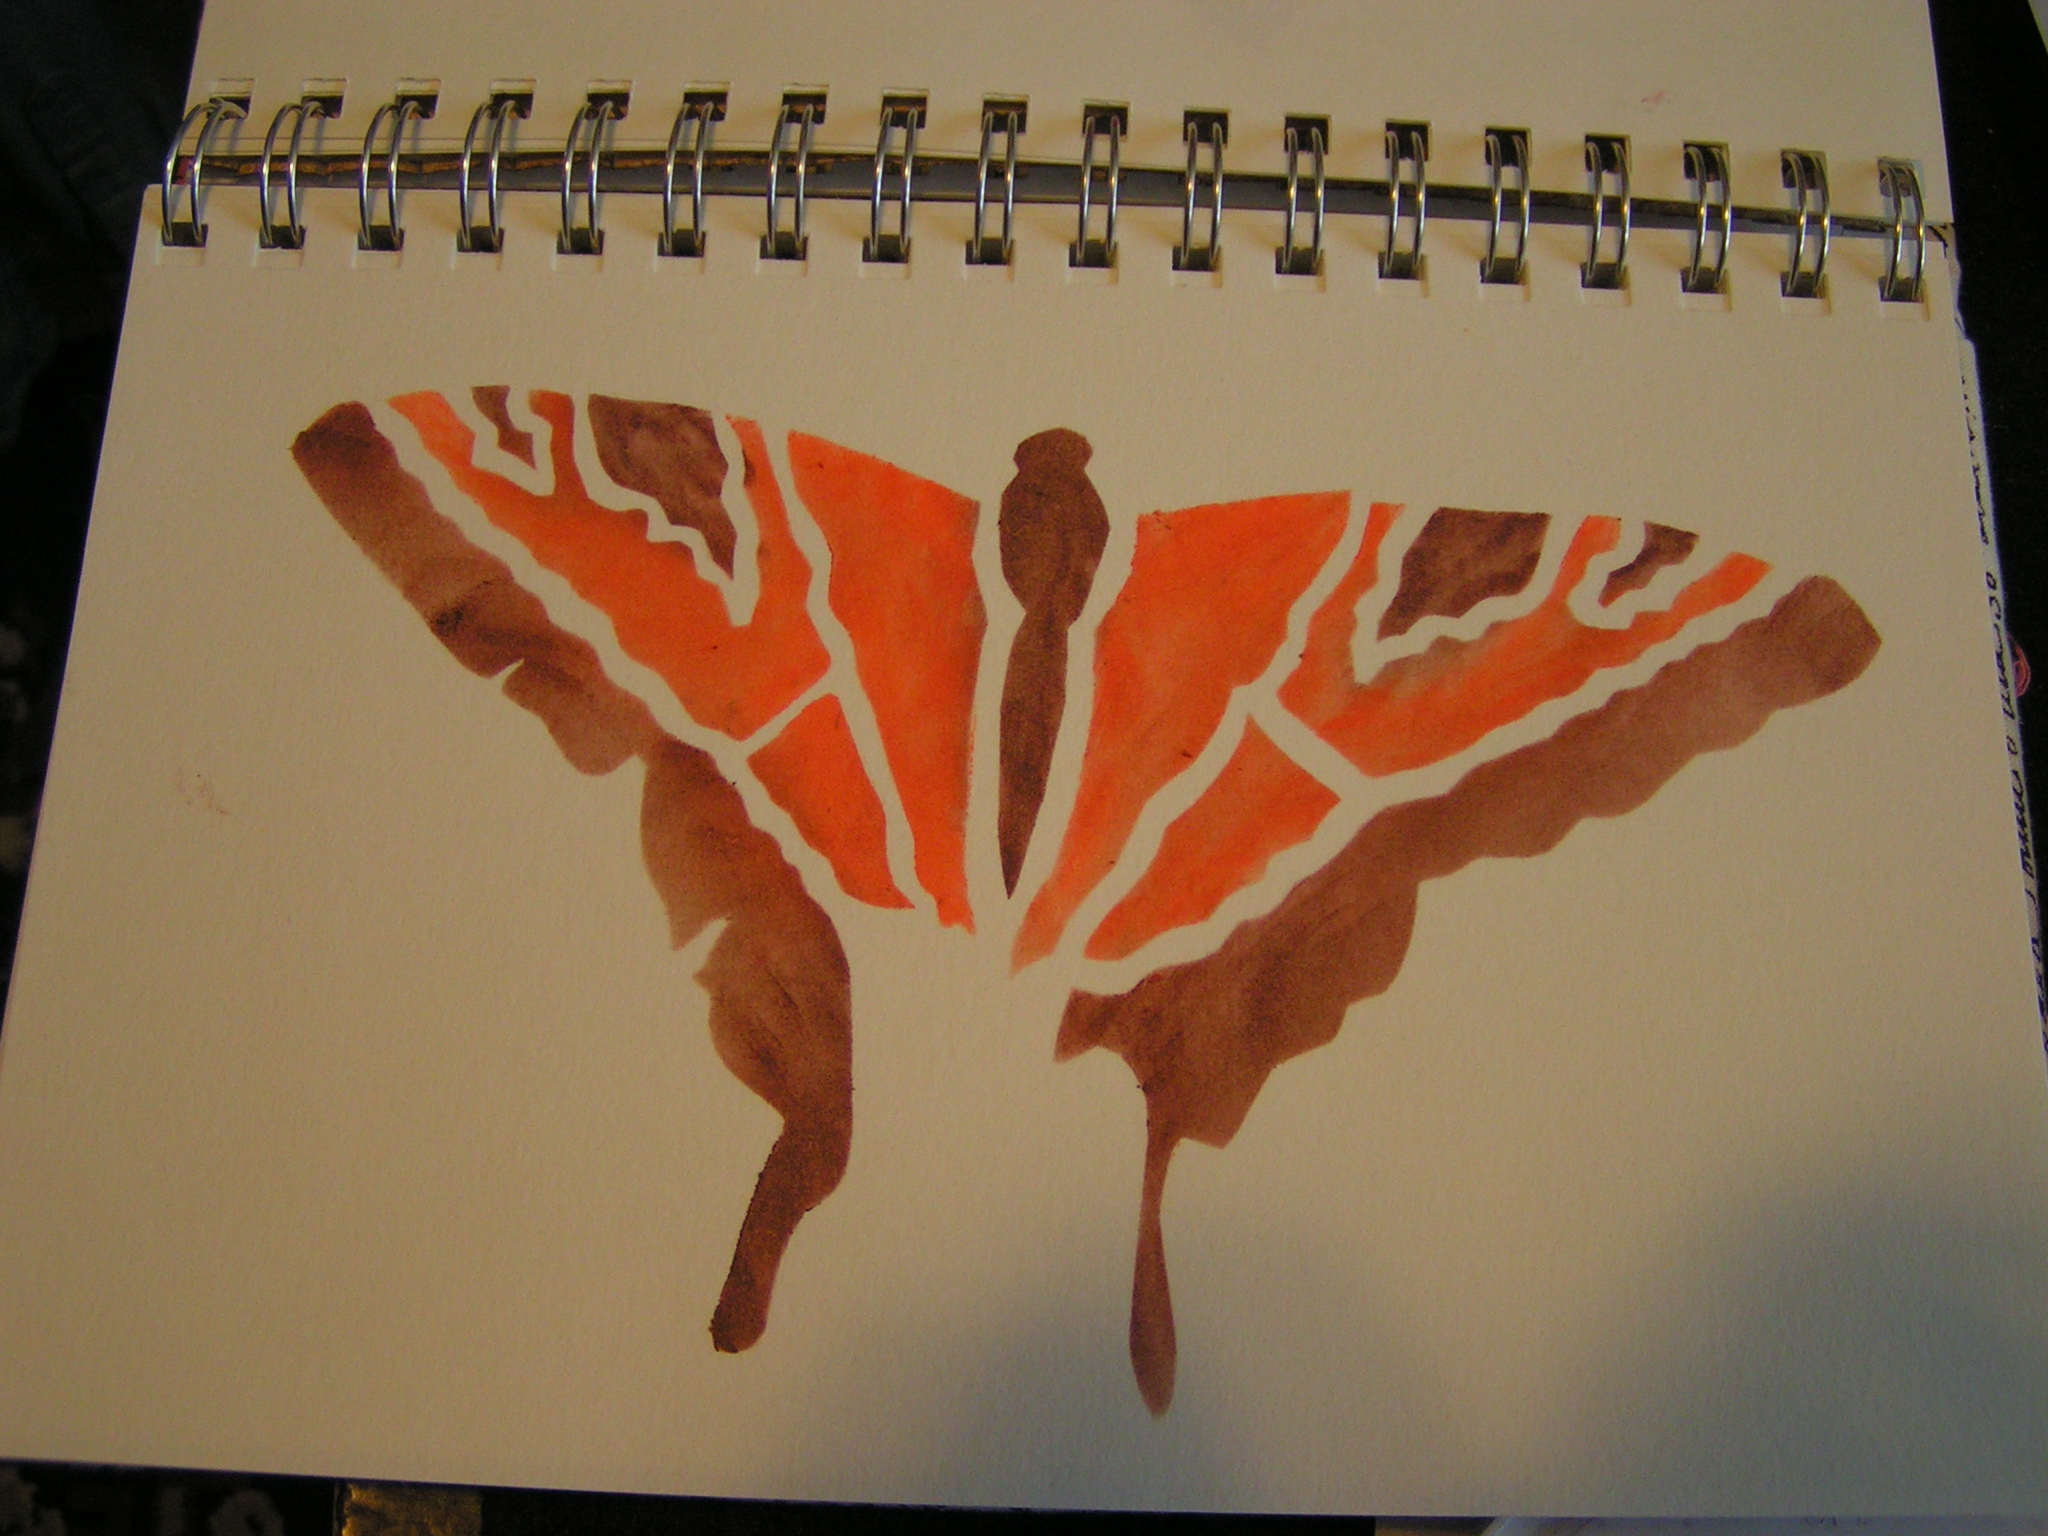
I tried it out in my sketch book with stamp ink pads.

Here’s the other design I developed in stitch class.
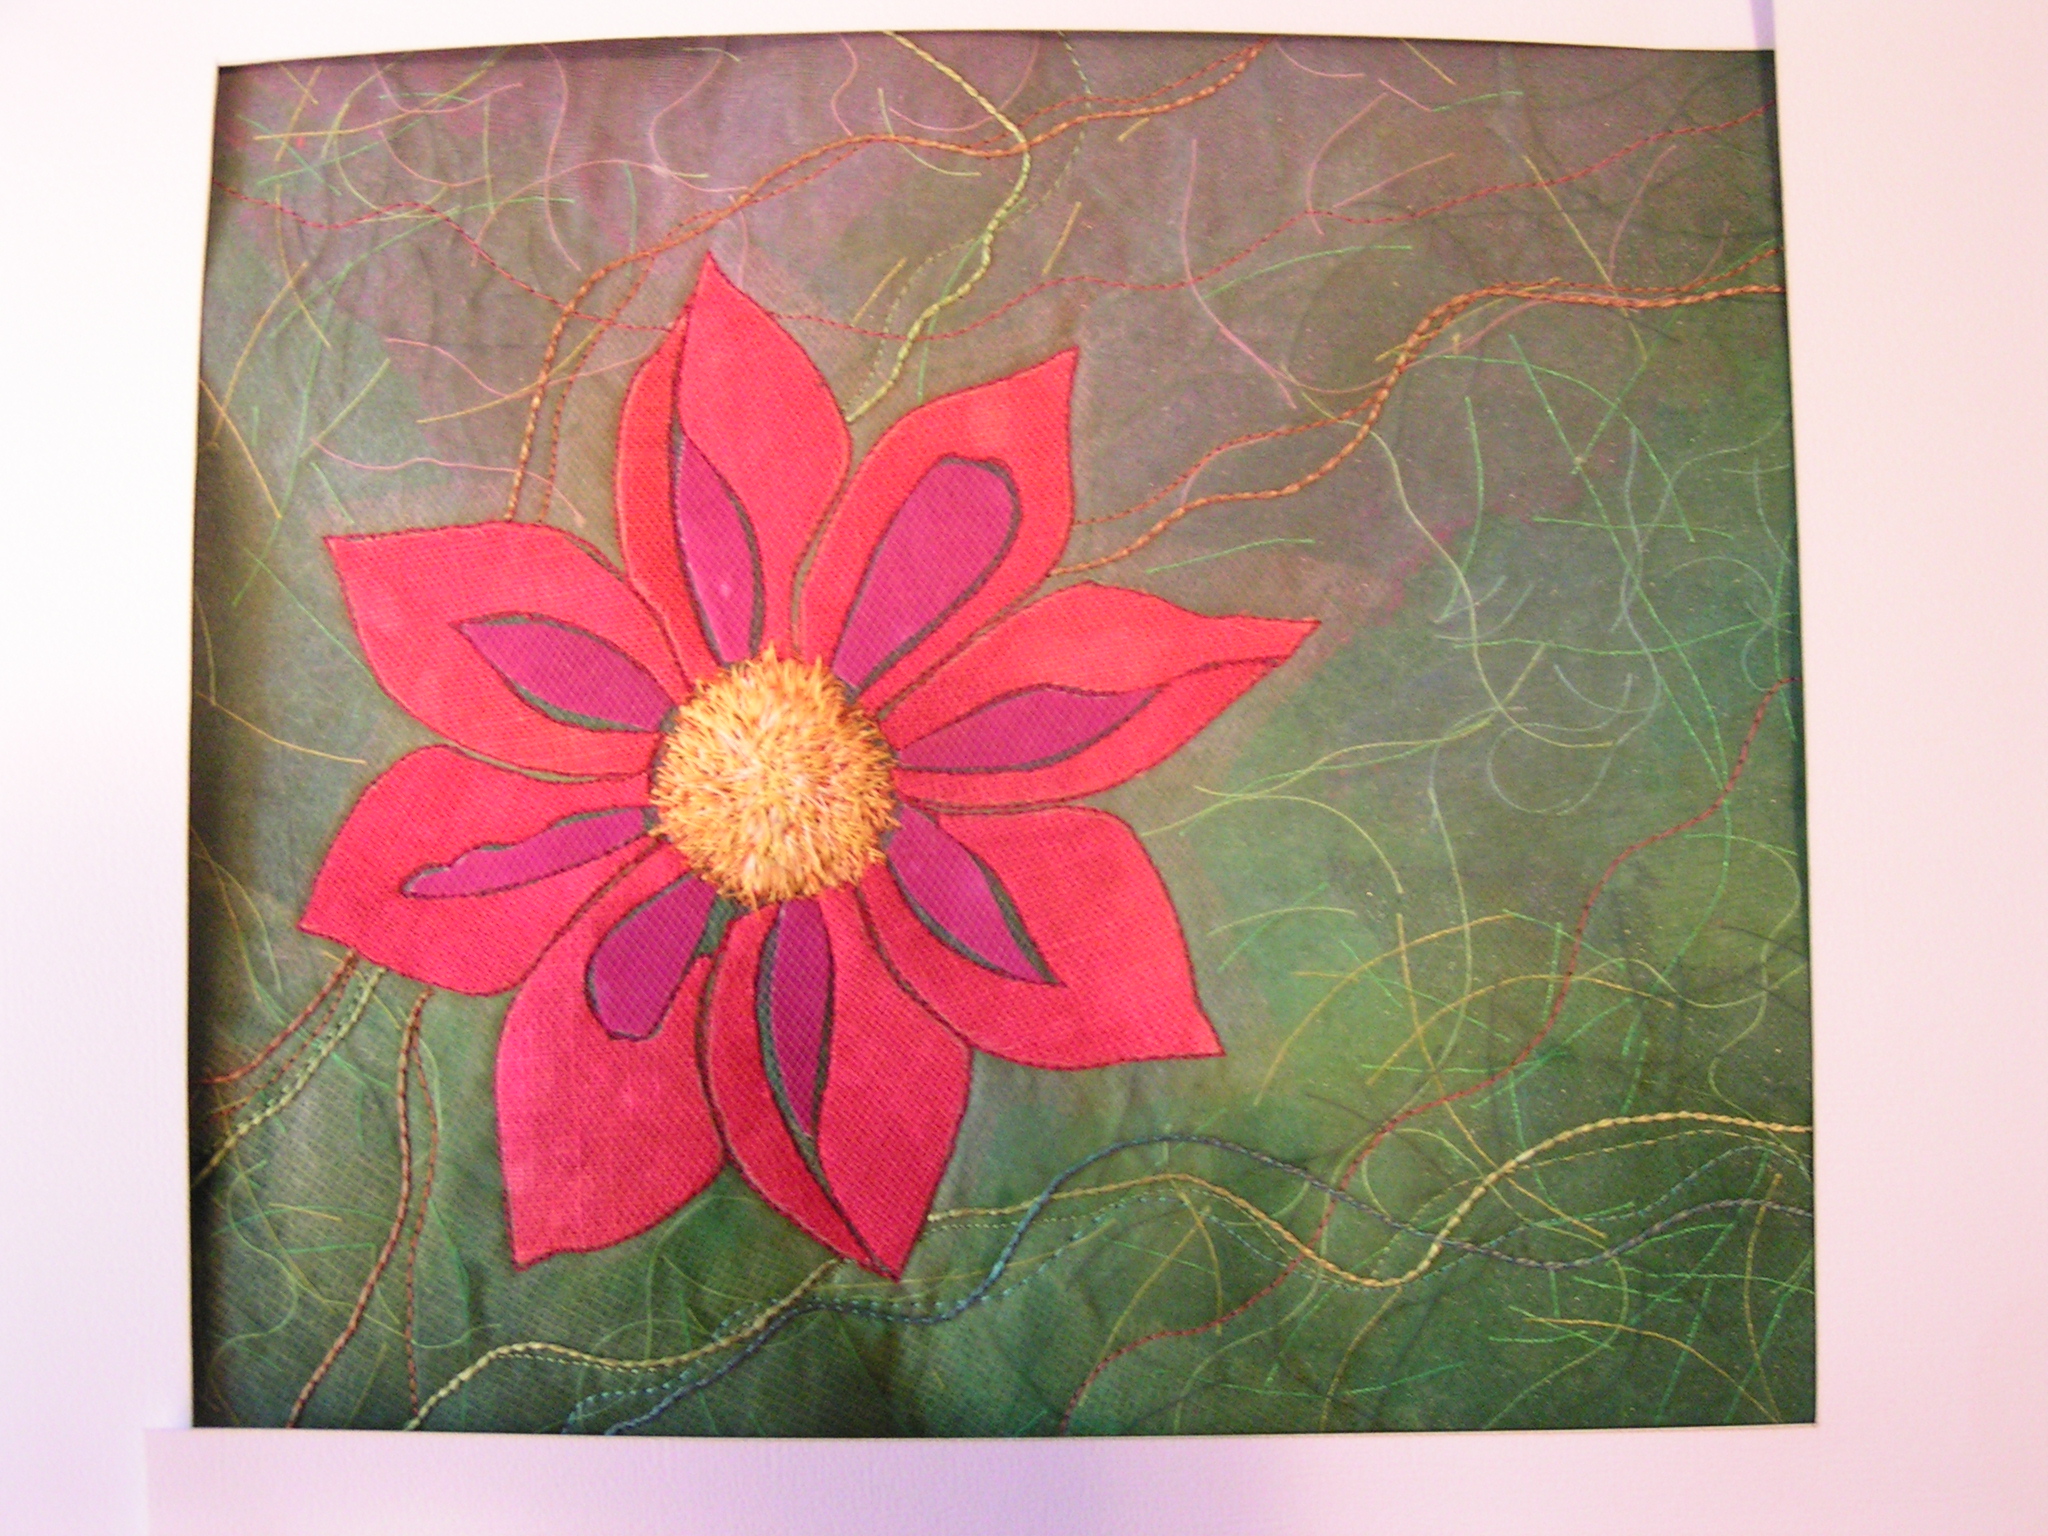
And this is the piece that I made at that time.

I followed the same process and here’s the other stencil.
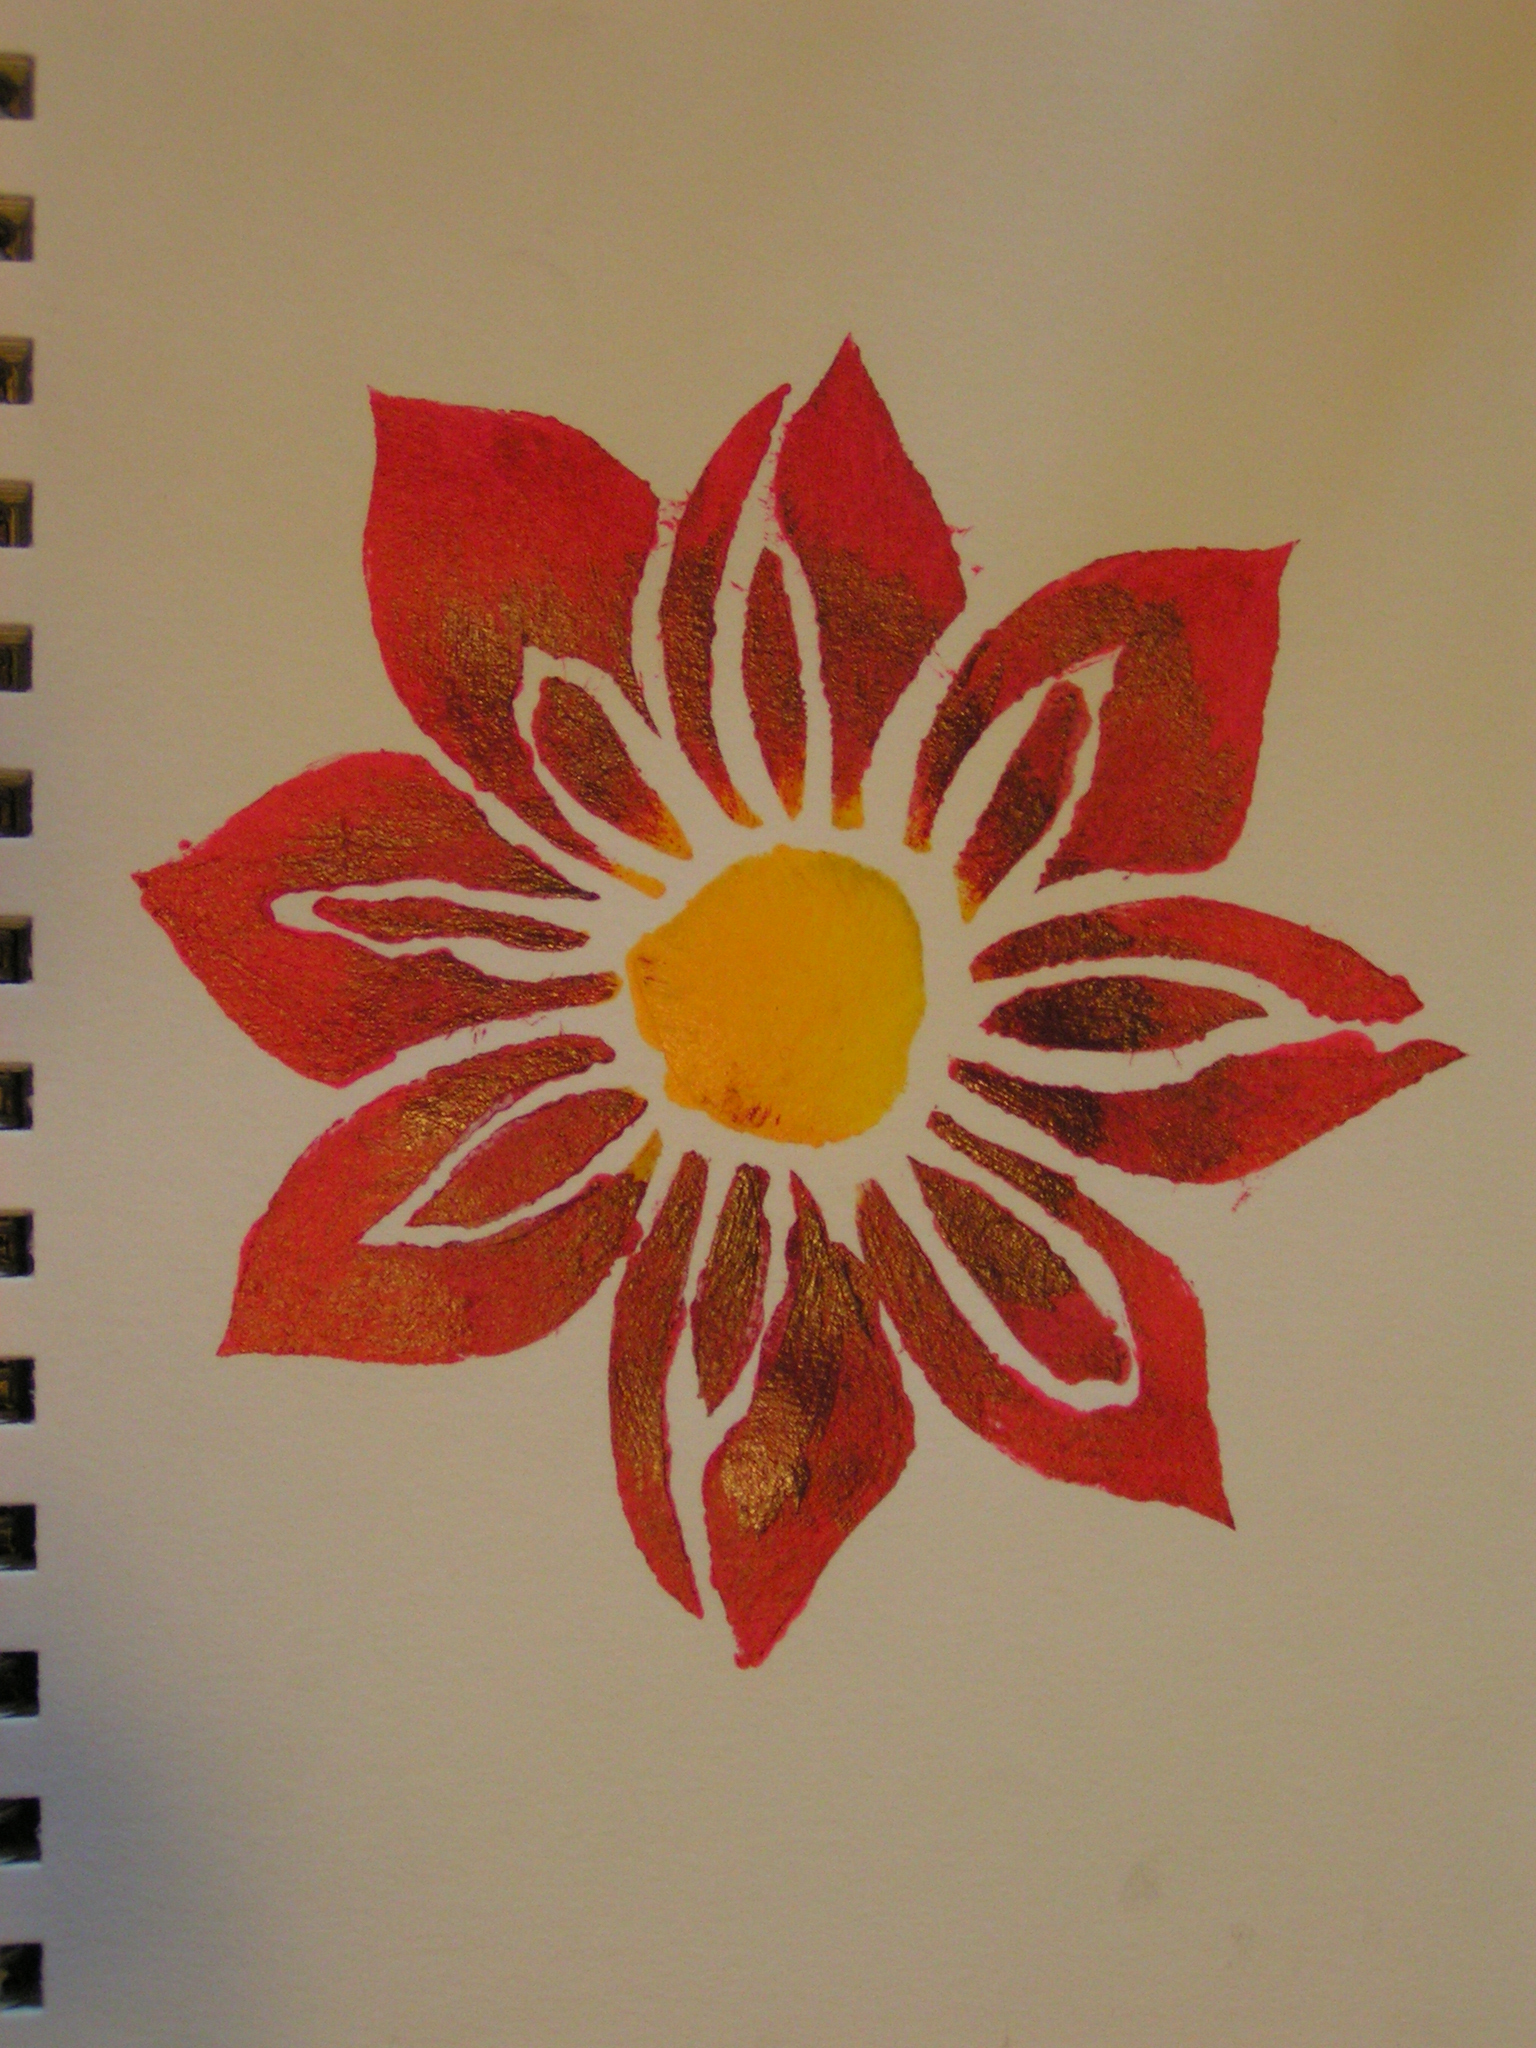
I used acrylic paints first but it was a little messy so I tried again with the stamp pads.
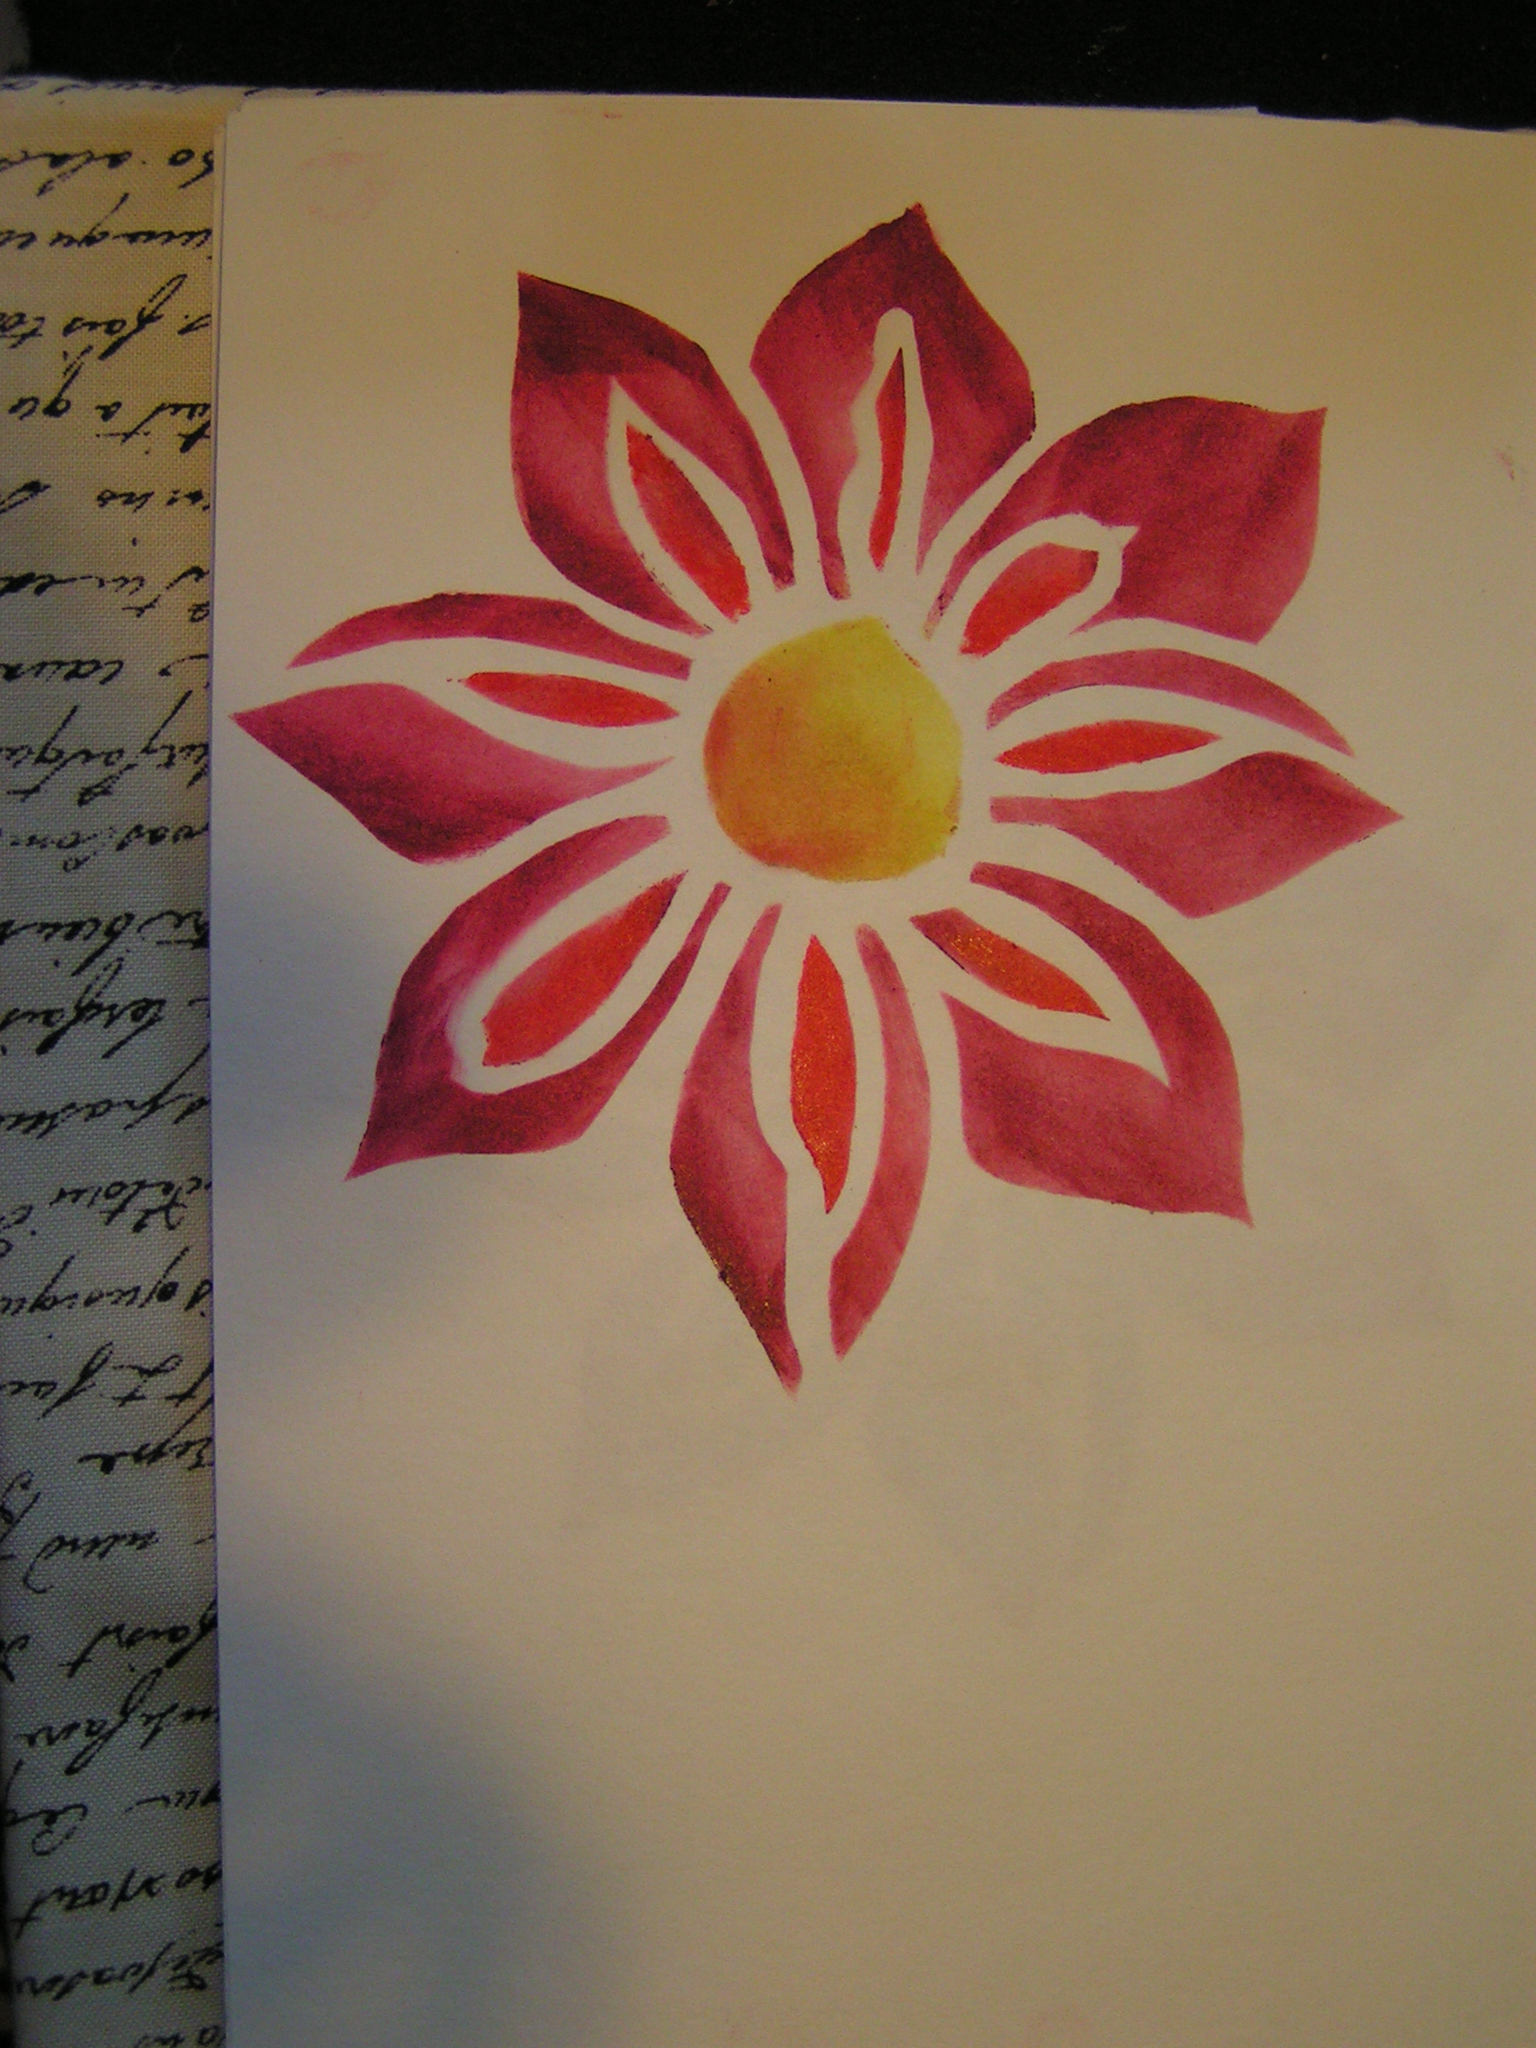
This one was much cleaner. So now I have a couple more stencils to use for paper fabric lamination. Hope you’re having a great day 🙂

You must have really steady hand Ruth. The stencils turned out great. Do you have to mask parts of the stencil for the different colors with the stamp?
Thanks Marilyn – it just takes a little practice with the craft knife. I didn’t mask any of the stencil. There is a bit of mixing of the colors but I don’t mind that so I don’t bother with masking.
These look great Ruth, thank you for sharing your design inspiration too, its always fascinating to see how other artists develop their ideas.
Thanks Teri – I like to see the inspiration from other artists too. 🙂
You made a great job of cutting out those stencils – they’re very neat and give pretty results (I love the punultimate flower).
Thanks Lyn!
ooops – penultimate!