My local group is planning another session of screen printing. We had such a good time and successful day last time that we decided to repeat the process.
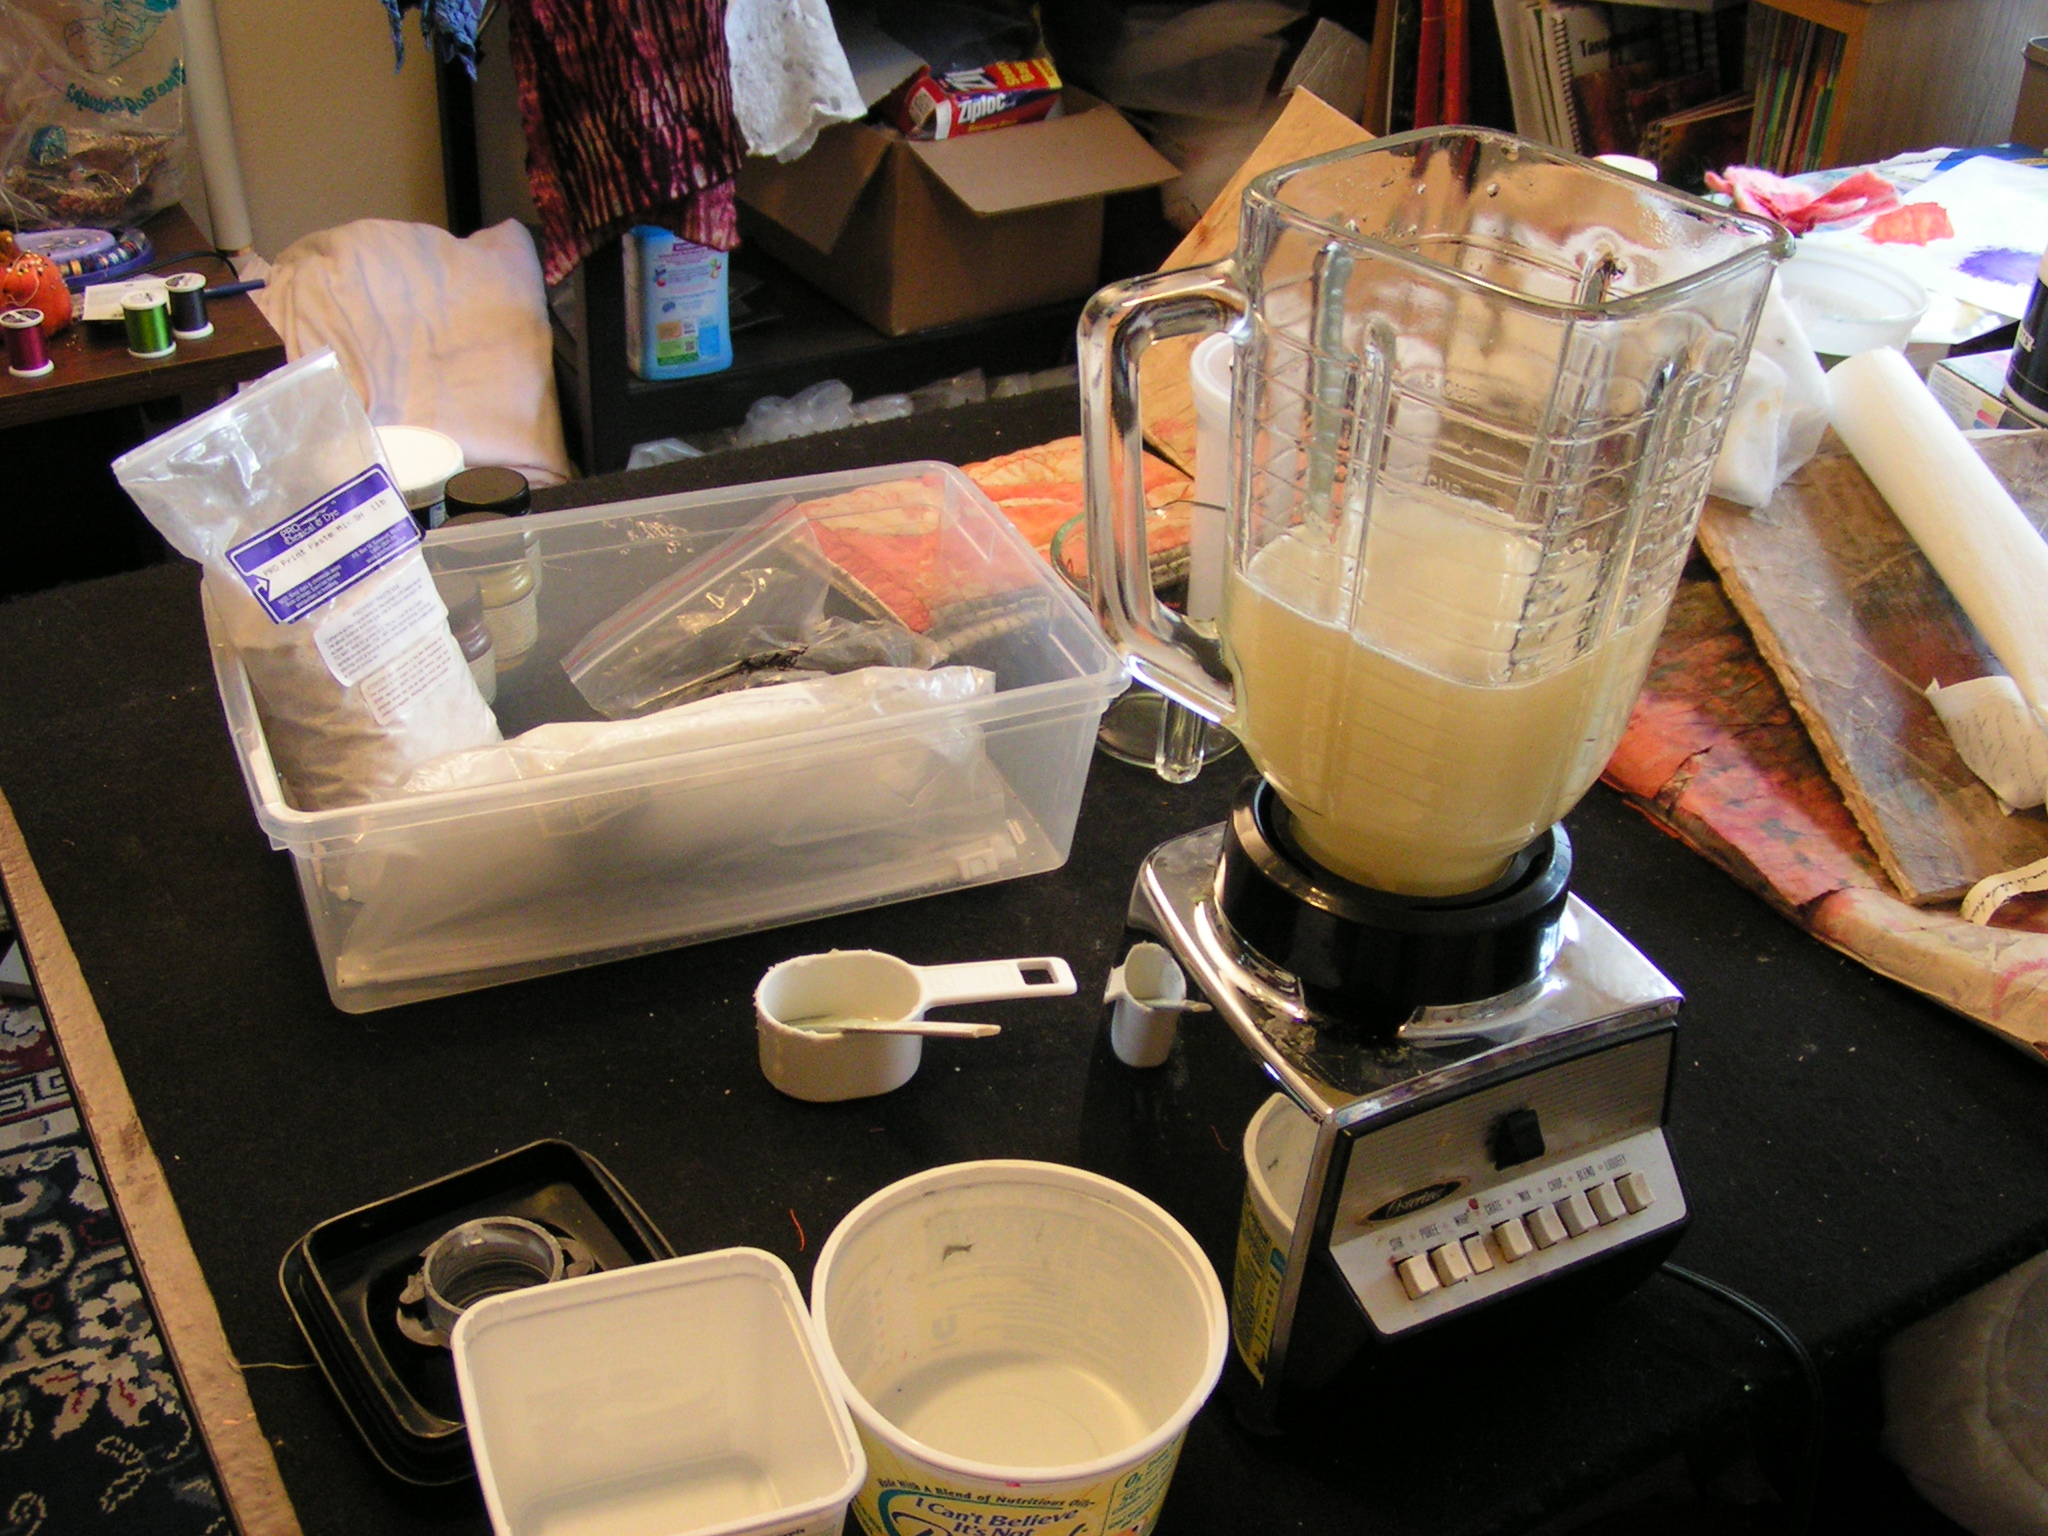
So I mixed up some print paste. You can buy it ready to go without having to mix any extra chemicals. You just add water and whir it up in the blender. I use this blender just in the studio.

This is the print paste I used. I only needed a little over a 1/4 cup for 2 cups of paste. We made tons of prints last time with 2 cups of paste. We can always make more if we need it.
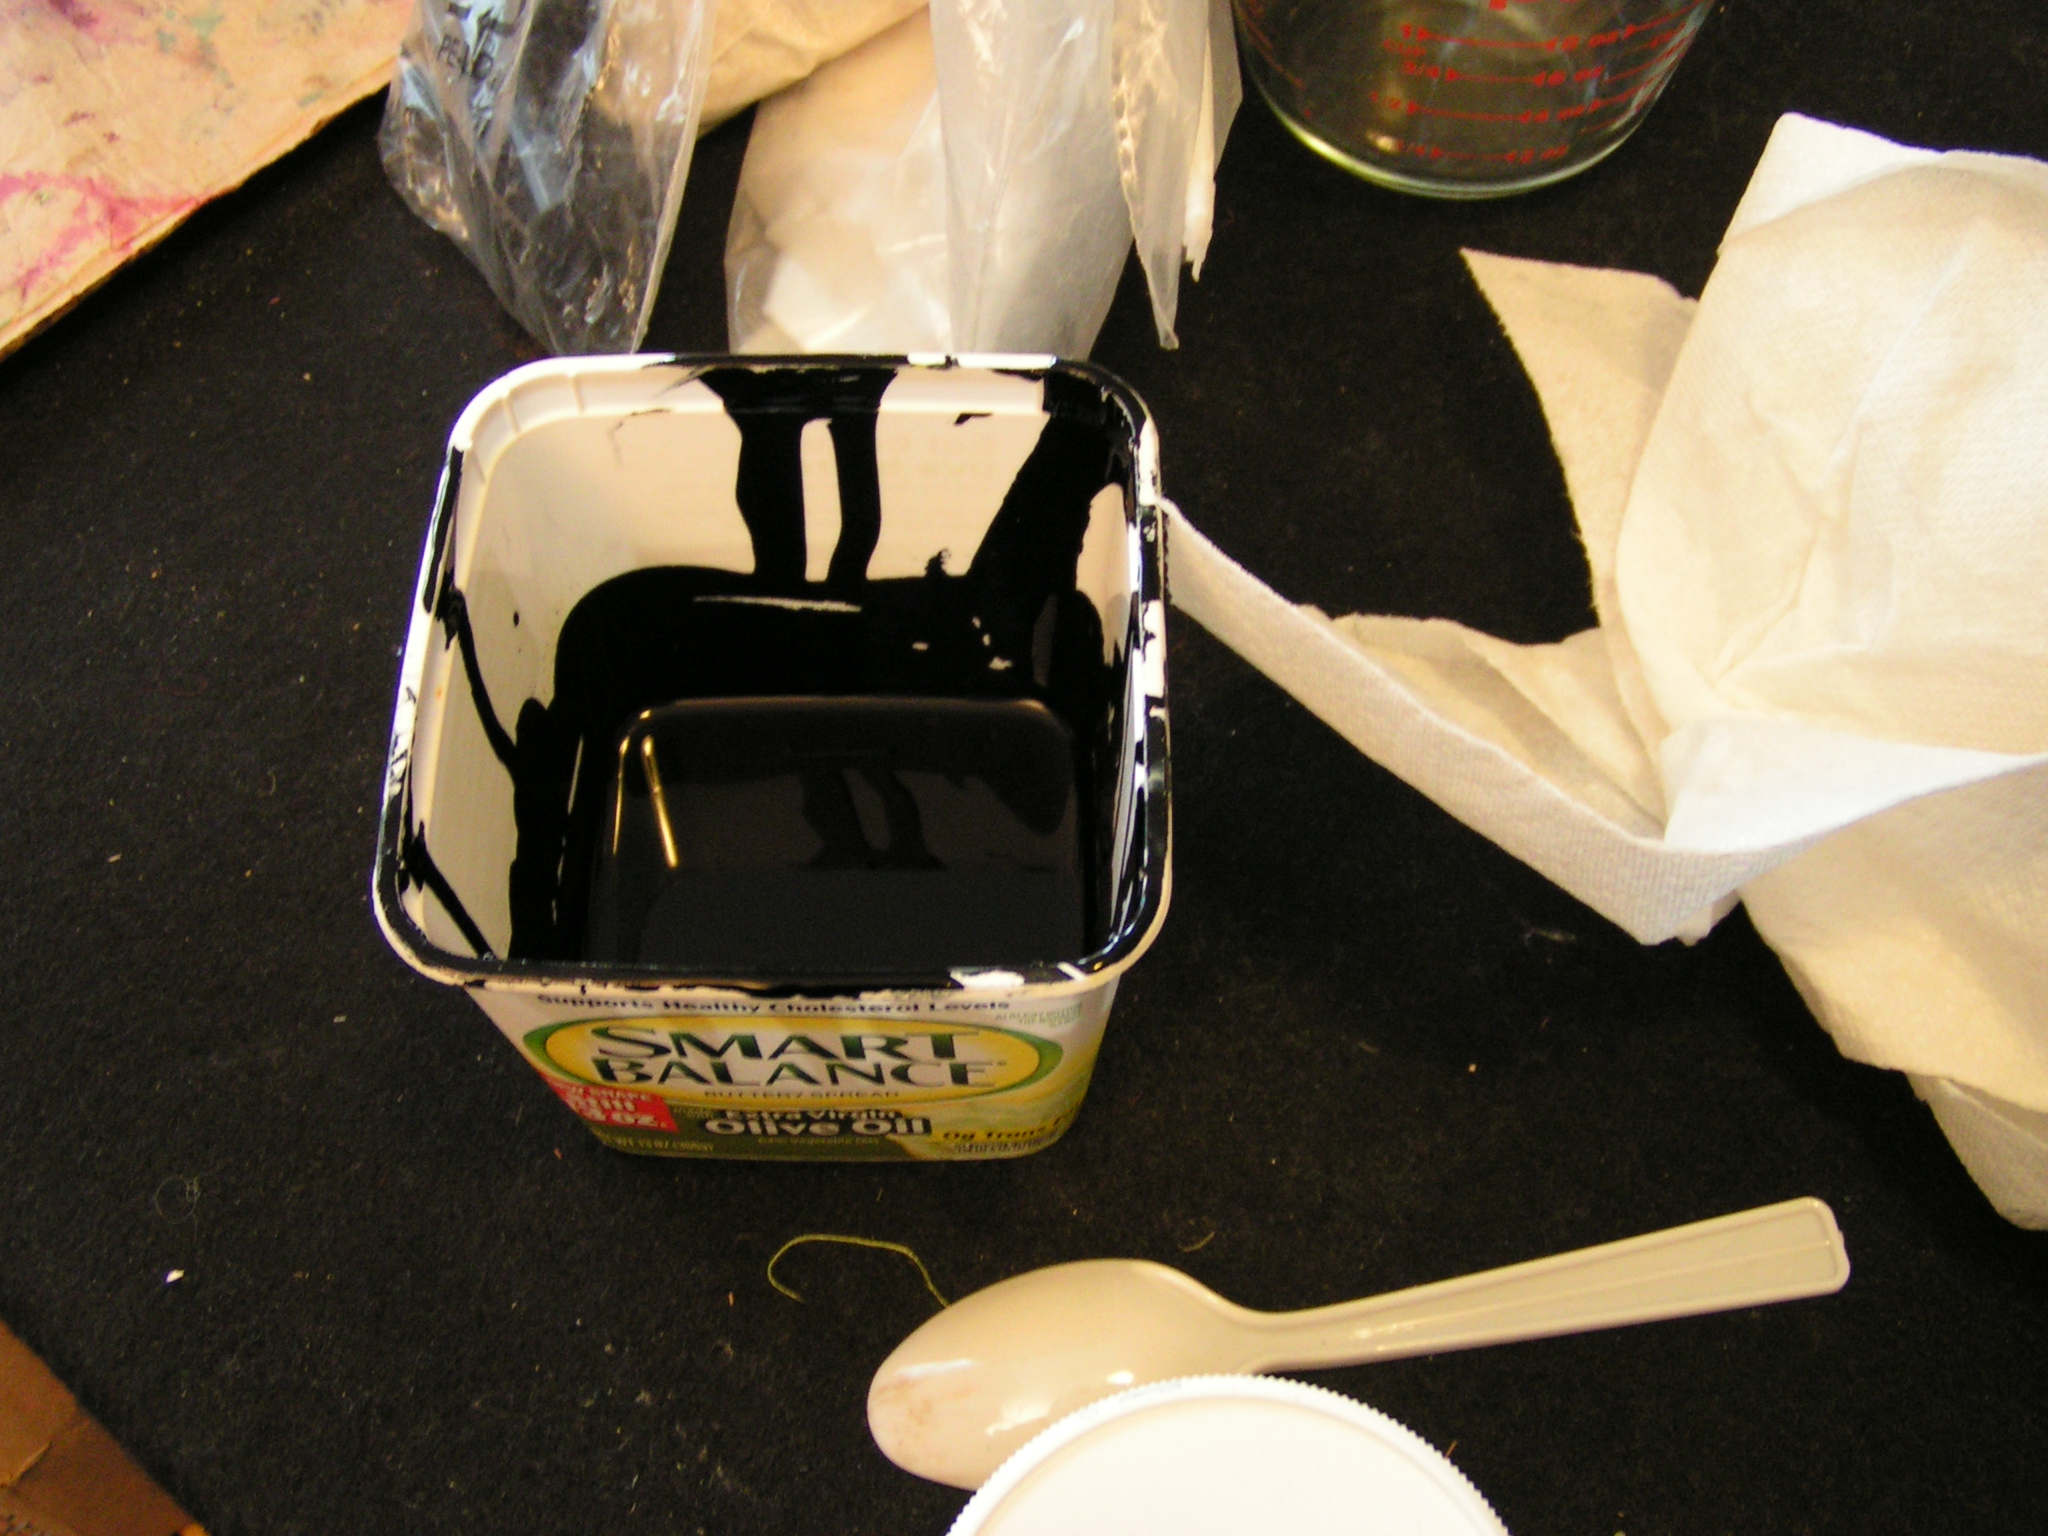
Then I added dye powder to a very small amount of print paste. This is the black one and I also mixed a green. We’ll add more colors later when we screen through the readied screens.
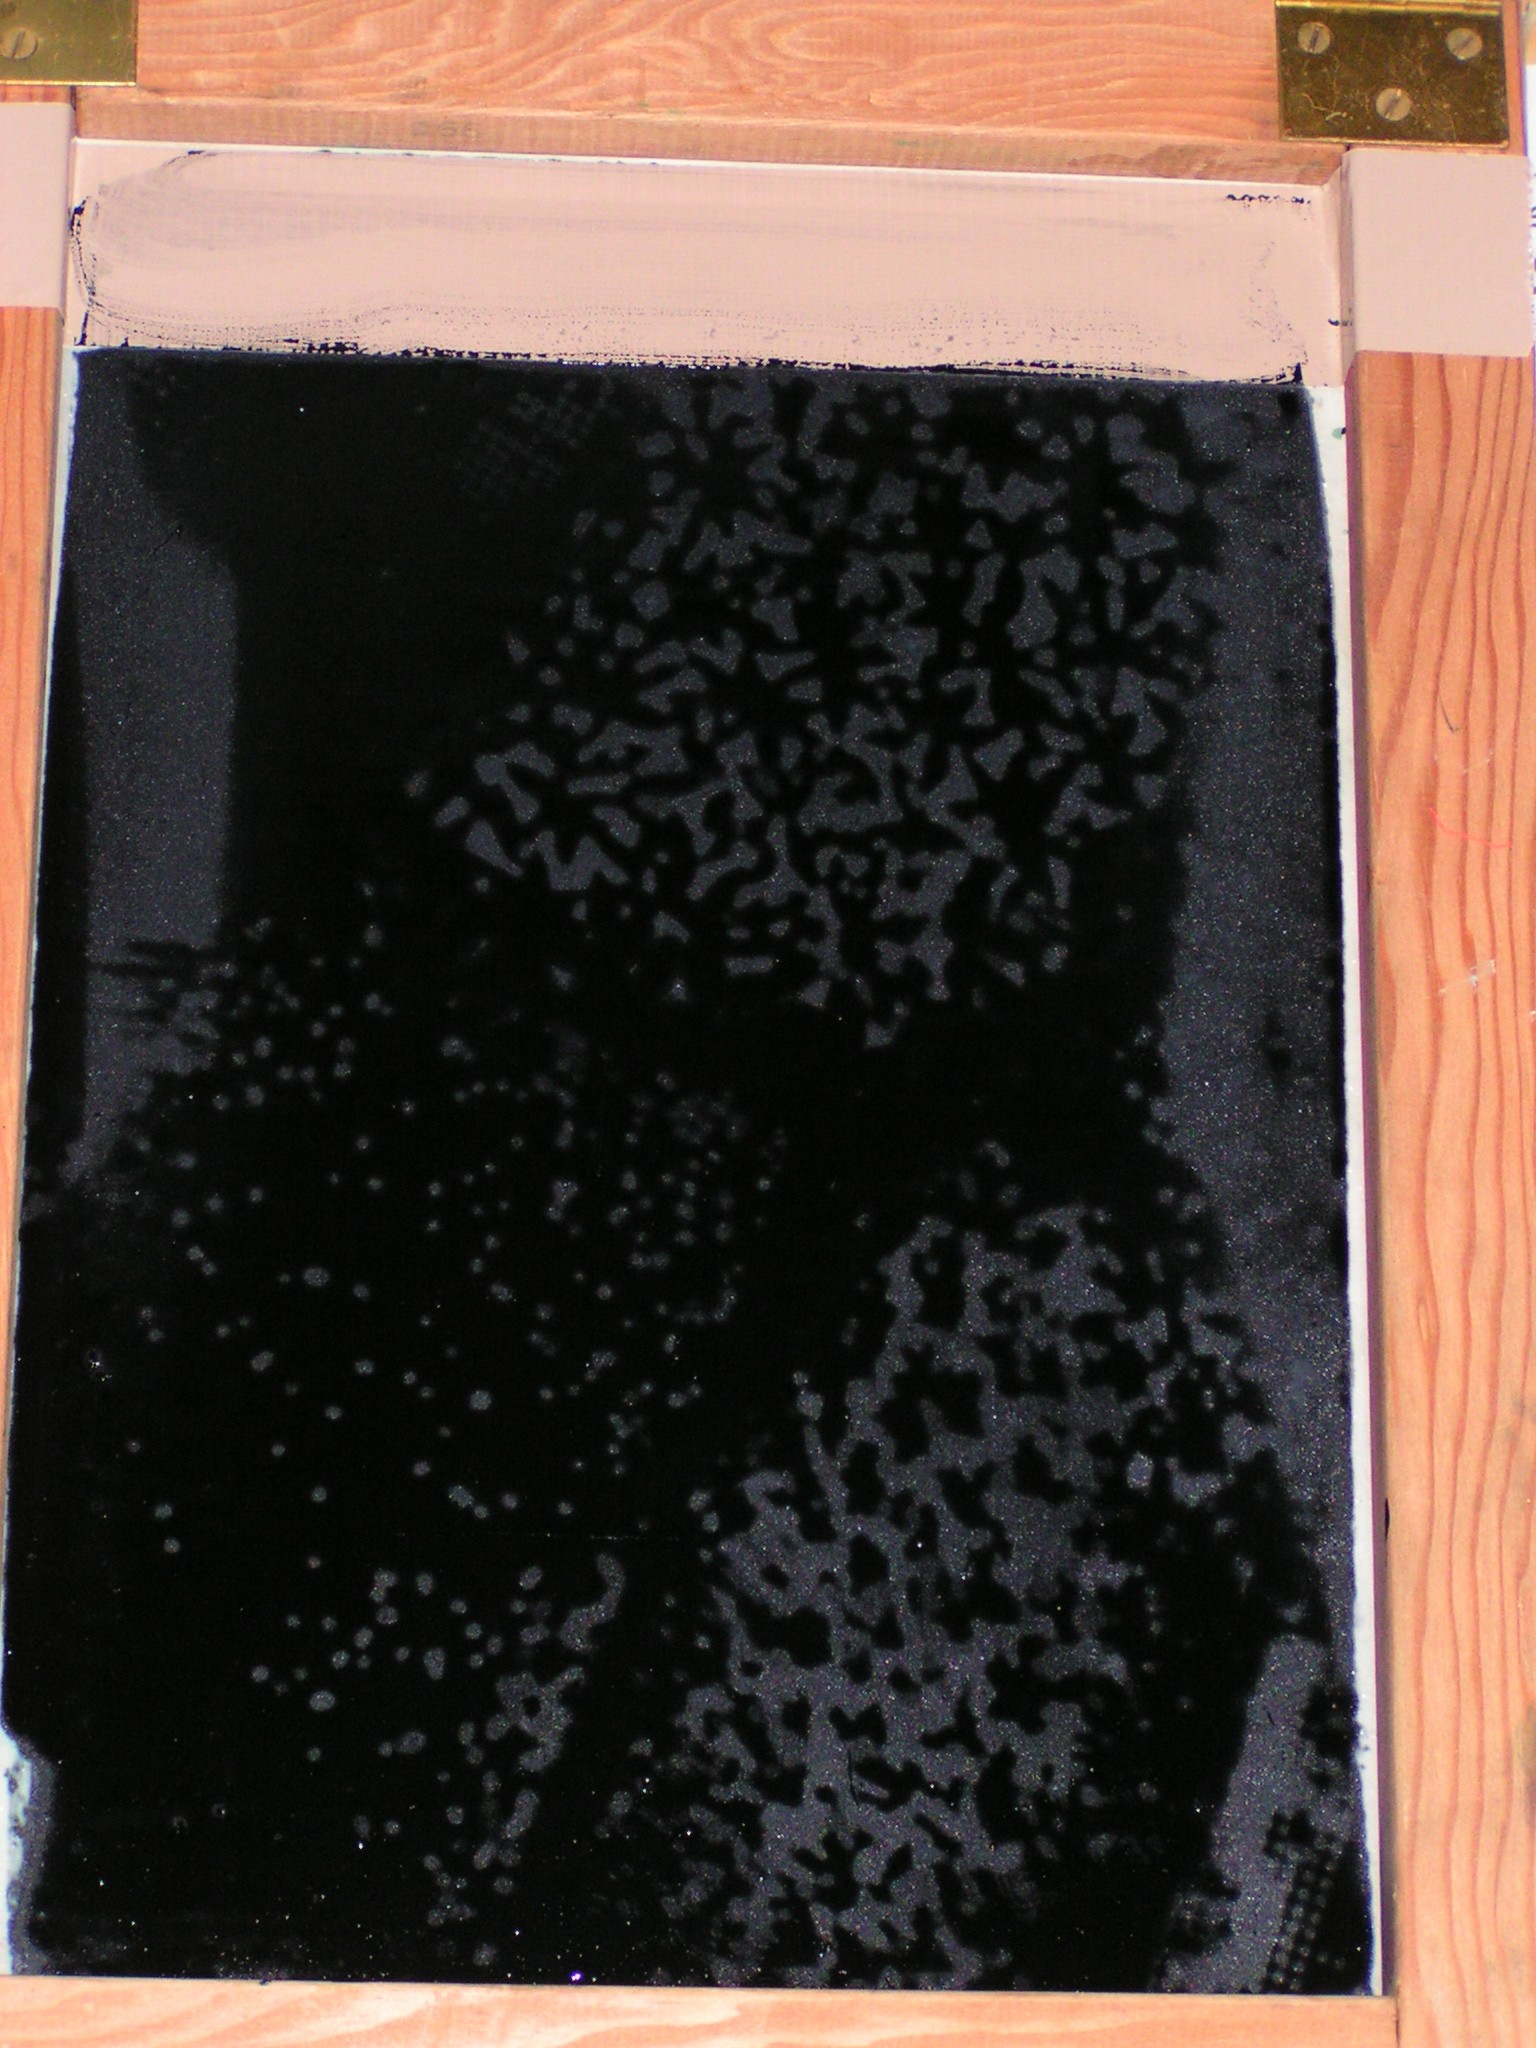
If you enlarge the photo above, you’ll be able to see that there is texture on the screen. I put commercial texture plates under there. Then I screened the black thickened dye over the screen and let it dry.

You can see the texture on this one better. It has a variety of stuff under there.
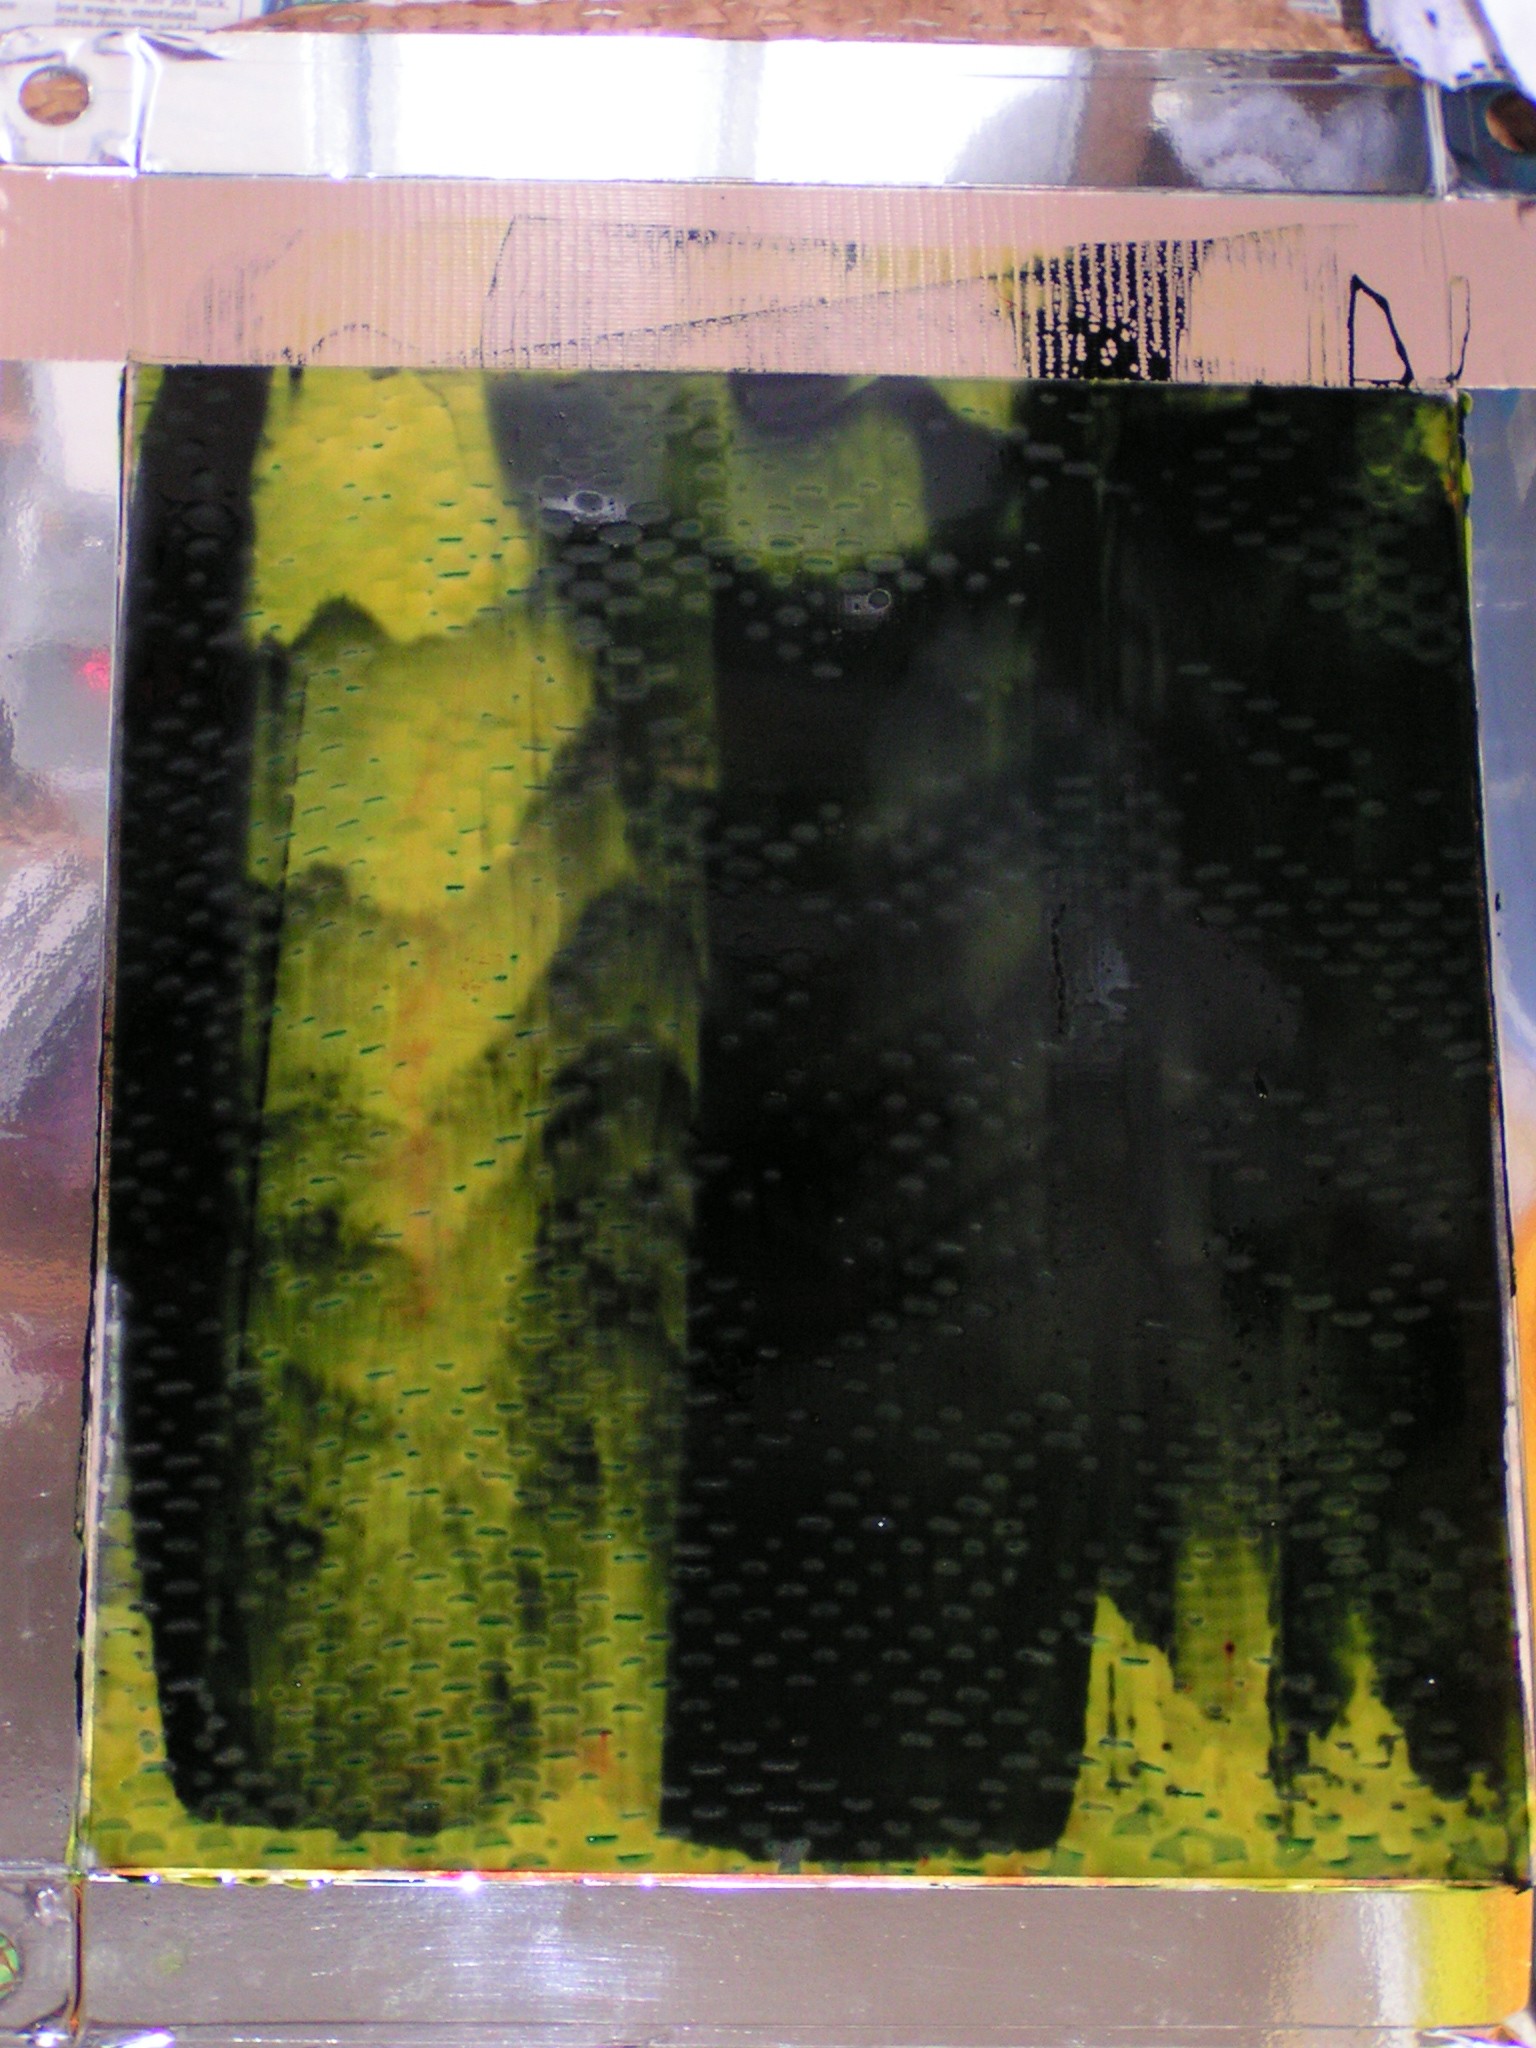
I did a mix of green and black on this one and it has a textured paper underneath.

This one has bubble wrap underneath. Next week, we’ll use these dried screens and use either clear print paste or dyed paste and screen on to fabric. The dried dye breaks down and makes really interesting patterns as the screen “breaks down”. The look you get is very organic and I don’t know another way to get the patterns that you do with breakdown screen printing.
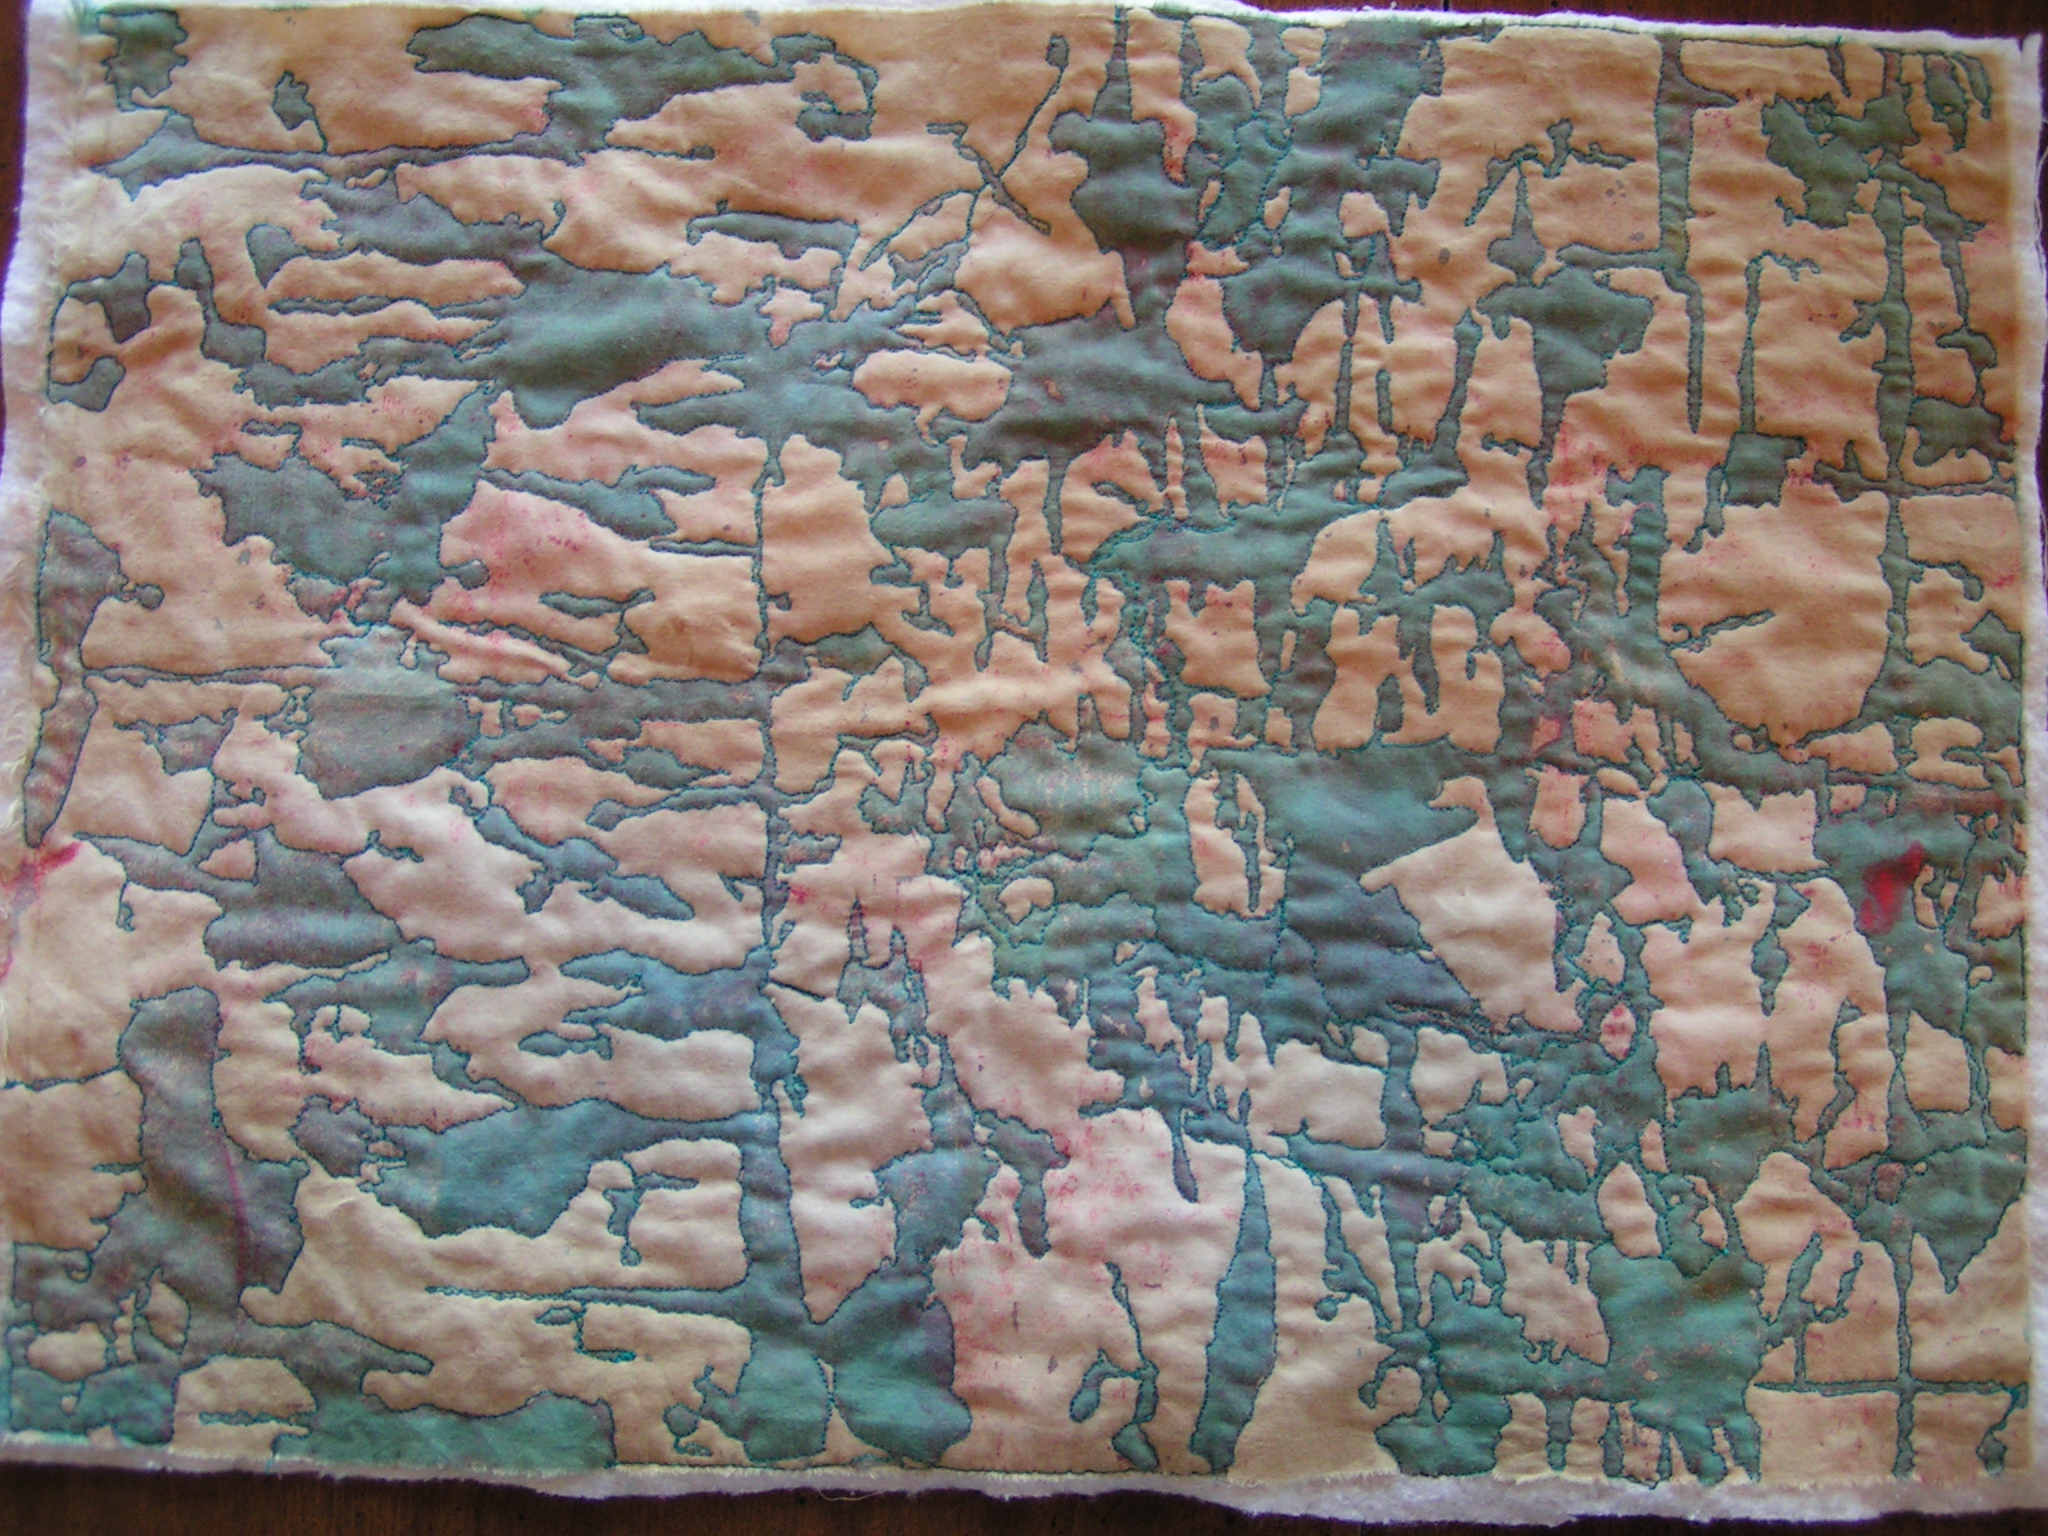
If you read my post this morning over on the Felting and Fiber Studio, you’ll recognize this book cover. This is one of my screen printed fabrics. I finished the free motion quilting.

You can see the stitching a little better from the back side. I marked the book size and added 1/2″ around the edge. I have problems with my last set of book covers as they didn’t fit correctly.
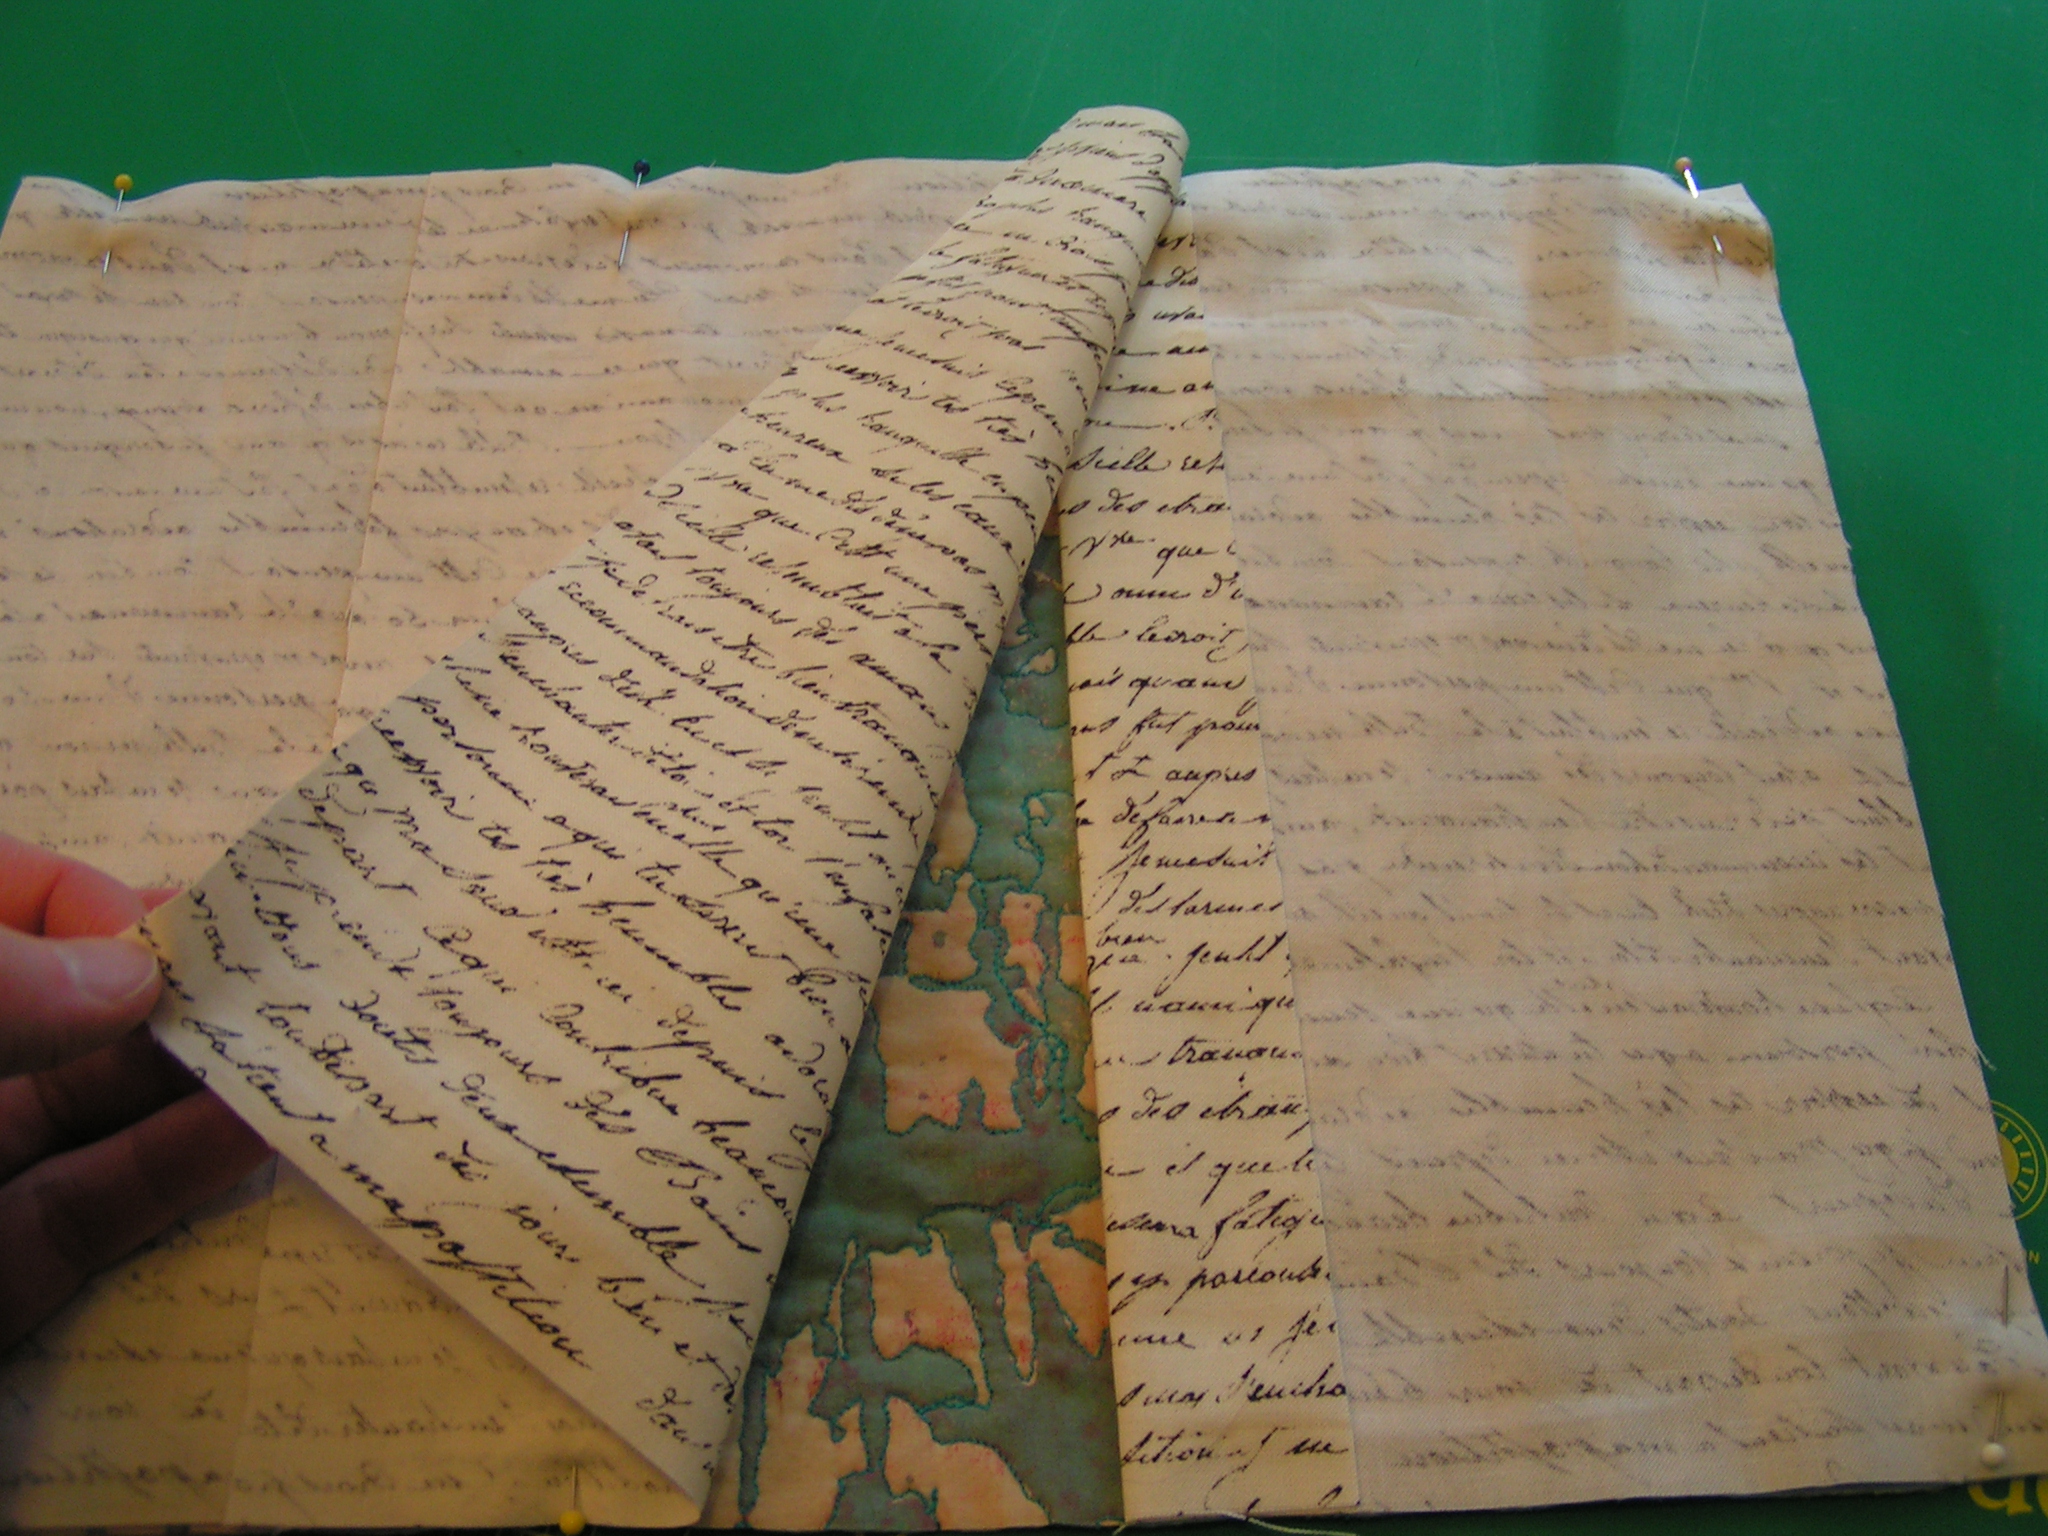
Then I put on the inside cover parts and stitched it all together, turned it right side out and voila!

It worked – it is slightly big but fits the notebooks I bought.
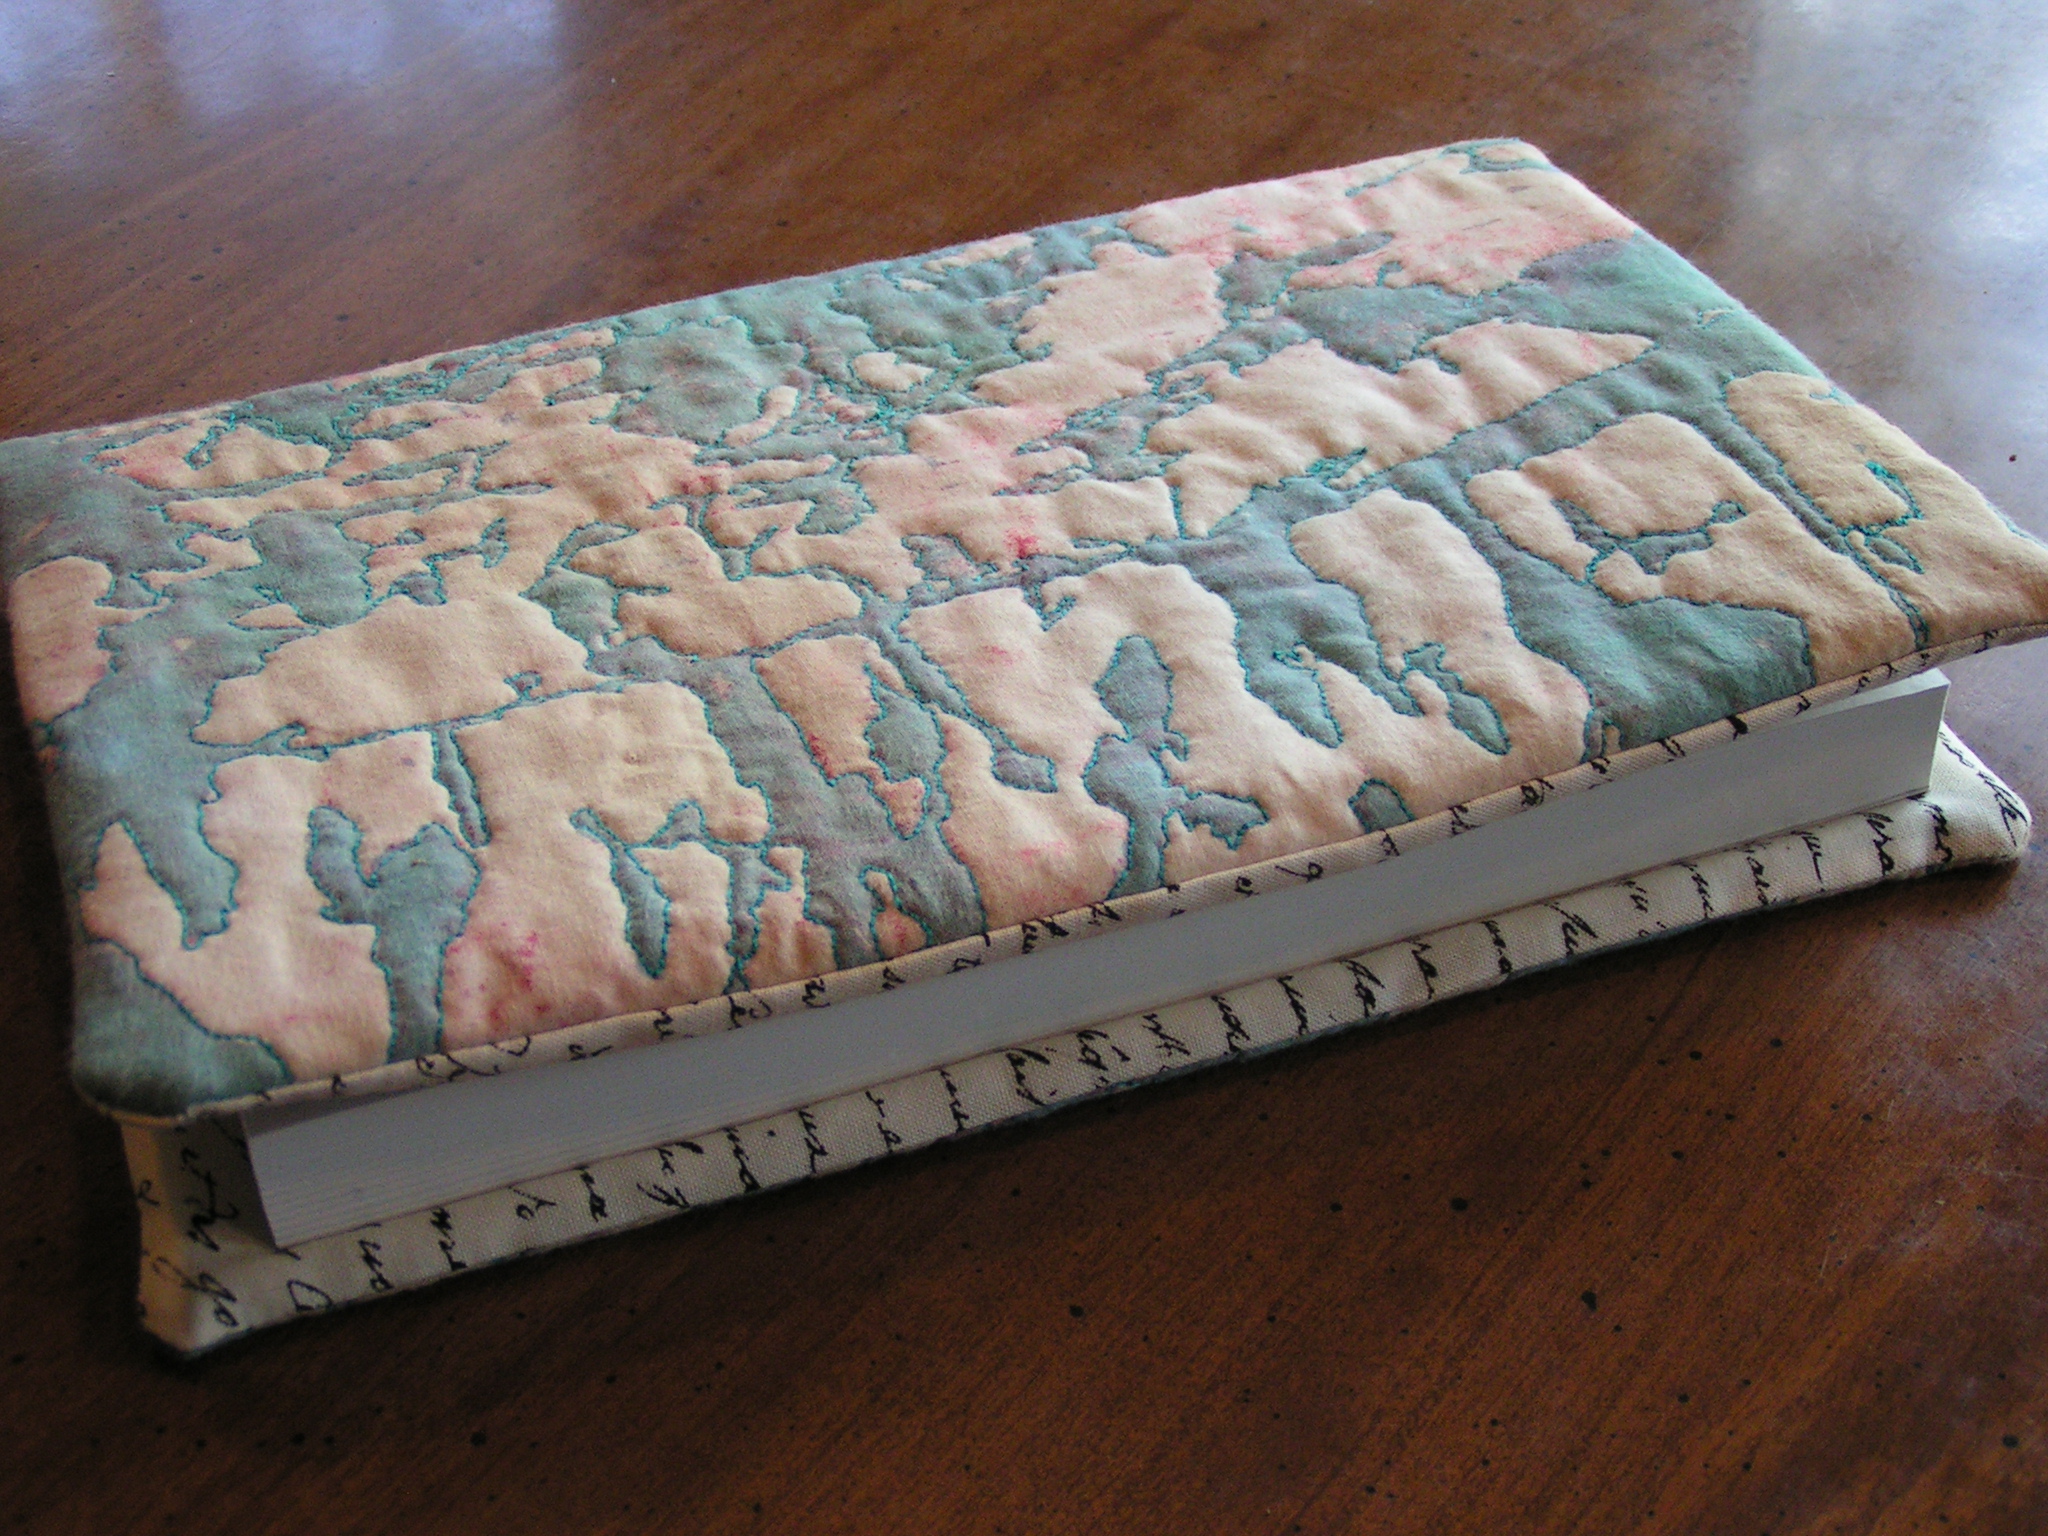
 Here’s the back side. It could go either way but the inside cover has writing so I put it right side up this time 🙂
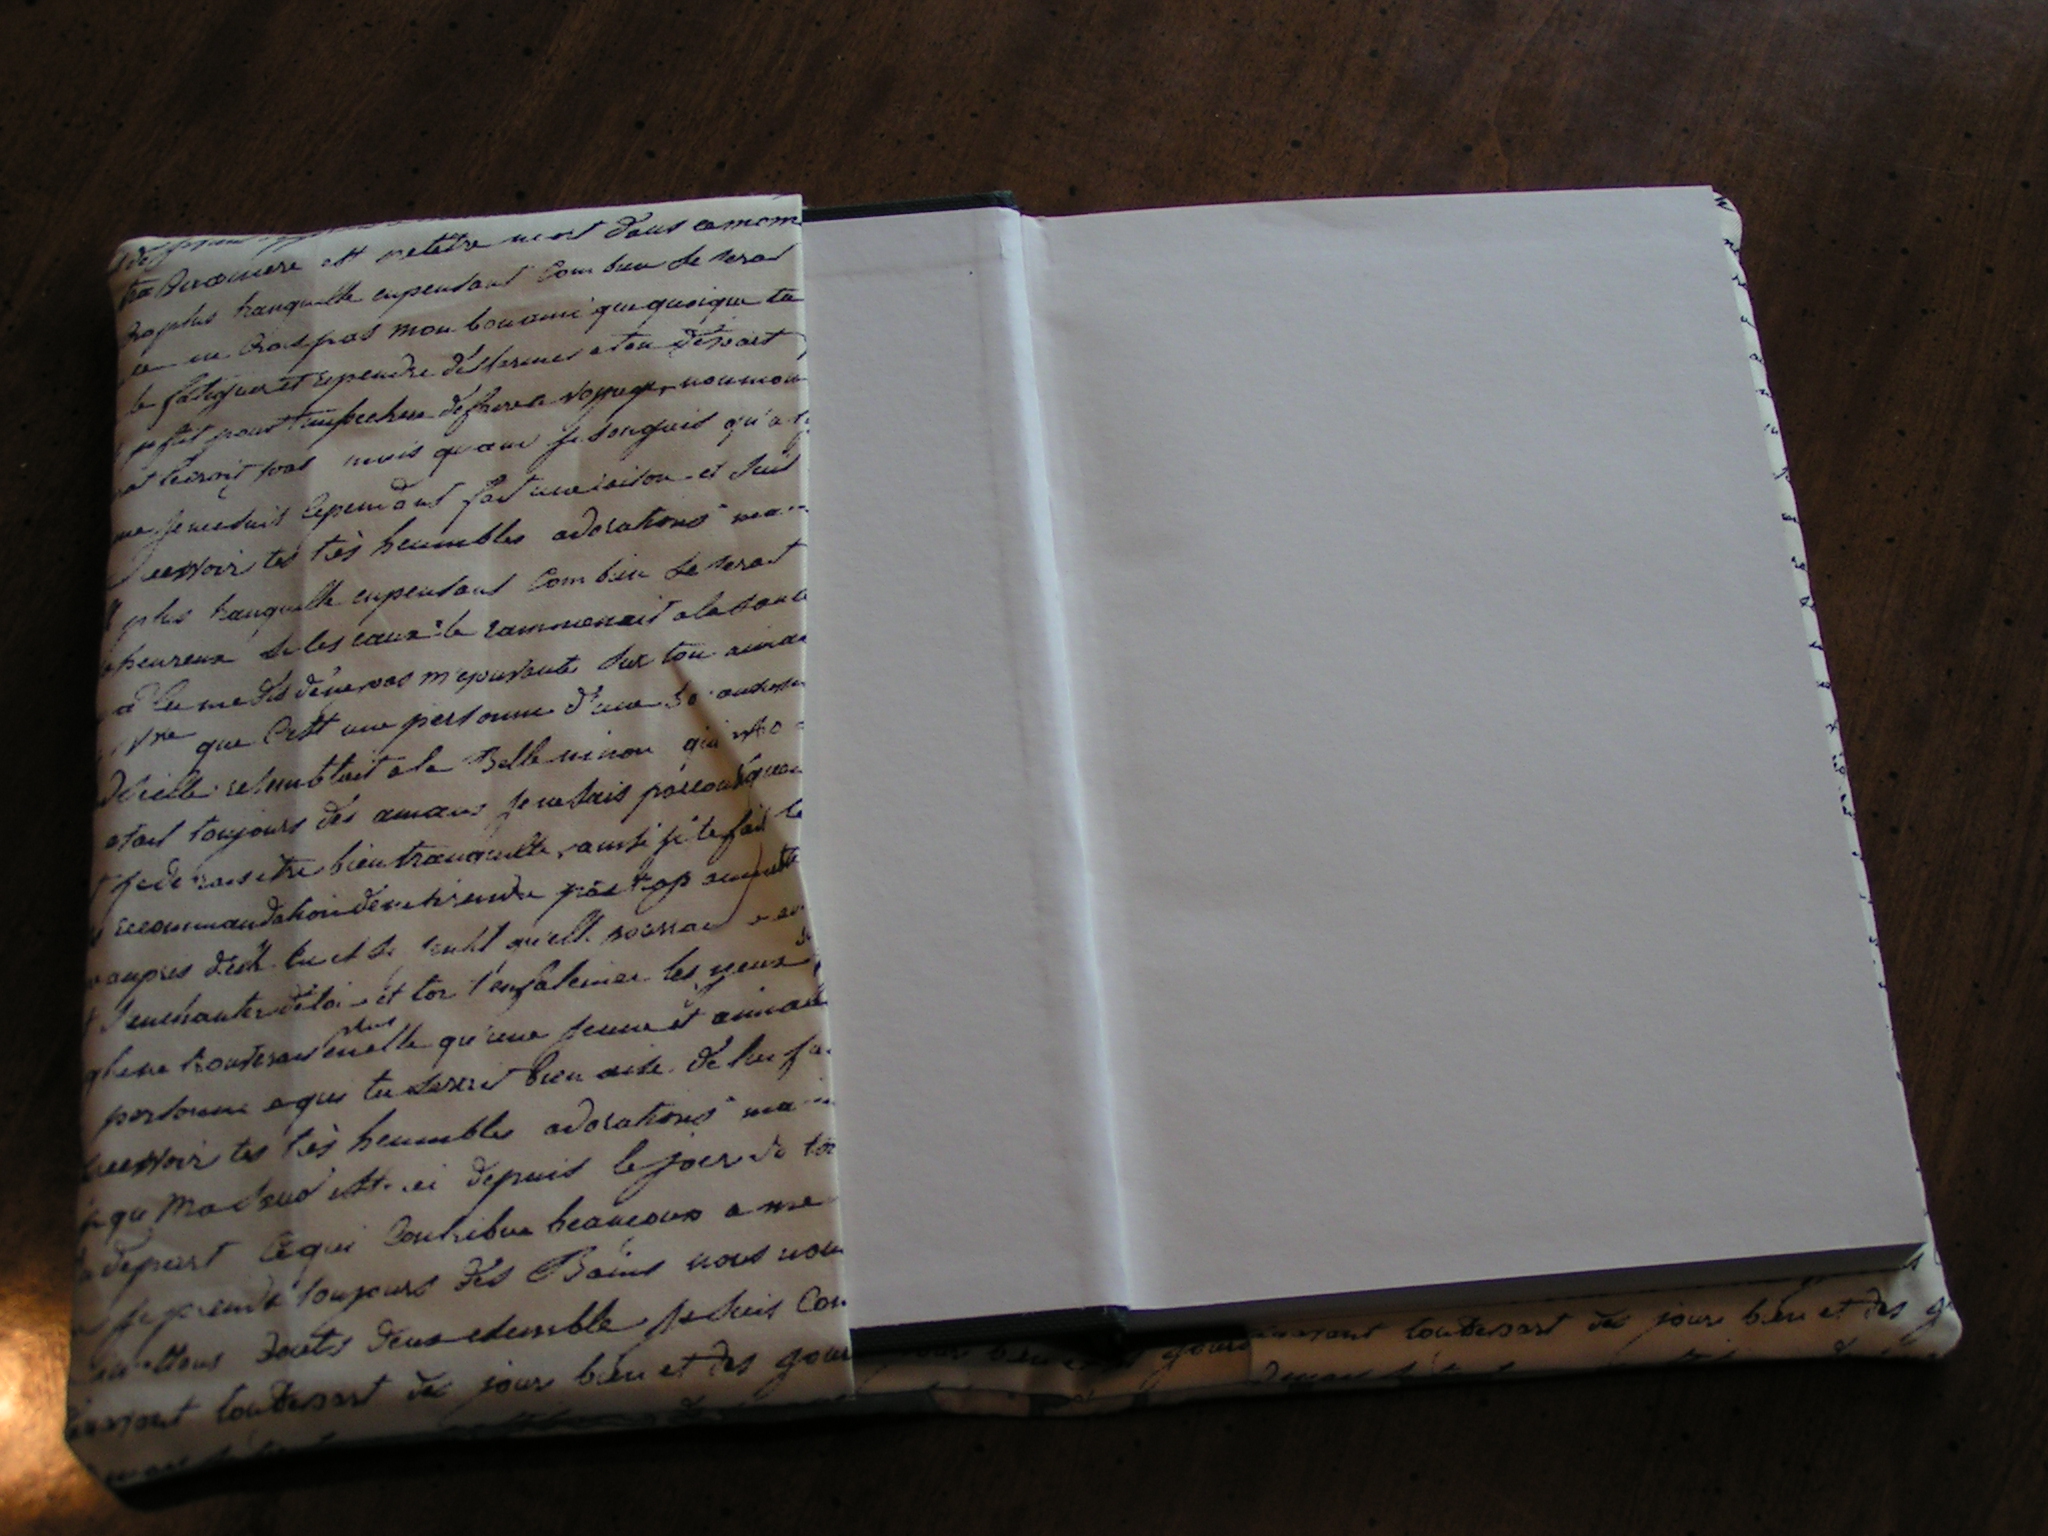
Here’s the inside view.
I’m happy it worked this time! Four more to go and then I’ll take them to the store and see if anyone wants to buy one. Hope you have a nice weekend!

The book cover turned out great. I love the leafy design. I look forward to seeing how this session of printmaking turns out. I especially like the first one. Have fun!
Thanks Marilyn!
Very envious that you have friends to do these fun experiments with! Have never screen printed, but it looks fascinating. The green and black is attractive with the texture added. Nice job on the book cover! Is the french writing a current trend?
Before I started our group, I barely knew the people. But I had heard of them and just asked if they wanted to join the group. We have become a close knit group since then and love to experiment. Screen printing is messy but fun. The fabric with the french writing was just something I had in my stash. I think I bought it more than 12 years ago.
love the book cover, using the fabric with writing on it is a nice touch. Looking forward to seeing the output from your printing session too 🙂
Thanks Teri – I am looking forward to the printing session. I always have such fun and the results are always different.
Lovely! It’s great to see the final pieces you make from your screen prints. I’m afraid that most of my experiments remain just that – they never seem to get turned into a finished product. 🙂
Thanks Kim – I actually have piles of experimental fabric that hasn’t been turned into anything. I decided I needed to make something out of the fabric so I started with the notebook covers. If they sell, I’ll keep making them. Otherwise I will need to come up with another product that will sell.
The finished book cover is pretty – reminds me of islands in the sea – and the writing on the inside is apt.
I like the way you point out that the blender is not the same one that you use for your milkshakes!
Thanks Lyn – it’s funny that you say that about islands in the sea. My eyes kept switching foreground and background as I was stitching. One minute, the blue green was foreground and the next minute it was the background. And it still does that to me. And I guess I don’t want other people thinking you can make milk shakes from print paste 🙂