Screen Printing Results

Our local group met today and we worked on shibori. I’ll post about the shibori session on the Felting and Fiber Studio site in a week or so. But I did get some photos of the favorite pieces from the screen printing party.

Sally Glutting with Screen Printed Fabric

Here is Sally with her favorite piece.

Screen Printed Fabric by Sally Glutting

And a little better view of the piece. It has some really nice background details that almost look like water or a lake with trees in the background.

Paula Rindal with Screen Printed Scarf, Nuno Felted in Center

Here’s Paula with her screen printed scarf. She nuno felted the center section and is meant to be a head scarf. The screen that she used was one of my fabric lamination screens.

Louise Barker with Screen Printed Fabric

And this is Louise with her screen printed piece. She has it wrapped around a board. She is thinking of adding some stitching and then covering it with a cold wax technique.

Screen Printed Fabric by Louise Barker

Here’s a closer view.

MINOLTA DIGITAL CAMERA

And here’s a little fellow that came to visit me when I was working this morning.

MINOLTA DIGITAL CAMERA

He/she was right outside my window.

MINOLTA DIGITAL CAMERA

Trying to find something tasty out in the cold, cold weather we are having. Hope you have a nice weekend!

Christmas on Halloween?

I made a couple of stencils today based on poinsettias. I made two different sizes of the same design.

Hand cut stencil by Ruth Lane

This is the larger size and you can see I still have the cut out pieces too. If you’re careful, you can use these for a negative/positive image. With this type of plastic though it is hard to hold them in place. Perhaps I’ll try a bit of spray adhesive but I don’t really like that stuff because it gets all over the place.

Hand cut stencil by Ruth Lane

Here’s the small design before I cut it out.

Hand cut stencil by Ruth Lane

And the smaller one cut out. I put a bit of duct tape on the edges because there wasn’t a big enough border and I didn’t want to get paint over the edge.

Hand cut stencils by Ruth Lane

I used one of my silk screened pages and stenciled a few poinsettias on the page. I used a portion of the stencil with green to make the leaves. I think this will make a nice Christmas card. I can scan it in, add some text and I’ll have a nice digital card.

Hand cut stencil by Ruth Lane

Here’s a closer view of the bigger flower.

Silk screen by Ruth Lane

And I added a little yellow ink to this screen printed page. It looks a little more gruesome and fitting for Halloween perhaps than the poinsettias. Happy Halloween!


Screen Printed Fabric

Here are a few of the fabric pieces that got screen printed at our Screen Printing Party last week. Most of them are mine but one is Sally’s as she left it at my house accidentally.

MINOLTA DIGITAL CAMERA

This piece is Sally’s – it looks kind of blurry – I hope if you click on it to enlarge it looks better. It’s a piece of linen fabric that was previously dyed green. A deconstructed screen print was screened over the top.

MINOLTA DIGITAL CAMERA

Here’s a closer view. I think this would make a nice background.

MINOLTA DIGITAL CAMERA

This piece was previously printed with the green leaves. I screen printed the blue on top of that.

MINOLTA DIGITAL CAMERA

This piece has been printed twice with a blue school glue screen. The bottom layer is the red layer and then I screened green dye on top of that with a different blue glue screen.

MINOLTA DIGITAL CAMERA

This gets the ugliest fabric award. It was originally printed on a “gelli” plate, that’s the red/purple layer. Then I used the green dye and the blue glue screen. I was hoping to improve it a bit but not sure it’s any better. I think I need to over dye the entire thing to tone it down a bit.

MINOLTA DIGITAL CAMERA

Here’s the back of the one above. It is definitely better from the back.

MINOLTA DIGITAL CAMERA

These are my favorites. These four pieces of fabric were screened over torn paper. I just sprinkled some paper scraps from the shredder on top of the fabric and then screened various colors of dye in several layers over the top. The paper forms a resist as you print.

MINOLTA DIGITAL CAMERA

Here’s a little closer view. I’m not sure what I’ll do with these fabric pieces yet but I think this last set would make great notebook covers.


Silk Screening Party

My local group met today to do some silk screening. We did deconstructed screen printing, printing through screens made with blue school glue, oatmeal printing and scrap paper printing. We also tried screen printing with a screen prepared with watercolor crayons and then used textile medium to screen through the crayons. These were a bit of a disappointment but all the others worked great. I was so into the screen printing that I forgot to take many photos of the process.

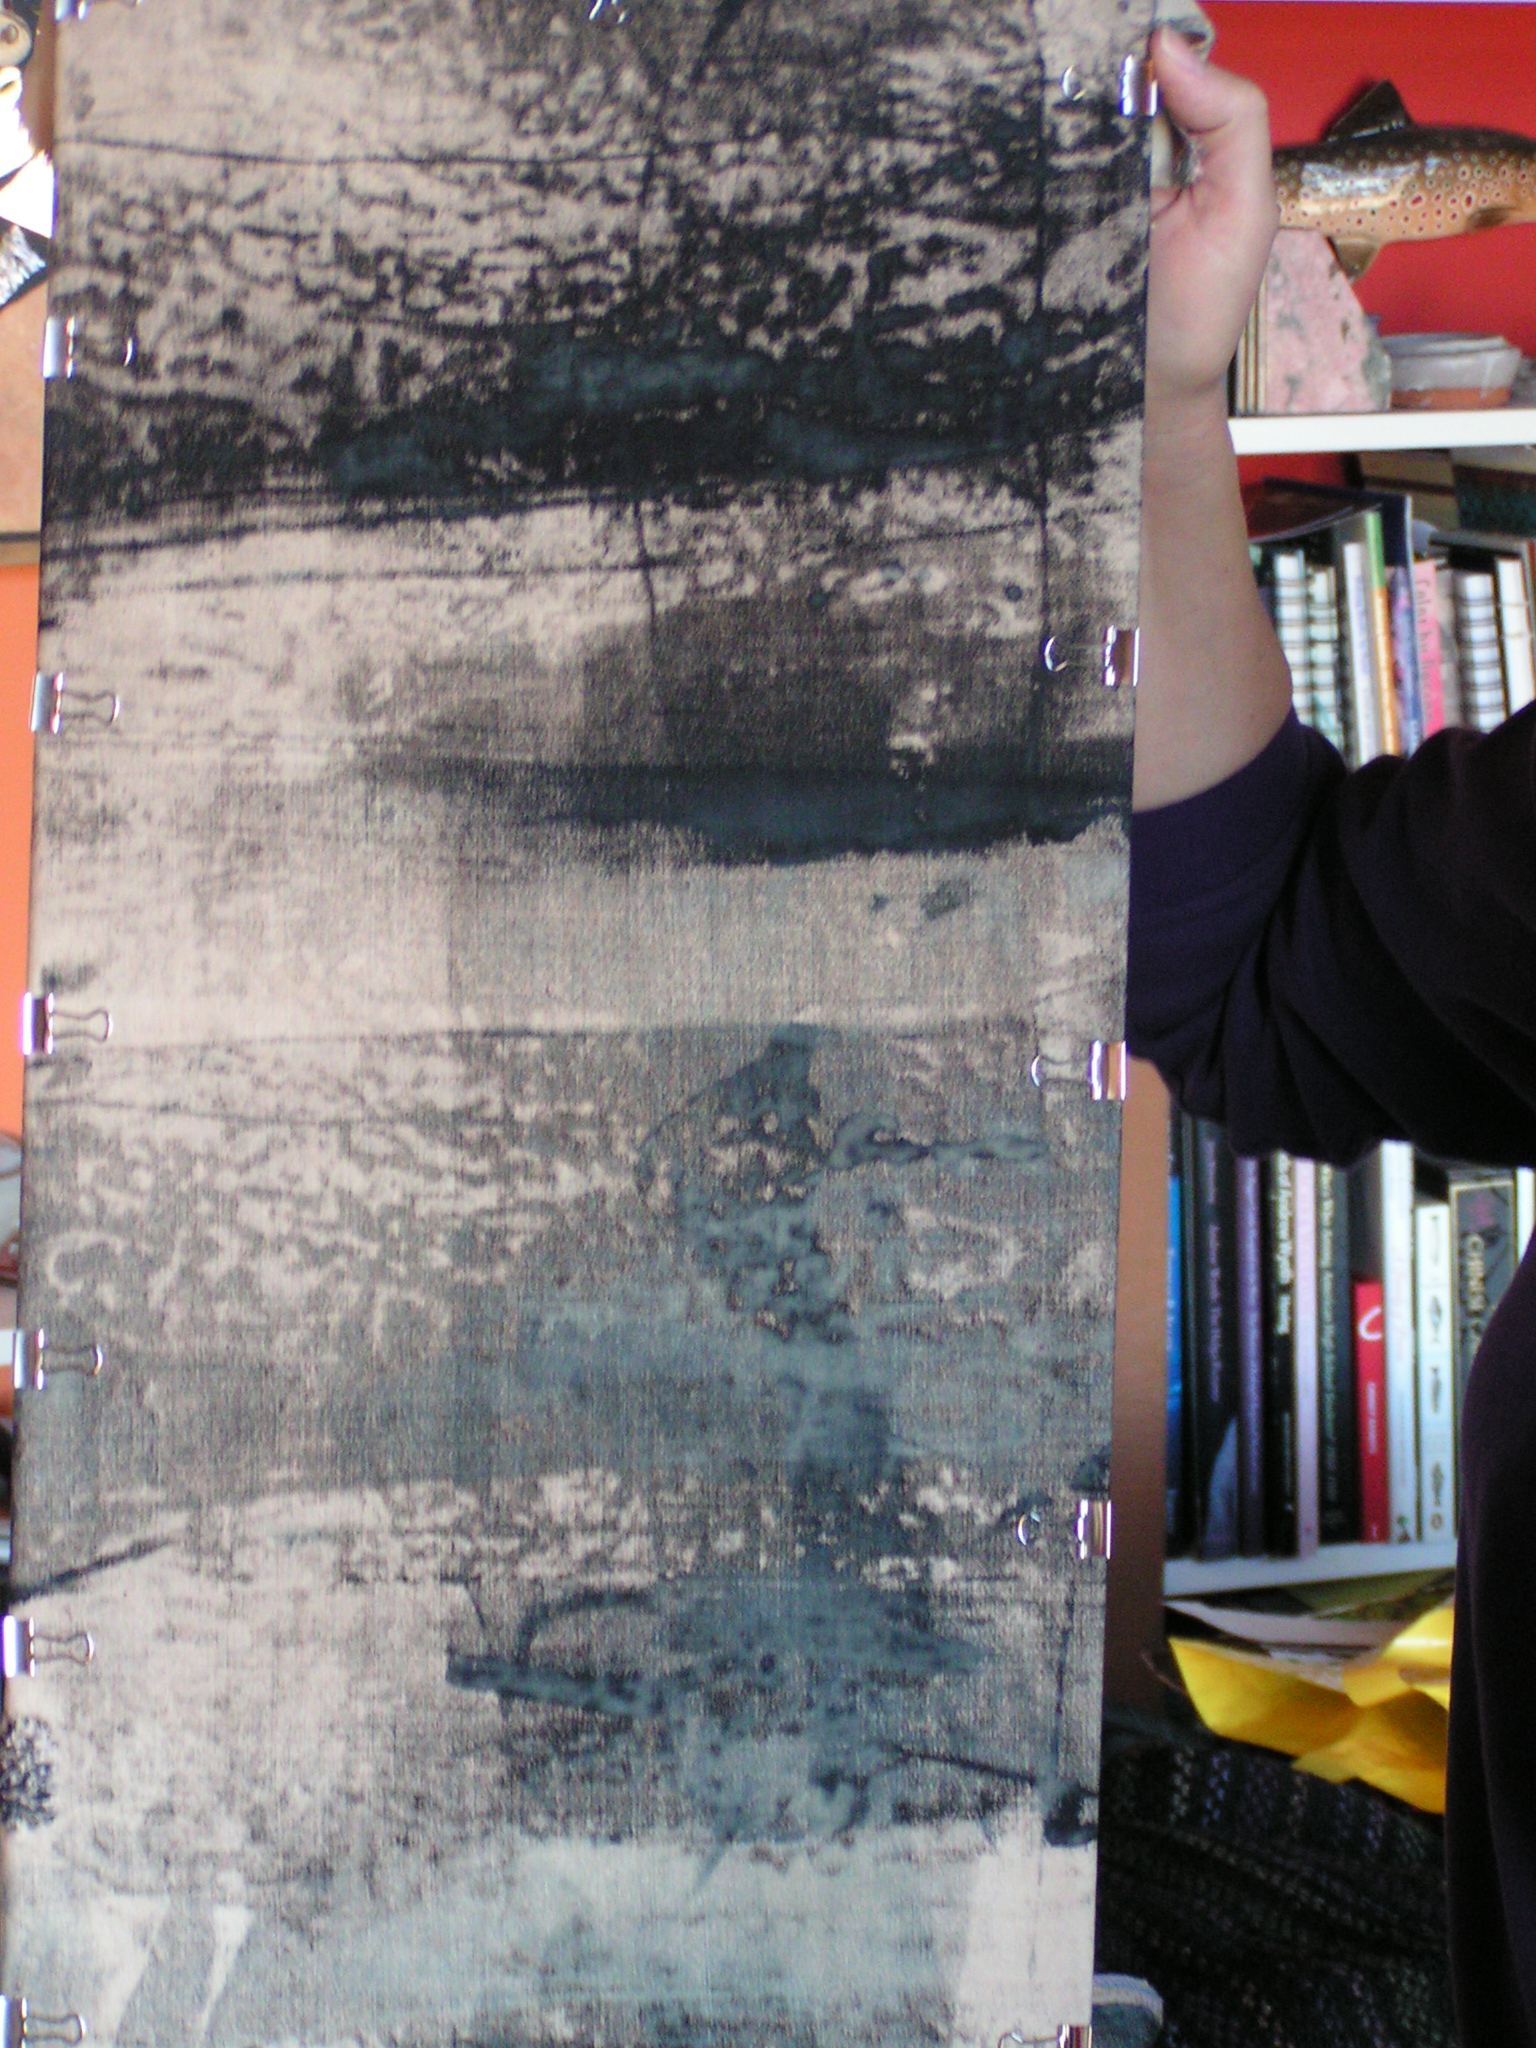
These four photos show the deconstructed screens. The one in the top left corner has bubble wrap under it and I’m screening the thickened dye on to the screen. The other three photos are screens that have already dried. We then screened either clear print paste or another color dye through this and the dried dye breaks down differently with each pull.

After I made the screen there was dye left on the bubble wrap so I used it to print on to some sketch book pages.

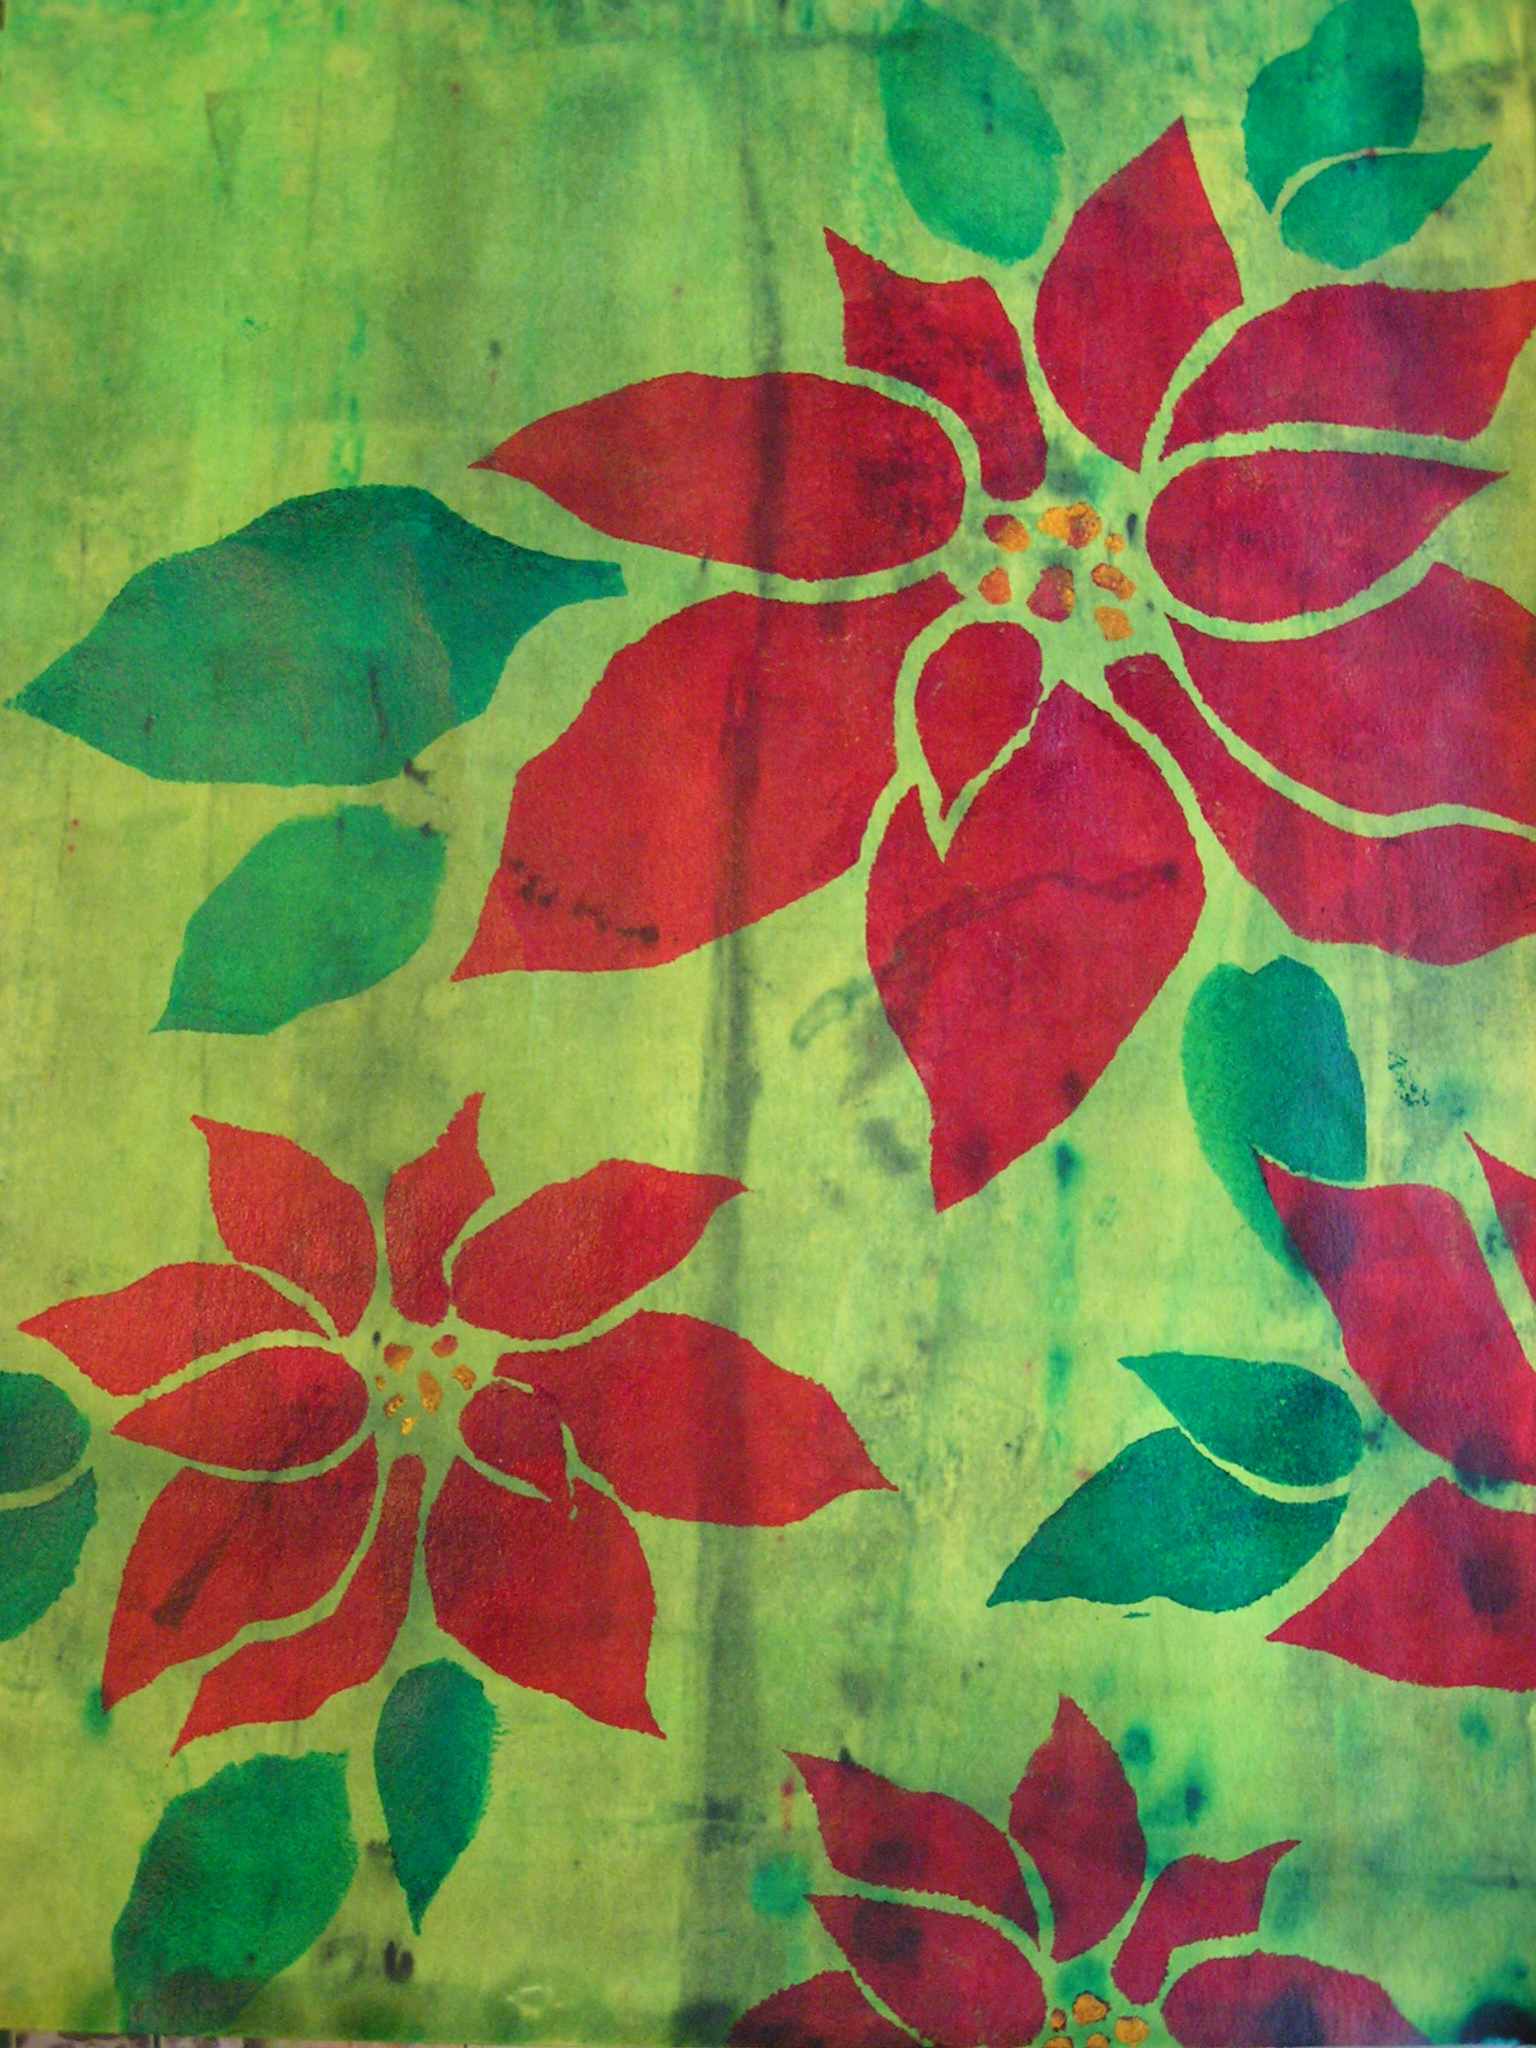
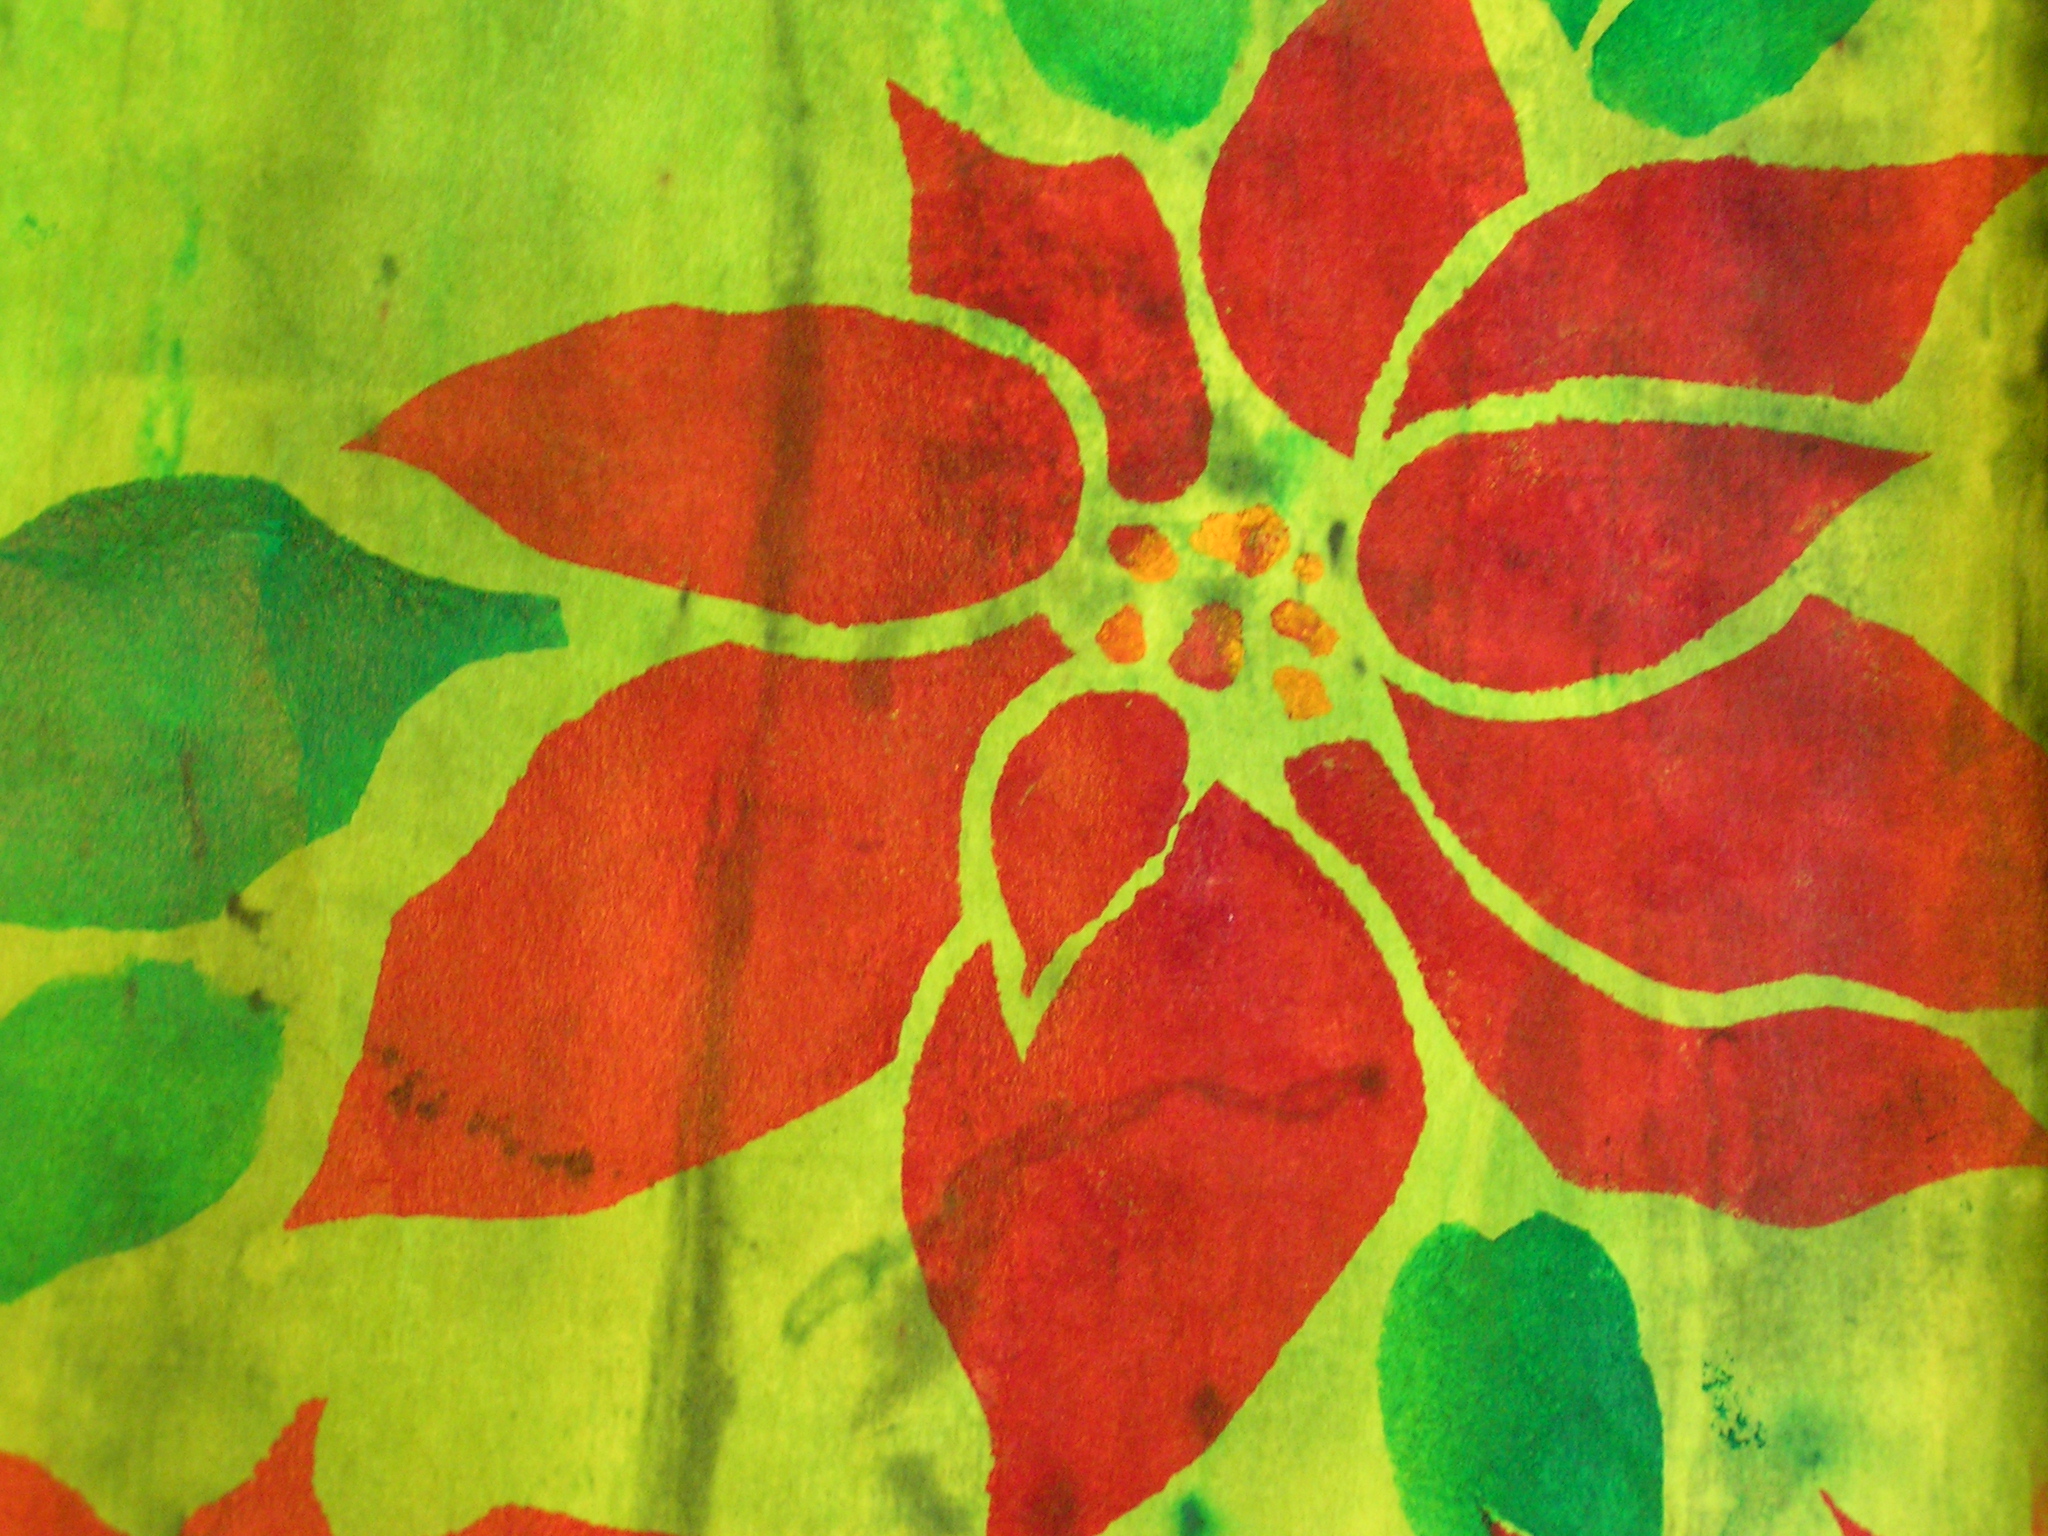
These four photos above show are printed from the paper lamination screens that I made last week. I used printing ink on to sketch book pages. The pages with a different background color were already painted or printed previously.

These two pieces were printed with the watercolor crayons and textile medium. The one on the left was previously printed with peppers.

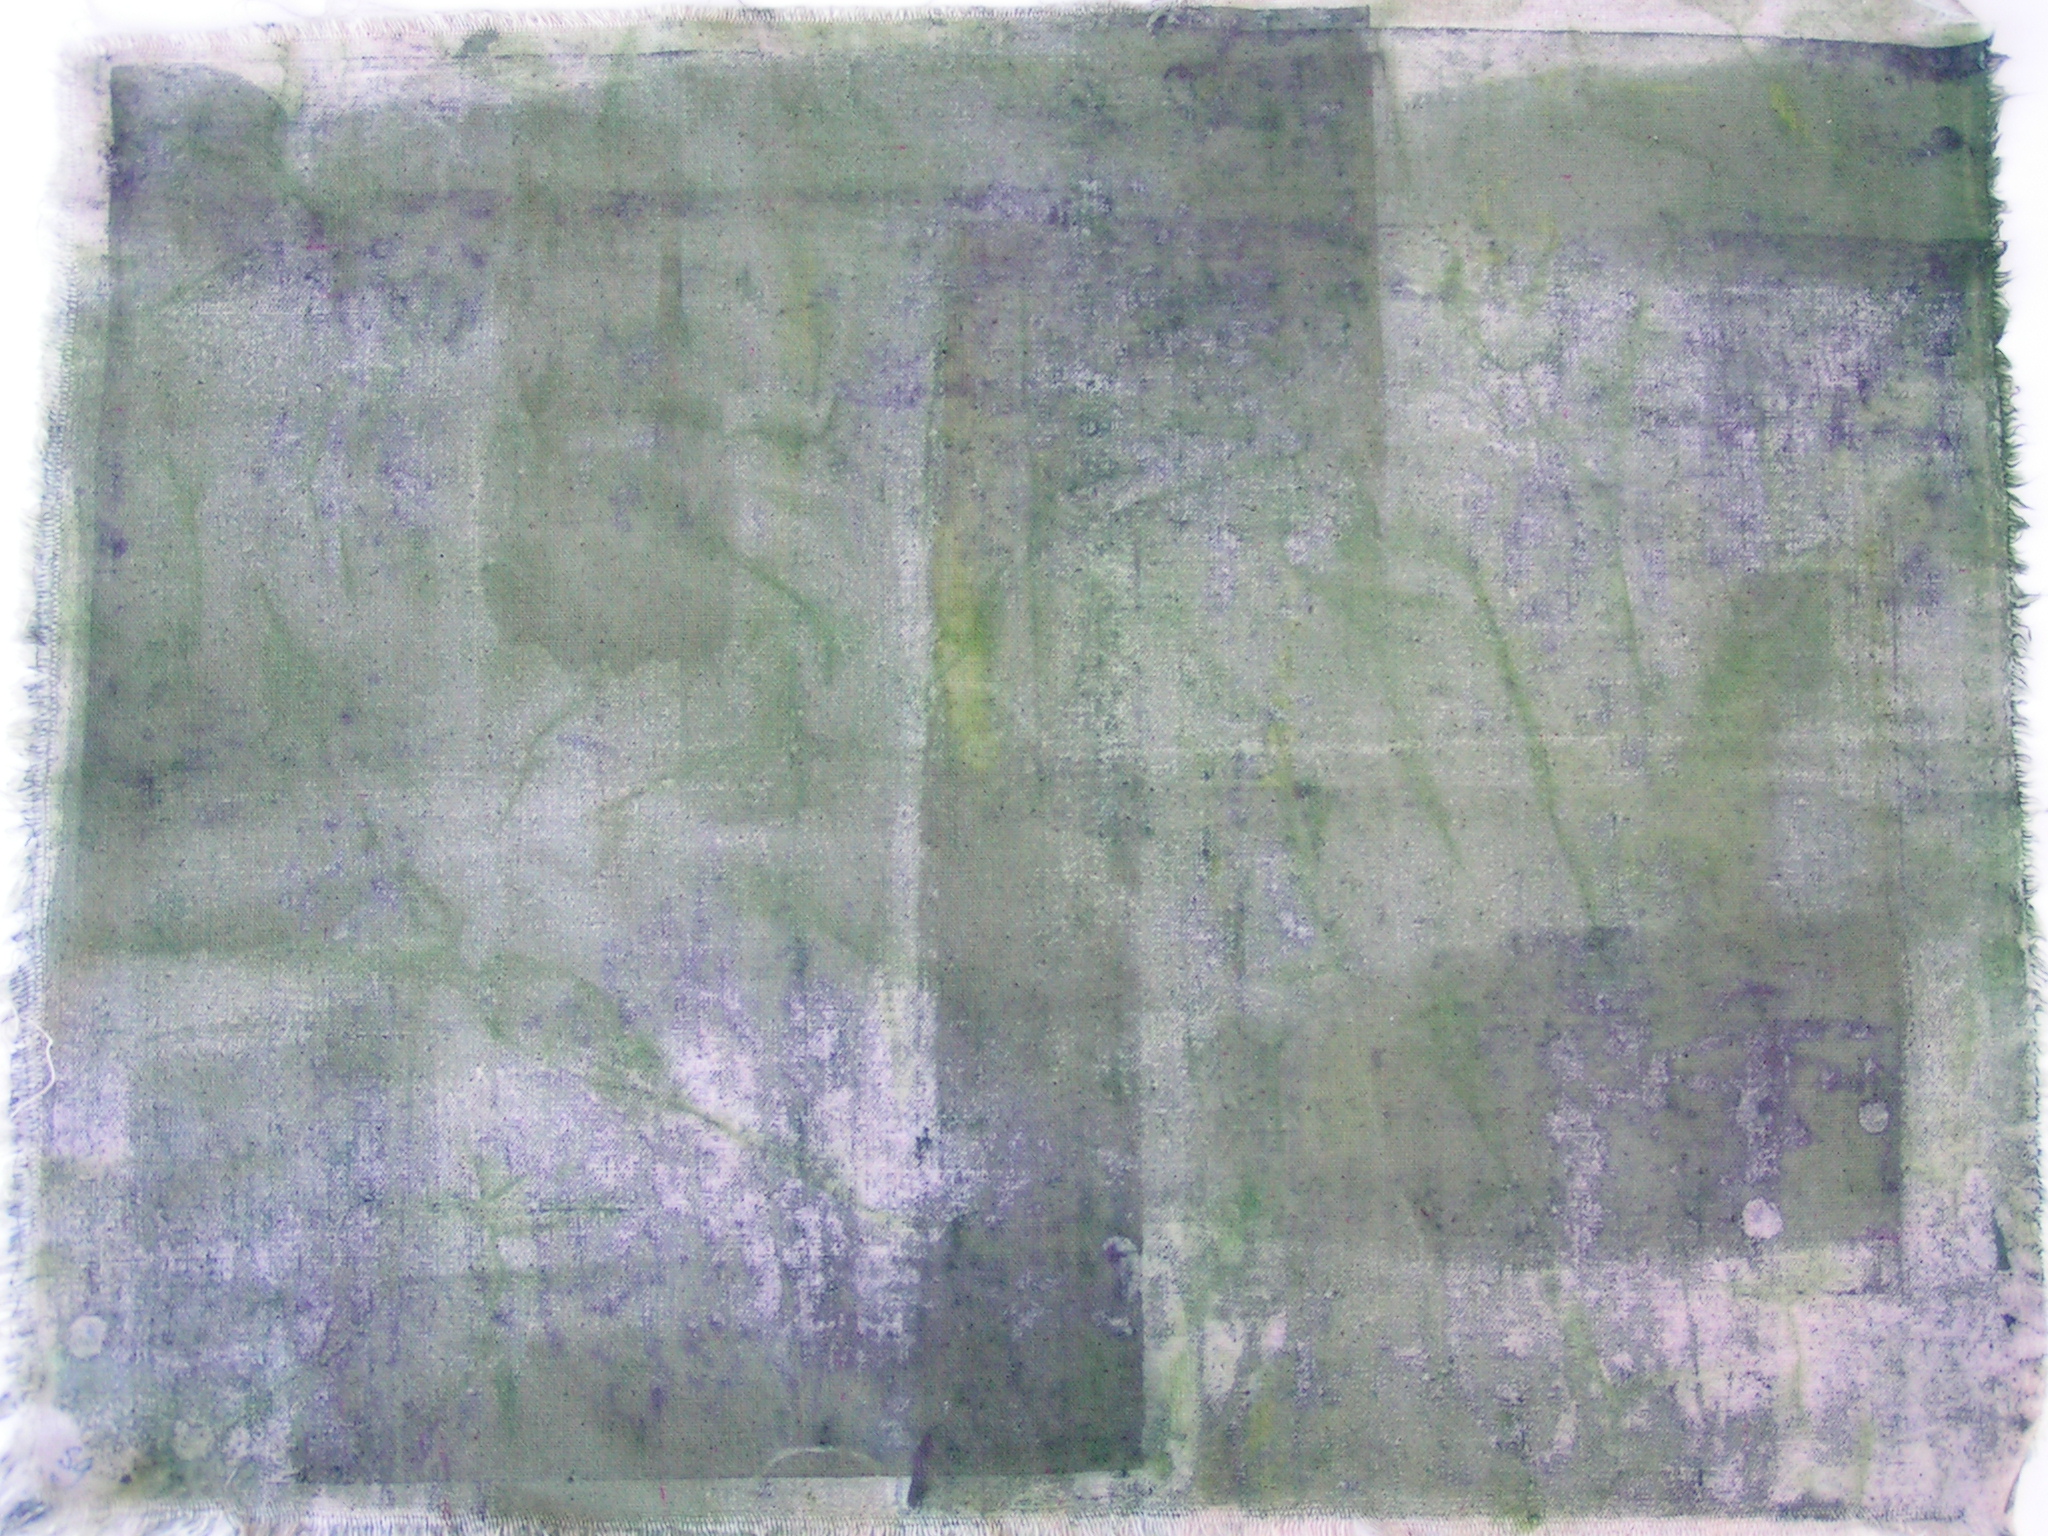
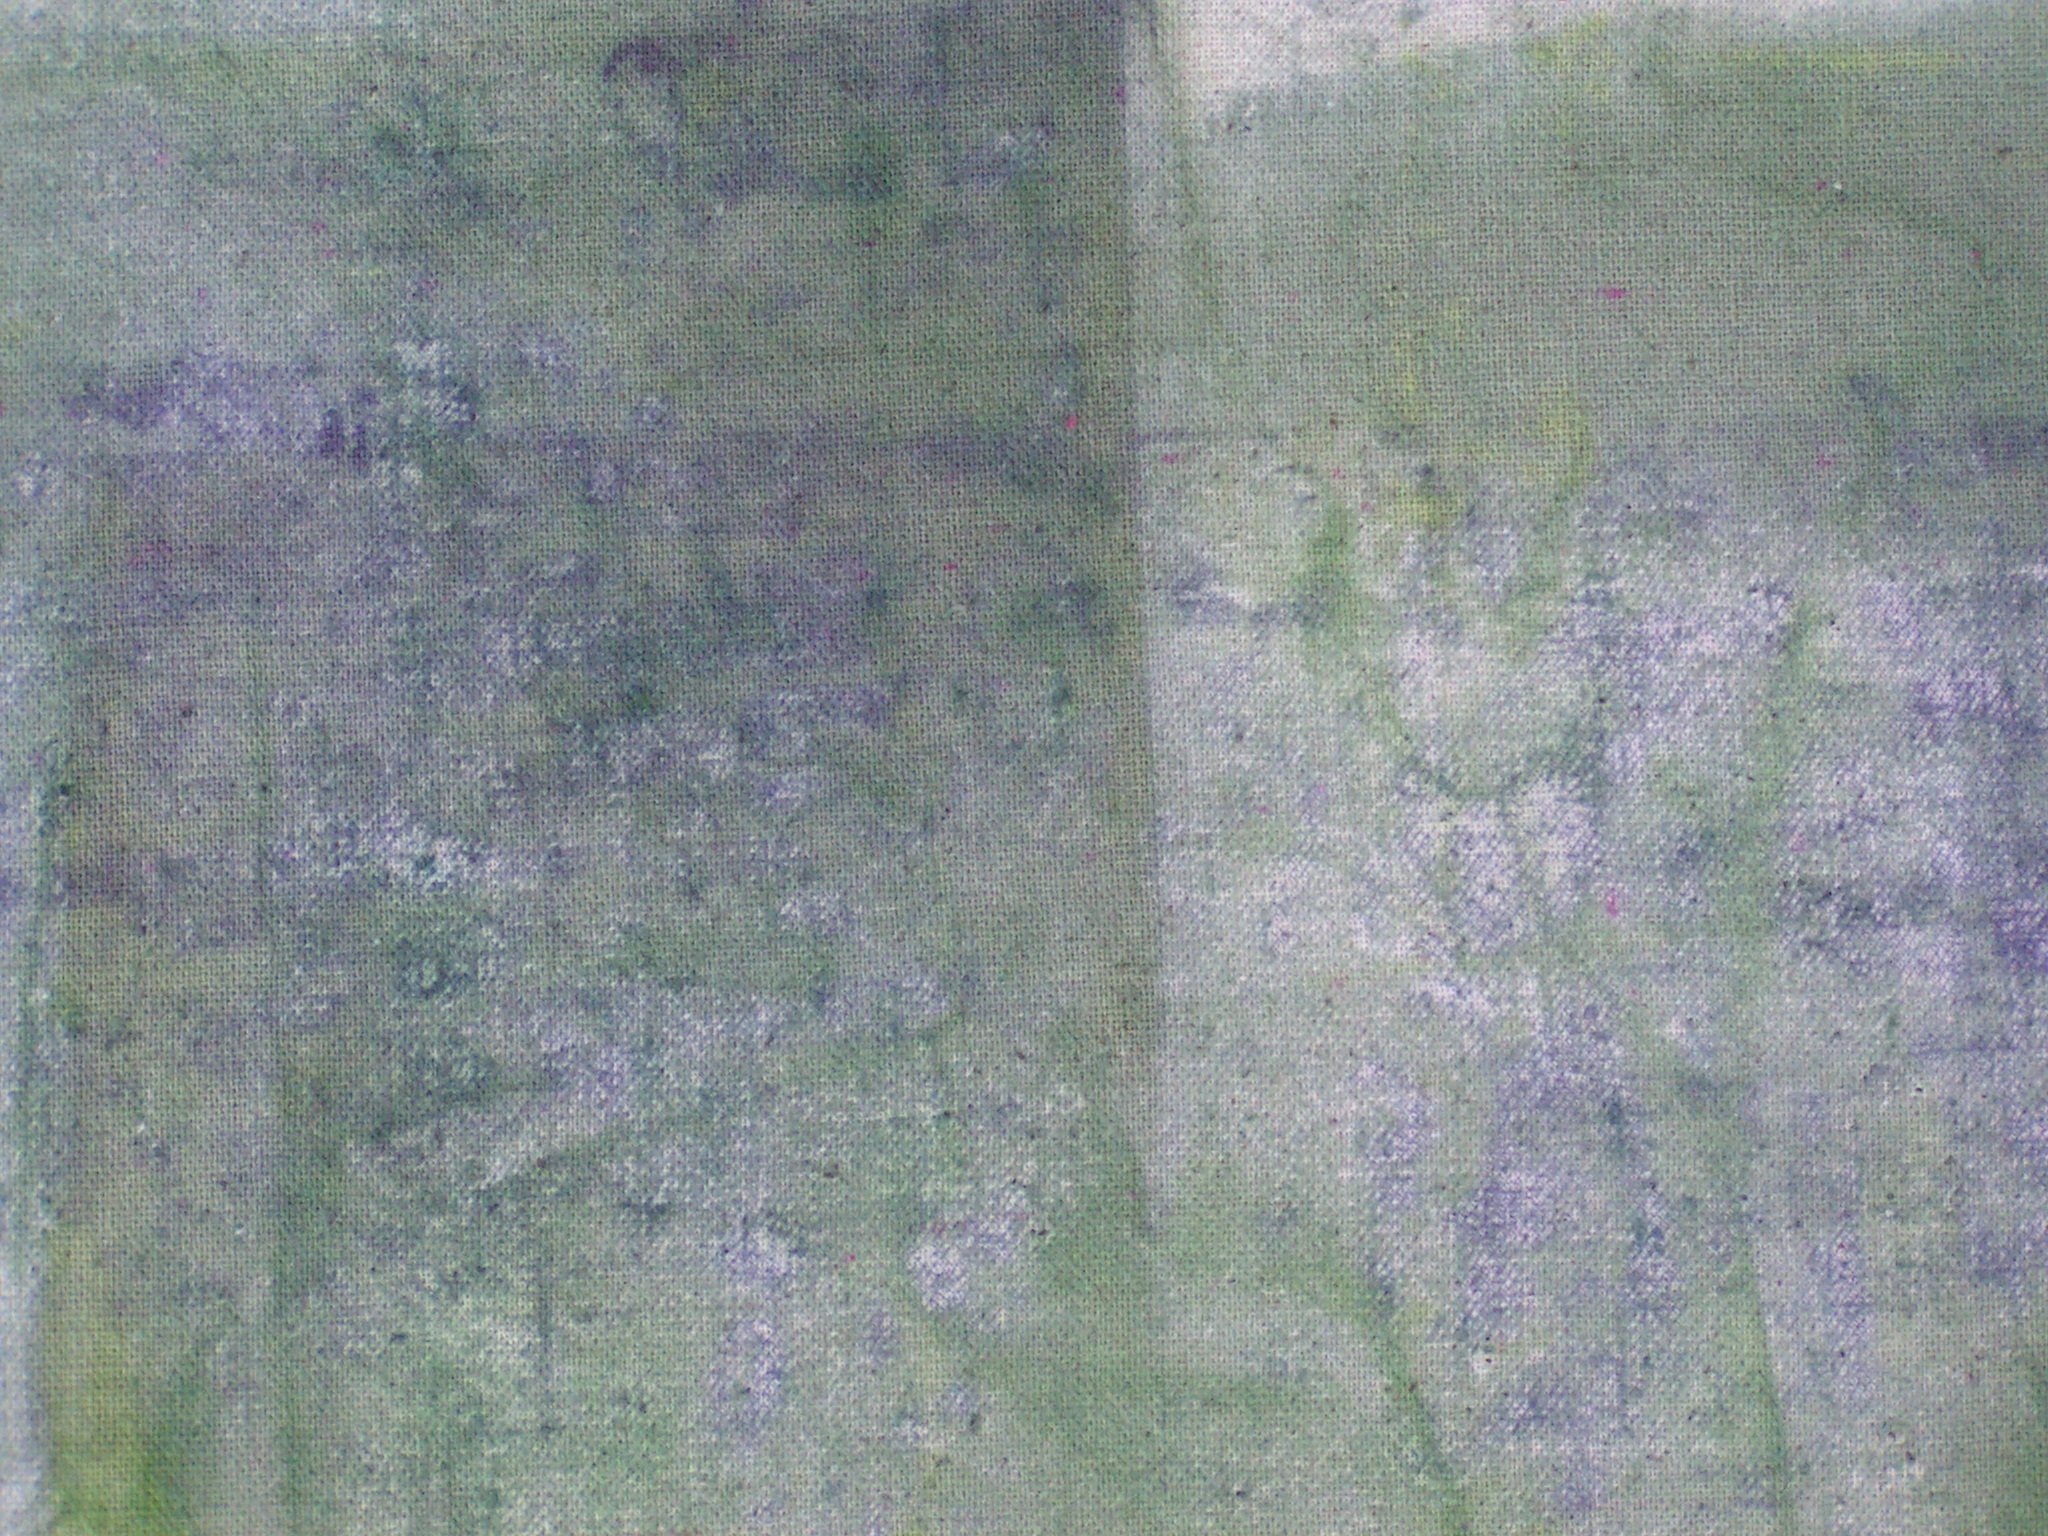
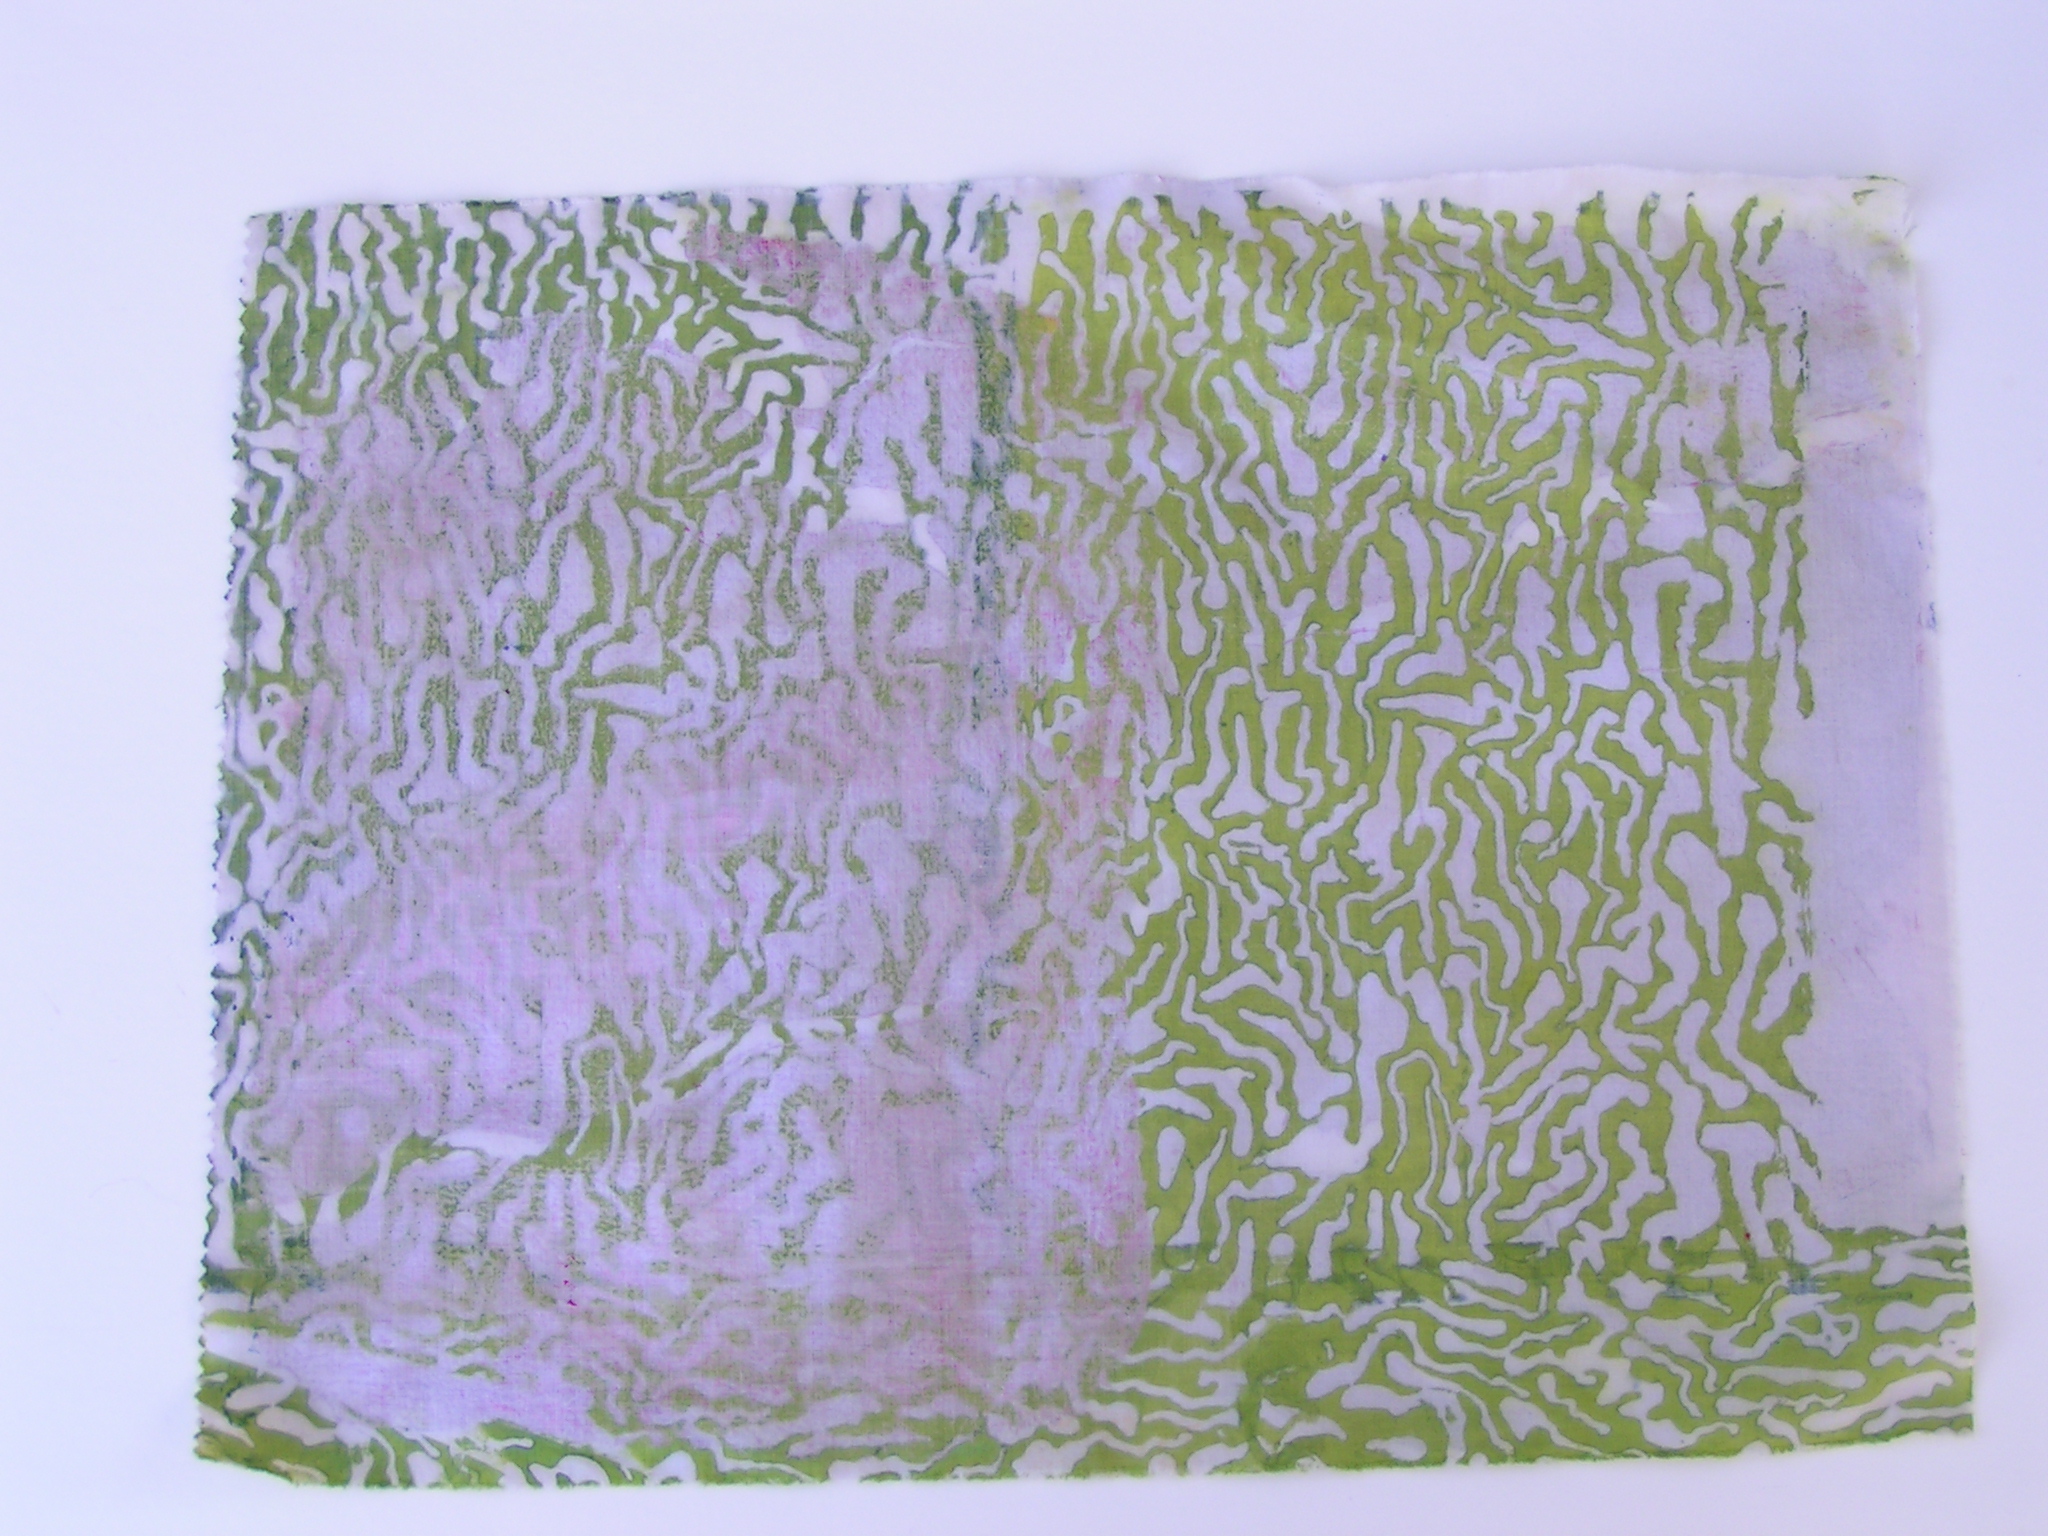
The photos above show printing with the blue school glue screen. You can see the screen itself in the middle of the top row of photos. The pink one on the bottom left was previously printed on a gel plate. I’m not sure it was much improved.

MINOLTA DIGITAL CAMERA

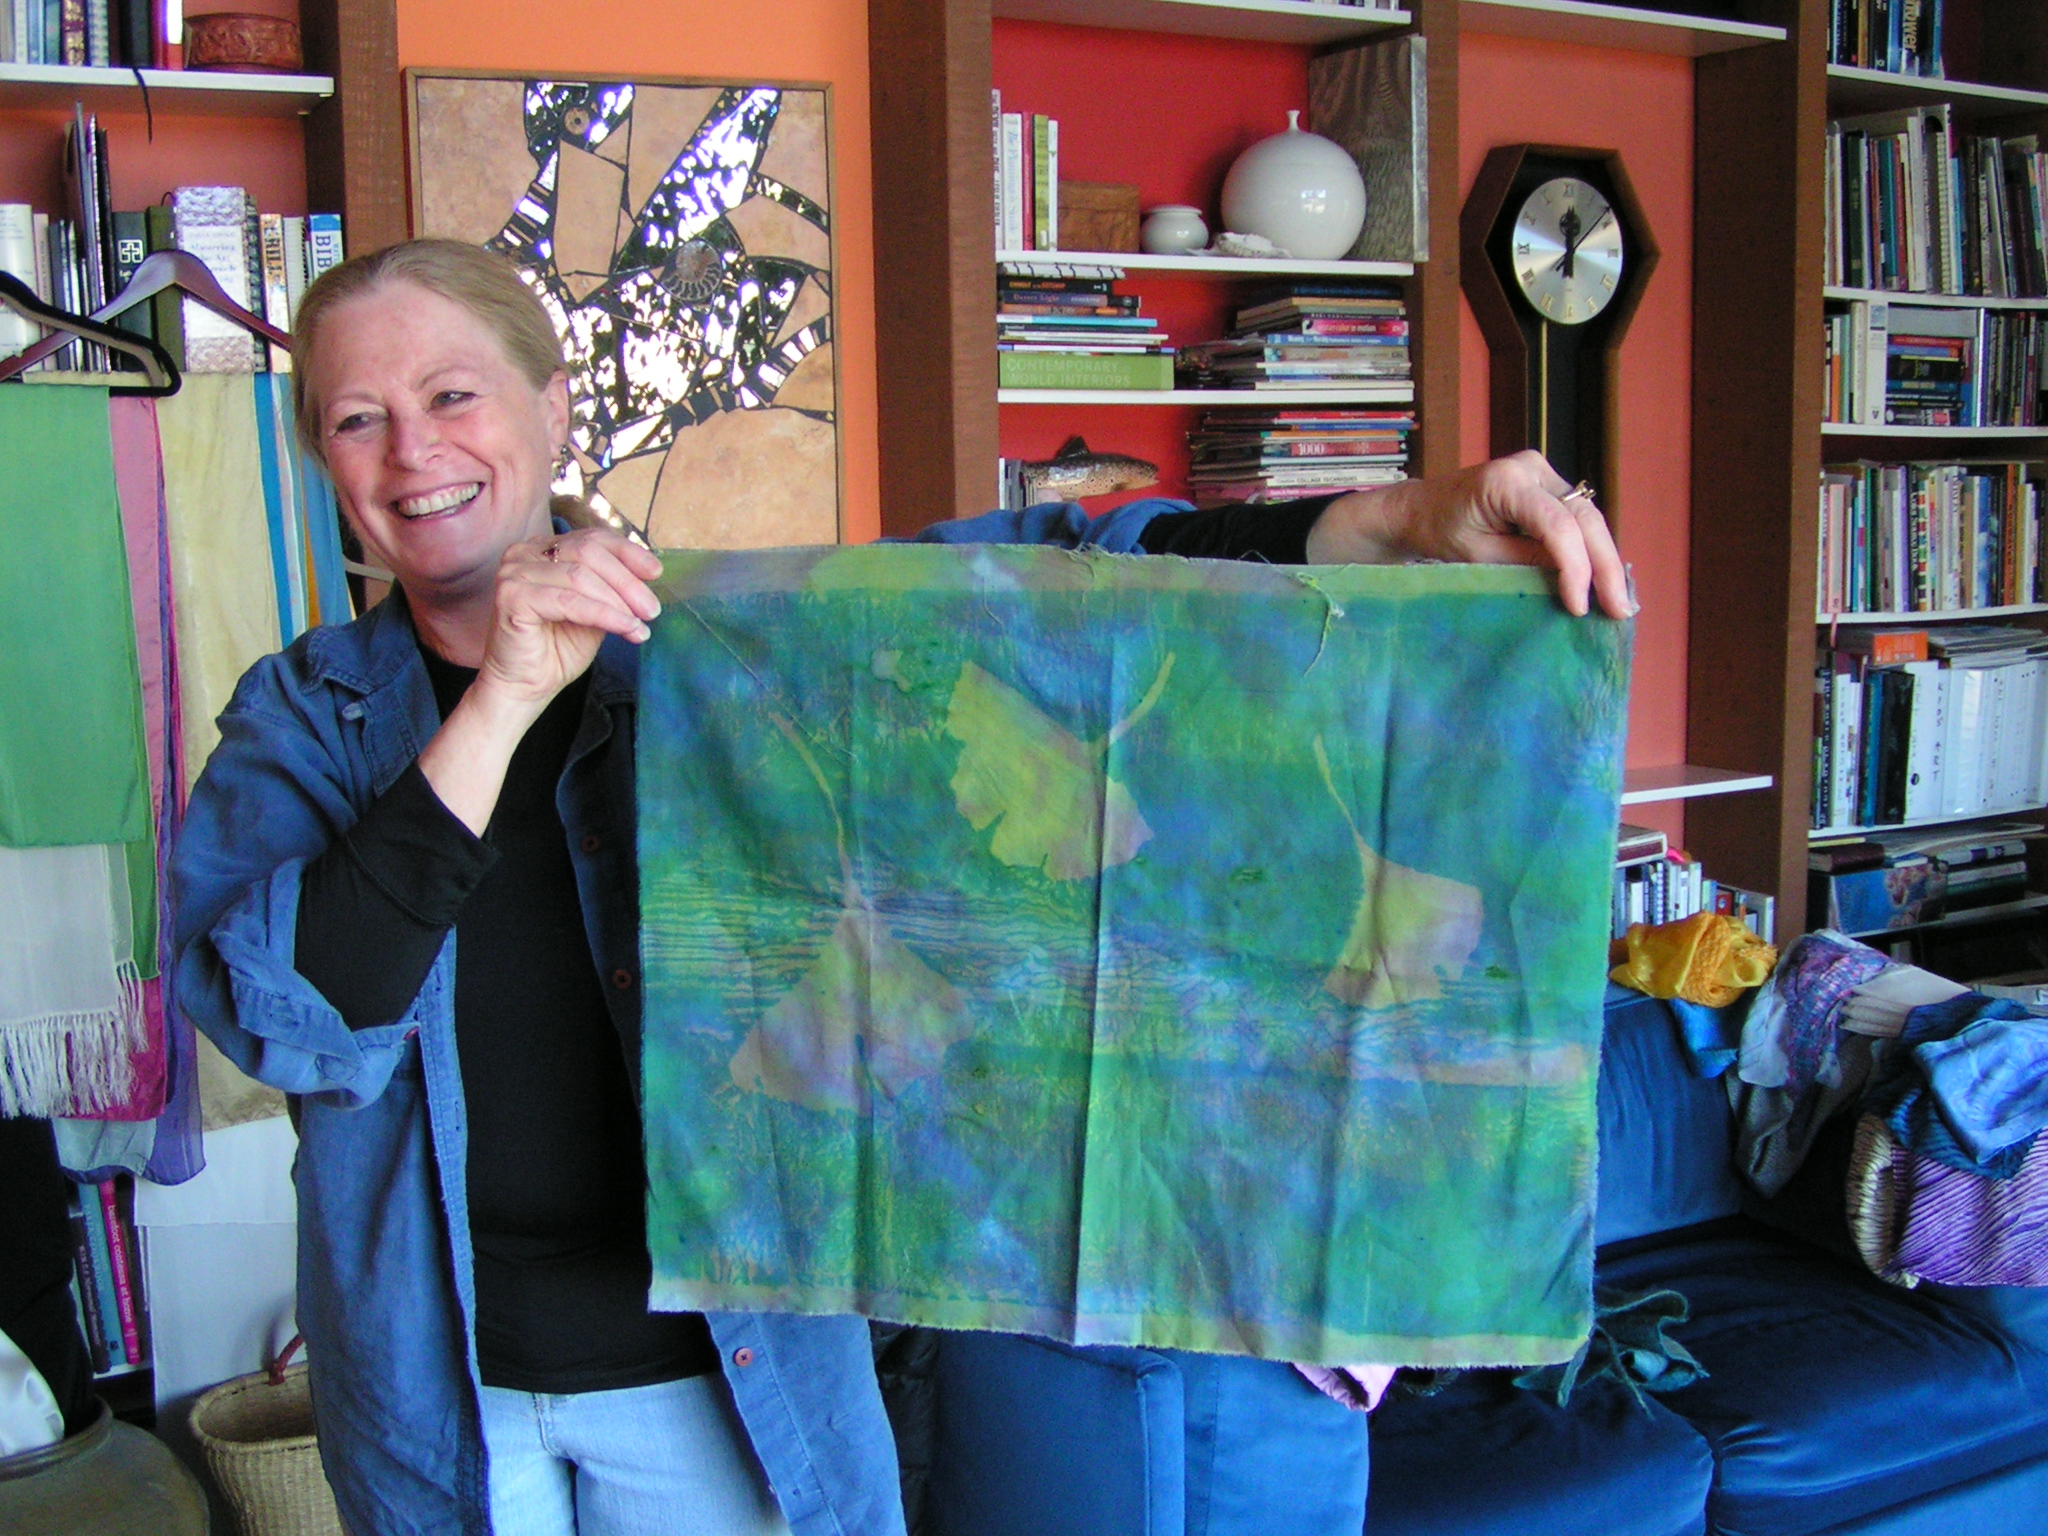
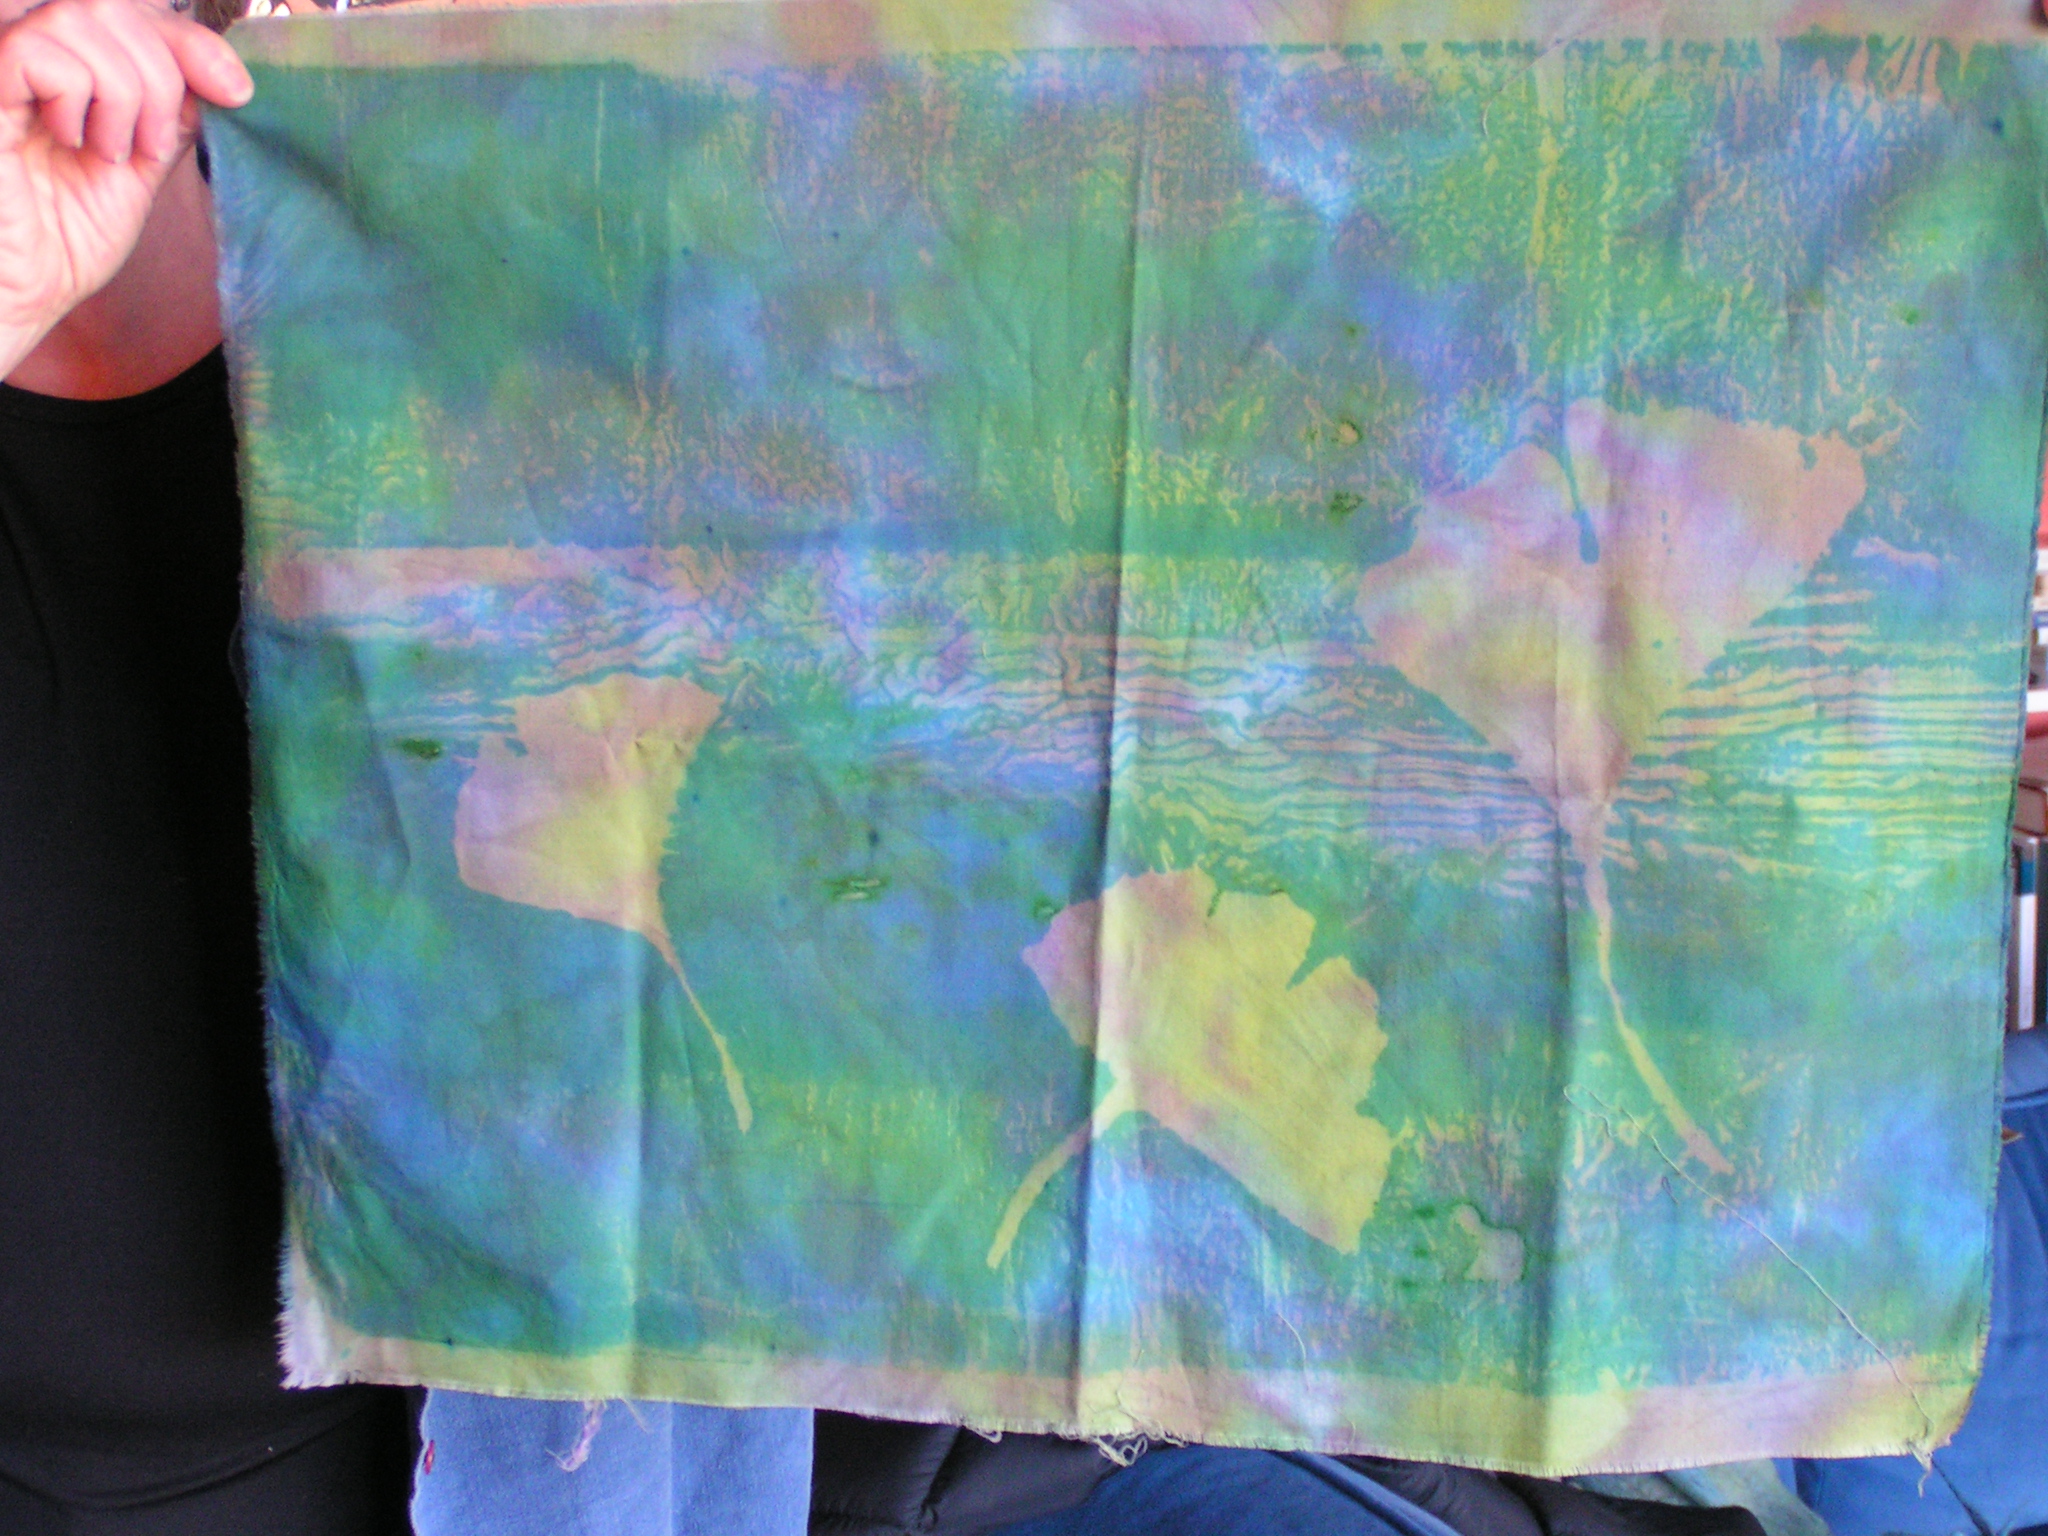
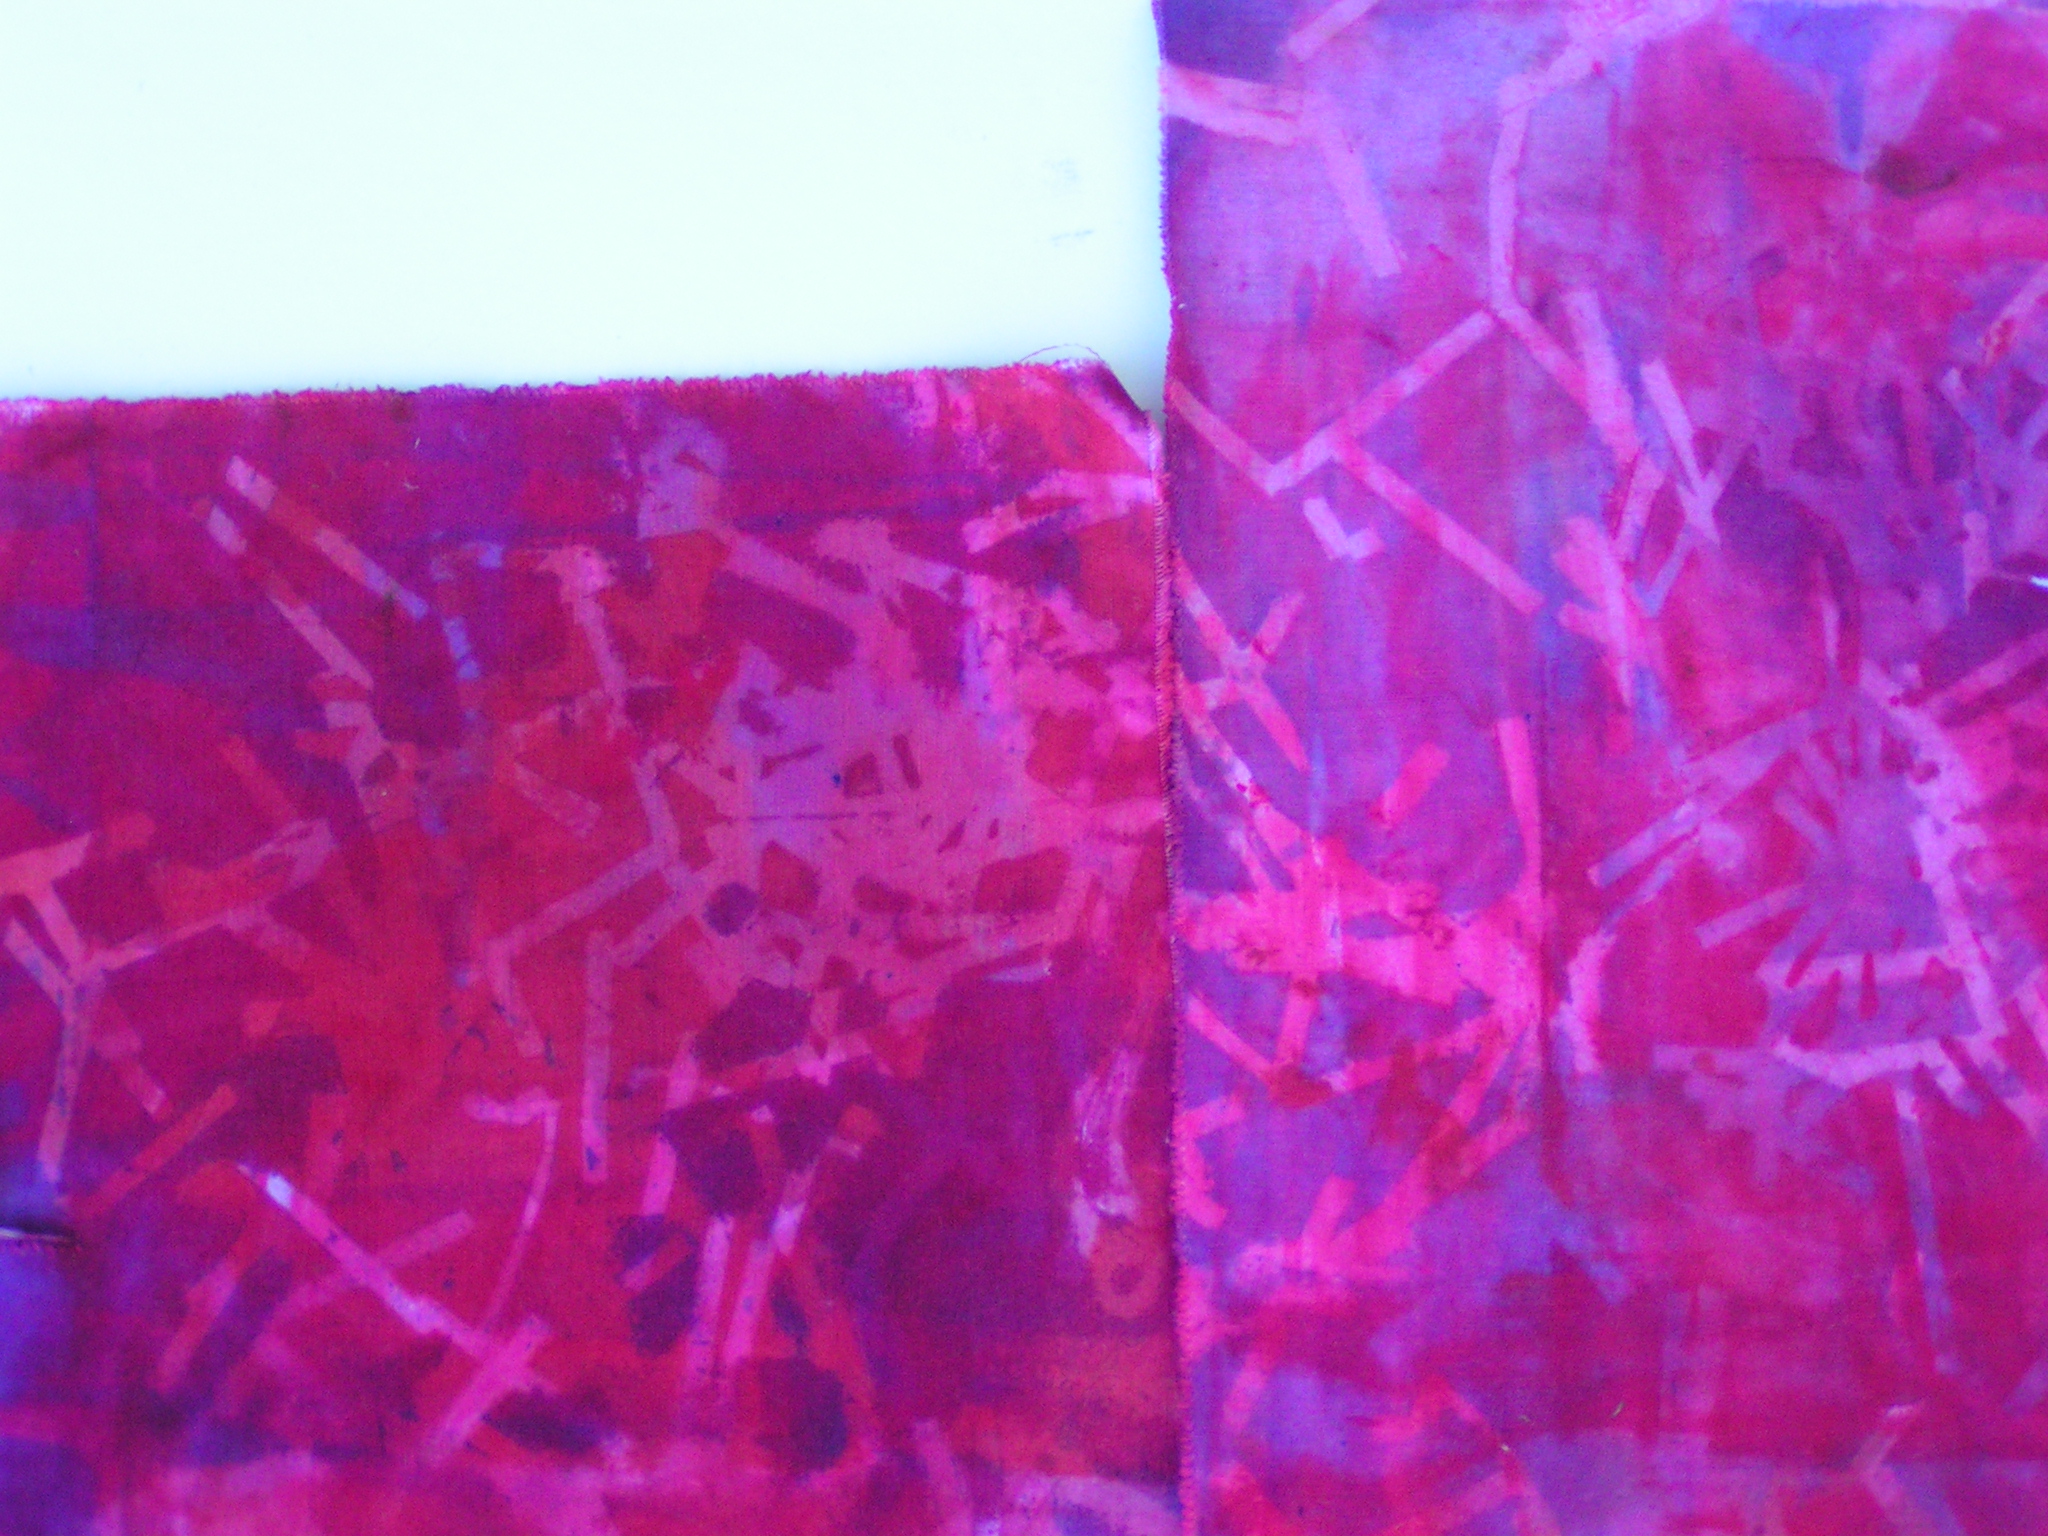
This one was one of Sally’s that had been previously printed with vegetables (red) and then a deconstructed screen in green was done over top. I’ll be interested to see how this one looks when it’s washed.

These are more deconstructed prints, the top row is on paper and the bottom on fabric.


Here is Sally mixing up some more print paste with purple dye. On the right you can see how messy it gets, dye and print paste seem to end up everywhere.


This piece is one of Louise’s. She had rust dyed a piece of watercolor paper. But she thought it needed more. So we added an oatmeal screen print. The really dark green bits are oatmeal that have soaked up the green dye. The oatmeal acts as a resist on the screen and after it dries, you usually peel off all the oatmeal bits to show what is underneath. Louise hasn’t decided whether she’ll keep the oatmeal or take it off. Can’t wait to see how she develops this further.

These last two are more paper screen printed with the oatmeal resist technique. This is raw oatmeal, in case you were wondering. Sally also printed an entire scarf with this method but I didn’t get a photo. I will have to take more photos once everything has been batched and washed.  We had a wonderful day and I’m looking forward to next month so I can see how everything turned out. I have a few pieces of fabric that I’ll show you later this week when I get them washed out.

Thanks for stopping by and have a great weekend.

Making Silk Screens with Paper Fabric Lamination

My local surface design group met today to make screens. Next week we are going to do a bunch of screen printing with them. We used the paper fabric lamination technique. Each of us made at least 4 screens.

This slideshow requires JavaScript.

I have to finish all of my screens. They still need to be heat set, soaked and have the excess paper removed. I can’t wait to see what they look like when we use them next week. I’ll show you more then. Have a great weekend.