Shop Open and Monoprinting with Thickened Dye

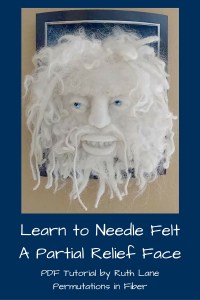
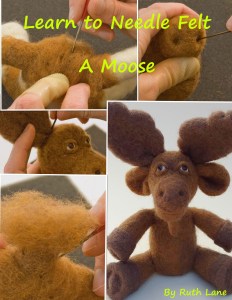
I finally got my shop open over at The Felting and Fiber Studio. I have two PDF tutorials and my book for sale. I hope you’ll check it out. I will be putting more PDF tutorials on the page as I finish them. When you get to the page, if you click on the Buy Now button, another page will pop up with further information about the tutorials.

Monoprinting with Thickened Dye

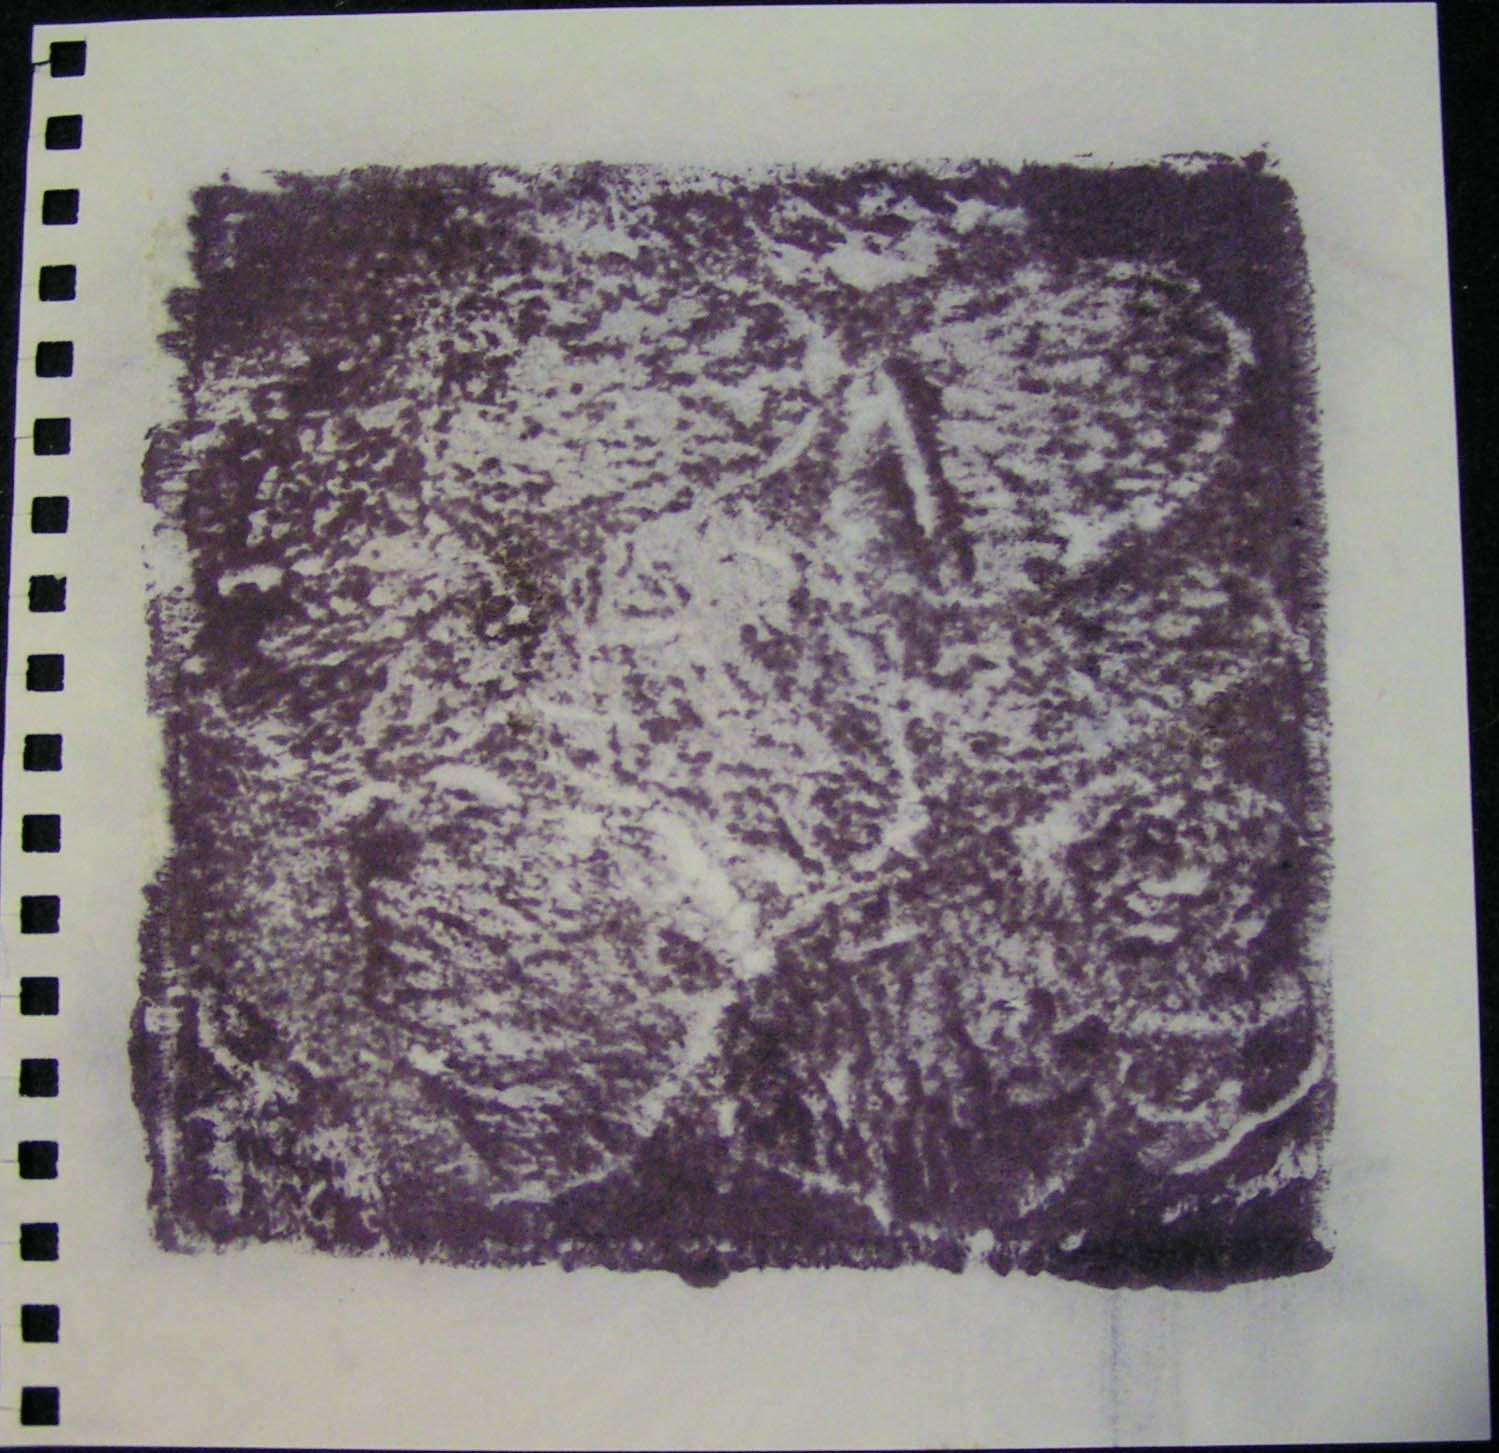
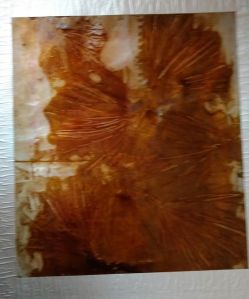
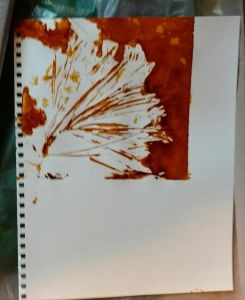
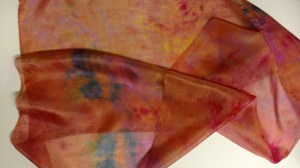
I am also working on my next online class. The third part of the series of Surface Design on Felt. This class will be about playing with thickened dye on felt including making and using a variety of stencils, creating your own stamps and stamping on felt as well as other printing techniques. So I was busy making some samples today and starting the writing process. It always takes me a while but I hope to have the course ready by fall. The photo above is a “ghost” print on paper after I printed on a piece of wool. Have a great weekend!

Deconstructed Screen Printing

My local surface design group met this afternoon and we screened tons of prints from the screens that I showed you a couple of weeks ago. I also had added some thickened dye to my paper lamination screens and Louise brought some screens with dried dye as well. We had a blast. These photos are either of wet prints or partially deconstructed screens. The ones that I made 2 weeks ago did take a while to break down since they had dried for a while.

This isn’t even close to the number of pieces we printed. I will show you more once they have been washed. This is one of the techniques that we keep coming back to because we love the unpredictable results. We printed on silk, cotton and paper.

Hope you have a nice weekend and thanks for stopping by!

Preparing for a Day of Silk Screening

My local group is going to be doing a day of silk screening at my house soon. So my friend Barb and I made some print paste and made some screens for deconstructing. The photos aren’t the best but hopefully you’ll get the idea.

These are the three screens. The one on the left was done with pine needles for texture. The middle one was stamped with three different foam flower stamps. And the last one was done with a syringe and drawing on the screen. I just realized when I looked at the photo that I forgot to add vertical squiggles on one of the lines. Oh well. I guess that’s a design feature.

This is the paper that I put beneath the pine needle screen to take up any excess dye. Once we pulled the screen off the paper, we turned the pine needles over and printed with them on to the paper. I really like how these turned out. Now to let everything dry. Some of the print paste is pretty thick on the screens so it will take a while to dry. But the meeting isn’t until the 11th so I have plenty of time.

Ice Dyed Silk Gauze

When our surface design group met last week, we did some ice dyeing. I dyed 6 pieces of 5mm silk gauze that I am going to use in nuno felting. I did a quick tutorial on how to do ice dyeing several years ago on The Felting and Fiber Studio. Louise had us all set up outside to do the ice dyeing so we worked pretty quickly in the cold. I did one jar with more purple dyes and the other with reds and oranges.

Ice Dyeing

It’s simple to do, just layers of ice, fabric and dye powder. Then you let it melt and rinse it out.

Here are the 5 pieces that were white to start with and then ice dyed. It was interesting that several of these had bands of color on them as I just wadded the silk up and stuck it in.

Silk dyed by Ruth Lane

This piece was already dyed with eco printing to start. It was pretty sad to start and I was hoping to improve it but it didn’t take up much more color.

Silk dyed by Ruth Lane

Here’s is a close up of one of the scarves. They all have some very nice patterning and mix of colors. Now to get the right color merino to go with each one and start some nuno felting!

Presents for my Sister

Happy New Year! I hope you have a wonderful 2016 with lots of fiber and felting goodness. I started the new year off right by nuno felting a scarf for my sister in Virginia. I will show you that one later as I couldn’t get any photos as it got dark very quickly today. I thought you might like to see the presents I made for my other sister in Kentucky.

Margaret's Bead Bowl

This first one is a felted beading bowl. I got the idea from Teri over at Teri Berry Creations. She calls them Sewer’s Friends. It was simple to make. This one had a triangular-shaped resist around the edge. Once it was felted and the resist was removed, I stuffed wool into the outside edge. You can put your beads or buttons in the center and your needles around the edge. This photo shows it at her house ready to be used. My sister makes beautiful beaded bracelets that I sell at the store.

Screen Printed Felt Notebook Cover

And this is the notebook/sketchbook cover that I made for her. All the felt is screen printed and then stitched together to form the notebook cover.

Inside Cover with Shibori Dyed Fabric

I used a piece of shibori dyed fabric for the inside.

Back of Screen Printed Felt Notebook Cover

And here’s the back of the notebook cover. If you are interested in learning how to screen print on felt, I have an online course starting January 22nd. It is 4 weeks of instruction with PDF’s and videos and loads of information about screen printing. Even if you don’t want to screen print felt, it also shows you how to screen print silk. So if you’re a nuno felter or use silk in your work, screen printing is a wonderful surface design technique to make patterns of your own design to use in your work. For more information about the class, go on over to The Felting and Fiber Studio Class page.

Thanks for stopping by and again, Happy New Year!