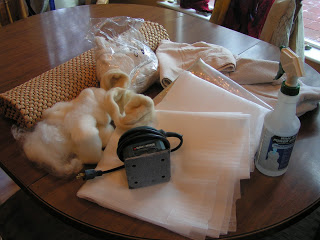
I have had numerous requests to make a tutorial for using a hand held palm sander to wet felt. This is the way that I do it. There are many ways to felt and I’m sure there are many ways to use a sander while felting. I will give some other options as I go along. You should try following the tutorial and see how you like using the sander. If you don’t have the specific type of plastic or equipment that I use, don’t let that stop you. Use what you have and give it a go. This is the equipment that I use. I will talk about each piece of equipment as it comes into use in the tutorial.
This is the sander that I use. Any palm type sander will work or you can use a bigger sander as long as it doesn’t have rotating or spinning parts that do the sanding.
You don’t need to use any sandpaper. I have heard that some people have a plastic piece that they put on the bottom of their sander. I haven’t tried that. I have tried using a plastic bag wrapped around the sander but the bag keeps moving and has a tendency to rip. Also, it covers the exhaust on the sander and the sander then gets too hot if you’re not careful.
Just a word about water and electricity. You need to be careful. Plug into a grounded plug when you’re using your sander. This is what ours look like. They are usually found in the kitchen and the bathroom. My sander never touches water but you should still be careful.
I work on the kitchen table usually. I put down a piece of plastic just to keep any water off the table. You can see that I have painted etc. on this plastic. But it never touches the wool so it doesn’t matter.
I then put down this small braided rug. It is made with a natural fiber but I don’t remember exactly what it was called. Anything with some texture would do. I haven’t tried bubble wrap but it might work if it is the really stiff kind with thick plastic.
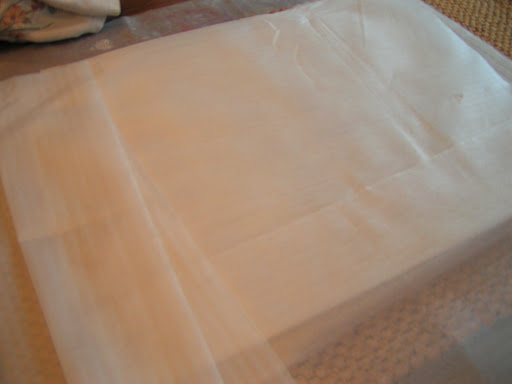
This is the foam layer that I use. It is a type of packing foam and I recycle it from my store as some things I receive are packed in it. It is very thin. You could use any kind of plastic that you wanted to use.
So I put down a layer of foam on the rug. Today I am making a flat piece of felt that I will use to make some book covers. I will be cutting the felt out of the flat piece but I still need to make sure that I make enough felt to be the right size for two book covers. I need at least 6 inches wide by 18″ long. I usually make much more than I need and I can always use the leftovers for something else. I am planning on making a piece almost as big as my foam so the layout will be 19″ wide by 26″ long. This will assure that I have plenty of felt with a shrinkage rate of about 40% with the Falkland wool I am using. I tested a sample of my wool before to figure out the shrinkage rate.

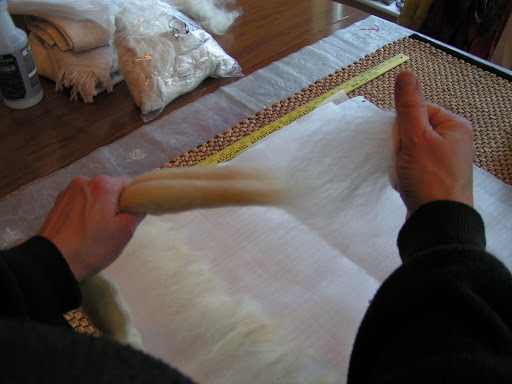
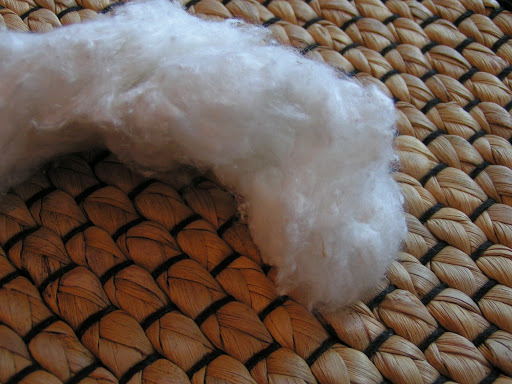
This is how you pull pieces of wool off for layout. Make sure that you have your hands far enough apart so that you’re not trying to pull on the same fibers. Notice how I have my right hand? That is the easiest way to hold the wool you are pulling away from the roving. If you use prefelt or batting, you would just lay out the wool as usually do.
Here is a piece of wool pulled off. You then lay the wool down on the foam. You can see a row I’ve already laid out. To get an even piece of felt, you need to be careful with your layout and take time to place your wool evenly. Try to pull off about the same amount each time.
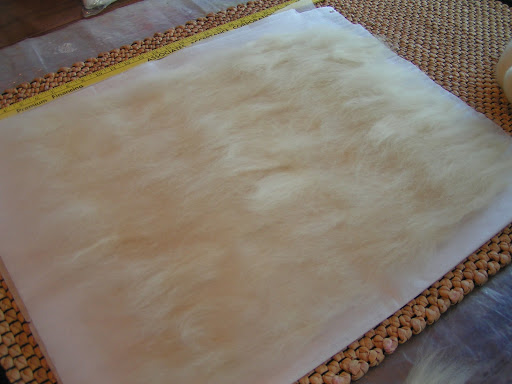
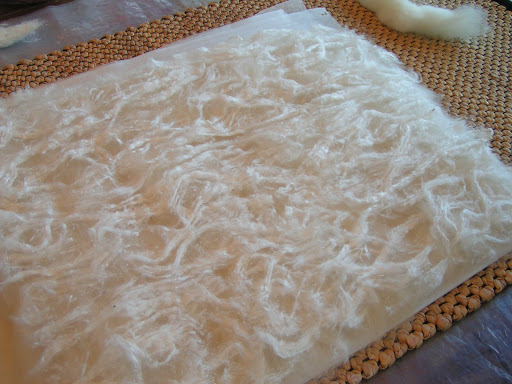
Here is my first layer of wool laid out. I am using natural wool but will dye this later for my book covers. Notice how all the fibers are going in the same direction?
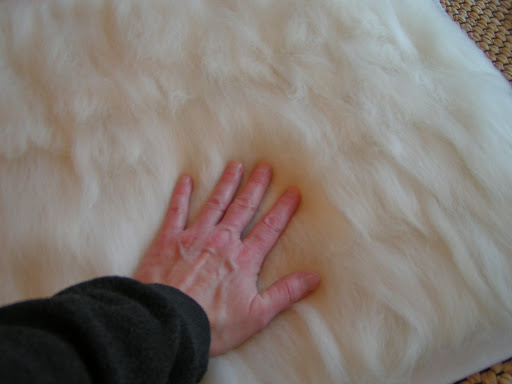
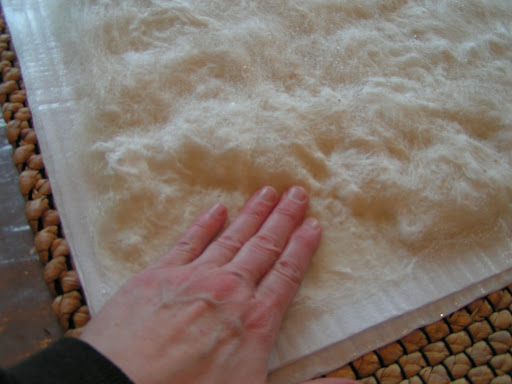
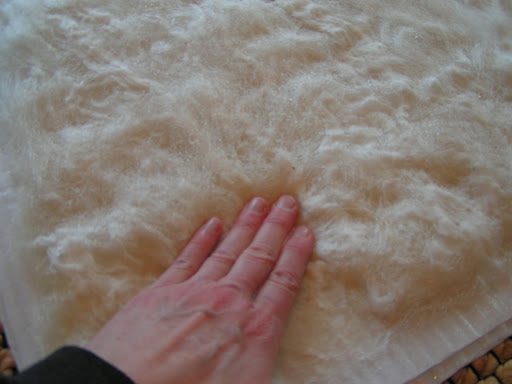
Now, take your hand and put it down on the wool. Move your hand from place to place. Close your eyes and feel the thickness. If you feel thin spots, put a little more wool on that area.
Next, layout another layer of wool going in the opposite direction as your first layer. Here, I have laid about half of the second layer.
Keep in mind the size you need for layout. I just keep my yardstick handy so I know what size I am laying out.
Here’s the two layers. If you were doing a thicker piece you may need to add more layers. Most people do three layers of wool at least. I am only doing two layers as I need it to be thin enough to put under the sewing machine and to add a backing for stiffness. So I am only doing two layers. But you can do as many layers as you would like. The more layers, the stiffer and thicker your finished felt will be.
Again, take your hand and feel for the thin spots. This is the easiest way to prevent holes and thin spots. Check all over your wool and add where it feels thin.
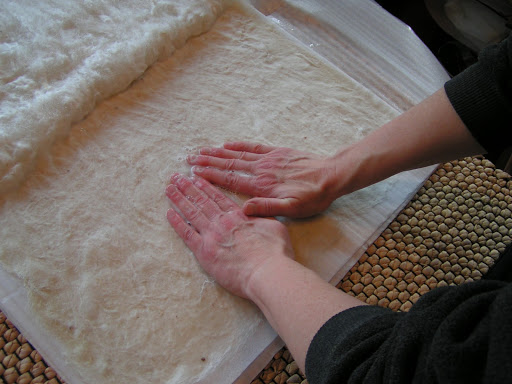
I also like to get a little bit of air out at this point. I take both hands and gently press down on the wool to try and flatten it a bit and get rid of some of the air. This helps later when you’re adding water.
Just press down all over the laid out wool.
I am adding silk noil to the top of my felt. It is to give more texture for my book cover. If you were adding a design or extra embellishments to your felt, this is the step that you would add those.
This silk noil has a lot of vegetable matter (VM) in it. I am going to leave it in. Normally I would take it out but these book covers are supposed to resemble bark so I don’t think it will matter if the VM stays. It will just add more texture.
I split apart the silk noil like the photo above shows.
Then I lay it out over the top of the laid out wool.
Here’s a close up.
Here I am finished laying out the silk noil. If you use a lot of silk or any other embellishment that doesn’t felt, you’ll need to add another very thin layer of wool over top.
Just little wisps of wool is all it takes.
This is about how much I put down in one spot. I spread it very thin and just lay it on the silk noil all over the piece.
I then press out the air again.
Still pressing!
When I finished laying out, I noticed that my wool was going over the edge of the bottom layer of foam, so I added a bit more to prevent my felt touching the rug directly.
This looks like I’m giving you the finger but I’m not. Taking a photo with your right hand and trying to get dish soap in the spray bottle with the left was a little difficult. I just use dish soap. Everyone has their favorite type of soap with which to felt, choose whatever works for you. But you don’t have to get anything special.
Then add water to your spray bottle. I just use cold water. By the time you get finished wetting the felt out it is usually cold anyways. Do you like the little whale? He holds my scrub pads!
Now, take your spray bottle and spray down the wool. Many people use a certain kind of sprayer made just for felting but I don’t think it’s necessary. But use what you would like.
Here is the wool after being sprayed. See the soap bubbles?
I then spray a little soapy water on my hand and then start pressing down. Many people use a baggy over their hand to do this part. It just bugs me so I just use my hand. If you press with one hand and spray water with the other, I find that works well.
Just keep moving along your wool, spraying and pressing to get all the air out and get the wool wet.
I’m getting tired of looking at my hands!
If water is starting to run off the edge, just use a towel to mop it up.
You really don’t need a whole lot of water when you felt.
I am lifting the edge to let the water drain on down further into the wool. You can keep doing this as you move along wetting down your felt.
I also take my hands and work from the wetted down side towards the dry to force water over to the dry side.
Here I go, pushing that water…
And pushing it further…
I pressing down the dryer wool into the water.
Sometimes, if you move your hands into different directions when pressing down the wool, you’ll get a wrinkle. Just use your fingers to smooth it out. If you go in one direction, this isn’t as much of an issue.
Here is the wool after is has been wet down completely.
At this point, you need to assess your edges. If you want a smooth edge, this is the time to work on that.
You can fold under a tiny bit to get a straight edge.
Since I will be cutting out my book covers, the edges don’t matter. I also like the look of a natural edge so you can make a straight edge or not, it’s your choice.
At this point, I try and soak up a bit of the water in the felt. You will find that it is already starting to felt. Carefully place your towel on the felt and push down to soak up some water. Move over the felt soaking up
water, just lift your towel and place down carefully each time you move it. If the upper layer starts pulling up then stop.
Now put another piece of foam on top of the felt. Or if you’re using plastic, put another piece of plastic on top. You should have a sandwich of foam/plastic, felt and foam/plastic.
See, here’s the felt in the middle of your sandwich.
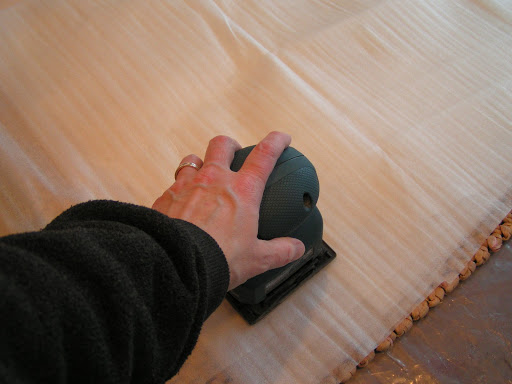
Now plug in your sander to a grounded plug, turn it on and place it gently on one corner of your sandwich over the felt. You don’t need to push down to start. Just move the sander from place to place by picking it up each time.
See? I have it picked all the way up off the foam. You don’t have to lift this high but don’t drag it across the foam.
Then put it back down and hold it there for a few seconds. I usually work in rows starting from one end of the felt and moving to the other end systematically so that I don’t miss “sanding” any portion.
Keep lifting and placing it down each time. This keeps your design from moving and migrating.
Once you’ve finished the bottom row, move the sander up a bit but overlap the row you were one and do the same along the next row. Keep doing each row, overlapping the last row so you cover all your felt. I usually do this several times over the whole felt.
Here it is after I’ve sanded over it several passes. you can see the grooves from the foam.
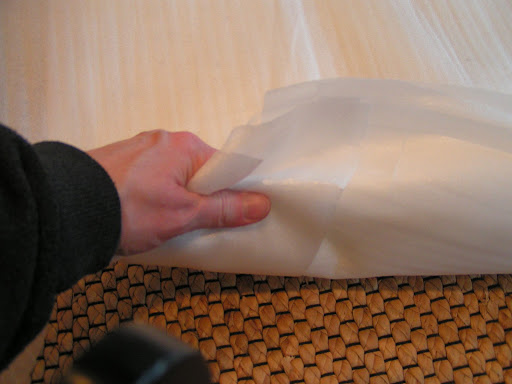
When you pull back the foam/plastic, use your towel to get excess water off the foam/plastic.
Now grip all layers of the sandwich with both hands (one at each end) and turn your sandwich over.
This is the other side.
Here is what it looks like before sanding this side. You can see the texture of the rug.
Now sand the other side just as you did the first. Remember to pick up and move the sander, placing it back down each time. After you have sanded this side going over it at least twice, you can start moving your sander over the foam/plastic as you would if you were sanding wood. I usually turn the piece two more times and sand for a total of about 15-20 minutes. Or until I get tired.
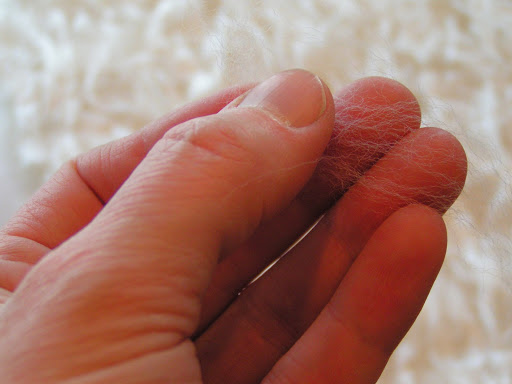
Then you need to do the pinch test. Pinch your felt and see if the fibers pull apart. If they hold together, you are finished sanding. If they pull apart, sand some more.
Here is the felt after sanding. This is pre-felt. Now you can full the felt however you would like. I will show you how I full mine.
The first thing I do is get more dish soap and get the felt a bit wetter with warm water. Your felt is fragile at this stage so don’t be too rough with it.
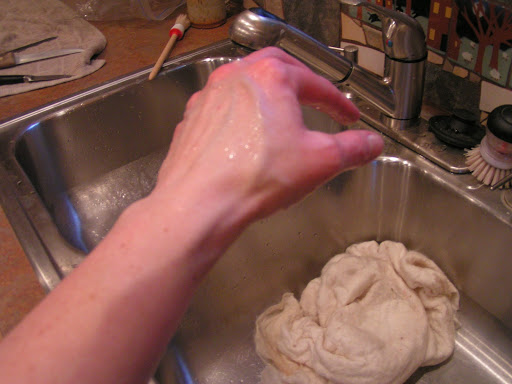
Then I do what is called palming. I put the felt between my hands and vibrate and push my hands together. I do this over the entire surface of the felt.
After I finished palming, this is the felt in the sink.
I then put it under very hot water and “knead” it in my hands. I keep going with the hot water until it is too hot on my hands and then I switch to cold water. This shocks the wool and causes it to really start shrinking down. You can feel it happening. I keep switching between the cold and hot water.
Then I throw the felt into the sink. You’ll want to get a little of the water out first unless you like a face full of water.
Here it is after I’ve thrown it. Just pick it back up and throw it again. Throw it hard! Get out all your frustrations. You can also keep putting it in cold and hot water as you’d like.
Another way to full is to use a washboard. This is an old glass one that I have. I don’t usually use it for flat pieces of felt. Usually I use it for slippers, bags or vases. It helps with the shaping process.
Here I am rubbing the felt over the washboard. If you have embellishments, be careful that you don’t catch an edge and pull anything off.
You just push it back and forth across the ridges. If you want to shrink it one way more than the other, than rub in the direction you want to shrink.
Your felt is finished when it starts to get nubby looking on the surface. You don’t have to felt it this hard but pieces that will be used such as bags or shoes should be fulled to a very hard felt.
So how did I do on my shrinkage. The piece now measures 13″ x 19″ (if you’ve already forgotten, it started out as 19″ x 26″
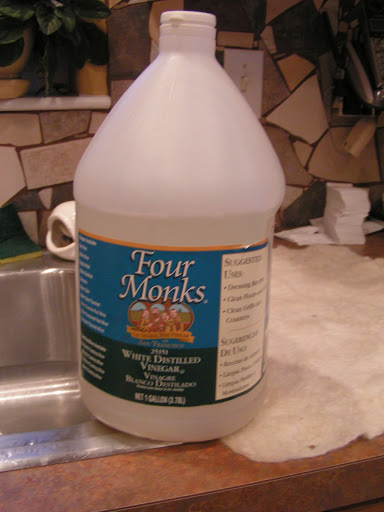
Next you need to get some white vinegar. Do you think this is a big enough bottle? I use it for my dyeing as well.
Put some water in the sink.
Add some vinegar. I don’t measure, I just pour some in.
Put in your felt and let it soak for about 5 minutes. This is bringing the wool back to a more natural acidic pH. The soap changed the pH of the wool so this returns it to normal.
Then rinse it out.
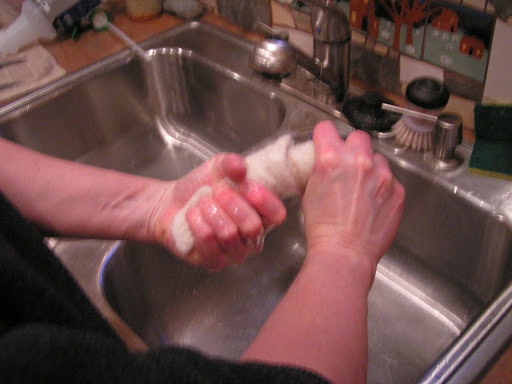
Wring out the water.
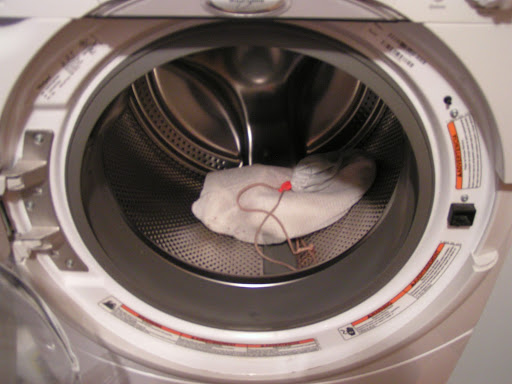
I pop mine into a lingerie bag.
Throw it in the washing machine.
Put the washer on Drain/Spin. This takes nearly all the water out of the felt and it drys much more quickly.
Here’s the finished piece of felt. If you wanted it completely flat and even, you could block it. That means to stretch it and pin it into place in the shape that you want.
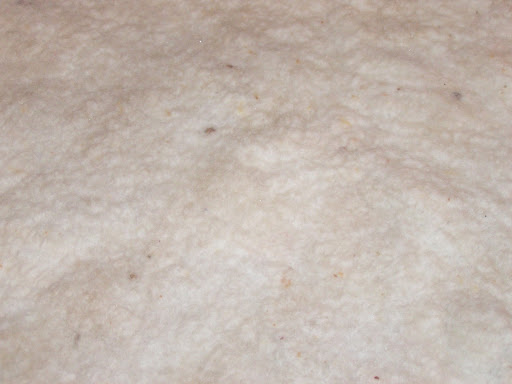
Here’s a close up to show the silk noil on the surface.
And one more. I am going to dye this brown/black to make it look like bark.
If you try using your sander, let me know how it goes. I’d love to hear how you did and see your felt. You can use a sander for almost any type of wet felting. I have used it with nuno felting, using a resist, thicker felt etc. When you nuno felt with a sander, sand first from the silk side as opposed to the wool side. That helps the wool to migrate through the silk instead of felting to itself. Once the wool starts to migrate through, then you can turn over and sand the wool side. Any questions, please feel free to leave a comment and I’ll answer your question.