Natural Dyeing Day

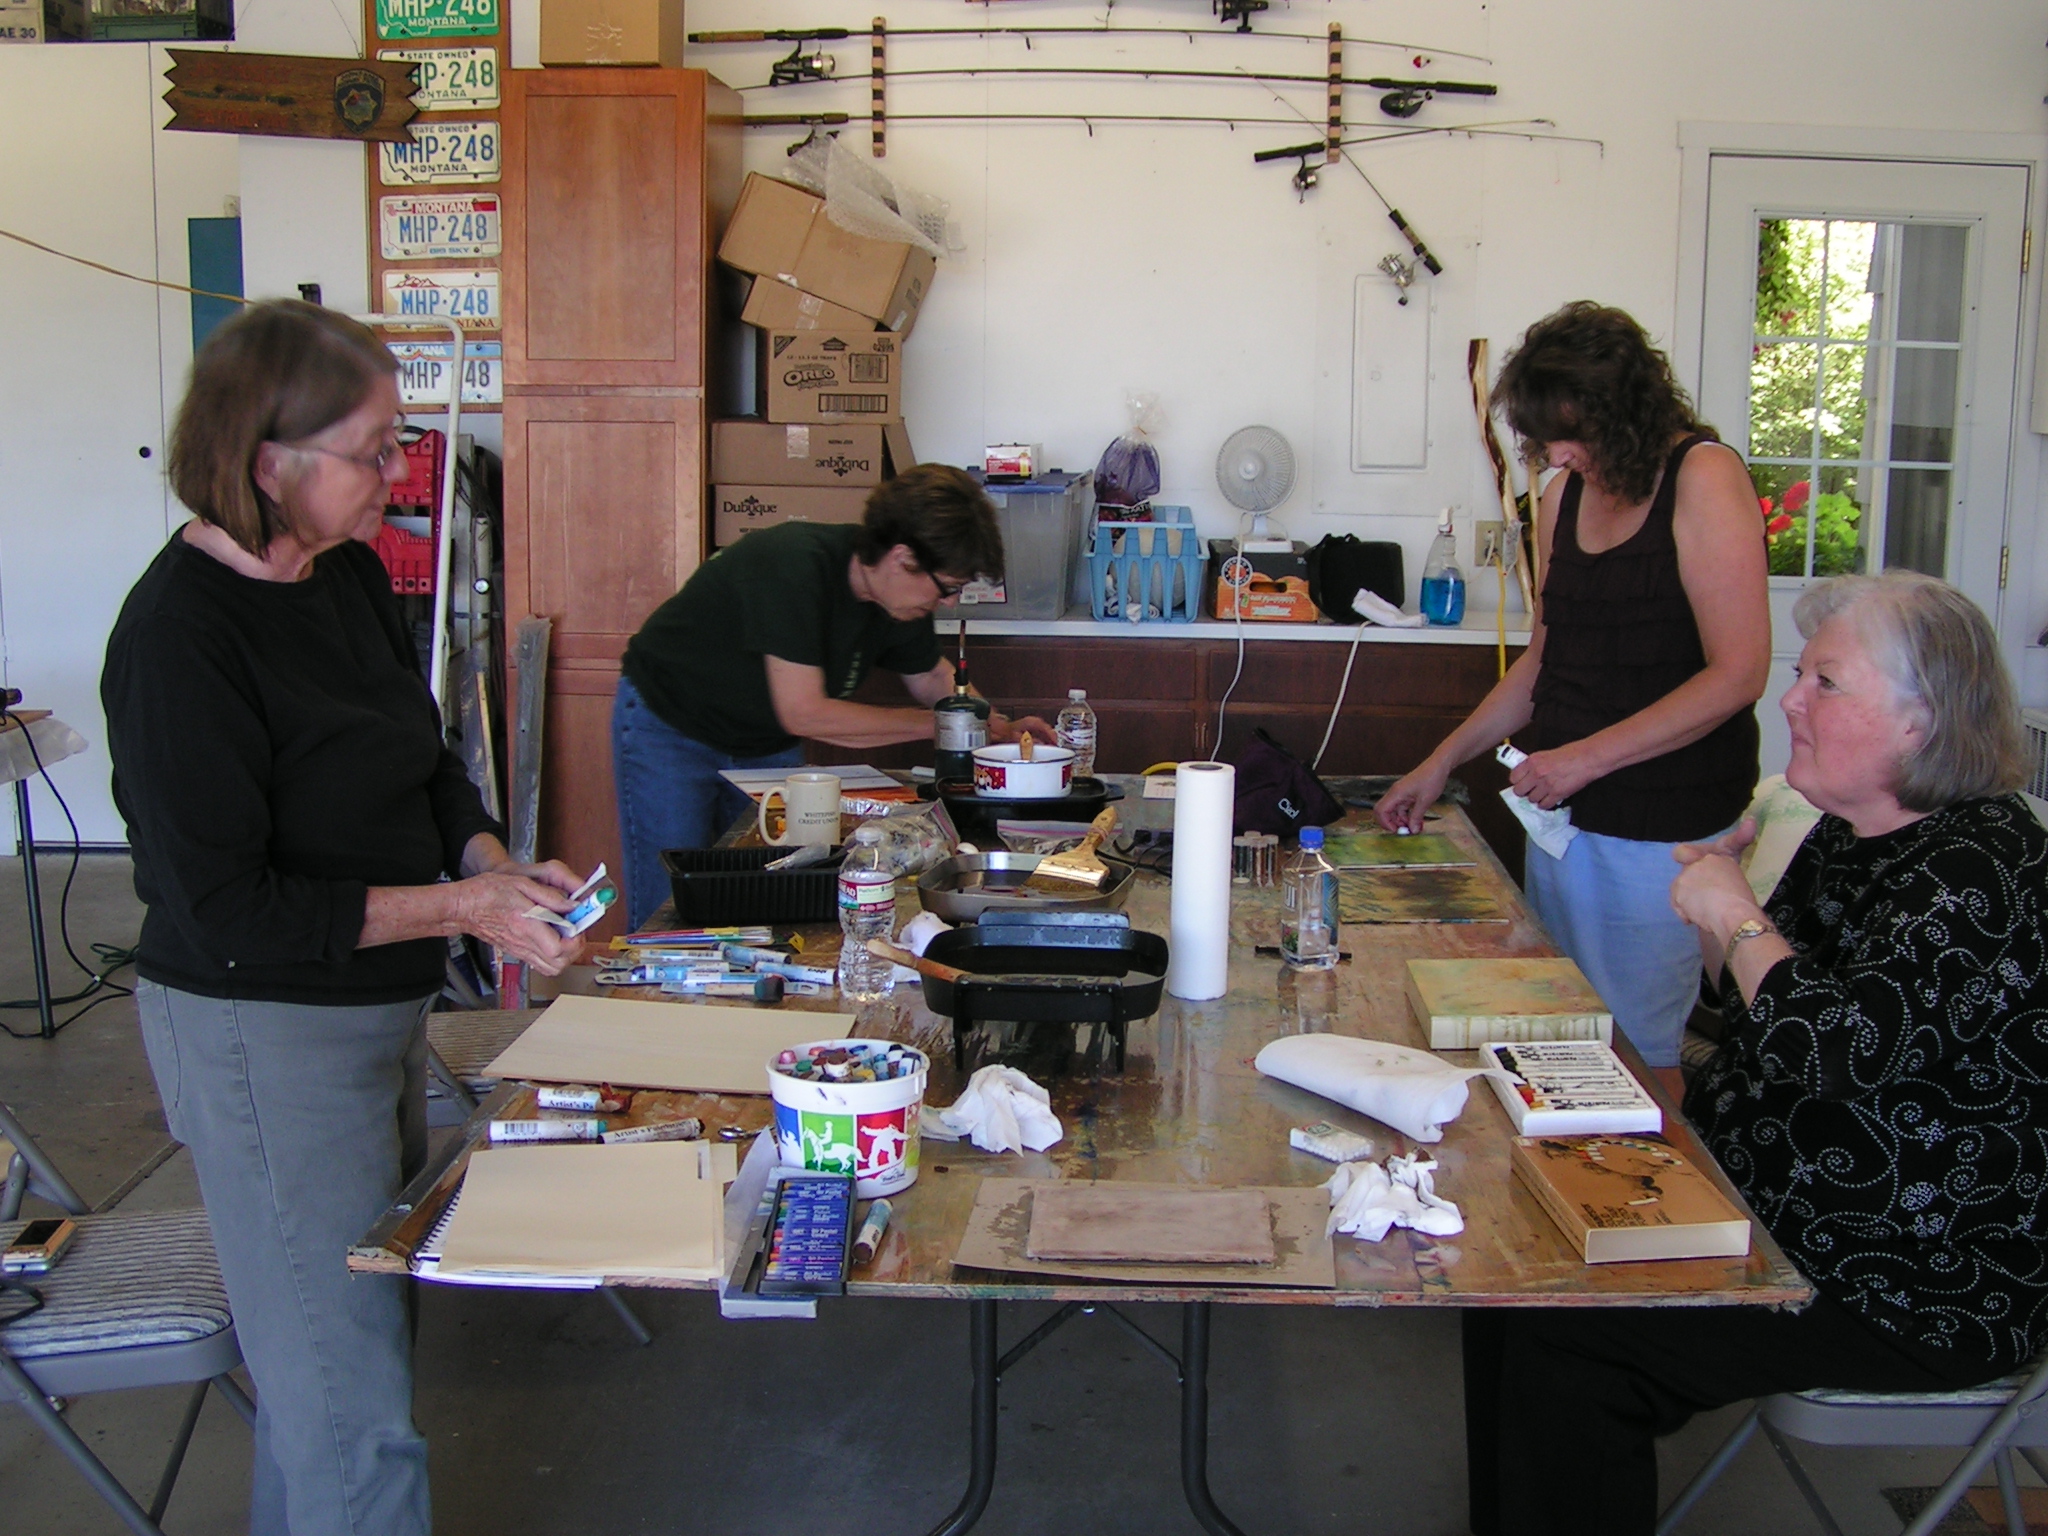
My local group met today at my house and we did some natural dyeing and eco-printing. Luckily, we had a sunny day and it didn’t get too cold until later in the afternoon.

MINOLTA DIGITAL CAMERA
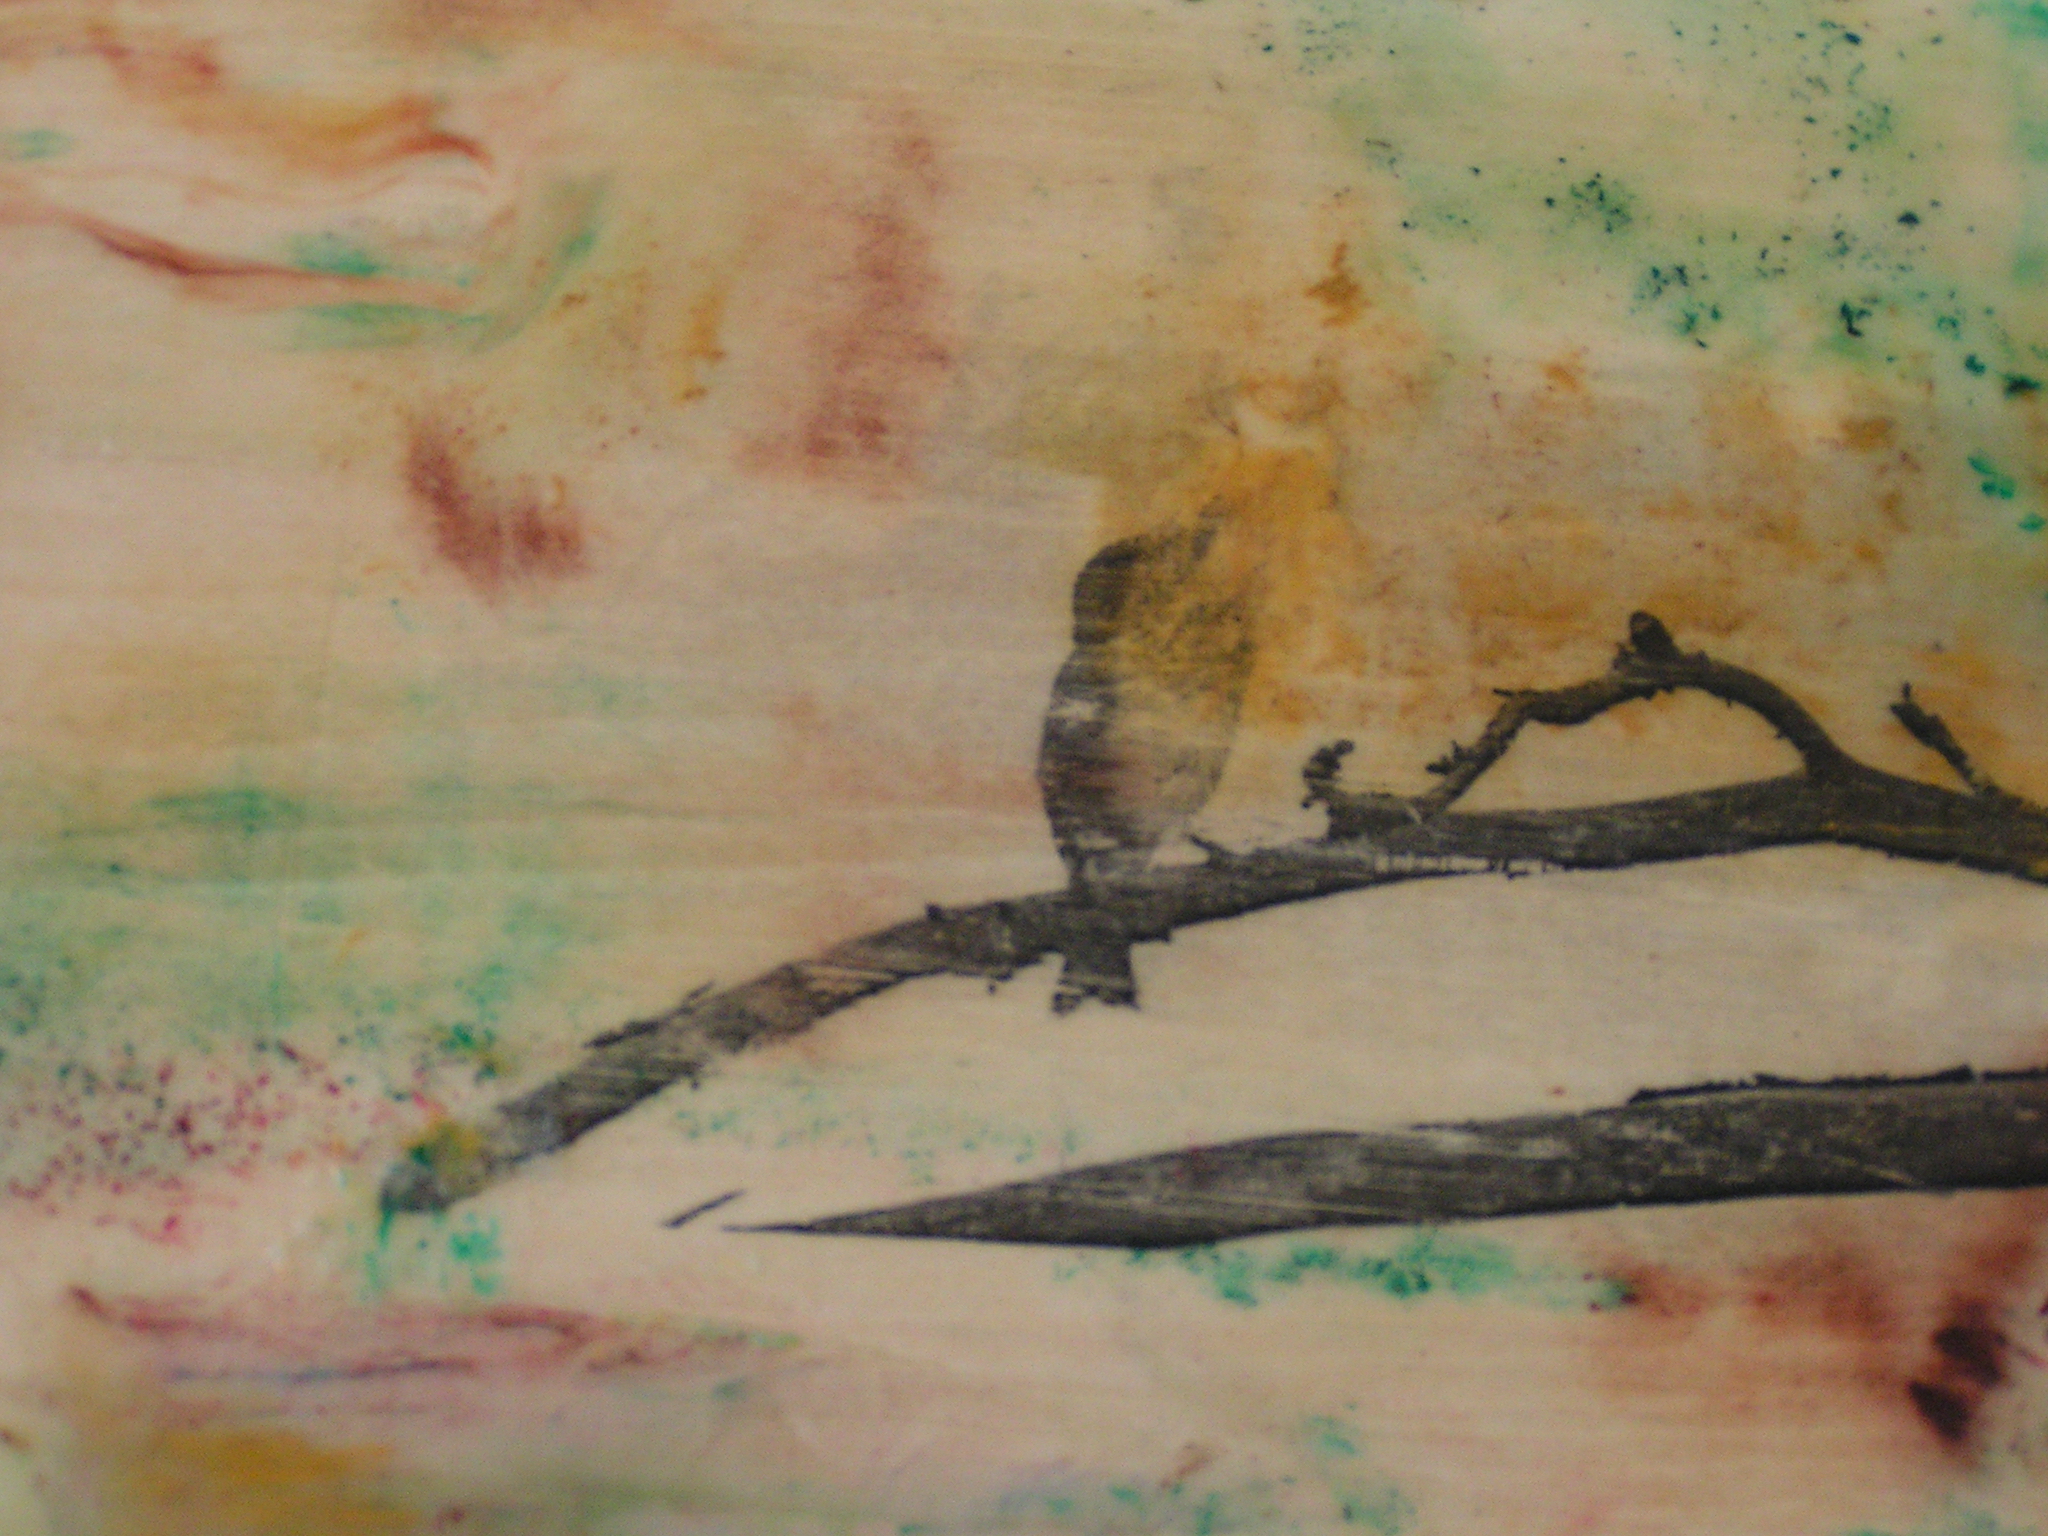
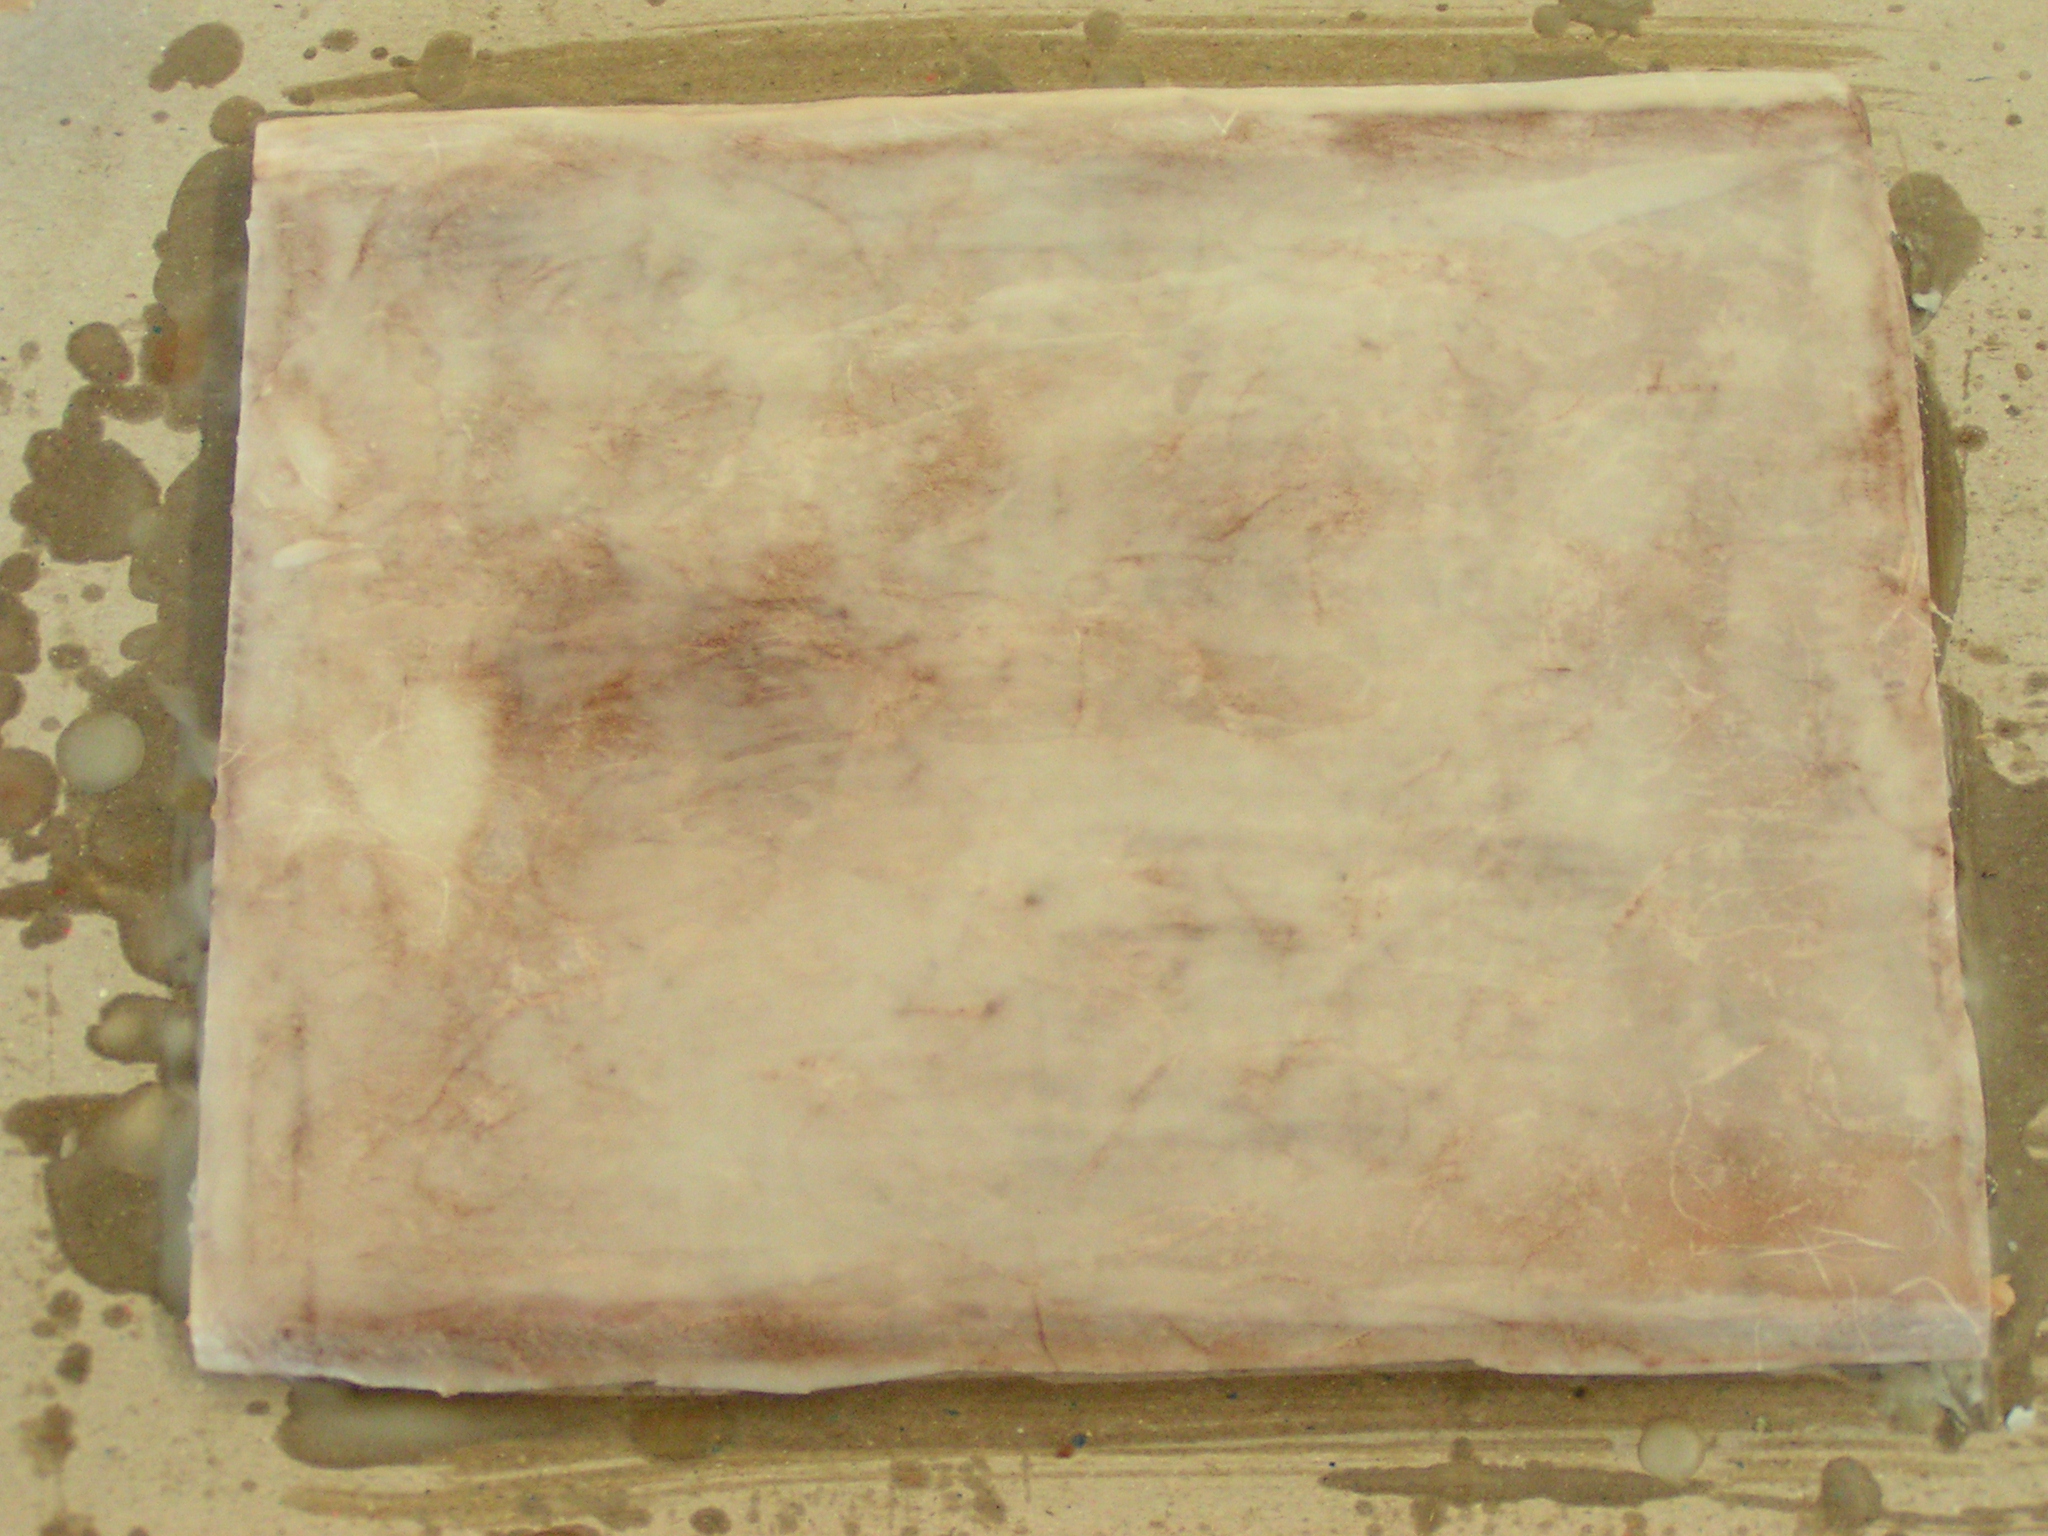
First we bundled up a bunch of paper with leaves, tied up the packages in cardboard and started steaming the paper.

MINOLTA DIGITAL CAMERAThen we made a bunch of different dye pots – this one was with onion skins.

MINOLTA DIGITAL CAMERAThis one was walnut dye.

MINOLTA DIGITAL CAMERABarberry seeds and leaves went into this pot.

MINOLTA DIGITAL CAMERAI poured about half a bottle of Turmeric into this pot.

MINOLTA DIGITAL CAMERA
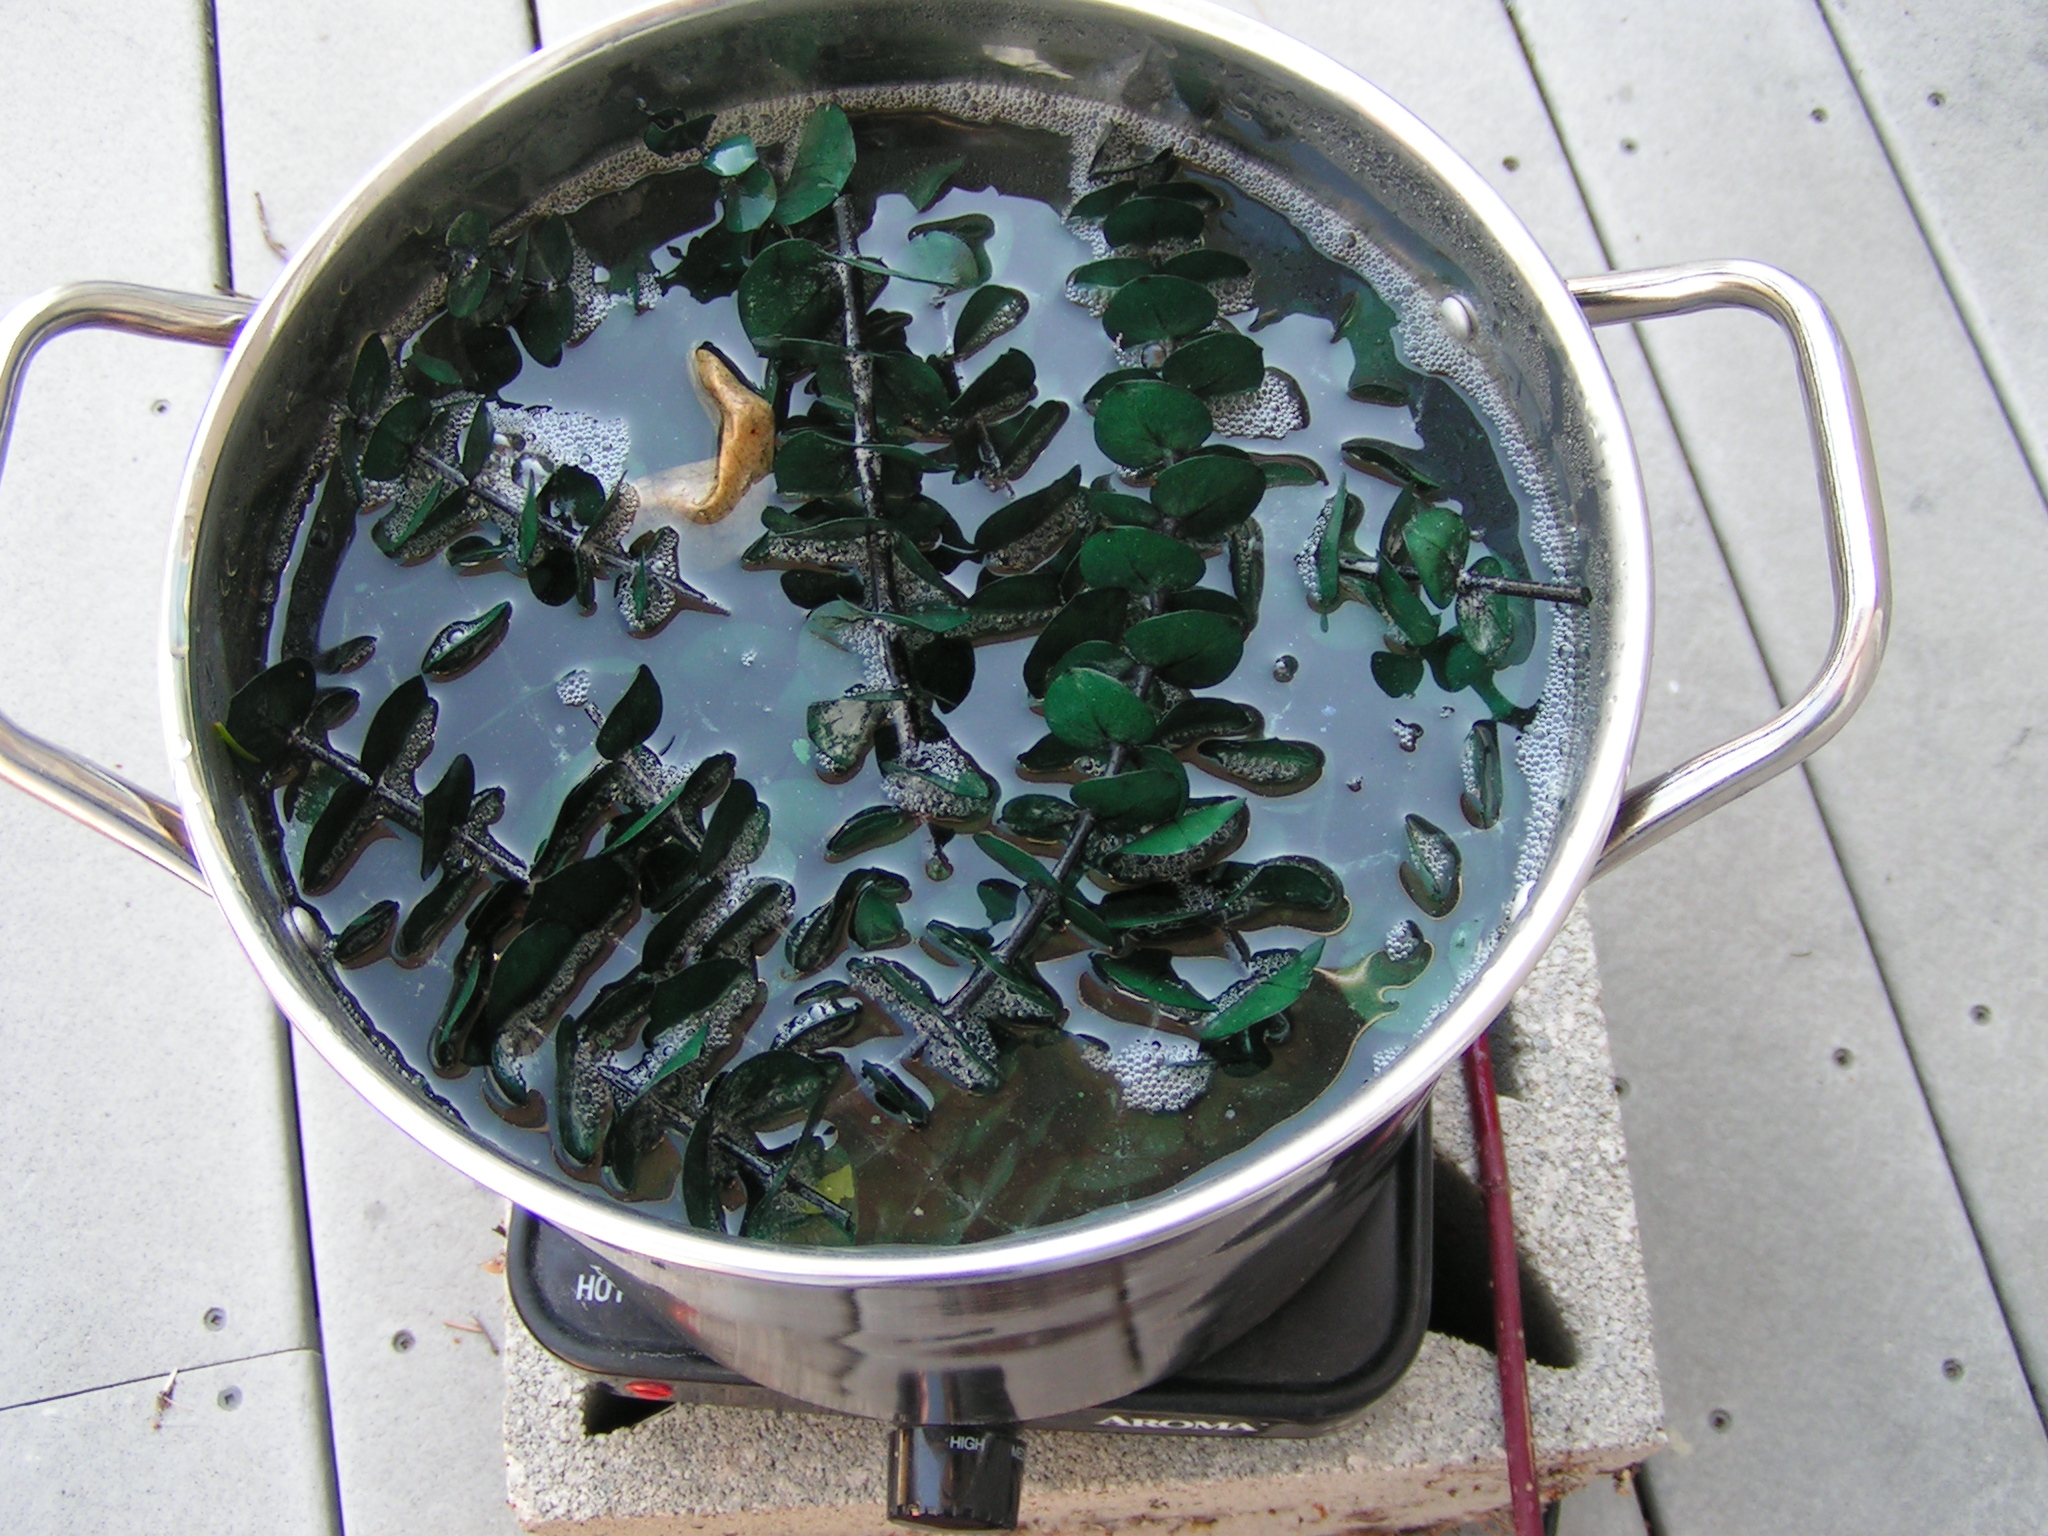
This one has eucalyptus leaves. These aren’t the fresh kind so we weren’t sure what they would do.

MINOLTA DIGITAL CAMERAAnd then we had some synthetic indigo.

MINOLTA DIGITAL CAMERA
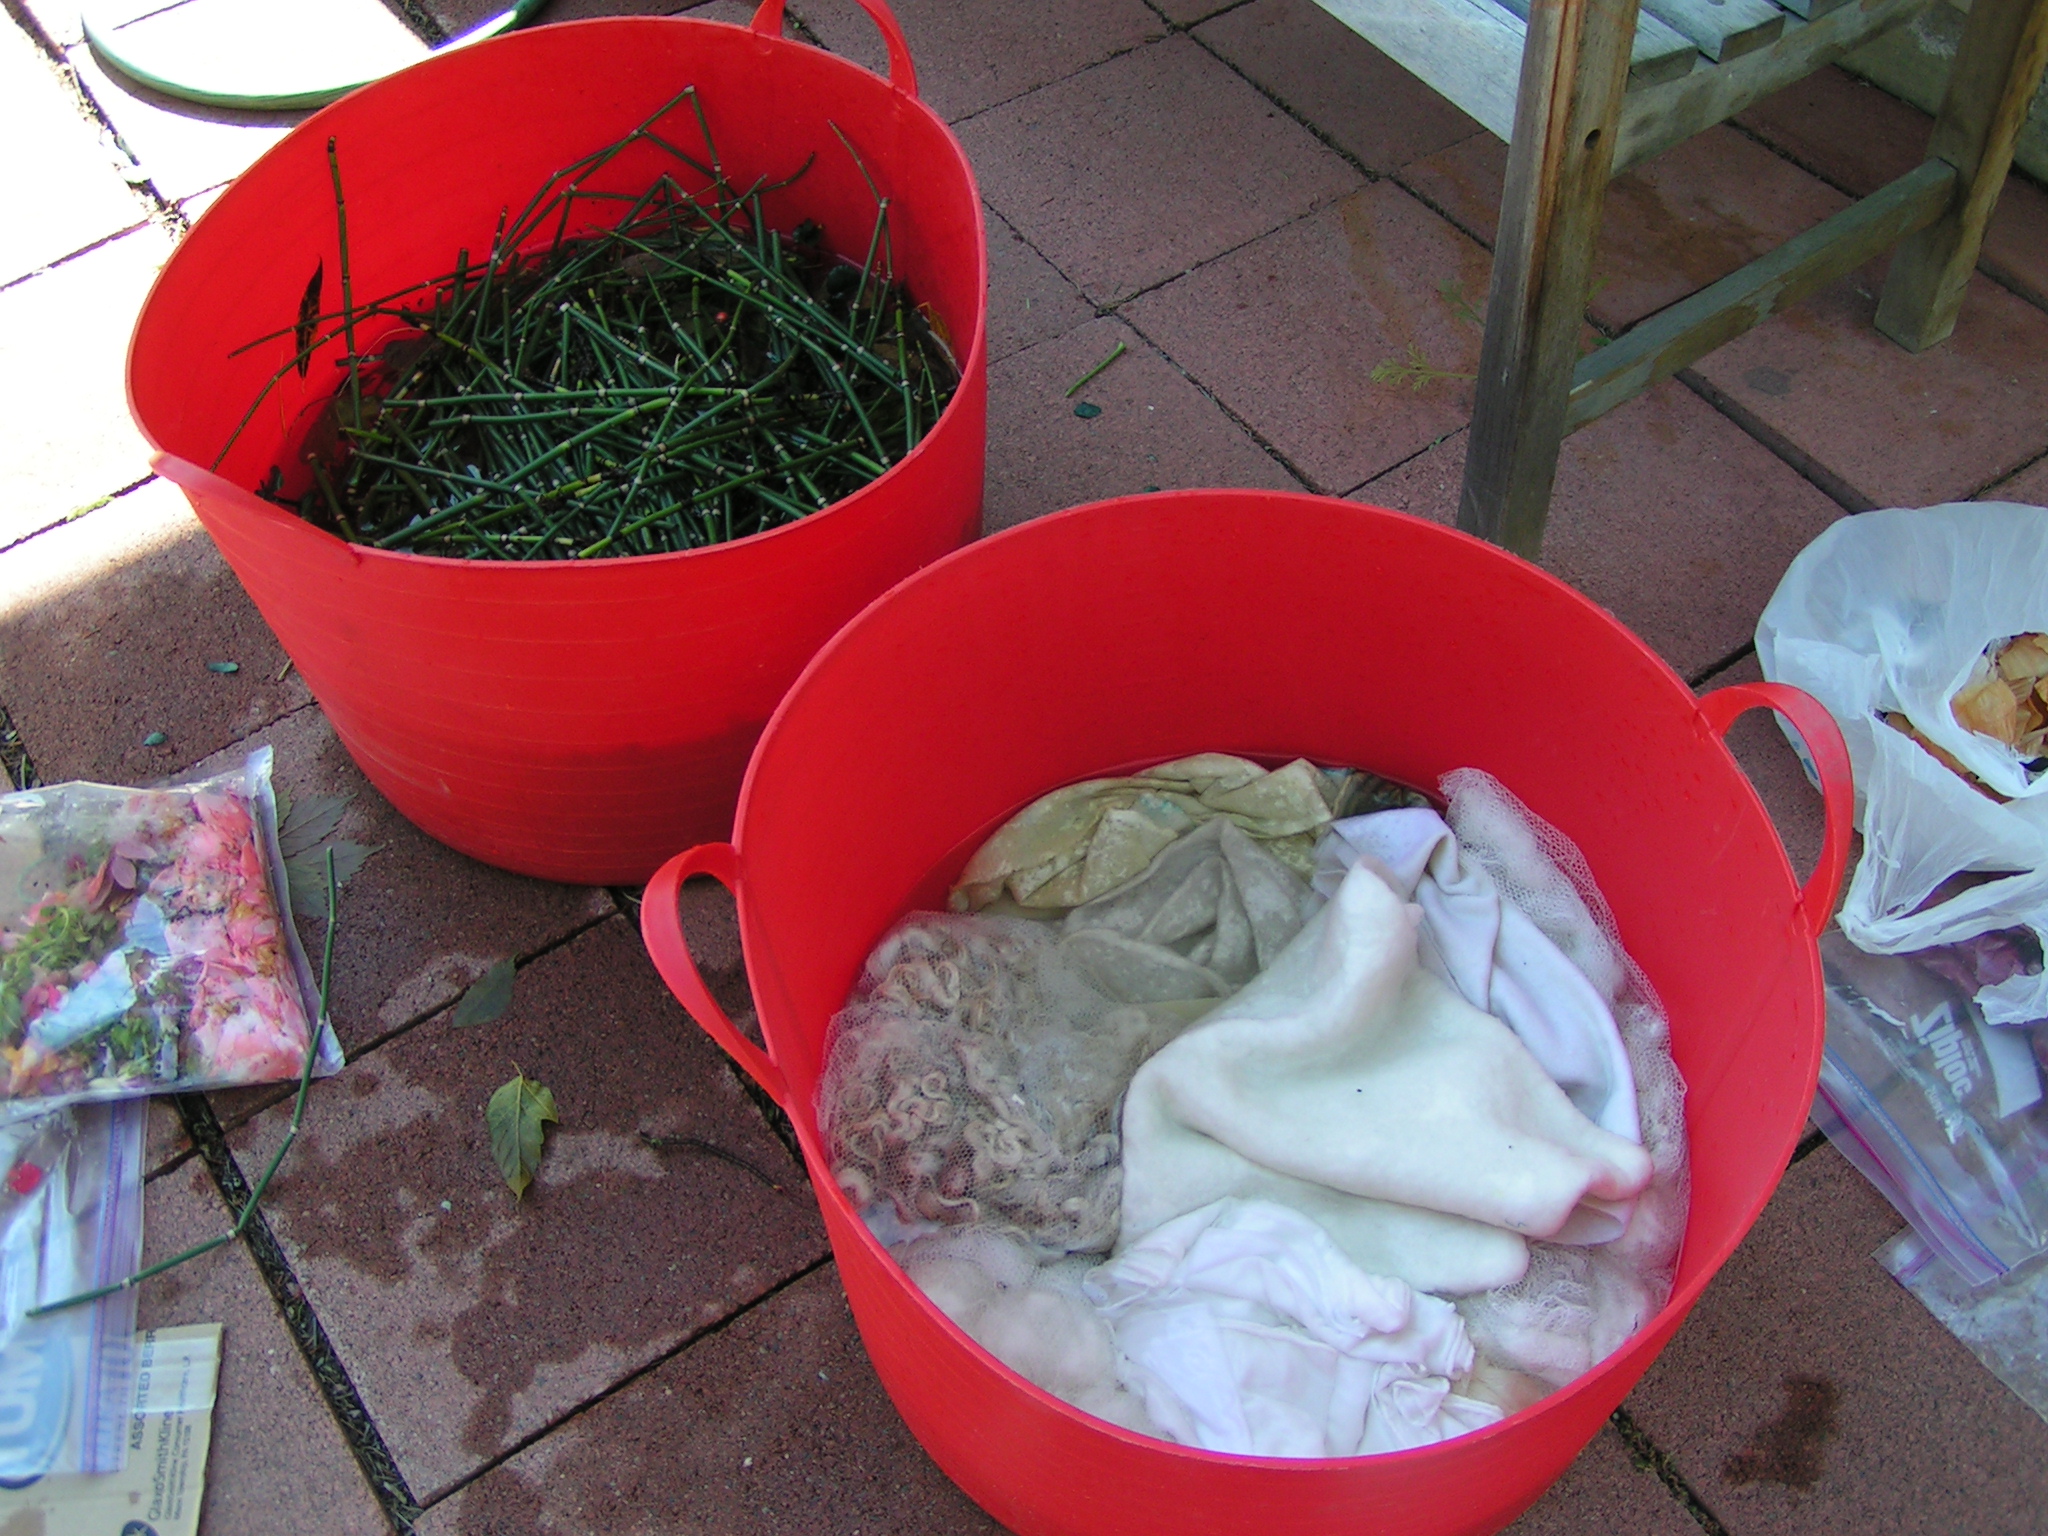
We soaked the leaves and the silk and wool in vinegar water.

MINOLTA DIGITAL CAMERA
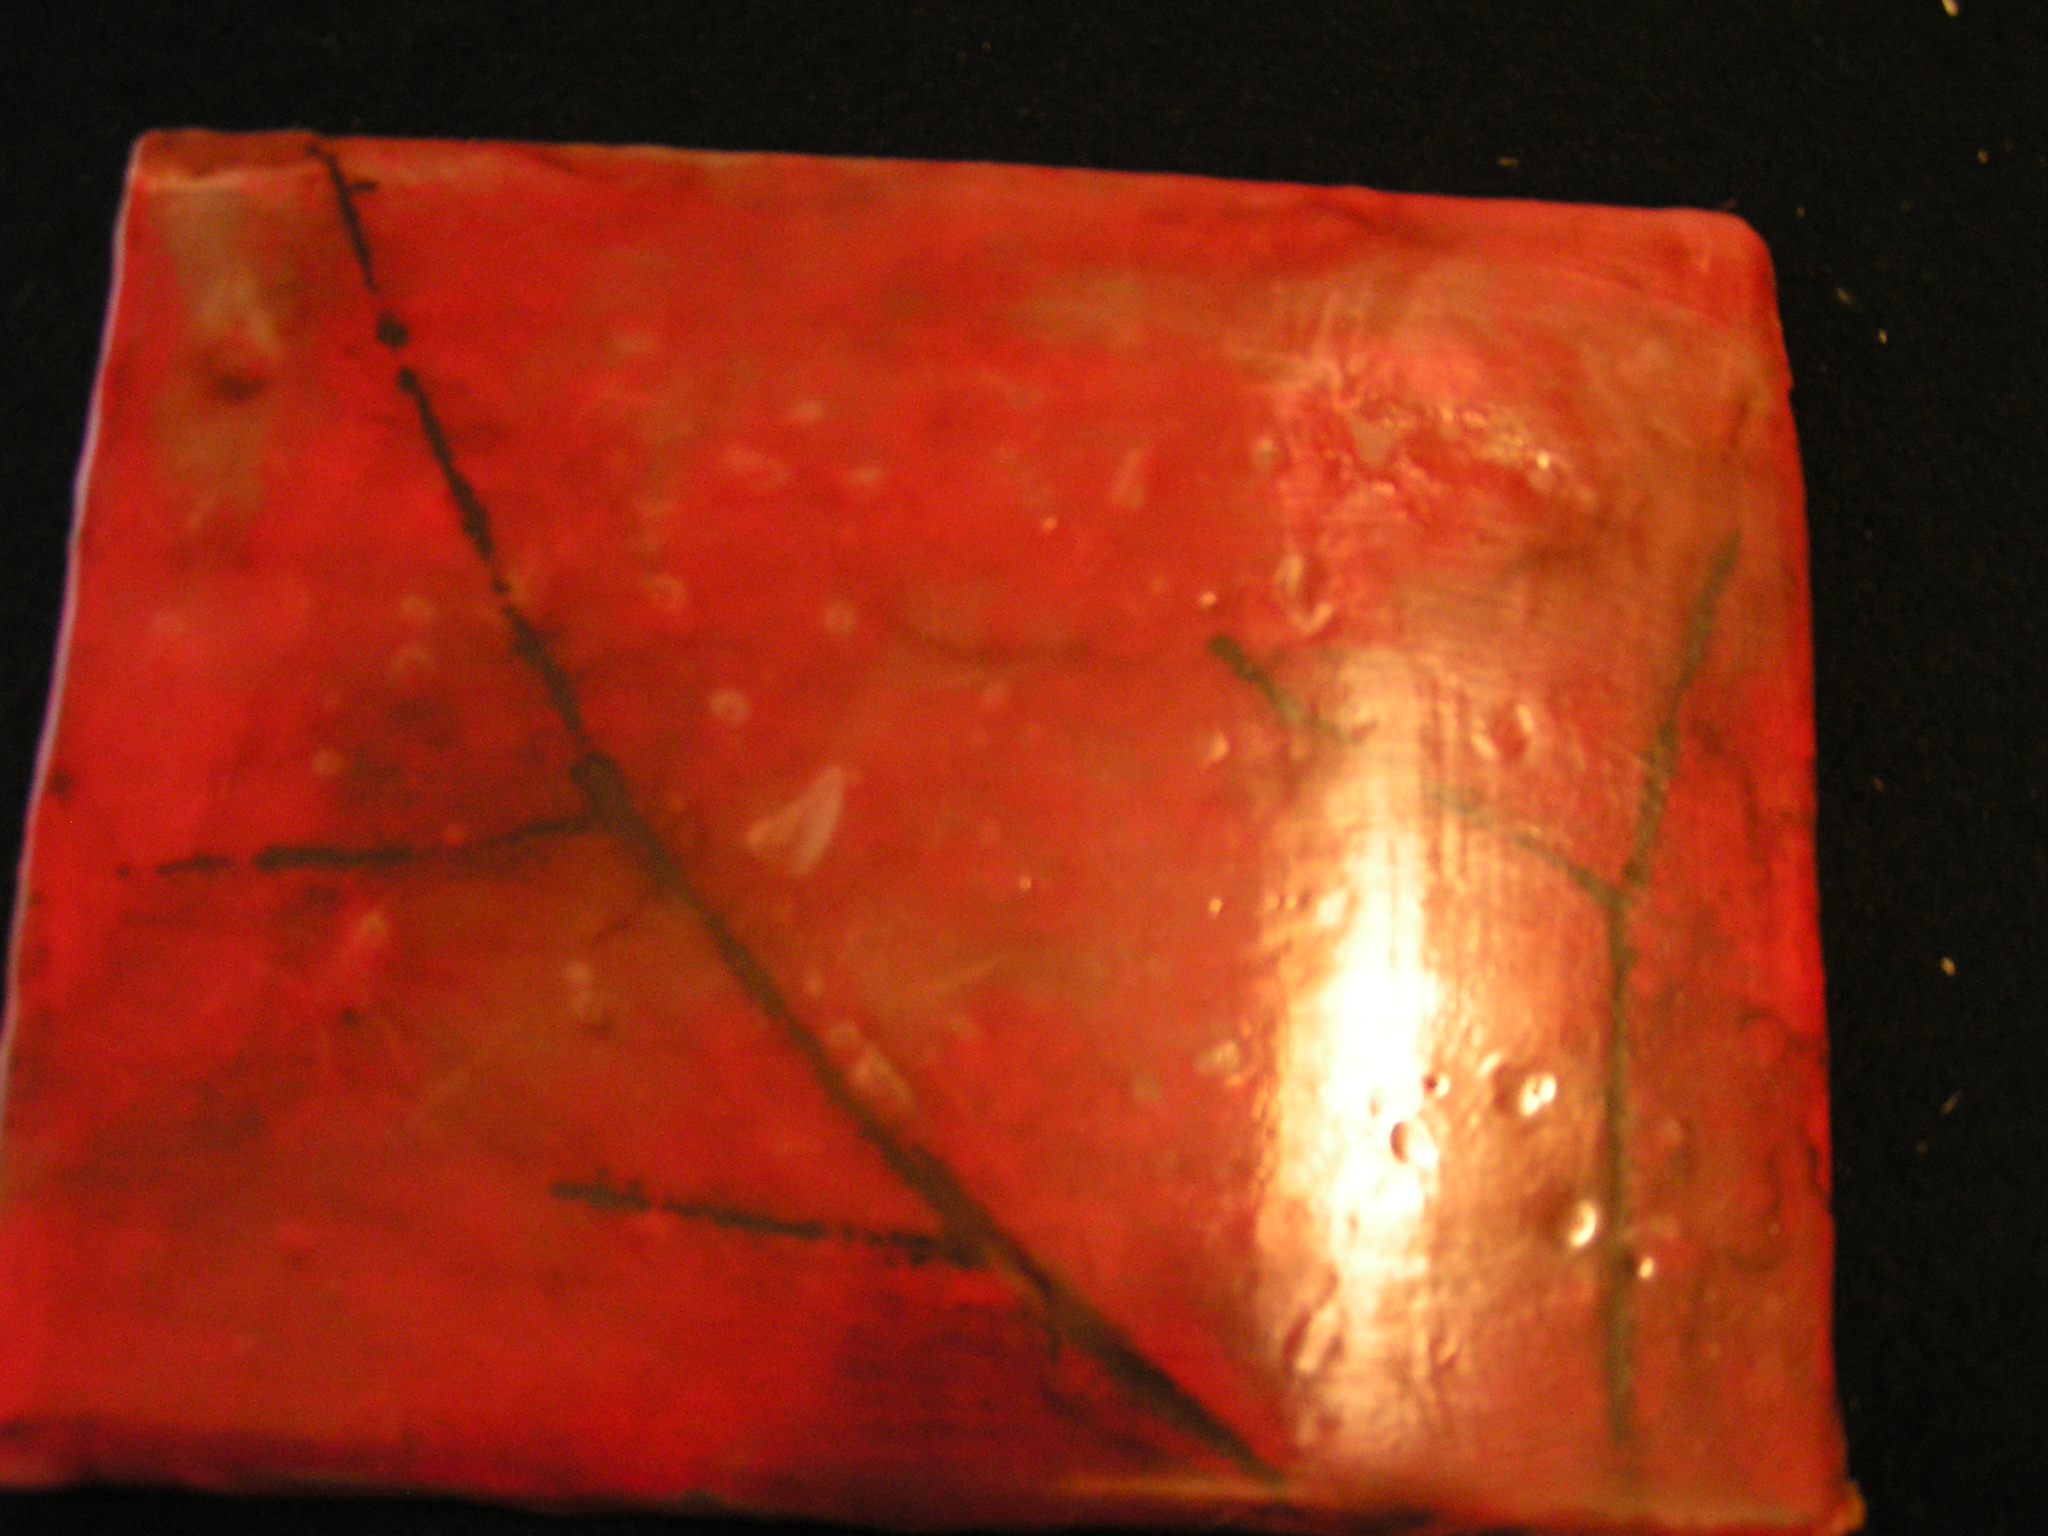
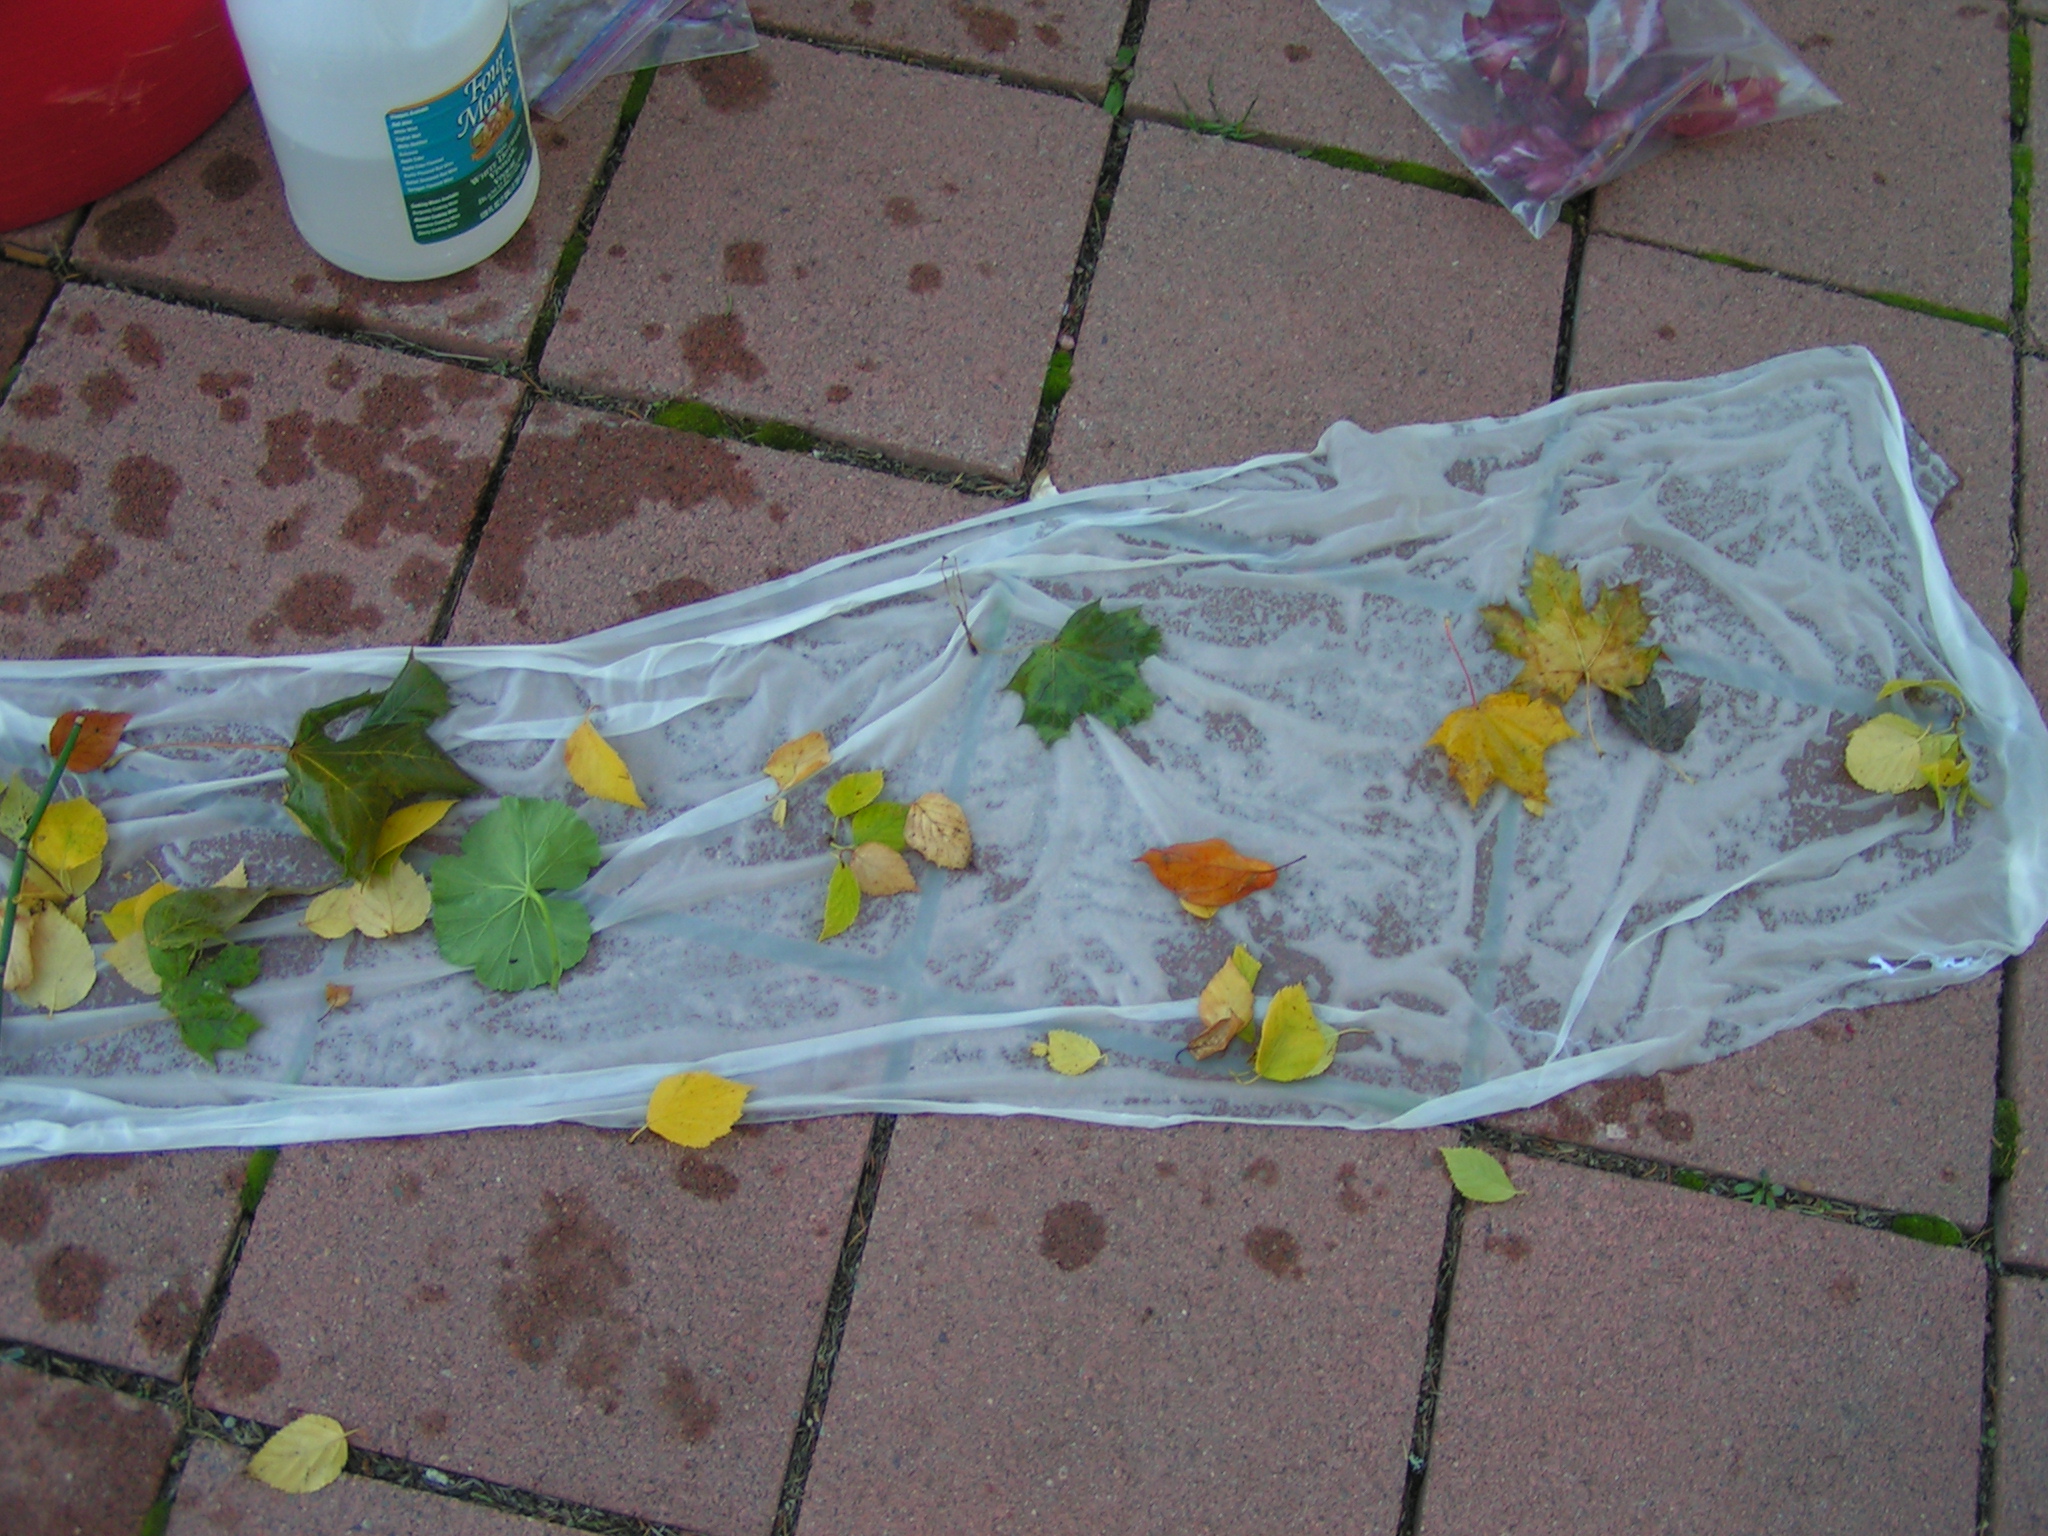
Then we started putting leaves over the fabric. This is a piece of silk that I had started. I added a lot more after this photo.

MINOLTA DIGITAL CAMERA
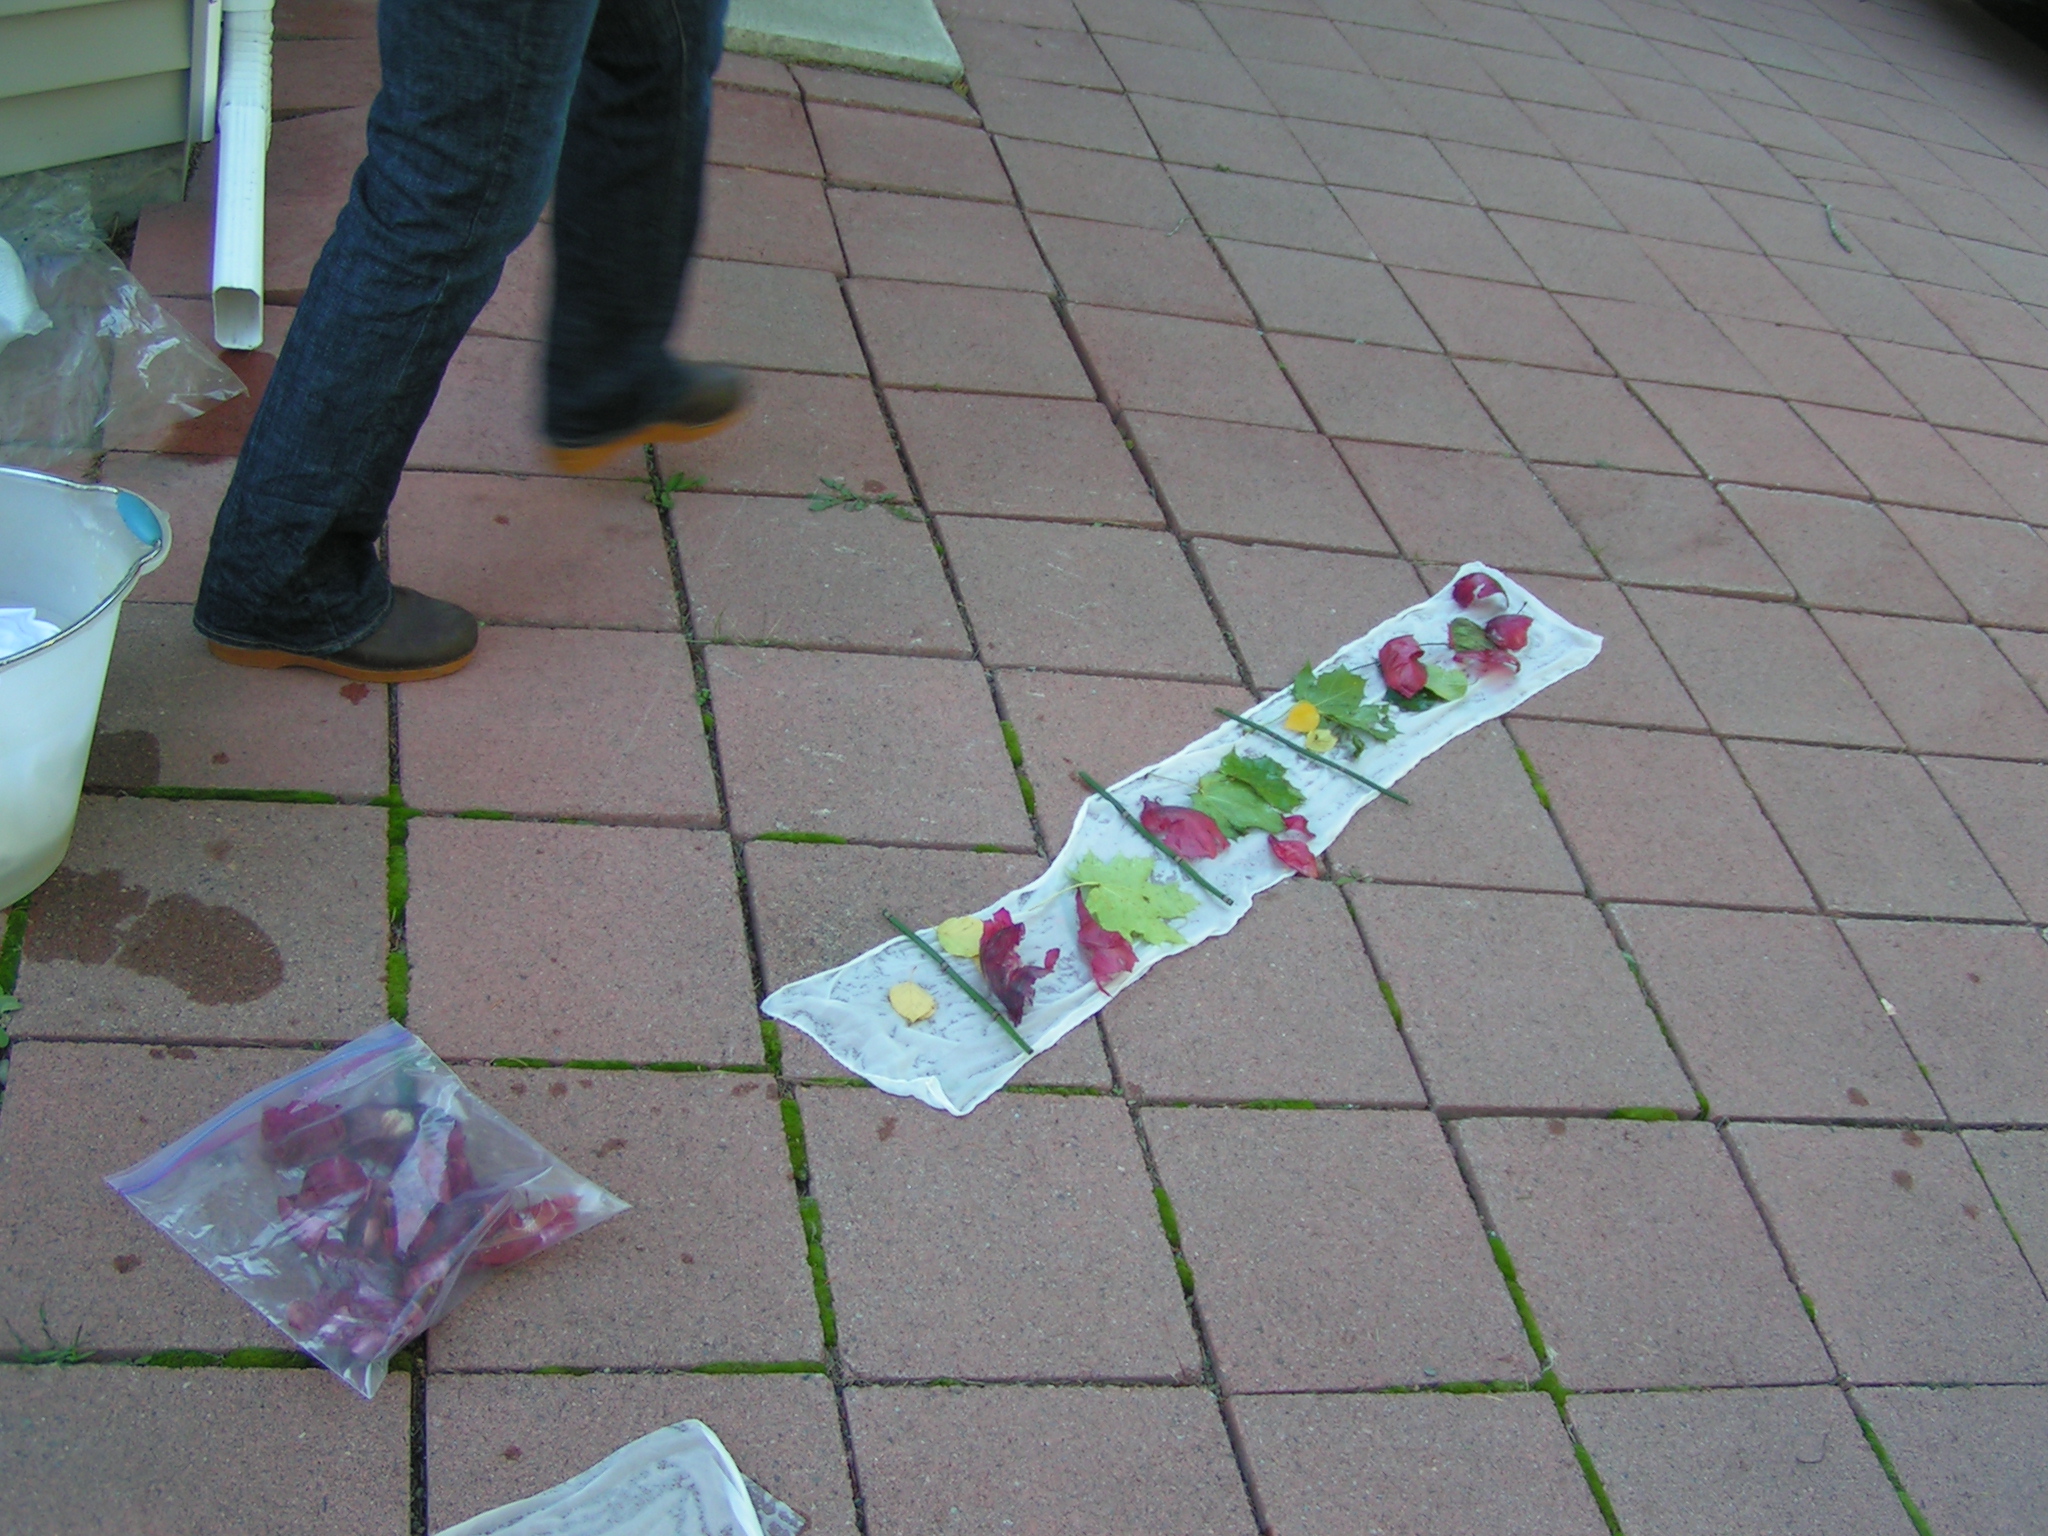
This one is Louise’s scarf laid out and ready to roll up into a bundle.

MINOLTA DIGITAL CAMERA
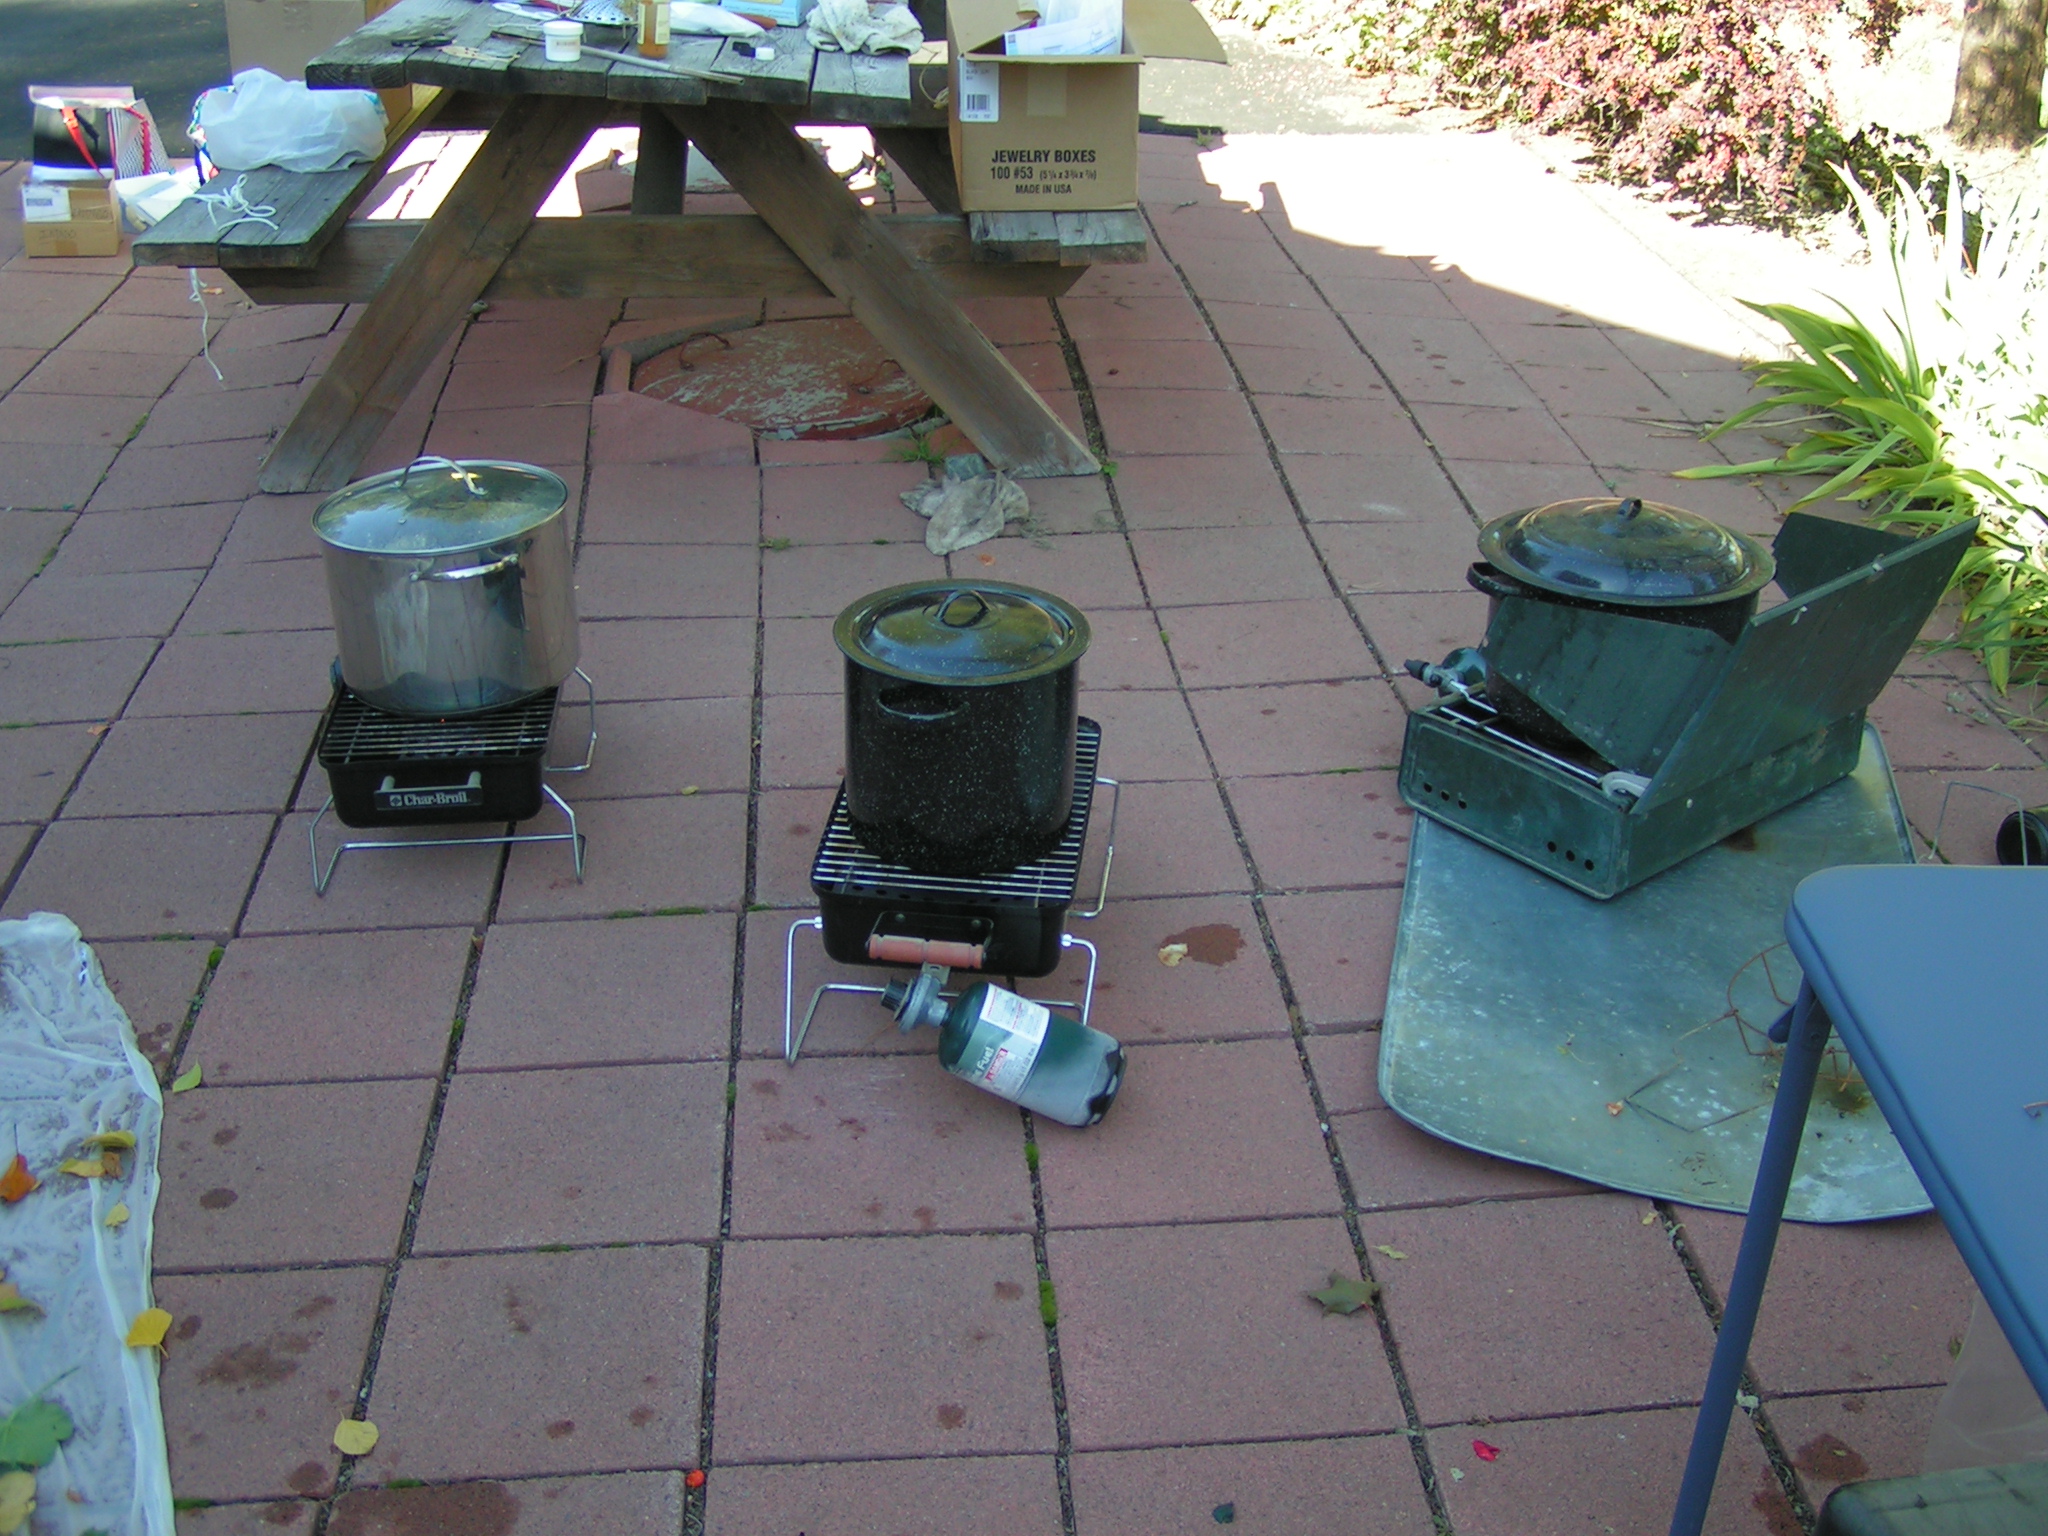
Here are the pots all cooking away on their little stoves.

MINOLTA DIGITAL CAMERA
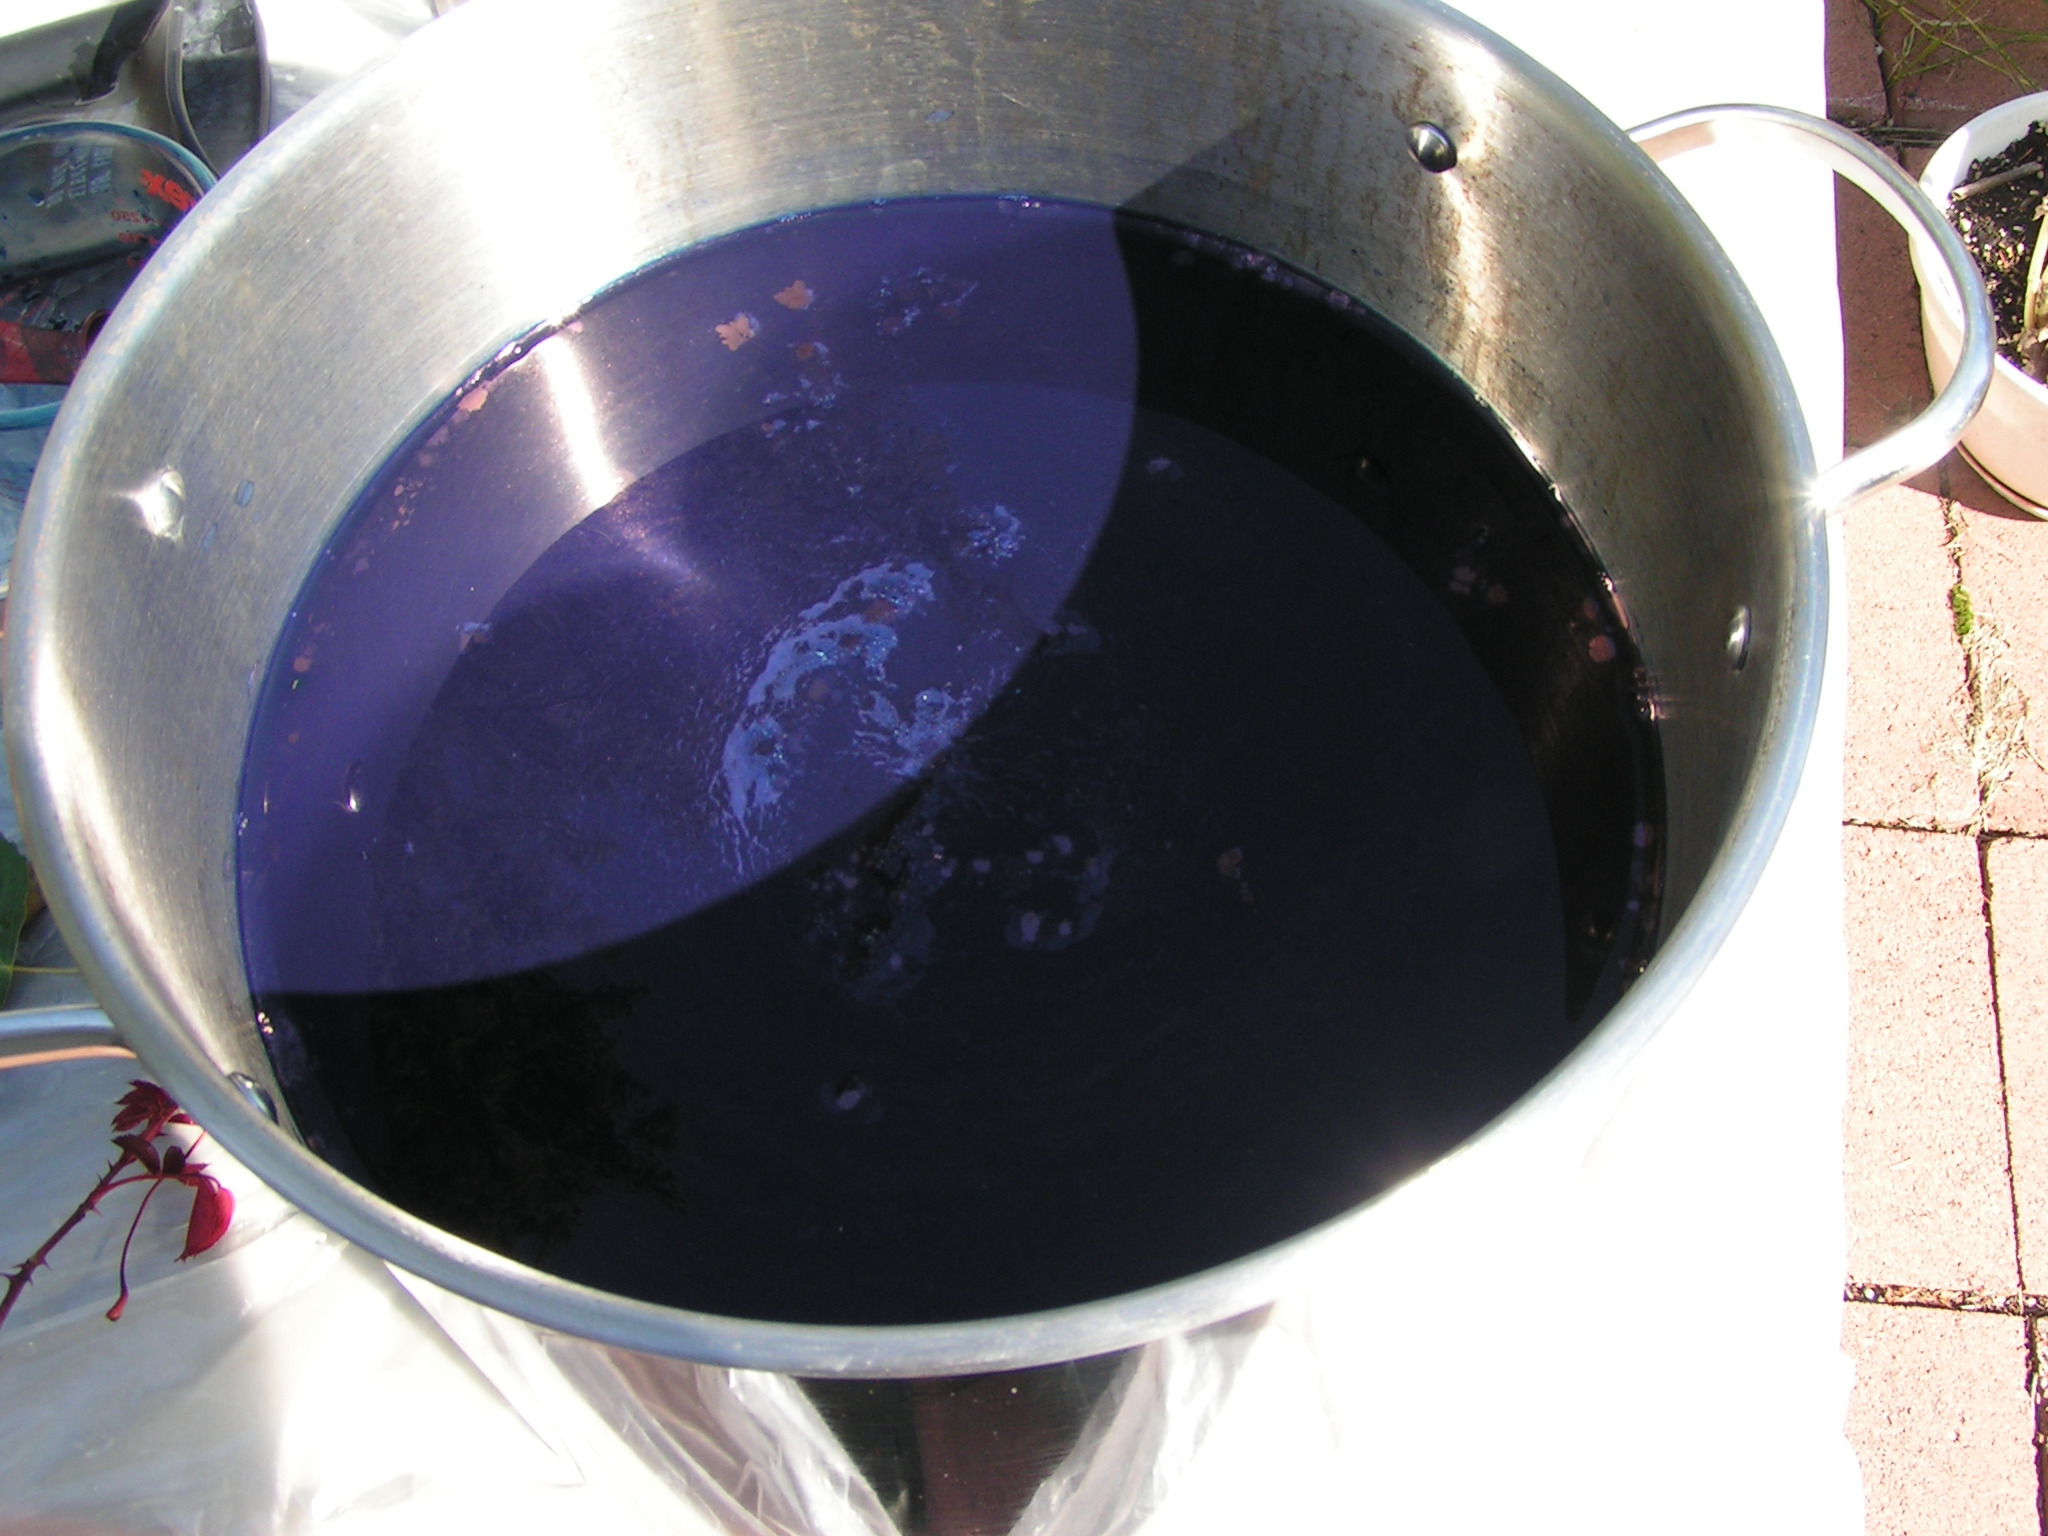
Here’s the indigo pot with some fabric put in and soaking. I’m not sure we followed the directions properly on this but we got blue so I guess that is good enough.

MINOLTA DIGITAL CAMERAA couple of the cook stoves didn’t work properly so I took a few pots inside and used the stove. This is the Turmeric one cooking.

MINOLTA DIGITAL CAMERAAnd the eucalyptus one behind it.

MINOLTA DIGITAL CAMERA
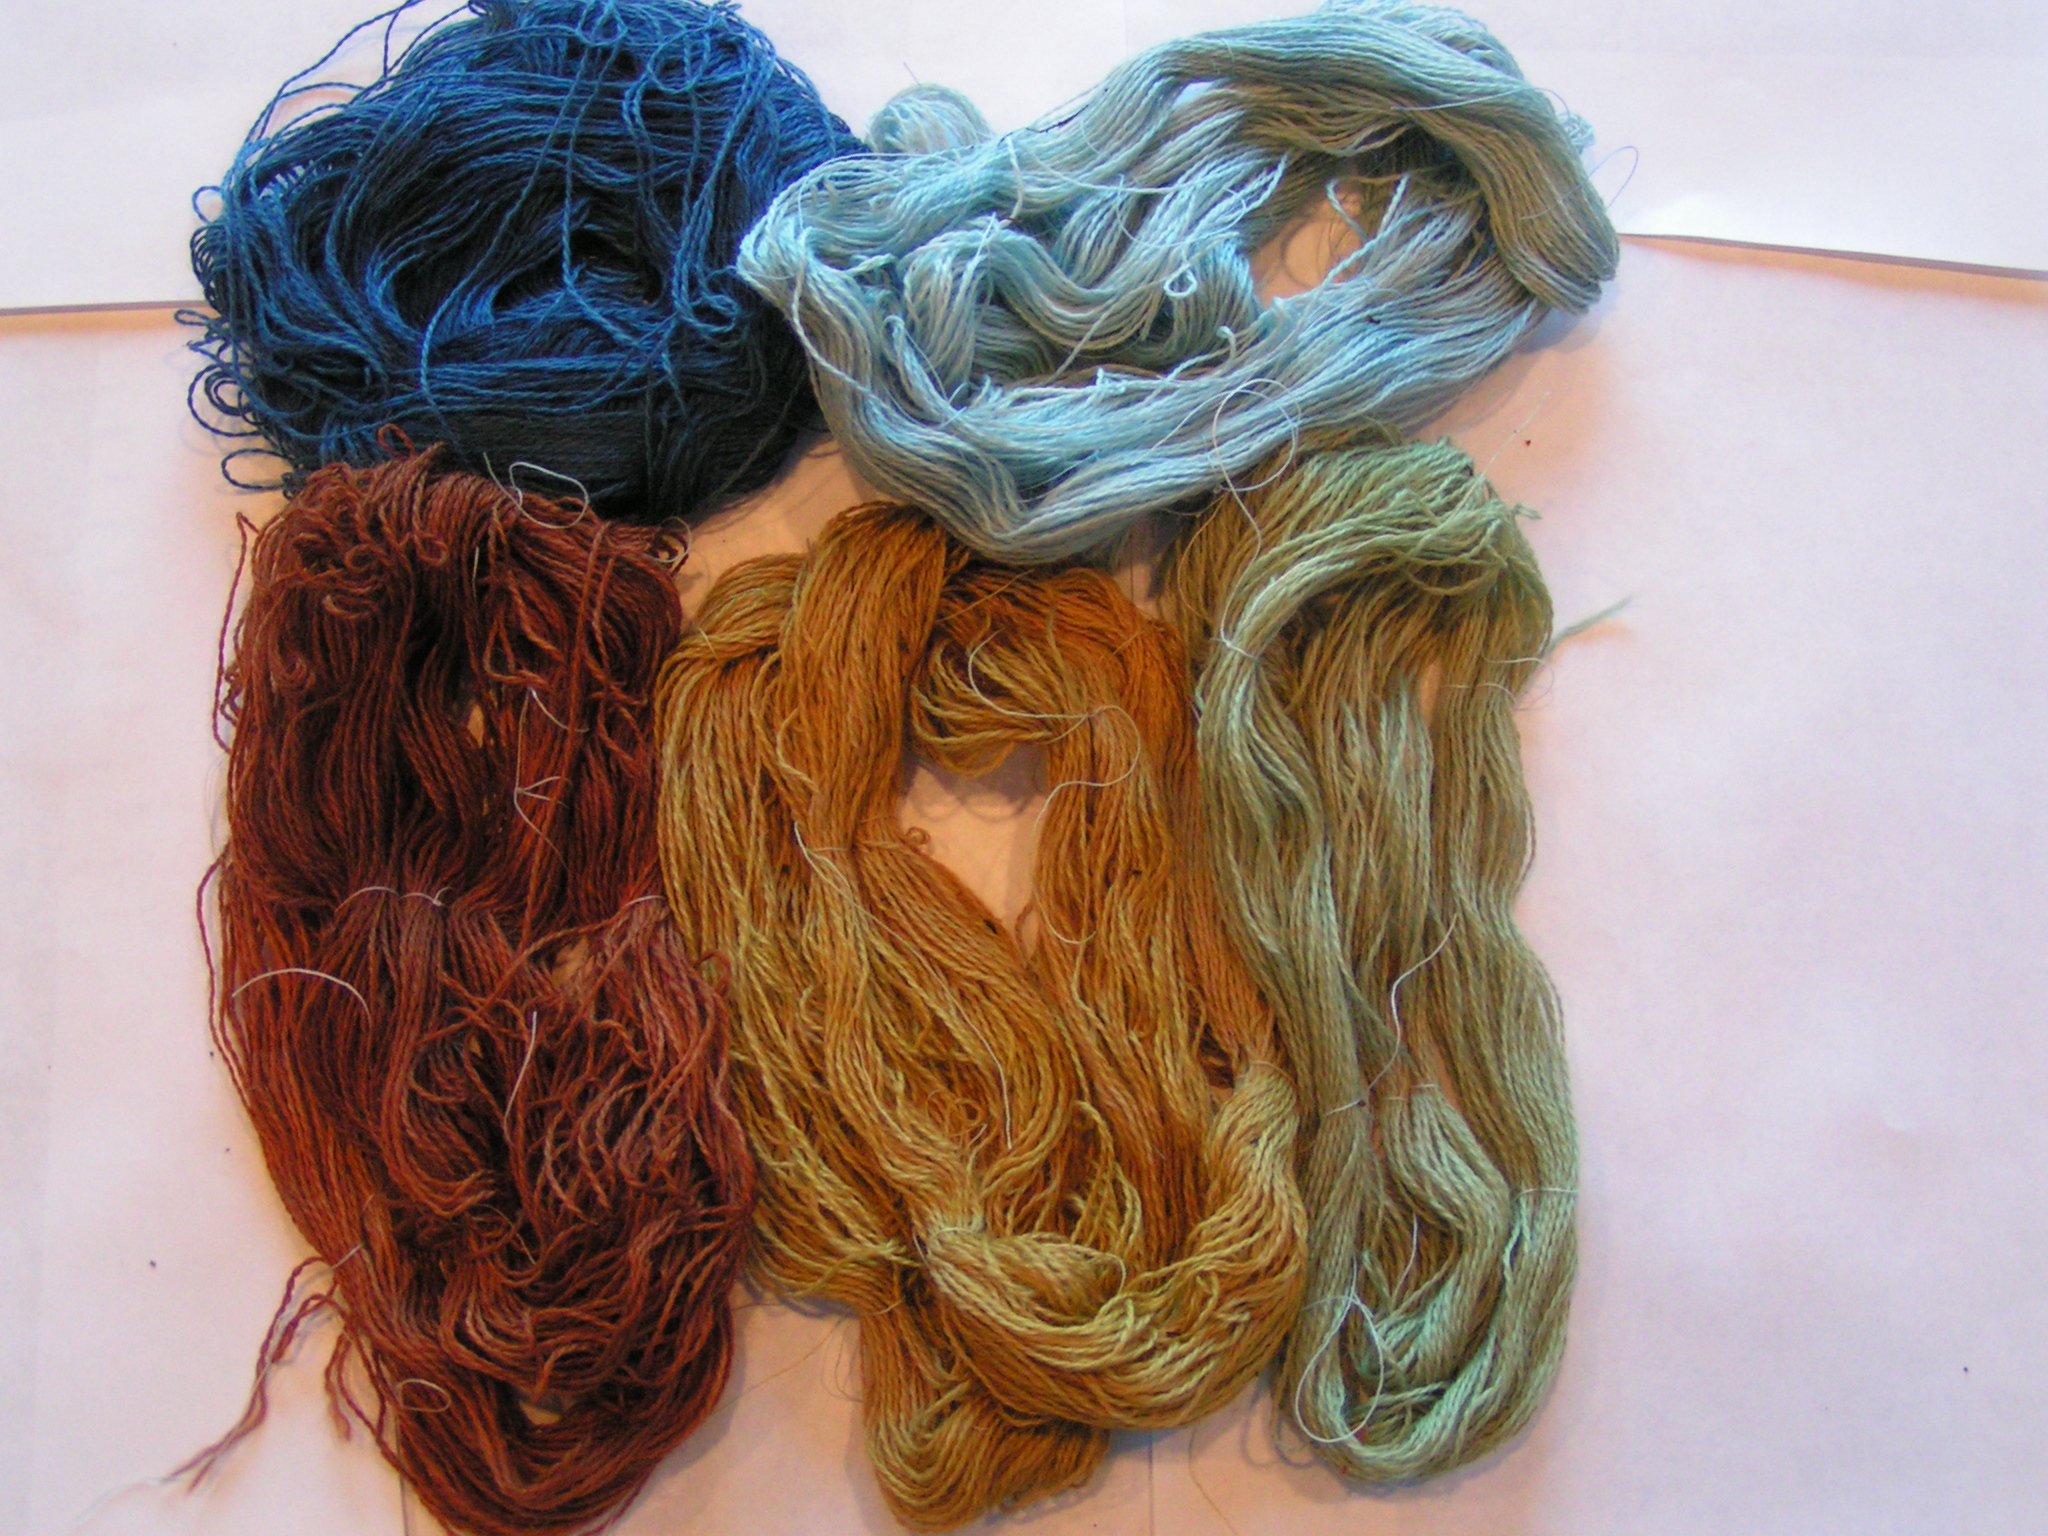
Here’s the only finished items I have to show you. This is wool thread that I put into various pots. The dark blue and light blue are both indigo. The deep reddish-brown is onion skins, the yellowish one is turmeric and the green one is from the barberry. The colors are wonderful and I like them all. I’ll show you some more fabric and the eco-prints once they are done. The eco-prints need to sit for another couple of weeks so we’ll have to wait to see how they came out. Remember, patience is a virtue.


Mixed Media Piece for Third Quarter Challenge

Over at the Felting and Fiber Studio, Karen had challenged us to make a mixed media piece that included something fiber, something metal and something in the paint variety. This is definitely not the way I usually work but I had started a stitched piece that I thought would work. I showed you the stitched part last week. It was free motion machine stitched on to a painted fabric background. After it was stitched, I colored in the flowers with Inktense pencils and then wet them down with a water brush to simulate water colors.

Trying WashersThen I started working out how I would add metal. I tried a variety of rusty metal washers but I didn’t really like how they looked. It just looked like I was sticking them on there because I had to add metal.

Adding Rusty WireI liked the addition of this rusty metal wire better. I guess it had a more organic feel to it.

Third Quarter Mixed Media Challenge PieceThen I painted the fabric with a slightly watered down Golden gel medium. I also painted a couple of layers of the gel medium on the wood too. Once that had dried. I use the gel medium straight from the jar (no water added) to glue the fabric to the wood. You can see that the red fabric bled a little bit onto the green background but that didn’t bother me. It took a couple of days to completely dry,

Close up Indian PaintbrushI then stitched the metal piece down to the fabric to hold it in place. I’m happy with the results and I am planning on doing a series of Montana wildflowers like this piece. I also started a second mixed media piece which I’ll show you soon. Thanks Karen – this was a fun challenge!


More Encaustic and a Little Bit of Stitch

I finally took photos of my encaustic pieces that I made last week. It is hard to get a good photo since they are so shiny. 

MINOLTA DIGITAL CAMERAThis one is inspired by the ocean.

MINOLTA DIGITAL CAMERAThis one I used a stencil to add some sparkly powder stuff that I always forget the name. Then I did a shellac burn on top of that. You can see where the shellac burned on the right side. It makes it more textured.

MINOLTA DIGITAL CAMERAThis is one of the parchment paper print transfers. It is actually very black but the photo just wouldn’t show it well.

MINOLTA DIGITAL CAMERA

This one is using branches to make impressions in the wax. I showed you some of the steps in my last post.

MINOLTA DIGITAL CAMERAThis photo actually shows the color better (excuse the glare).

MINOLTA DIGITAL CAMERAThis piece I started a long time ago. It is for the 3rd quarter challenge on the Felting and Fiber Studio. Karen challenged us to do a mixed media piece. I want to add some metal. I thought I might use it to attach the stitched piece to the wood. I had considered putting encaustic wax on the fabric but all of my group advised against it, so I didn’t. Perhaps I will cover it with gel medium to make it stronger. I need to get this finished before the end of September. So I’ll have to make up my mind soon.

Playing with Encaustics

Yesterday, my local surface design group, met for the first time after our summer break. We went to Carole’s house and played with encaustics. We also did a bit of hand stitching with Jan leading us in a couple of simple hand stitches. I didn’t get any photos of that but we plan on doing a short session of hand stitching each time we meet.

MINOLTA DIGITAL CAMERAHere is everyone getting started on their encaustic pieces. We had done a little bit of this last year so we all just were mainly working on our own.

MINOLTA DIGITAL CAMERAThis is the start of Jan’s piece.

MINOLTA DIGITAL CAMERAHere is Jan’s piece after she added a transfer off of a piece of parchment paper. I had printed four different black and white photos/designs ahead of time on to parchment paper. This technique was very easy as the laser printer ink just comes right off the parchment paper on to the wax. You do have to be careful to allow the wax to cool quite a bit beforehand or the wax will collapse when you’re rubbing the back of the parchment paper.

MINOLTA DIGITAL CAMERAthis is one of Louise’s pieces at the beginning. I love how you can keep adding different layers and if something doesn’t work, you can cover it up or scrape it off.

MINOLTA DIGITAL CAMERAHere is that same piece at the end of the afternoon.

MINOLTA DIGITAL CAMERAThis is Carole’s start. You can see the torch to the left of the piece that Carole was using to apply heat after each layer.

MINOLTA DIGITAL CAMERAAnd here is the end result. I love the depth of color that she got in each of her layers.

MINOLTA DIGITAL CAMERAThis is a beginning layer of one of Bunny’s pieces.

MINOLTA DIGITAL CAMERAAnd here it is after she finished.

MINOLTA DIGITAL CAMERAThis is another one of Bunny’s pieces. She used my fish design transfer which worked very well. The grassy looking bits are part of a piece of handmade paper that she added to the background and sealed with wax.

MINOLTA DIGITAL CAMERAHere’s a shot of Bunny’s pieces cooling off.

MINOLTA DIGITAL CAMERAThis is a piece of burned back Lutradur that Louise had made.

MINOLTA DIGITAL CAMERAHere it is after being added to the wax. Louise was waiting for this piece to cool off. I’m not sure what else the plans were for this piece but it wasn’t finished.  But it looks really cool.

MINOLTA DIGITAL CAMERAthis is another piece of Louise’s. She did a final layer of shellac burn but you can’t really see it well in this photo. If you haven’t seen how a shellac burn works, look it up on YouTube. There are several cool videos to watch.

MINOLTA DIGITAL CAMERAThis is one of my pieces. i did some background first and then added a piece of rice paper.

MINOLTA DIGITAL CAMERAThen I added some red encaustic paint and heated it up to move the paint around.

MINOLTA DIGITAL CAMERANext, I pushed a couple of branches into the soft wax.

MINOLTA DIGITAL CAMERAAnd added dark brown oil paint into the depression made. I coated that with several more layers of wax. I don’t seem to have taken any photos of all my finished pieces so I’ll show you those next time after I get them all shined up. We had a great time. You could spend a lifetime trying to perfect the art of encaustic painting. But at least my pieces turned out better than the first attempt! 🙂


Waterlilies Exhibition

My class had its opening for our exhibition at The Purple Pomegranate on Thursday, September 5th. We had quite a few people in and some that were quite interested in the work.

Patti's WorkWe had a divider set up, Patti Old’s work on one side and mine on the other. This photo shows some of Patti’s work.

My WorkAnd here’s my work on the other side.

Lynette and Nancy's WorkThen in the back corner, Nancy Drake’s work was on the left and Lynette Barne’s work was on the back wall.

Nancy's WorkHere’s a bit better photo of Nancy’s work.

Lynette's WorkAnd Lynette’s work. We had our notebooks and stitched books laid out on the tables so people could look through them.

Chatting with VisitorsThere was quite a bit of chatting about the work and how it was made.

Lynette and CharleyThe husband’s were all at the exhibition as well. This is Lynette talking to Charley, Nancy’s husband.

Dick Enjoying the ShowAnd this is Dick, Patti’s husband.

Dinner at My HouseThe night before the exhibition, I had everyone over to the house for dinner. We had a great time and it was so much fun to see everyone again.